Prima Games eGuides
primagames.com Browse Redeem a code Help
Destiny Signature Series Strategy Guide
Sign in My Guides

Sign in or create an account

We'll email you a link. No password needed, and if you don't have an account yet, the link makes one.

By creating an account or signing in, you agree to our Terms of Service and Privacy Policy.

Have a password?

Had an account on the old eGuides site, or a code from a printed guide? Help and troubleshooting

Sign in with a password

By signing in, you agree to our Terms of Service and Privacy Policy.

Check your email

A sign-in link is on its way. It works once and expires in 15 minutes. Open it and you're in, with an account if you didn't already have one.

Contents

  • Introduction
    • About Destiny
  • Field Manual
    • Welcome to Destiny
    • Your Character
    • Character Classes
      • TITAN
      • HUNTER
      • WARLOCK
    • Combat
    • Vehicles
    • Builds
    • Equipment
    • Customization
    • Inventory
    • Progression
    • Difficulty
    • Navigation
  • TOWER
    • About The Tower
    • A Guardian Rises
    • Overview
    • Tower Plaza – Tower Watch
    • Tower Plaza – Hall of Guardians
    • North Tower
    • Tower Hangar
    • Tower Plaza – Traveler's Walk
    • Bounties
  • EARTH
    • Overview
    • Restoration
    • The Dark Within
    • The Warmind
    • The Last Array
    • STRIKE: The Devils' Lair
    • PATROL: Patrol The Cosmodrome
  • MOON
    • Overview
    • The Dark Beyond
    • The World's Grave
    • The Sword of Crota
    • Shrine of Oryx
    • Chamber of Night
    • STRIKE: The Summoning Pits
    • PATROL: Patrol The Moon
  • VENUS
    • Overview
    • A Stranger's Call
    • Ishtar Collective
    • The Archive
    • Scourge of Winter
    • Eye of a Gate Lord
    • STRIKE: Winter's Run
    • STRIKE: The Nexus
    • RAID: Vault of Glass
    • PATROL: Patrol Venus
  • MARS
    • Overview
    • Exclusion Zone
    • The Garden's Spire
    • The Buried City
    • A Rising Tide
    • The Black Garden
    • STRIKE: Cerberus Vae II
    • STRIKE: Dust Palace
    • PATROL: Patrol the Buried City
  • Codex
    • About the Codex
    • The Fallen
    • The Hive
    • The Vex
    • The Cabal
  • Armory
    • Overview
    • Weapons
    • Weapon Stats
    • Weapon Mods
    • Mod Descriptions
    • Mod Lists
    • Weapon Tables
    • Weapon Drop Locations
    • Weapon Charts
    • Mod Stat Charts
    • Handling Charts
    • Inventory Charts
    • Magazine Charts
    • Range Charts
    • Velocity Charts
    • Reload Charts
    • Stability Charts
    • Recoil Patterns
    • Armor
    • Armor Mods
    • Exotics
  • Crucible
    • Overview
    • PvP Combat
    • Game Modes
    • General Game Mode Advice
    • MAP: Anomaly
    • MAP: Asylum
    • MAP: Bastion
    • MAP: Blind Watch
    • MAP: Burning Shrine
    • MAP: Exodus Blue (timed PlayStation exclusive)
    • MAP: Firebase Delphi
    • MAP: First Light
    • MAP: Rusted Lands
    • MAP: Shores of Time
    • MAP: Twilight Gap
  • Expansion I: The Dark Below
    • Introduction
    • Missions
      • Overview
      • Fist of Crota
      • Siege of the Warmind
      • The Wakening
      • Ritual of Sacrifice
    • Eris Morn Quests
      • Disciples of Crota
      • The Urn of Sacrifice
    • Strikes
      • STRIKE: The Undying Mind (Timed PlayStation Exclusive)
      • STRIKE: The Will of Crota
    • Eris Morn Bounties
    • Crucible Maps
      • Skyshock
      • The Cauldron
      • Pantheon
  • Trophies & Achievements
    • Overview
    • Specialization
    • Gear and Vehicles
    • Kill Enemies
    • Strikes and Raid
    • The Crucible
    • Patrol and More

Destiny Signature Series Strategy Guide › EARTH

The Dark Within

The Dark Within

Level 3 Story / Steppes, Old Russia, Earth

Enemy Races: Fallen, Hive

Suggested Damage Types: Arc, Solar

Rewards: XP Bonus

Mission Unlocked: Explore Cosmodrome

Combatant Changes with Heroic or Epic Mission Modifier

Objective

Combatant Changes

Tip

Search the Complex +3 Thrall These guys are more aggressive and tougher to take down, so don’t take this encounter lightly.
Kill the Hive Wizard – First Room +3 Thrall+1 Acolyte The Acolytes are more aggressive with their rifles, so be sure to use cover to minimize damage.
Kill the Hive Wizard – Second Room +3 Thrall+3 Acolytes This final room is even more crowded with the Hive and its brood. Use the doorway for cover as you pick away at the foes.

Objective:Head to Skywatch

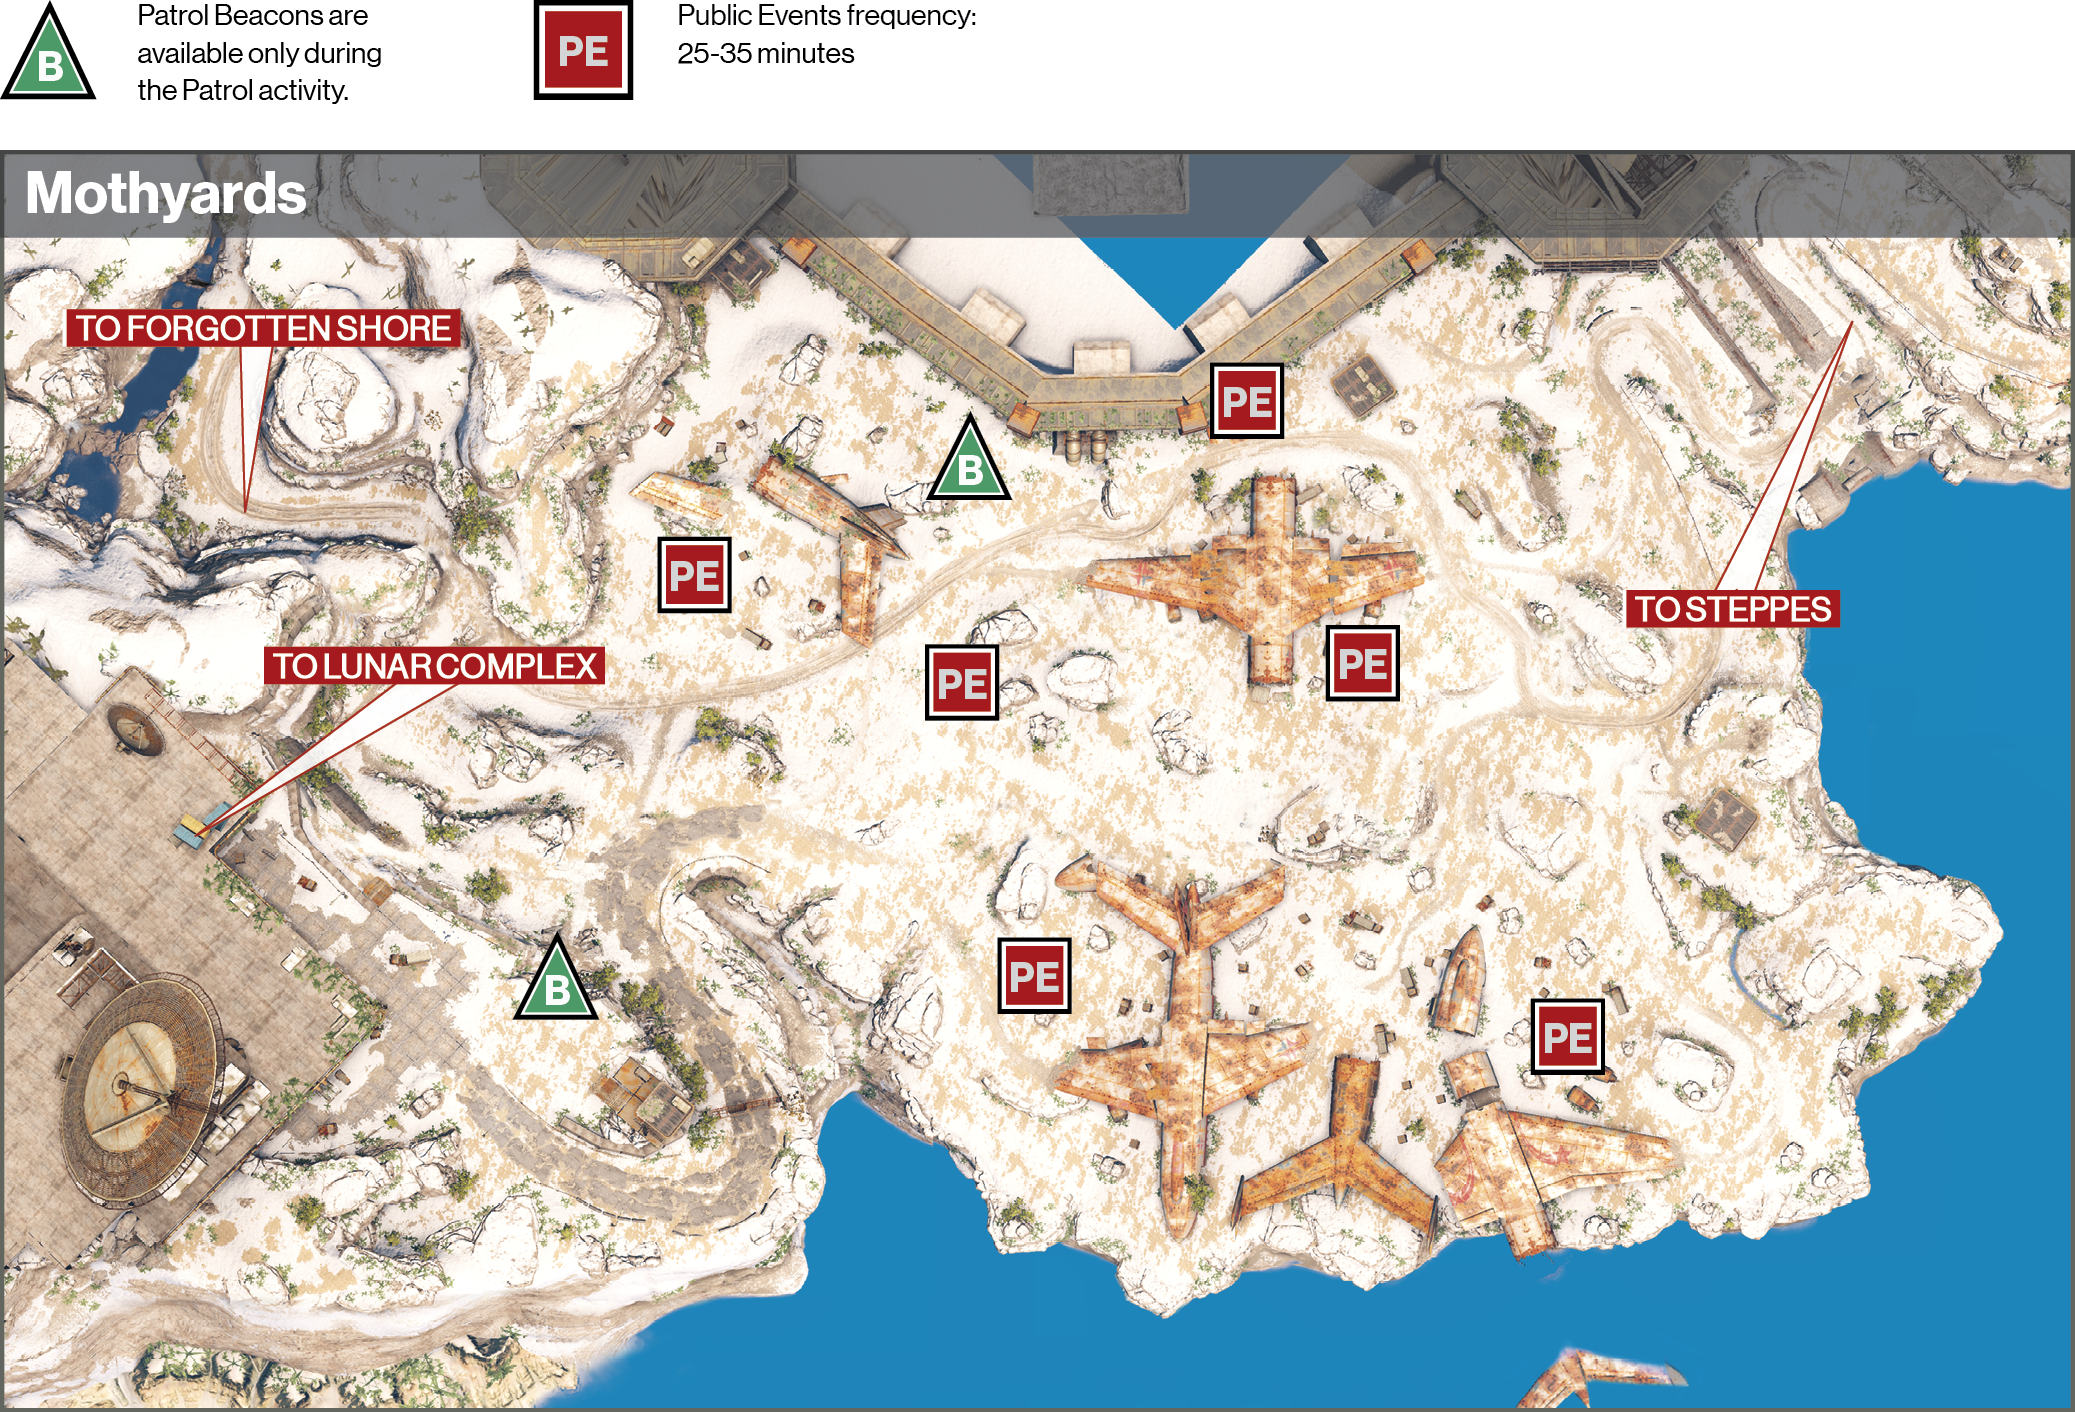
Location:Mothyards

You are dropped into the Steppes, just a short distance from Mothyards. Run to the left through the ravine, past an airplane graveyard, and up the hill to reach your first destination. Fight past the Fallen Captain who guards the entrance, and follow the objective markers into the building. Wind your way through a couple rooms to find an overhead door shut tight.
Objective:Unlock the Gate

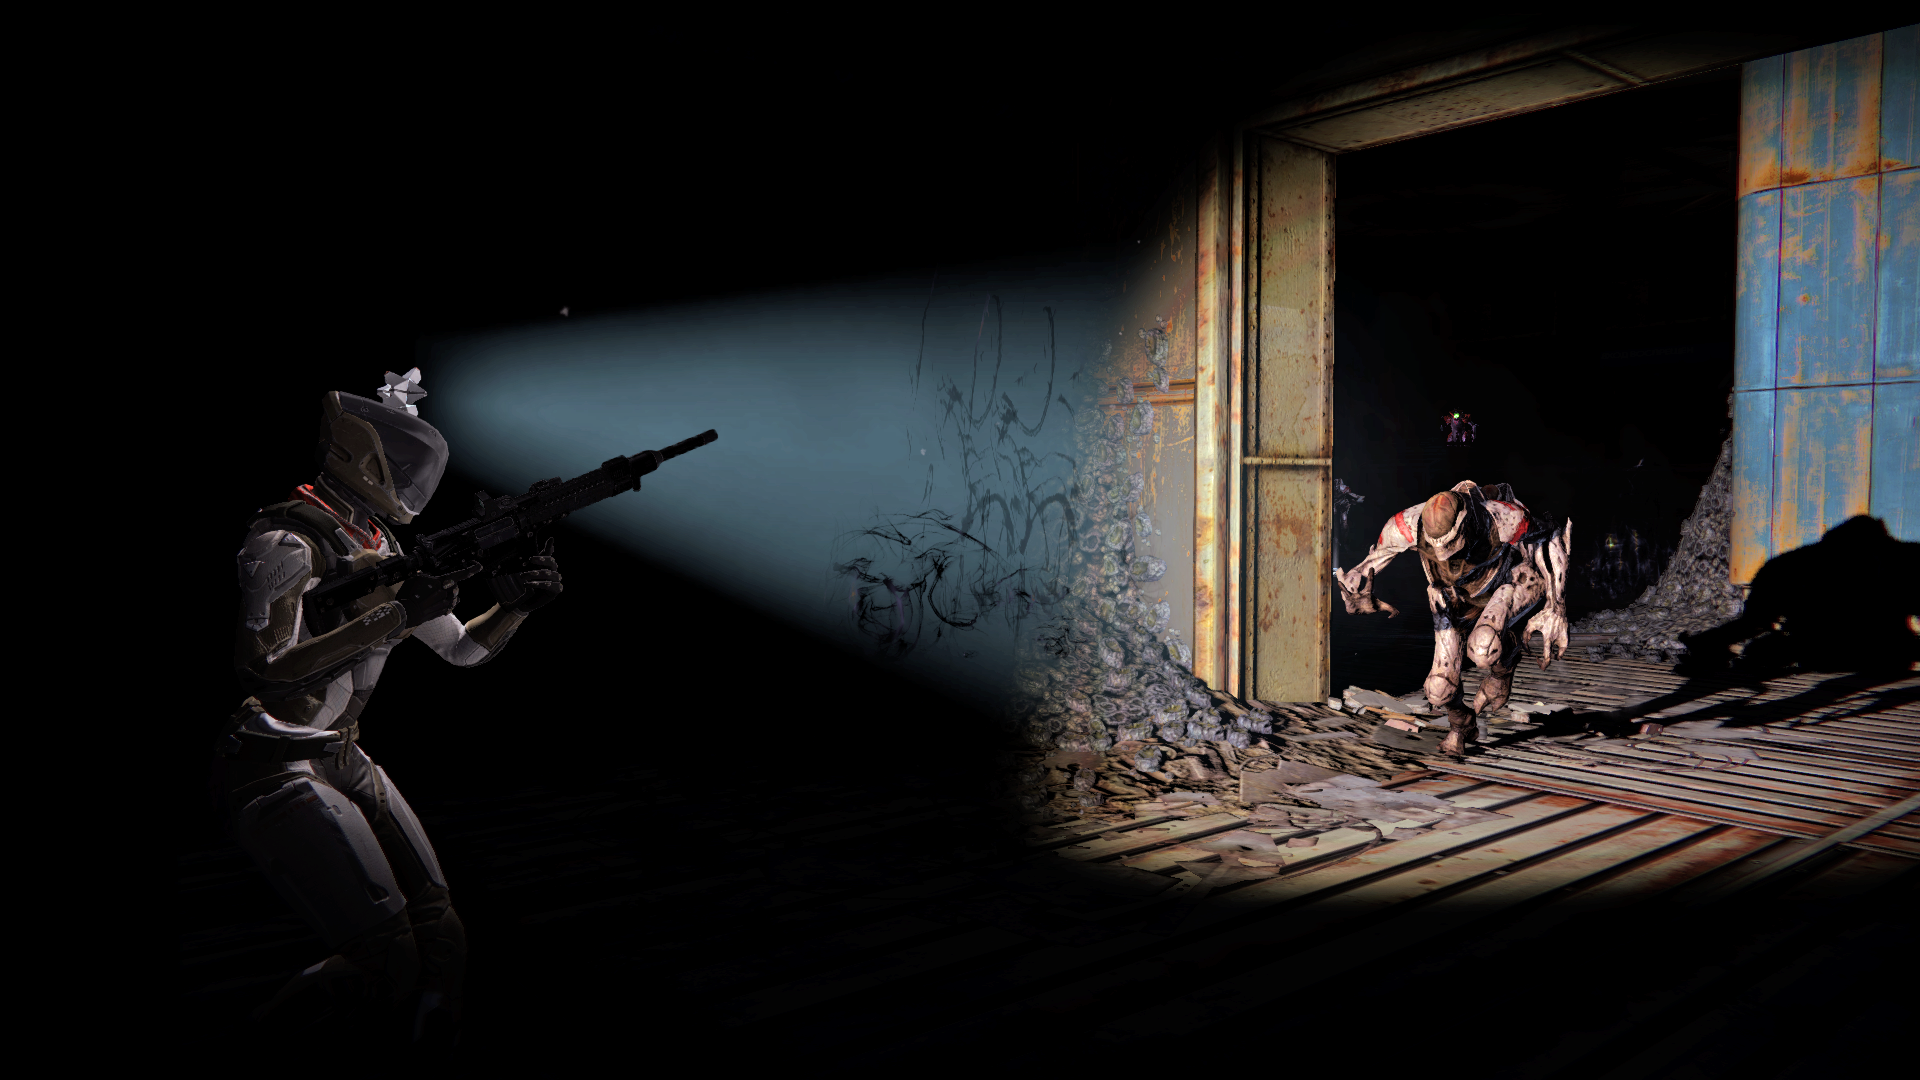
Once you’re prompted, use your Ghost to get the door open. After some time, it opens, so proceed into the Darkness Zone.

Objective:Search the Complex

Location:Lunar Complex

Run up the steps and cautiously enter the next room. Prepare your close-range weapon, as a horde of Hive Thrall charges your location. An auto rifle or shotgun are both effective against the Thrall wave. A melee attack against each also works, but be careful to avoid getting surrounded. Push through them and take down the Hive Acolytes that hide out on the other side of the room. As you move up another set of stairs, your Ghost informs you of a Hive Wizard ahead.

Objective:Kill the Hive Wizard

At the top of the stairs, Thrall immediately attack, while Acolytes litter the room ahead. Gotra, the Hive Wizard, is well protected by its brood in the next room to the left. Pick off the closer Hive from the relative safety of the control room. After you clear out the first room, move up to the next entrance as more Thrall and Acolytes attack.

Enemy Shields

One enemy type from each race always has a shield, such as the Wizard’s Solar shield. Using a weapon with the same damage type as the shield expedites destroying it. Once the shield is down, eliminate the enemy quickly, or the shield will regenerate. With the Epic Mission Modifier, another enemy type from each race equips a different shield. At this difficulty, using the wrong damage type delivers only 50% damage. Note that you cannot hit enemies’ weak spots while their shields are up.

The Wizard floats among its brood, firing a darkness blast from behind a Solar shield. Watch for the cloud of darkness that is cast nearby. This heals the Hive and poisons Guardians who enter the haze—damaging and slowing you down. Use grenades and super abilities on the boss when they’re available. Retreat when your health gets low, and continue to pound at it until it falls, at which point any remaining Hive are eliminated.

Return the Warping Claws to your Vanguard for a choice of armor.

Keep reading with a free account

The first 3 sections of Destiny Signature Series Strategy Guide are open to everyone. An account opens the rest of it, and every other guide in the archive. It's free, and there's nothing to buy.

Bought guides on the old Prima Games site? Your account and every guide you own moved here, so there's nothing to buy again. Sign in.

Create a free account Or browse our free guides

PreviousRestoration NextThe Warmind