
Destiny Signature Series Strategy Guide EARTH
STRIKE: The Devils' Lair
 The Devils’ Lair
Level 8 Strike / Rocketyard, Old Russia, Earth
Enemy Races: Hive, Fallen
Suggested Damage Types: Arc, Solar (Epic)
Rewards: XP Bonus, Armor Upgrade
Mission Unlocked: -
Combatant Changes with Heroic or Epic Mission Modifier
|
Objective |
Combatant Changes |
Tip |
|---|---|---|
| Devils’ Lair –Drop Ships & Reinforcements | Dregs and Vandals become special versions with higher Vitality and more aggression. | The Fallen pursue players more aggressively and are tougher to take down, so dealing with them immediately is ideal. |
Objective:Enter the Devils’ Lair
Location:Rocketyard
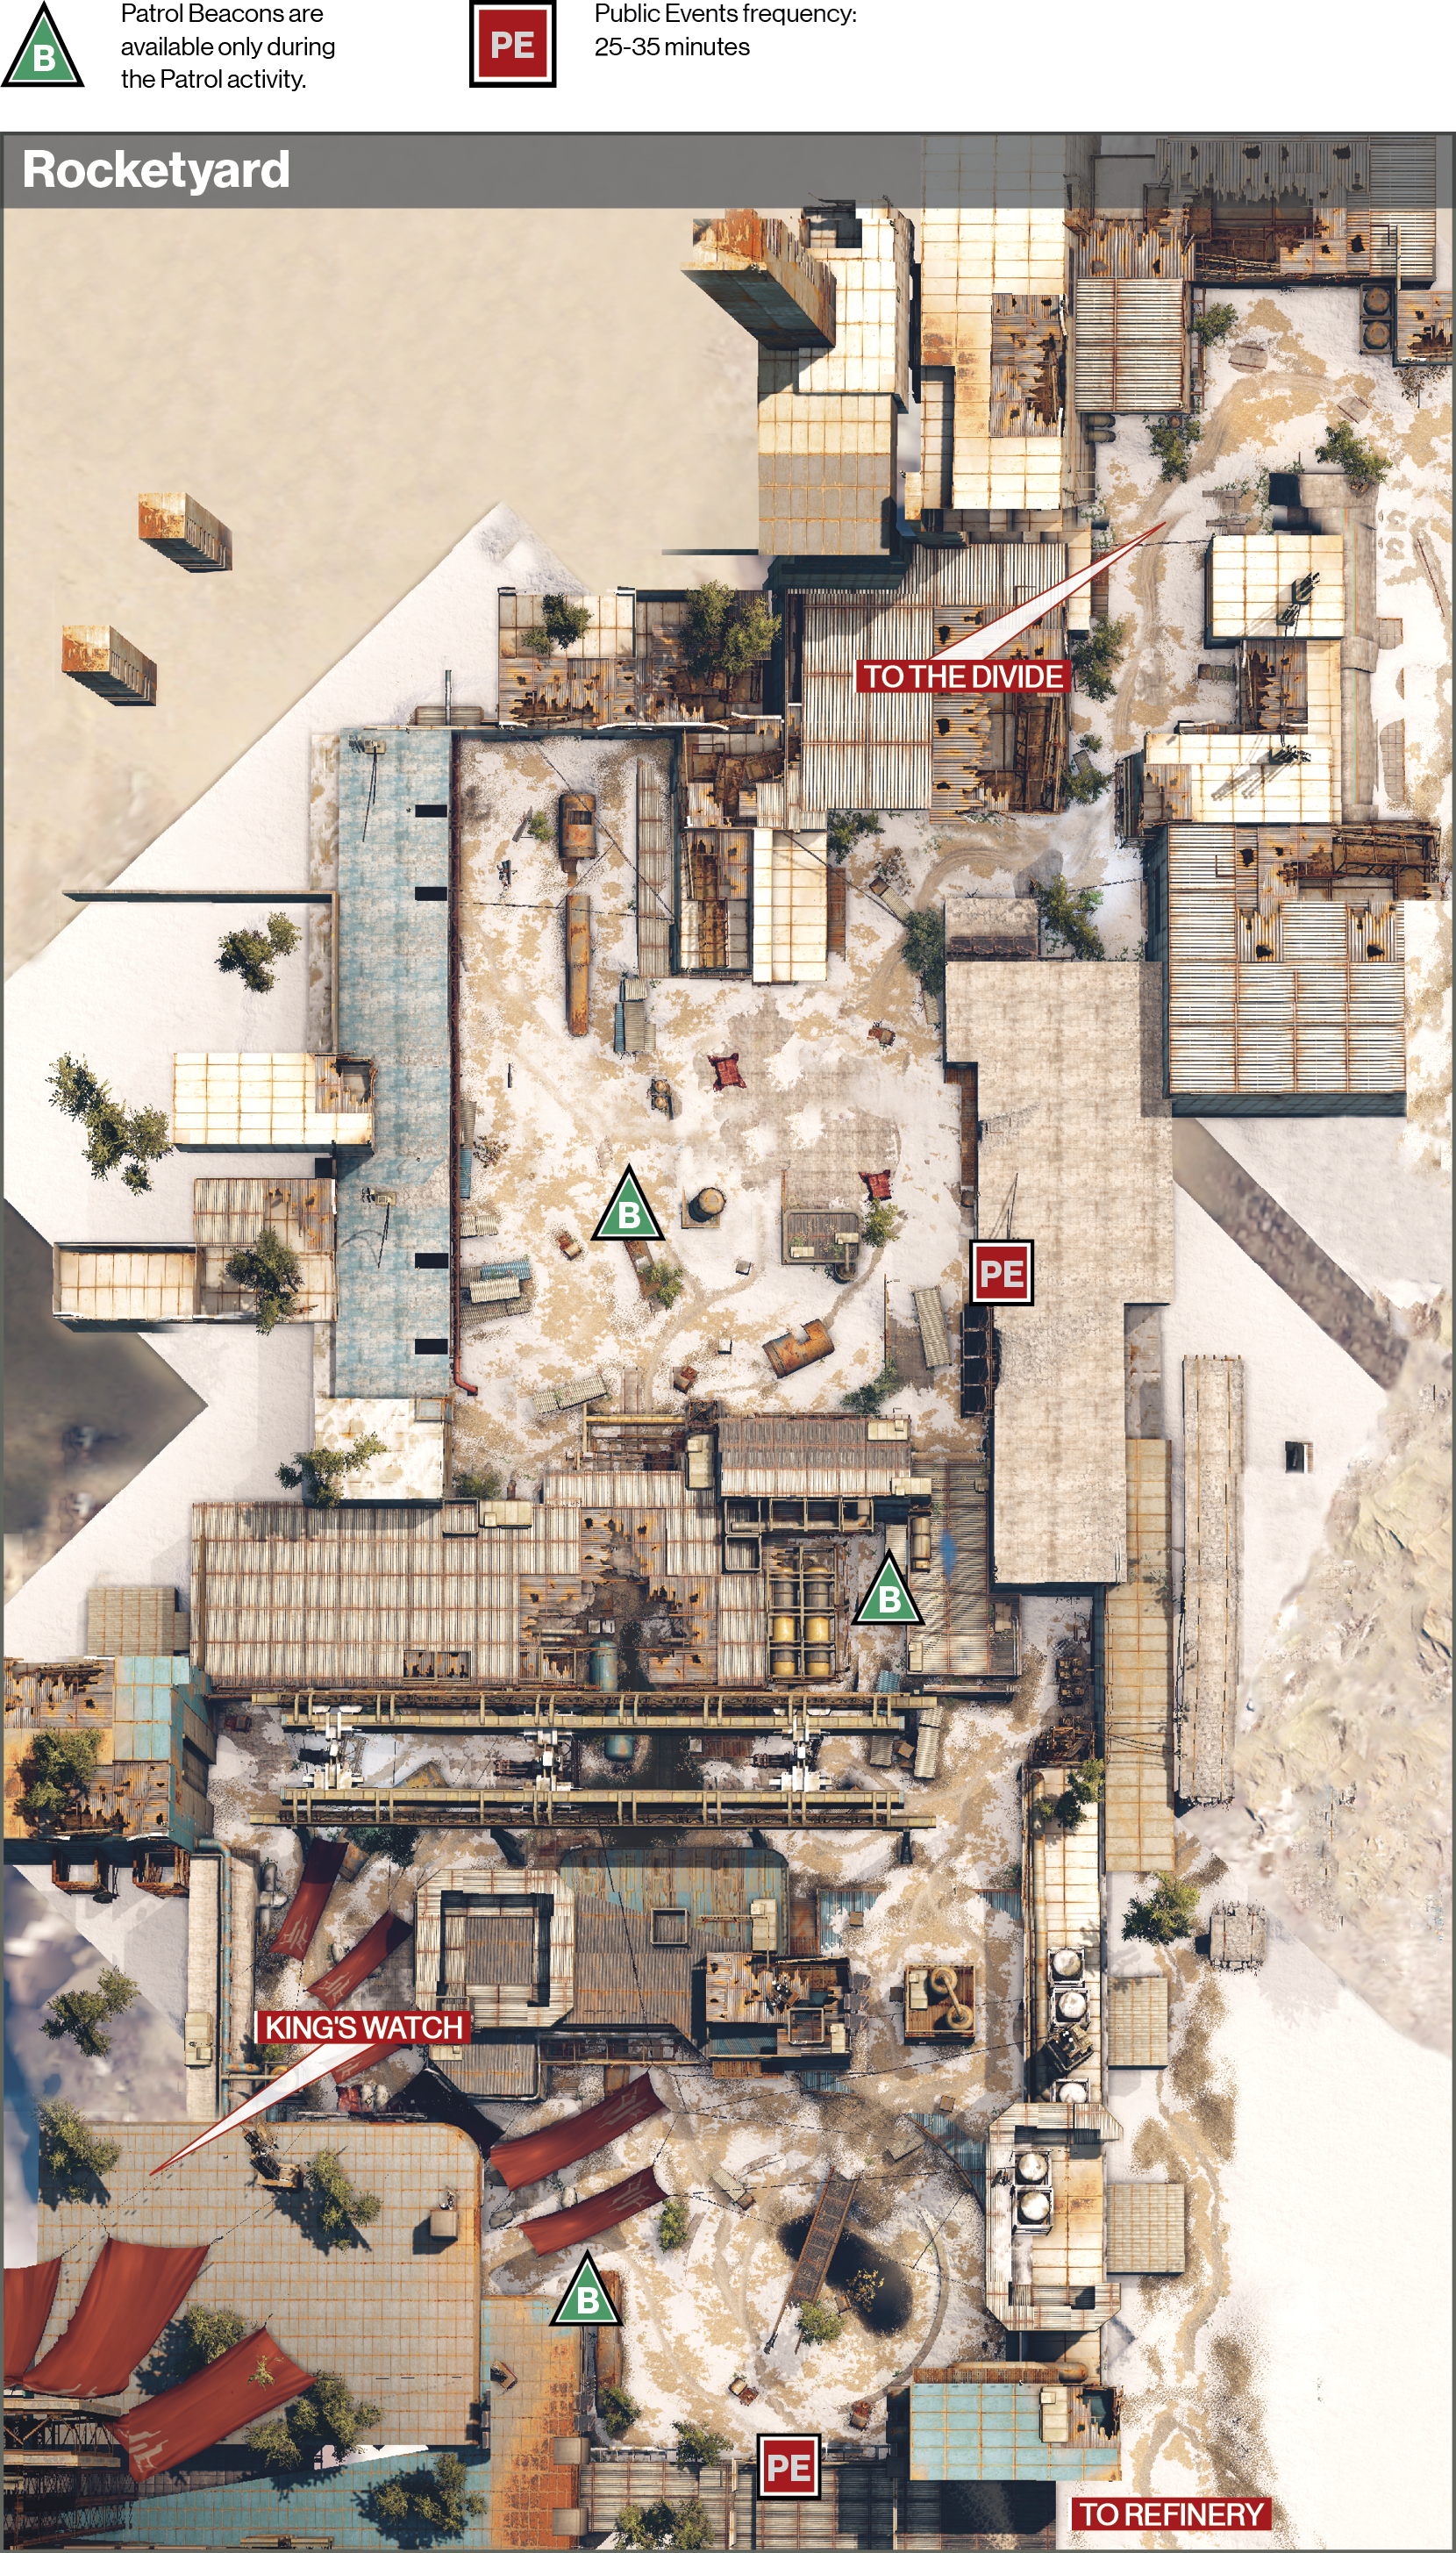
The first Strike starts in Rocketyard, just outside the Refinery. Fight your way through the Hive Acolytes and Knights who litter this outdoor public area, making your way straight ahead into the far building. You can spend more time fighting the enemy out here, but your objective lies inside.
Objective:Fight into the Lair
Location:Refinery
Follow the objective markers through the hallways until you run into a battle between the Hive and Fallen. Disperse the foes as you continue through the Refinery. This is a relatively easy fight for three Guardians around Level 8.
Objective:Take Back the Refinery
Another skirmish between the two enemy factions lies just ahead. Take them out as you surprise them from behind. Keep the group together as you fight the Hive and Fallen from the metal walkway. Clear out any remaining enemies as you continue toward your objective.
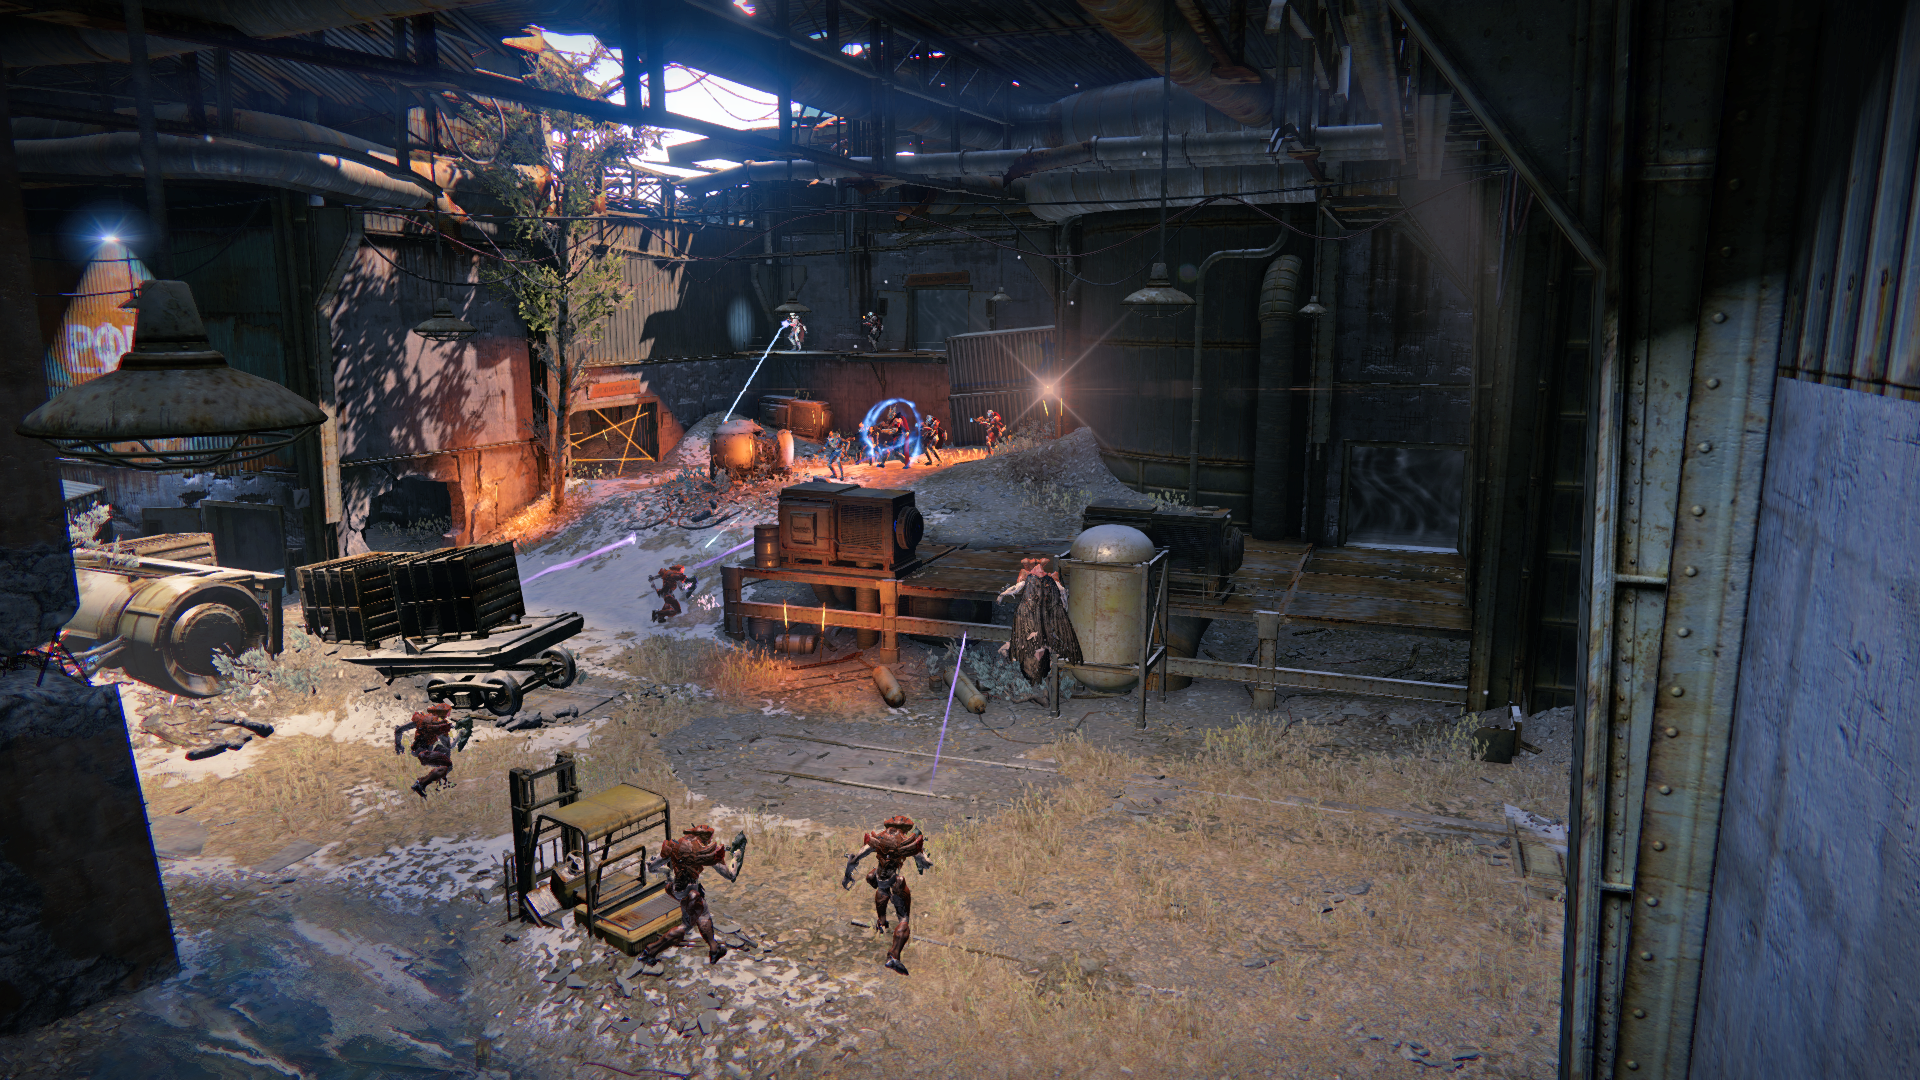
Objective:Hack the Mesh Generator
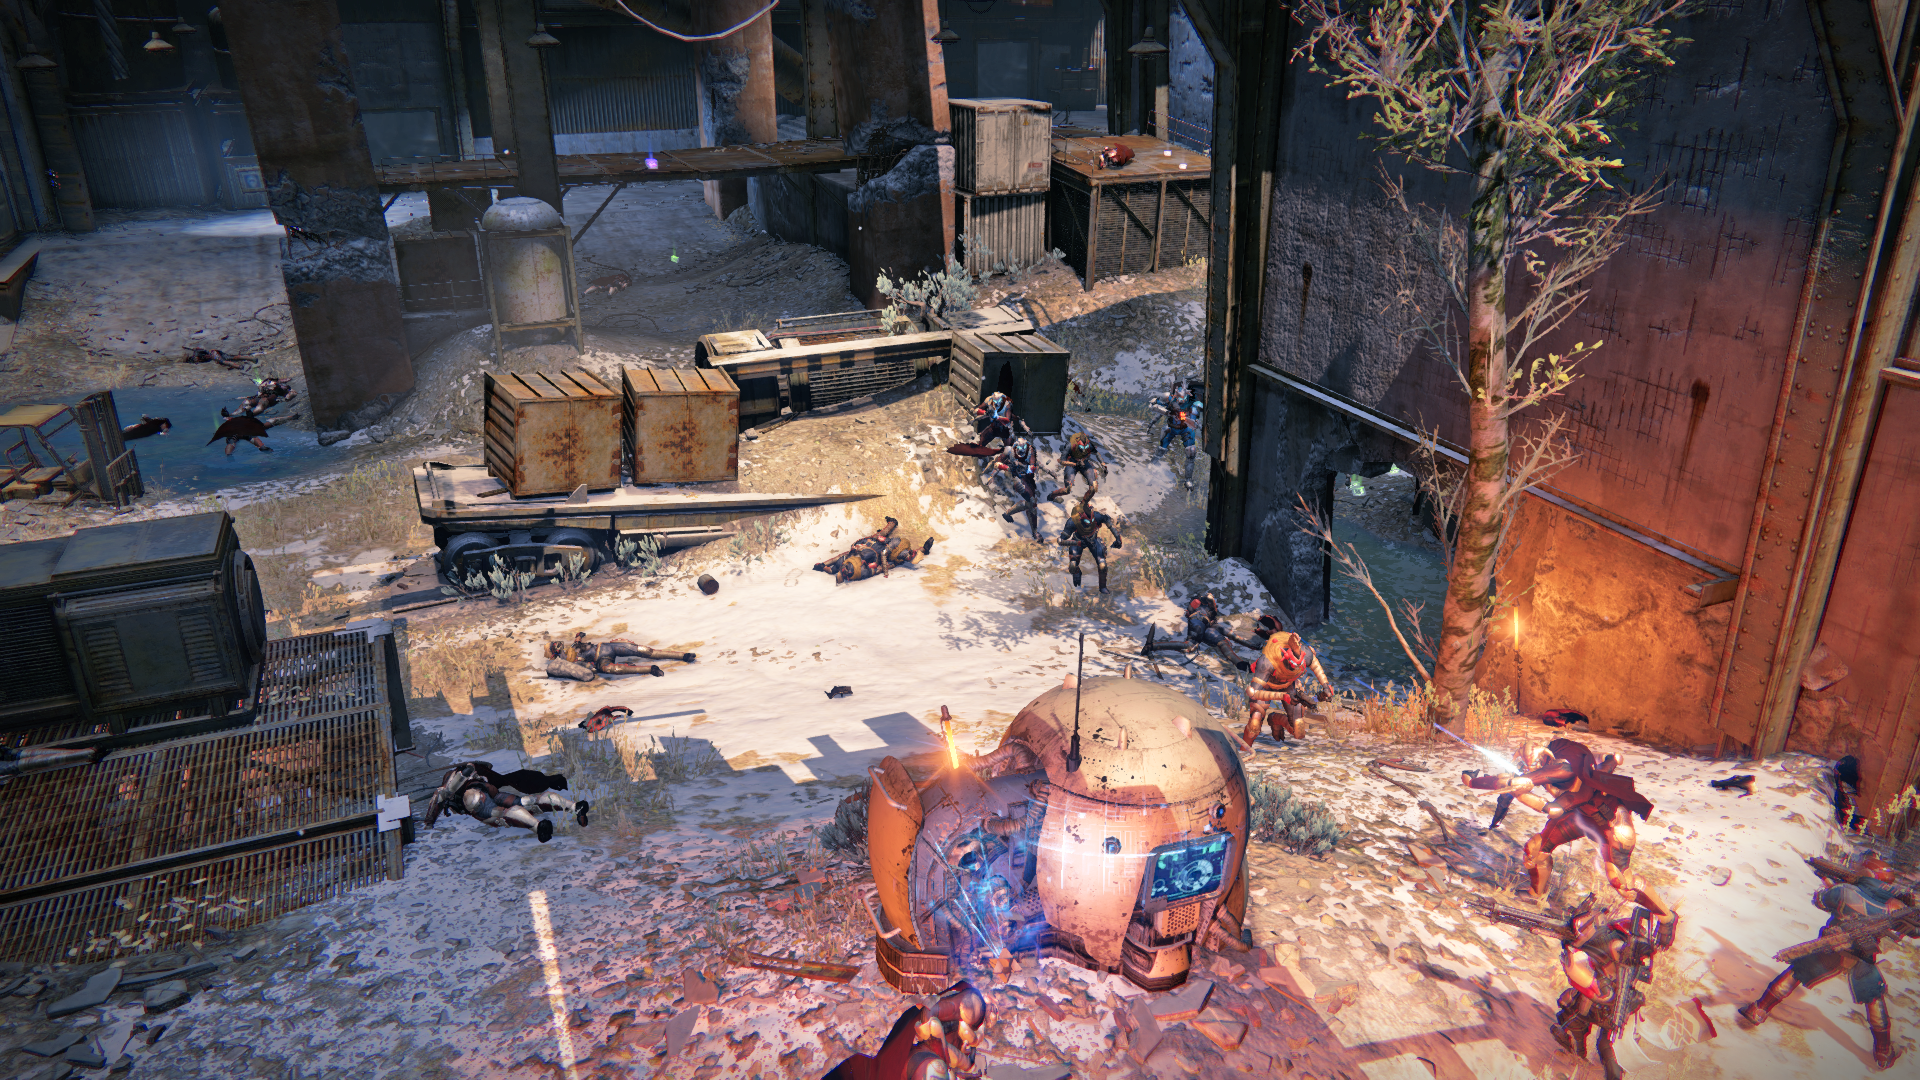
Once you clear out the Fallen and Hive, deploy your Ghost at the console so he can take down the barrier. There are three mesh layers for him to deactivate. Doing this takes time, and a wave of enemies attacks during all three. A nice perch atop a cargo container offers a good sniping position, but if you drop down, it can be tough for a teammate to reach you. Stick close to the others and work as a team to eliminate the incoming foes. This fight can get tough, so watch for Fireteam members who may need a hand. The opposition enters from several openings on the other side of the Refinery, so keep an eye on your radar to see where the threat lies. Have someone focused on taking out their snipers as they show up on the walkways.
Objective:Infiltrate Devils’ Lair
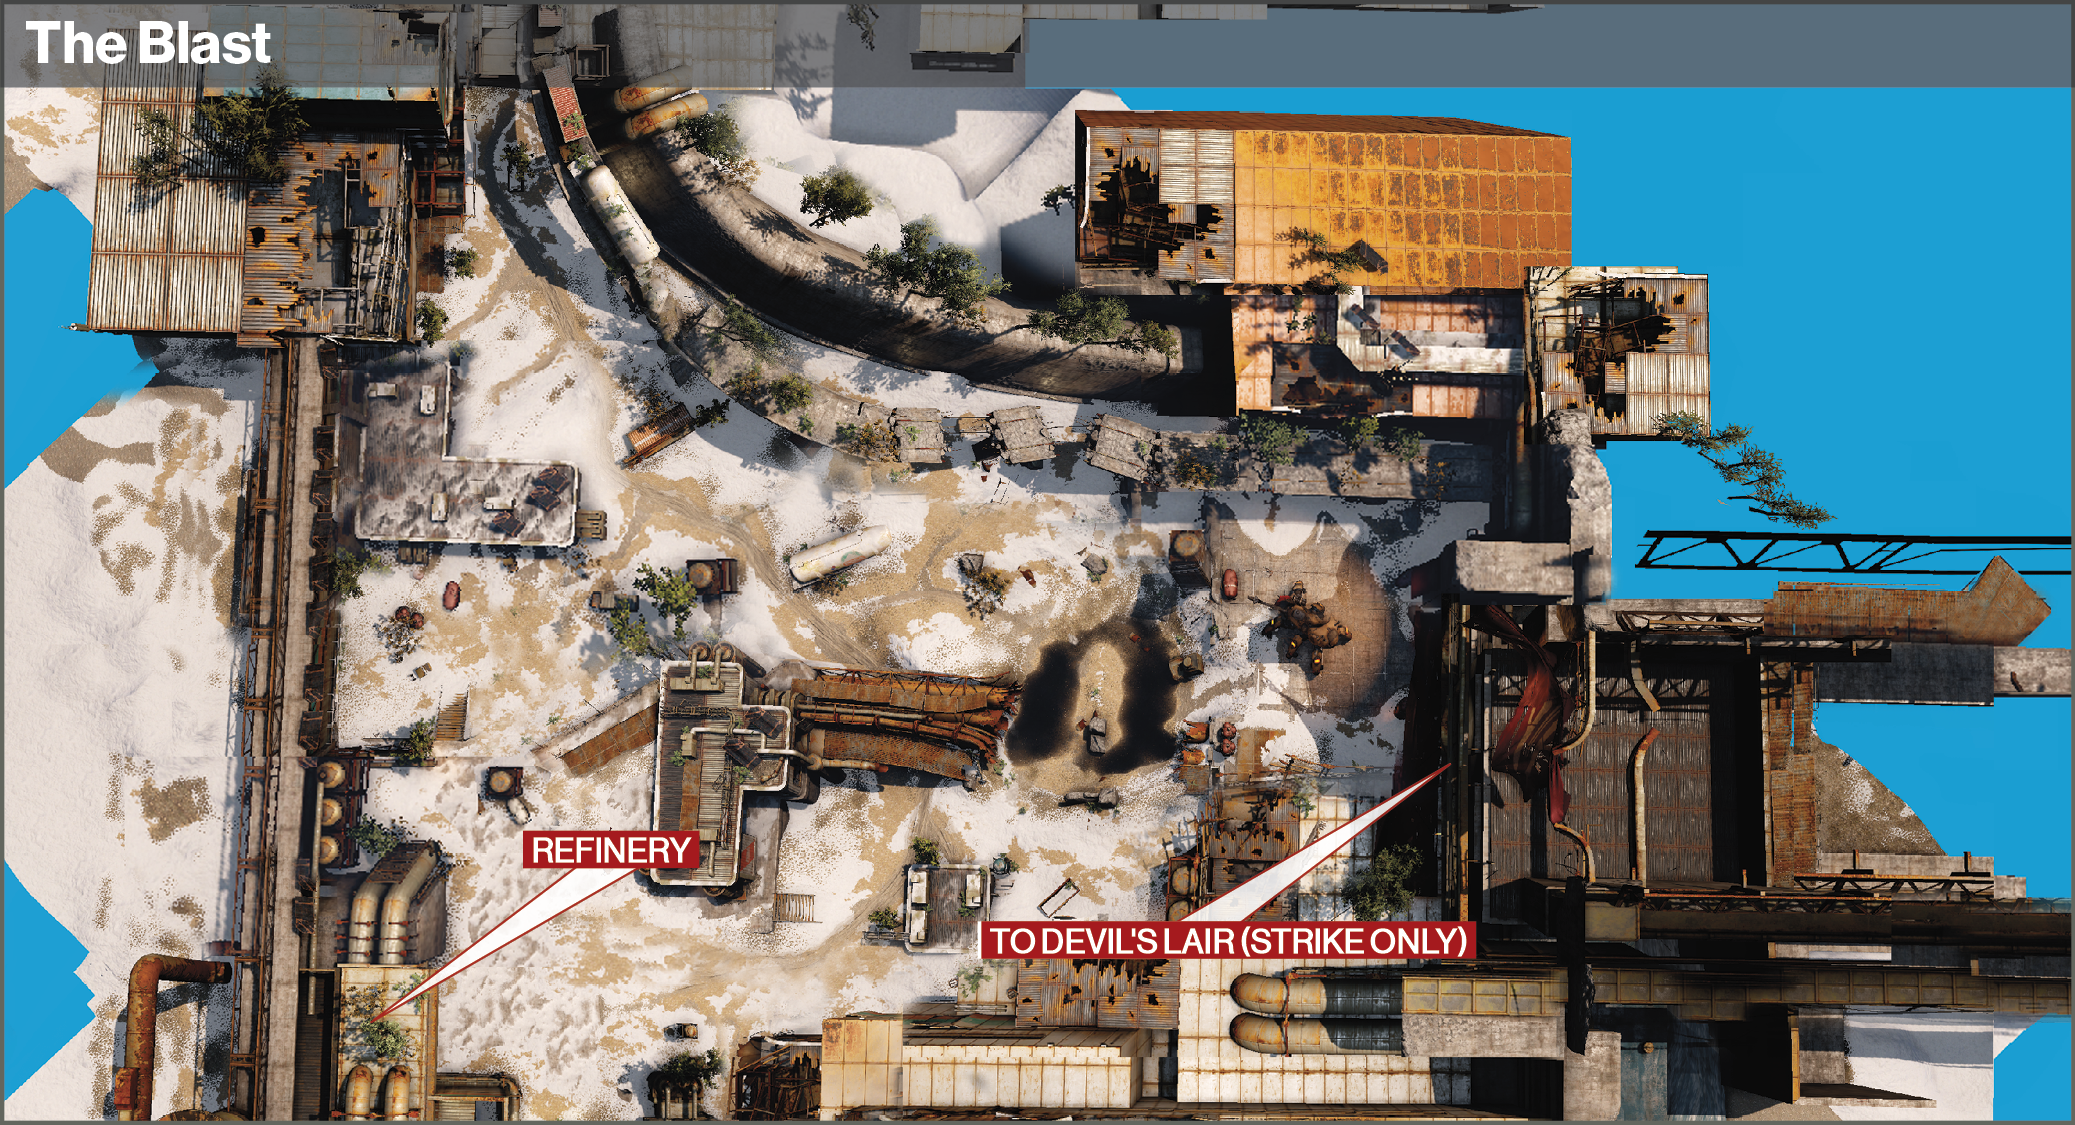
Once the third layer is deactivated, collect any loot lying around and exit through the opening on the right. Watch out for more Fallen as you follow the path out of the Refinery.
Objective:Cut through the Fallen
Location:The Blast
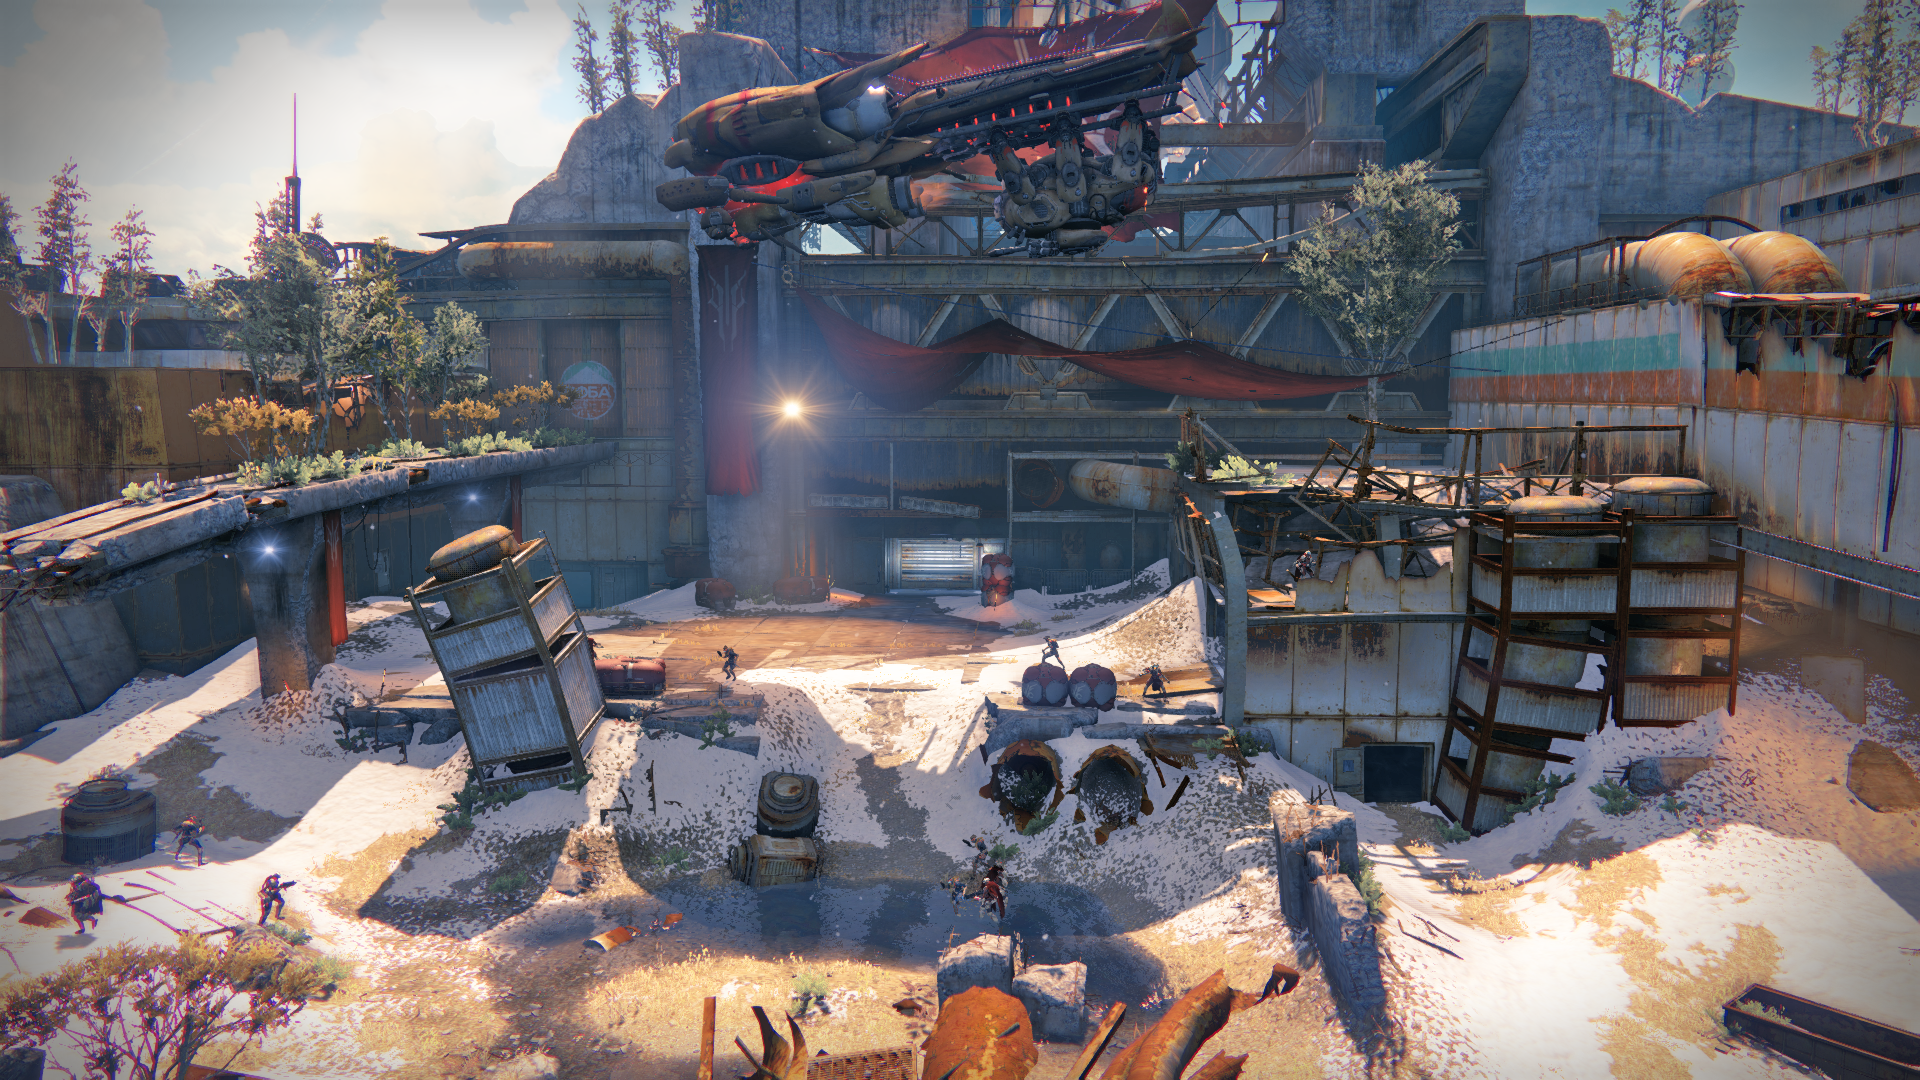
The entrance to The Devils’ Lair is on the opposite side of the courtyard, but a big fight lies before it. Many Fallen Captains, Vandals, Dregs, and Shanks litter The Blast as you fight a Devil Walker. This big tank should be your primary target, but you should take care of the smaller Fallen whenever they cross your path. They also help boost your super, provide much-needed ammunition, and as a bonus they boost the kill count for the mission.
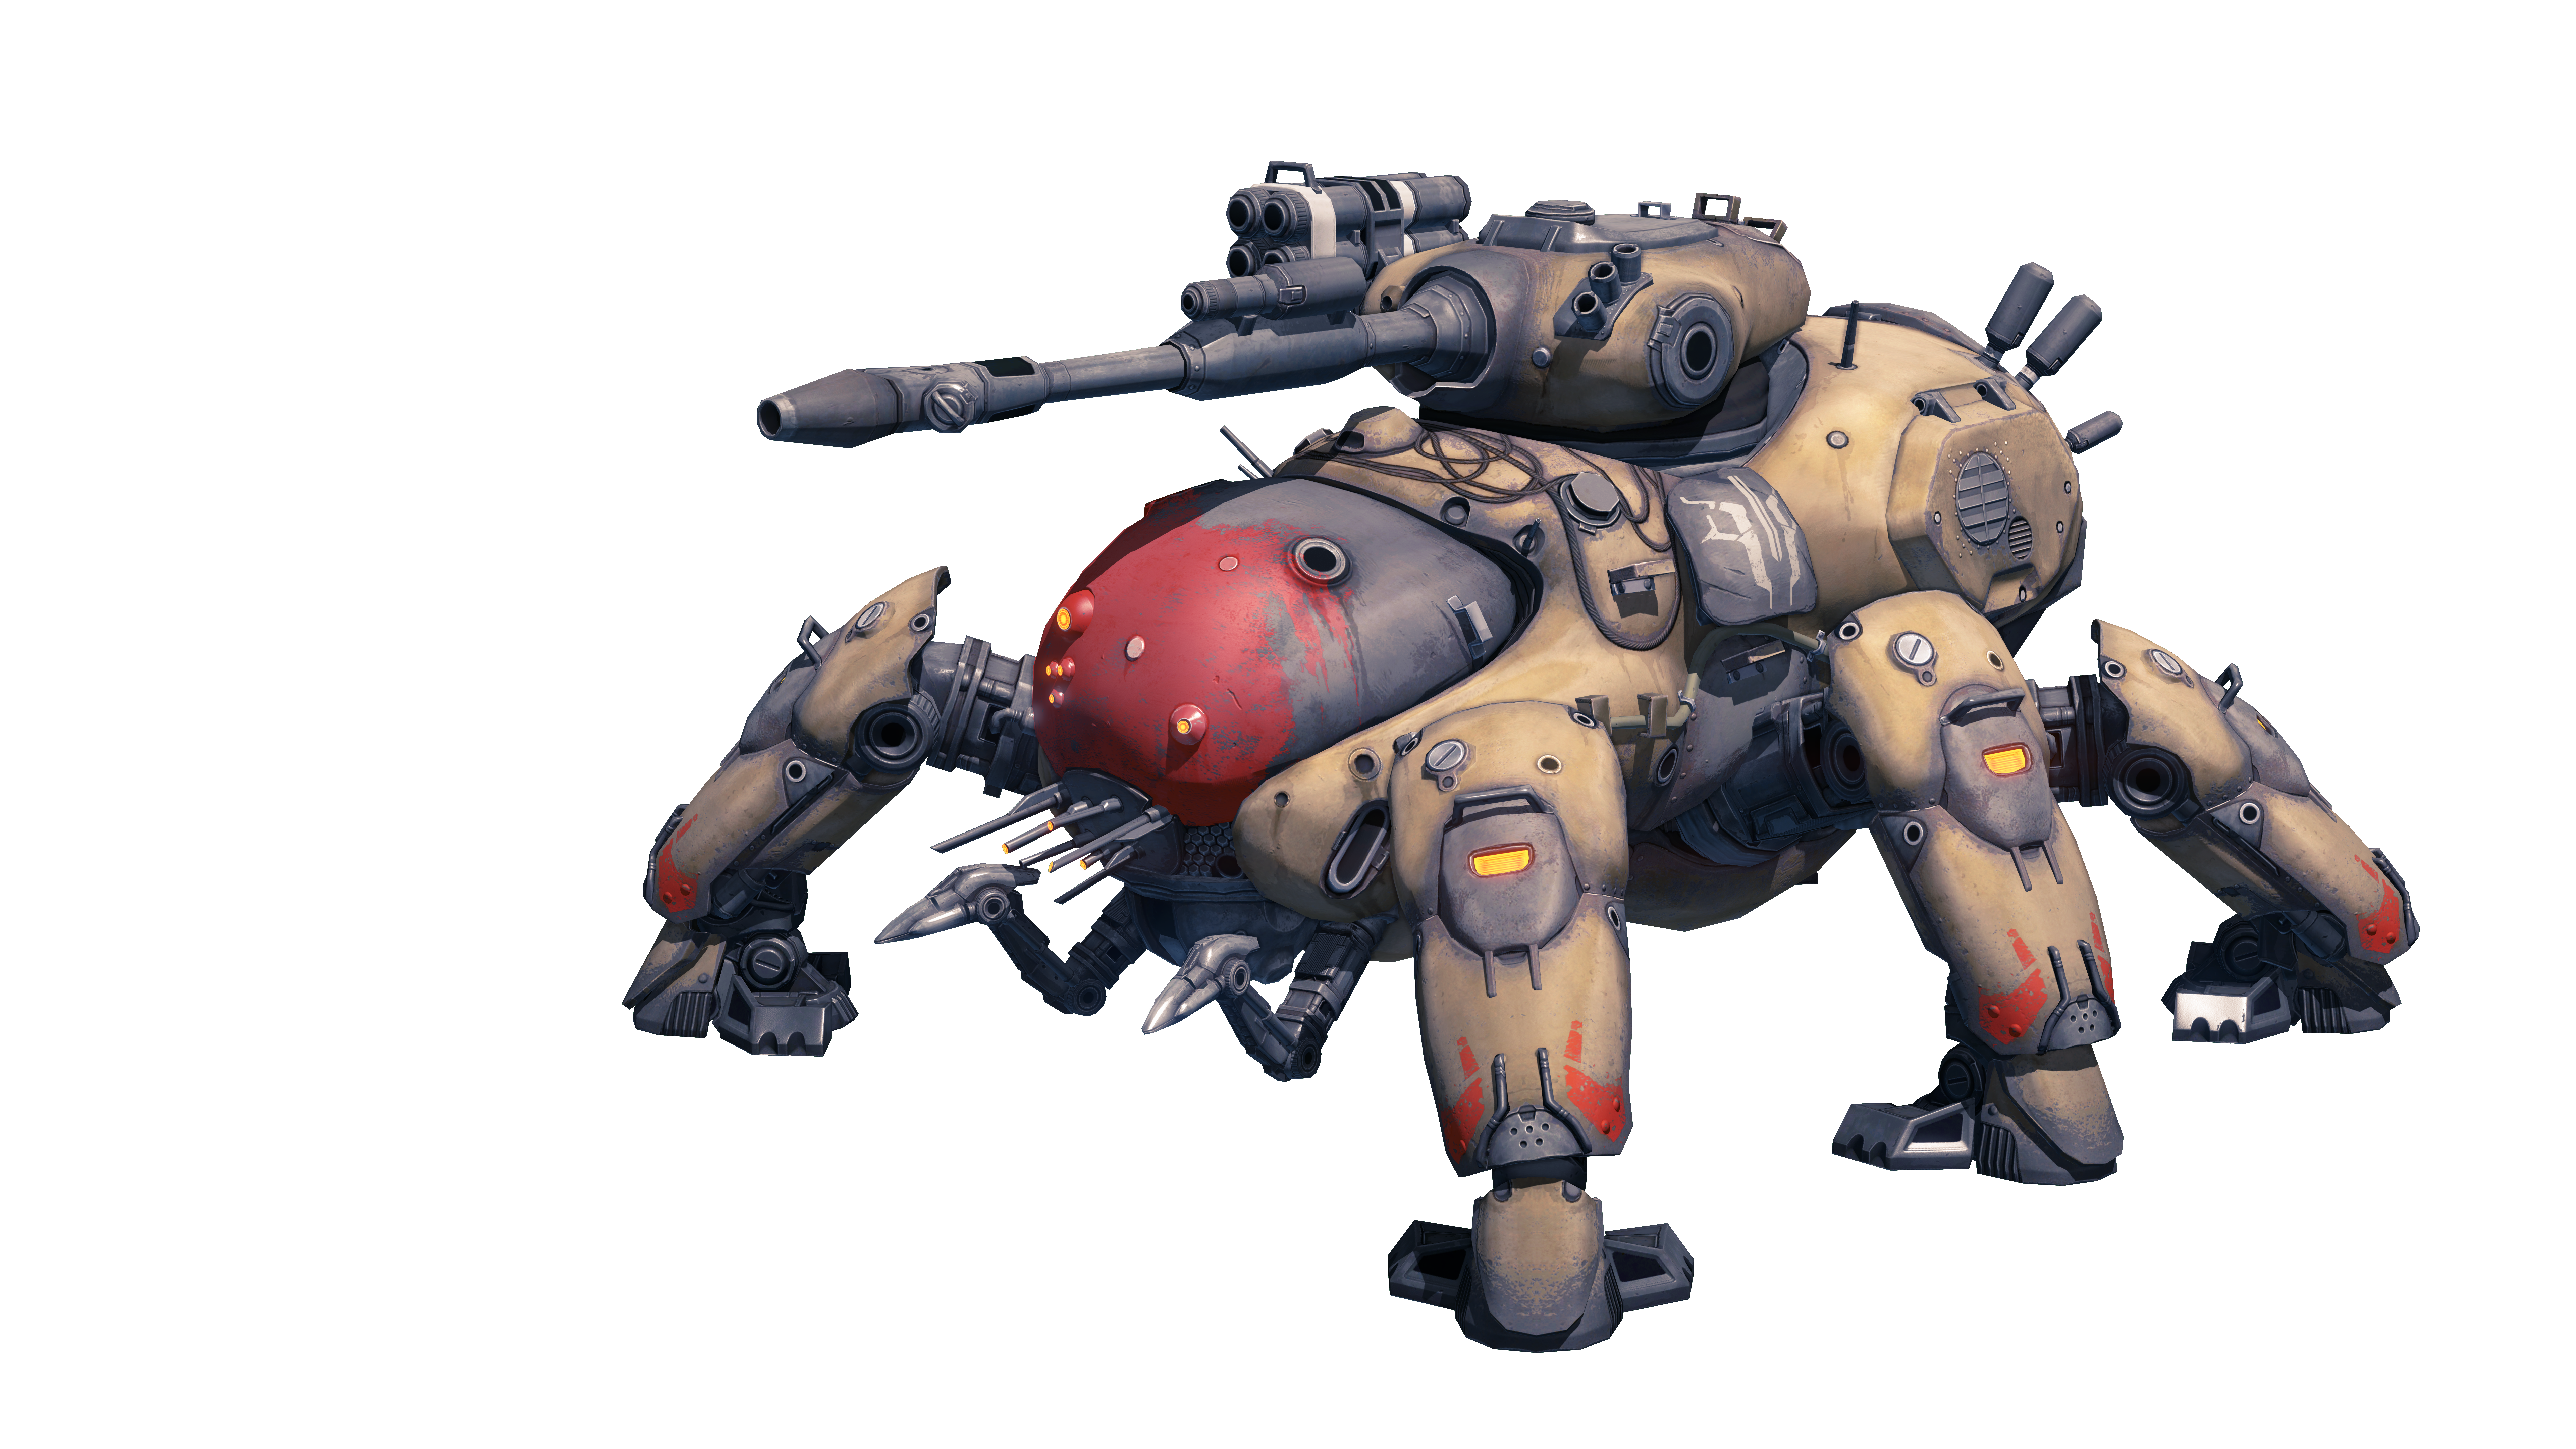
Devil Walker
Weak Spots: Legs, Exposed Neck
Attacks: Cannon, Laser Array, Shock Grenade, Chaingun, Shanks, Push Back
Attacks
Cannon:
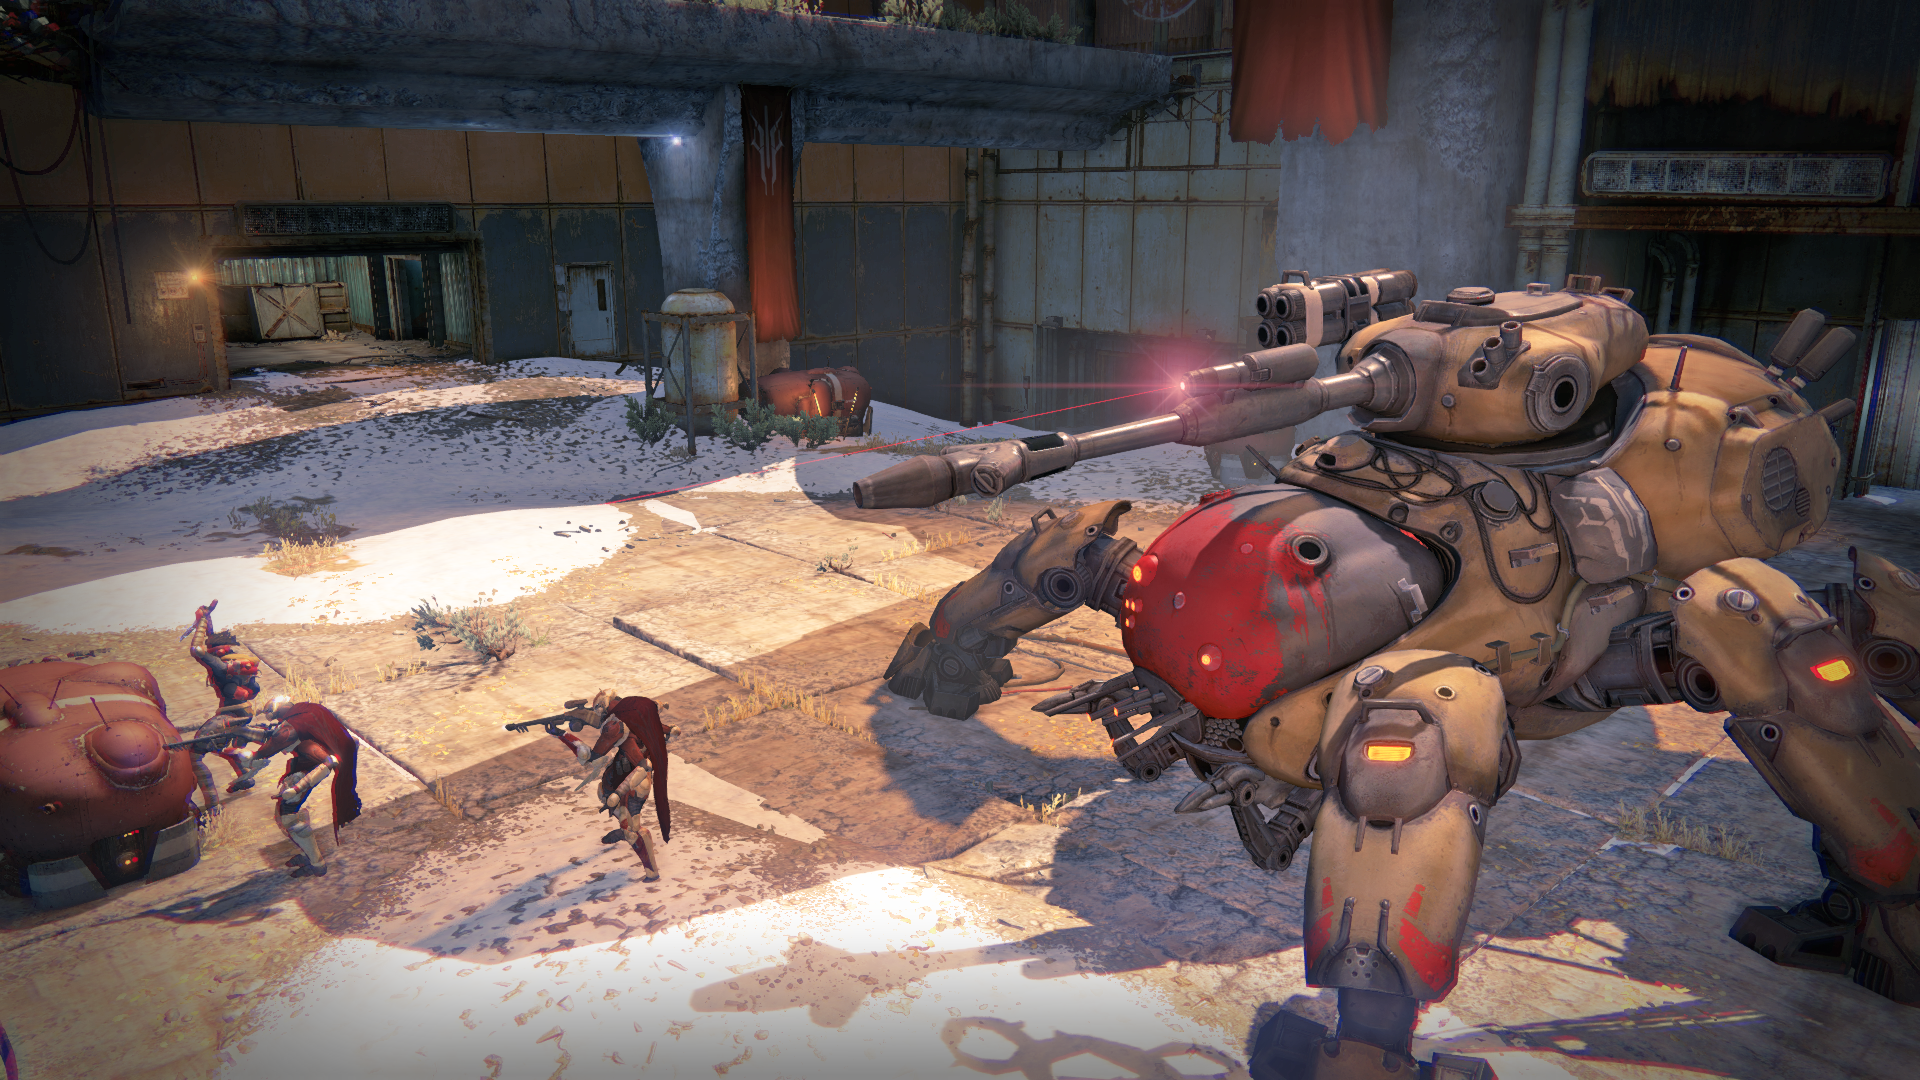
The Devil Walker uses a red laser to aim a high-powered cannon. This devastating attack can easily take you out with a direct hit. It is slow to fire, giving you plenty of time to flee. The blast has a wide area of effect, so be sure to jump or run well out of range.
Laser Array:
Watch for blue sparks that appear on the left weapon, as they presage another powerful strike. It too delivers a decent blast radius, so it’s a good idea to get out of the way when you see it charging up.
Shock Grenades:
A small hatch opens on either side of the spider tank, and several grenades are released into the area. These explosives bounce around as they seek out nearby targets. You can destroy the grenade hatch when it’s open, stopping the balls from being launched.
Shanks:
Stored inside the tank, Shanks are released from another opening just behind the grenades. This adds a few pests to the fight. You can destroy the Shank hatch when it’s open, keeping the flying Fallen from joining the battle. This becomes a valuable strategy when the Epic Mission Modifier is active, as the Shanks gain Solar shields.
Chaingun:
The Devil Walker is equipped with a chaingun on the front of its head. It can tear through a player caught in its crosshairs. Duck behind cover or dodge to the side of the boss when you see the bullets flying.

Push Back:
When a player gets close to the tank, the big machine uses a pulse attack to push away its aggressors.
Setting Up
Immediately start clearing out the Fallen as the Devil Walker is dropped into The Blast. Once the lights come on the tank, it’s vulnerable to your attacks, so look for a spot from which to fight. Be careful engaging the smaller Fallen out in the open, as it’s easy to lose track of the boss in the process. Next thing you know, teammates are putting themselves at risk to revive you. Keep moving to avoid this scenario. However, you can kill the Fallen that spawn down by the pond for additional ammo. You will be shielded from the threat of the tank, but the Fallen still put up a fight. Still, fighting these foes for ammunition down here is a lot safer than fighting them out in the open.
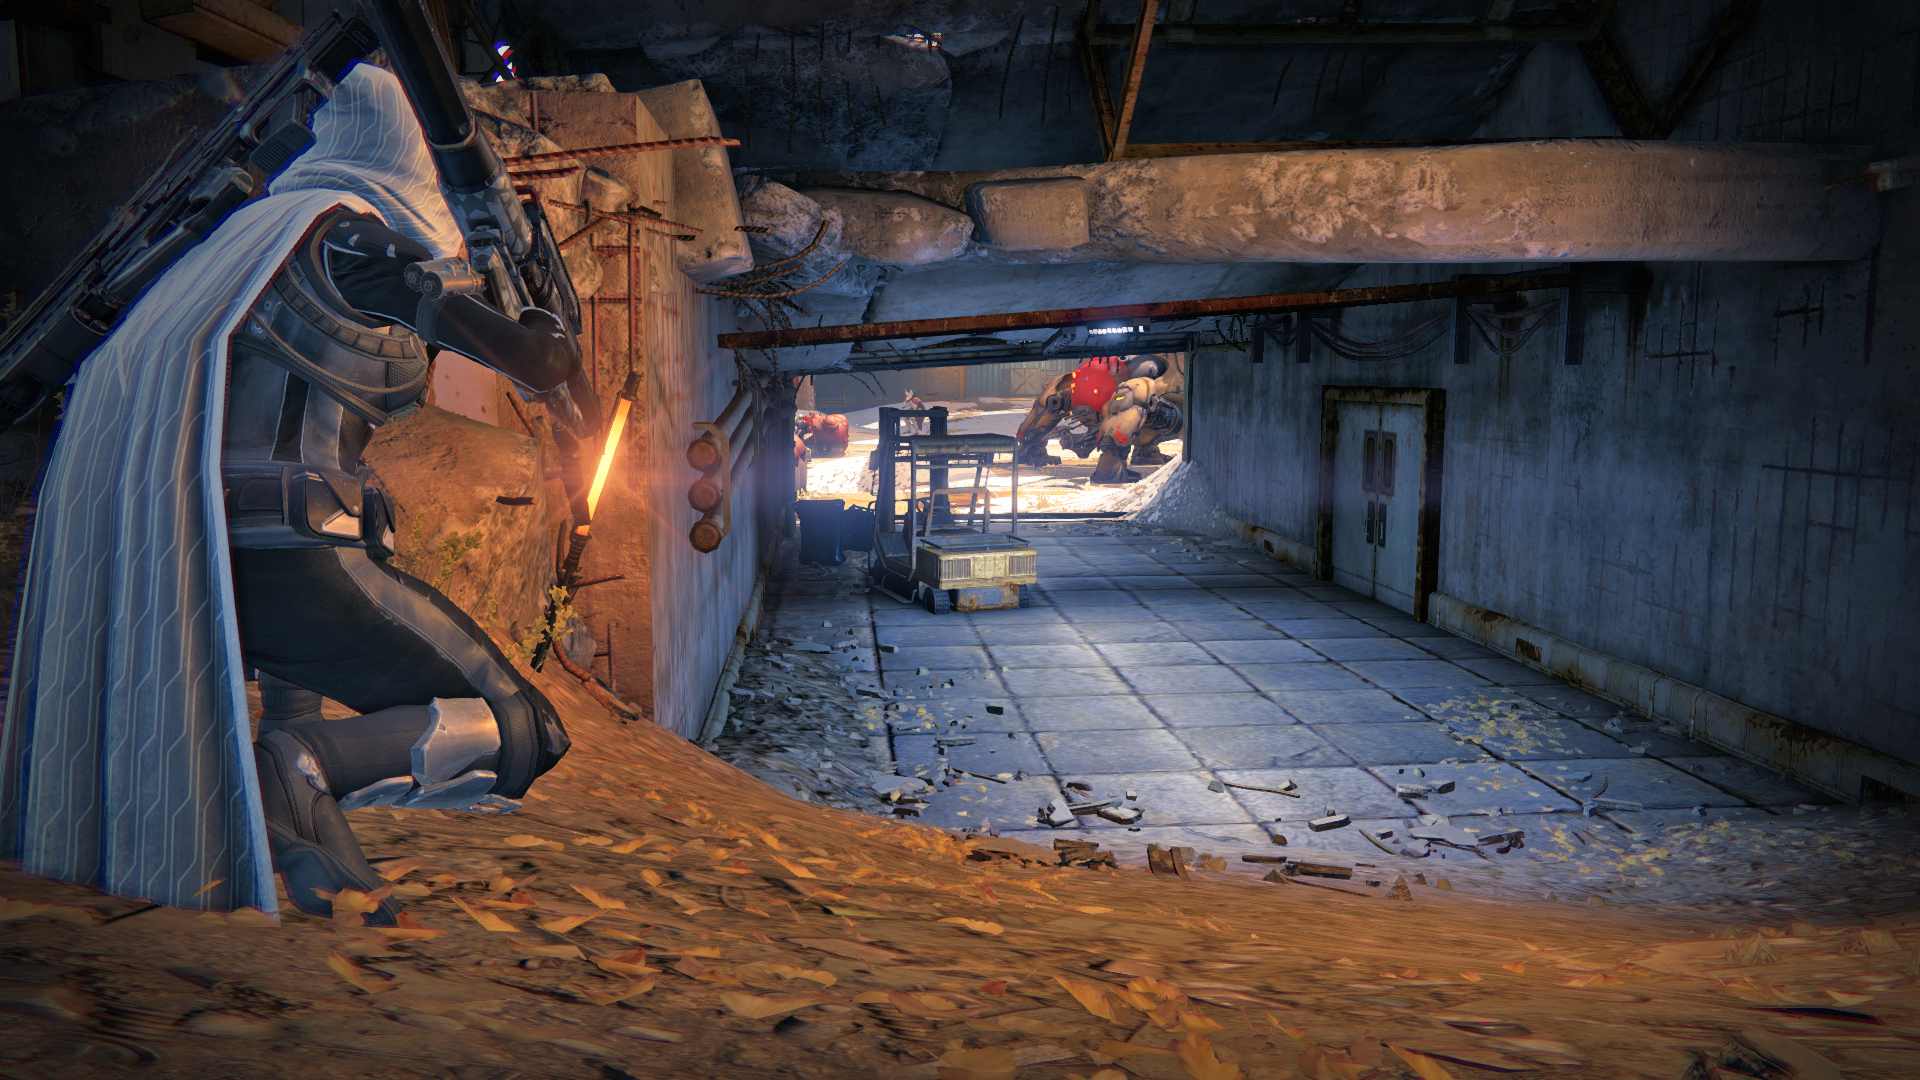
Several locations around The Blast offer partial protection from the Fallen, while allowing you to pelt away at the tank. Be wary of the cannon and laser array attacks, as their blast radii are fairly large and can take you out no matter where you hide.
The first building you see offers great protection and a good vantage point for long range attacks. Jump to the top of this structure and use the barriers on top for cover. If you make your way to the structure on the far left, you can hang out at the bottom of the steps, ducking inside to avoid attacks. Sitting at the back of the right structure, you can hit the tank through a small opening, with plenty of space to the left for fleeing weapons fire. Near the zone’s entrance, a building offers some protection as you shoot around the side or through the openings. Debris and old infrastructure offer plenty of cover alternatives.
Strategy
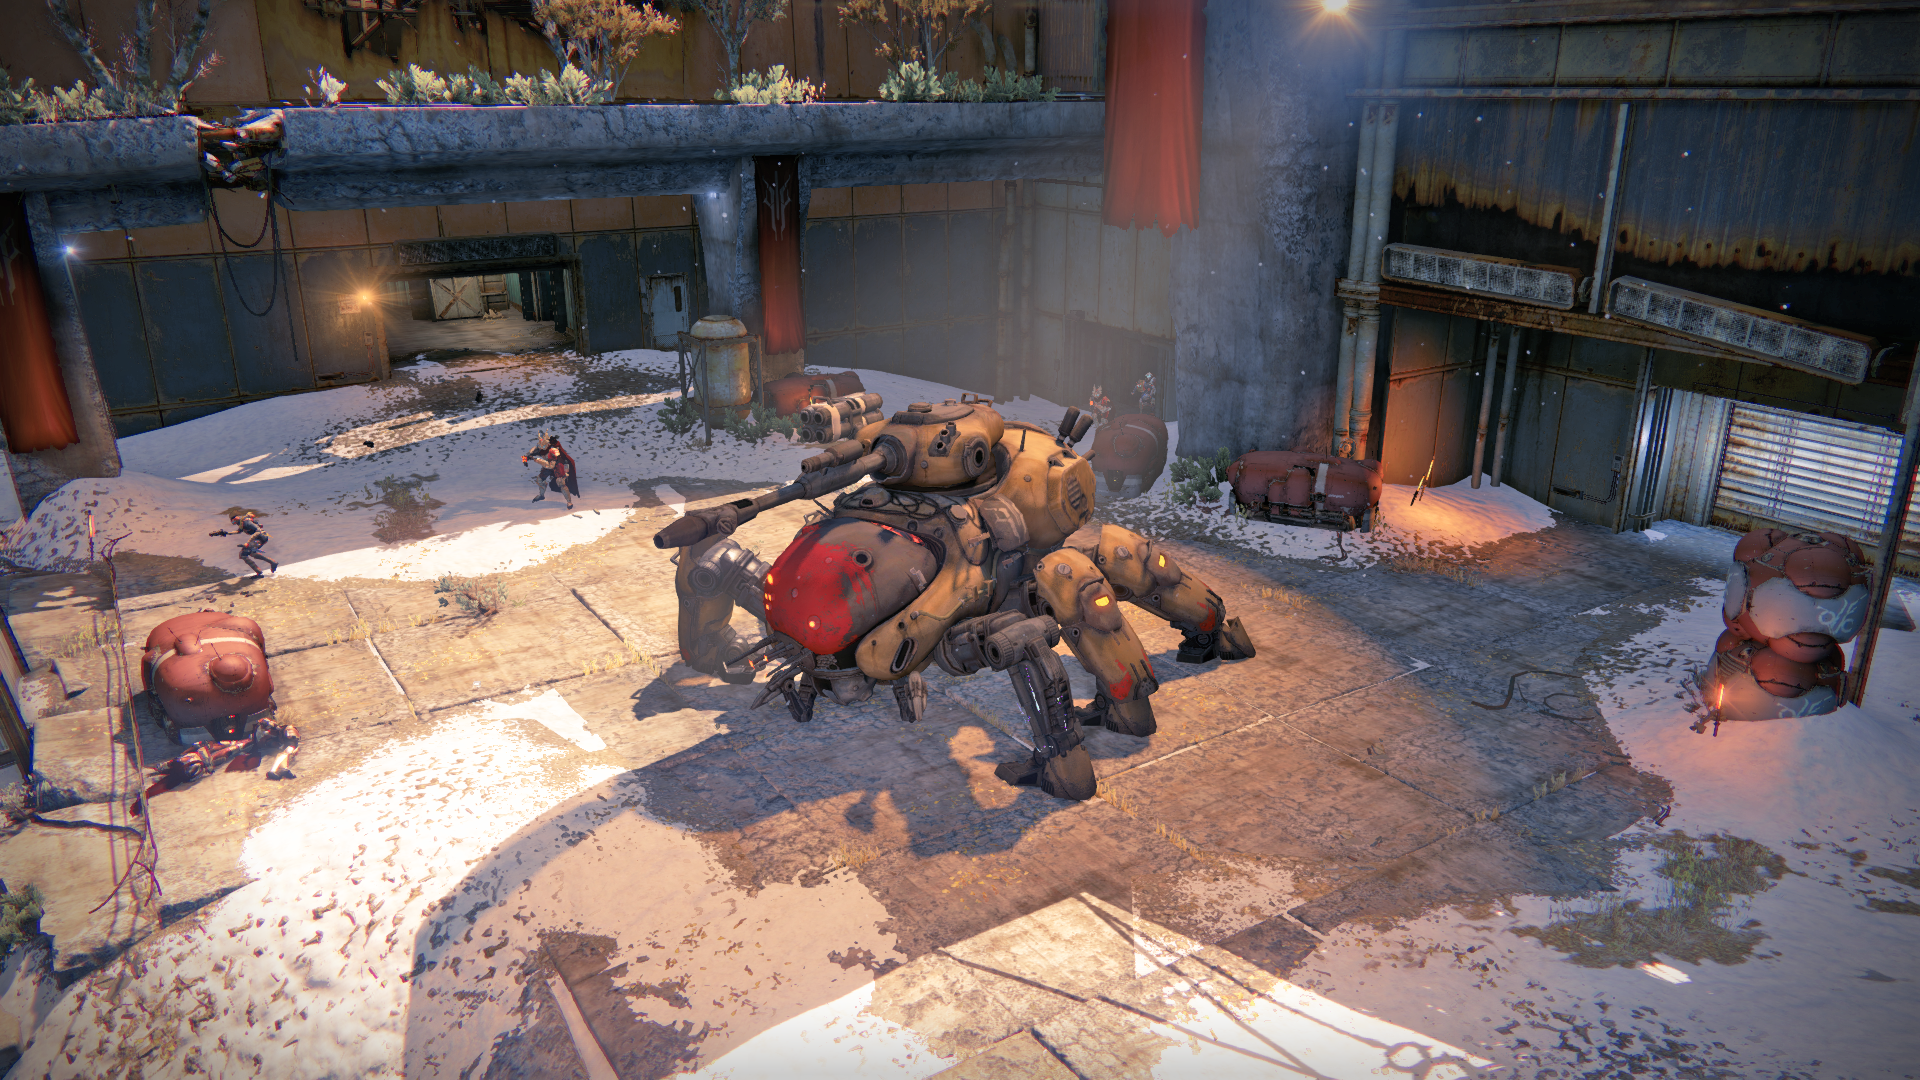
By spacing players a good distance apart, you can dilute the tank’s focus. Staying bunched together offers the tank an easy opportunity to eliminate the entire party in one fell swoop. Be aware of your teammates’ positions, and offer a hand if one goes down. The more players firing at the tank, the quicker it goes down.
Hitting the Devil Walker anywhere damages it, but its legs are weak spots. Have everyone target a leg, and eventually the armor is destroyed, causing the boss to collapse to the ground. At that point, its neck is exposed. Now you can concentrate on its innards. Use supers and grenades to speed up the kill. At this point, hitting the leg that was destroyed inflicts considerably less damage, so switch your focus to another intact leg and repeat.

The Devil Walker will die if you take out all six legs, but it’s more efficient to hit the exposed neck. By concentrating your high-powered attacks on this spot, it’s possible to defeat the boss with only three legs down.
Objective: Find Sepiks Prime
Location:The Devils’ Lair
After you take down the Devil Walker, the exit opens as a few Fallen Dregs and Vandals enter. Mow them down as you proceed toward your objective. Follow the path up a few sets of stairs into The Devils’ Lair.
Objective:Decimate the Fallen
Here you find your primary target, Sepiks Prime. Fallen guard the boss, so use the doorway and nearby machinery as cover and defeat the threat.
Objective:Destroy Sepiks Prime
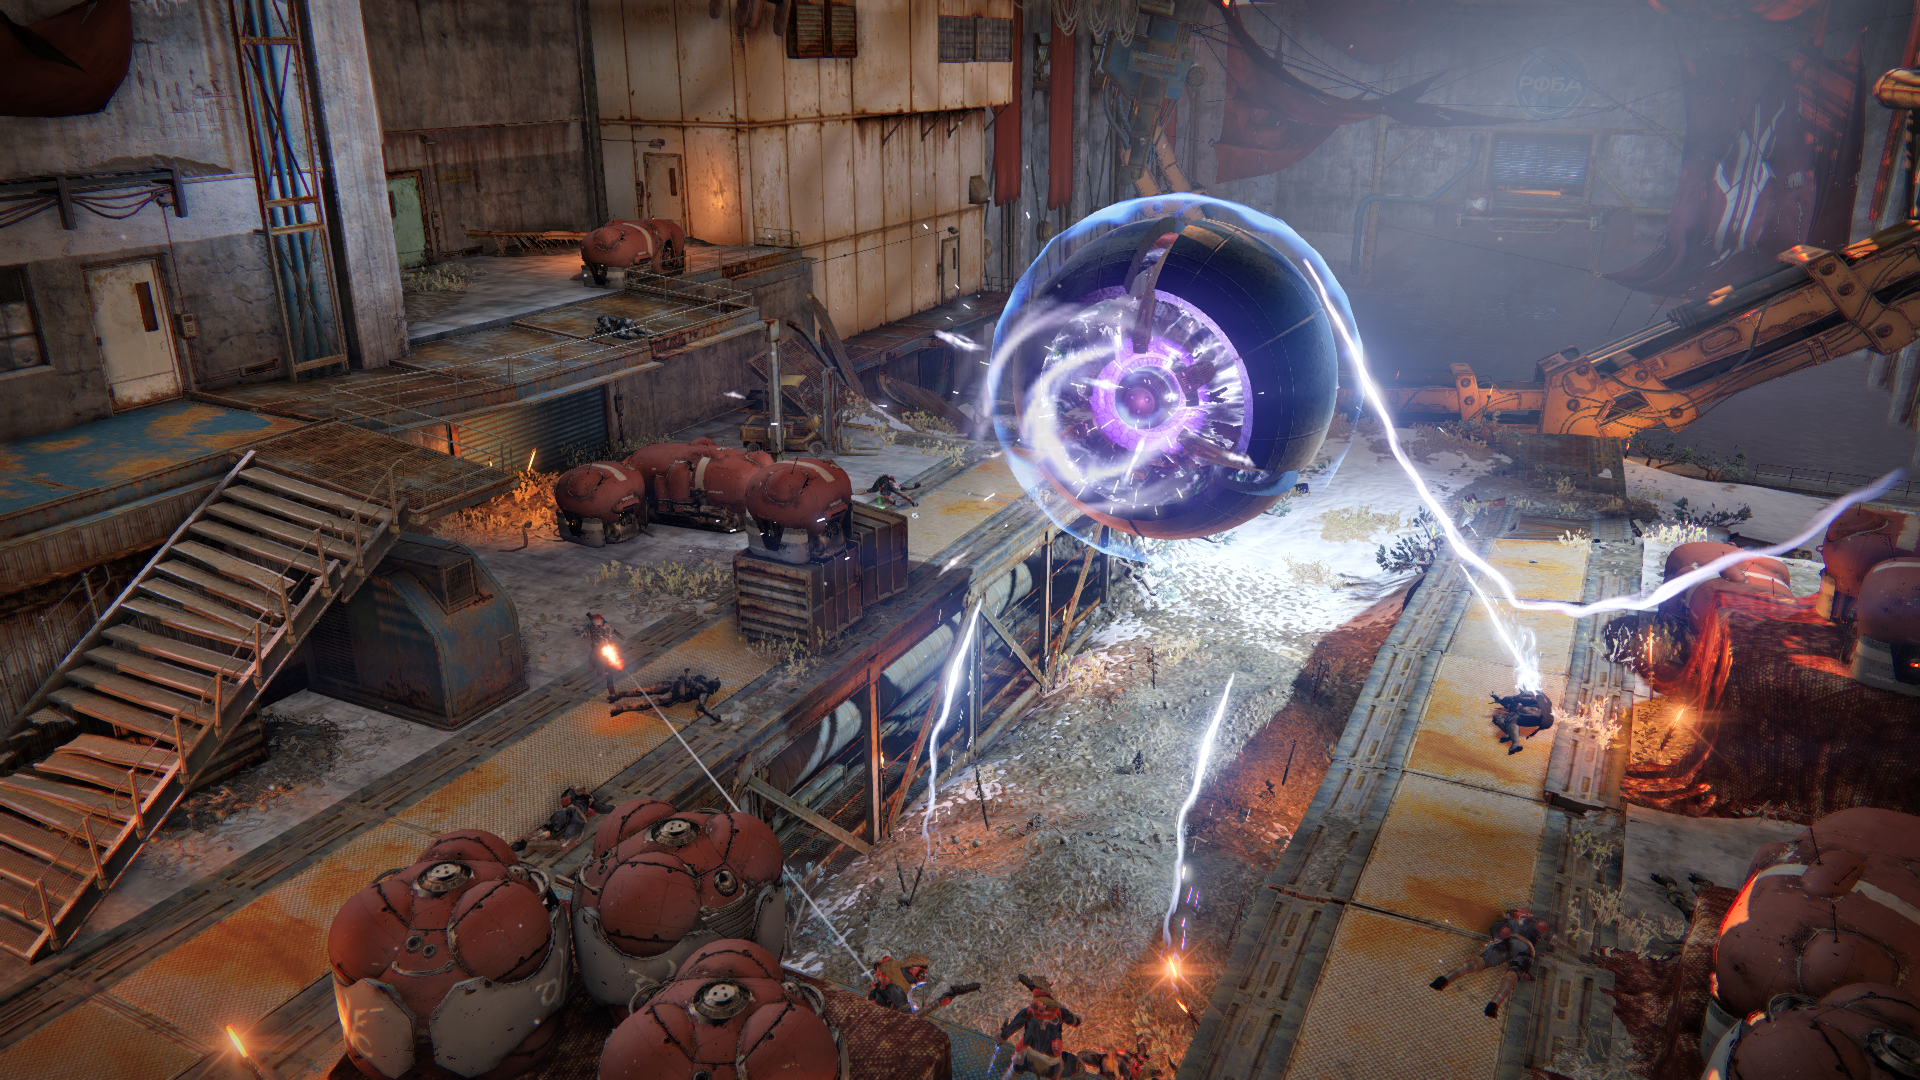
Once you dispatch the initial group of Fallen, the huge Servitor boss drops its shield and becomes vulnerable. Stay alert as Fallen Shanks, Dregs, and Vandals join the fight at various stages. Exploit their dropped ammo and always be aware of where they are. The drop ships that bring the enemies also pose a threat, as they fire down on your team and drop grenades.
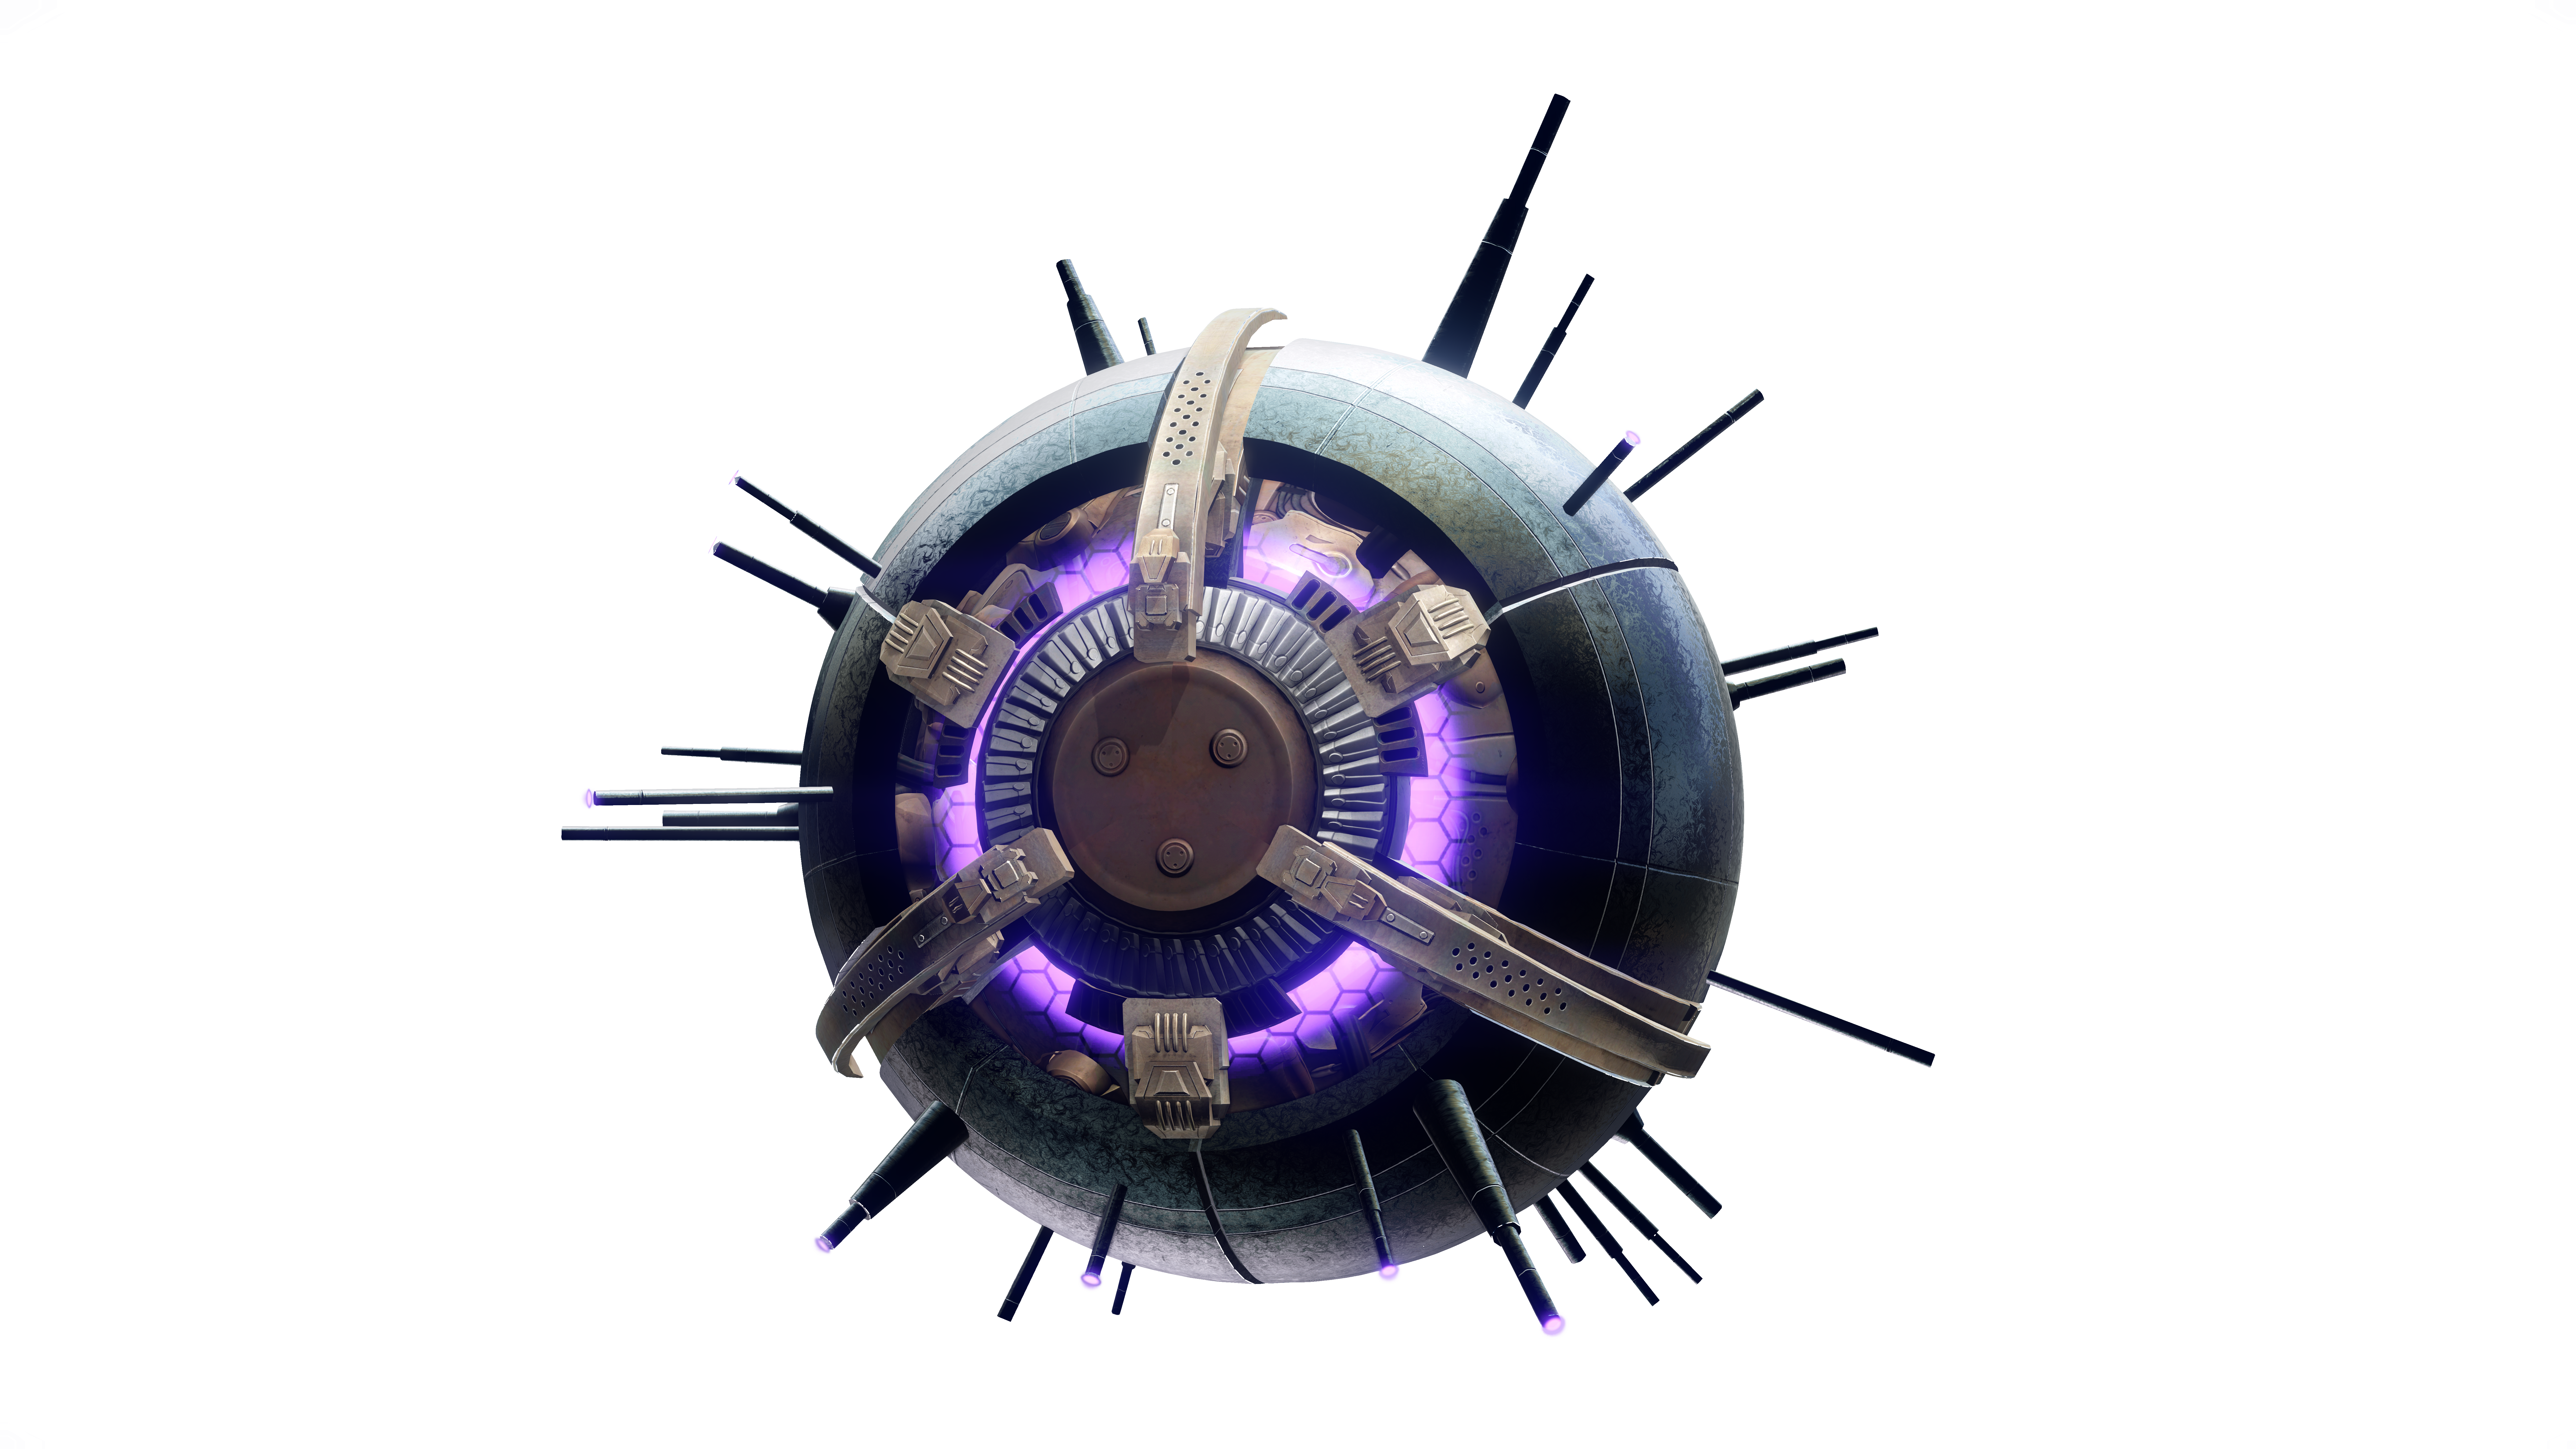
Sepiks Prime
Weak Spot:Center of “Eye”
Attacks:Eye Blast, Push Back
Attacks
Eye Blast:
Sepiks Prime shoots an explosive projectile that delivers a moderate amount of damage. It fires quickly and accurately, but if you see it, you can avoid it by jumping out of the way.
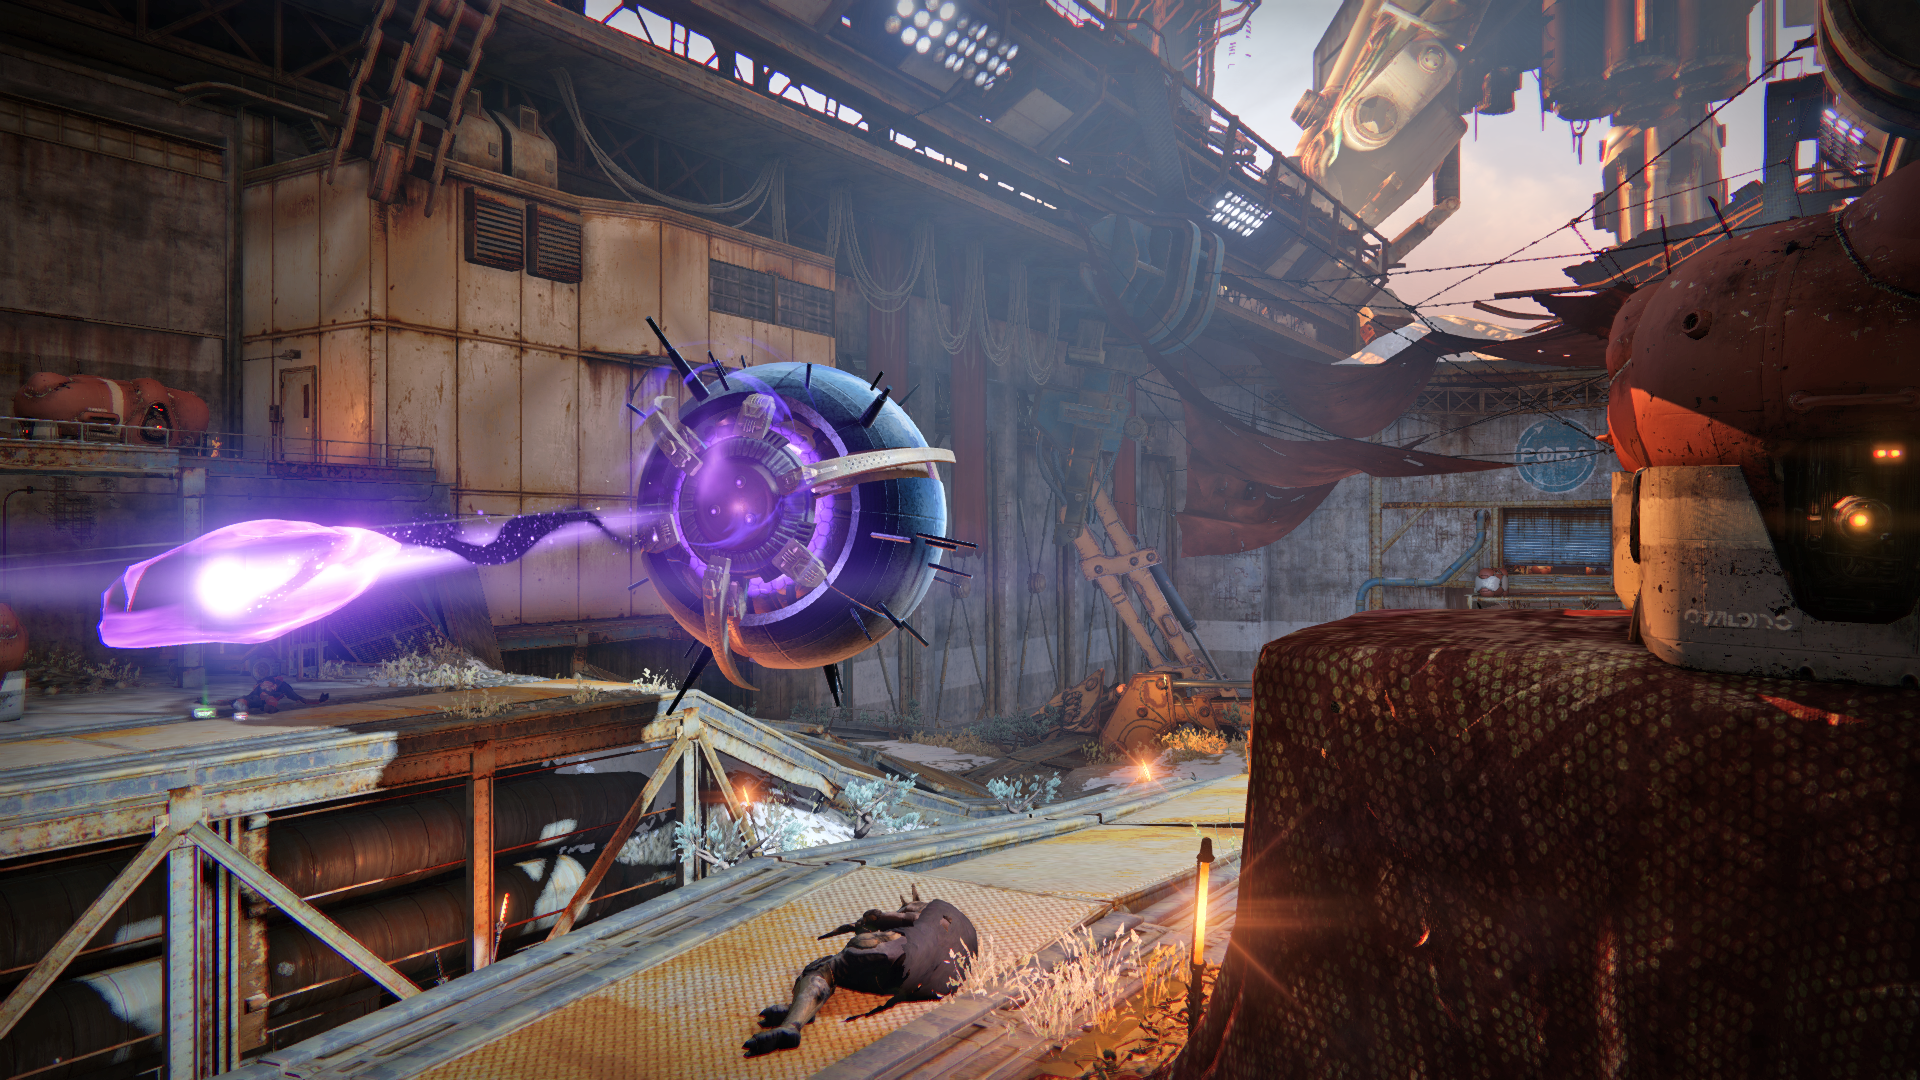
Push Back:
Get close to the boss Servitor, and it knocks you away with a quick area-of-effect maneuver.
Strategy
A few locations offer some protection, but no single spot gives you a good shot on Sepiks Prime with complete cover—especially with Fallen Vandals, Dregs, and Shanks on the prowl. If you get into trouble, escape under the platform onto the left balcony, or into the room in the area’s front-left corner.
The boss Servitor moves frequently as it teleports away from danger, making it easy for you to inadvertently waste a valuable super or explosive. Watch for it to phase out, as this lets you know it’s switching positions.
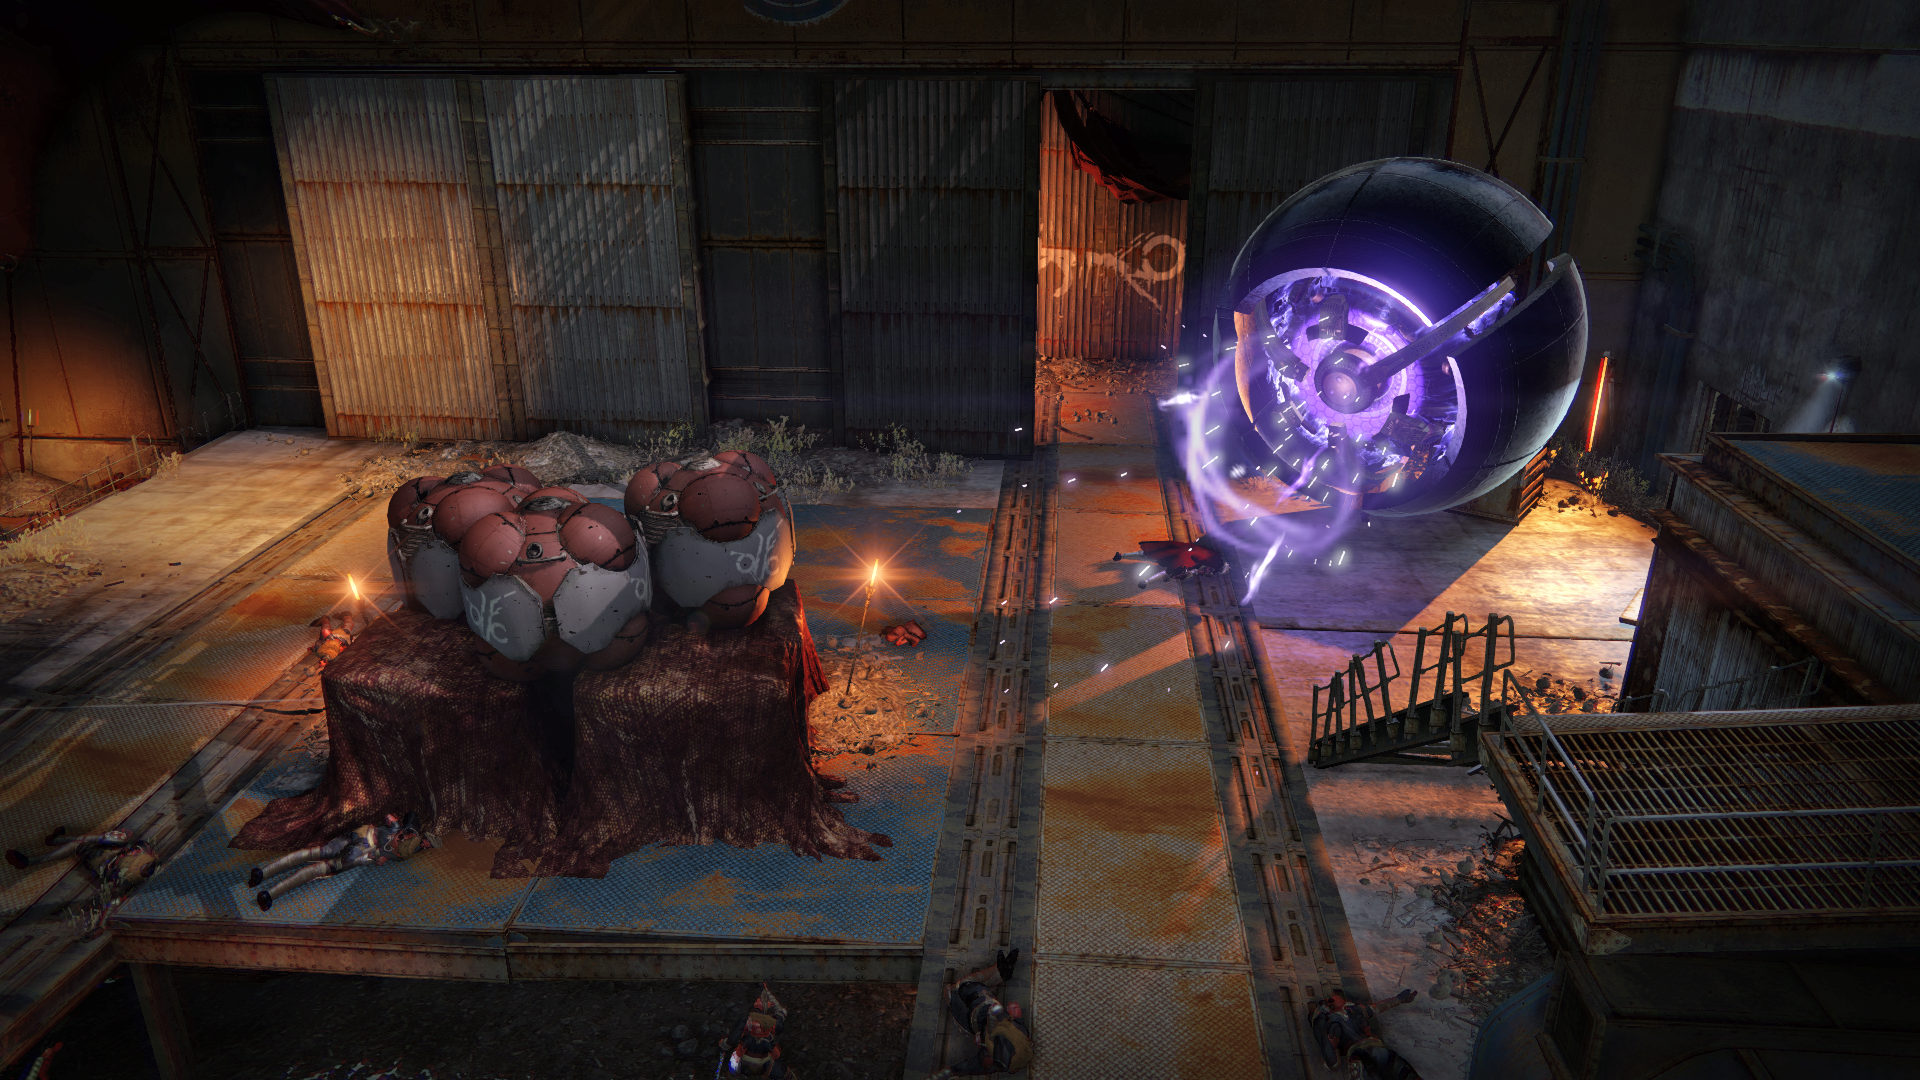
Fallen minions enter the arena as you make progress against the giant boss. Watch for the drop ship that brings them in, as it also fires on you. Try to keep cover between you and Sepiks Prime as you quickly dispose of them. If you’re playing with the Epic Mission Modifier active, the Shanks are equipped with Solar shields, so it’s a good idea to bring a Solar weapon to deal with them quickly.
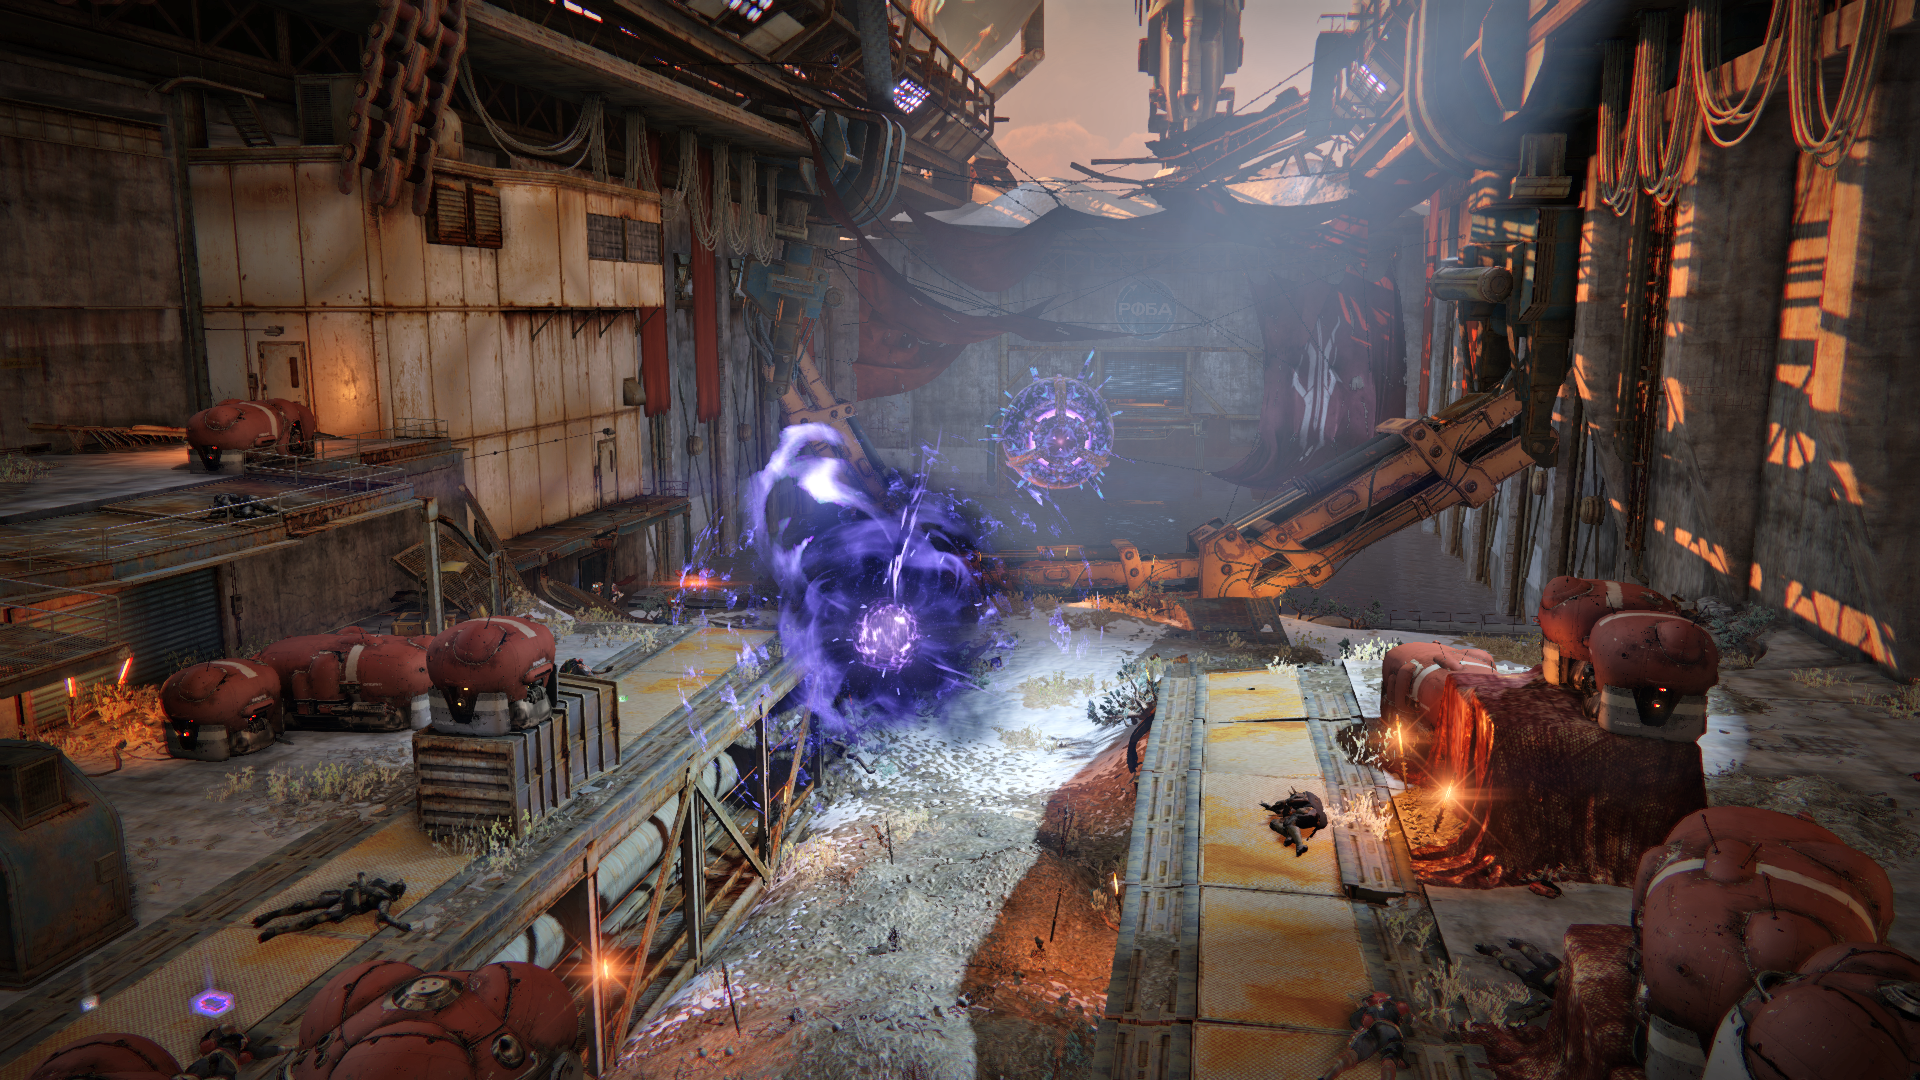
Focus your attacks at the center of the Servitor’s eye, as this is its weak spot. It has a lot of health, so the more damage you can inflict with each shot, the better. Continue to eat away at the boss until it’s finally destroyed.
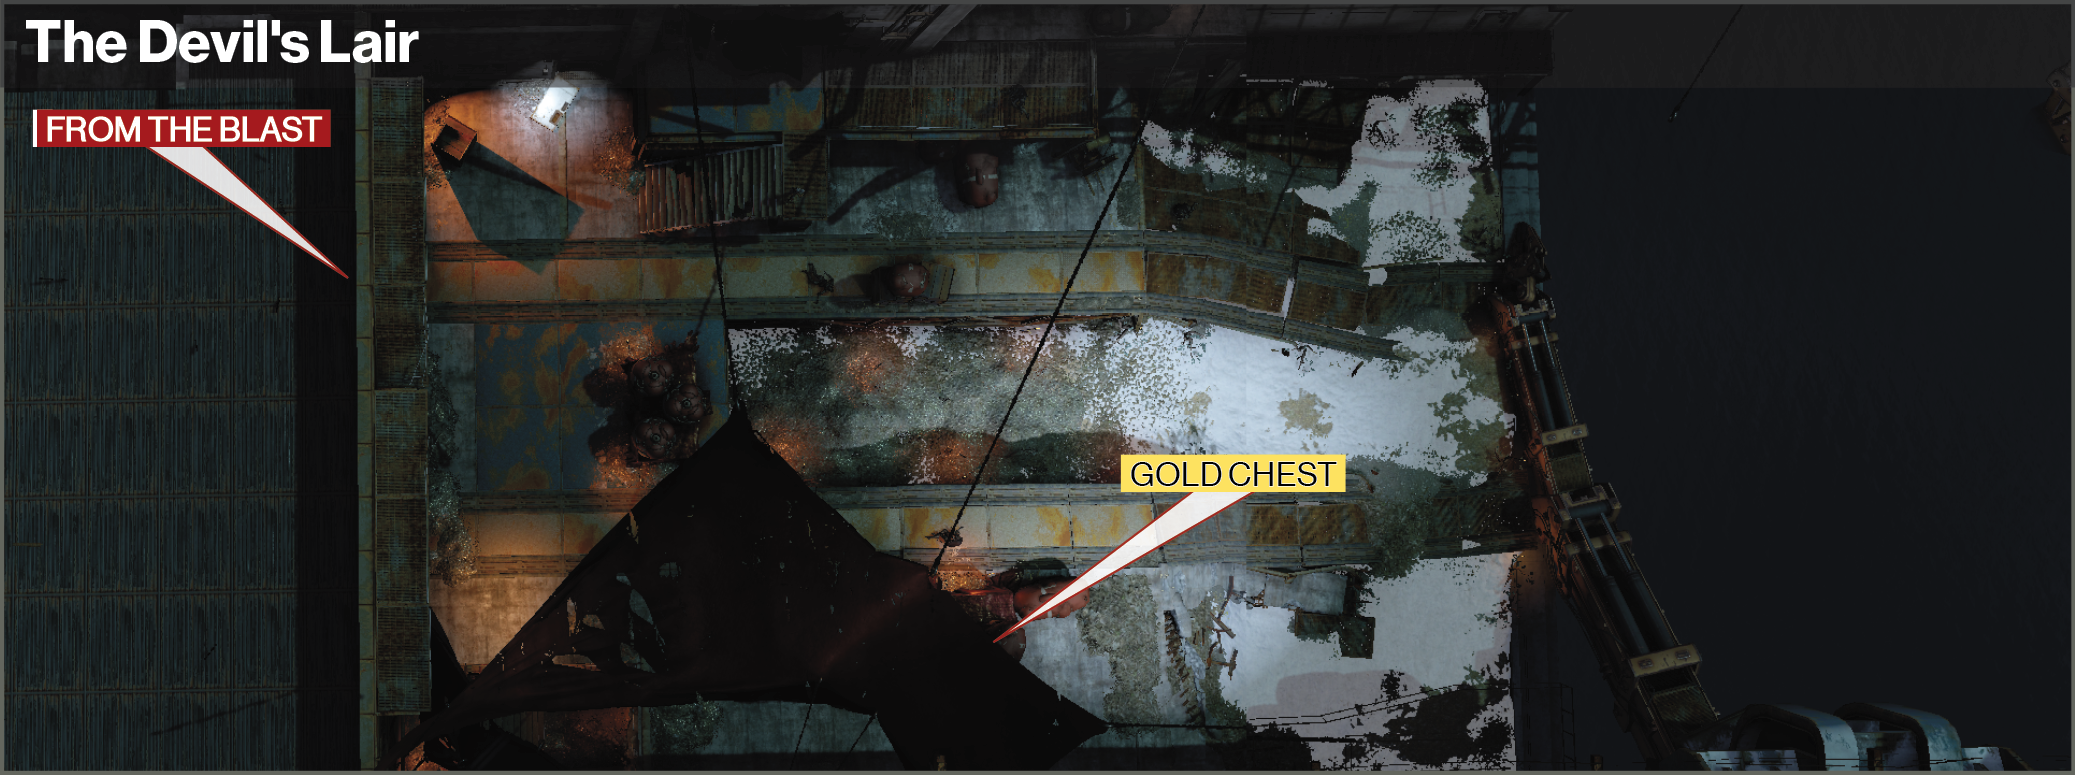
With Sepiks Prime out of the way, a 30-second timer counts down until you are automatically sent back to Orbit. This gives you time to collect any loot lying around the area. If you haven’t already done so, grab the Gold Chest underneath the right platform.