Prima Games eGuides
primagames.com Browse Redeem a code Help
Destiny Signature Series Strategy Guide
Sign in My Guides

Sign in or create an account

We'll email you a link. No password needed, and if you don't have an account yet, the link makes one.

By creating an account or signing in, you agree to our Terms of Service and Privacy Policy.

Have a password?

Had an account on the old eGuides site, or a code from a printed guide? Help and troubleshooting

Sign in with a password

By signing in, you agree to our Terms of Service and Privacy Policy.

Check your email

A sign-in link is on its way. It works once and expires in 15 minutes. Open it and you're in, with an account if you didn't already have one.

Contents

  • Introduction
    • About Destiny
  • Field Manual
    • Welcome to Destiny
    • Your Character
    • Character Classes
      • TITAN
      • HUNTER
      • WARLOCK
    • Combat
    • Vehicles
    • Builds
    • Equipment
    • Customization
    • Inventory
    • Progression
    • Difficulty
    • Navigation
  • TOWER
    • About The Tower
    • A Guardian Rises
    • Overview
    • Tower Plaza – Tower Watch
    • Tower Plaza – Hall of Guardians
    • North Tower
    • Tower Hangar
    • Tower Plaza – Traveler's Walk
    • Bounties
  • EARTH
    • Overview
    • Restoration
    • The Dark Within
    • The Warmind
    • The Last Array
    • STRIKE: The Devils' Lair
    • PATROL: Patrol The Cosmodrome
  • MOON
    • Overview
    • The Dark Beyond
    • The World's Grave
    • The Sword of Crota
    • Shrine of Oryx
    • Chamber of Night
    • STRIKE: The Summoning Pits
    • PATROL: Patrol The Moon
  • VENUS
    • Overview
    • A Stranger's Call
    • Ishtar Collective
    • The Archive
    • Scourge of Winter
    • Eye of a Gate Lord
    • STRIKE: Winter's Run
    • STRIKE: The Nexus
    • RAID: Vault of Glass
    • PATROL: Patrol Venus
  • MARS
    • Overview
    • Exclusion Zone
    • The Garden's Spire
    • The Buried City
    • A Rising Tide
    • The Black Garden
    • STRIKE: Cerberus Vae II
    • STRIKE: Dust Palace
    • PATROL: Patrol the Buried City
  • Codex
    • About the Codex
    • The Fallen
    • The Hive
    • The Vex
    • The Cabal
  • Armory
    • Overview
    • Weapons
    • Weapon Stats
    • Weapon Mods
    • Mod Descriptions
    • Mod Lists
    • Weapon Tables
    • Weapon Drop Locations
    • Weapon Charts
    • Mod Stat Charts
    • Handling Charts
    • Inventory Charts
    • Magazine Charts
    • Range Charts
    • Velocity Charts
    • Reload Charts
    • Stability Charts
    • Recoil Patterns
    • Armor
    • Armor Mods
    • Exotics
  • Crucible
    • Overview
    • PvP Combat
    • Game Modes
    • General Game Mode Advice
    • MAP: Anomaly
    • MAP: Asylum
    • MAP: Bastion
    • MAP: Blind Watch
    • MAP: Burning Shrine
    • MAP: Exodus Blue (timed PlayStation exclusive)
    • MAP: Firebase Delphi
    • MAP: First Light
    • MAP: Rusted Lands
    • MAP: Shores of Time
    • MAP: Twilight Gap
  • Expansion I: The Dark Below
    • Introduction
    • Missions
      • Overview
      • Fist of Crota
      • Siege of the Warmind
      • The Wakening
      • Ritual of Sacrifice
    • Eris Morn Quests
      • Disciples of Crota
      • The Urn of Sacrifice
    • Strikes
      • STRIKE: The Undying Mind (Timed PlayStation Exclusive)
      • STRIKE: The Will of Crota
    • Eris Morn Bounties
    • Crucible Maps
      • Skyshock
      • The Cauldron
      • Pantheon
  • Trophies & Achievements
    • Overview
    • Specialization
    • Gear and Vehicles
    • Kill Enemies
    • Strikes and Raid
    • The Crucible
    • Patrol and More

Destiny Signature Series Strategy Guide › Field Manual

Difficulty

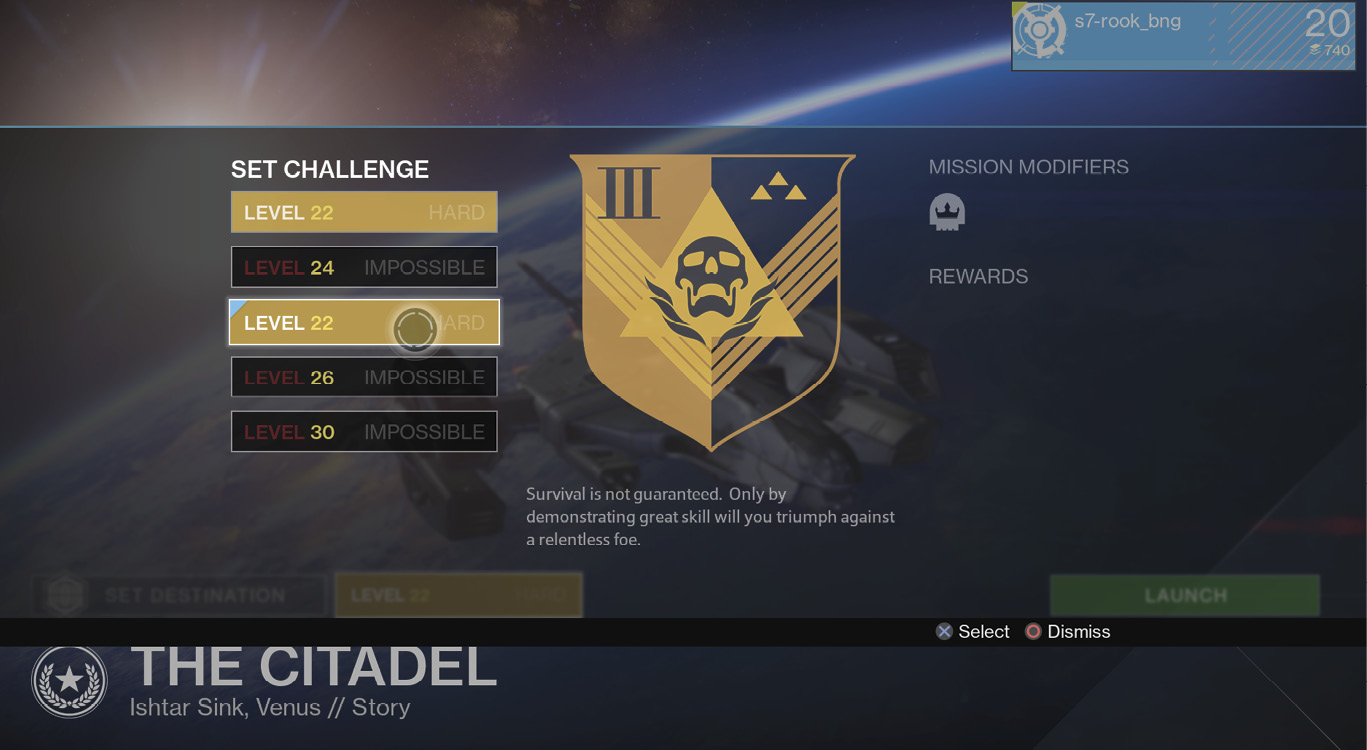
There are two main factors that influence the difficulty of a mission in PvE: the level of the mission and the Skulls active for that mission.

Mission level is set to a certain baseline for Story missions and Strikes, but once you hit 20, all missions can be scaled up to (and beyond) Level 20.

There is also a special set of Vanguard Strikes that allow you to play a random Strike at Level 18, 20, 22, or 24.

Two Skulls in particular serve as a sort of mission-wide difficulty setting—the Heroic and Mythic Skulls.

On Heroic, encounters are changed, and all enemies are more dangerous.

On Mythic, the encounters are changed, adversaries are yet more dangerous, and an additional enemy combatant for each race in the game gains a new elemental shield. On top of that, elemental shields take 50% less damage if you hit them with the wrong element.

High-level Mythic missions with multiple Skulls active are hard.

Enemy Behavior
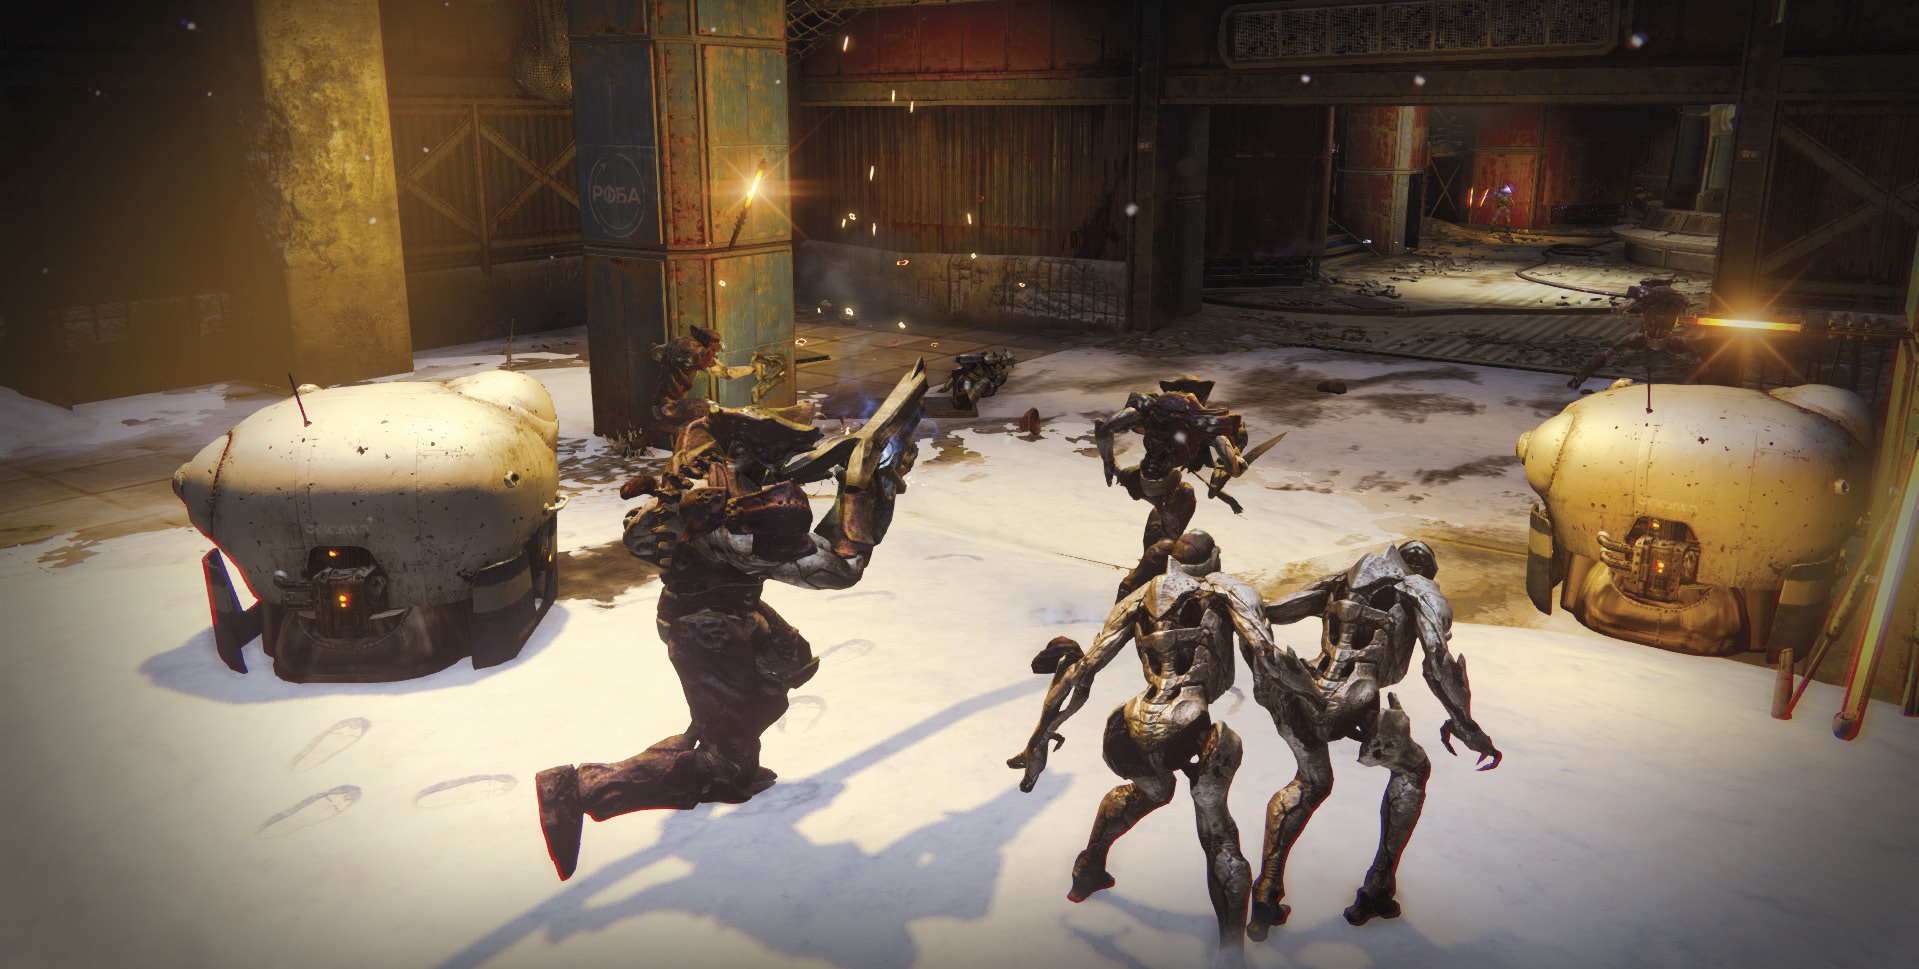
The difficulty tier for a mission sets the base level of aggression for all of the enemies in a mission. This affects how fast, accurate, and dangerous the basic foes you encounter are.

Also, all adversaries improve their basic behaviors: dodging your gunfire, diving away from grenades, suppressing you in cover with weapons or grenades, flanking you, chasing you behind cover, rushing you in melee, hiding and retreating to recover shields, or jumping away if suddenly ambushed. The specific behavior depends on the exact enemy type you are battling, but all of them are more dangerous on higher-difficulty missions.

Majors and Ultras
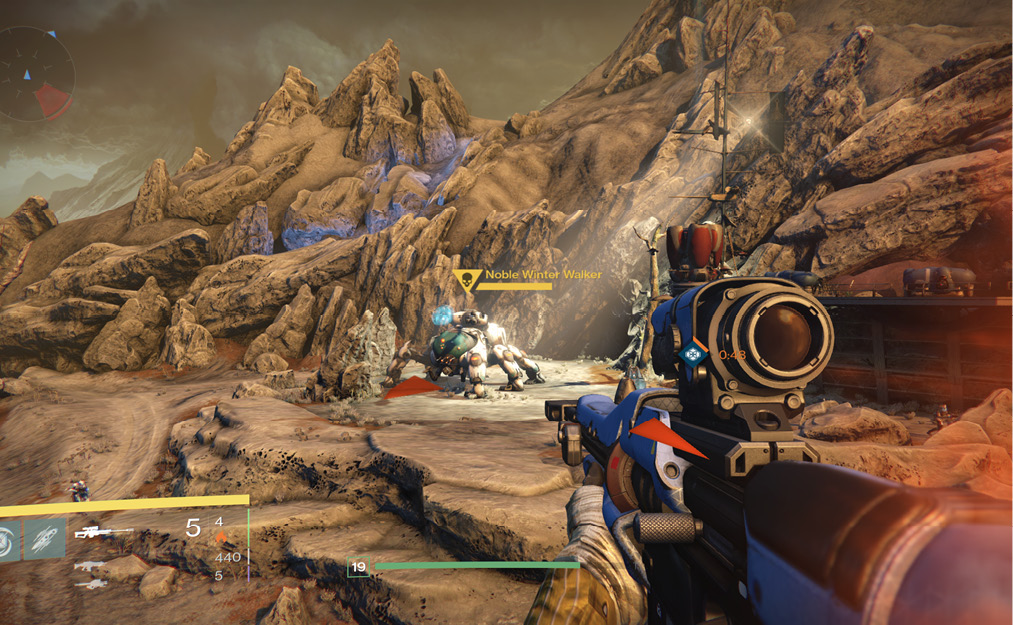
Majors and Ultras are the special hardened versions of normal enemies that you may encounter during a mission.

Majors show up with a yellow nameplate. They have more health, possess stronger shields that recharge faster, and are more aggressive and dangerous than their normal brethren. You may see these foes show up in the game with a name like “Elite Fallen Captain,” but you can always identify them by their nameplate color.

Ultras appear with a skull mark on their nameplate. They are tougher still than Majors and more dangerous, and all of them have a 360-degree knockback to push you away if you get too close.

Skulls

Skulls act as special difficulty modifiers for PvE missions. These added effects are on top of the basic difficulty for any mission in the game at any level. If you tackle a Strike that is three levels above you and has multiple Skulls active, expect a very, very tough fight.
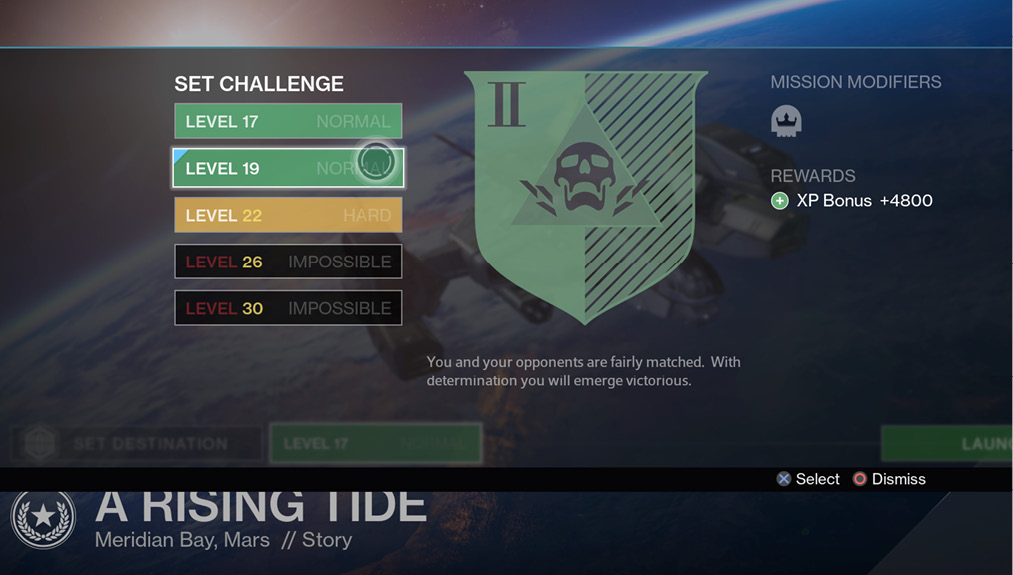
Special daily and weekly missions can often have Skulls active. You can also adjust the difficulty on a mission to change its level and sometimes the Skulls that it has active.

Nightfall bears special mention. During a Nightfall mission, if your entire Fireteam wipes, you are returned to orbit instantly. You only get one shot at these missions, so play smart!

Skulls

Skull

Effect

Juggler No ammo drops for your equipped weapon.
Anger Issues Minions of the Darkness display heightened aggression.
Angry Minions of the Darkness won’t flinch, even after massive damage.
Arc Burn Arc damage from any source is greatly increased.
Solar Burn Solar damage from any source is greatly increased.
Void Burn Void damage from any source is greatly increased.
Lightswitch Minions of the Darkness deal much more melee damage.
Nightfall You will face a relentless army that has never known defeat. If all players die, you will be returned to orbit.
Heroic Enemies appear in greater numbers and are more aggressive.
Mythic Heavily shielded and highly aggressive enemies appear in great numbers.

Keep reading with a free account

The first 3 sections of Destiny Signature Series Strategy Guide are open to everyone. An account opens the rest of it, and every other guide in the archive. It's free, and there's nothing to buy.

Bought guides on the old Prima Games site? Your account and every guide you own moved here, so there's nothing to buy again. Sign in.

Create a free account Or browse our free guides

PreviousProgression NextNavigation