
Destiny Signature Series Strategy Guide MARS
The Garden's Spire
 The Garden’s Spire
Level 16 Story / The Barrens, Meridian Bay, Mars
Enemy Race: Cabal
Suggested Damage Type: Solar, Void (Epic)
Rewards: XP Bonus, Armor Upgrade
Missions Unlocked: A Rising Tide, The Buried City, The Black Garden
| Combatant Changes with Heroic or Epic Mission Modifier | ||
|---|---|---|
|
Objective |
Combatant Changes |
Tip |
| Survive the Ambush – Wave 2 | -1 Centurion+1 Major Centurion | — |
| Survive the Ambush – Wave 3 | -1 Colossus+1 Major Colossus | Stay on the move to avoid the Psions’ psionic wave and Colossus’ rocket barrage. Use the various platforms to avoid getting surrounded. |
| Survive the Ambush | Next wave spawns when one enemy remains instead of waiting for entire crew to be wiped out. | — |
| Face Primus Sha’aull – 75% Health | -1 Legionary+1 Centurion | — |
| Face Primus Sha’aull – 40% Health | -1 Centurion+1 Colossus | — |
| Face Primus Sha’aull | Second dropship spawns regardless of whether you have cleared first squad (as opposed to waiting for them all to be wiped out). | — |
Objective: Breach the Warbase
Location: Scablands
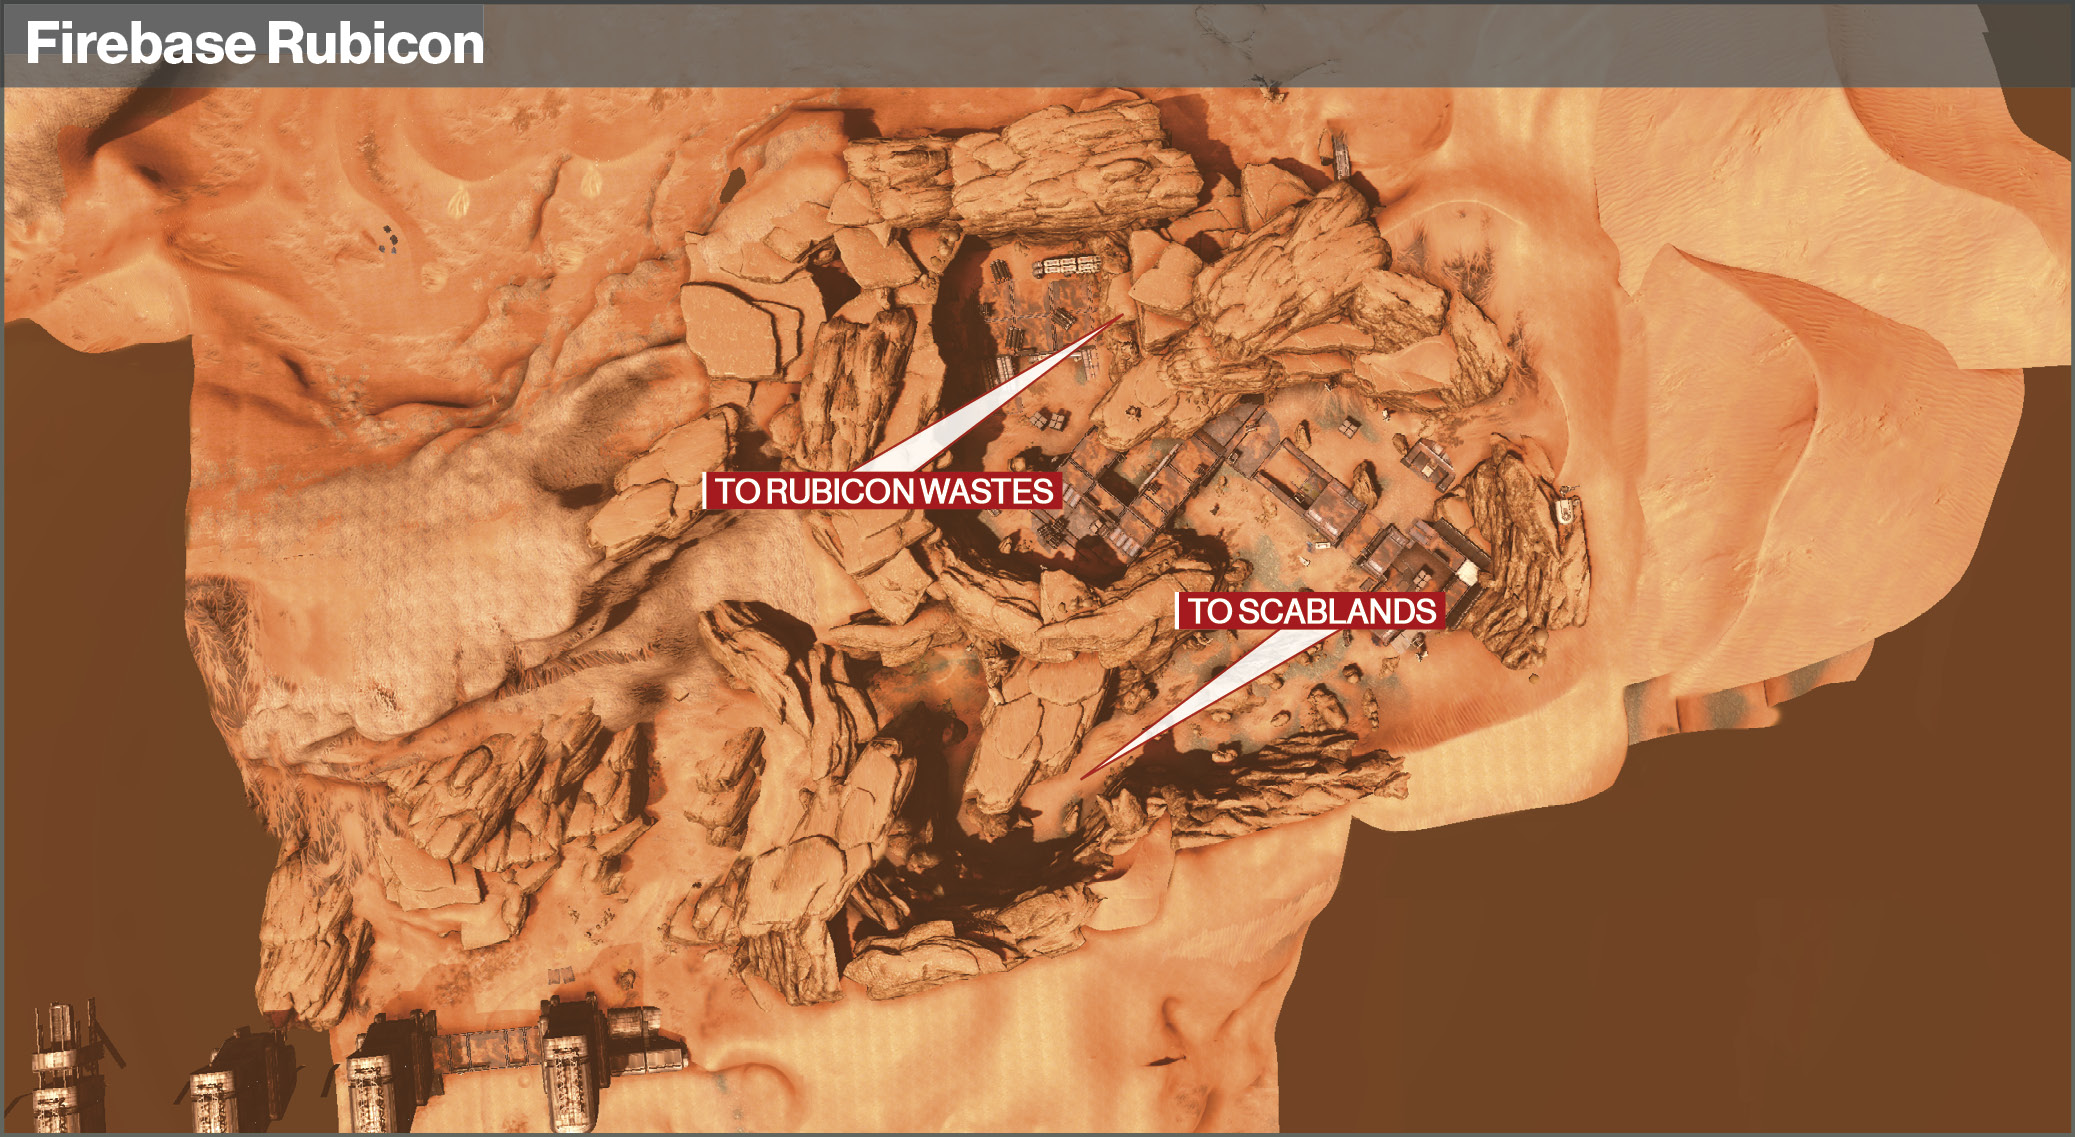
Ride over to Scablands and then up the right side toward the Cabal’s base. Spend some time picking off the enemies from a distance before moving through the opening. This route takes you into Firebase Rubicon.
Objective: Locate the Spire
Location: Firebase Rubicon
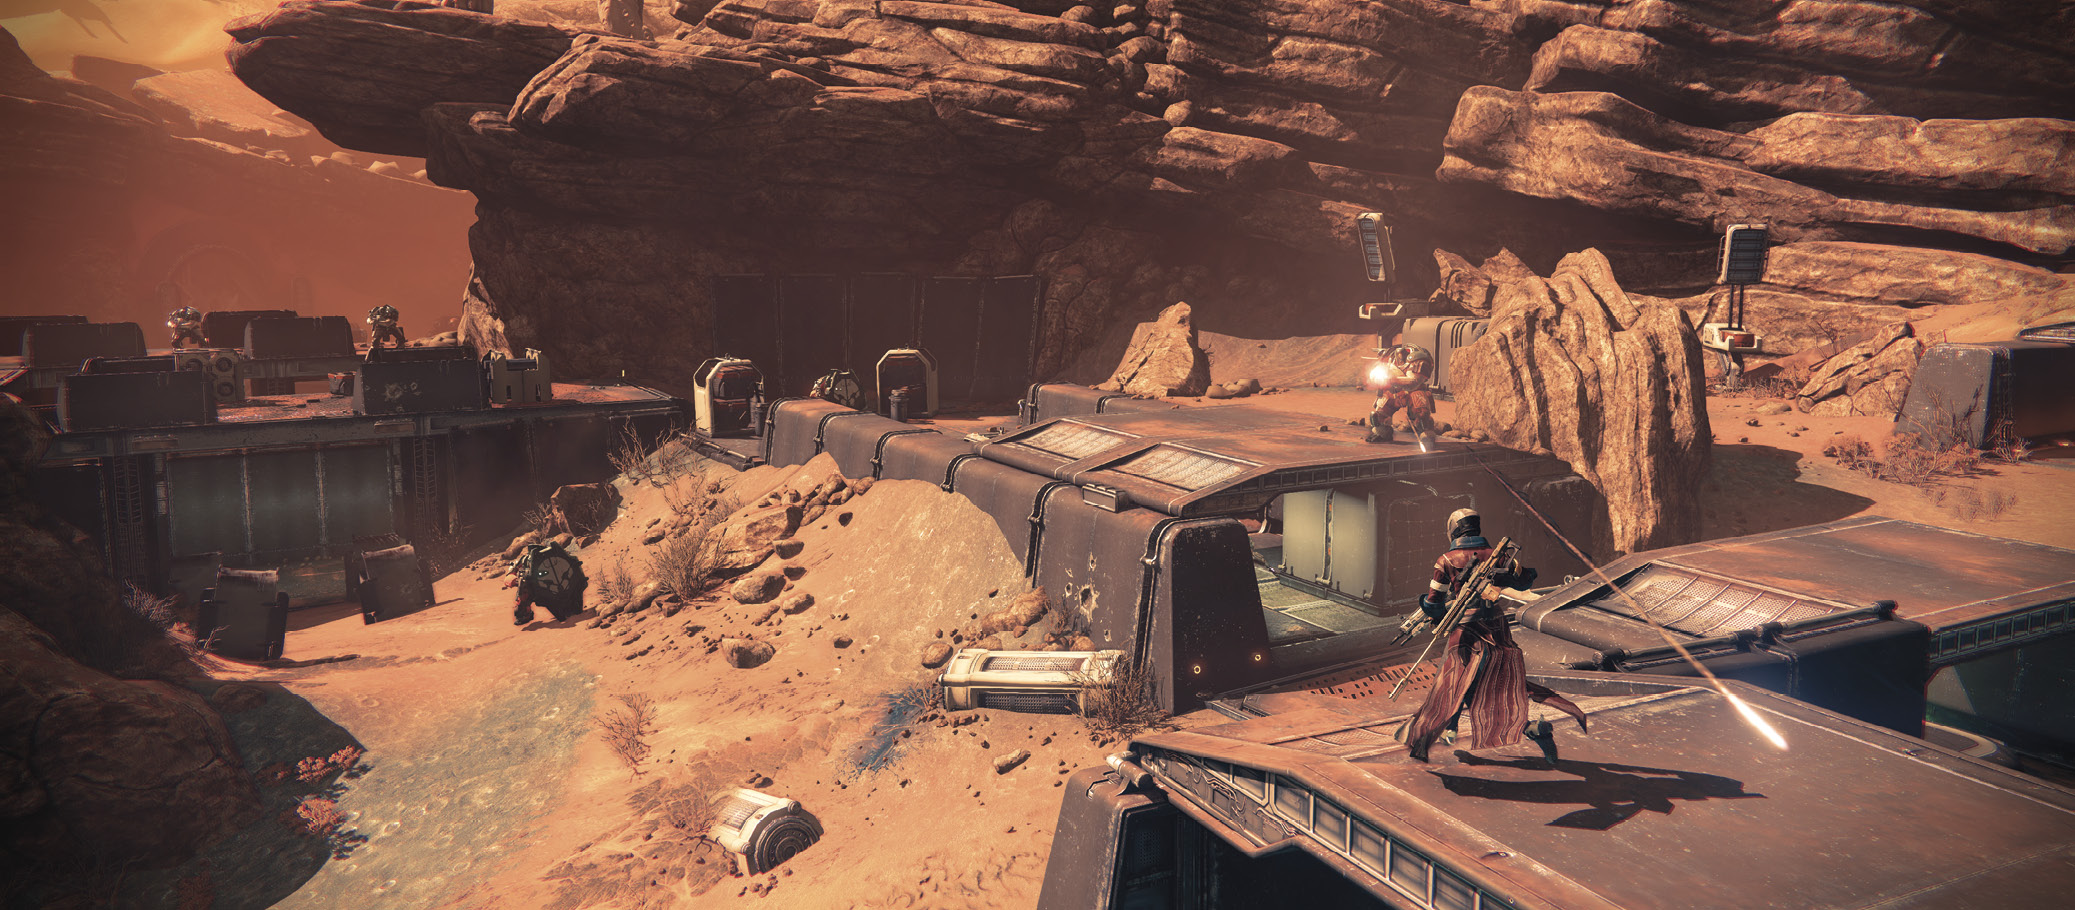
This Blind Legion stronghold is full of Cabal who are just waiting for the chance to take down a Guardian. One option is to speed through the base, avoiding as many of the foes as possible. But your chances of survival are slim, and you miss out on a significant amount of Experience. Instead, carefully wind your way through the area, killing enemies as you encounter them. Back away, ducking behind cover when things get dire. Exit through the tunnel at the other end and follow it into Firebase Rubicon.
Objective: Assault the Tower
Location: Rubicon Wastes
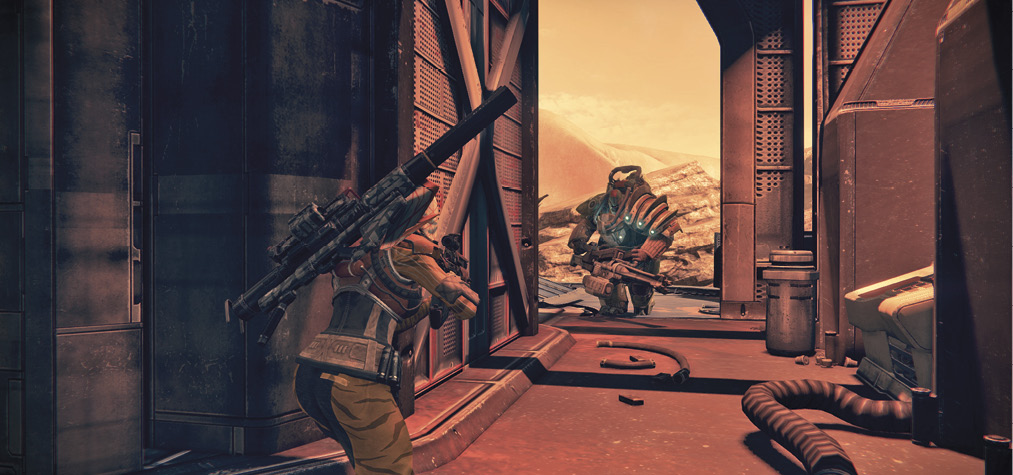
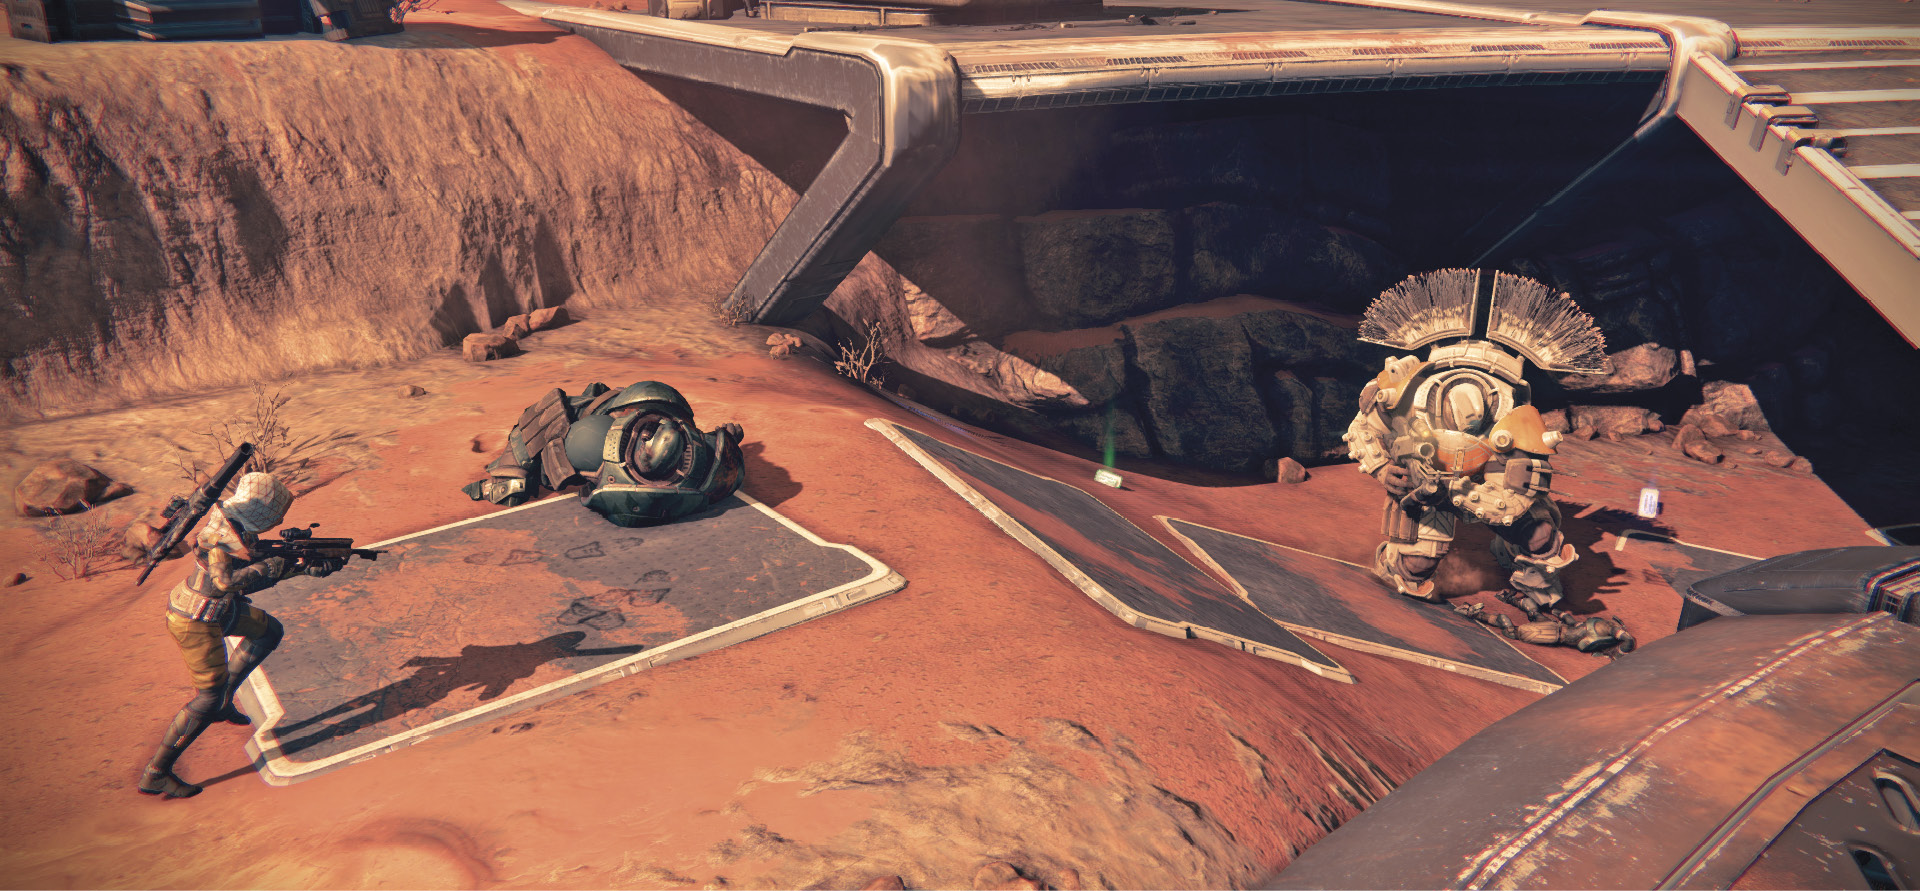
As you move over to the observation tower on the right, fight your way through more Cabal. The biggest threat comes from a Colossus that carries a big Slug Thrower, a heavy suppressive weapon that tears through its target. It also has a three-missile attack that inflicts a lot of damage when the missiles hit their mark. Once it is safe, access the tower console.
Objective: Cross the Field
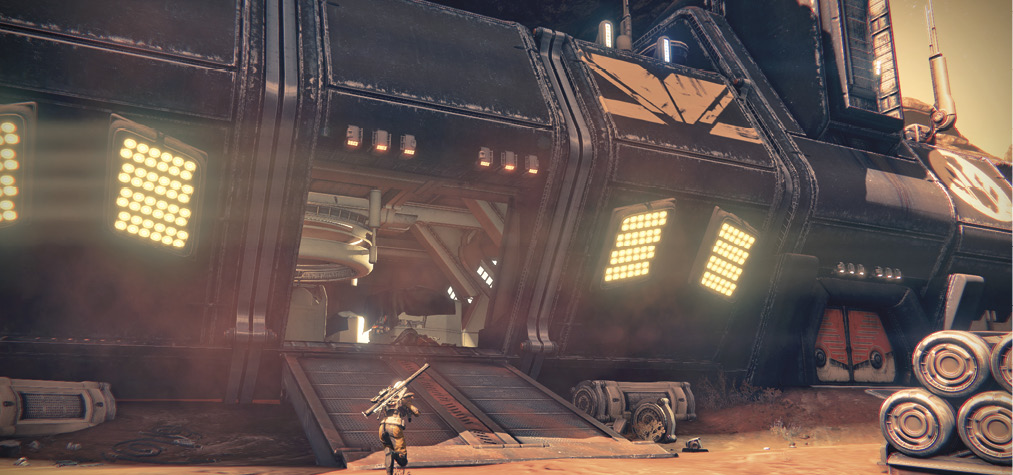
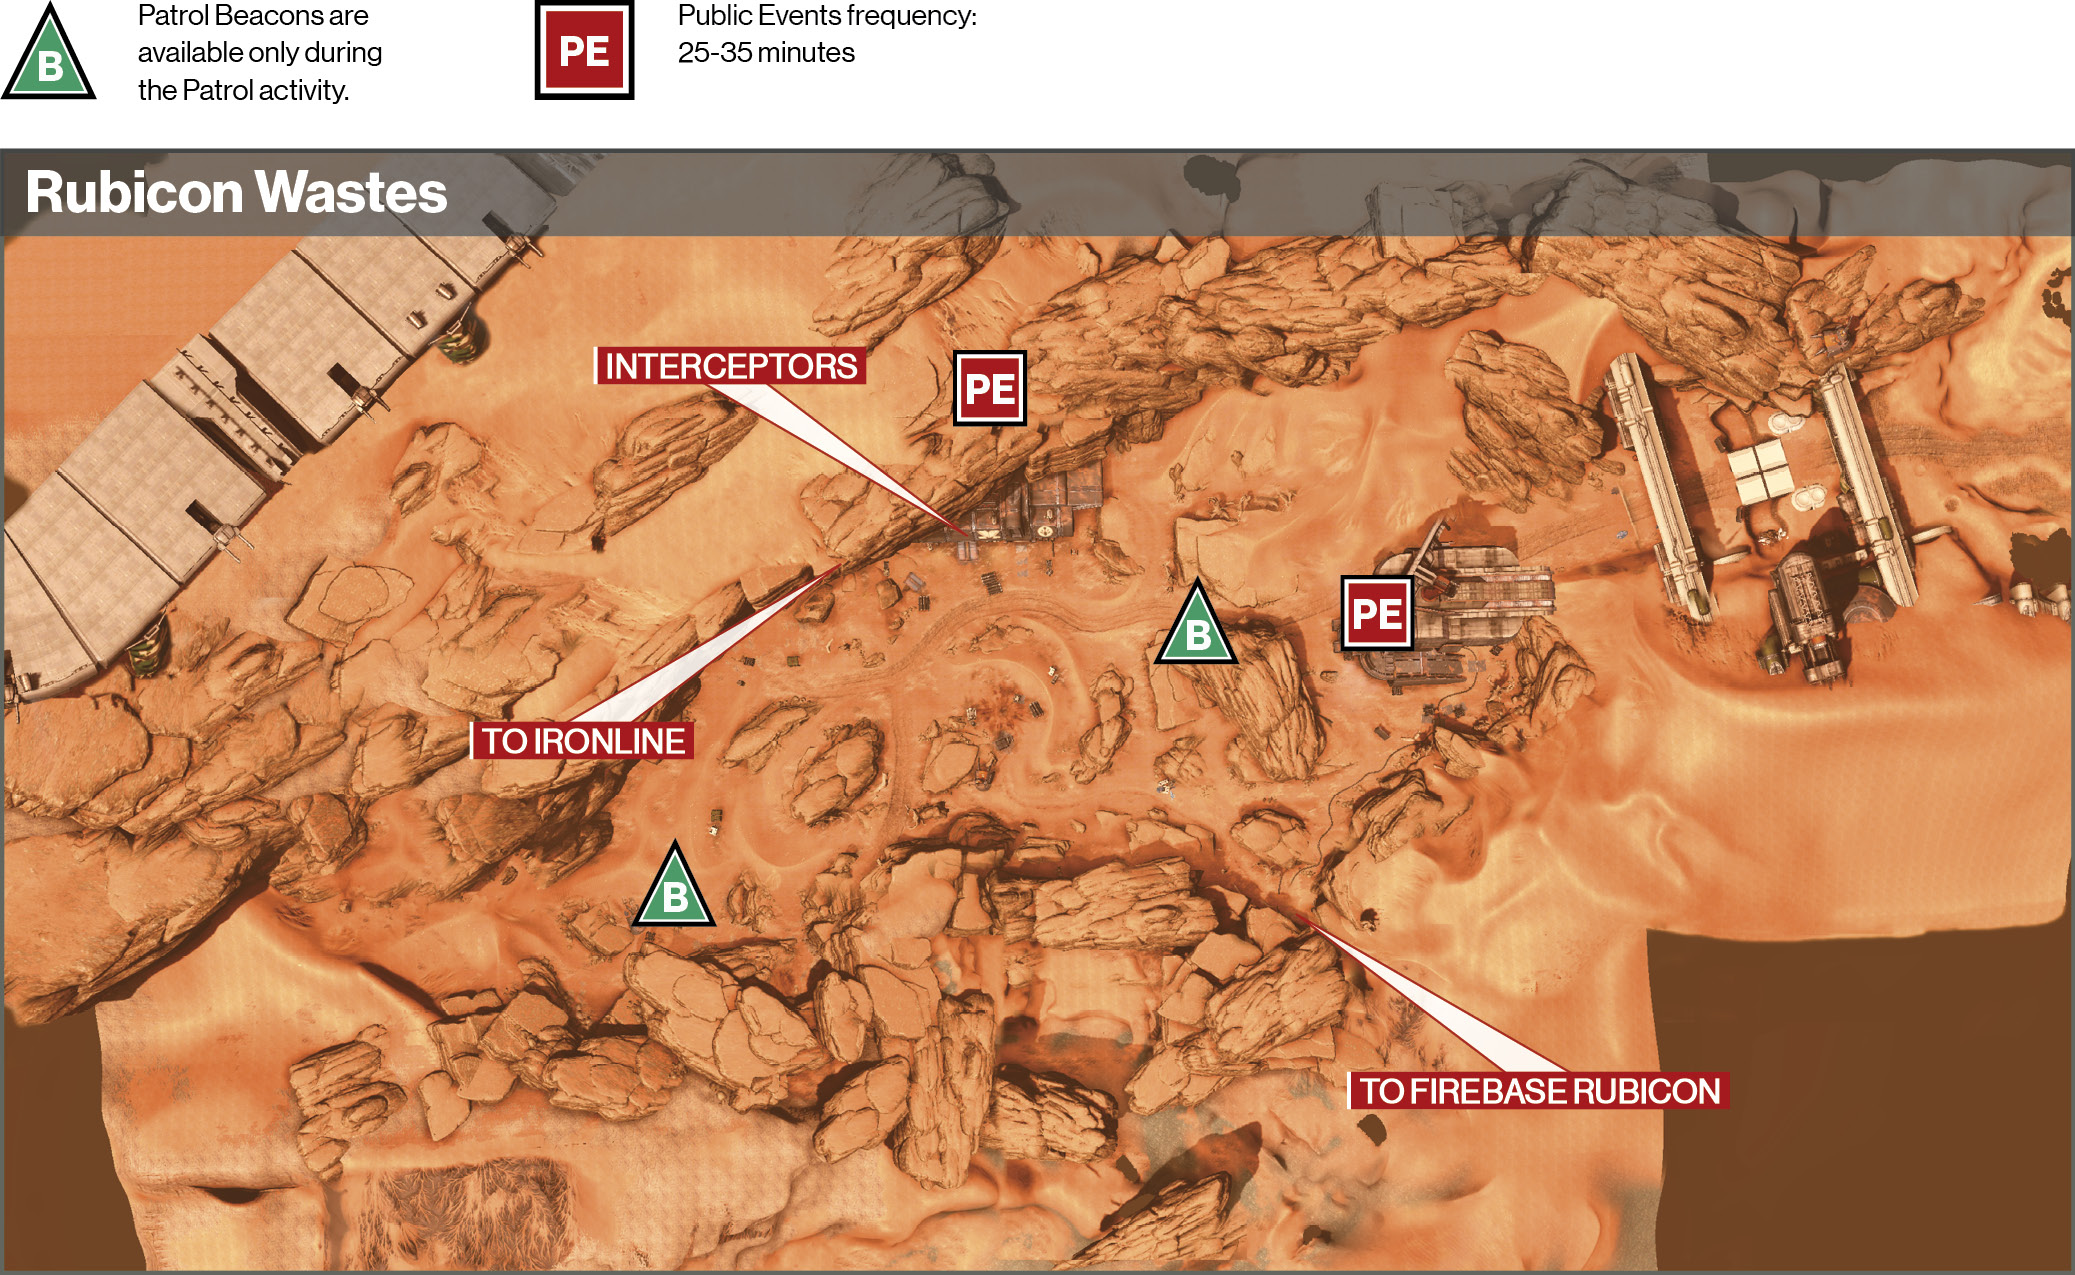
That fight attracted the attention of the rest of the Cabal. Continue through Rubicon Wastes until you reach the garage on the right. Inside, you see powerful vehicles called Interceptors. It isn’t necessary to take one, but they do have some serious firepower and can help conserve your own ammunition. Fight your way into the doorway just ahead and follow the corridor up to Iron Line, where you must abandon the vehicle.
Objective: Open the Gate
Location: Iron Line
Iron Line is designated as a Darkness Zone, so be extra cautious as you fight the Cabal.
Objective: Survive the Ambush
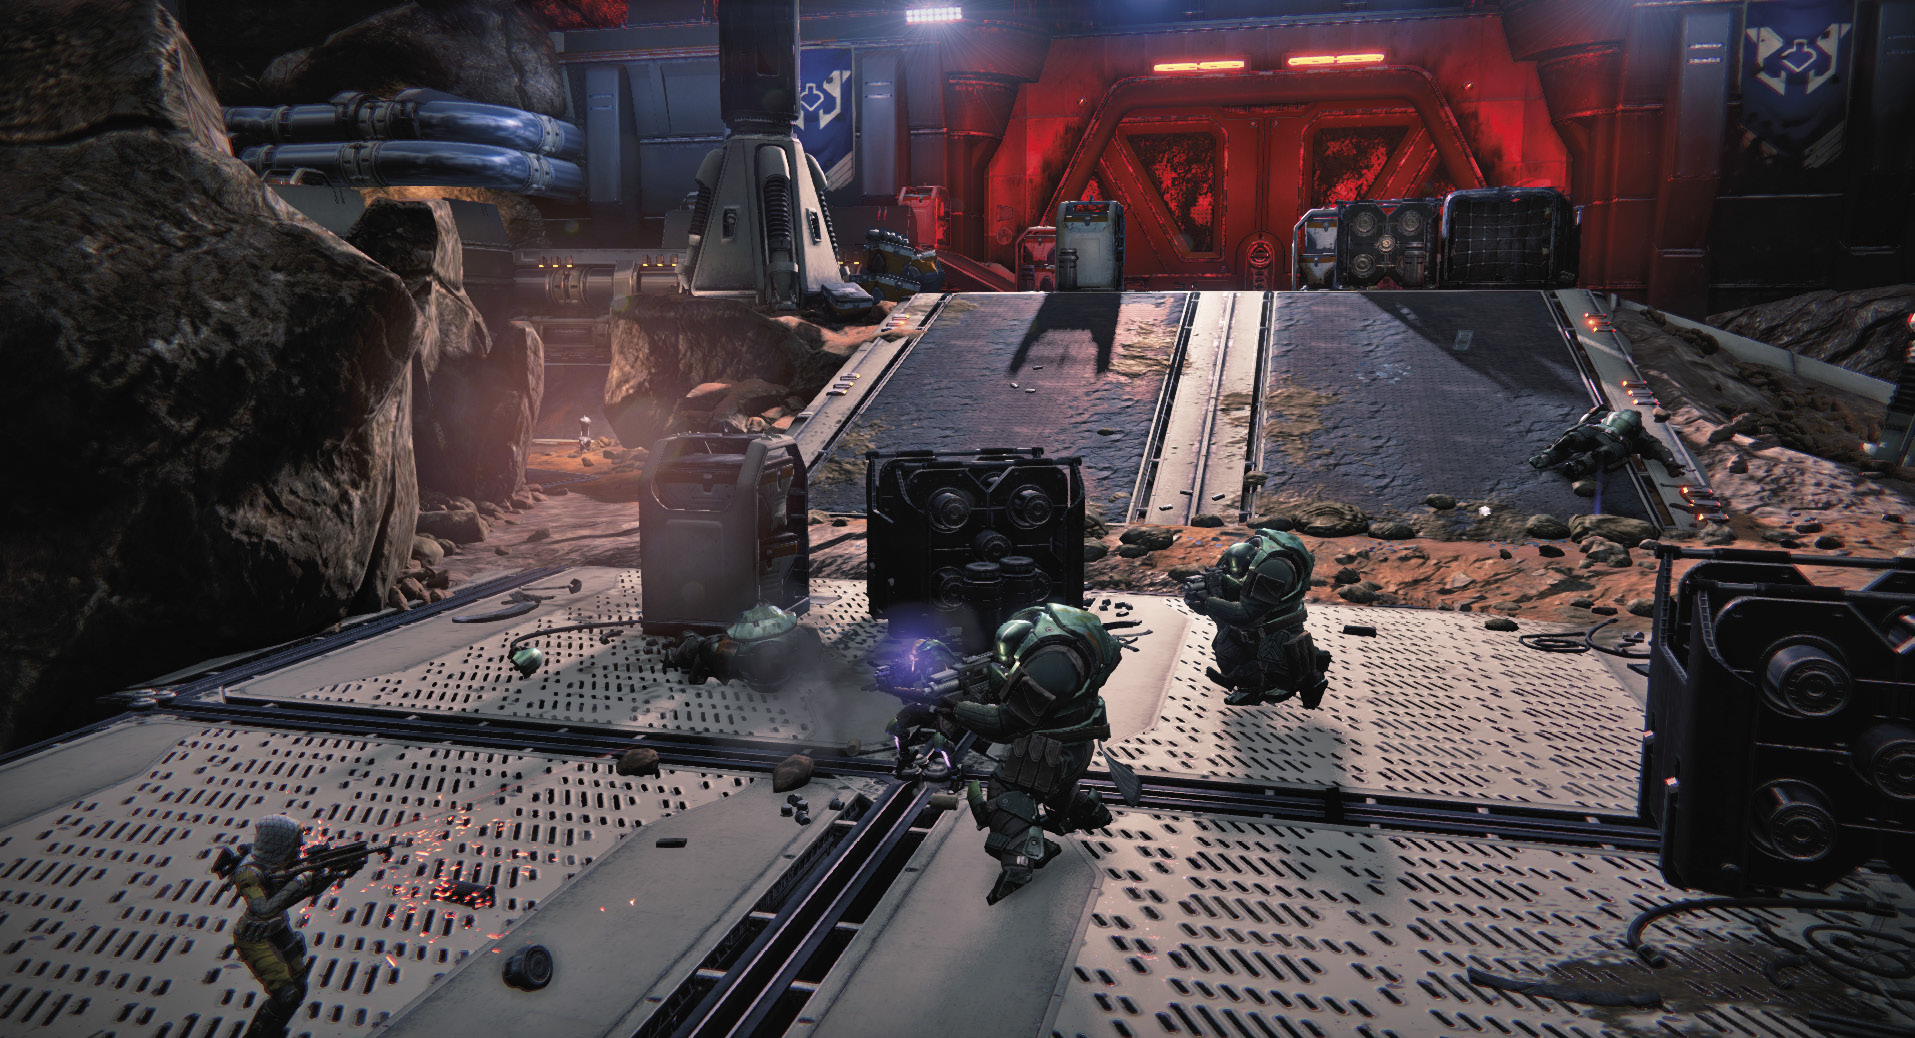
As you move toward the gate, Cabal quickly ambush. Backtrack down the ramp, and duck behind cover as you deal with this surprise attack. A second wave, anchored by a Centurion, emerges from the left door. Then, a final wave enters through the right door, including a Colossus. Once clear, put your Ghost to work on the gate.
Objective: Storm the Keep
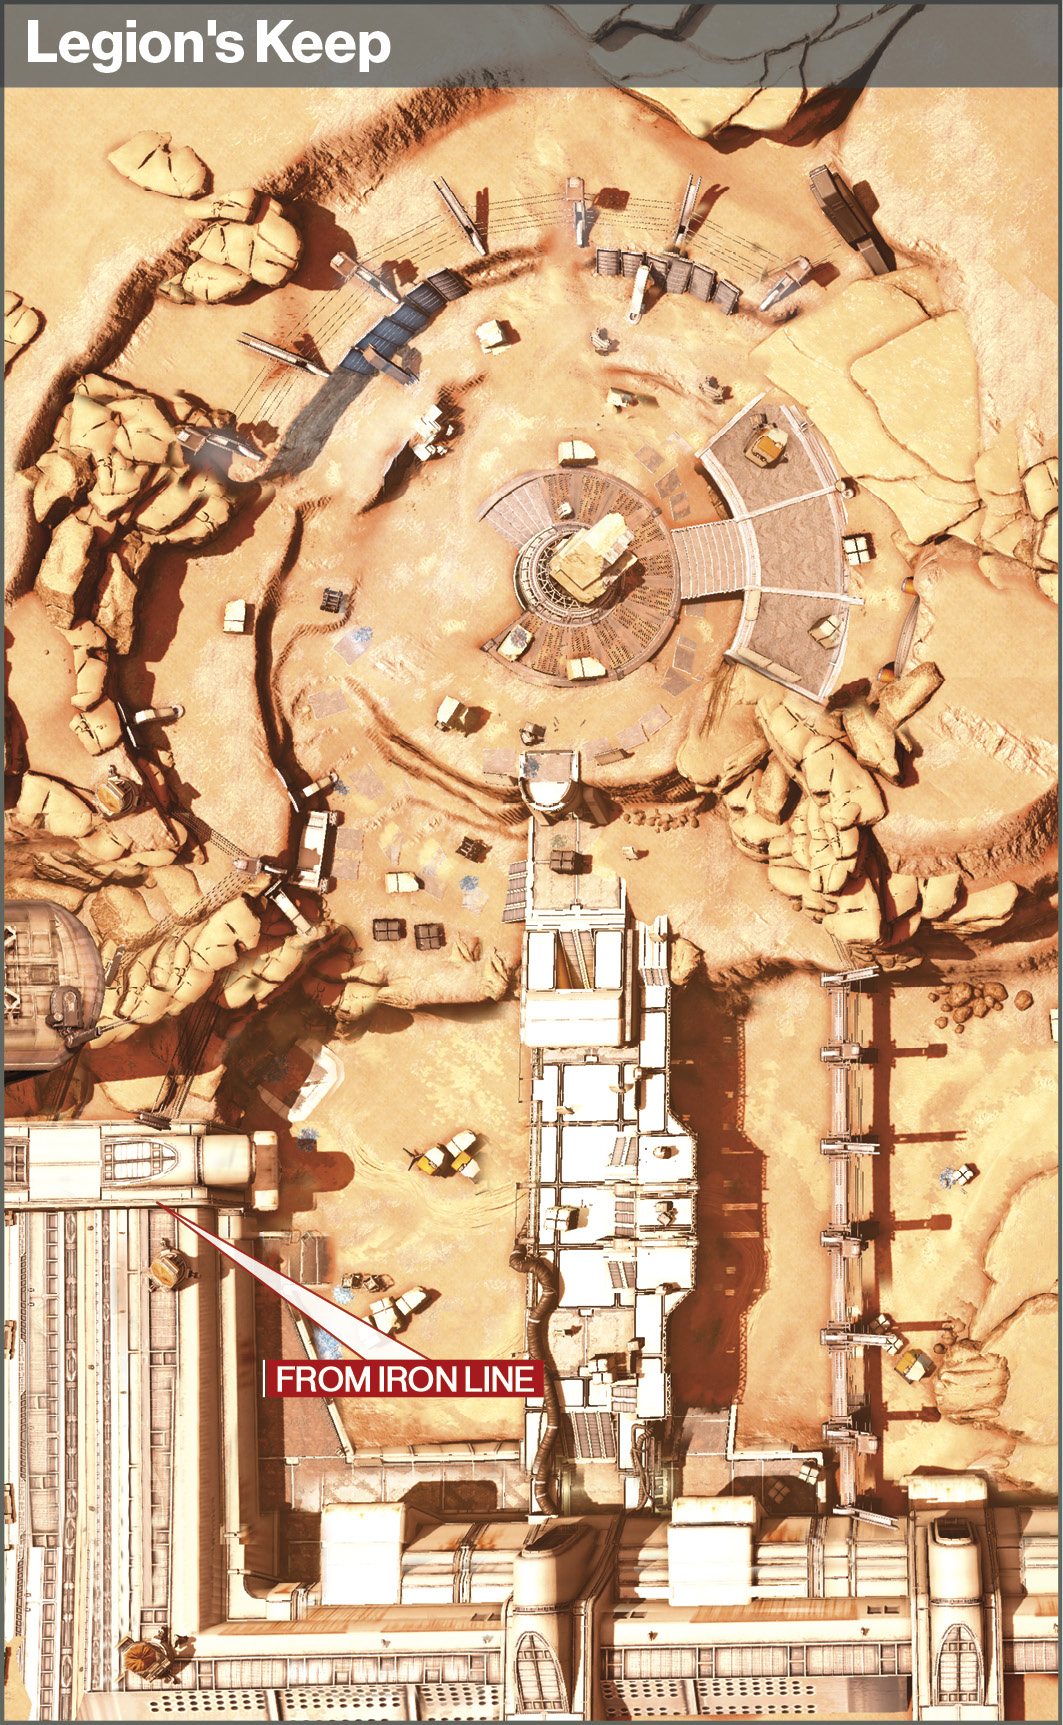
As the gate opens, prepare your weapons and duck behind cover. A Major Phalanx and two minor Phalanxes enter the room. Take them down before they can get too far inside. Take the right ramp through the door, proceeding toward Legion’s Keep.
Objective: Capture the Spire
Location: Legion’s Keep
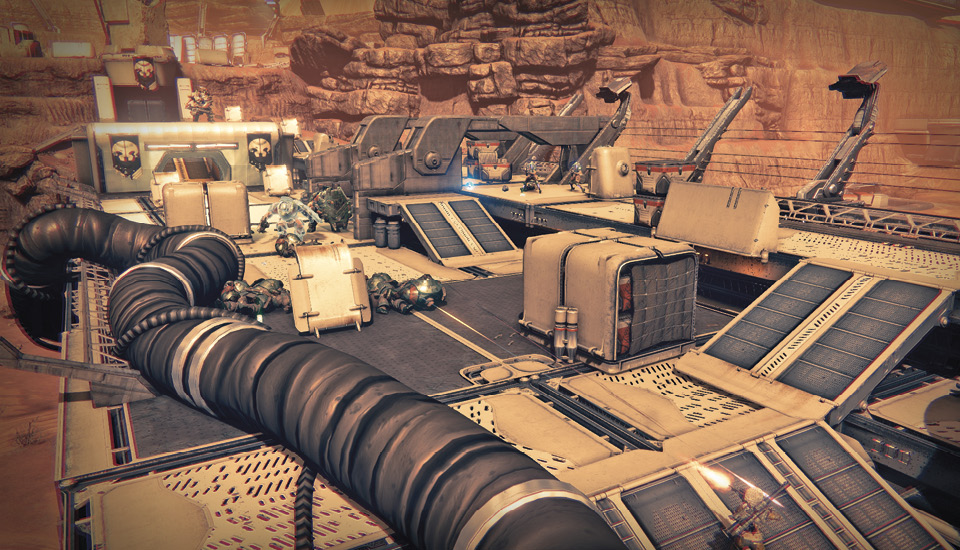
As you cross the bridge to the spire, multiple Cabal attack at different points along the route. Take it slow, staying behind cover until it is safe to proceed and being especially mindful of the Colossus that digs in at the other end. As you turn the corner, keep your guard up as enemies continue to attack.
Objective: Hold off the Cabal
A group of Cabal huddles together near the spire. Hit the Centurion in the head to get their attention, and then take them out.
Objective: Wake the Eye
Approach the console on the rock platform, and let your Ghost perform his magic.
Objective: Face Primus Sha’aull
Primus Sha'aull, an Ultra Centurion, enters through a door on the left. This guy hits hard and has a ton of health, so stay on the move to avoid his weapon fire. Cabal foes join him during his entrance, and more drop in when the boss reaches 75% health and then 40%. Be careful trying to fight from the ledge where you entered, as more Cabal spawn behind you. A small area below the central platform offers a little respite, but avoid getting surrounded. Release your super and Heavy Weaponry upon Primus Sha'aull whenever available.
Objective: Claim the Eye
Once you defeat Primus Sha'aull, return to the console to finish the mission. Head to the tower and return the Ceremonial Blade to the Vanguard mentor.