
Destiny Signature Series Strategy Guide Expansion I: The Dark Below Missions
Ritual of Sacrifice
 Ritual of Sacrifice
Level 26 Quest / Ocean of Storms, Earth’s Moon
Enemy Races: Hive
Suggested Damage Type: Solar
Rewards: Cyrptarch Engram, XP Bonus,5 Motes of Light, 10 vanguard marks (level 30 only)
Objective: Enter the Temple of Crota
Location: Hellmouth
Head straight into the temple and fight off the low-level Hive enemies. Moving through The Gatehouse, the Guardians will encounter high-level enemies; fight through the Circle of Bones and into The World’s Grave.
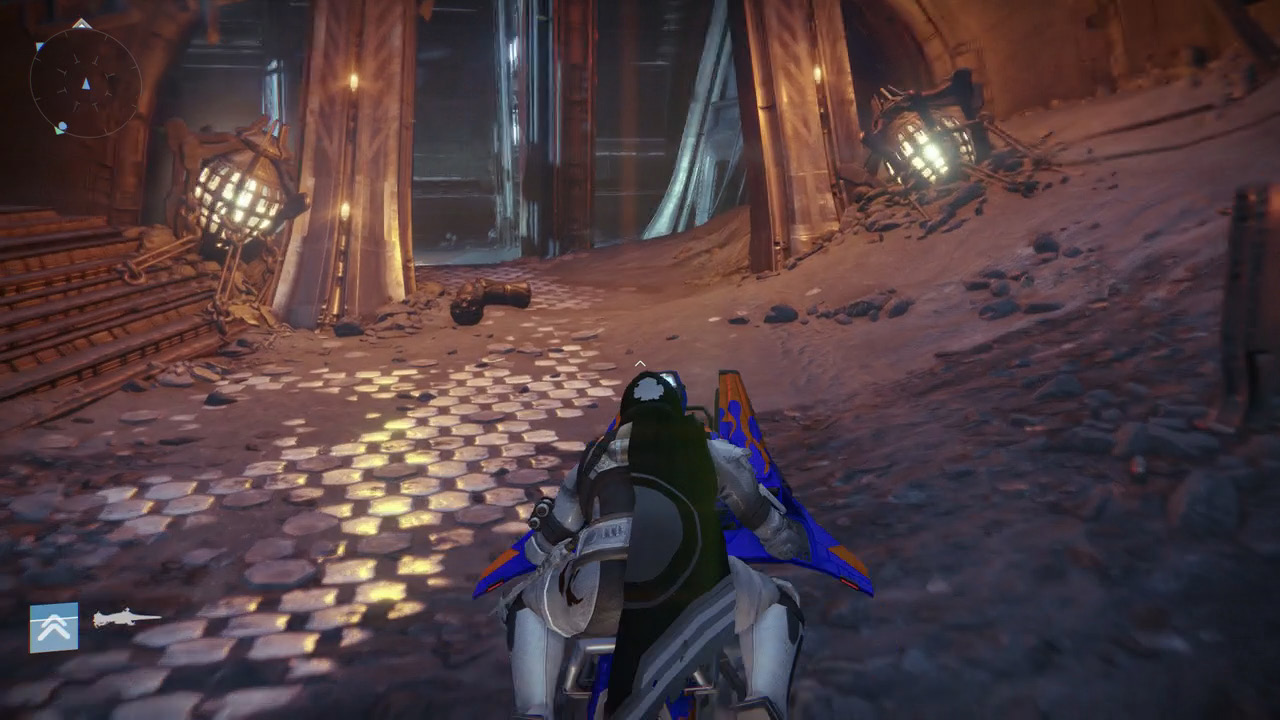
Objective: Summon the Forsaken
Location: The World’s Grave
Entering The World’s Grave puts the Guardians in the first Darkness Zone of this mission. Be prepared to turn around upon entering the first room of The World’s Grave, as the enemies will be on the balcony behind the Guardians. Moving up the stairs, be prepared to fight a few Acolytes and Hive Knights.
Once the Guardians enter the room containing a cauldron, they all must stand on the cauldron to activate it.
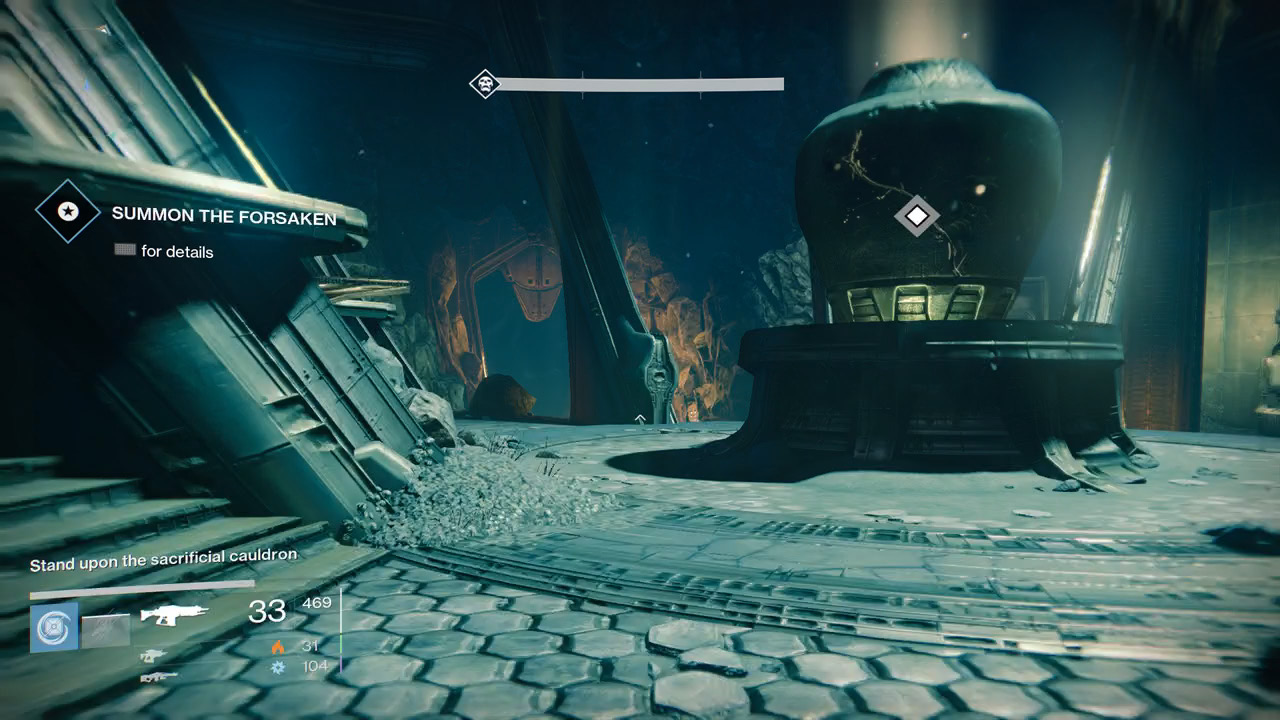
After doing so, a massive wave of Thrall swarm the area. Grab a sword next to the cauldron, or enter one of the doorways to bottleneck the Thrall and eliminate them. If you head to a doorway, be advised that enemies will spawn from the doors behind the Guardian. During this fight, Vestiges will also spawn all around the room.
Just as the wave of Thralls is defeated, several Acolytes will spawn. Dropping the sword in favor of a ranged weapon is key in this fight, as more swords can be found later in the center of the room. Clear out one corner and slowly work around the edge of the room eliminating Acolytes.
When the Acolytes are defeated, a wave of sword-bearing Knights will rush the Guardians. These Knights are immediately reinforced by Hallowed Knights carrying ranged weapons. Work around the room while defeating the melee focused Knights, engaging the ranged Knights when necessary.
“The Sullen Hearts will begin to crack and scream” will appear on the screen when the Hive Knights are defeated, signaling the spawn of a few Wizards. Try to engage the Wizards one at a time. Remember that you can use the swords to quickly change your aerial direction.
Once the Wizards are defeated, two Ogres will spawn. Push out and eliminate the first Ogre before the other one can enter the room. Killing the Ogres before they can group up is key to getting past this wave of enemies. If the Ogres form together, their accumulative damage will essentially “one-shot” a guardian. With the two Ogres defeated, the mission ends and the Urn of Sacrifice is ready to return to Xur in The Tower.