
Destiny Signature Series Strategy Guide MOON
STRIKE: The Summoning Pits
 STRIKE: The Summoning Pits
Level 12 Story / Hellmouth, Ocean of Storms, Moon
Enemy Race: Hive
Suggested Damage Types: Solar, Arc (Epic)
Rewards: XP Bonus, Armor Upgrade
Mission Unlocked: -
| Combatant Changes with Heroic or Epic Mission Modifier | ||
|---|---|---|
|
Objective |
Combatant Changes |
Tip |
| Approach the gate – Overlook | -1 Acolyte+1 Major Knight-1 Wizard+1 Major Wizard | On Epic, the Major Knight and the Major Wizard have Arc and Solar shields respectively. Equip the appropriate weapon to drop their shields quickly. |
| Repel the Hive – Wave 1 | -5 Thrall+5 Major Thrall-2 Knights+2 Major Knights | — |
| Repel the Hive – Wave 2 | -3 Acolytes+3 Major Acolytes-1 Knight+1 Major Knight-1 Wizard+1 Major Wizard | — |
| Repel the Hive – Wave 3 | -1 Cursed Thrall+1 Major Cursed Thrall-1 Acolyte+1 Major Knight | Do not underestimate that Major Cursed Thrall , take it out as soon as you can. |
| Repel the Hive – Final Wave | -3 Knights+3 Major Wizards | — |
| Defeat Phogoth | -3 Acolytes+3 Major Boomer | — |
| Defeat Phogoth - Reinforcements | -3 Acolytes+3 Major Acolytes-1 Knight+1 Major Knight | — |
| Defeat Phogoth – Reinforcements | -2 Acolytes+2 Major Acolytes-2 Wizards+2 Major Wizards | With all of the Hive minions, this boss fight is hard enough without making these guys into tougher, Major enemies. Have two Guardians concentrate on the lesser Hive, while one fights the boss exclusively. |
| Defeat Phogoth – Reinforcements | -3 Knights+3 Major Knights-1 Wizard+1 Major Wizard | — |
| Defeat Phogoth – Reinforcements | -3 Thrall+3 Knights | — |
| Defeat Phogoth – Anti-Camp | -3 Thrall+3 Major Knights | Three big Major Knights come to get you out of the entryway instead of Thrall. Do not spend too much time at this location or you will die. |
Objective: Enter Hive Fortress
Location: Hellmouth
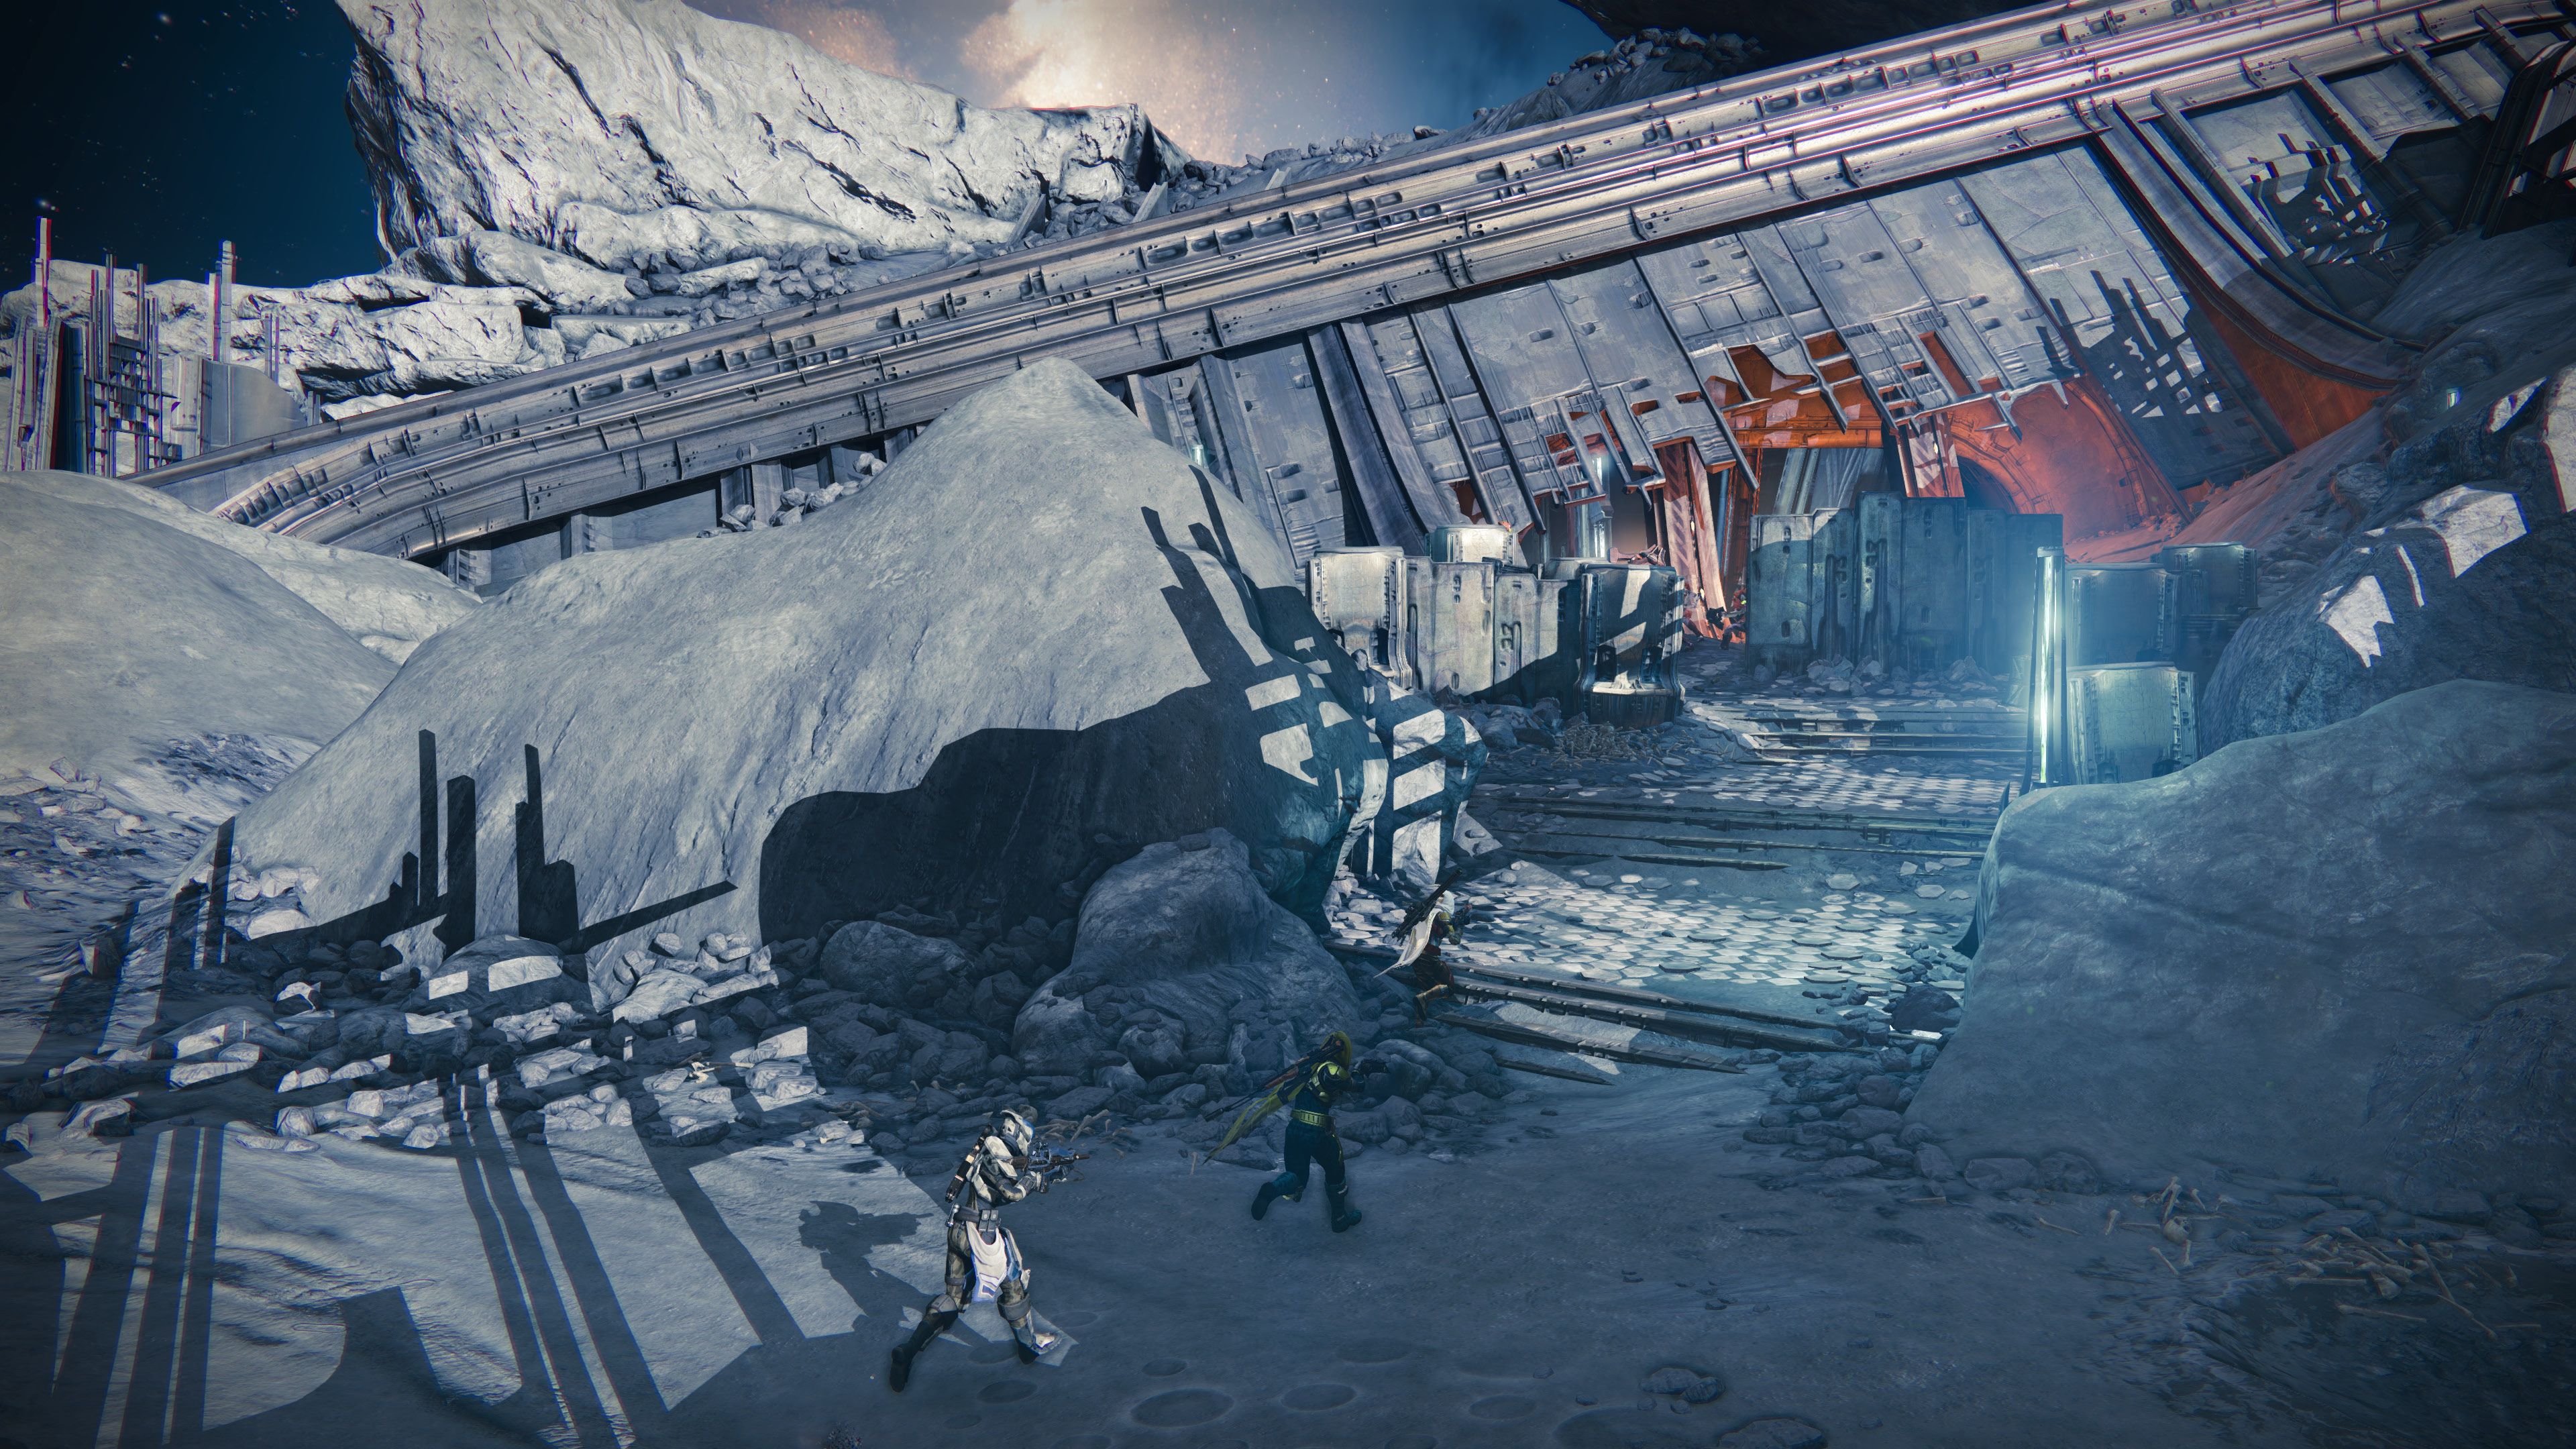
Move into the Gatehouse, eliminating the three Knights who guard the entrance.
Objective: Approach the Gate
Location: Gatehouse
A big horde of Hive occupy the overlook area, including a Wizard. Dismantle the group and continue down into the sword room.
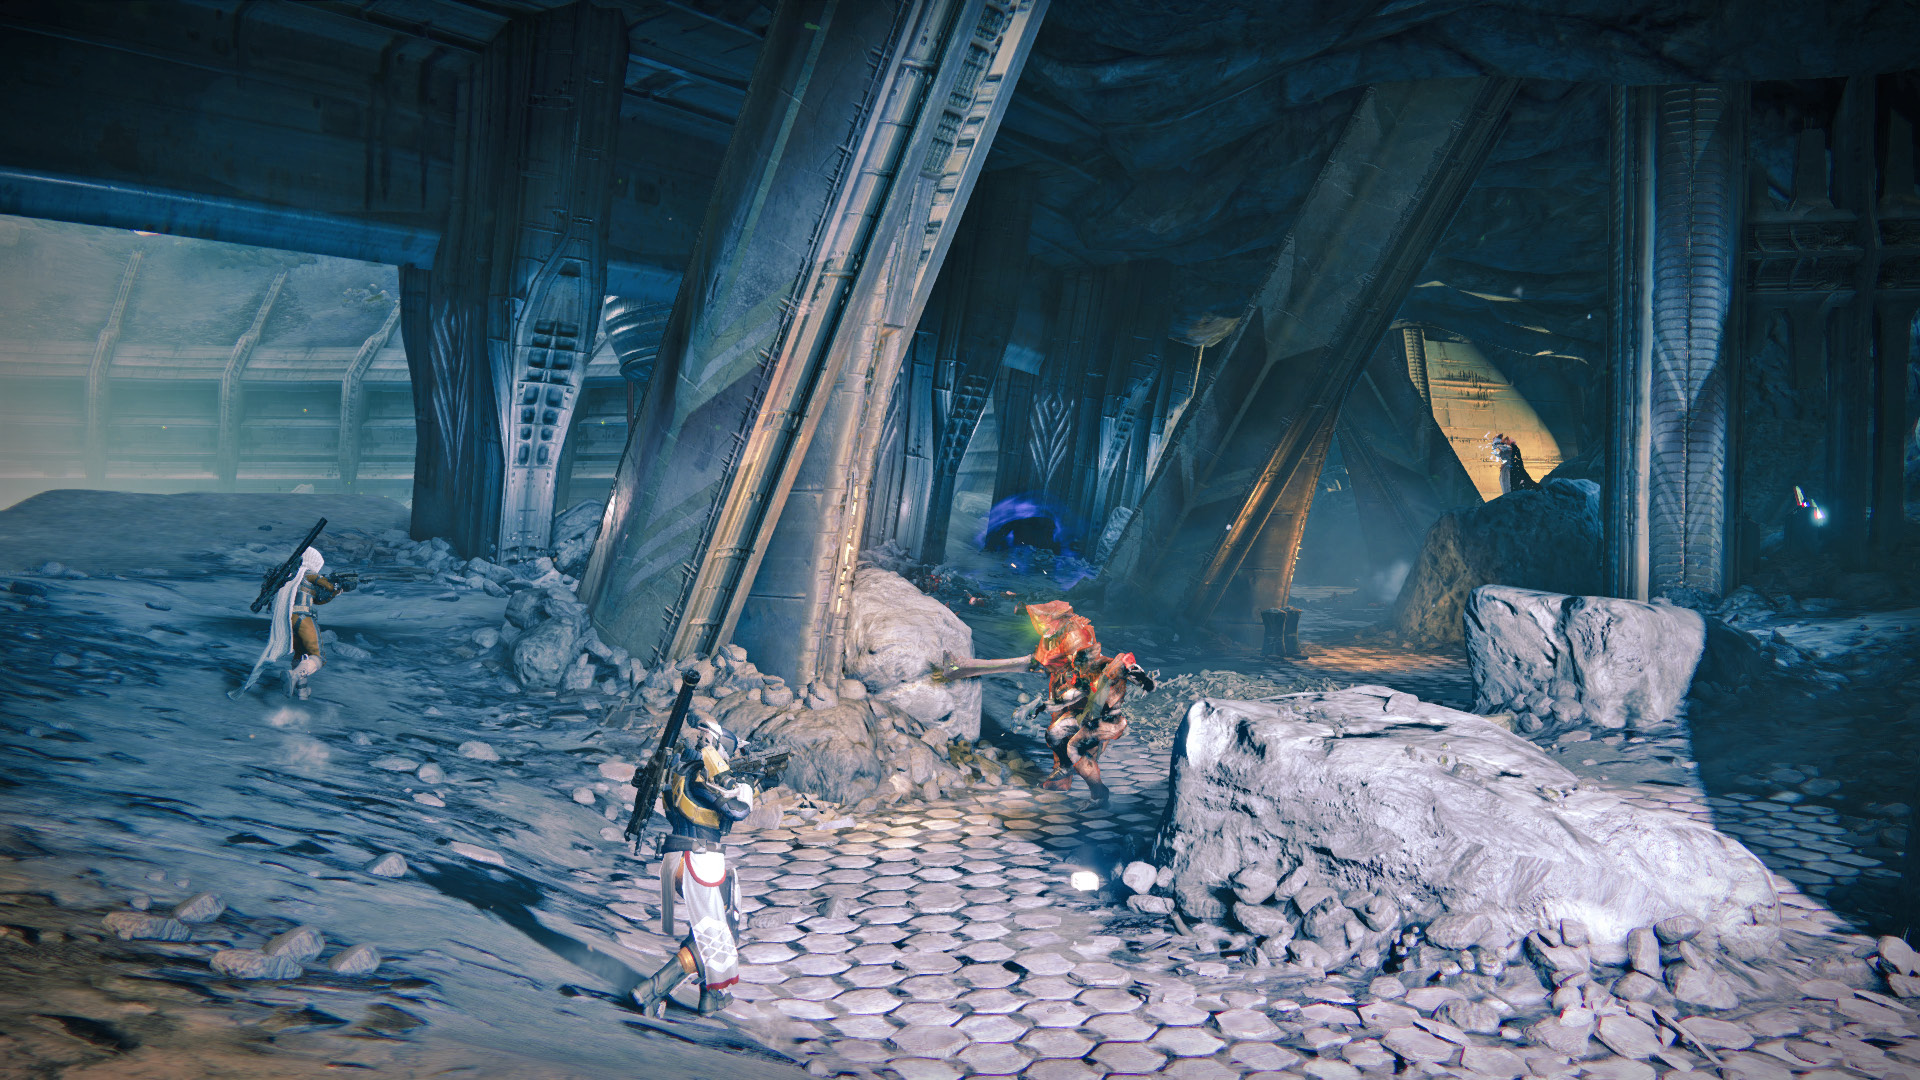
Objective: Open the Gate
Approach the gate and deploy your Ghost so that he can work on getting it open. This is going to take some time, so turn around and prepare your weapons.
Objective: Repel the Hive
The room becomes a Darkness Zone as Hive spawn ahead. The first wave consists of Thrall and Knights. Quickly strike down the Thrall before focusing on the Knights on the left balcony. Next, Acolytes are joined by a couple Wizards and Knights on the right balcony. Bounce between levels and sides to avoid taking too much damage. The third wave is introduced in the back of the room, consisting of Cursed Thrall, Knights, and Acolytes. As you progress through this group, a Major Wizard and more Knights join the skirmish. Stay on the move and keep an eye out for downed teammates.
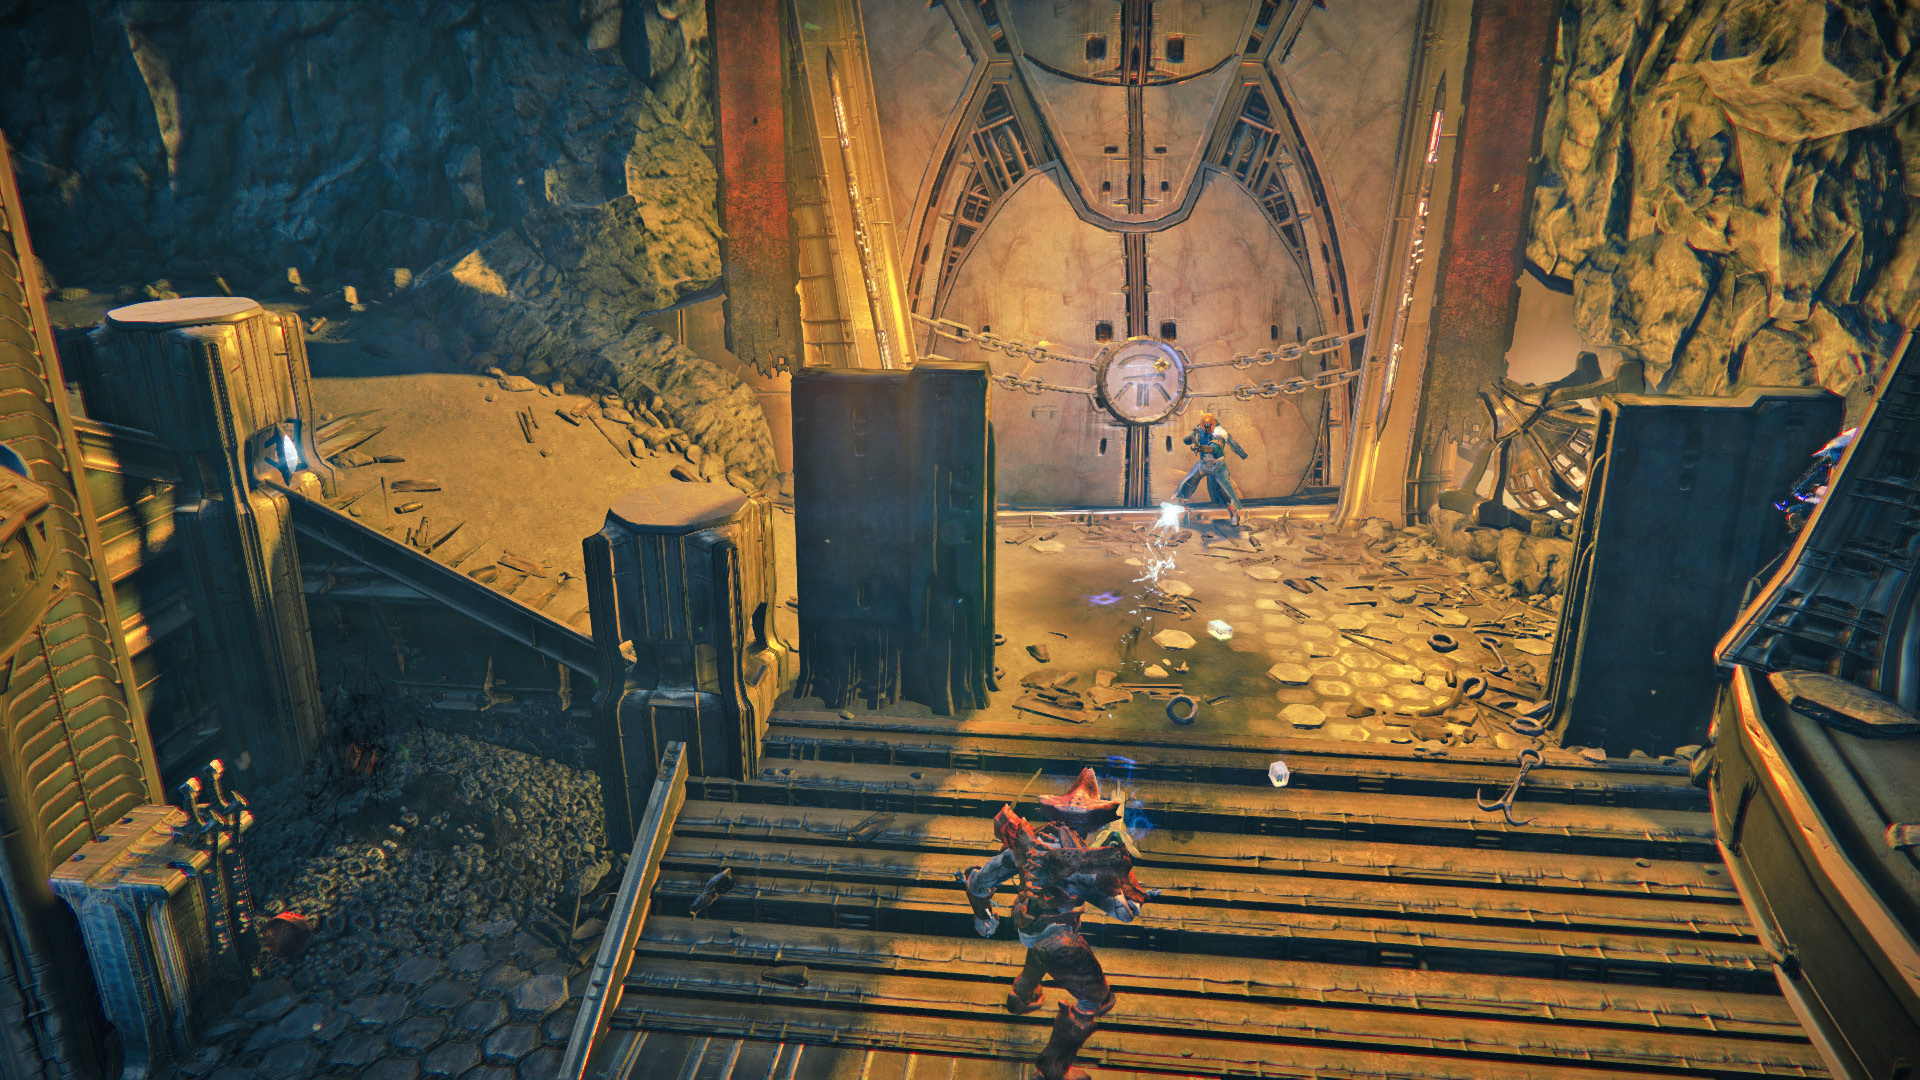
Objective: Find the Summoning Pits
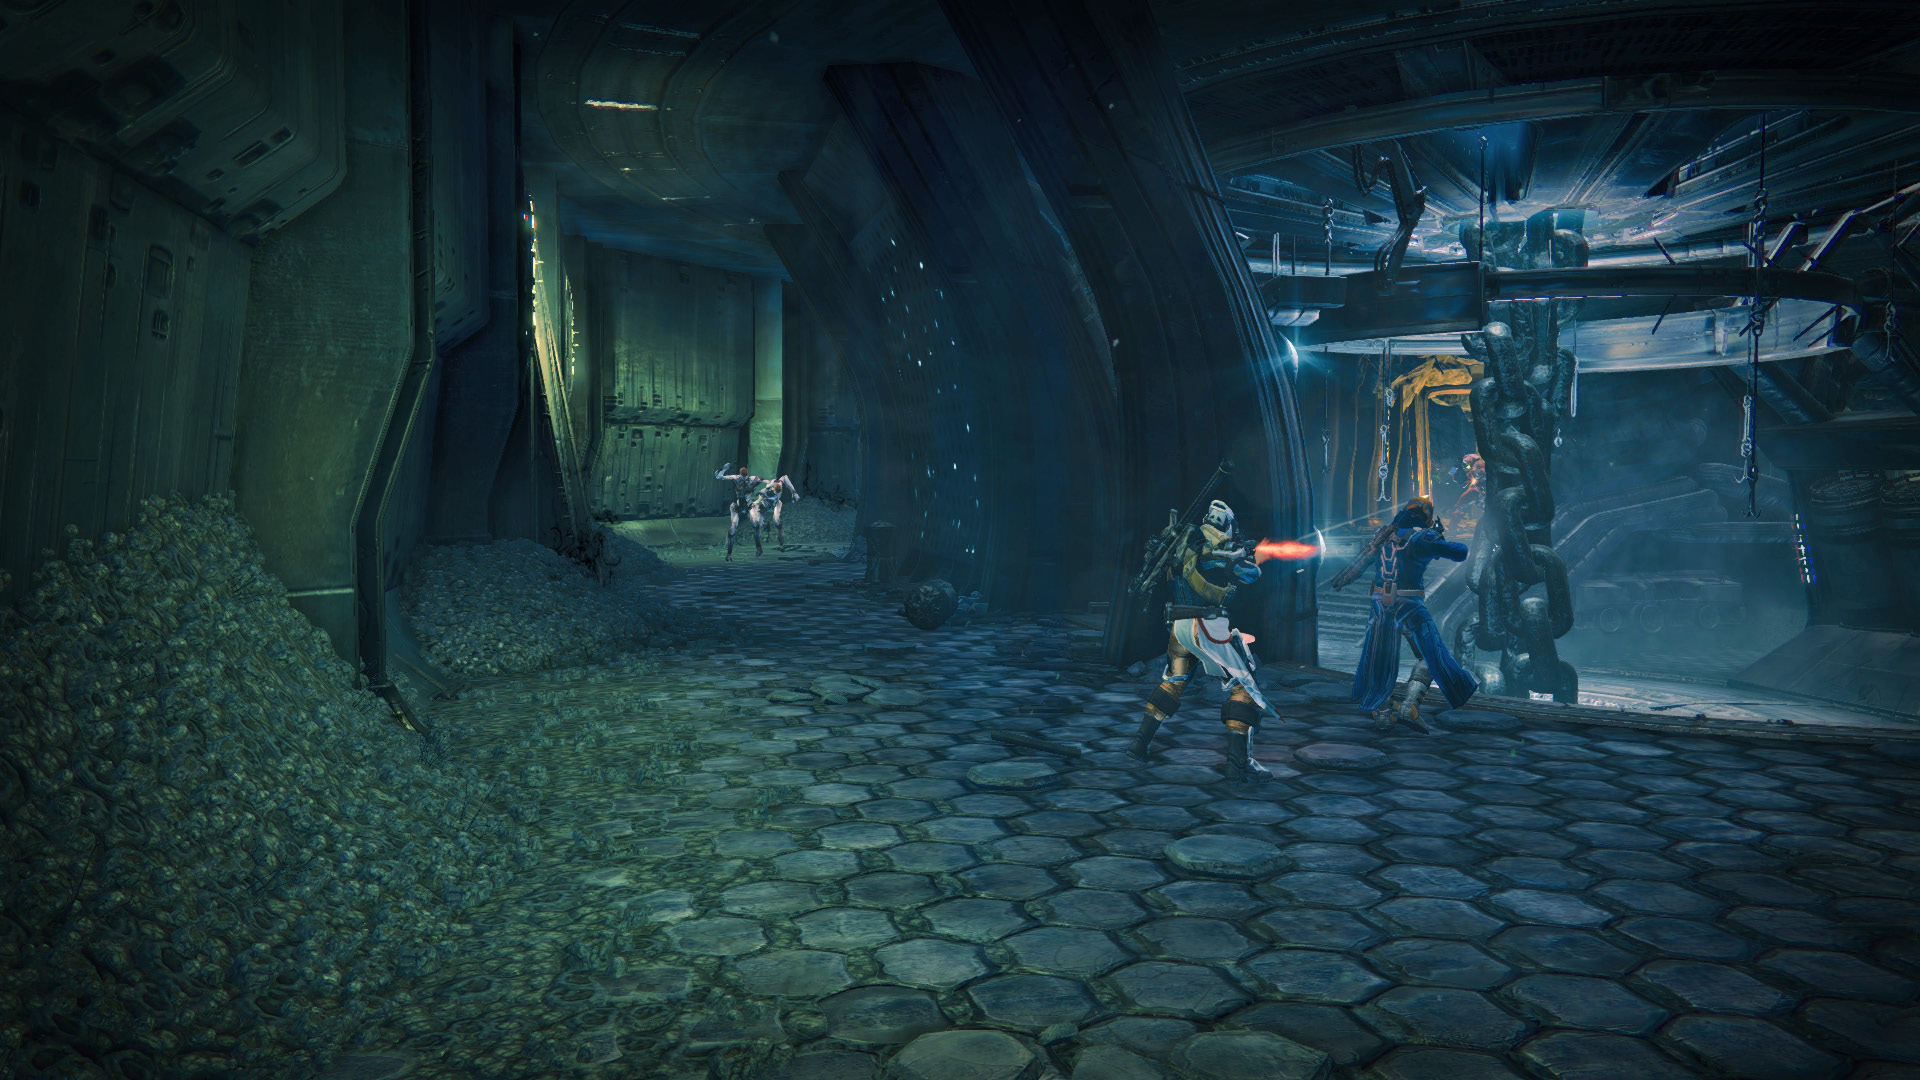
With the room clear of enemies, your Ghost opens the door. Follow the cave as it descends deep into the Hive fortress. In the next room, an Ogre accompanies a Major Knight, while smaller Hive immediately attack. Eliminate the weaker ones before concentrating your efforts on the big guy. Exit out the doorway that he guarded and follow the caves and bridge until you reach the Circle of Bones.
Objective: Enter the Summoning Pits
Location: Circle of Bones
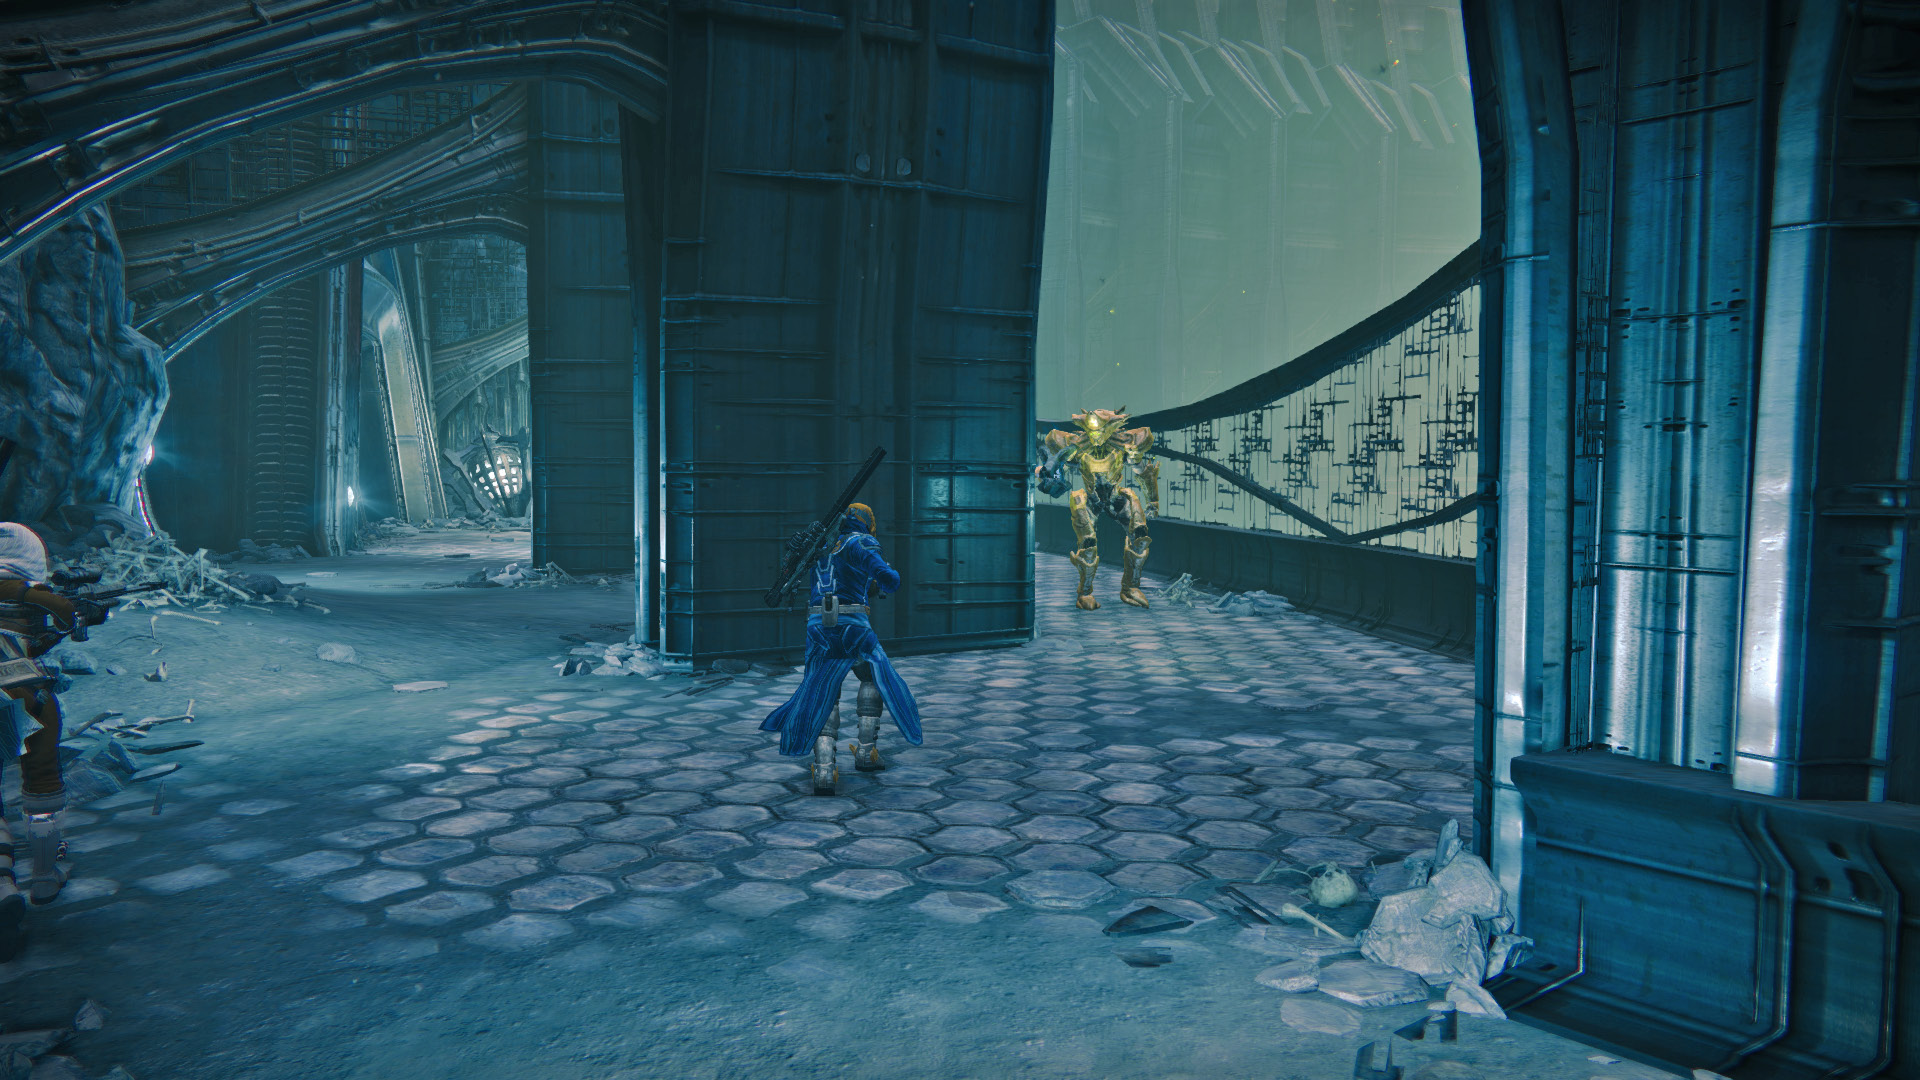
Head to the left, knocking down any Hive that get in your way. Follow the objective markers into the narrow overlook at the far end, where two Major Knights present a small challenge for your Fireteam. Slip into the doorway on the left and follow the path to find The Summoning Pits.
Objective: Defeat Phogoth
Location: The Summoning Pits
The Hive have an Ultra Ogre chained up inside and it is up to the three Guardians to dispose of it before it is released.
Phogoth
Weak Spot:Chest
Attacks:Eye Blast, Ground Slam
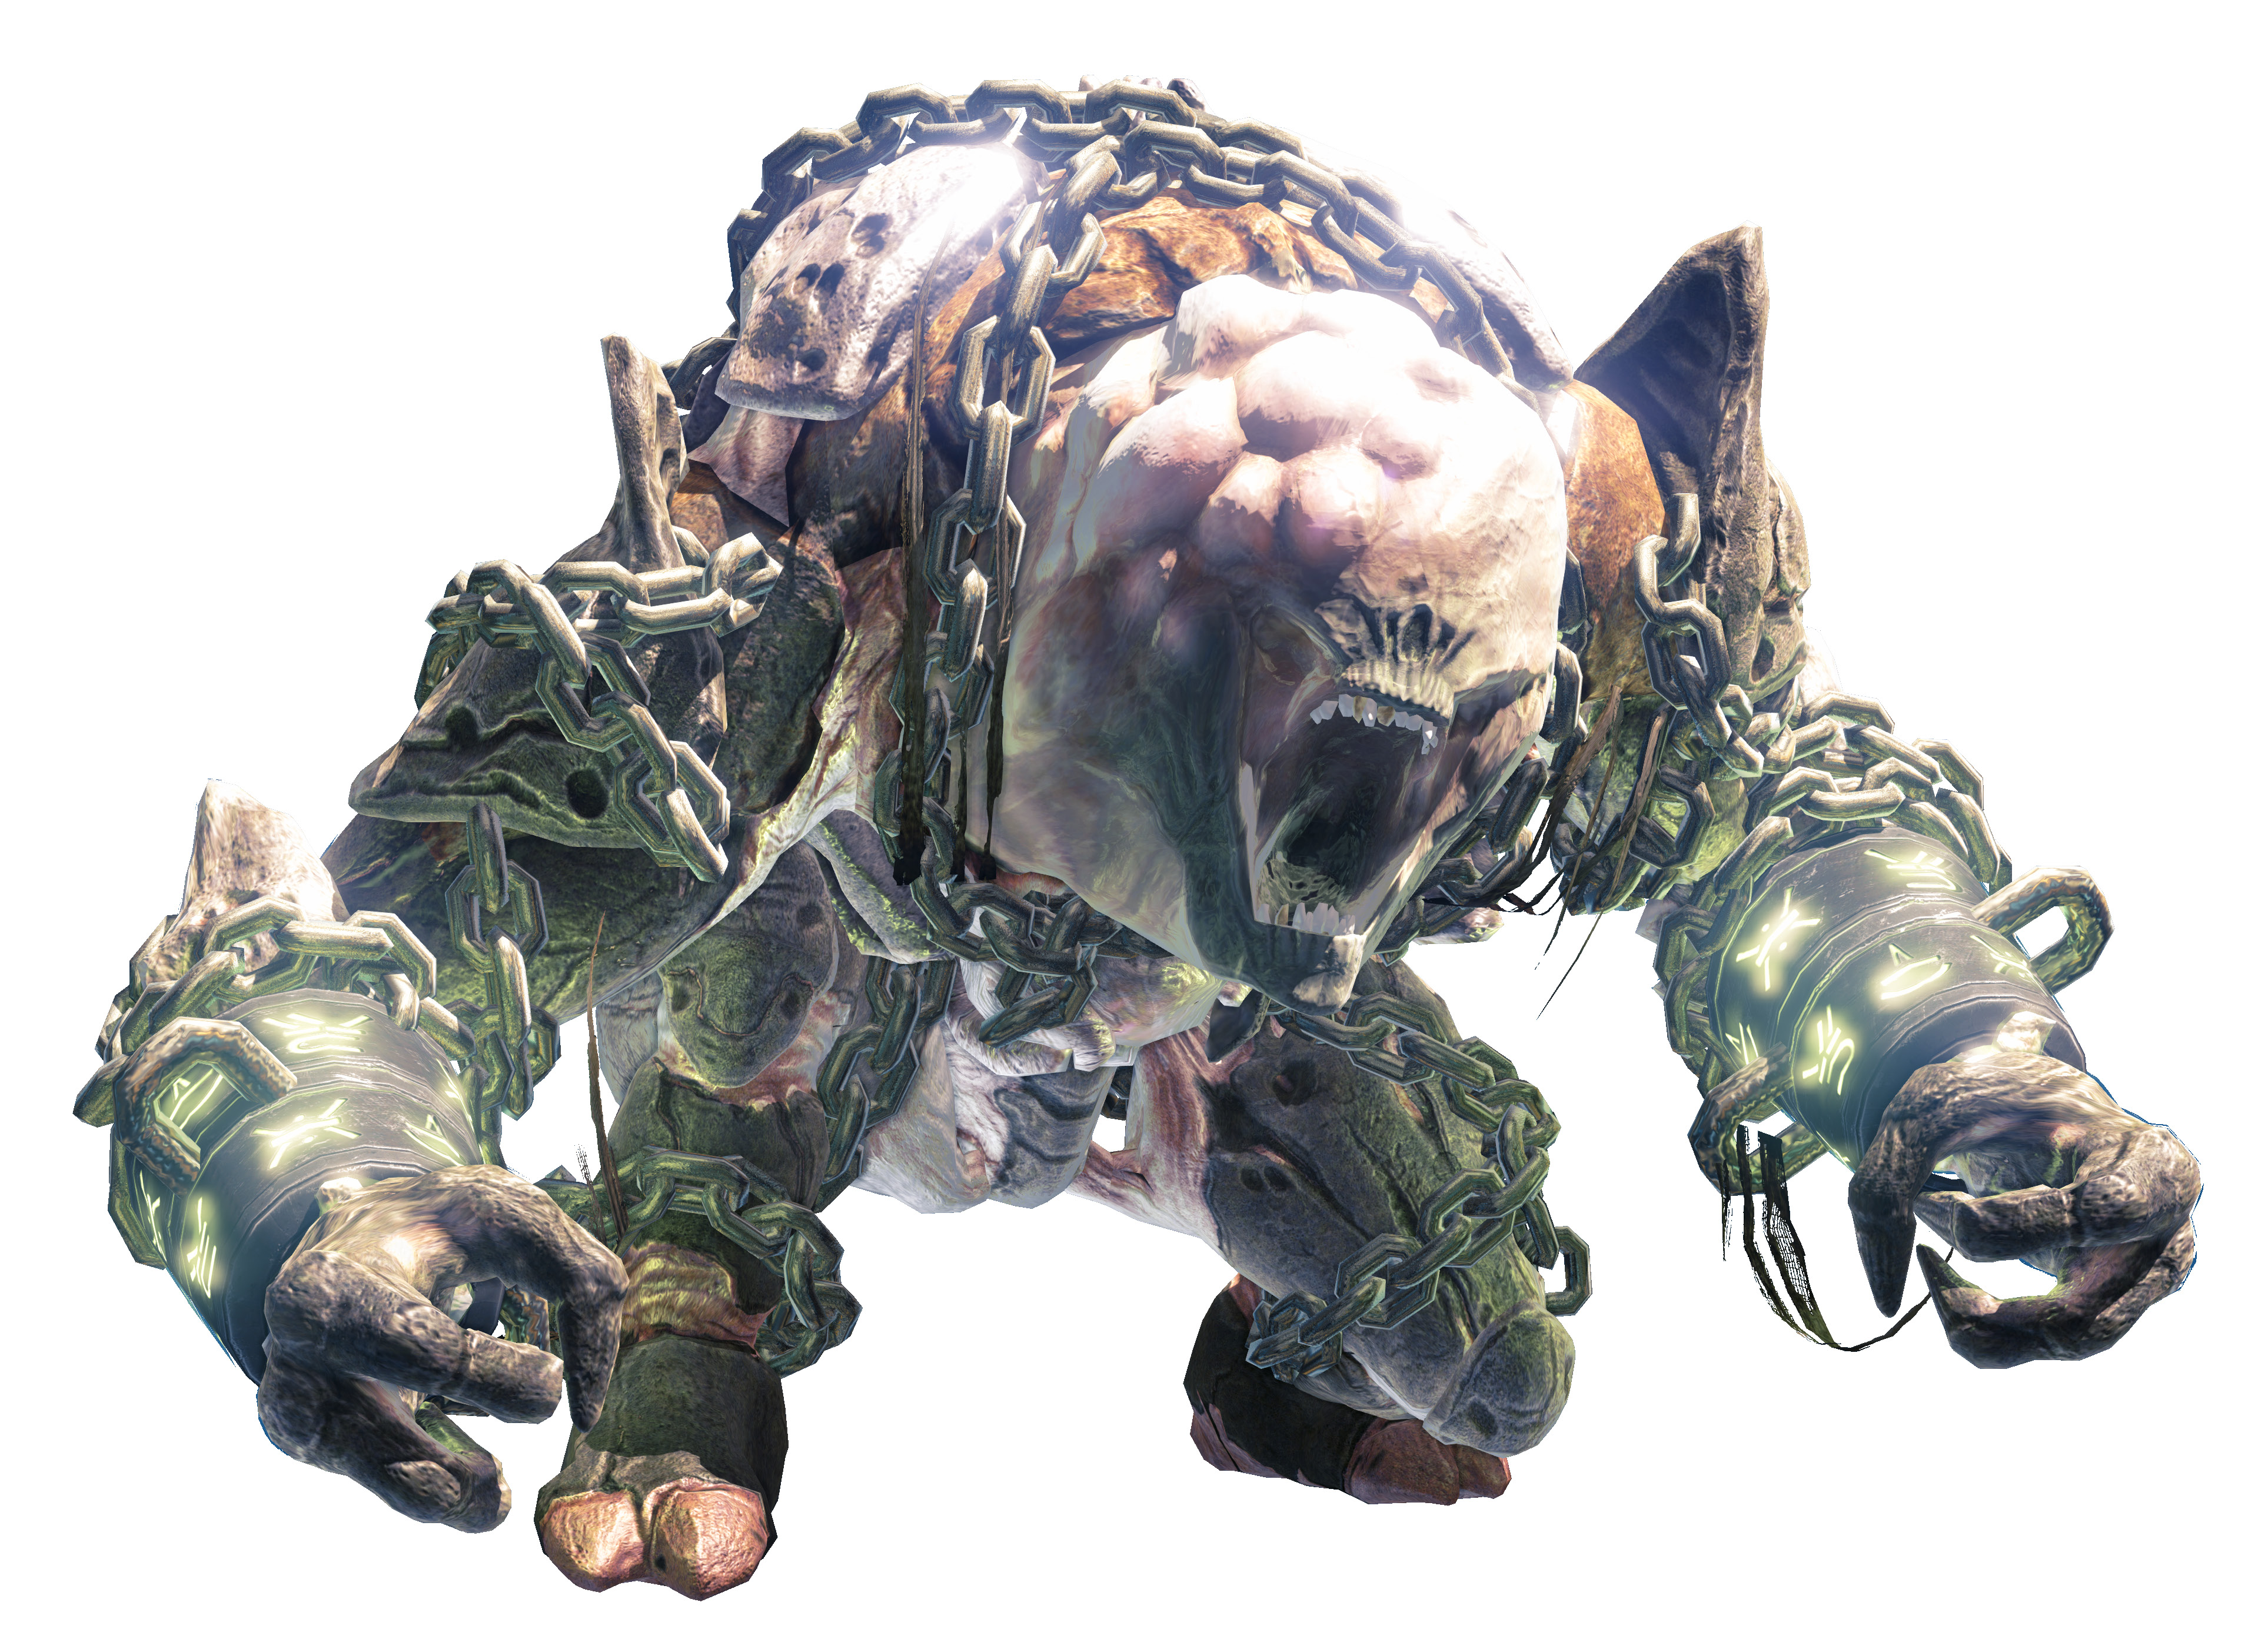
Attacks
Eye Blast:
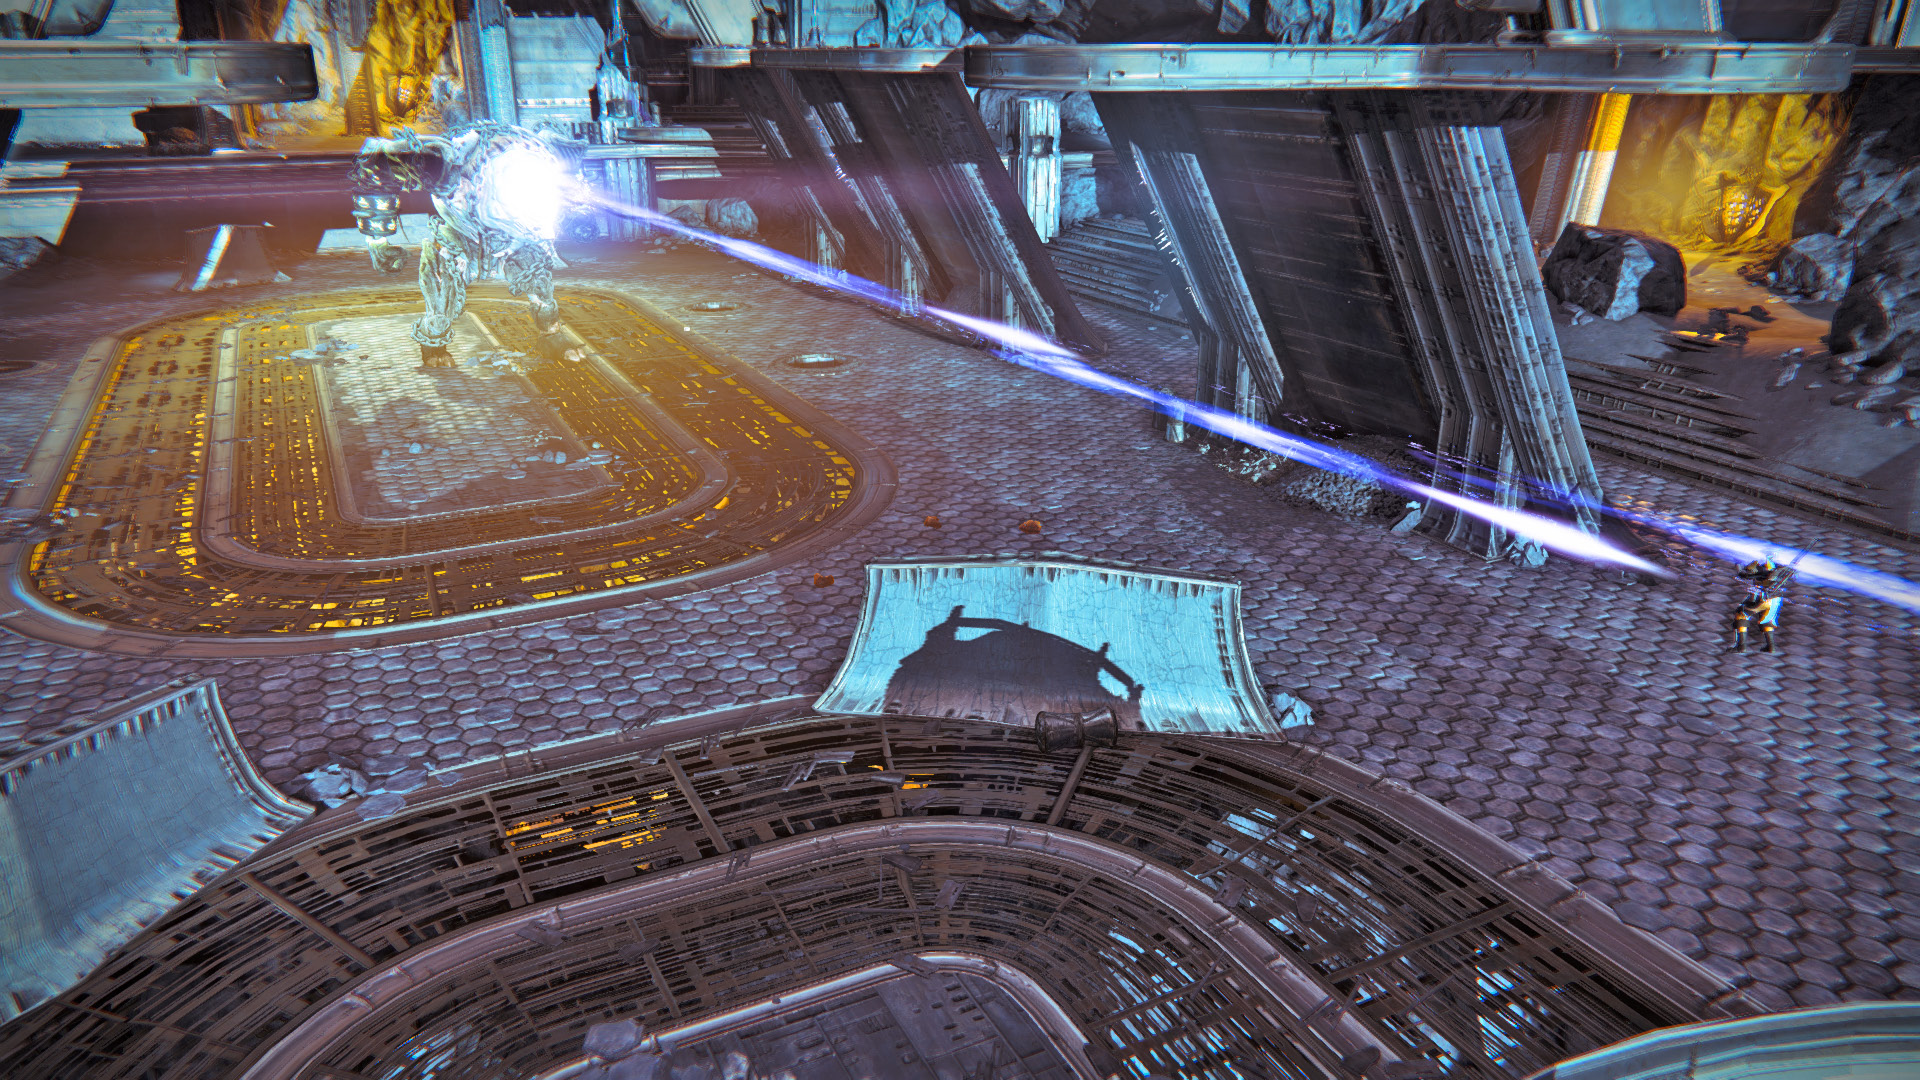
Phogoth has a similar Eye Blast to the minor Ogres, but it is a much more powerful and suppressive fire. Do not stand still in the open or this deadly projectile will find you.
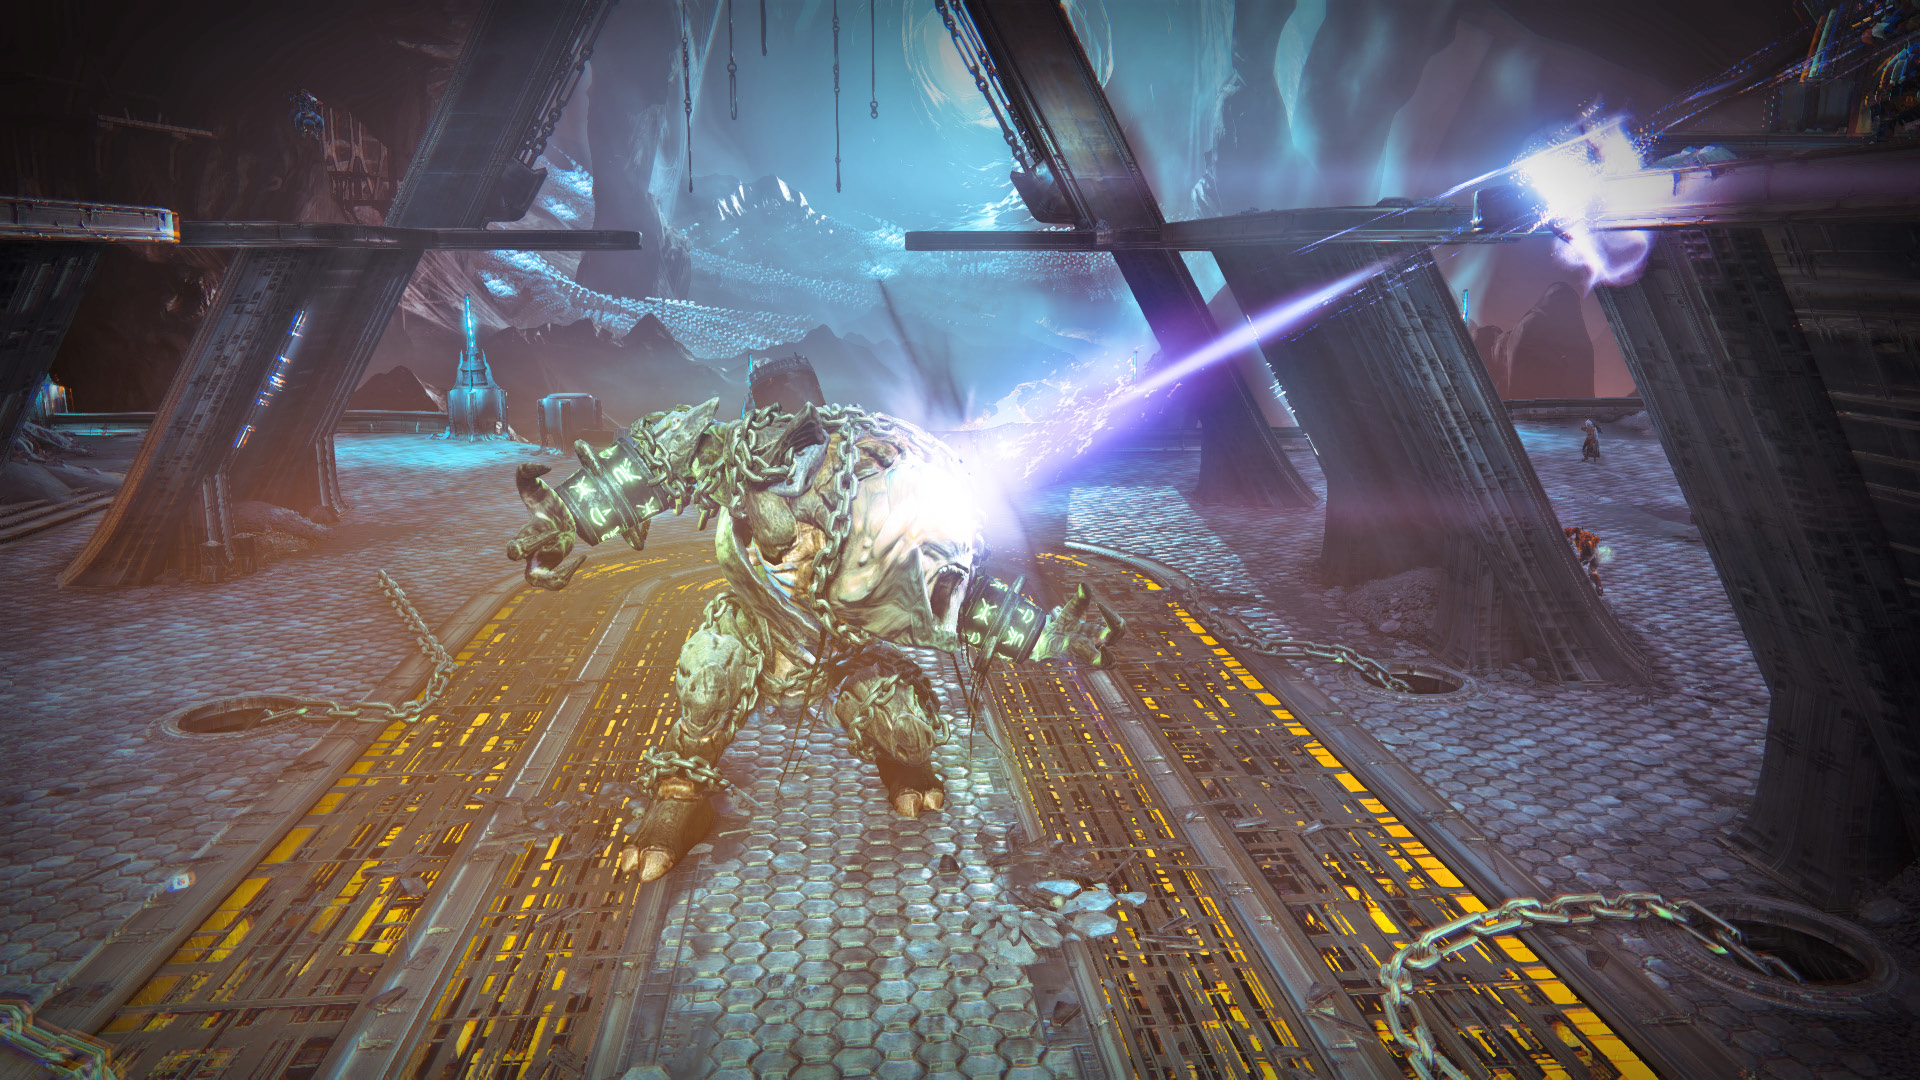
Ground Slam:
Get close to the behemoth and he releases a 360-degree ground slam that knocks you back.
Strategy
This battle takes place in a huge arena with high balconies surrounding all but one side, where a lower platform can offer a short period of respite. Despite his powerful attacks and high Vitality, the boss isn’t the toughest part of this fight. It is the huge amounts of Hive minions who occupy the platforms and are added in waves throughout the combat.
The door opens up to reveal the beast chained up, trying to break free, as Hive enemies are strewn all over the arena. One big difference between Phogoth and typical Ogres is its weak spot. Instead of the forehead, you need to focus your attacks at its chest, which can be tough to hit when it slouches over.
From the doorway, spend a little time focusing all attacks at its weak spot before the Thrall reach your position. As a deterrent, any time you spend too much time in the small entryway, these Thrall enter the room and a Shrieker appears high in the corner. Therefore, it is suggested you move out into the arena, before this happens.
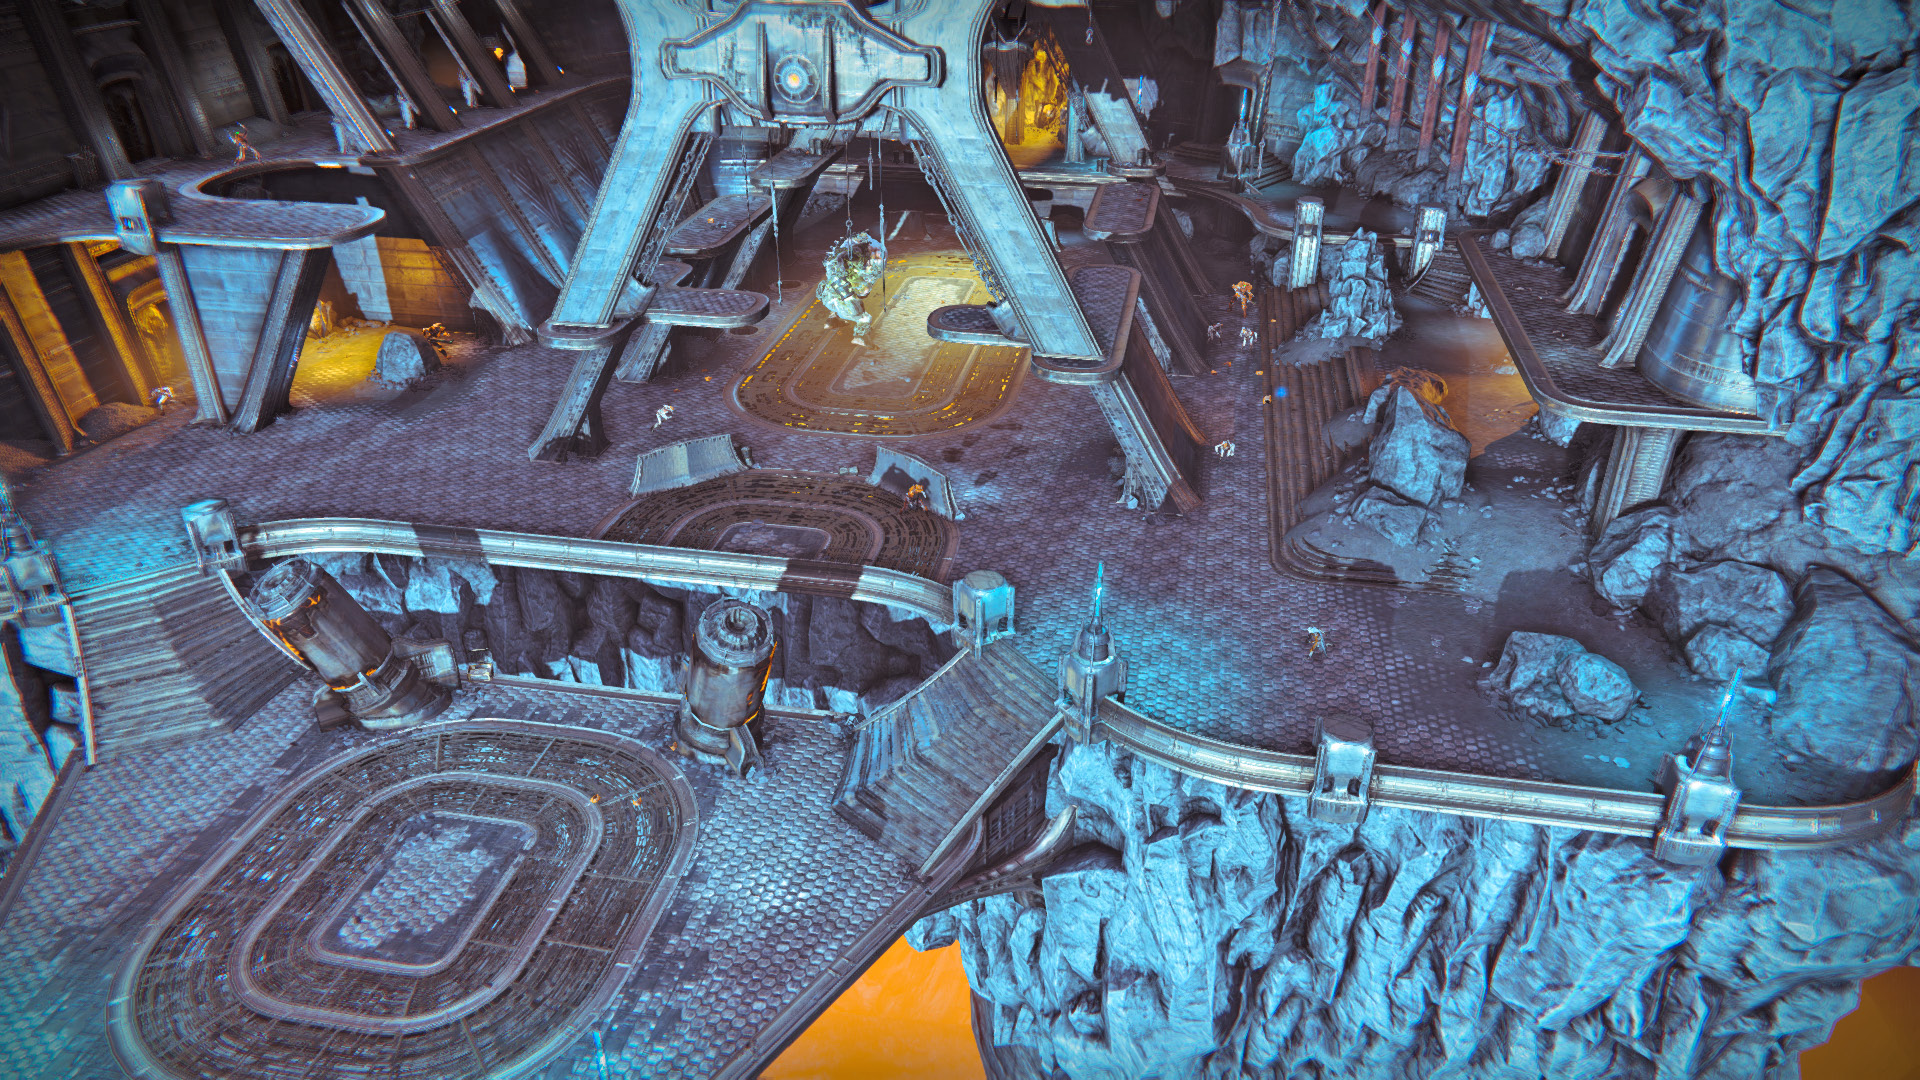
From here on, things get really chaotic. There isn’t a safe location to fire from and hold, since the Hive will seek you out wherever you hide. Stay on the move, switching between the floor and high balconies to avoid being overwhelmed. There are multiple ways to handle this fight, but one tactic is to dedicate two players to managing the additional enemies, while the third player focuses solely on the boss.
The lower platform at the end of the arena is often a good spot to escape to, but be aware of incoming drop ships. The Hive may spawn right on top of you, if you aren’t careful.
If you are the last Guardian standing, it is often best to just stay alive until another member of your Fireteam respawns. Only risk reviving a teammate if you are sure you can do so safely. Continue to eat away at Phogoth’s health until it collapses.
With the big guy finally defeated, search the area for loot. If you haven’t already done so, grab the Gold Chest on the lower platform, between the stairs. At the Tower, turn in the Silken Codex to the Cryptarch.