Prima Games eGuides
primagames.com Browse Redeem a code Help
Destiny Signature Series Strategy Guide
Sign in My Guides

Sign in or create an account

We'll email you a link. No password needed, and if you don't have an account yet, the link makes one.

By creating an account or signing in, you agree to our Terms of Service and Privacy Policy.

Have a password?

Had an account on the old eGuides site, or a code from a printed guide? Help and troubleshooting

Sign in with a password

By signing in, you agree to our Terms of Service and Privacy Policy.

Check your email

A sign-in link is on its way. It works once and expires in 15 minutes. Open it and you're in, with an account if you didn't already have one.

Contents

  • Introduction
    • About Destiny
  • Field Manual
    • Welcome to Destiny
    • Your Character
    • Character Classes
      • TITAN
      • HUNTER
      • WARLOCK
    • Combat
    • Vehicles
    • Builds
    • Equipment
    • Customization
    • Inventory
    • Progression
    • Difficulty
    • Navigation
  • TOWER
    • About The Tower
    • A Guardian Rises
    • Overview
    • Tower Plaza – Tower Watch
    • Tower Plaza – Hall of Guardians
    • North Tower
    • Tower Hangar
    • Tower Plaza – Traveler's Walk
    • Bounties
  • EARTH
    • Overview
    • Restoration
    • The Dark Within
    • The Warmind
    • The Last Array
    • STRIKE: The Devils' Lair
    • PATROL: Patrol The Cosmodrome
  • MOON
    • Overview
    • The Dark Beyond
    • The World's Grave
    • The Sword of Crota
    • Shrine of Oryx
    • Chamber of Night
    • STRIKE: The Summoning Pits
    • PATROL: Patrol The Moon
  • VENUS
    • Overview
    • A Stranger's Call
    • Ishtar Collective
    • The Archive
    • Scourge of Winter
    • Eye of a Gate Lord
    • STRIKE: Winter's Run
    • STRIKE: The Nexus
    • RAID: Vault of Glass
    • PATROL: Patrol Venus
  • MARS
    • Overview
    • Exclusion Zone
    • The Garden's Spire
    • The Buried City
    • A Rising Tide
    • The Black Garden
    • STRIKE: Cerberus Vae II
    • STRIKE: Dust Palace
    • PATROL: Patrol the Buried City
  • Codex
    • About the Codex
    • The Fallen
    • The Hive
    • The Vex
    • The Cabal
  • Armory
    • Overview
    • Weapons
    • Weapon Stats
    • Weapon Mods
    • Mod Descriptions
    • Mod Lists
    • Weapon Tables
    • Weapon Drop Locations
    • Weapon Charts
    • Mod Stat Charts
    • Handling Charts
    • Inventory Charts
    • Magazine Charts
    • Range Charts
    • Velocity Charts
    • Reload Charts
    • Stability Charts
    • Recoil Patterns
    • Armor
    • Armor Mods
    • Exotics
  • Crucible
    • Overview
    • PvP Combat
    • Game Modes
    • General Game Mode Advice
    • MAP: Anomaly
    • MAP: Asylum
    • MAP: Bastion
    • MAP: Blind Watch
    • MAP: Burning Shrine
    • MAP: Exodus Blue (timed PlayStation exclusive)
    • MAP: Firebase Delphi
    • MAP: First Light
    • MAP: Rusted Lands
    • MAP: Shores of Time
    • MAP: Twilight Gap
  • Expansion I: The Dark Below
    • Introduction
    • Missions
      • Overview
      • Fist of Crota
      • Siege of the Warmind
      • The Wakening
      • Ritual of Sacrifice
    • Eris Morn Quests
      • Disciples of Crota
      • The Urn of Sacrifice
    • Strikes
      • STRIKE: The Undying Mind (Timed PlayStation Exclusive)
      • STRIKE: The Will of Crota
    • Eris Morn Bounties
    • Crucible Maps
      • Skyshock
      • The Cauldron
      • Pantheon
  • Trophies & Achievements
    • Overview
    • Specialization
    • Gear and Vehicles
    • Kill Enemies
    • Strikes and Raid
    • The Crucible
    • Patrol and More

Destiny Signature Series Strategy Guide › EARTH

Restoration

Restoration

Level 2 Story / The Steppes, Old Russia, Earth

Enemy Race: Fallen

Suggested Damage Types: Arc, Solar (Epic)

Rewards: XP Bonus

Missions Unlocked: The Dark Within, The Warmind
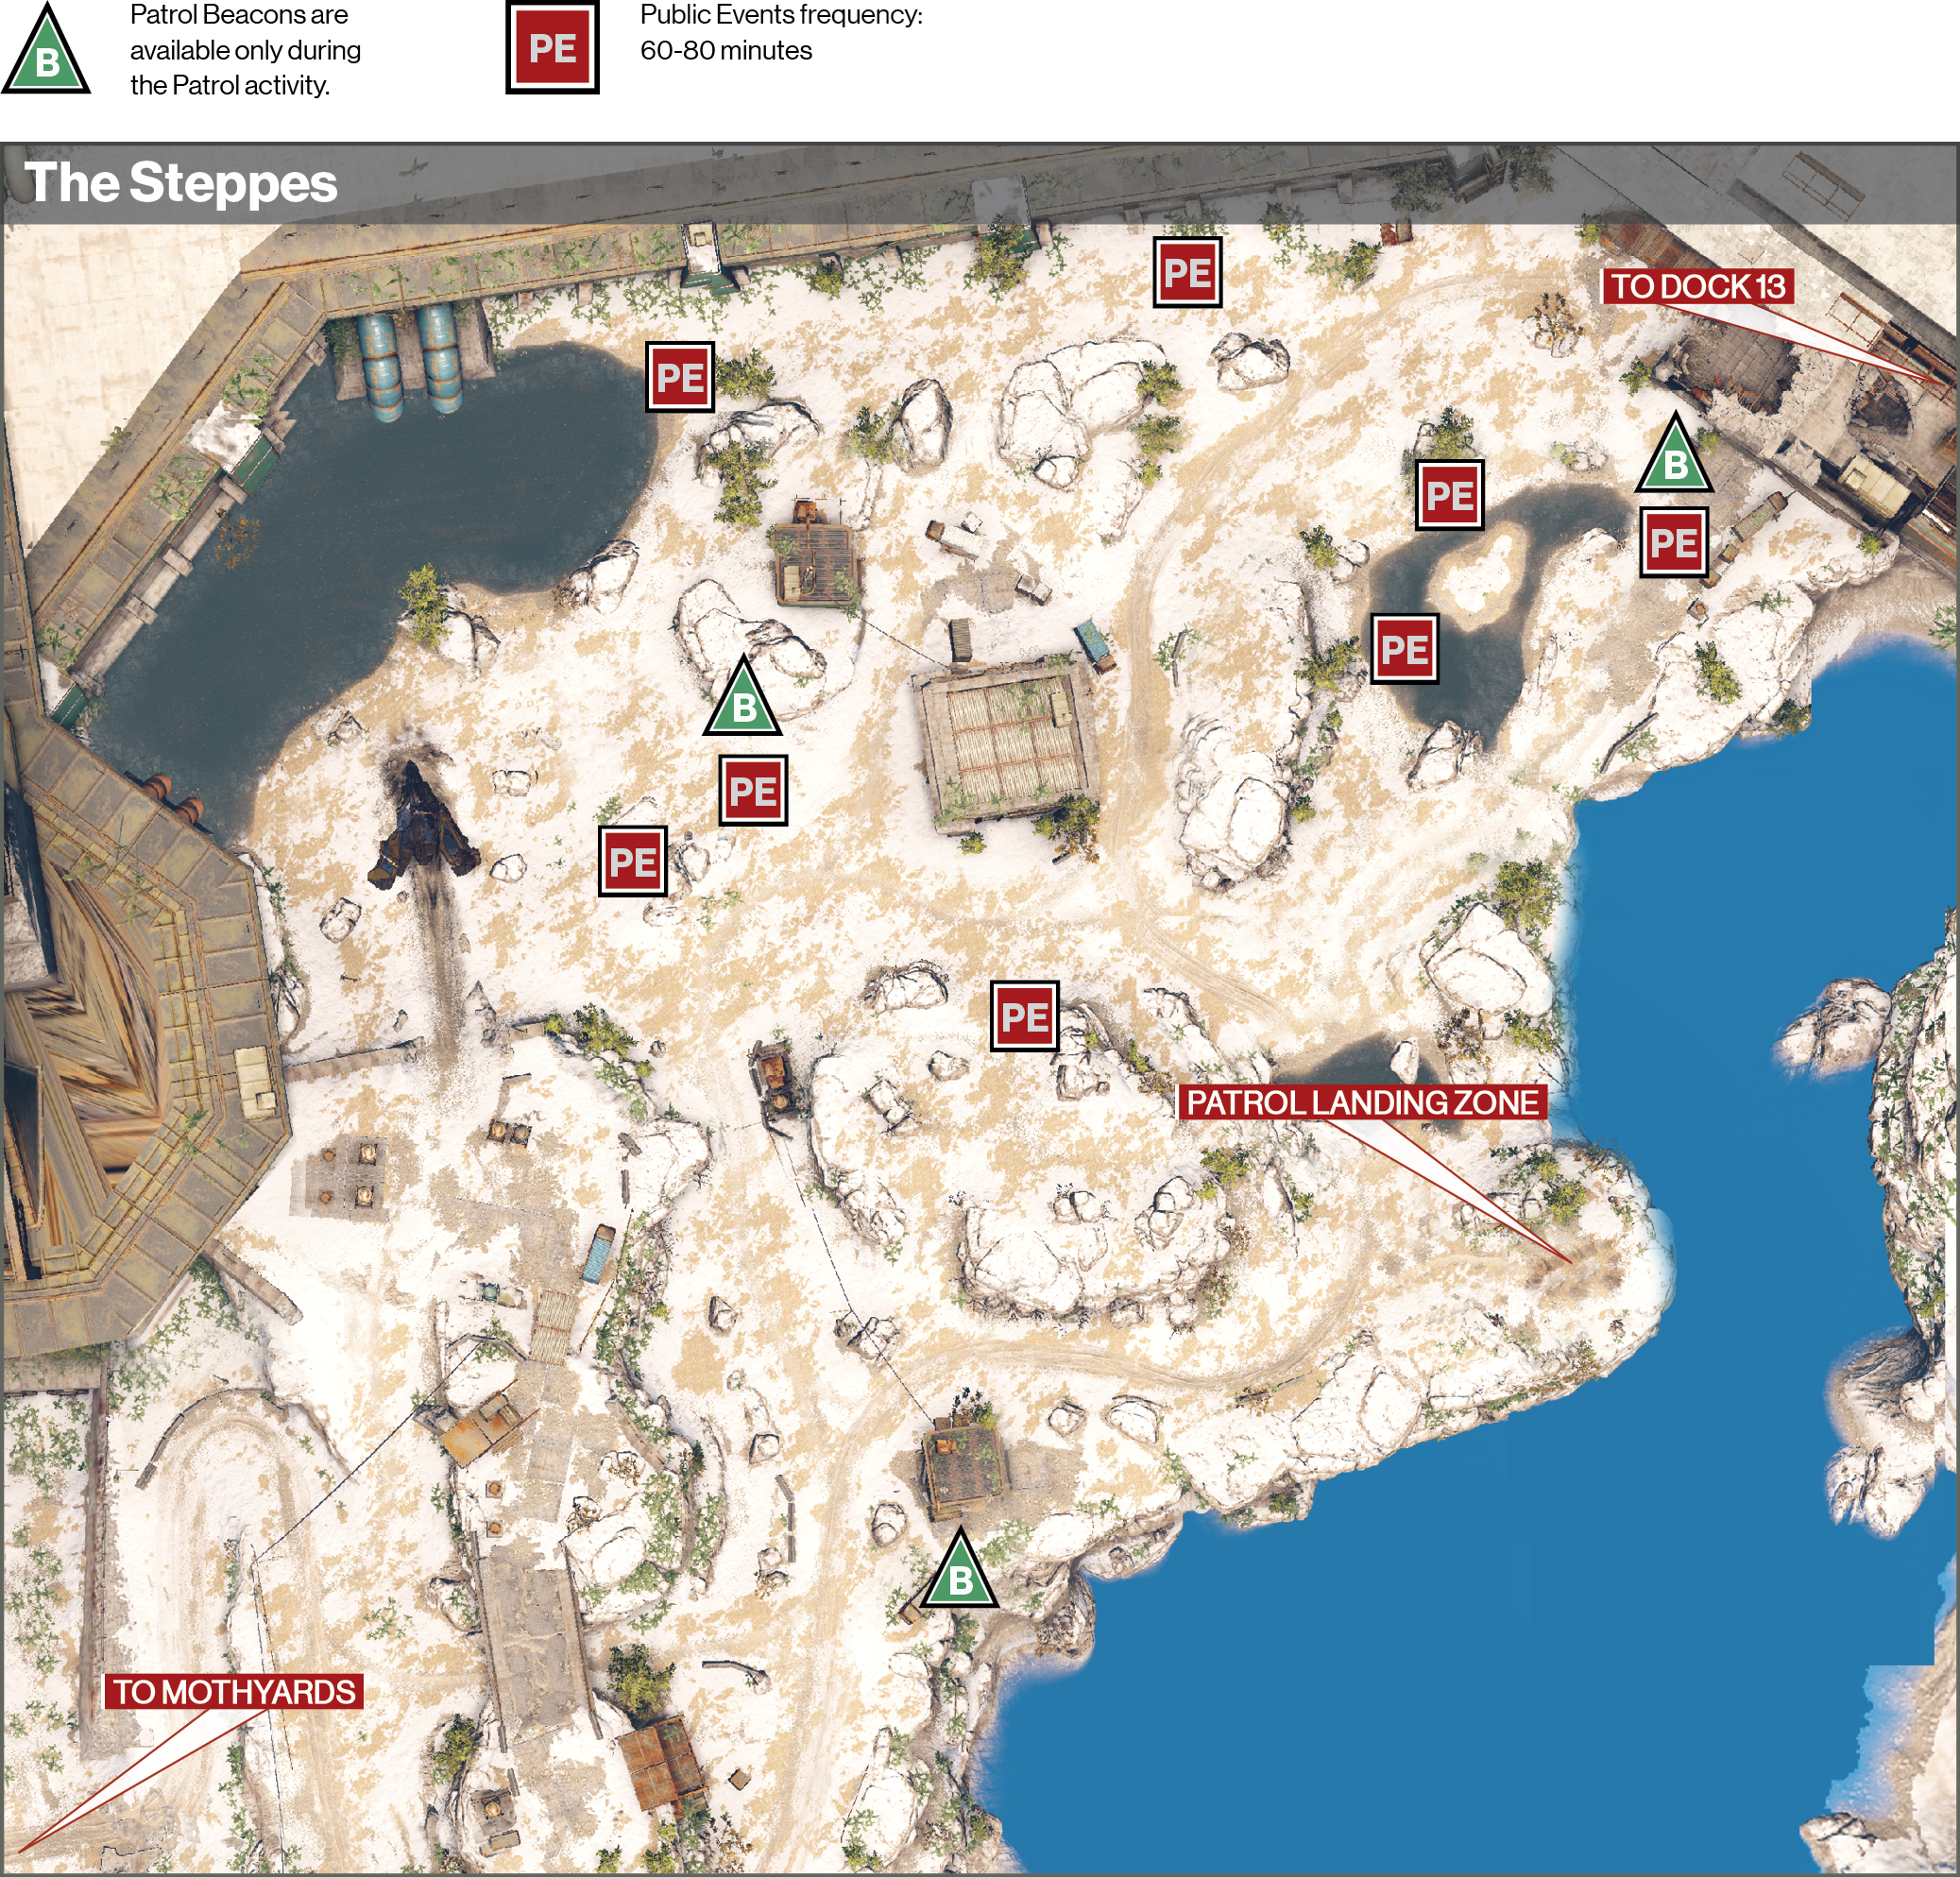
Combatant Changes with Heroic or Epic Mission Modifier

Objective

Combatant Changes

Tip

Defeat the Archon +1 Vandal (Archon’s health reaches 70%)+1 Vandal (Archon’s health reaches 40%) The Vandals are increased in number as well as in Vitality and aggression.

Mission Difficulty

As you select a mission, an information box indicates the level of the enemies you will face. A number close to your character’s level receives a Normal rating. You can increase the difficulty by selecting the middle button before choosing to launch. A level slightly above your character is listed as Hard, and it then progresses to Very Hard and Impossible, requiring you to level up before proceeding. Increasing the difficulty raises the enemies’ levels. Plus, it adds Mission Modifiers. The Heroic and Epic modifiers cause enemies to appear in greater numbers and behave more aggressively. On Epic, more enemies are equipped with shields. Later, additional modifiers are added to increase the challenge in even more ways.

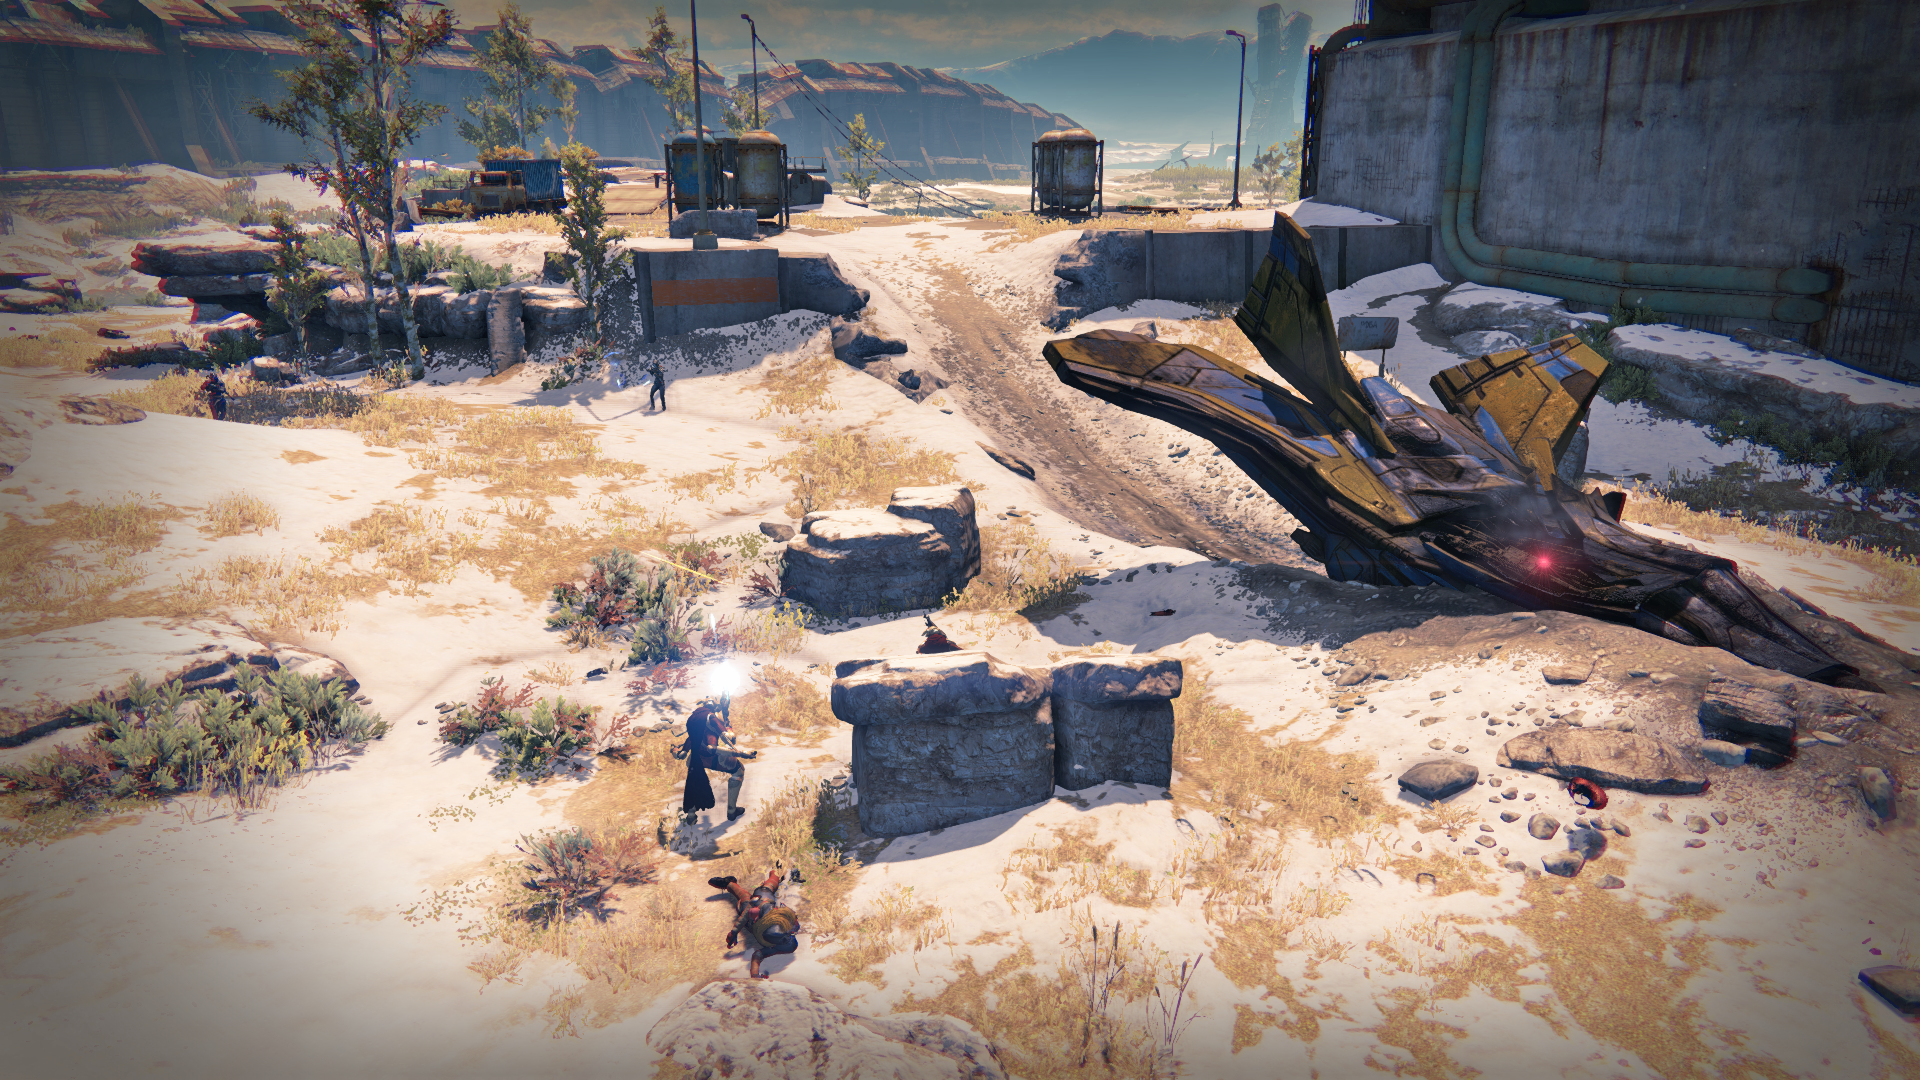
Objective:Recon the Crash Site

Location:The Steppes

The crash site is located ahead in the far corner, on the other side of the rock formation. Fallen Dregs, Vandals, and Shanks wait to the left, right, and near the ship. Once you clear the area of enemies, approach the objective marker and deploy your Ghost by holding the Activate button.
Objective:Access Cosmodrome Network

Fallen ships steadily drop more foes around the area, so keep moving or get ready to fight another wave. Follow the markers into the nearby dilapidated building, following the path down into the basement. Eliminate the handful of Fallen before you find the information hub in the far room. Deploy your Ghost to do some scanning.

Public vs. Private Zones

The Steppes is a public zone, therefore other players may also be fighting the nearby Fallen. You can choose to help your fellow Guardians or you may receive assistance from them. This differs from the buildings through which you fight, as they are private—only you and Fireteam members are present.

Objective:Find a Warp Drive

Location:Dock 13

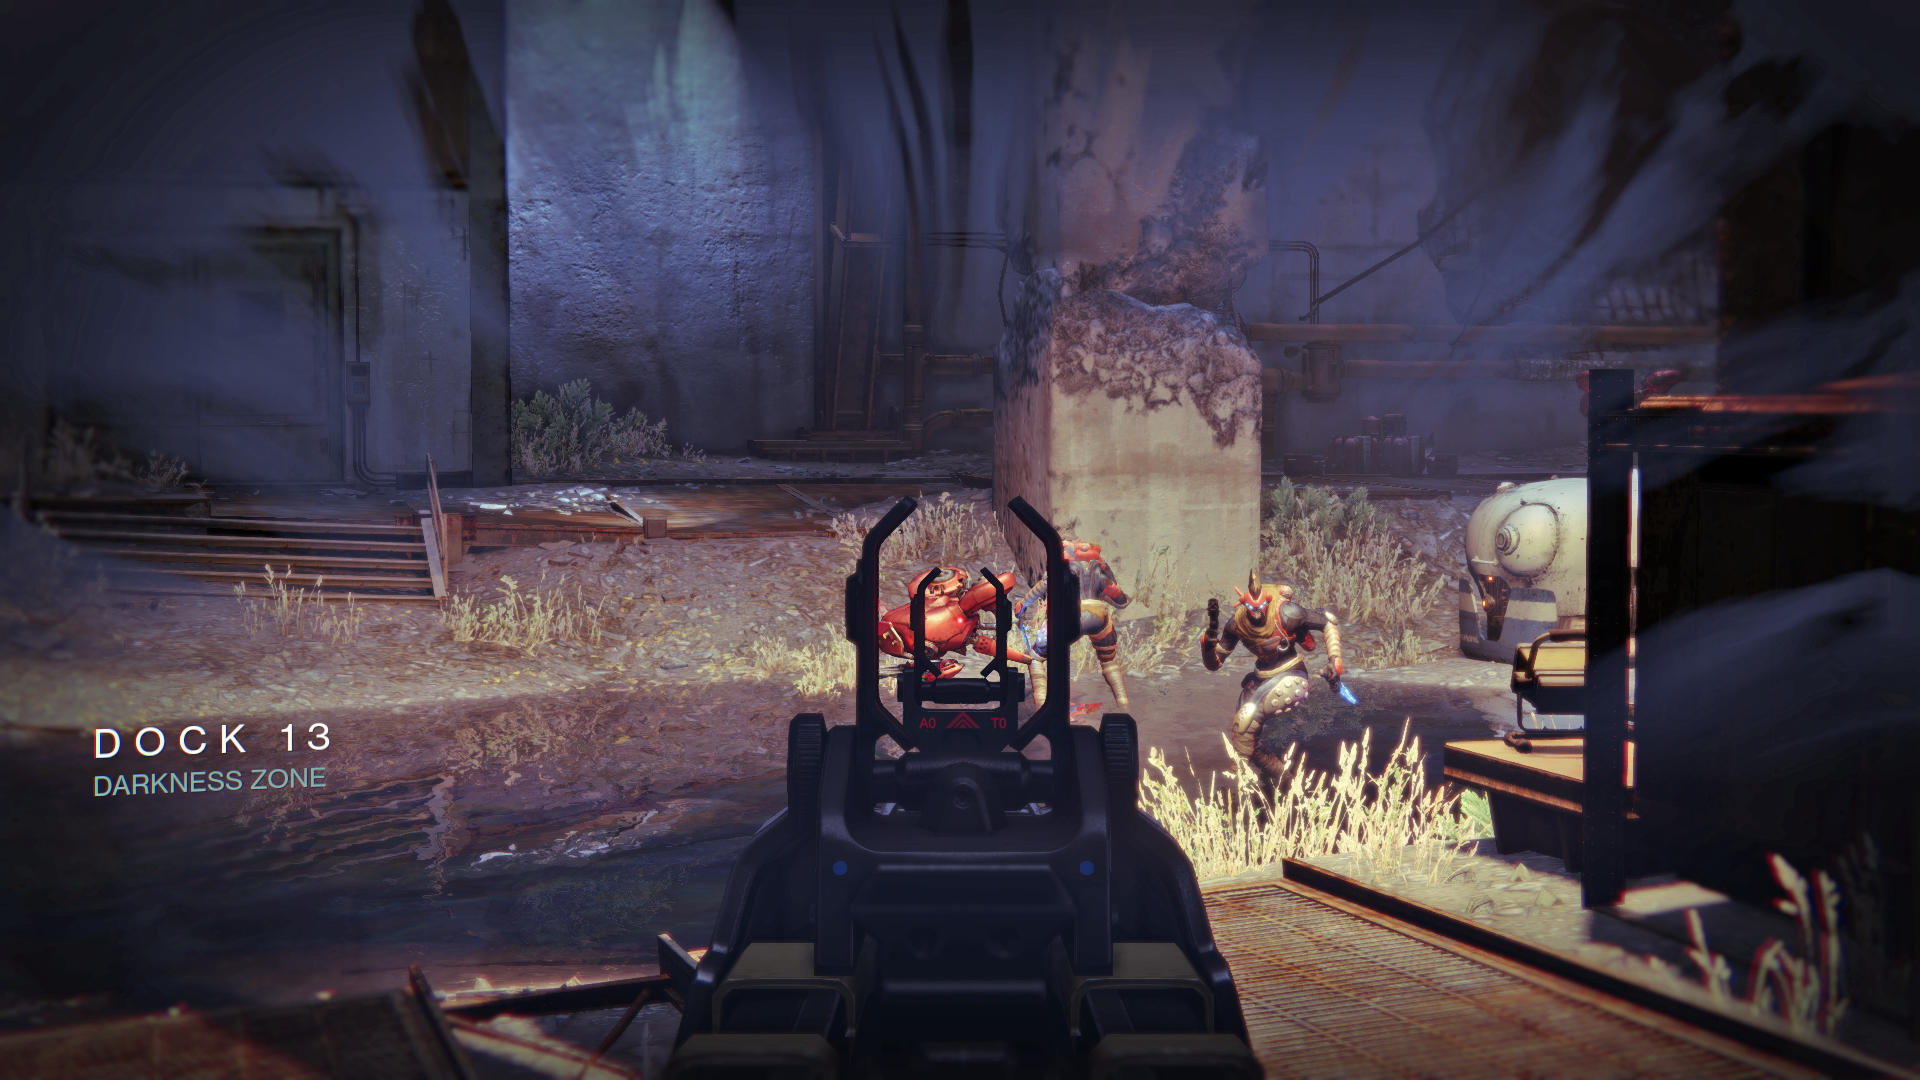
You must return to Dock 13 to get the part you need for your ship. Once you’re back outside, turn right, head toward the building on the other side of the Steppes, and enter the structure. Follow the path back to the Dock 13 hangar, where Fallen have occupied the area. Defeat the Fallen as you stick close to the entrance, ducking inside the previous room if things get hairy.
Gold Chests

As you pass through the building toward Dock 13, a Gold Chest rests in plain view atop a desk. These Gold Chests are hidden throughout the solar system, and they contain better loot than standard chests. Find five of these chests on each planet, though the others are much tougher to find than this first one. A full list of Gold Chest locations are listed with each planet in this guide.

Darkness Zone

The Dock 13 Hangar is designated a Darkness Zone, as the game notes with an icon in the middle of the screen with the words Respawning Restricted. If you die in this zone, you return to the start and respawn in 30 seconds instead of 5. This makes a Fireteam even more valuable in these areas, as an immediate revive is better than waiting a half minute and restarting at the previous checkpoint. Note that there are times later on in which zones are split into multiple checkpoints, such as an objective with more than one wave of enemies.

Objective:Defeat the Archon

Once you take care of the first enemy wave, Riksis, Archon of the Fallen House of Devils, shows up with a crew of Vandals. He is an elite version of a Captain, which makes him bigger and stronger. If you have an effective long-range weapon, pick away at his health from the entrance. Once his health reaches 70% and then 40%, the Vandals are reinforced.

Dodge to the side to avoid his weapon fire as you eat away at his health. Be careful if you move in for a melee attack, as he has a stomp maneuver that pushes you backward. Once you defeat him, clear out the remaining Fallen to complete the mission. As the timer counts down, collect any loot that remains, or exit to Orbit.

Return to the Cryptarch at the Tower to exchange the House Banners artifact for 200 Glimmer.

Keep reading with a free account

The first 3 sections of Destiny Signature Series Strategy Guide are open to everyone. An account opens the rest of it, and every other guide in the archive. It's free, and there's nothing to buy.

Bought guides on the old Prima Games site? Your account and every guide you own moved here, so there's nothing to buy again. Sign in.

Create a free account Or browse our free guides

PreviousOverview NextThe Dark Within