Prima Games eGuides
primagames.com Browse Redeem a code Help
Destiny Signature Series Strategy Guide
Sign in My Guides

Sign in or create an account

We'll email you a link. No password needed, and if you don't have an account yet, the link makes one.

By creating an account or signing in, you agree to our Terms of Service and Privacy Policy.

Have a password?

Had an account on the old eGuides site, or a code from a printed guide? Help and troubleshooting

Sign in with a password

By signing in, you agree to our Terms of Service and Privacy Policy.

Check your email

A sign-in link is on its way. It works once and expires in 15 minutes. Open it and you're in, with an account if you didn't already have one.

Contents

  • Introduction
    • About Destiny
  • Field Manual
    • Welcome to Destiny
    • Your Character
    • Character Classes
      • TITAN
      • HUNTER
      • WARLOCK
    • Combat
    • Vehicles
    • Builds
    • Equipment
    • Customization
    • Inventory
    • Progression
    • Difficulty
    • Navigation
  • TOWER
    • About The Tower
    • A Guardian Rises
    • Overview
    • Tower Plaza – Tower Watch
    • Tower Plaza – Hall of Guardians
    • North Tower
    • Tower Hangar
    • Tower Plaza – Traveler's Walk
    • Bounties
  • EARTH
    • Overview
    • Restoration
    • The Dark Within
    • The Warmind
    • The Last Array
    • STRIKE: The Devils' Lair
    • PATROL: Patrol The Cosmodrome
  • MOON
    • Overview
    • The Dark Beyond
    • The World's Grave
    • The Sword of Crota
    • Shrine of Oryx
    • Chamber of Night
    • STRIKE: The Summoning Pits
    • PATROL: Patrol The Moon
  • VENUS
    • Overview
    • A Stranger's Call
    • Ishtar Collective
    • The Archive
    • Scourge of Winter
    • Eye of a Gate Lord
    • STRIKE: Winter's Run
    • STRIKE: The Nexus
    • RAID: Vault of Glass
    • PATROL: Patrol Venus
  • MARS
    • Overview
    • Exclusion Zone
    • The Garden's Spire
    • The Buried City
    • A Rising Tide
    • The Black Garden
    • STRIKE: Cerberus Vae II
    • STRIKE: Dust Palace
    • PATROL: Patrol the Buried City
  • Codex
    • About the Codex
    • The Fallen
    • The Hive
    • The Vex
    • The Cabal
  • Armory
    • Overview
    • Weapons
    • Weapon Stats
    • Weapon Mods
    • Mod Descriptions
    • Mod Lists
    • Weapon Tables
    • Weapon Drop Locations
    • Weapon Charts
    • Mod Stat Charts
    • Handling Charts
    • Inventory Charts
    • Magazine Charts
    • Range Charts
    • Velocity Charts
    • Reload Charts
    • Stability Charts
    • Recoil Patterns
    • Armor
    • Armor Mods
    • Exotics
  • Crucible
    • Overview
    • PvP Combat
    • Game Modes
    • General Game Mode Advice
    • MAP: Anomaly
    • MAP: Asylum
    • MAP: Bastion
    • MAP: Blind Watch
    • MAP: Burning Shrine
    • MAP: Exodus Blue (timed PlayStation exclusive)
    • MAP: Firebase Delphi
    • MAP: First Light
    • MAP: Rusted Lands
    • MAP: Shores of Time
    • MAP: Twilight Gap
  • Expansion I: The Dark Below
    • Introduction
    • Missions
      • Overview
      • Fist of Crota
      • Siege of the Warmind
      • The Wakening
      • Ritual of Sacrifice
    • Eris Morn Quests
      • Disciples of Crota
      • The Urn of Sacrifice
    • Strikes
      • STRIKE: The Undying Mind (Timed PlayStation Exclusive)
      • STRIKE: The Will of Crota
    • Eris Morn Bounties
    • Crucible Maps
      • Skyshock
      • The Cauldron
      • Pantheon
  • Trophies & Achievements
    • Overview
    • Specialization
    • Gear and Vehicles
    • Kill Enemies
    • Strikes and Raid
    • The Crucible
    • Patrol and More

Destiny Signature Series Strategy Guide › EARTH

The Last Array

The Last Array

Level 5 Story / Mothyards, Old Russia, Earth

Enemy Races: Fallen, Hive

Suggested Damage Types: Arc, Solar

Rewards: XP Bonus, Heavy Weapon Upgrade

Mission Unlocked: -

Combatant Changes with Heroic or Epic Mission Modifier

Objective

Combatant Changes

Tip

Find the Control Station – First Corridor +1 Sword Vandal Watch out for the two Vandals to team up together.
Find the Control Station – Second Corridor +1 Rifle Vandal+2 Shanks A Solar weapon is helpful on Epic, so you can tear through the Shanks’ shields faster.
Find the Control Station – Outdoor Platform +2 Rifle Vandals —
Find the Control Station – Outdoors Before Control Room +1 Sniper Vandal —
Find the Control Station – Control Room +2 Rifle Vandals —
Secure the Array – Wave 1 +1 Wizard+3 Thrall Get the Thrall out of the way if possible, as the two Wizards can be a nightmare. A Solar gun helps eliminate their shields quicker.
Secure the Array – Wave 2 +1 Cleaver Knight+2 Acolytes Carrying an Arc weapon is beneficial on Epic, as Knights gain an Arc shield.
Secure the Array – Wave 3 +2 Acolytes This adds to the huge number of Acolytes firing at you while you concentrate on the Knight. Keep moving and use cover whenever possible.

Objective:Get to Skywatch

Location:Lunar Complex

Enter the Lunar Complex just as you did before, and follow the path back upstairs. The dark room is now quiet. When you reach the top, Hive Acolytes are fending off an attack by the Fallen. You can let this play out or sweep in and eliminate both sides. Dregs, Vandals, and a Captain occupy the second room. Fight through them and follow a narrow corridor until you’re back outside at the Skywatch.

Objective:Recover the Ghosts

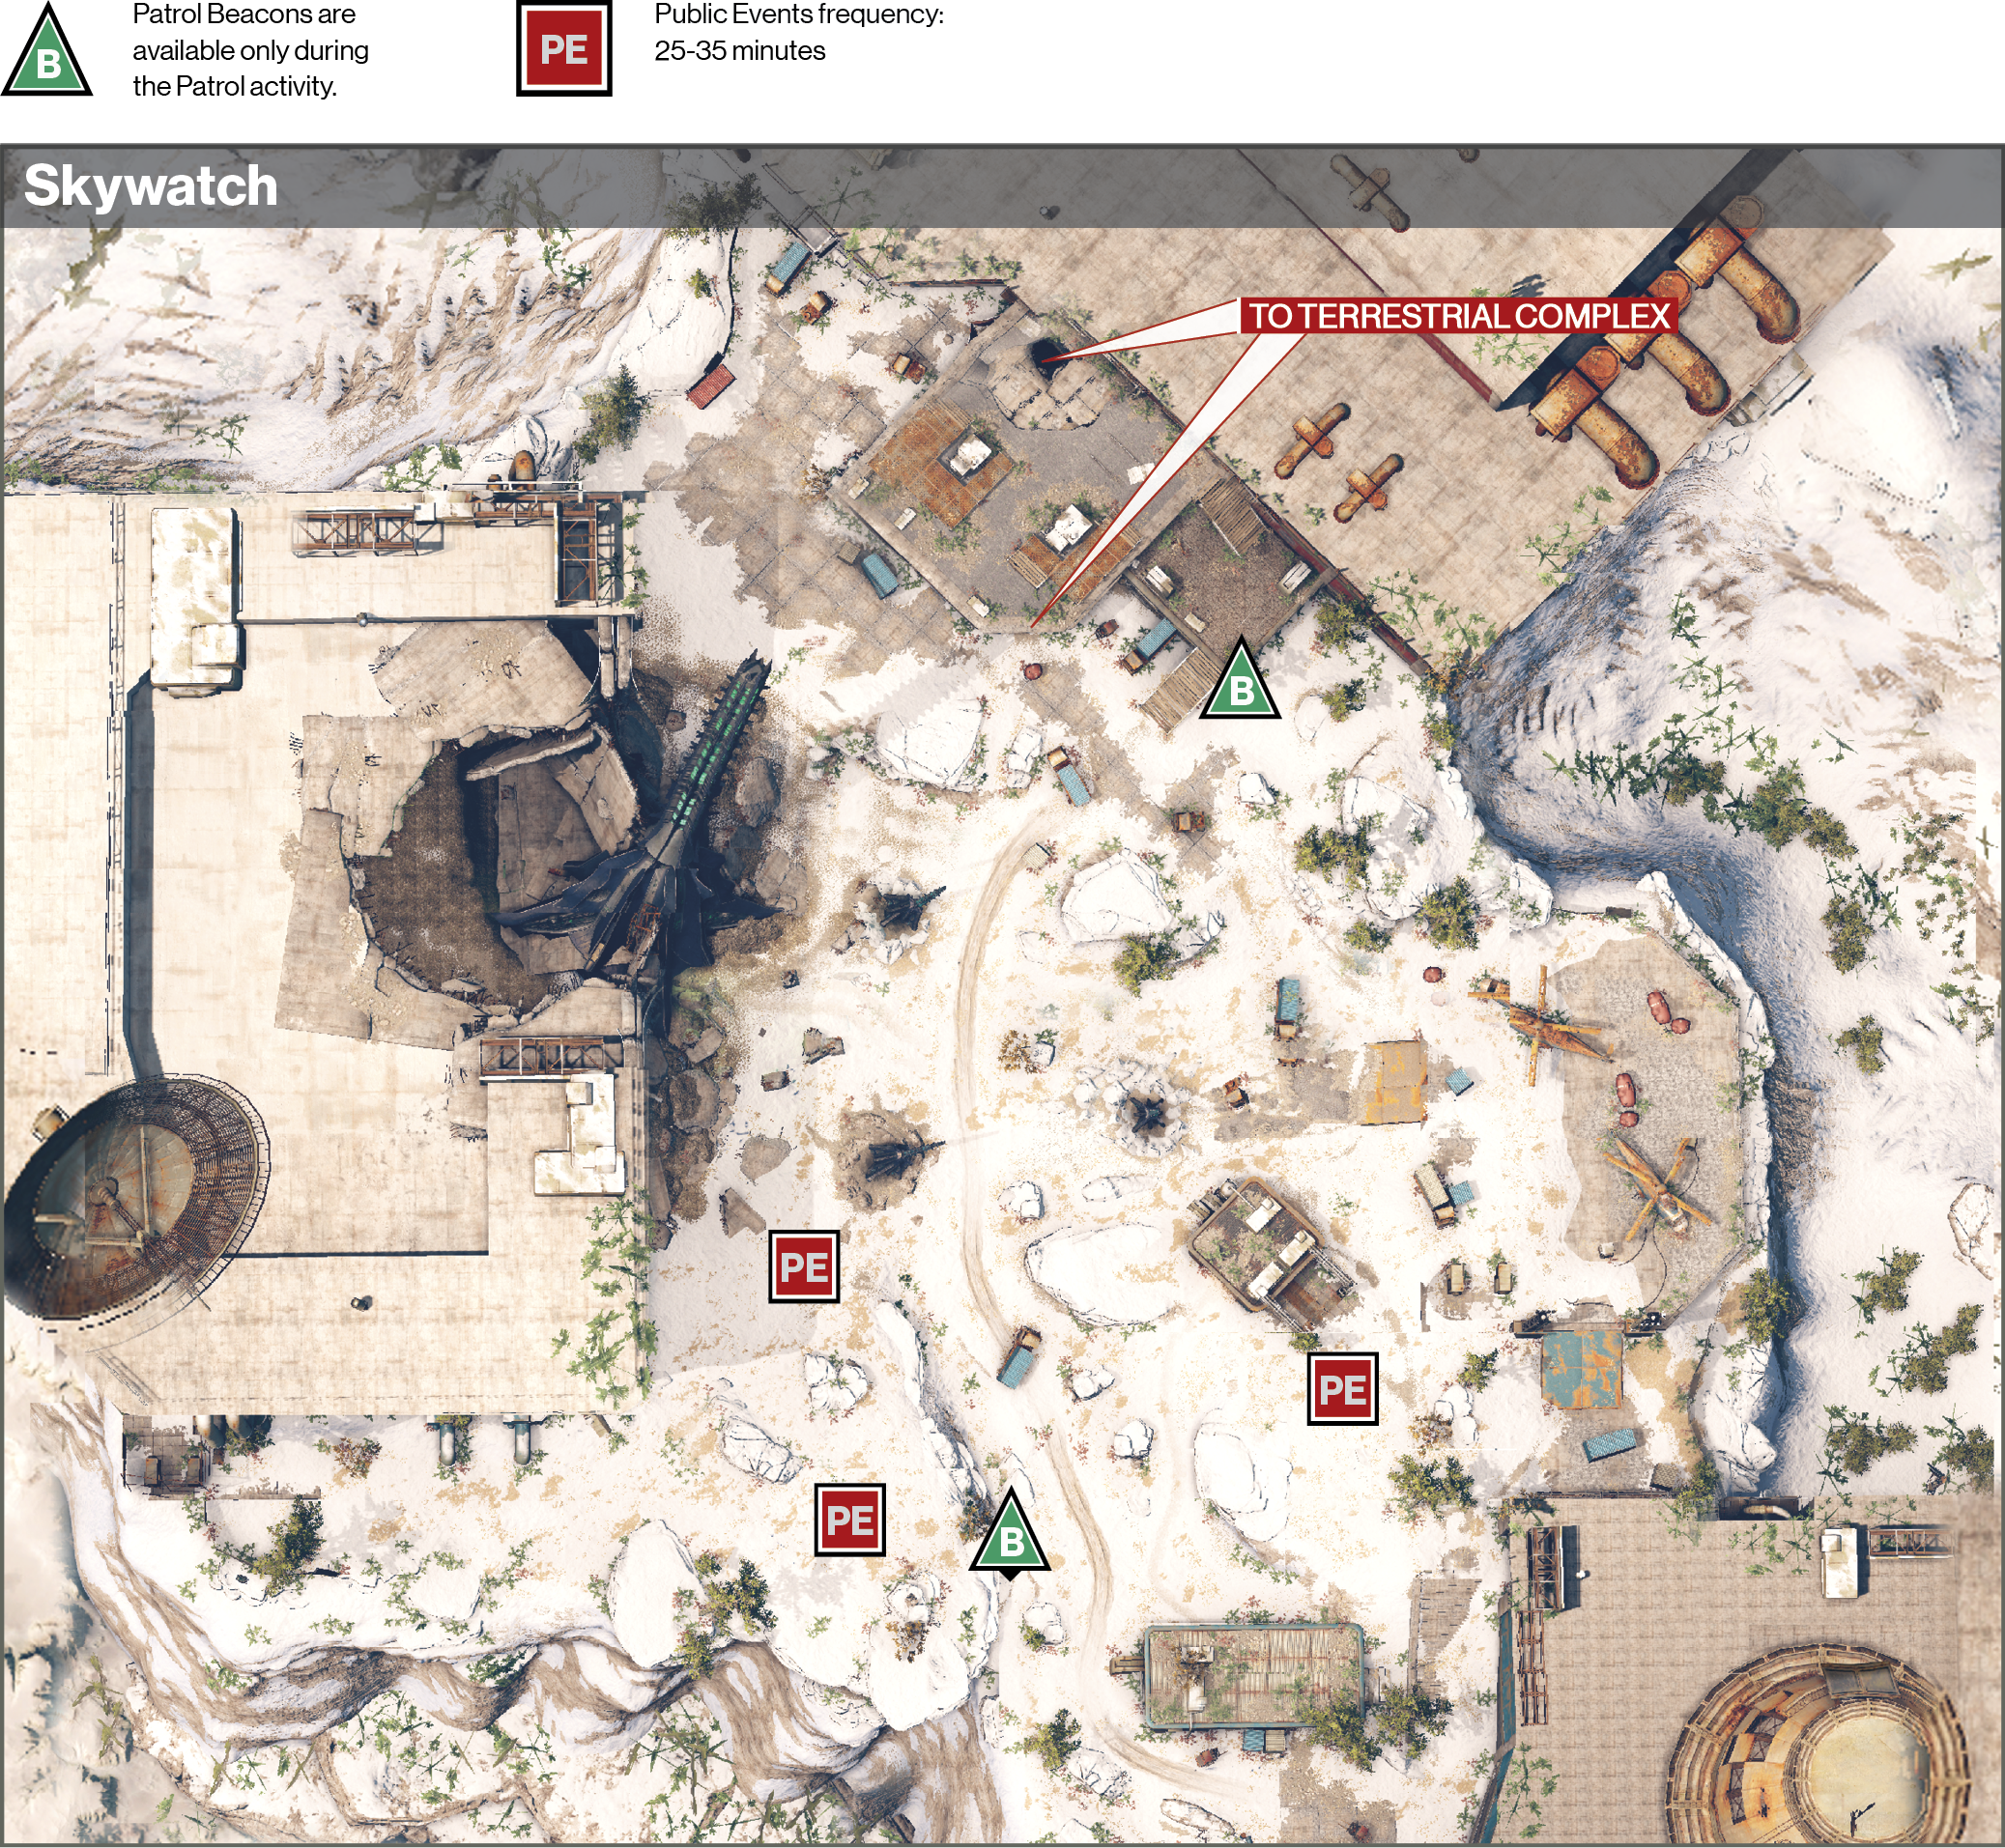
Location:Skywatch

Fallen and Hive fight it out in this public space. Take out any Fallen you see. The Vandals drop Dead Ghosts. Once you find the one you need, continue to the opposite side of the Skywatch. Fight your way into the building on the right.

Objective:Find the Control Station

Location:Terrestrial Complex

Once inside, head right and continue into a Darkness Zone. Several Dregs and Vandals occupy the building. At the final room before you return outside, camp out at the two windows and whittle down the Fallen out there—pay close attention to the Captain on the right. Watch out for incoming grenades from the Dregs. The Control Station is just around the corner, so move around the platform’s perimeter and finish off any remaining foes. Watch for Stealth Vandals to attack as you near your destination. Backpedal as you take down each one. A Captain and a few minions wait inside. Once the area is clear, deploy your Ghost at the computer.

Objective:Secure the Array – Wave 1
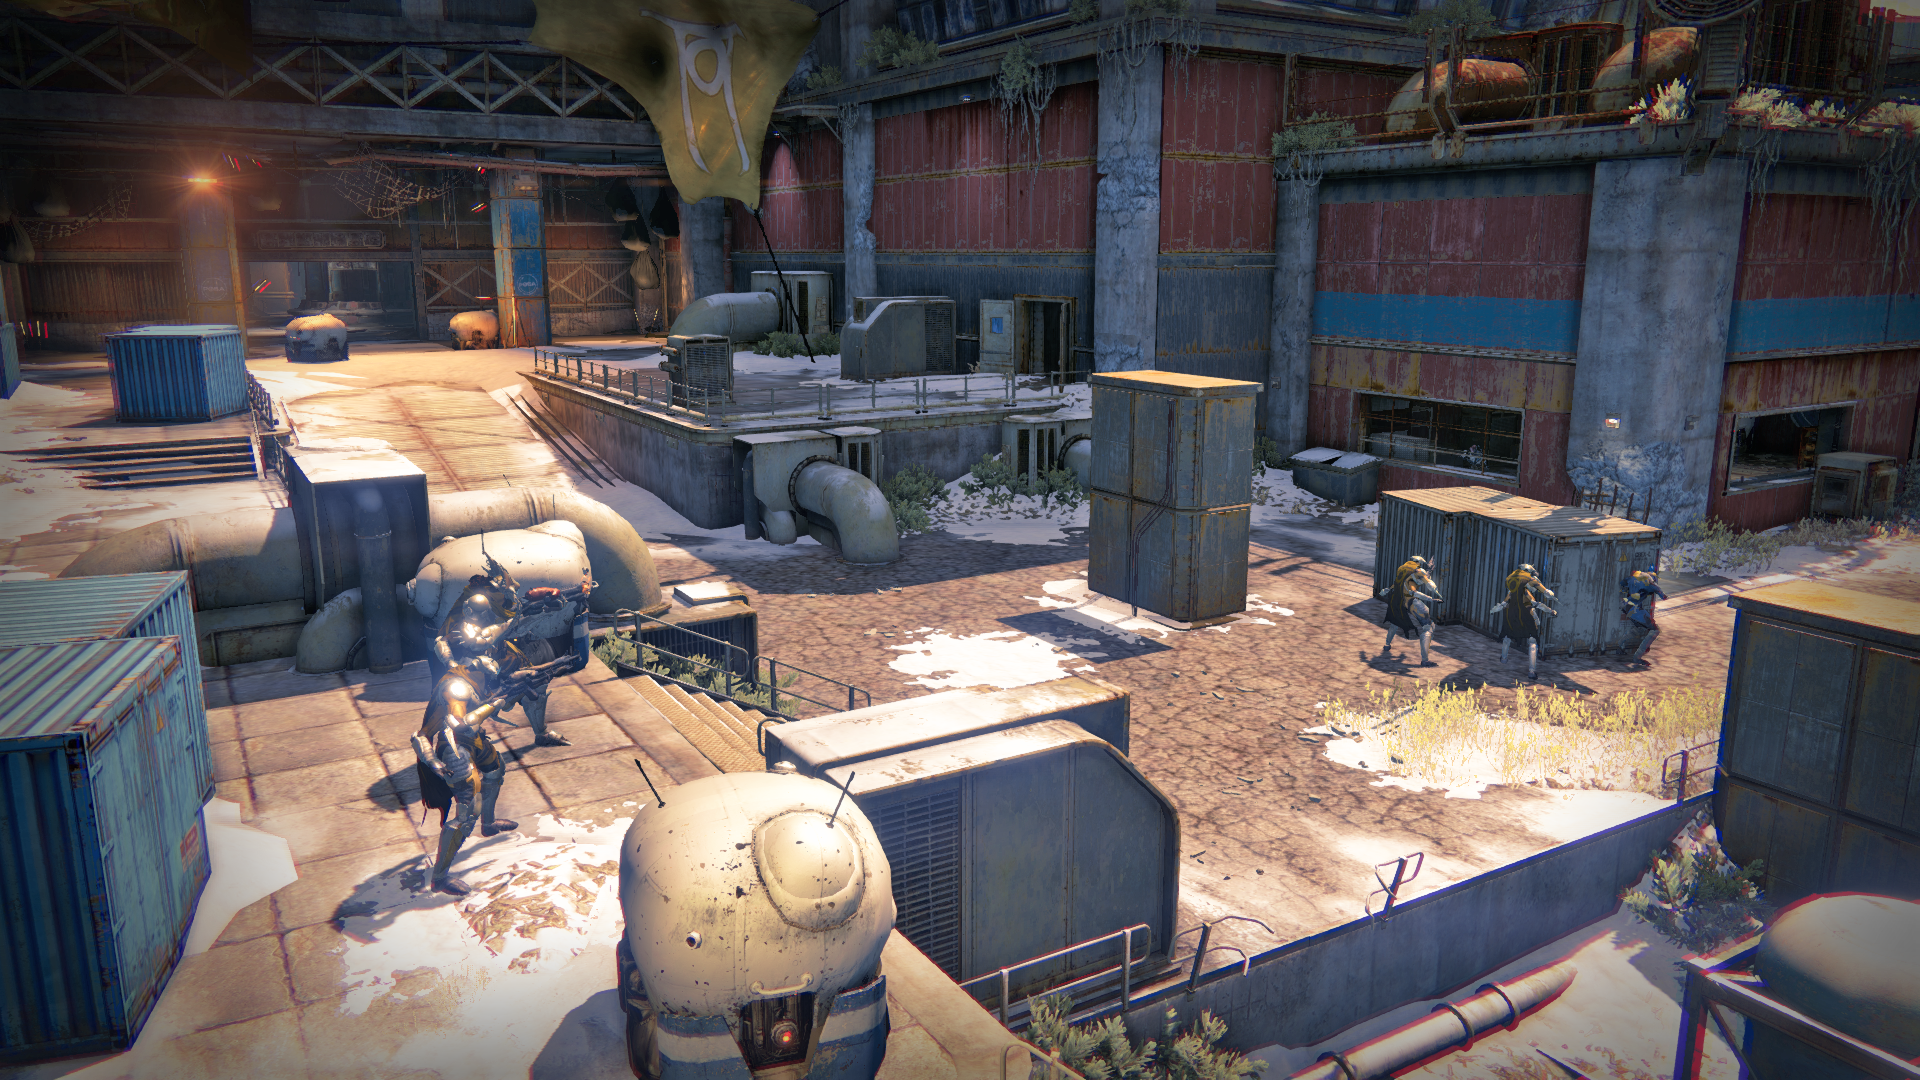
Top off all of your weapons, pull out a close-combat gun, and take cover behind the computers on the left. As the array activates, a Hive ship appears outside. Be careful that you don’t get caught staring, as four darkness projectiles are fired from the turrets. A Wizard appears with a slew of Thrall. Mow them down as they rush your position, and then handle the Wizard.

Wave 2

A second ship shows up, unloading more Thrall, along with Acolytes and a Cleaver Knight. Take care of the Thrall as they come at you, then pick off the Acolytes outside. The Knight can deliver quite a bit of damage if you allow it to get too close. Try to take it out with a high-powered gun, as it can put up a wall of darkness and heal itself.

Wave 3

A third wave then drops in, consisting of more Thrall, an army of Acolytes, and a Hallowed Knight. This is a special Knight with more Vitality and a very powerful gun. Steer clear of him as you fight the smaller foes, or eliminate him quickly with your super ability and high-powered weaponry.

Objective:Return to Ghost

With the area clear of Hive, return to the computer to complete the mission. Speak to the Gunsmith at The Tower to receive your choice of a Heavy Weapon.

An Invitation to The Crucible

Once you hit Level 5, Lord Shaxx invites you to participate in The Crucible. Talk to him in the hallway outside the Hall of Guardians. Now you can hone your skills against other Guardians in a variety of PvP modes.

Keep reading with a free account

The first 3 sections of Destiny Signature Series Strategy Guide are open to everyone. An account opens the rest of it, and every other guide in the archive. It's free, and there's nothing to buy.

Bought guides on the old Prima Games site? Your account and every guide you own moved here, so there's nothing to buy again. Sign in.

Create a free account Or browse our free guides

PreviousThe Warmind NextSTRIKE: The Devils' Lair