Prima Games eGuides
primagames.com Browse Redeem a code Help
Destiny Signature Series Strategy Guide
Sign in My Guides

Sign in or create an account

We'll email you a link. No password needed, and if you don't have an account yet, the link makes one.

By creating an account or signing in, you agree to our Terms of Service and Privacy Policy.

Have a password?

Had an account on the old eGuides site, or a code from a printed guide? Help and troubleshooting

Sign in with a password

By signing in, you agree to our Terms of Service and Privacy Policy.

Check your email

A sign-in link is on its way. It works once and expires in 15 minutes. Open it and you're in, with an account if you didn't already have one.

Contents

  • Introduction
    • About Destiny
  • Field Manual
    • Welcome to Destiny
    • Your Character
    • Character Classes
      • TITAN
      • HUNTER
      • WARLOCK
    • Combat
    • Vehicles
    • Builds
    • Equipment
    • Customization
    • Inventory
    • Progression
    • Difficulty
    • Navigation
  • TOWER
    • About The Tower
    • A Guardian Rises
    • Overview
    • Tower Plaza – Tower Watch
    • Tower Plaza – Hall of Guardians
    • North Tower
    • Tower Hangar
    • Tower Plaza – Traveler's Walk
    • Bounties
  • EARTH
    • Overview
    • Restoration
    • The Dark Within
    • The Warmind
    • The Last Array
    • STRIKE: The Devils' Lair
    • PATROL: Patrol The Cosmodrome
  • MOON
    • Overview
    • The Dark Beyond
    • The World's Grave
    • The Sword of Crota
    • Shrine of Oryx
    • Chamber of Night
    • STRIKE: The Summoning Pits
    • PATROL: Patrol The Moon
  • VENUS
    • Overview
    • A Stranger's Call
    • Ishtar Collective
    • The Archive
    • Scourge of Winter
    • Eye of a Gate Lord
    • STRIKE: Winter's Run
    • STRIKE: The Nexus
    • RAID: Vault of Glass
    • PATROL: Patrol Venus
  • MARS
    • Overview
    • Exclusion Zone
    • The Garden's Spire
    • The Buried City
    • A Rising Tide
    • The Black Garden
    • STRIKE: Cerberus Vae II
    • STRIKE: Dust Palace
    • PATROL: Patrol the Buried City
  • Codex
    • About the Codex
    • The Fallen
    • The Hive
    • The Vex
    • The Cabal
  • Armory
    • Overview
    • Weapons
    • Weapon Stats
    • Weapon Mods
    • Mod Descriptions
    • Mod Lists
    • Weapon Tables
    • Weapon Drop Locations
    • Weapon Charts
    • Mod Stat Charts
    • Handling Charts
    • Inventory Charts
    • Magazine Charts
    • Range Charts
    • Velocity Charts
    • Reload Charts
    • Stability Charts
    • Recoil Patterns
    • Armor
    • Armor Mods
    • Exotics
  • Crucible
    • Overview
    • PvP Combat
    • Game Modes
    • General Game Mode Advice
    • MAP: Anomaly
    • MAP: Asylum
    • MAP: Bastion
    • MAP: Blind Watch
    • MAP: Burning Shrine
    • MAP: Exodus Blue (timed PlayStation exclusive)
    • MAP: Firebase Delphi
    • MAP: First Light
    • MAP: Rusted Lands
    • MAP: Shores of Time
    • MAP: Twilight Gap
  • Expansion I: The Dark Below
    • Introduction
    • Missions
      • Overview
      • Fist of Crota
      • Siege of the Warmind
      • The Wakening
      • Ritual of Sacrifice
    • Eris Morn Quests
      • Disciples of Crota
      • The Urn of Sacrifice
    • Strikes
      • STRIKE: The Undying Mind (Timed PlayStation Exclusive)
      • STRIKE: The Will of Crota
    • Eris Morn Bounties
    • Crucible Maps
      • Skyshock
      • The Cauldron
      • Pantheon
  • Trophies & Achievements
    • Overview
    • Specialization
    • Gear and Vehicles
    • Kill Enemies
    • Strikes and Raid
    • The Crucible
    • Patrol and More

Destiny Signature Series Strategy Guide › MARS

A Rising Tide

A Rising Tide

Level 17 Story / The Barrens, Meridian Bay, Mars

Enemy Race: Vex

Suggested Damage Type: Void, Arc (Epic)

Rewards: XP Bonus

Mission Unlocked: -

Combatant Changes with Heroic or Epic Mission Modifier

Objective

Combatant Changes

Tip

Navigate the Dark +2 Harpies —
Navigate the Dark – Move past center of room -3 Goblins+2 Hobgoblins —
Find the Vex Source - Cyclops +2 Hobgoblins+3 Goblins —
Destroy Warp Gates – For each gate until it is destroyed Reinforcements emerge from gate every 6-12 seconds instead of 12-24 seconds. On the higher difficulties, it is even more important to destroy the gates as soon as possible.
Objective: Reach the Scablands
Location: The Barrens

Take your Sparrow over to Scablands.

Objective: Access Vex Conflux
Location: Scablands

Drive past the Cabal to the conflux on the far side of the zone. As you arrive, a Minotaur and a couple Goblins spawn, so take care of them before deploying your Ghost to access the device.
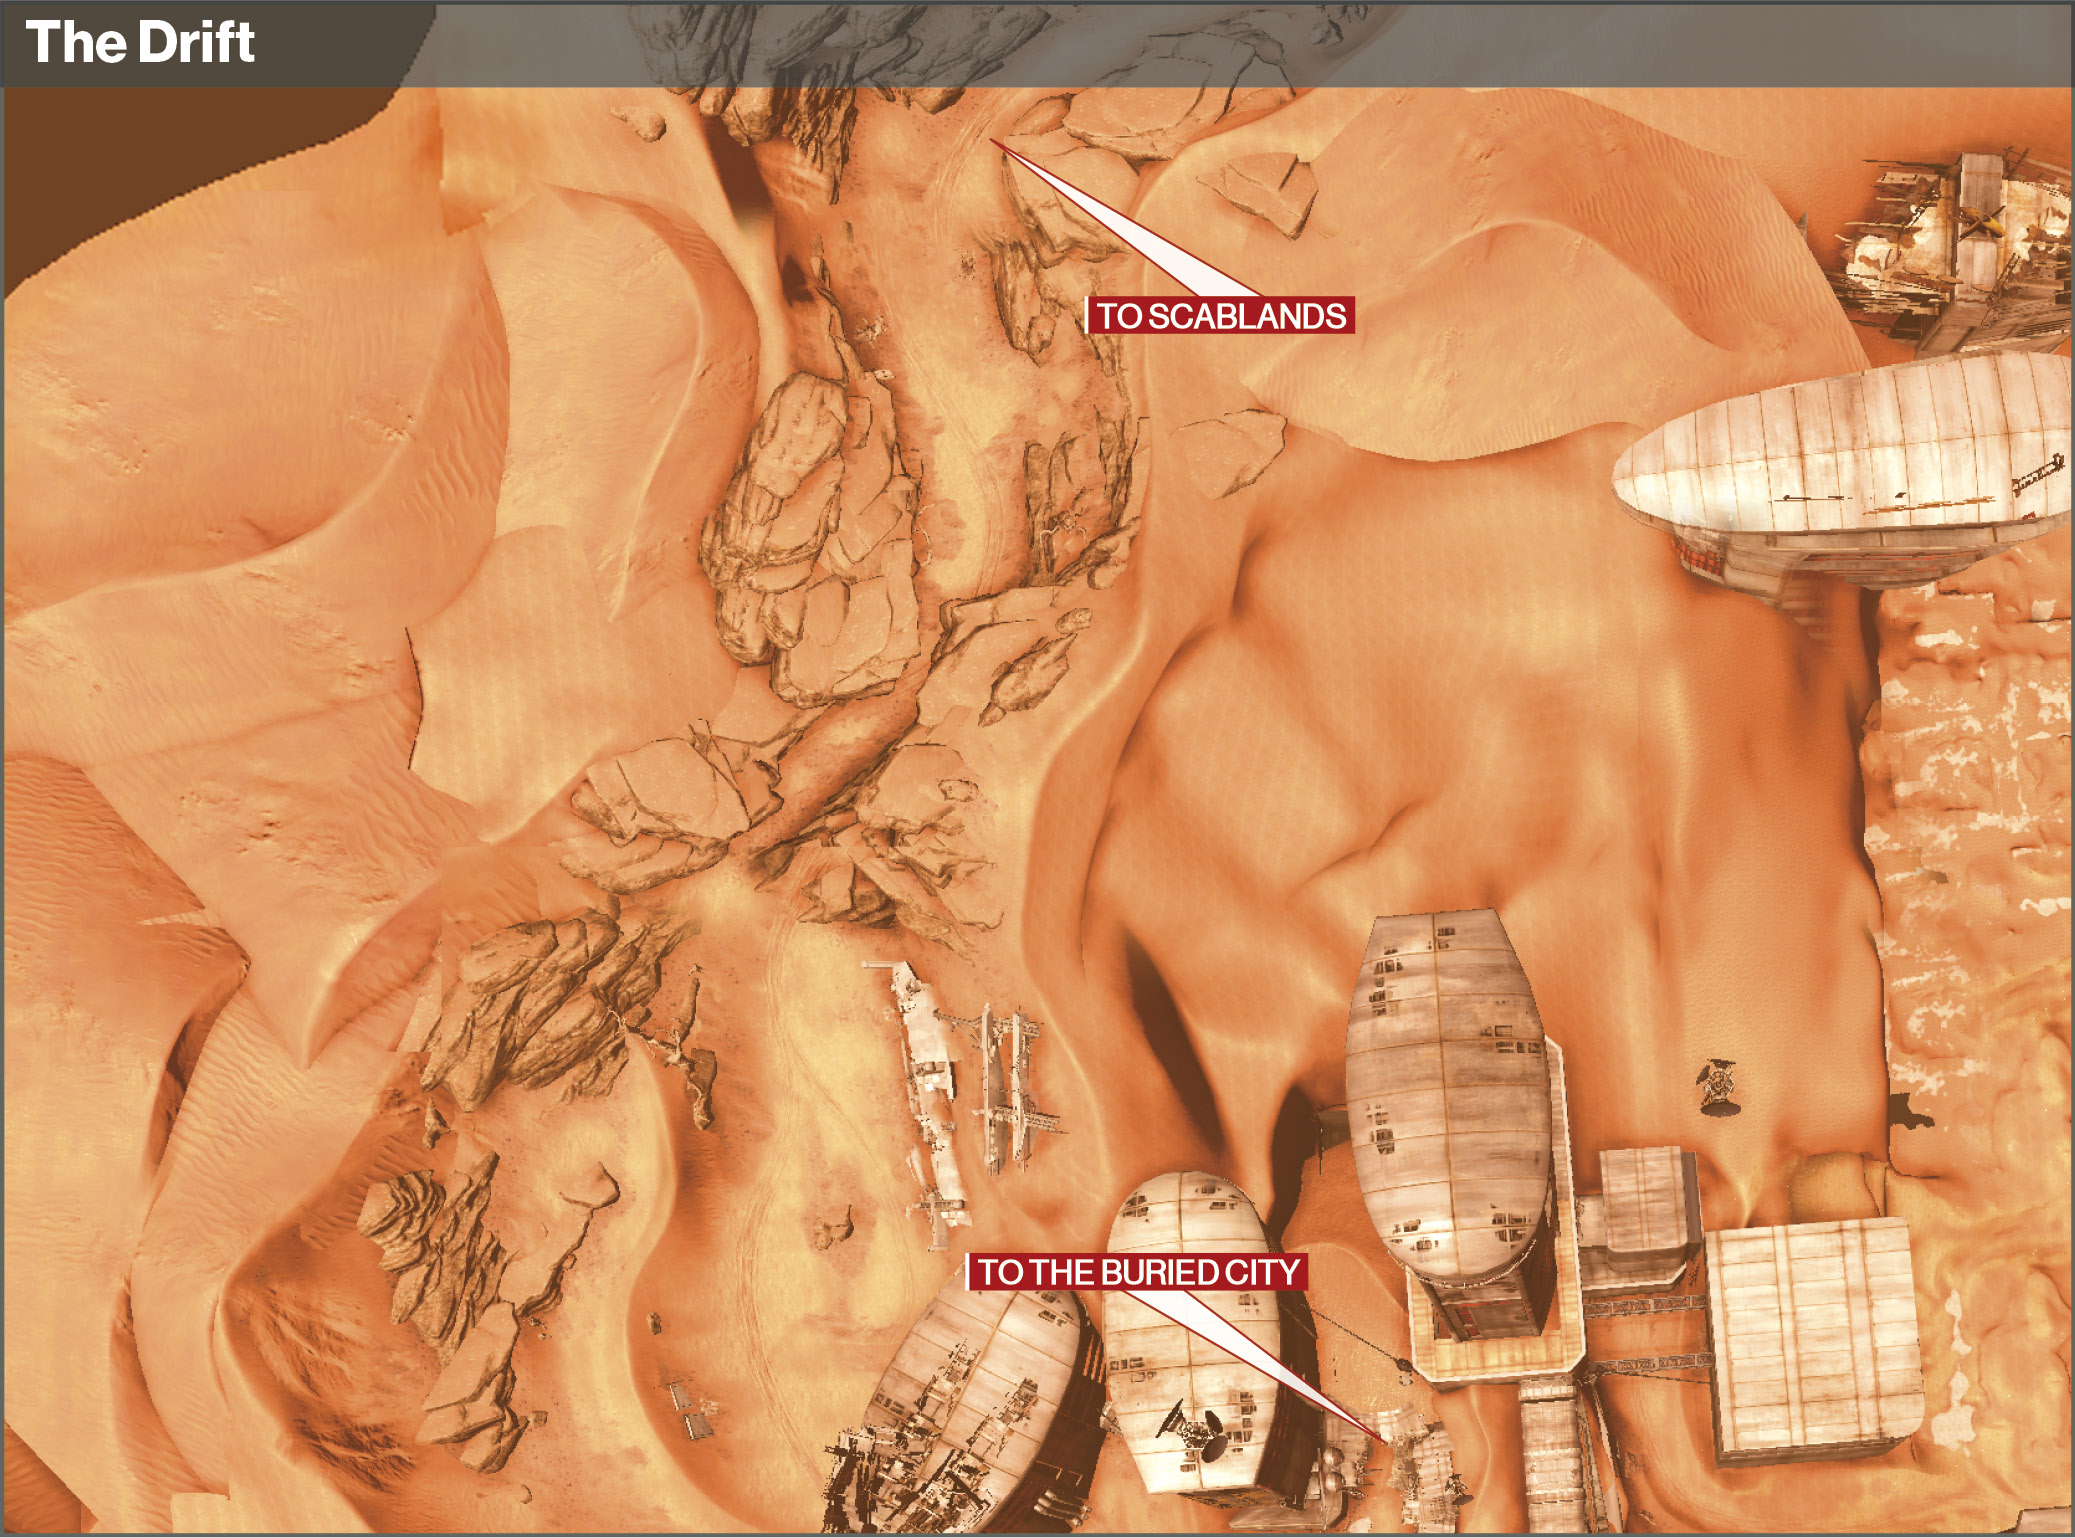
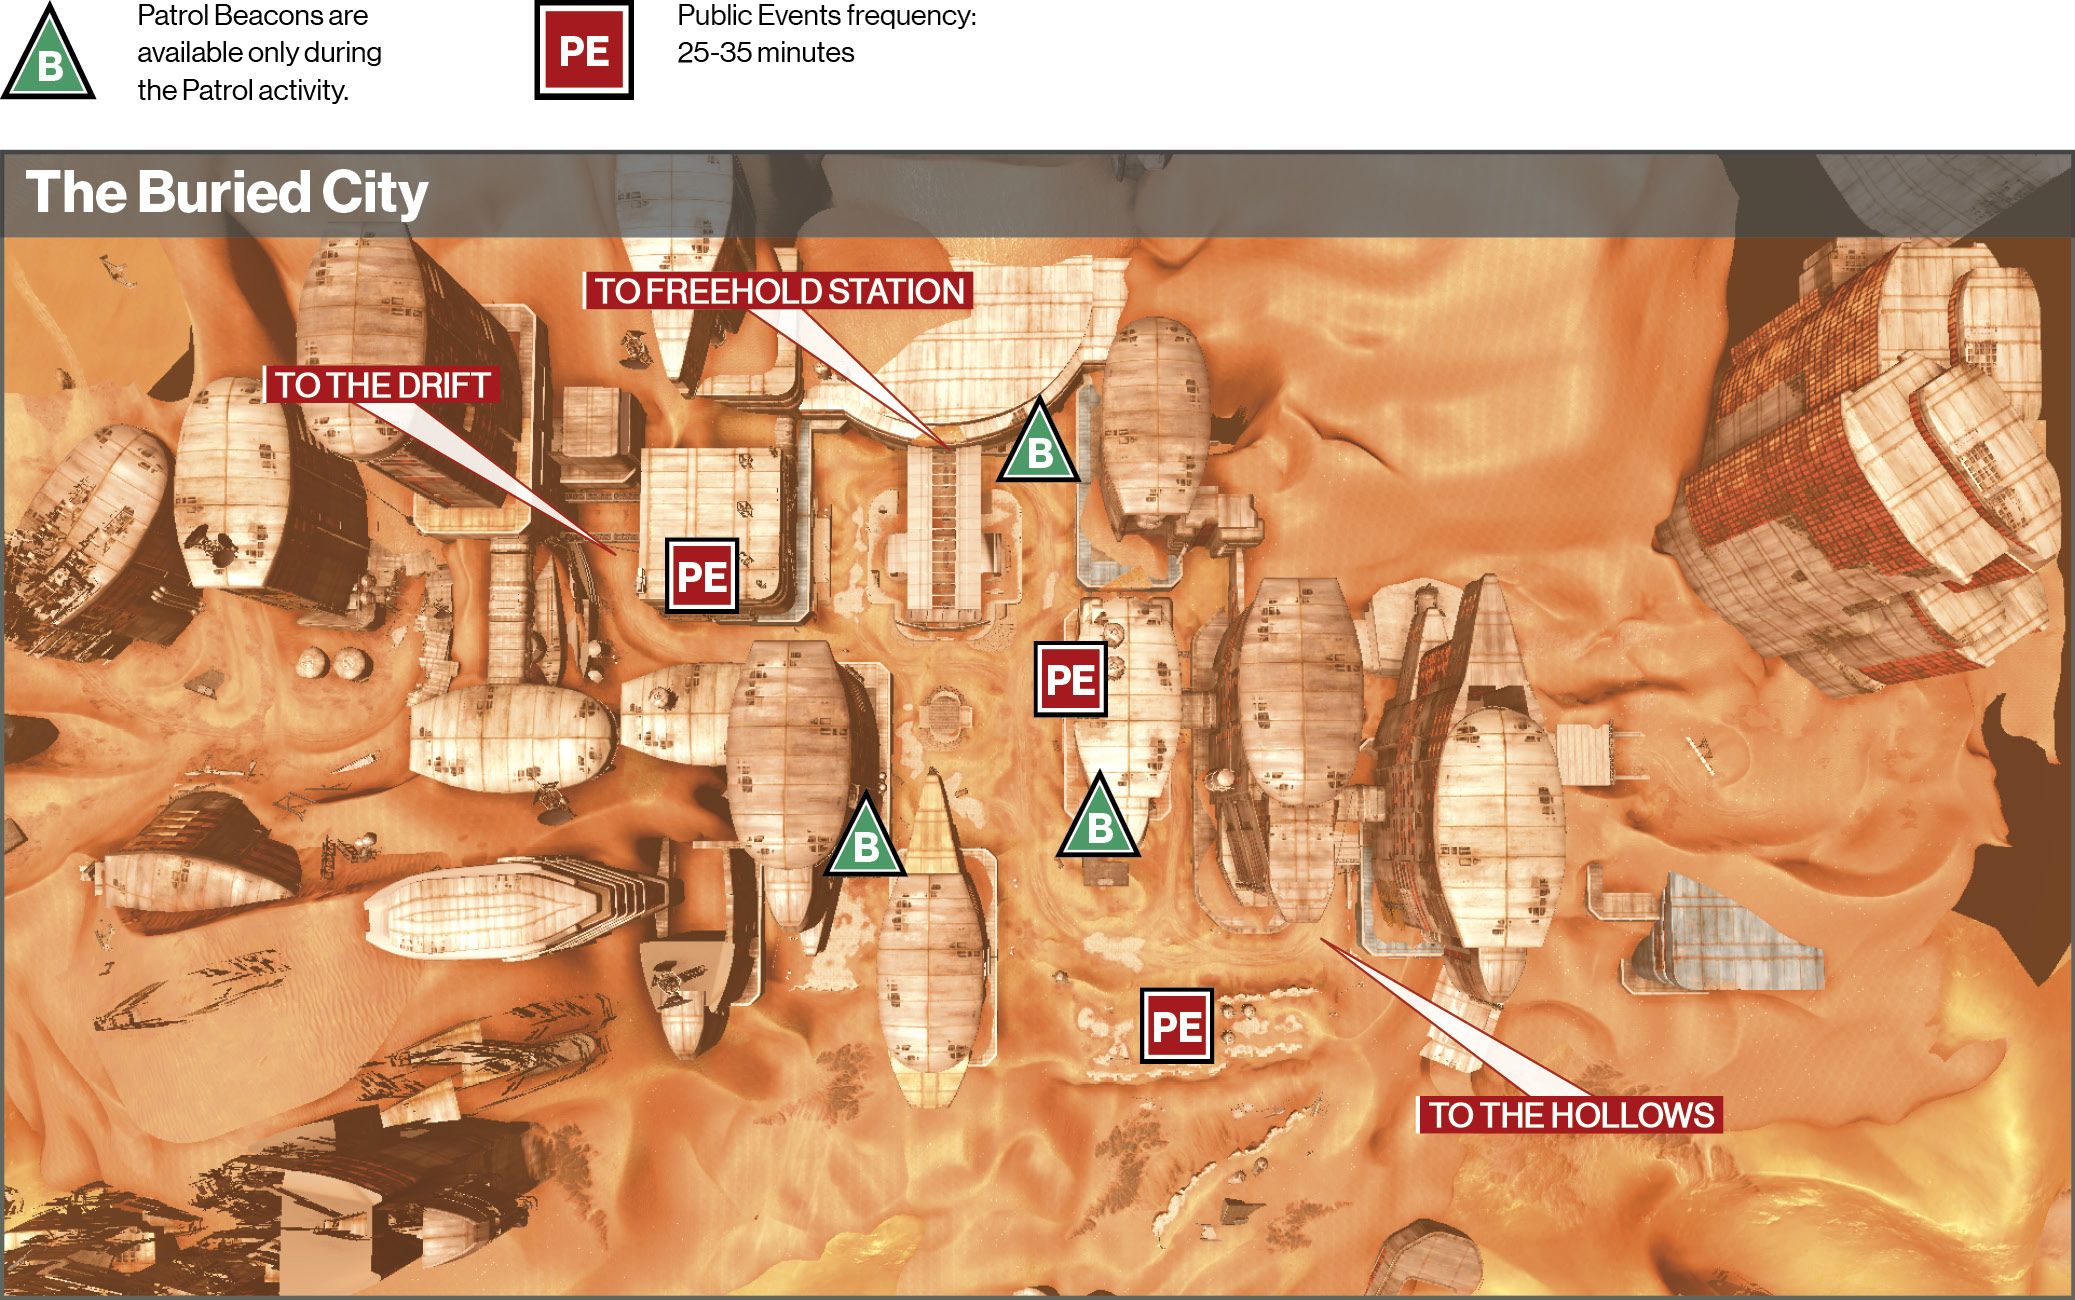
Objective: Enter the Buried City
Location: The Buried City

Remount your Sparrow and drive it through the Drift into the Buried City. Take out the Major Harpy, Minotaur, and other Vex that guard the entry way, and proceed inside. Follow the corridor to the left, blasting your way through more Goblins. The entrance soon becomes extremely dark, with your Ghost illuminating only a small area. Pay close attention to the tracker, and watch for the red eyes of the Vex themselves.
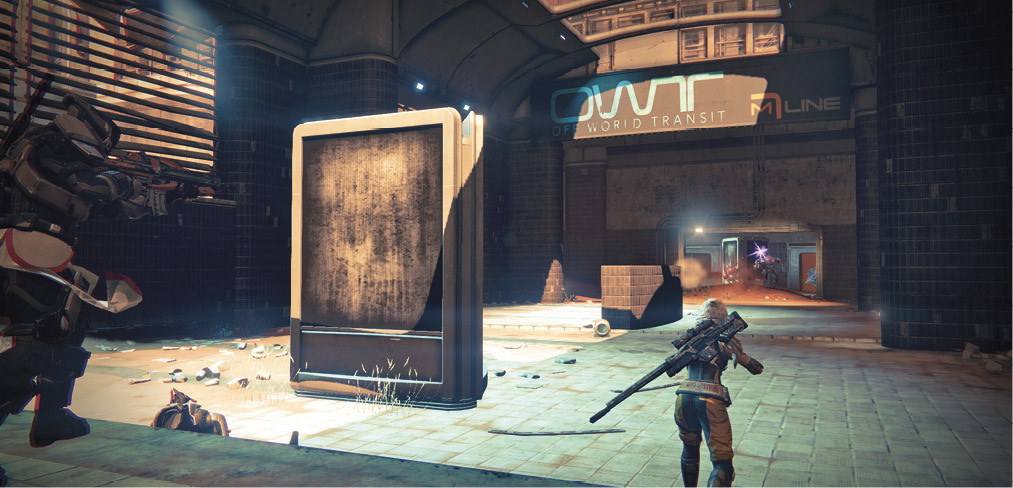
Objective: Navigate the Dark
Location: Freehold Station

As you enter Freehold Station, the area is designated as a Darkness Zone. Just ahead, the bright light from spawning Vex show that you are heading in the correct direction. As you move farther into the lobby, mow down the Harpies and Goblins.

Objective: Find the Vex Source
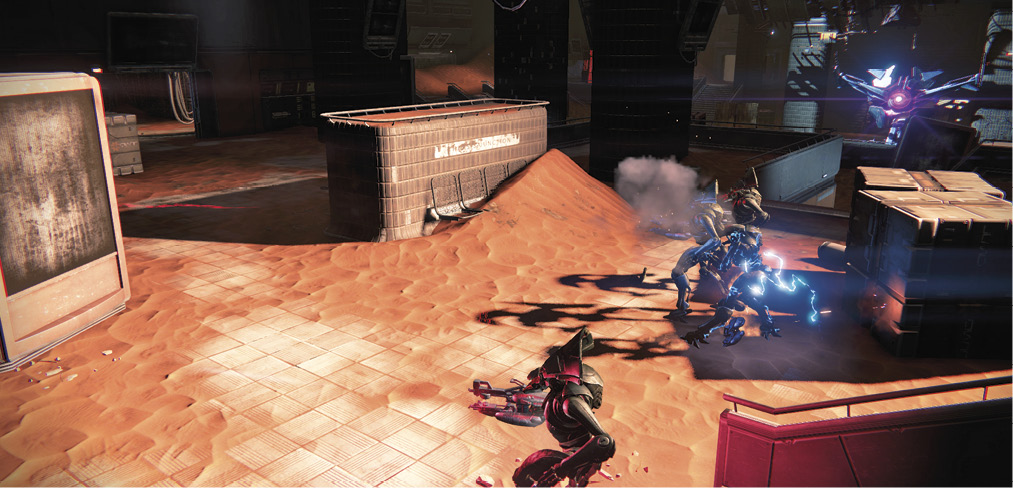
A few overhead lights illuminate the next area, so visibility is much better. Destroy the Goblins up on the right before focusing your attention on the big Cyclops to the left. Take it out from a distance as more Goblins and Hobgoblins spawn around it. The corridor ahead leads to Tharsis Junction. You can see Harpies and Hobgoblins dropping onto the tracks ahead.

Objective: Destroy the Gates
Location: Tharsis Junction
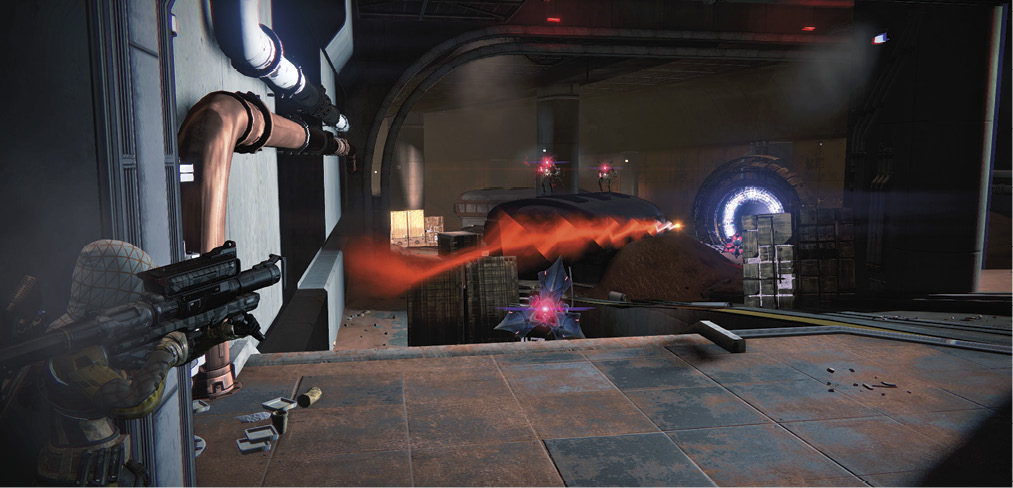
As you fight your way around the train cars, look for a Vex transfer gate in the far right corner. Destroy it as soon as possible before cleaning up the mess it created. It spawns Goblins every 12 to 24 seconds until it is eliminated, so speed is essential. Just inside the tunnel ahead, Hobgoblins and Harpies guard another gate. Take care of it from the doorway while avoiding the Vex gunfire.

The subway tunnel leads back to a platform that holds three more transfer gates. Hug the left wall until you can spot a portion of the right gate. Terminate it with a high-powered weapon, and then move forward until you can see a sliver of the next gate. The second gates lies just past a train car on the left, and the third is against the back wall on the other side of a Vex conflux.

As you finish off the final gate, Prohibitive Mind, a Major Minotaur, attempts to stop you, along with minor Goblins and Minotaurs. Avoid getting surrounded. Depending on how quickly you destroy the gates, a lot of Goblins may be present.

Objective: Investigate Vex Conflux
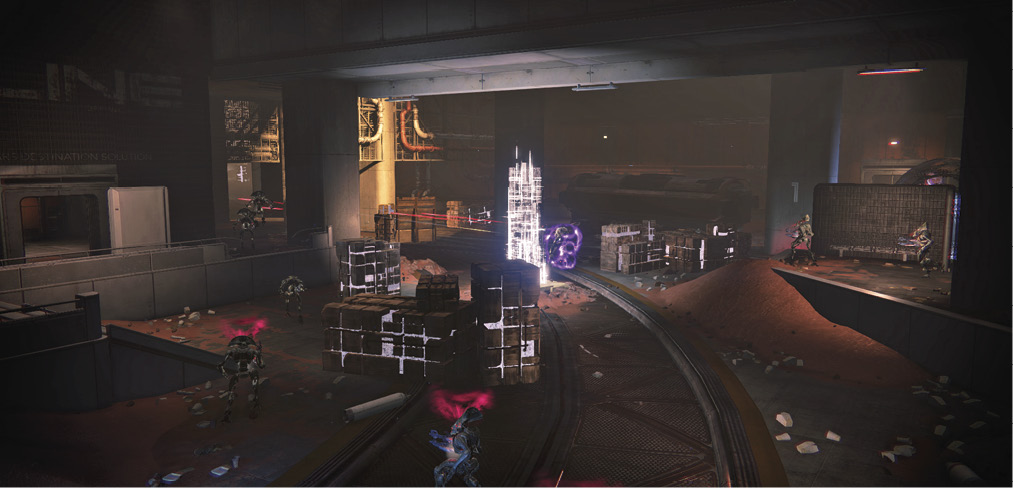
Once you eliminate all Vex in the area, allow your Ghost to investigate the conflux. With the mission complete, meet up with the Vanguard mentor at the Tower, and hand over the Vex Carapace.

Keep reading with a free account

The first 3 sections of Destiny Signature Series Strategy Guide are open to everyone. An account opens the rest of it, and every other guide in the archive. It's free, and there's nothing to buy.

Bought guides on the old Prima Games site? Your account and every guide you own moved here, so there's nothing to buy again. Sign in.

Create a free account Or browse our free guides

PreviousThe Buried City NextThe Black Garden