
Destiny Signature Series Strategy Guide EARTH
PATROL: Patrol The Cosmodrome
 Patrol The Cosmodrome
Level 4 Patrol / The Steppes, Old Russia, Earth
Enemy Races: Fallen, Hive
Rewards: Spinmetal, Vanguard Reputation
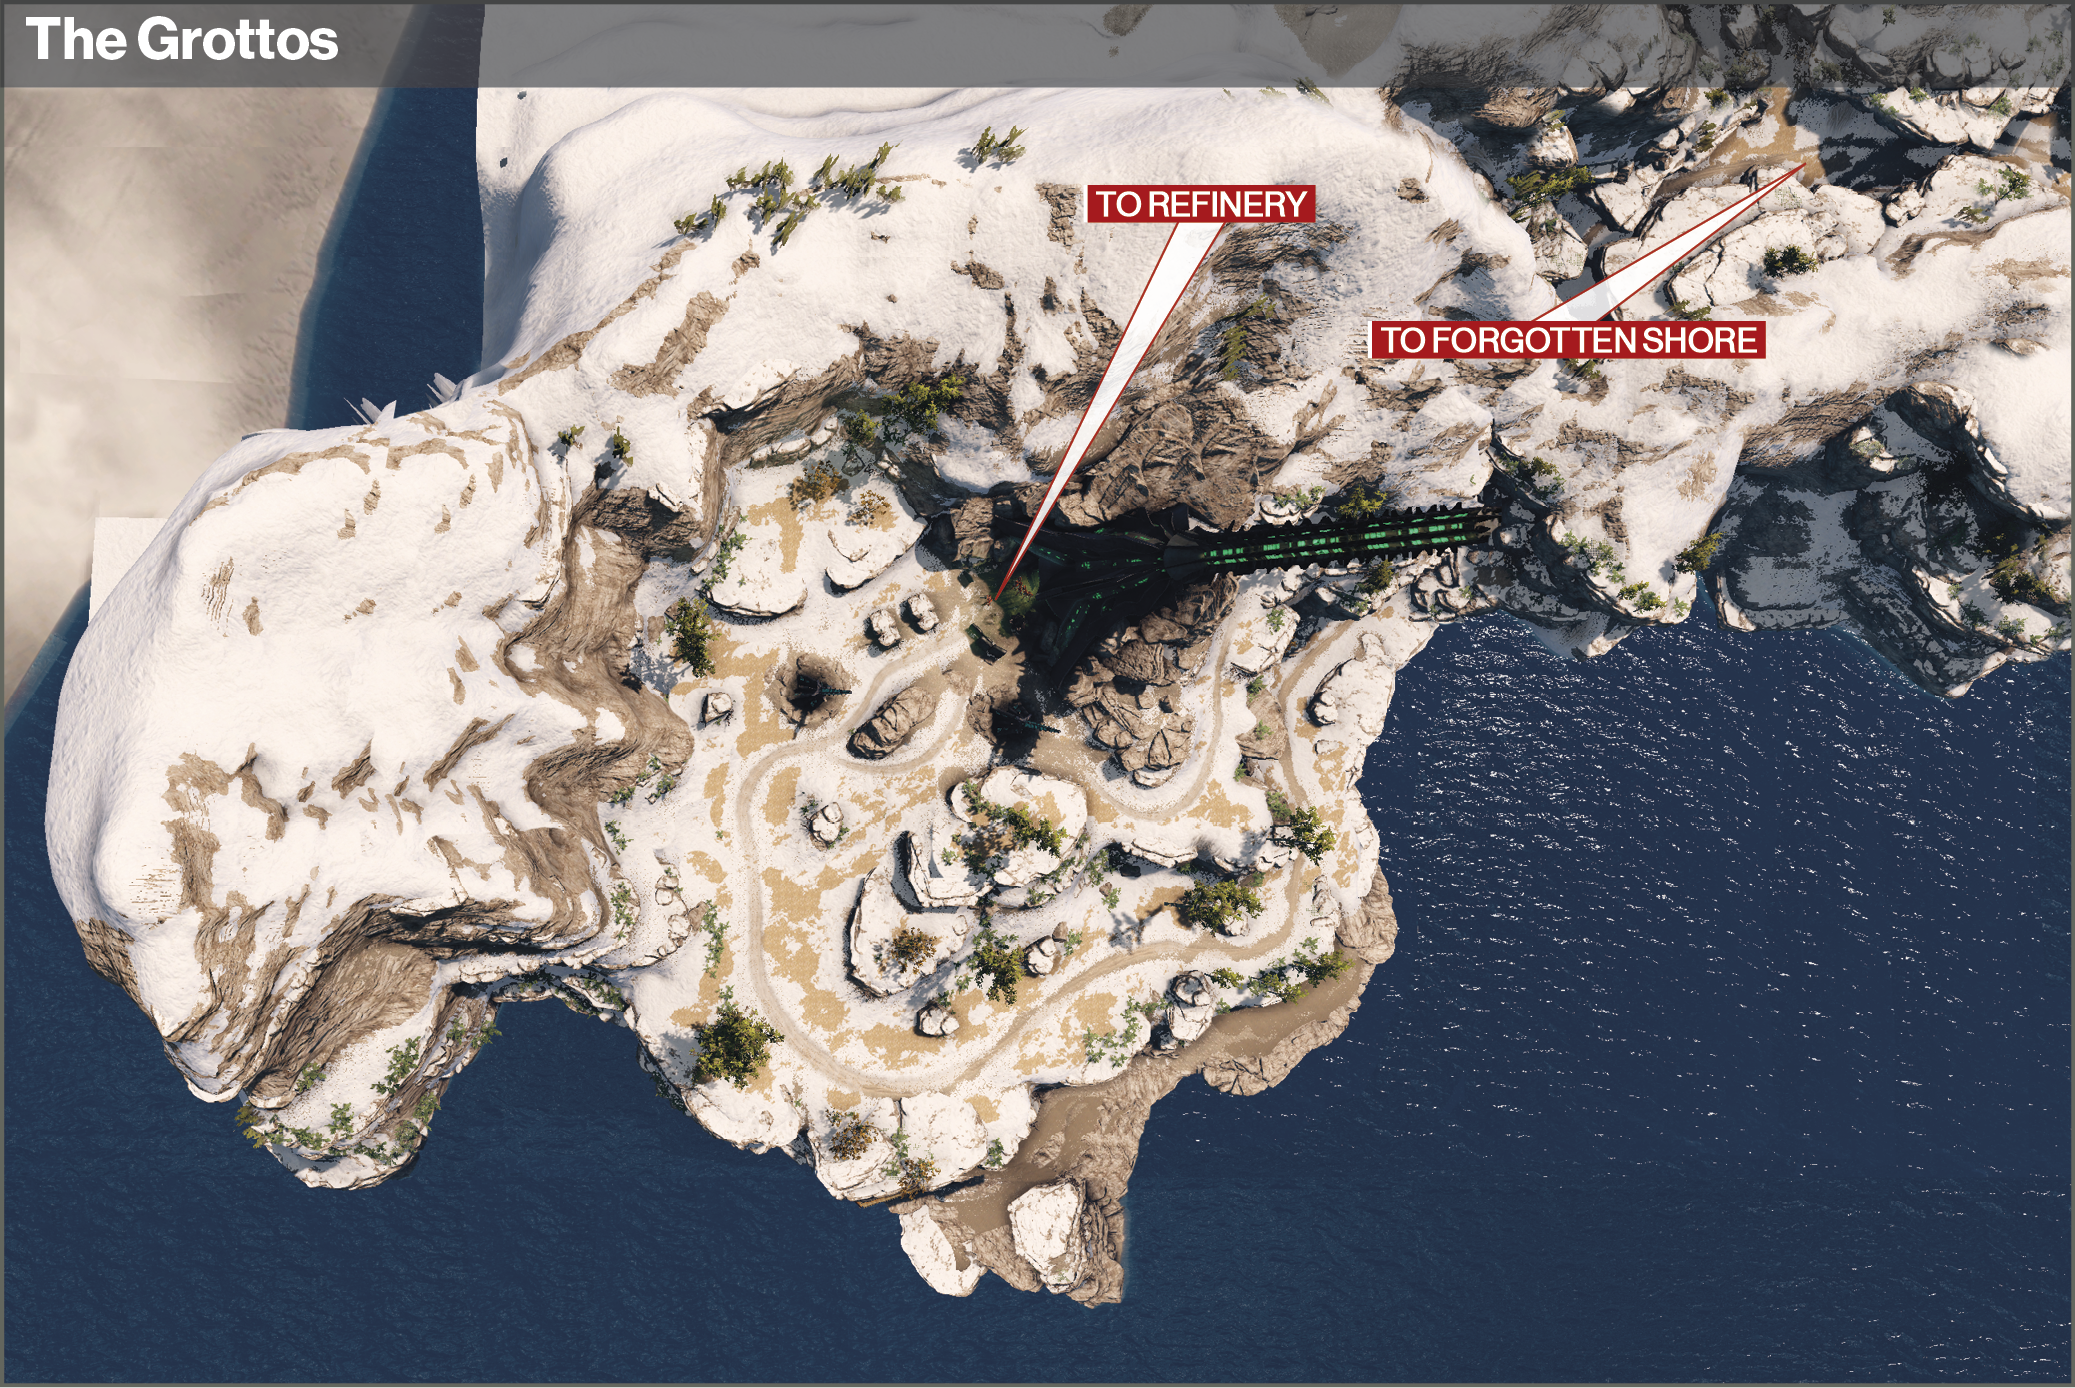
Patrol Missions
Access one of the many Beacons around Old Russia to acquire one of the following missions.
 Public Events
|
Mission Name |
Description |
Objective Location |
Objective |
|
| Cosmodrome Cordon | Push our enemies from the areas surrounding the Cosmodrome. | Location w/ Enemies | Kill Enemies |  |
| Sweep and Clear | Punish the enemies of the Light for committing forces to the Cosmodrome. | Location w/ Enemies | Kill Enemies |  |
| All in the Game | Kill scavenging Fallen and search their bodies for Wire Wraps. | Location w/ Fallen | Collect Wire Wraps |  |
| Reckon Their Sins | Kill Fallen and collect their Temper Cloth and the data filaments within. | Location w/ Fallen | Collect Temper Cloth |  |
| Deny Their Power | Kill Fallen and recover the Shock Cores they use to charge their weapons and equipment. | Location w/ Fallen | Capture Shock Cores |  |
| Rites of Obedience | Kill Dreg specimens and collect their nerve interface Docking Caps for study. | Location w/ Fallen Dregs | Collect Docking Caps |  |
| Ether Hunt | Take out Fallen Dregs and Vandals and gather the Ether Sups they depend on for life. | Location w/ Fallen Dregs and Vandals | Recover Ether Sups |  |
| Proxy War | Shoot down Fallen Shanks and recover their Fusor Proxy Drives for disassembly. | Location w/ Fallen Shanks | Salvage Fusor Proxy Drives |  |
| Low Flying Defense Drones | Look for Swivel Turrets in the wreck of Fallen Shanks. They’re valuable salvage. | Location w/ Fallen Shanks | Collect Swivel Turrets |  |
| Induction to Pain | Search Fallen Vandals for Induction Rods, full of useful energy systems. | Location w/ Fallen Vandals | Collect Induction Rods |  |
| Dust to Dust | Gather Marrow Dust, a superb solvent, from defeated Hive warriors. | Location w/ Hive | Collect Marrow Dust |  |
| Husk Harvest | Search dead Hive for Husk Flakes, peeled from their grotesque armor. | Location w/ Hive | Collect Husk Flakes |  |
| Carcinomaly | Scan the Hive biomass and send the information to the Cryptarch. | Lunar Complex | Transmit Data |  |
| Touchy Little Things | Scan the Fallen sensors and transmit the data back to the Cryptarch. | Dock 13 | Scan Sensors |  |
| Classical Vacuum | Dead Orbit is looking for aerospace telemetry from the Golden Age. | Dock 13 | Analyze Computer |  |
| Classical Vacuum II | Analyze the crashed ship’s flight computer to aid Dead Orbit avionics design. | Skywatch | Analyze Ship |  |
| Objekt 630 | Get a sample of iridium and depleted uranium to aid Future War Cult’s weapons program. | The Divide | Scan Munitions |  |
| Specific Impulse | Future War Cult wants a fuel sample analysis from the Golden Age. | Refinery | Transmit Analysis |  |
| History of Flight | Retrieve flight records and analysis for New Monarchy. | Mothyards | Download Data |  |
| Still in the Dark… | Download facility blueprints for New Monarchy. | The Steppes | Recover Secrets |  |
| Surface Detail | Recover Golden Age materials data culled from Cosmodrome systems for Eva Levante. | Lunar Complex | Transmit Data |  |
| The Helium Cantata | Analyze the neutron print left by fusion reactions and send any data back to Eva Levante. | Rocket Yard | Send Analysis |  |
| Verbal Space Program | Transmit the data in the flight recorder to aid Holliday. | The Steppes | Transmit Recorder |  |
| Brachistochrone Trajectory | Trawl for navigational data to send to Holliday. | The Forgotten Shore | Transmit Data |  |
| Terminal Ballistics | Send Banshee-44 intelligence on enemy weapons to aid in bettering our own. | The Forgotten Shore | Send Plans |  |
| Throw Weight | Analyze onboard armament for Banshee-44. | Skywatch | Send Analysis |  |
| Four Arms Good, Two Arms Better | An ambitious Dreg with a small warband plans to rally a raiding force. Eliminate them. | Lunar Complex | Kill Fallen Target |  |
| Exalted Hive | Kill the Hive Knight whose presence rallies forces in this area. | Refinery | Eliminate Hive Target |  |
| Sever Connection | A powerful Fallen Servitor is accessing our old networks. It must be stopped. | The Breach | Destroy Servitor Target |  |
| Ether Denial | A powerful Servitor is scouring the area for mass and energy to refine into Ether. | Terrestrial Complex | Destroy Servitor Target |  |
| Shanks for the Memories | Seek out and destroy a Fallen Shank scavenging lost Golden Age technology. | Lunar Complex | Eliminate Shank |  |
| Fight the Good Fight | Eliminate a Fallen Vandal heading a crew holed up inside the Wall. | The Breach | Kill Vandal Target |  |
| Evict Salvage Crew | Track down a Fallen Vandal whose crew has laid claim to a Golden Age ruin. | Terrestrial Complex | Kill Vandal Target |  |
| A Dying Breed | A powerful Hive Wizard is nurturing the seeding of the Cosmodrome. It must be destroyed. | Refinery | Kill Hive Target |  |
| Troll Patrol | Bring down a frenzied Hive Ogre and scatter its attendants. | The Breach | Stop Enemy |  |
| Pretty Clear Picture | Find a good vantage point to survey the area. | Skywatch | Scout Area |  |
| Scrap Assessor | Provide an audit of potentially salvageable wreckage in the area. | The Blast | Review Area |  |
| Hole in the Wall | Survey the small cave system in the Mothyards. | Mothyards | Survey Caves |  |
| Southside Holding | Investigate the Cosmodrome tunnels in the Steppes. | The Steppes | Scout Tunnels |  |
| News from Beyond | Provide a status report on the Dome Array. | Terrestrial Complex | Survey Area |  |
| High and Dry | Provide a scouting report of the wreckage and enemy presence in the area. | The Forgotten Shore | Scout Area |  |
| Like a Bunch of Ants | Provide an accurate estimate of enemy power in The Divide. | The Divide | Scout Enemy |  |
| Dark at the End of the Tunnel | Map the entrance to the Hive tunnels. | Refinery | Map Entrance |  |
| Field Report | Provide an assessment of the enemy battlefield. | Rocket Yard | Scout Battlefield |  |
Public Events
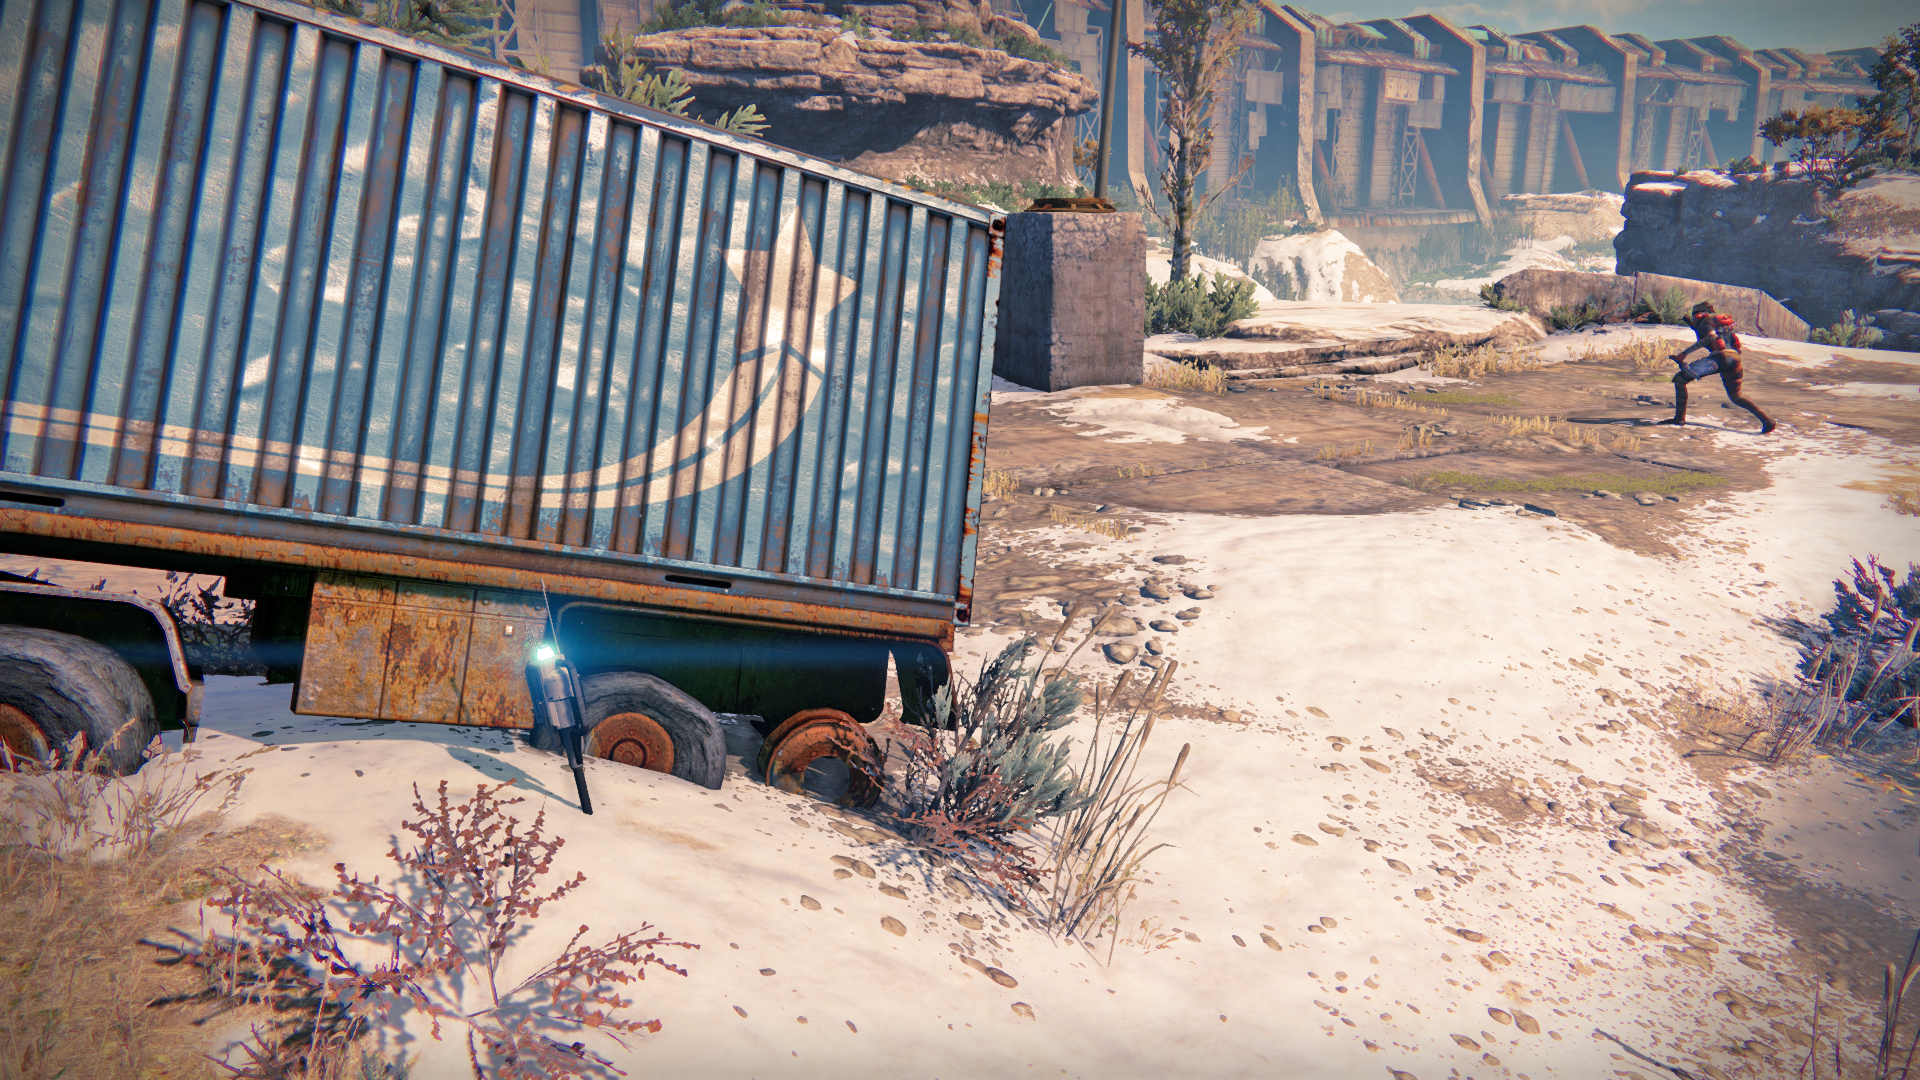
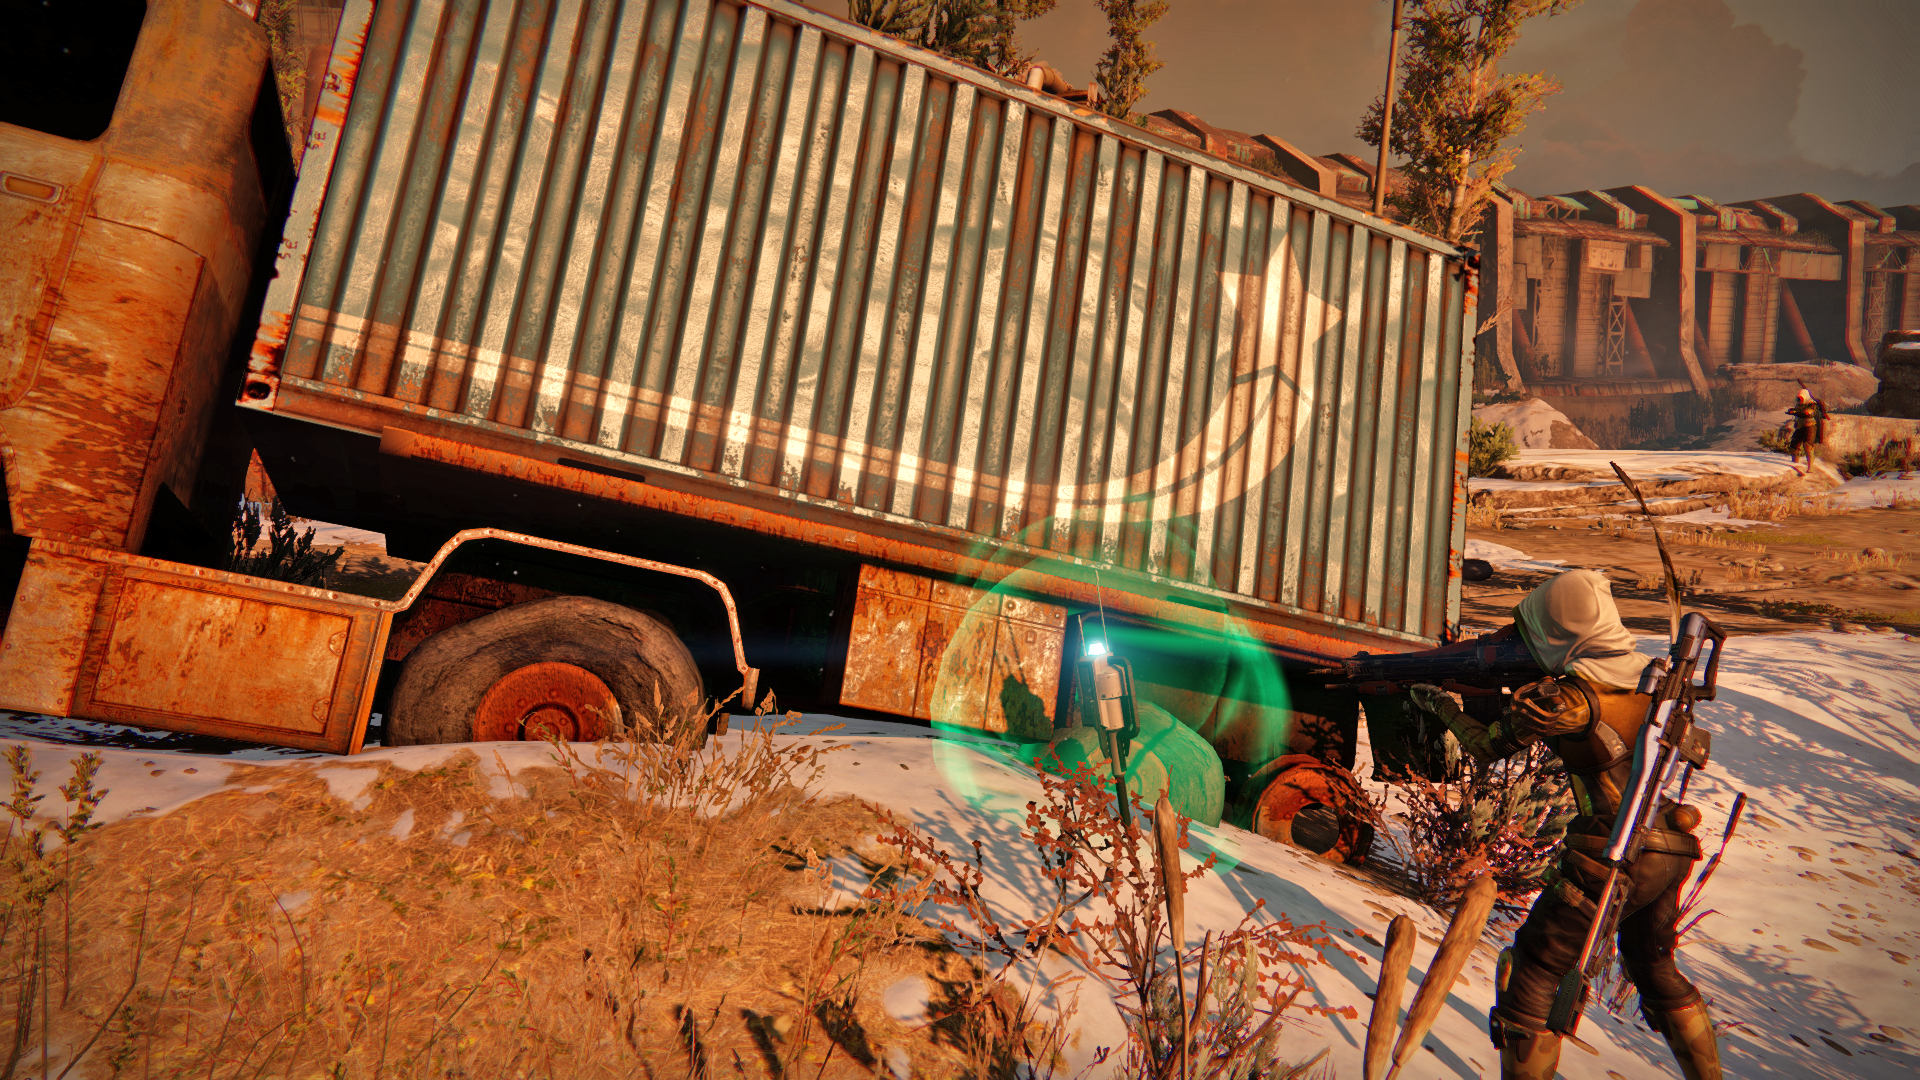
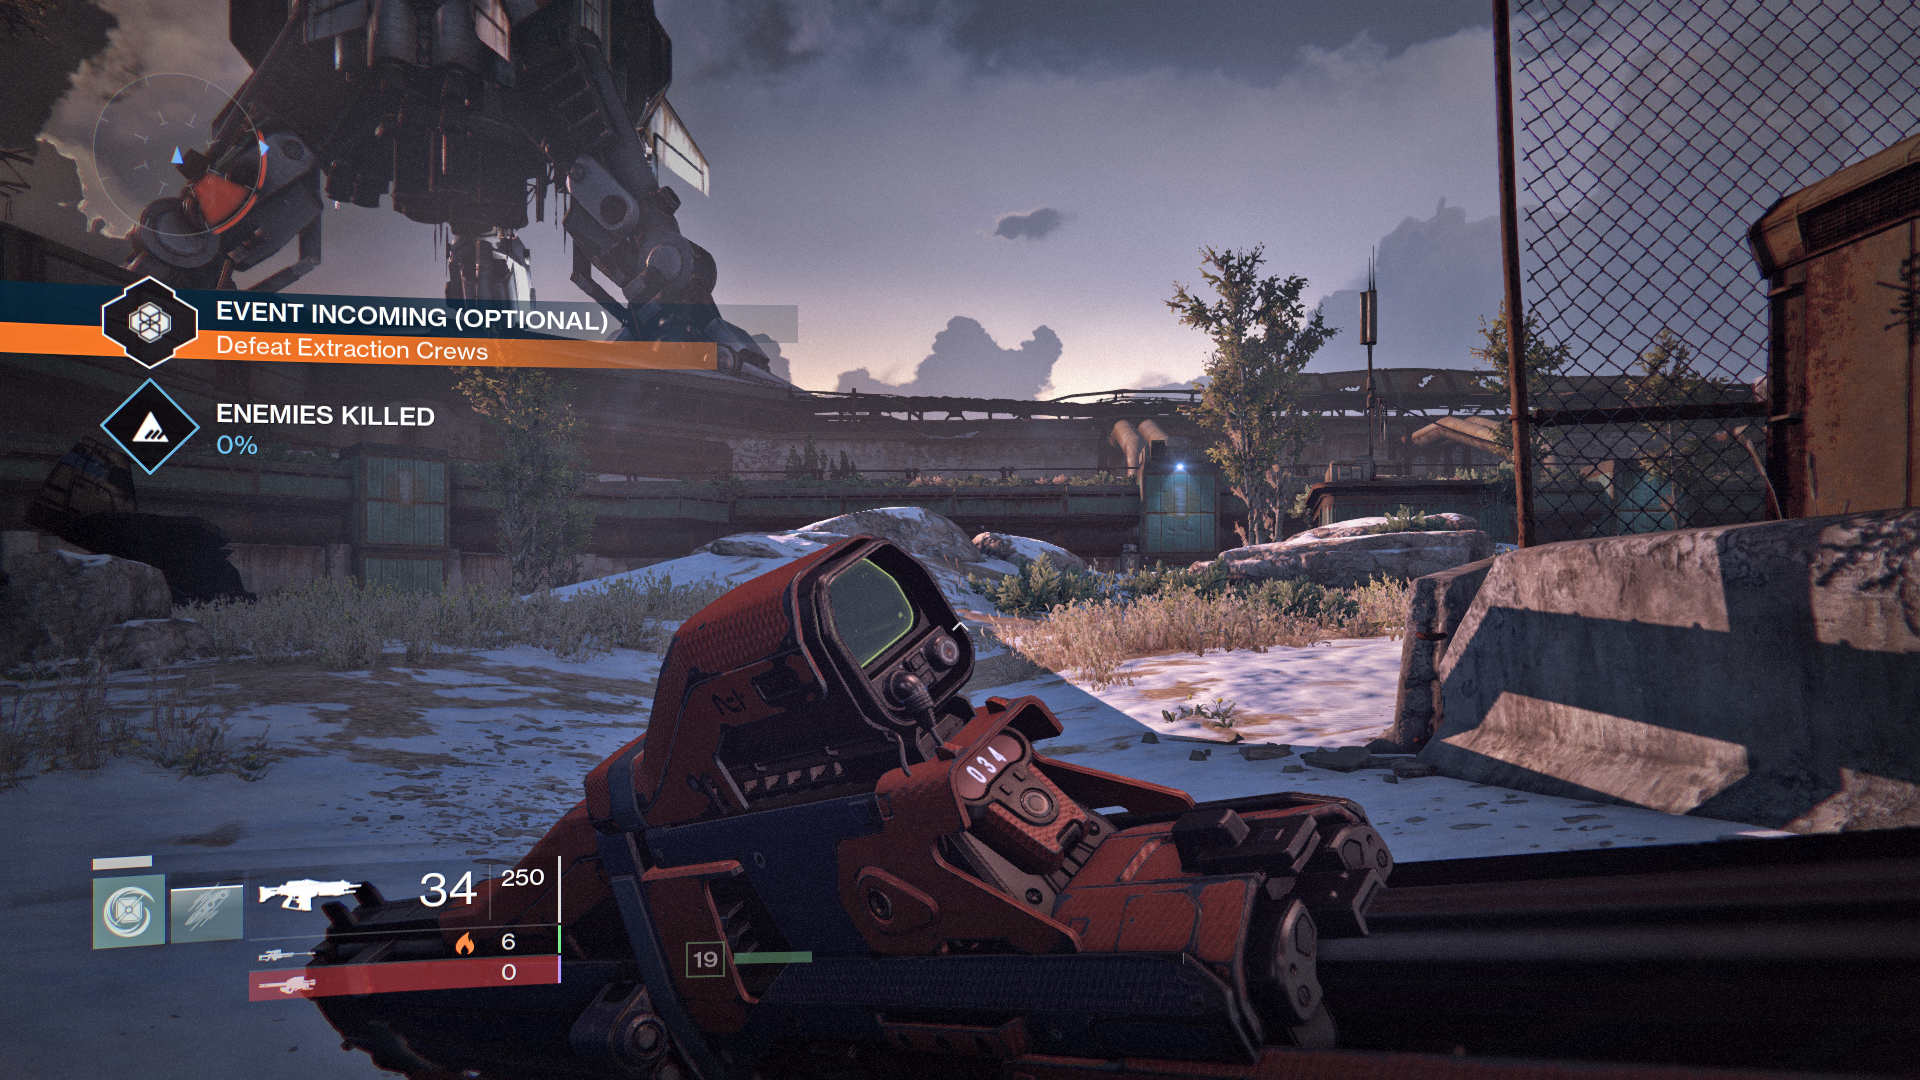
Several Public Events occur around Old Russia. If you see one pop up while exploring a public area, simply join in to participate. Help your fellow Guardians with the objective and earn a Bronze, Silver, or Gold Tier based on how well the group does. Be sure to grab a reward from the Vanguard for completing your first Gold Tier Public Event each day. This can be picked up at The Tower from the Postmaster. Check the maps at the start of the Earth chapter to find out where the events occur and how often.
 Defend the Warsat
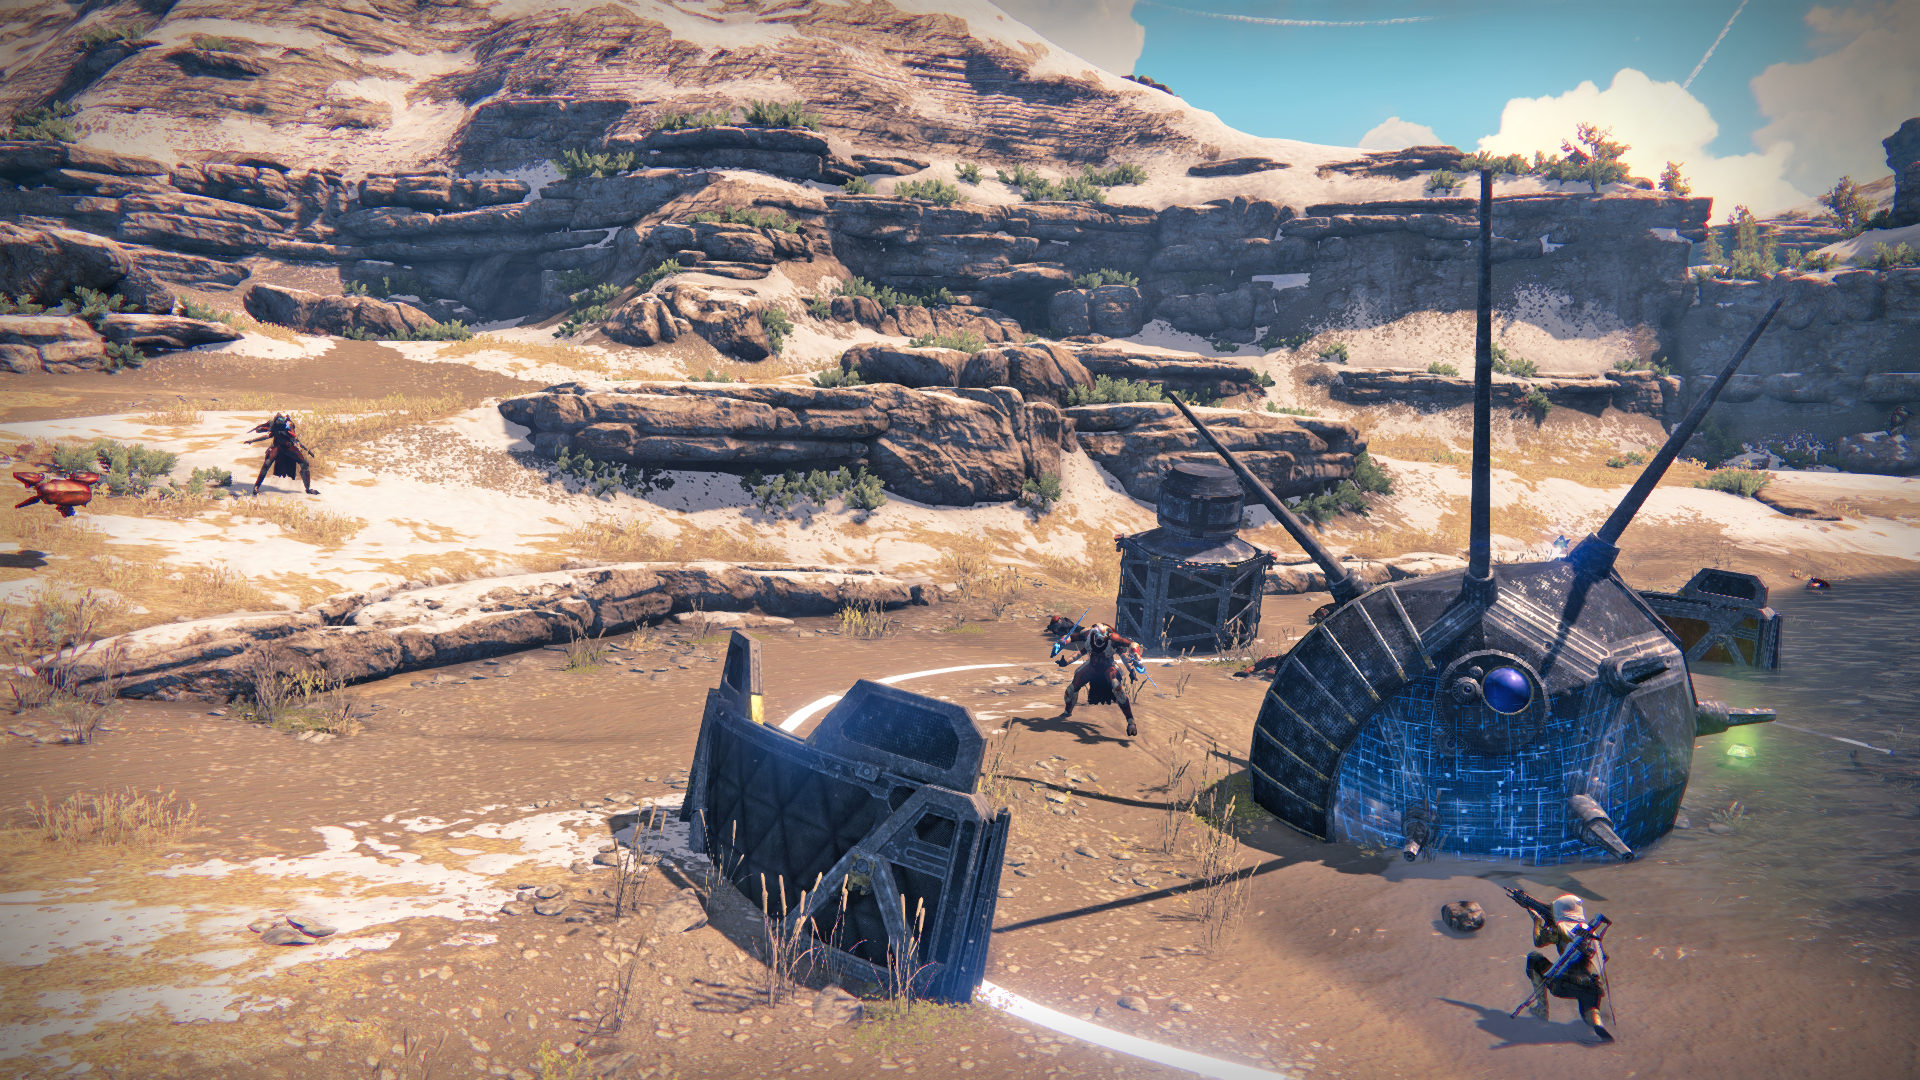
Locations: Mothyards, Forgotten Shore, Skywatch
A flash of light represents the touchdown of a Warsat in the area, as a one-minute timer starts to count down. One Guardian must deploy their Ghost to start the event. A circle appears around the satellite. As you stand inside it, a meter starts to fill with a number inside. Your objective is to guard the Warsat until the number reaches 100. Step out of the circle, and the meter pauses. The more Guardians that are linked (standing inside the circle), the faster the meter fills. Enemies constantly drop in as a timer counts down from four minutes. In Skywatch, it’s possible to have two Factions—the Fallen and Hive—attacking the Warsat.
 Eliminate the Target
Locations: Mothyards, Forgotten Shore, Rocketyard
An enemy appears in the area and slowly makes its way to a certain destination. Your objective is simply to eliminate it before it gets there. It is always a special enemy with more Vitality and aggressive behavior than the norm. Its progress through five checkpoints is displayed on the left, along with a timer. To complete the event, take down the enemy before the timer expires and the foe reaches checkpoint 5.
 Defeat Extraction Crews
Locations:The Steppes, Mothyards, Forgotten Shore
A crew of Fallen drop into the area as they attempt to extract precious Glimmer. The Guardians must clear the drill site by killing all of the Fallen. Once one crew is defeated, a second shows up elsewhere in the zone. Clear out three drill sites to complete the event and earn a Gold Tier.

 Destroy Fallen Walker
Location: The Divide
In the Divide, a Fallen drop ship delivers a Devil Walker into the public space. Now it’s up to the Guardians to defeat the tank before it causes too much trouble. Take down the target in the same manner as in the Strike, Devils’ Lair. Do this before the five-minute timer reaches zero to complete the event with a Gold Tier. Remember that it’s invulnerable until its lights come on.
Gold Chests
1:The Steppes to Dock 13
From the Steppes, enter the building that leads to Dock 13 and move into the next room. A Gold Chest rests in plain view atop a desk.
2:Forgotten Shore
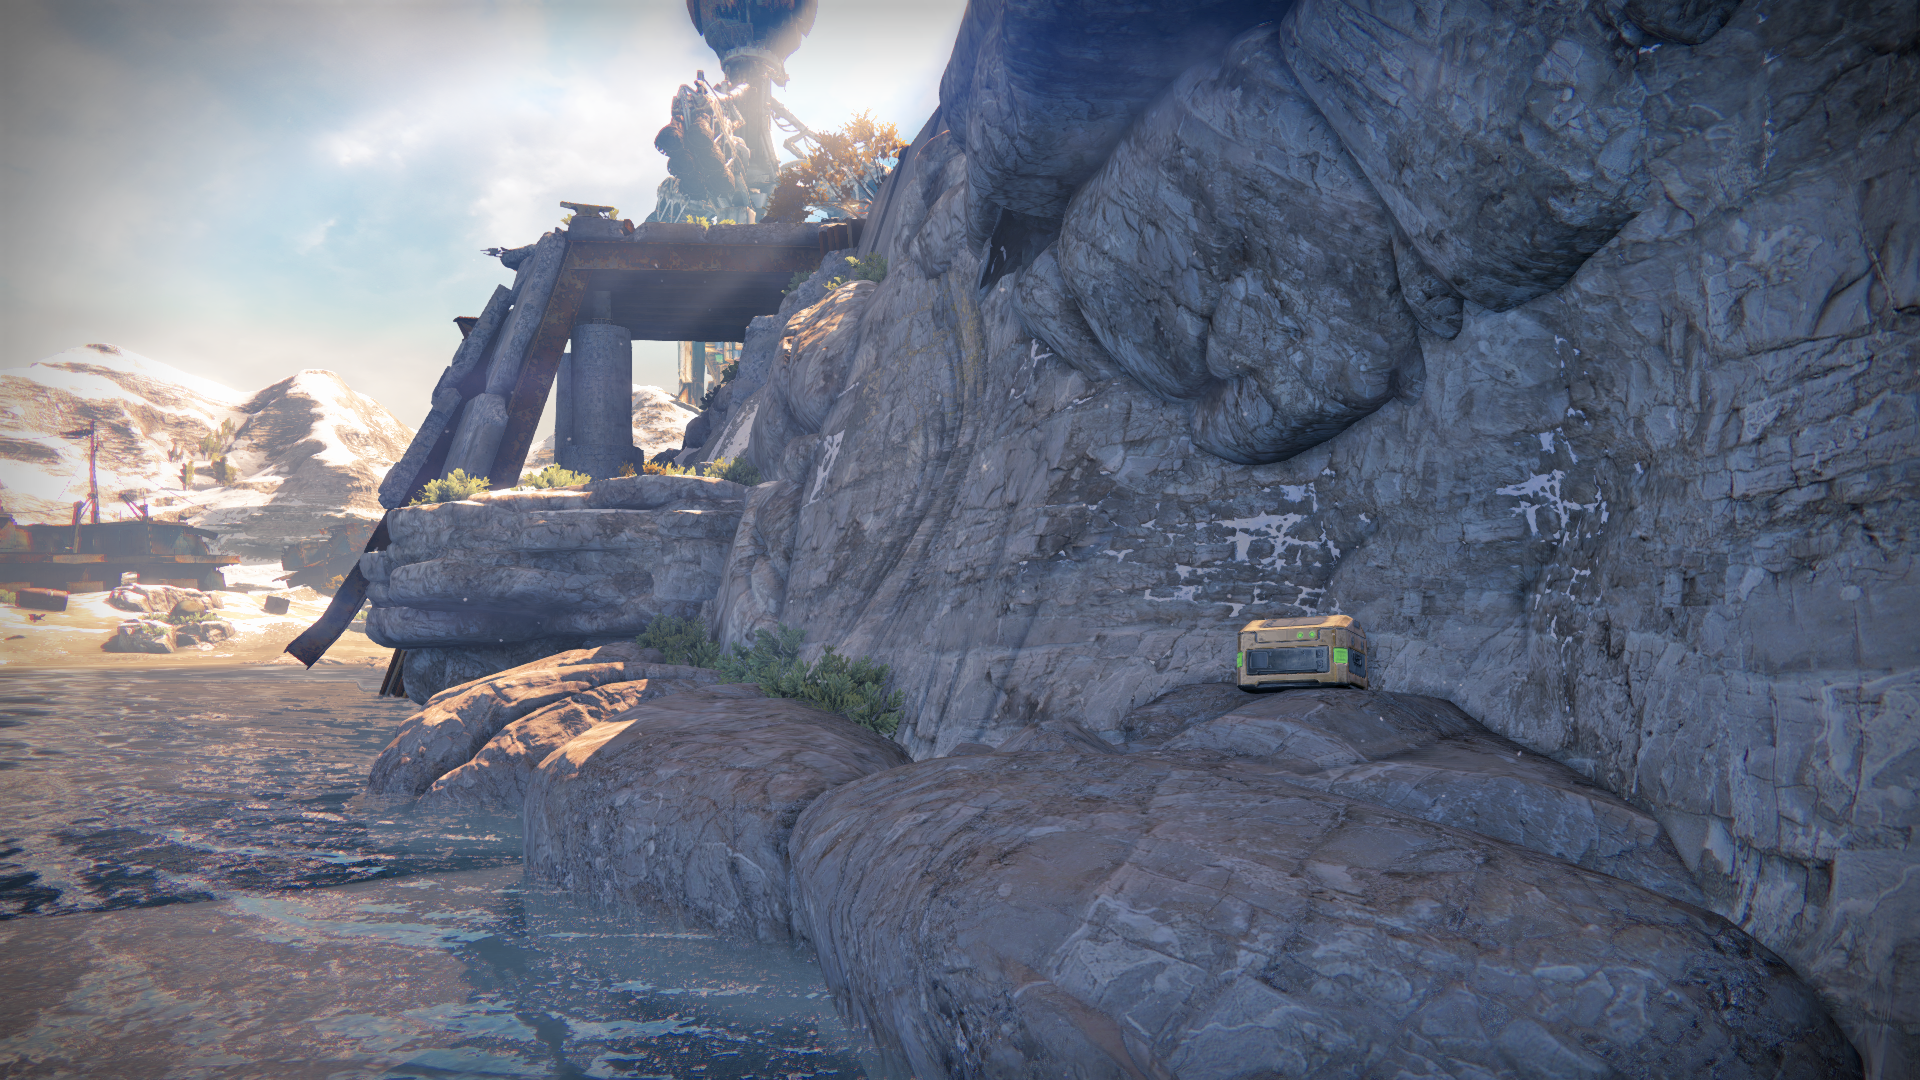
At the base of the Forgotten Shore cliff, located just below the Terrestrial Complex, a Gold Chest lies next to the water. You can walk or even drive with the Sparrow through the lighter colored water.
3:Forgotten Shore to Mothyards
Enter the path from Forgotten Shores toward Mothyards, and follow it as it curves left and then back right. Turn to the right side and spot the water falling in front of a cave. A Gold Chest sits inside.
4:Lunar Complex
Inside the room where you took down the Hive Wizard during The Dark Within. Jump onto the room on the left and search the back side to find the chest.
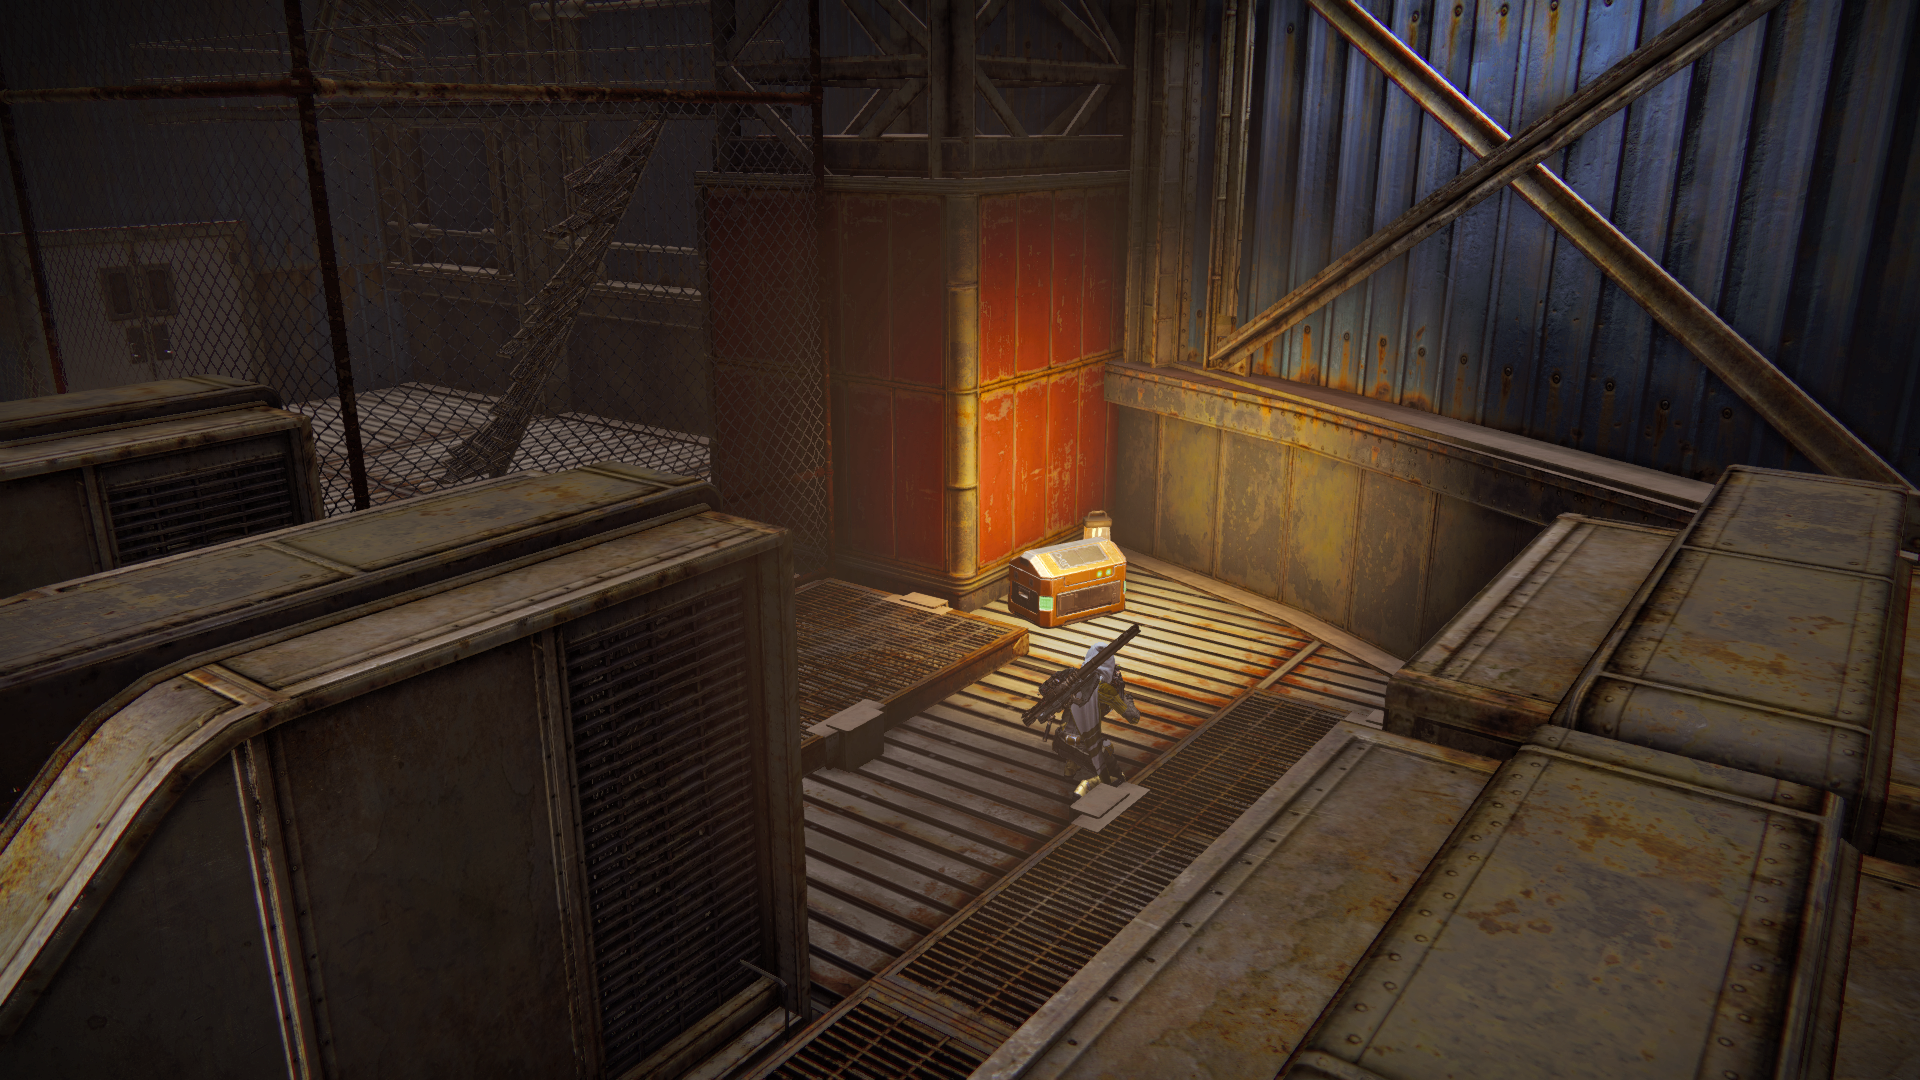
5:Devils’ Lair
This Gold Chest is accessible only during the Devils’ Lair Strike. Either during the fight with Sepiks Prime or just after defeating it, search under the right platform.
Dead Ghost Locations
1 Breach
During the intro mission, as you pass through the Breach, a group of Fallen wait for you in the final room. Clear out the enemies and return to the steps that descend into the middle of the room. This Ghost sits just to the left.
2 Breach
Inside the Breach, in the hallway just around the corner from where you find your first gun, you can see an opening above. It’s hard to spot in the dark, though it’s easier to see when coming from the Divide. Look for the shadow from the dangling metal on the left wall. It’s possible to stand directly below it, jump straight up, and snag it from above. To reach the platform it rests on, you must have some kind of double jump.
3 The Divide
In the Divide, straight out from the Breach exit, a sign stretches above the path. Jump onto the building on the left and then up to this sign. A Ghost sits on the back.
4 The Divide
Look for the tube near the exit to Rocketyard. Lying inside is another Dead Ghost.
5 The Steppes
Find the largest structure in the middle of the Steppes, where a group of Fallen patrols the area. Next door, a smaller building holds another Dead Ghost, lying in the corner.
6 The Steppes to Mothyards
Drop into the valley between the Steppes and Mothyards. Search in the grass against the wall. You find a Dead Ghost there.
7 Mothyards
Search for a small cave opening in the rocky wall in Mothyards, just to the right of the path to Forgotten Shore. It’s too high to simply jump from the ground, so run up the partially buried wing. Double jump off the end and enter the hole to find a couple Fallen and a Dead Ghost.
8 Lunar Complex
Inside the pitch-black room where you were first introduced to the Hive Thralls, hug the right wall until you reach the second computer. A Dead Ghost sits on top of it.
9 Skywatch
Hop over the railing next to the helicopters to land on a rocky path below. Enter the opening in the wall and search to the right to find the Ghost.
10 Terrestrial Complex
Enter the Terrestrial Complex from Forgotten Shore. After you pass through a couple rooms, look for lockers on the right side. One is open, revealing a Dead Ghost.
11 Rocketyard
Entering from the Divide, hug the left side of the area. Double jump onto the first building you reach to find a Dead Ghost. If you can’t get up there with your jump, this building is easier to access from the back side.
12 Forgotten Shore
From the central patrol beacon, head down the slope to find a partially buried boat. The ship’s bridge holds a Dead Ghost.
13 Refinery
Deep inside the Refinery, just before you reach the Grottos, a small room is accessible on the right side. Enter through either door and search the shelves for the Dead Ghost.
14 The Blast
Enter the building in the far-left corner, just left of the Devil Walker. Climb the steps to the second floor and grab the Dead Ghost that rests on the desk straight ahead.
15 The Grottos
Enter the Grottos from Forgotten Shore, and stick close to the water as it leads to a lower area. Continue to the far end to find the Dead Ghost.
16 Forgotten Shore: Bunker RAS-2
Inside the dilapidated building next to the water, descend the steps all the way into Bunker RAS-2. A Dead Ghost is hidden below the bottom steps.