
Destiny Signature Series Strategy Guide MOON
Chamber of Night
 Chamber of Night
Level 8 Story / Hellmouth, Ocean of Storms, Moon
Enemy Race(s): Hive
Suggested Damage Types:
Rewards: XP Bonus
Mission(s) Unlocked: -
| Combatant Changes with Heroic or Epic Mission Modifier | ||
|---|---|---|
|
Objective |
Combatant Changes |
Tip |
| Enter the Temple – At Hive Seeder | +1 Ogre | Be cautious as you pass through the Hive Seeder room. Move back and take cover when you reach this guy. |
| Find the Chamber – First Room | -1 Knight+1 Major Knight | — |
| Destroy the Hive – Left Door | +3 Thrall+2 Cursed Thrall+1 Knight | Stay on the move to avoid being surrounded. |
| Destroy the Hive – Right Door | +4 Cursed Thrall+1 Cleaver Knight | — |
| Destroy the Hive – Center Door | +2 Thrall that respawn for multiple waves | |
Objective: Scan Hellmouth Cracks
Location: Hellmouth
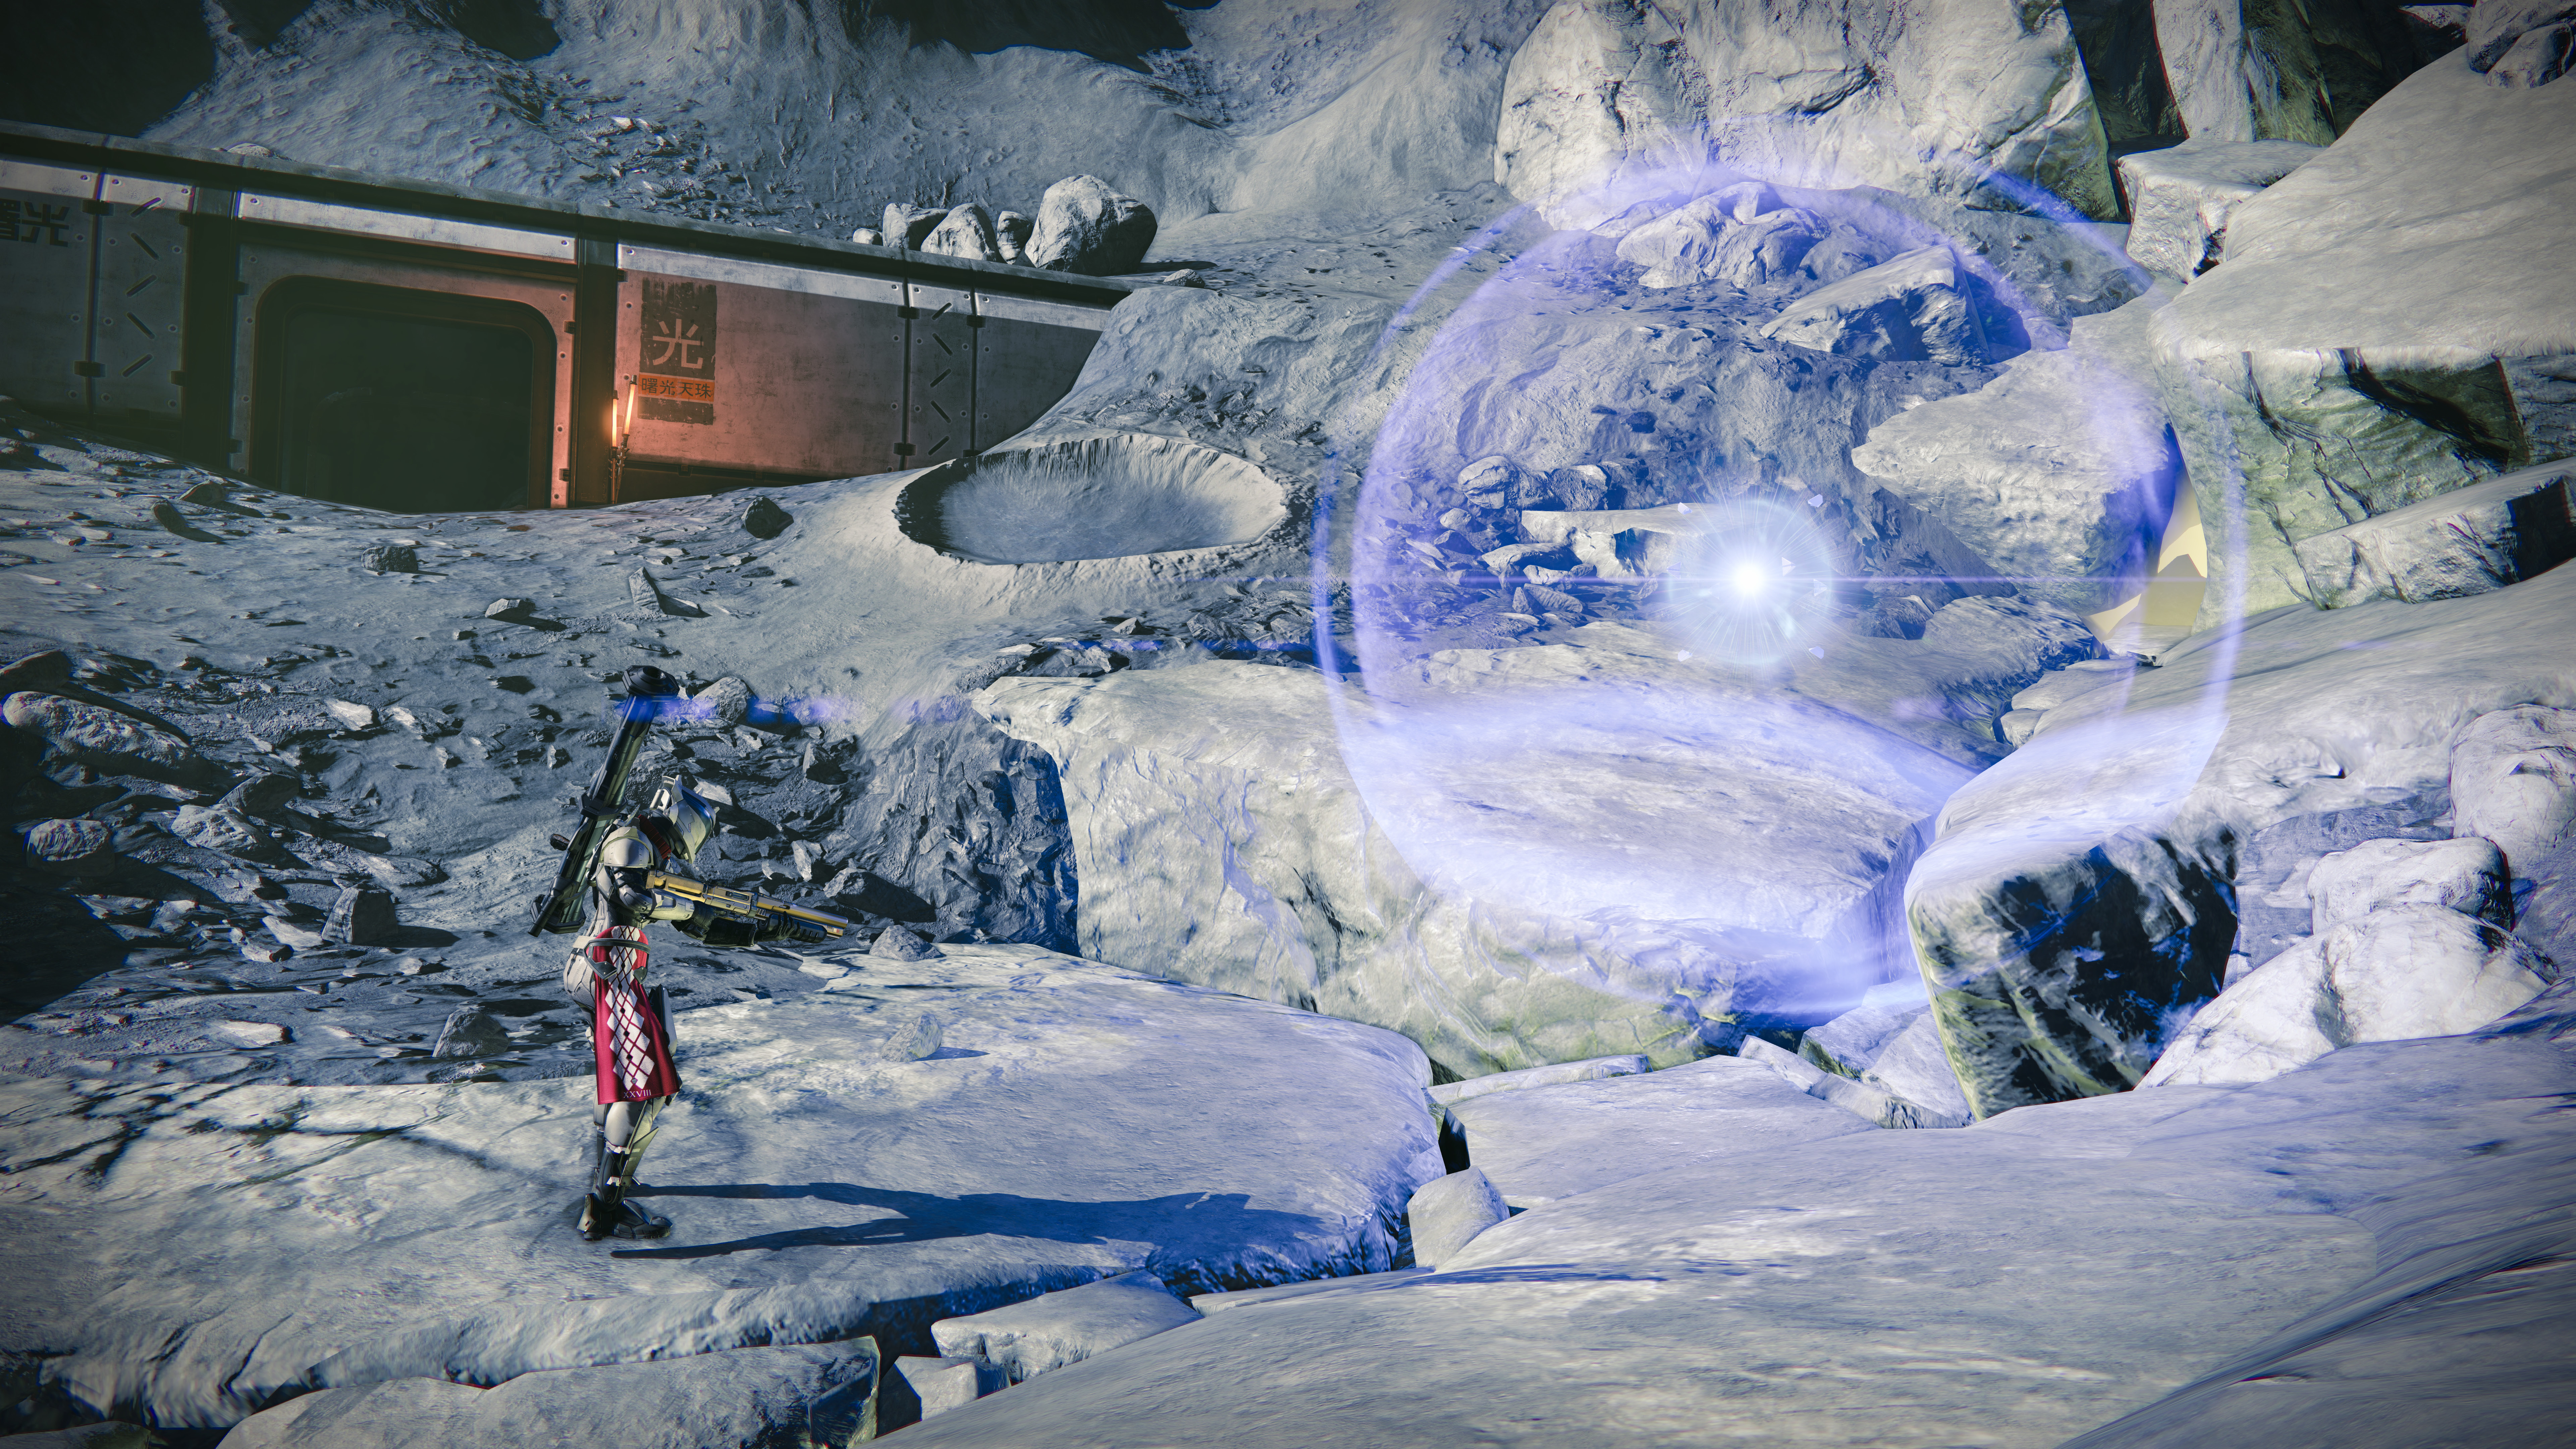
Your first objective is to scan two cracks in Hellmouth, so deploy your Ghost at each one. Watch out for attacking Fallen troops around the second.
Objective: Return to the Temple
Location: Anchor of Light
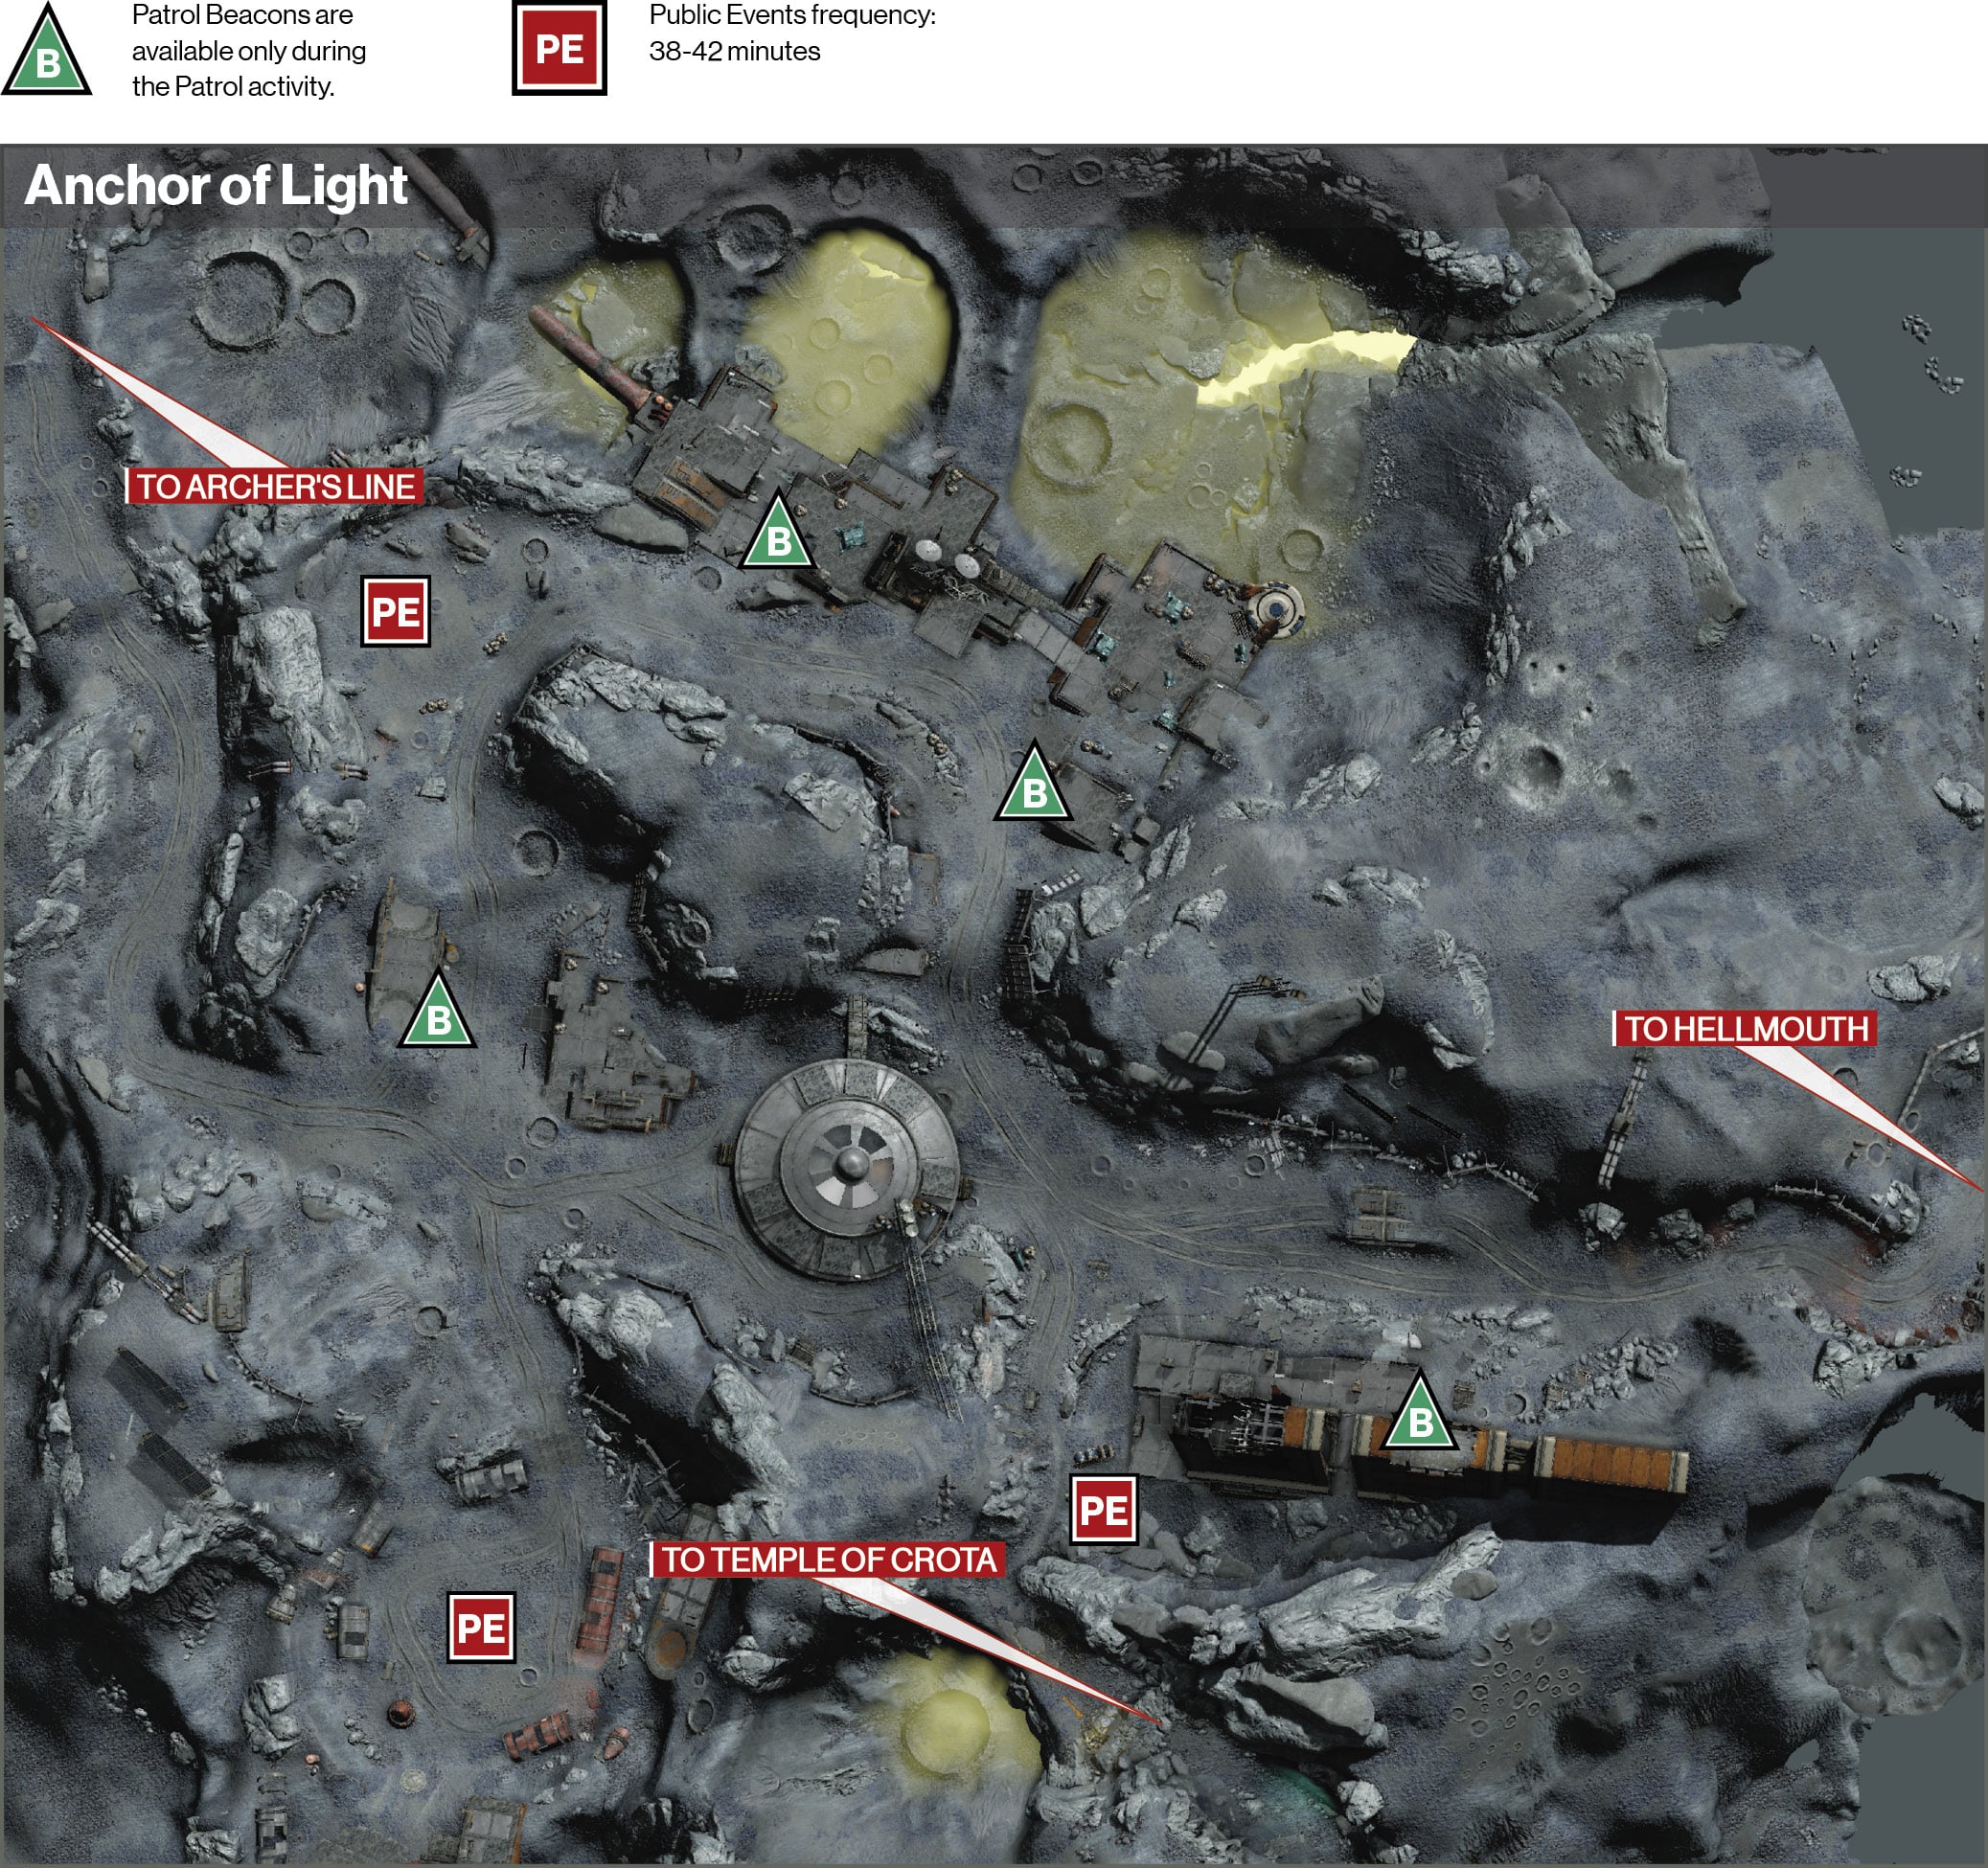
Cut through Hellmouth and Anchor of Light to reach the Temple of Crota.
Objective: Approach the Gate
Location: Temple of Crota
Descend toward the temple gate.
Objective: Enter the Temple
At the entrance, pull out a long-range weapon and take down the Hive Ogre patrolling inside. Then, move inside and take care of the Acolytes and Knight. Drop to the bottom floor and spin around to an opening on the side of the room. Move through the Hive ship, taking out the Thrall and Acolytes along the way.
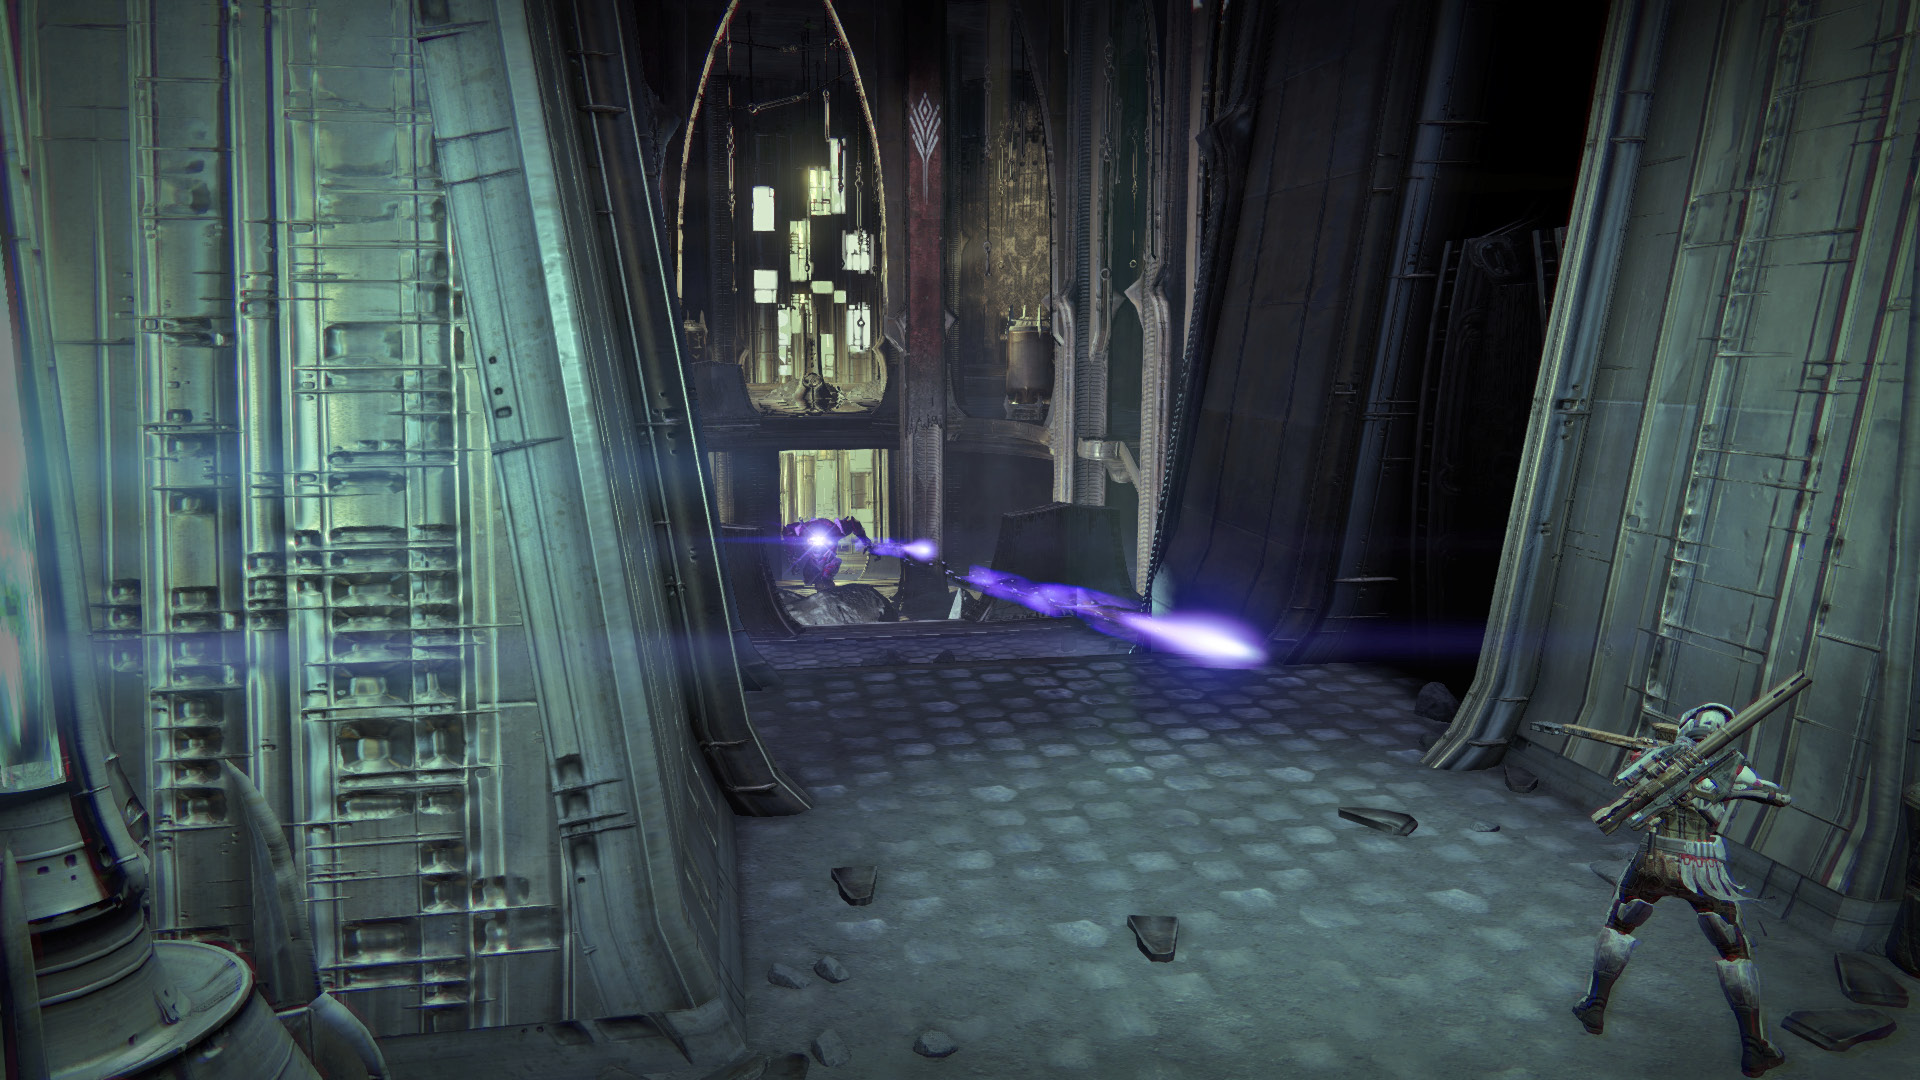
A Knight and Wizard wait on the other side with more minions. Clear out the area before proceeding deeper into the fortress, while Thrall and Cursed Thrall rush you at the stairs. When you reach the Hive Seeder, make a right into another tunnel. Defeat the Knights and a Cursed Thrall as you descend deeper into The World’s Grave.
Objective: Find the Chamber
Location: The World’s Grave
This begins a Darkness Zone, so be aware that death means restarting at the previous checkpoint. Stop at the first doorway and use a long-range weapon to clear out some of the Hive inside. Watch out for a group of Knights carrying cleavers as you push through the open door, directly across from the entrance. More Hive occupy the next room, including Thrall who rush your position immediately. Clear them out as you make your way to the far balcony. The entrance to the ritual chamber is found in the left corner.
Objective: Kill the Siphon Witches
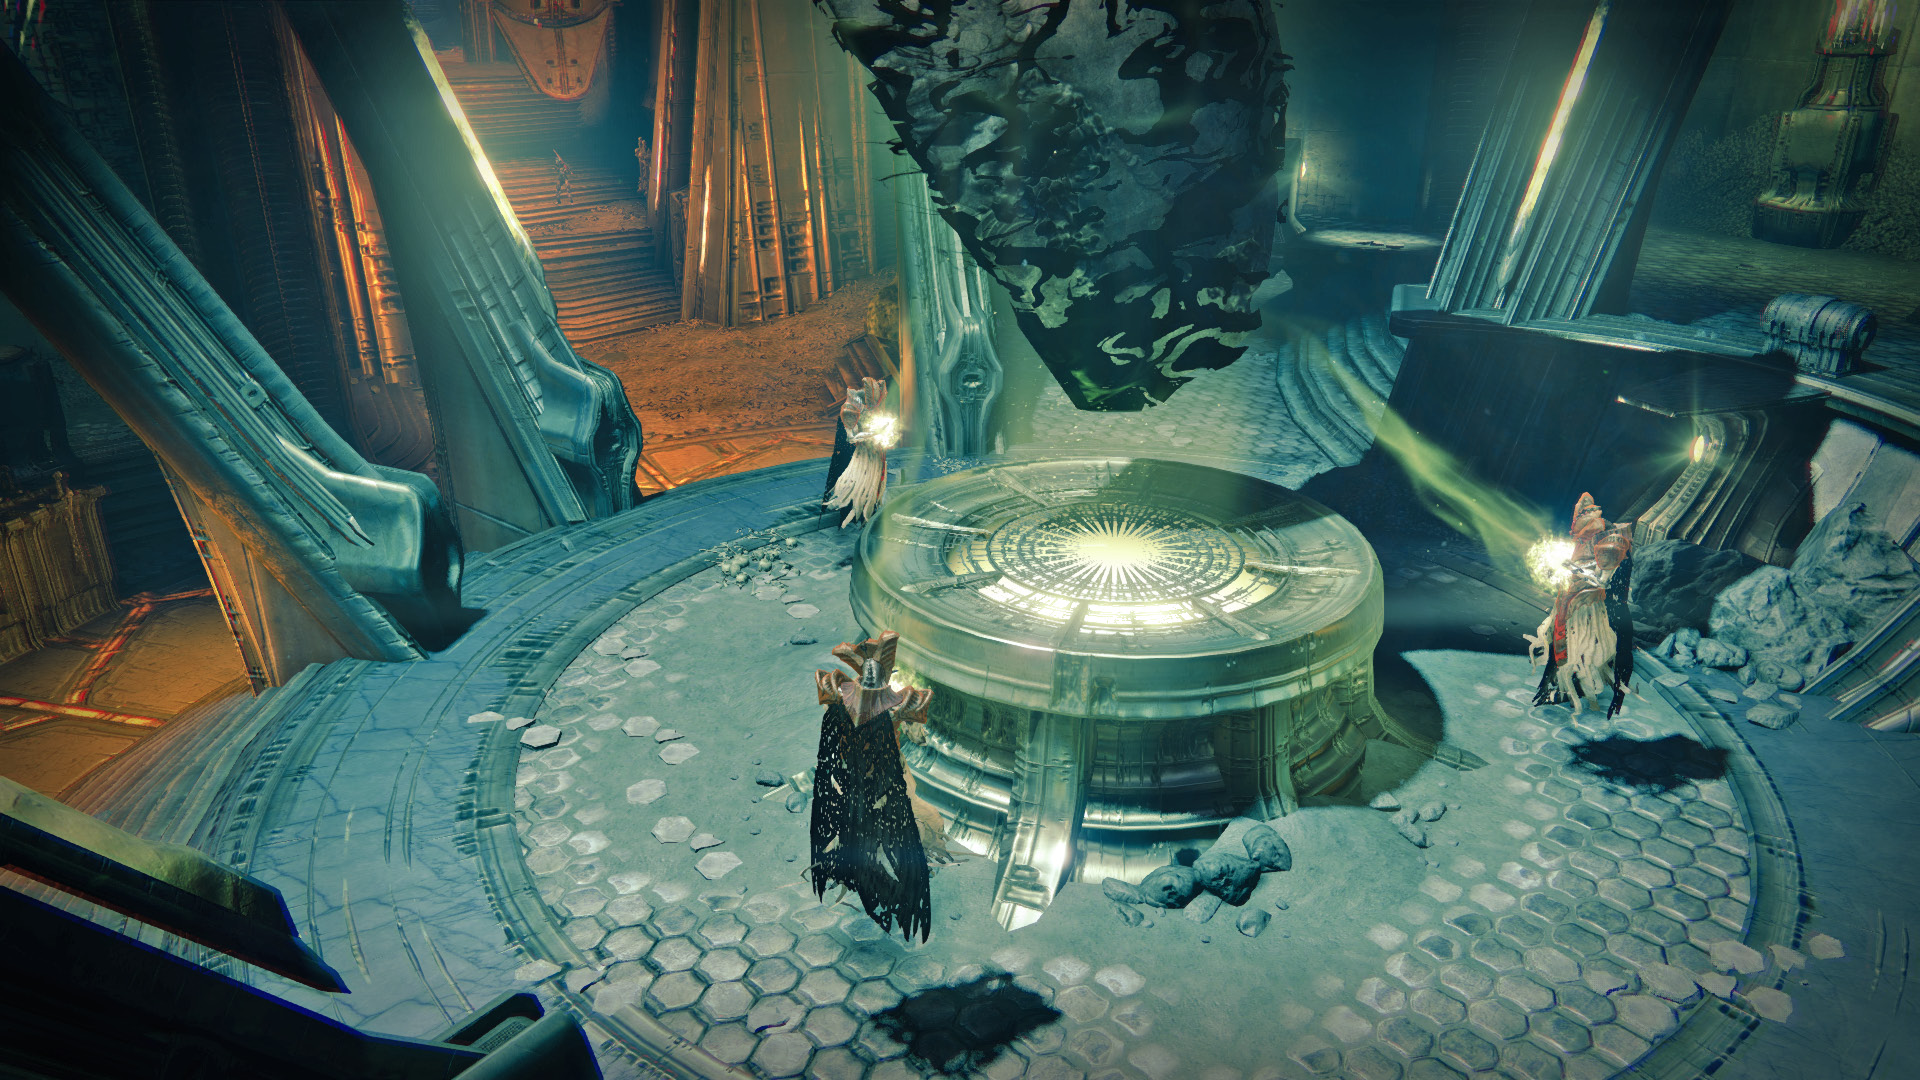
The door opens to reveal three Siphon Witches. Using your highest-power gun, hit one to let them know you are there. Equipping a Solar weapon is advantageous, so that you can cut through their shields more quickly.
Objective: Destroy the Hive
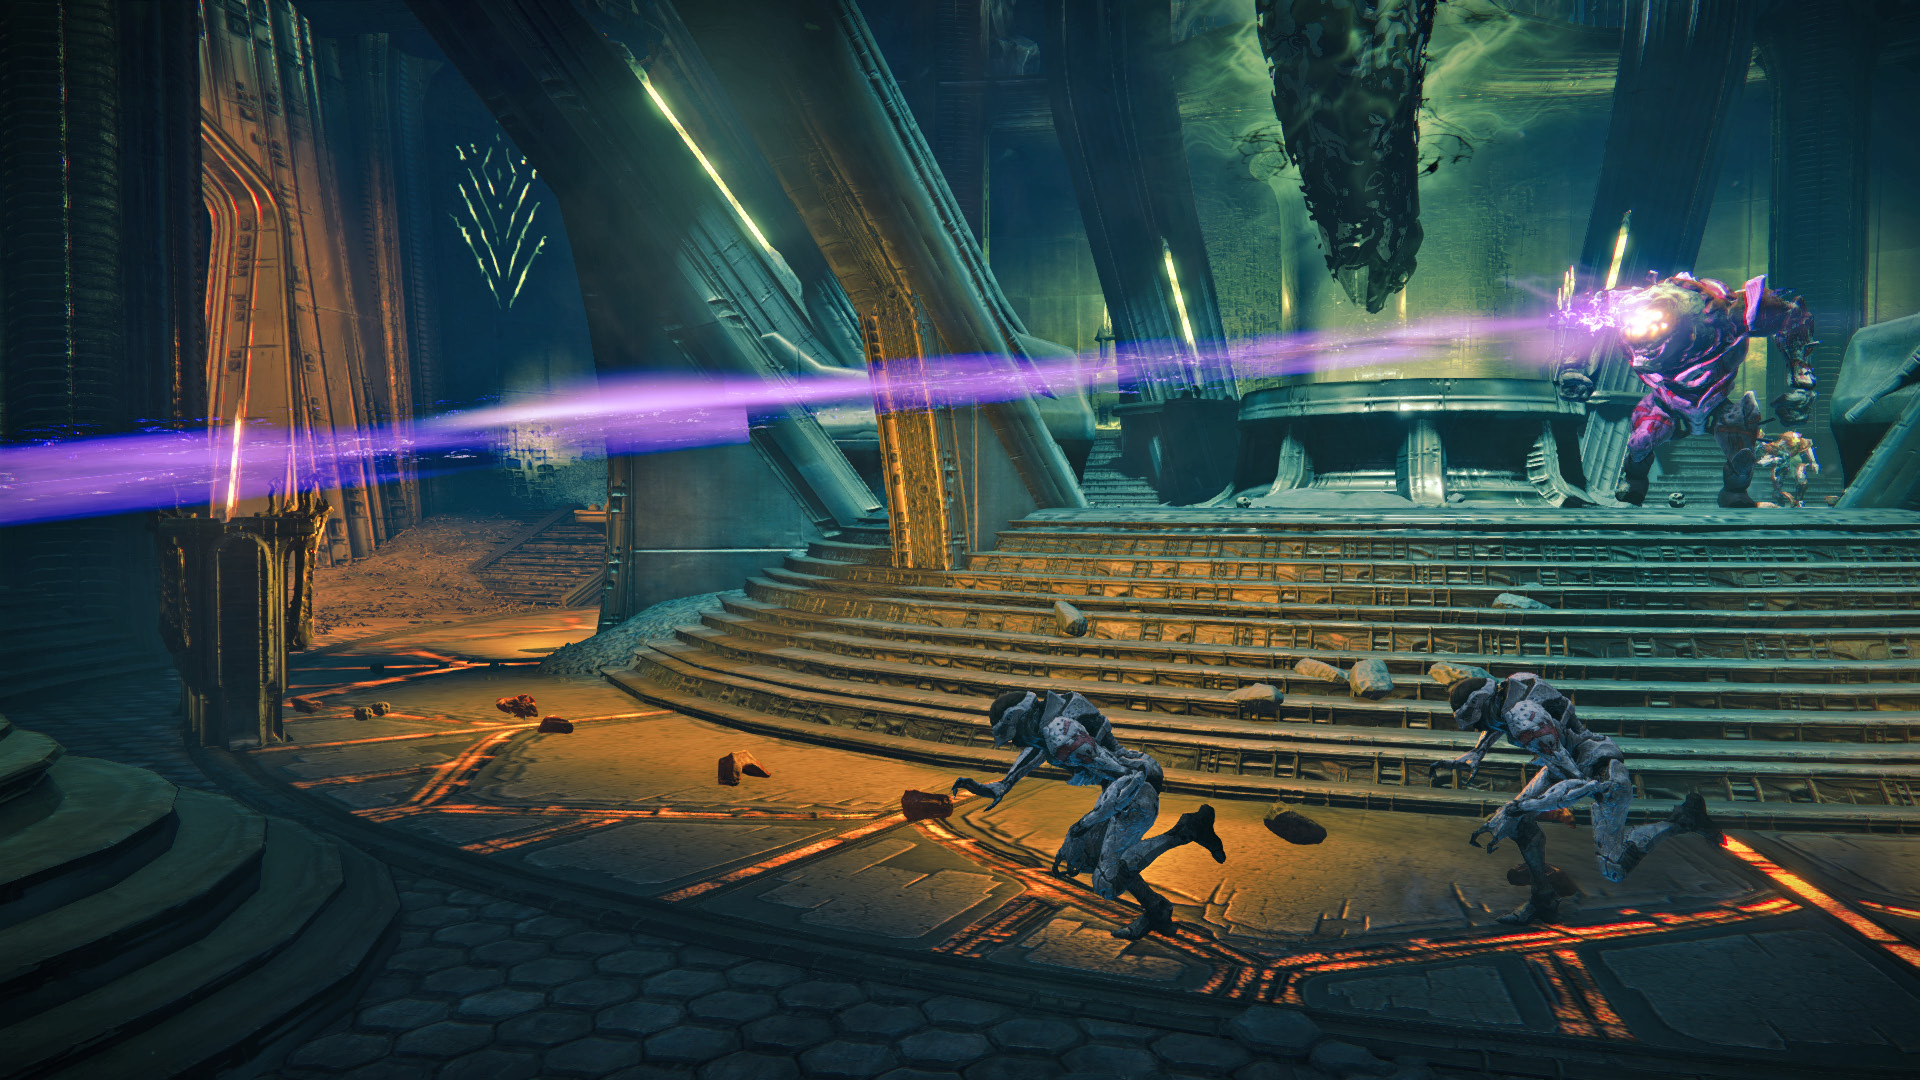
The three Witches may be out of the way, but a large number of Hive are incoming. Climb onto the platform to the left and prepare yourself. There are three doors in which the Hive emerge. Listen carefully for where the enemies come from and do not let yourself get backed into a corner. Thrall, Acolytes, and Knights all enter the arena. A nice close-range gun is extremely helpful for this scenario. However, you do want to eliminate the Cursed Thrall from a safe distance. A Major Ogre enters through the center door. Fight off any remaining minions and focus your high-powered attacks on the boss.
Objective: Investigate the Shard
Return to the platform and deploy your Ghost to investigate, ending the final story mission for the Moon.