
Destiny Signature Series Strategy Guide Crucible
MAP: Shores of Time
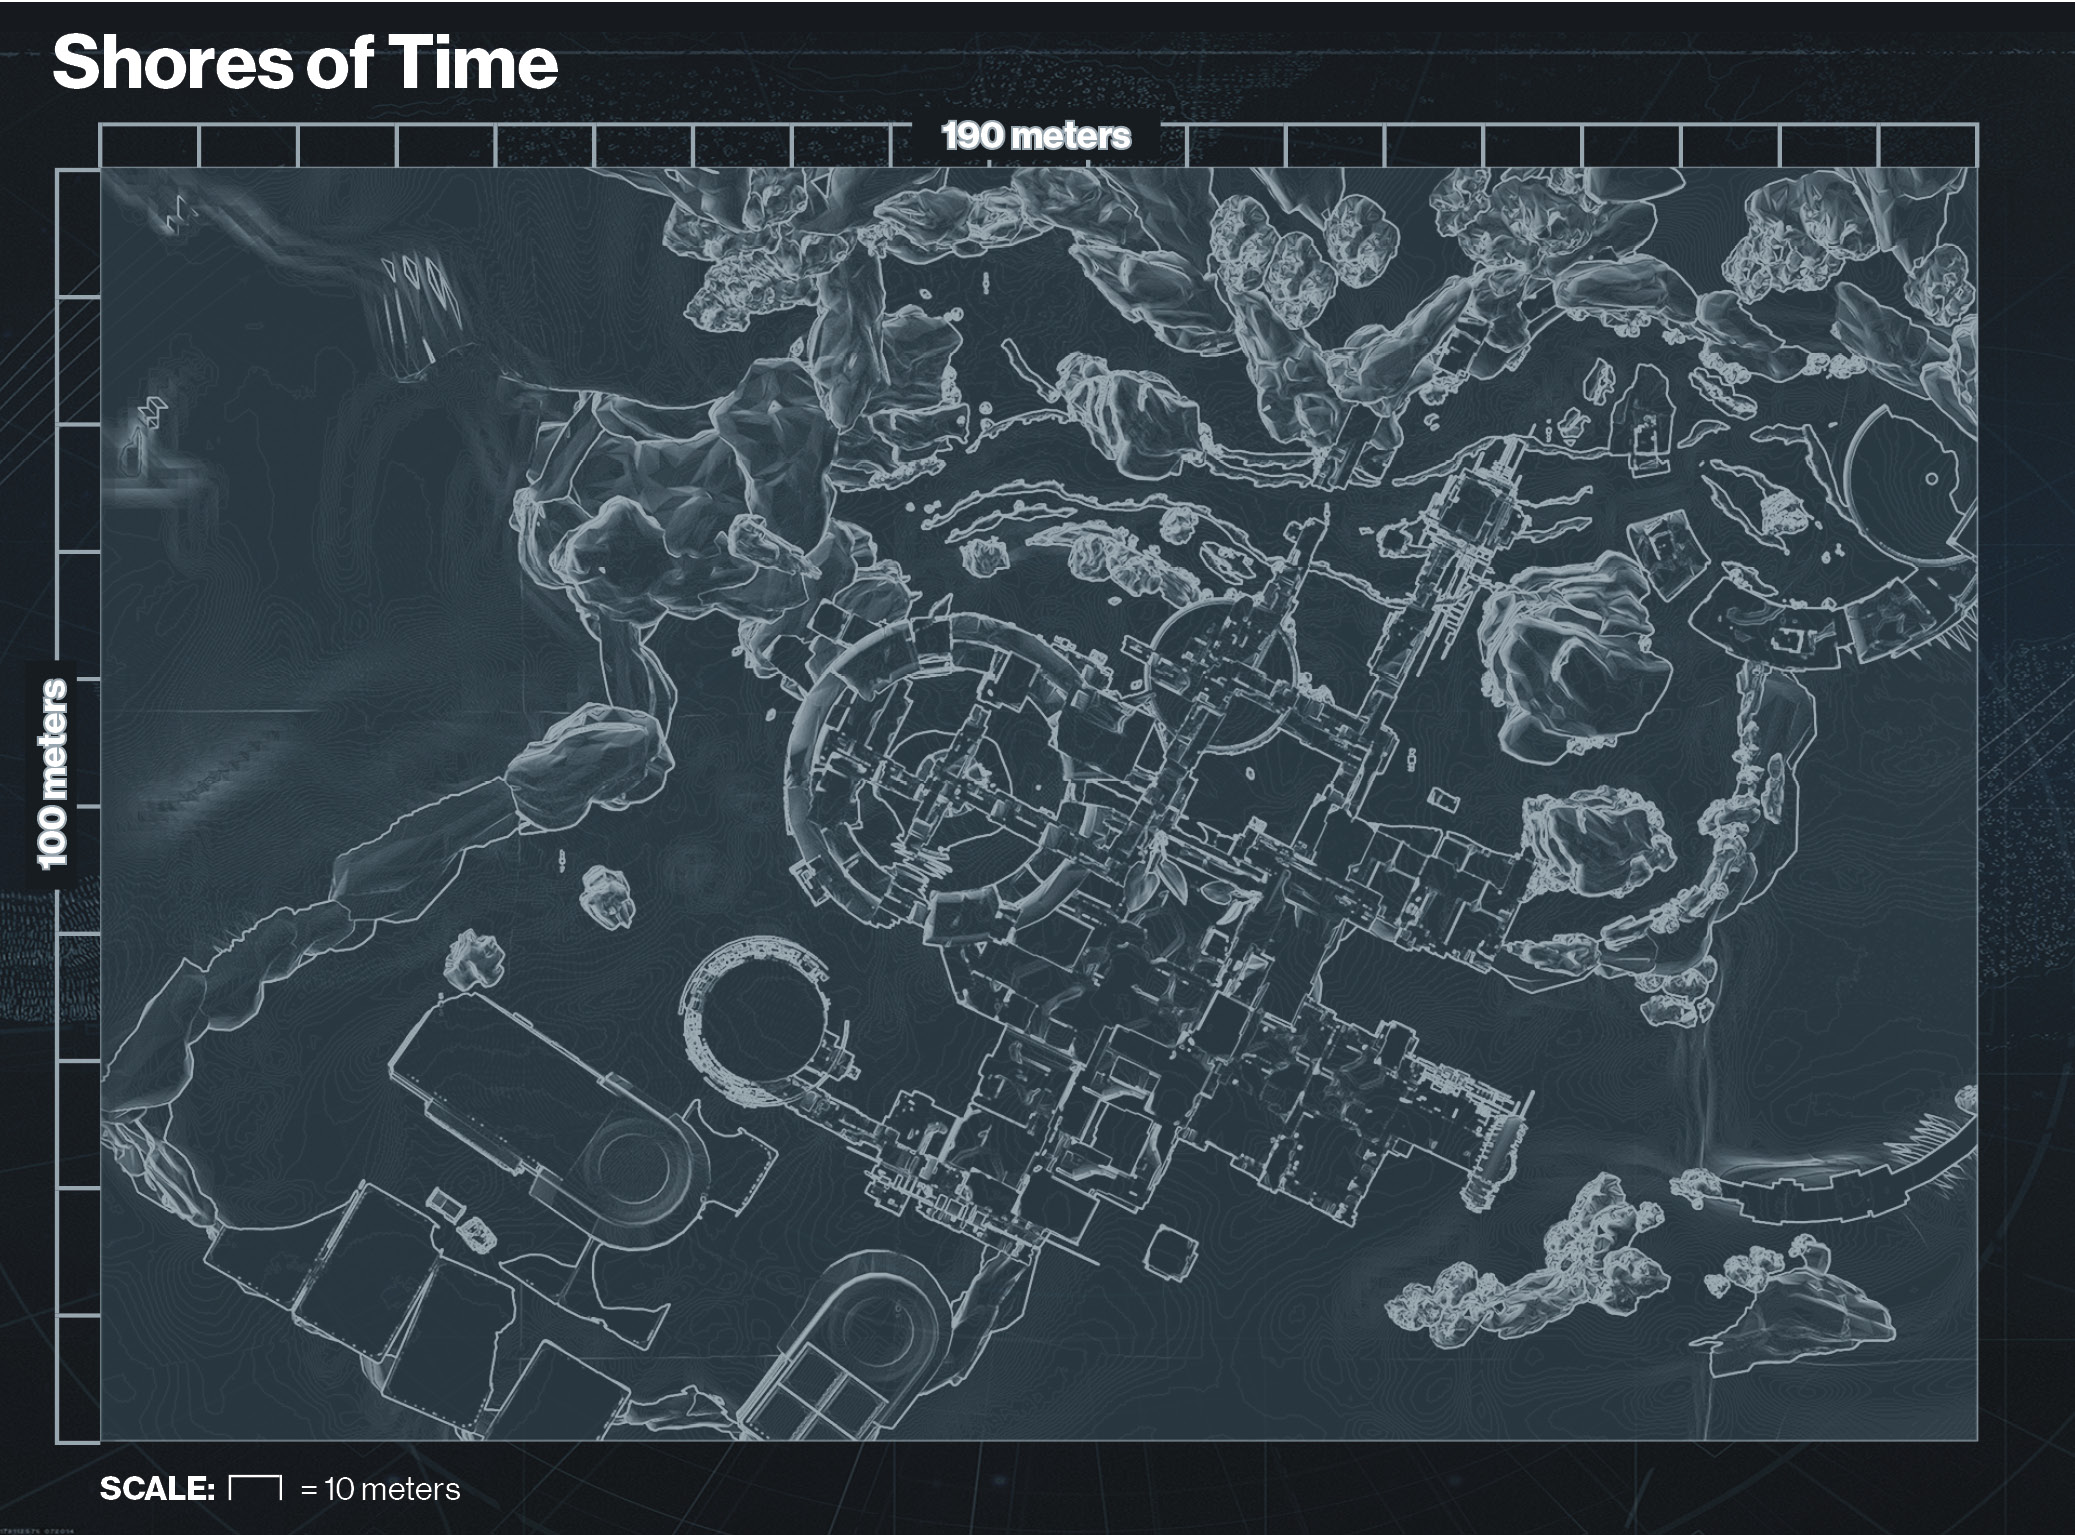
Layout
A deceptively complex layout, the Shores of Time takes place in the jungles of Venus, outside a ruined human outpost.
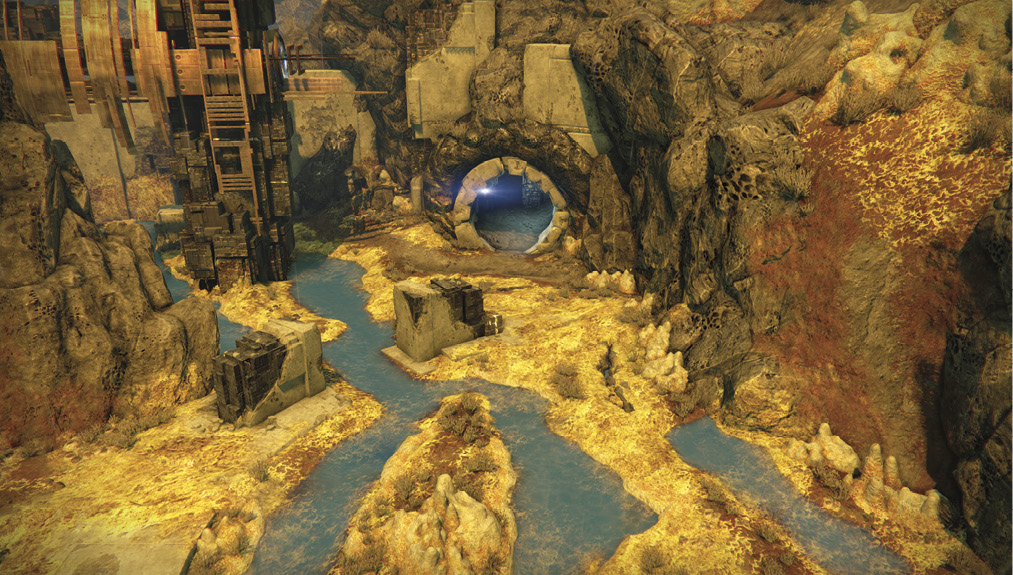
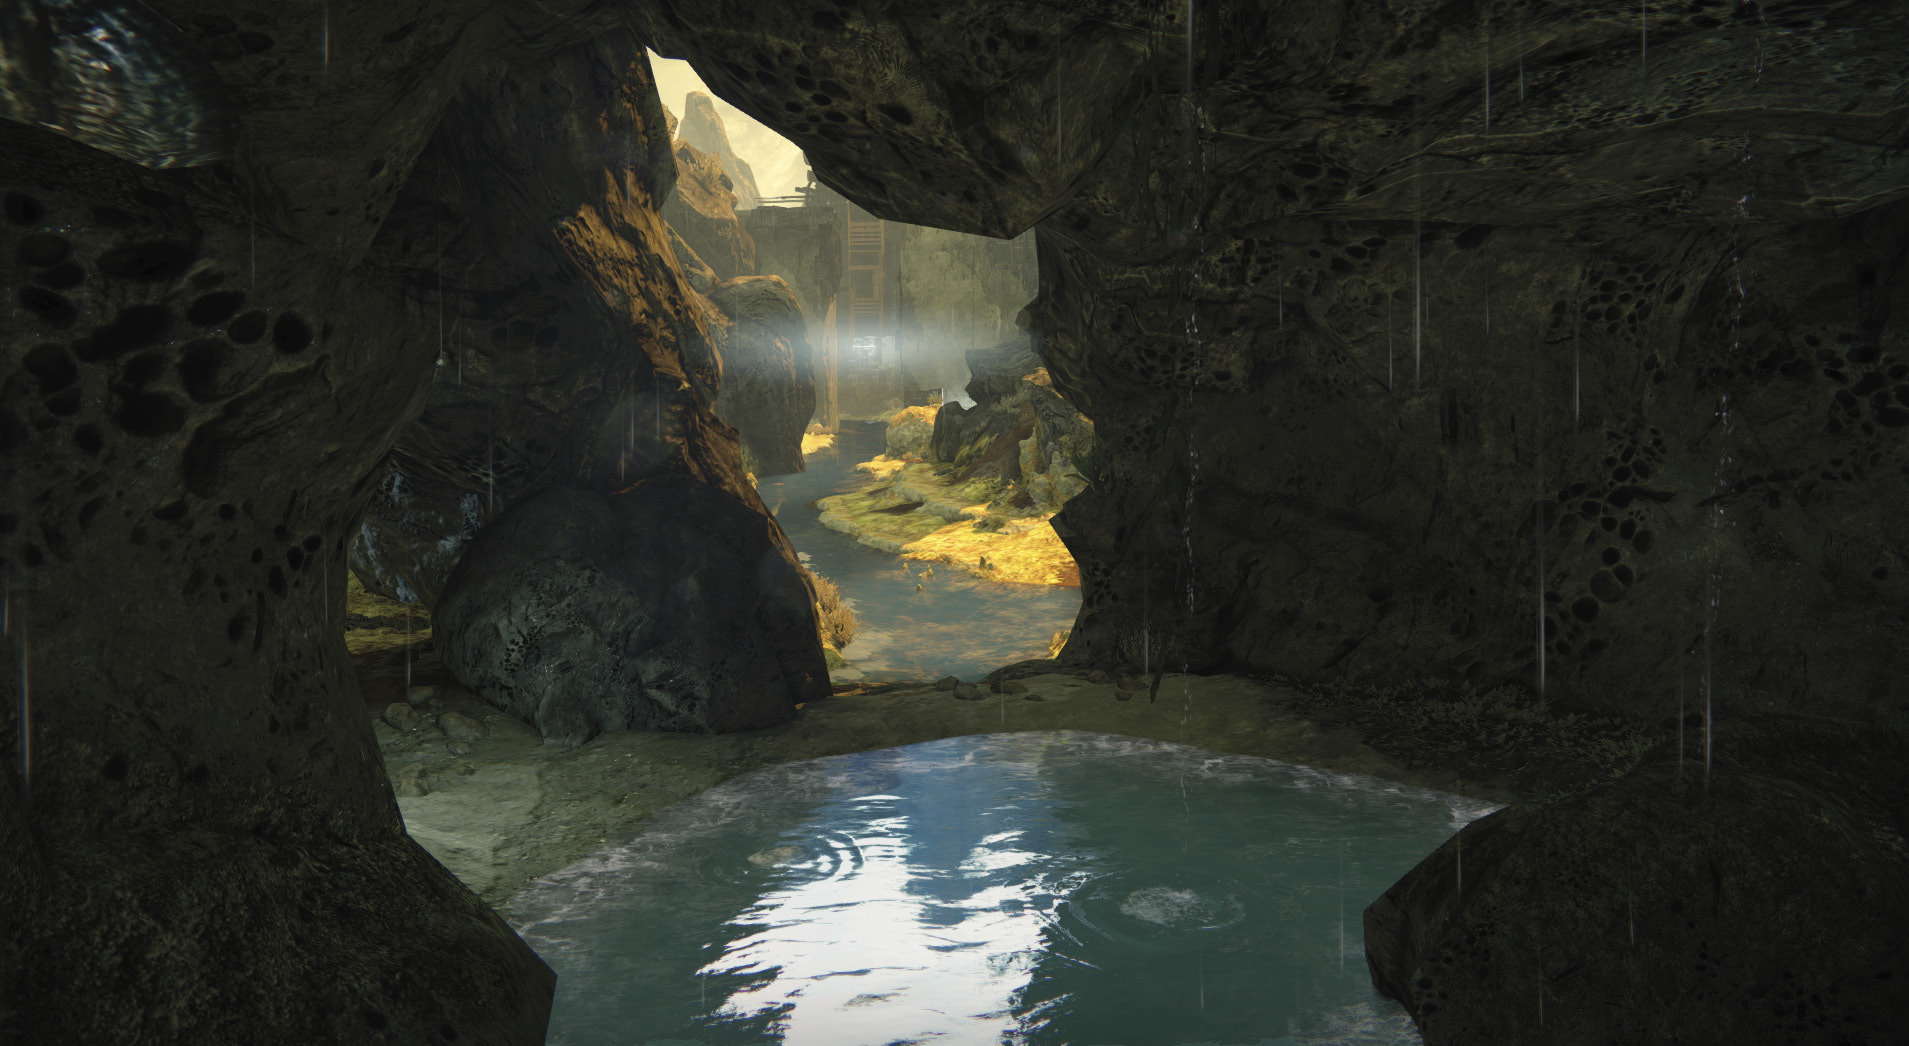
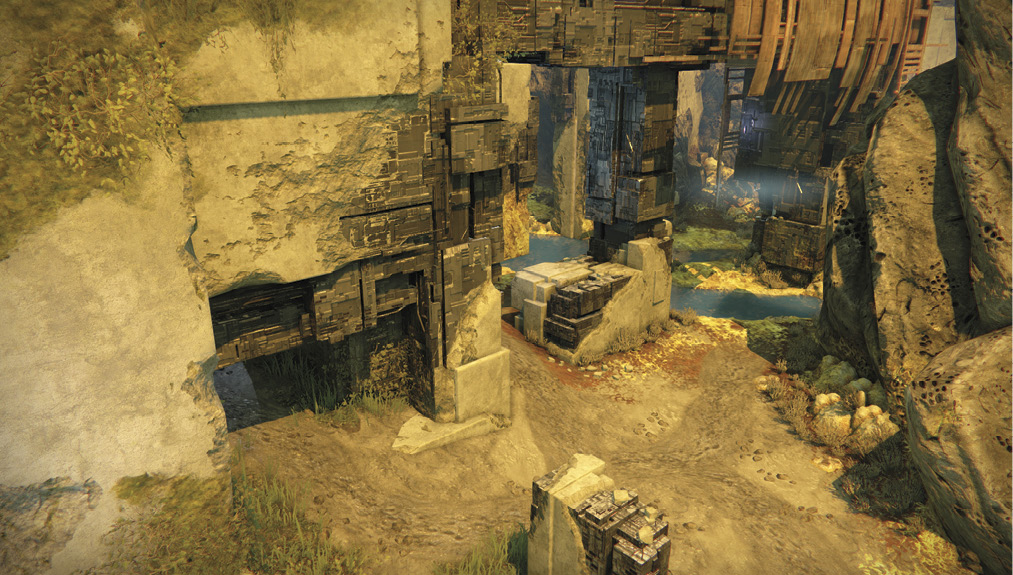
A centrally located Vex structure dominates the landscape, while portions of a jungle, a cave complex, and a river run through the edges of the level.
Part of the map around the Vex structure consists of sheer cliffs. If you aren’t careful, it is quite possible to plunge to your death during a fight on the edges.
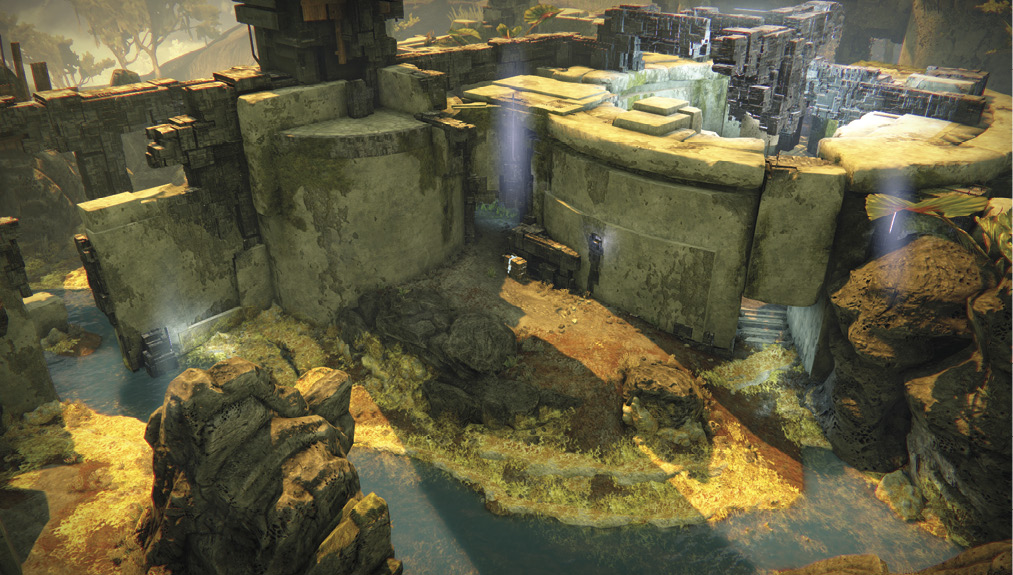
The Vex structure is centrally located and has a circular flow in and around it. This makes it both the fastest way from one side of the map to the other and a very dangerous place to linger, as traffic flows through it constantly.
While this level initially appears to have very constrained sightlines, there are some surprisingly long lines of sight around the edges of the level. Well-positioned snipers can cover lines from “corners” of the level, so be careful when pushing around the outside of the map.
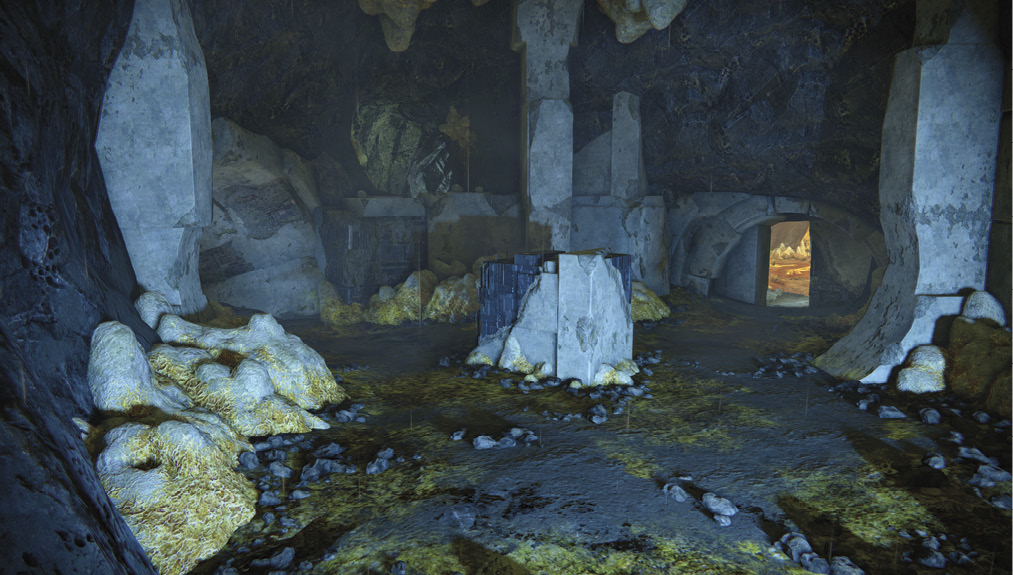
The cave area contains several objectives and one of the heavy ammo spawns, so even though it is somewhat out of the way, it tends to see traffic in objective play.
Tactics
There are several ways to play Shores of Time effectively. You can post up on the outskirts of the map and attempt to lock down the area, intercepting anyone who approaches.
Alternately, with a close-range setup and build, you can sweep through the center of the map, clearing it out and poking out briefly to attack anyone on any side of the level.
A balanced playstyle will see you roaming the map, only occasionally passing through the center to bypass a tough enemy position.
If you are playing with an organized team, coordinating a push on any edge of the level by having one player move on the outside and one player move through the center can give you a powerful advantage, with one player drawing fire and the second flanking the occupied enemies.
Motion Tracker
Motion Tracker usage is fairly easy on this level. Just be careful in the middle, as high traffic nearby can give you confused reads.
On the outskirts, spotting incoming enemies from a distance on the Motion Tracker is easy, and this is one of the few levels where crouching behind cover can still provide good protection and a line of sight with little fear of an ambush. Doing so dampens your own Motion Tracker signature and gives you a chance at an ambush.