Prima Games eGuides
primagames.com Browse Redeem a code Help
Destiny Signature Series Strategy Guide
Sign in My Guides

Sign in or create an account

We'll email you a link. No password needed, and if you don't have an account yet, the link makes one.

By creating an account or signing in, you agree to our Terms of Service and Privacy Policy.

Have a password?

Had an account on the old eGuides site, or a code from a printed guide? Help and troubleshooting

Sign in with a password

By signing in, you agree to our Terms of Service and Privacy Policy.

Check your email

A sign-in link is on its way. It works once and expires in 15 minutes. Open it and you're in, with an account if you didn't already have one.

Contents

  • Introduction
    • About Destiny
  • Field Manual
    • Welcome to Destiny
    • Your Character
    • Character Classes
      • TITAN
      • HUNTER
      • WARLOCK
    • Combat
    • Vehicles
    • Builds
    • Equipment
    • Customization
    • Inventory
    • Progression
    • Difficulty
    • Navigation
  • TOWER
    • About The Tower
    • A Guardian Rises
    • Overview
    • Tower Plaza – Tower Watch
    • Tower Plaza – Hall of Guardians
    • North Tower
    • Tower Hangar
    • Tower Plaza – Traveler's Walk
    • Bounties
  • EARTH
    • Overview
    • Restoration
    • The Dark Within
    • The Warmind
    • The Last Array
    • STRIKE: The Devils' Lair
    • PATROL: Patrol The Cosmodrome
  • MOON
    • Overview
    • The Dark Beyond
    • The World's Grave
    • The Sword of Crota
    • Shrine of Oryx
    • Chamber of Night
    • STRIKE: The Summoning Pits
    • PATROL: Patrol The Moon
  • VENUS
    • Overview
    • A Stranger's Call
    • Ishtar Collective
    • The Archive
    • Scourge of Winter
    • Eye of a Gate Lord
    • STRIKE: Winter's Run
    • STRIKE: The Nexus
    • RAID: Vault of Glass
    • PATROL: Patrol Venus
  • MARS
    • Overview
    • Exclusion Zone
    • The Garden's Spire
    • The Buried City
    • A Rising Tide
    • The Black Garden
    • STRIKE: Cerberus Vae II
    • STRIKE: Dust Palace
    • PATROL: Patrol the Buried City
  • Codex
    • About the Codex
    • The Fallen
    • The Hive
    • The Vex
    • The Cabal
  • Armory
    • Overview
    • Weapons
    • Weapon Stats
    • Weapon Mods
    • Mod Descriptions
    • Mod Lists
    • Weapon Tables
    • Weapon Drop Locations
    • Weapon Charts
    • Mod Stat Charts
    • Handling Charts
    • Inventory Charts
    • Magazine Charts
    • Range Charts
    • Velocity Charts
    • Reload Charts
    • Stability Charts
    • Recoil Patterns
    • Armor
    • Armor Mods
    • Exotics
  • Crucible
    • Overview
    • PvP Combat
    • Game Modes
    • General Game Mode Advice
    • MAP: Anomaly
    • MAP: Asylum
    • MAP: Bastion
    • MAP: Blind Watch
    • MAP: Burning Shrine
    • MAP: Exodus Blue (timed PlayStation exclusive)
    • MAP: Firebase Delphi
    • MAP: First Light
    • MAP: Rusted Lands
    • MAP: Shores of Time
    • MAP: Twilight Gap
  • Expansion I: The Dark Below
    • Introduction
    • Missions
      • Overview
      • Fist of Crota
      • Siege of the Warmind
      • The Wakening
      • Ritual of Sacrifice
    • Eris Morn Quests
      • Disciples of Crota
      • The Urn of Sacrifice
    • Strikes
      • STRIKE: The Undying Mind (Timed PlayStation Exclusive)
      • STRIKE: The Will of Crota
    • Eris Morn Bounties
    • Crucible Maps
      • Skyshock
      • The Cauldron
      • Pantheon
  • Trophies & Achievements
    • Overview
    • Specialization
    • Gear and Vehicles
    • Kill Enemies
    • Strikes and Raid
    • The Crucible
    • Patrol and More

Destiny Signature Series Strategy Guide › MOON

The Sword of Crota

The Sword of Crota

Level 7 Story / Archer’s Line, Ocean of Storms, Moon

Enemy Races: Fallen, Hive

Suggested Damage Types: Arc, Solar

Rewards: XP Bonus, Armor Upgrade

Missions Unlocked: Shrine of Oryx, The Summoning Pits Strike

Objective: Get to the Hellmouth
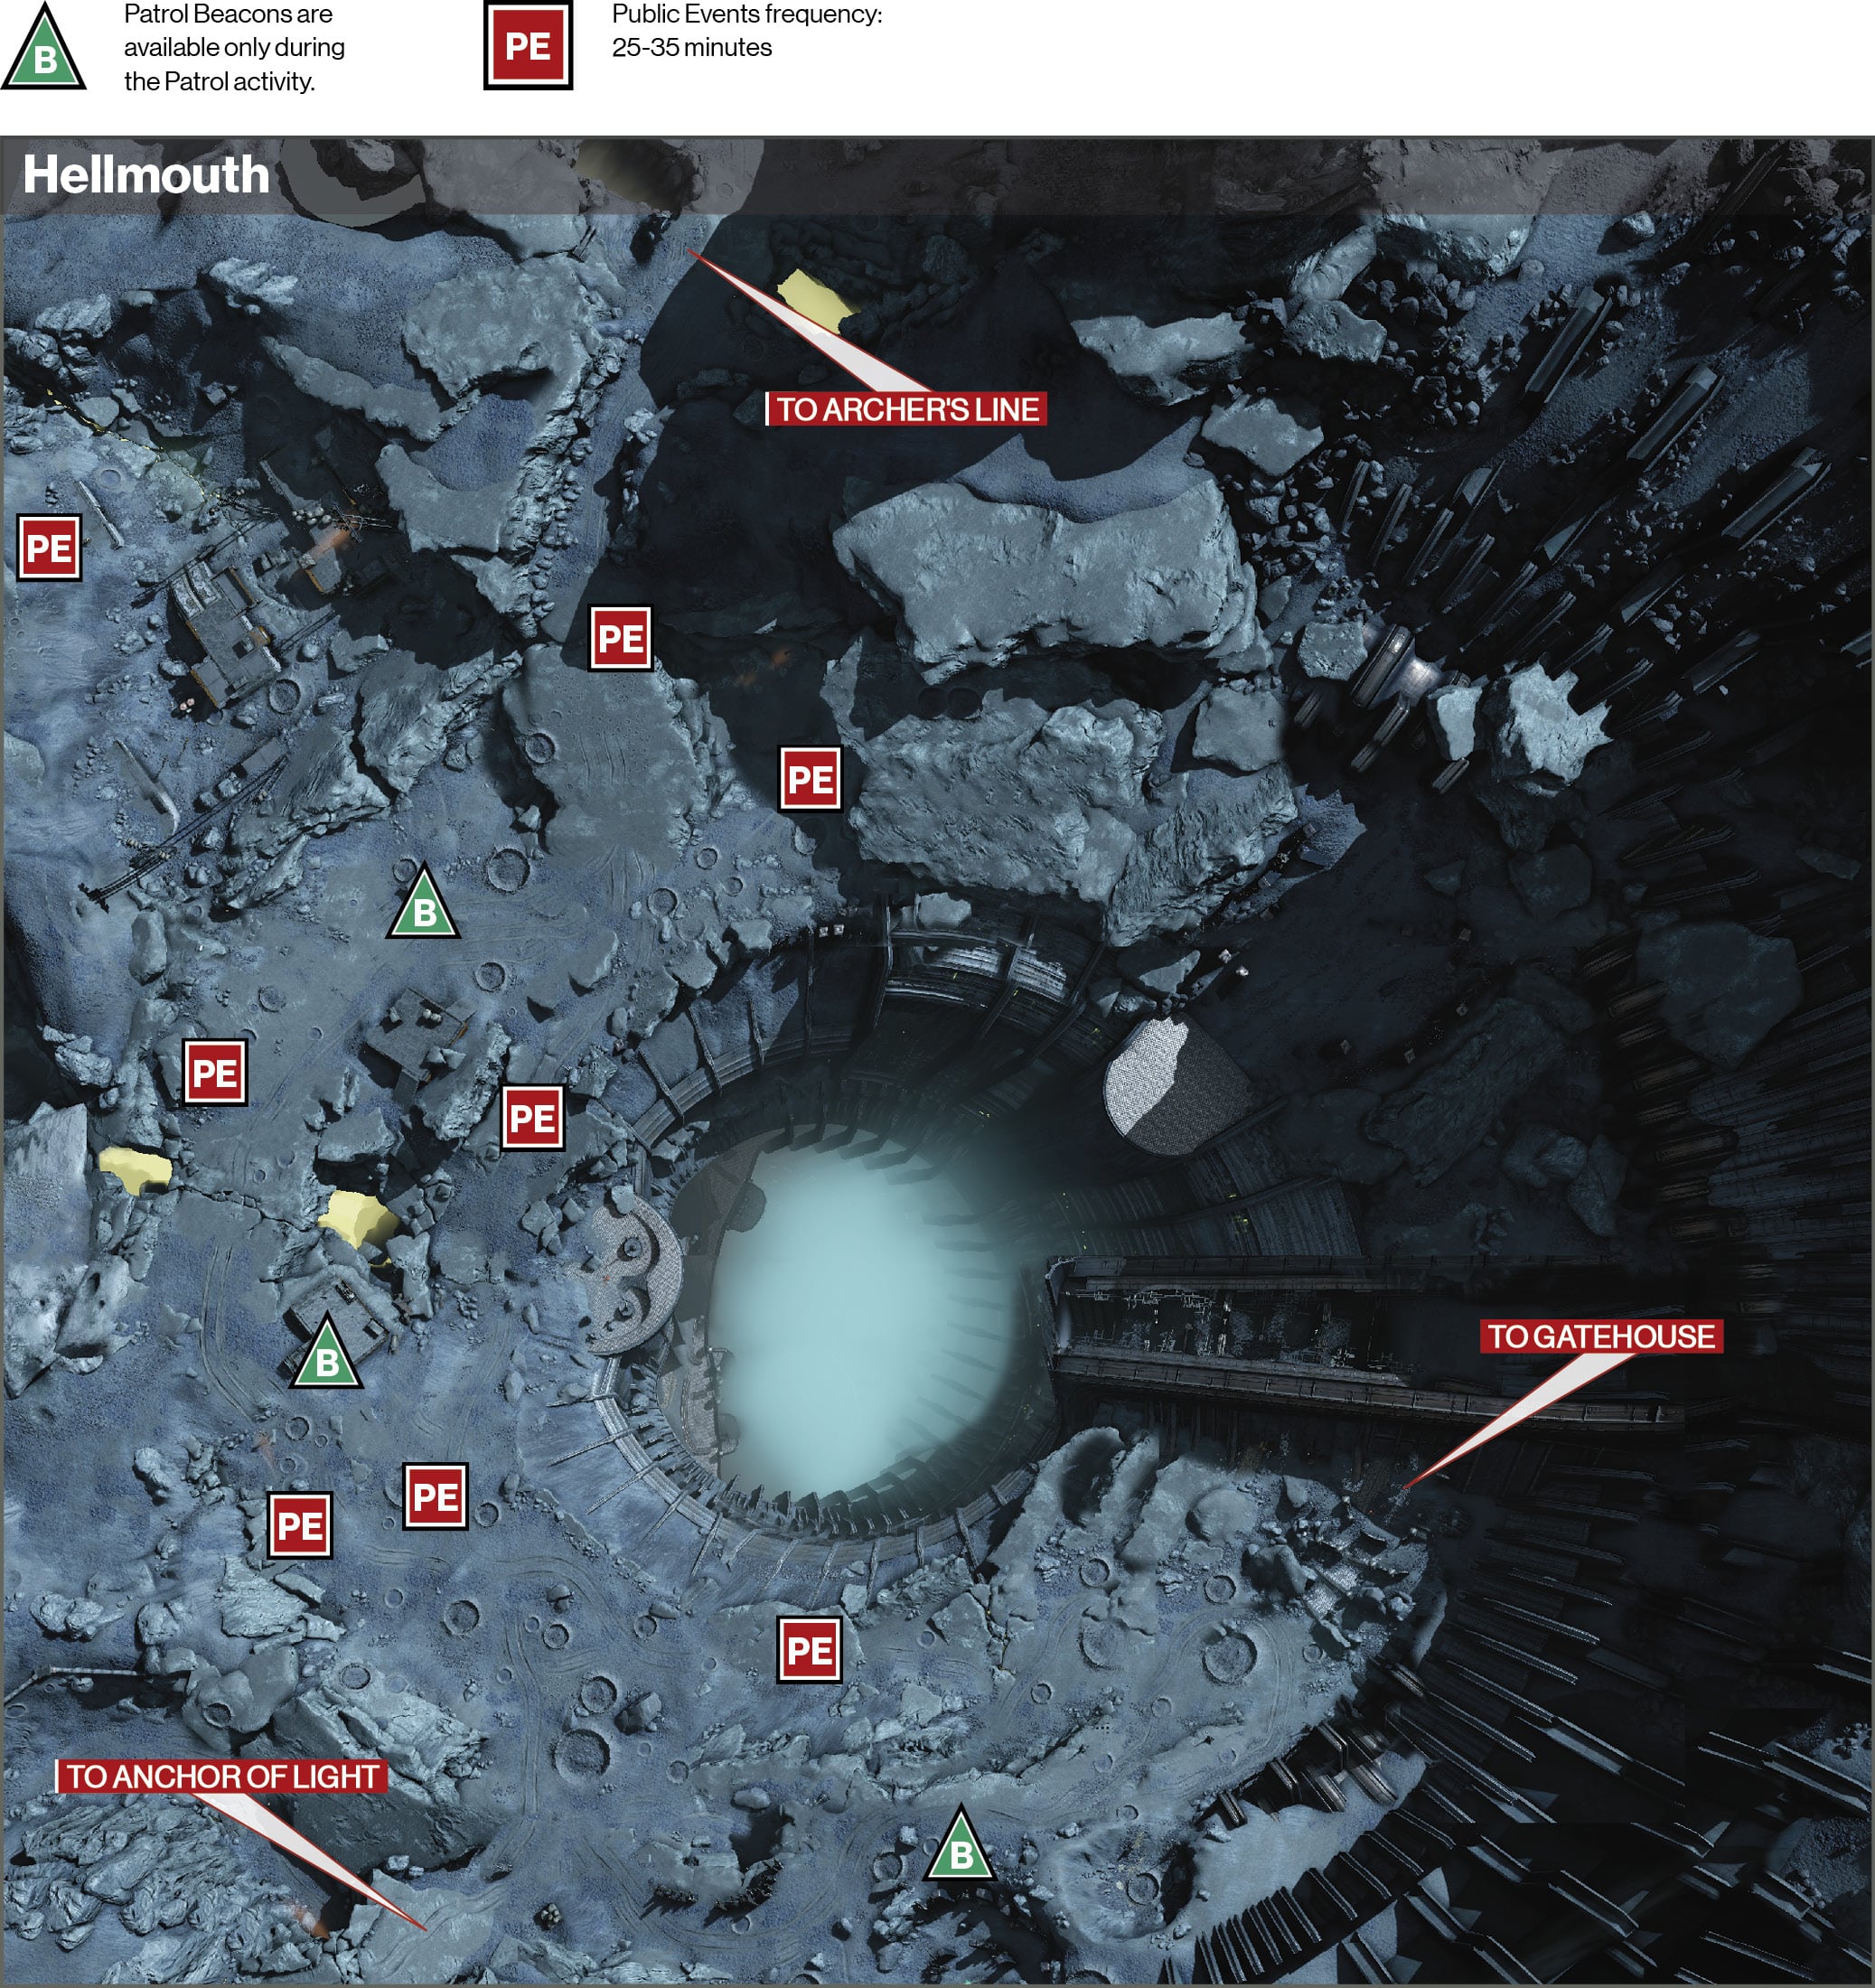
Location: Archer’s Line

Jump on your Sparrow and drive to Hellmouth, up the hill and left from the landing zone.

Objective: Find the Swarm Prince

Location: Hellmouth

Make your way around Hellmouth until you find a group of Acolytes and the Major Knight himself—Banuk, Ur Prince.

Objective: Face the Swarm Prince

Being a Major, the Prince has extra health and fires his boomer more often. Take him down along with his minions.
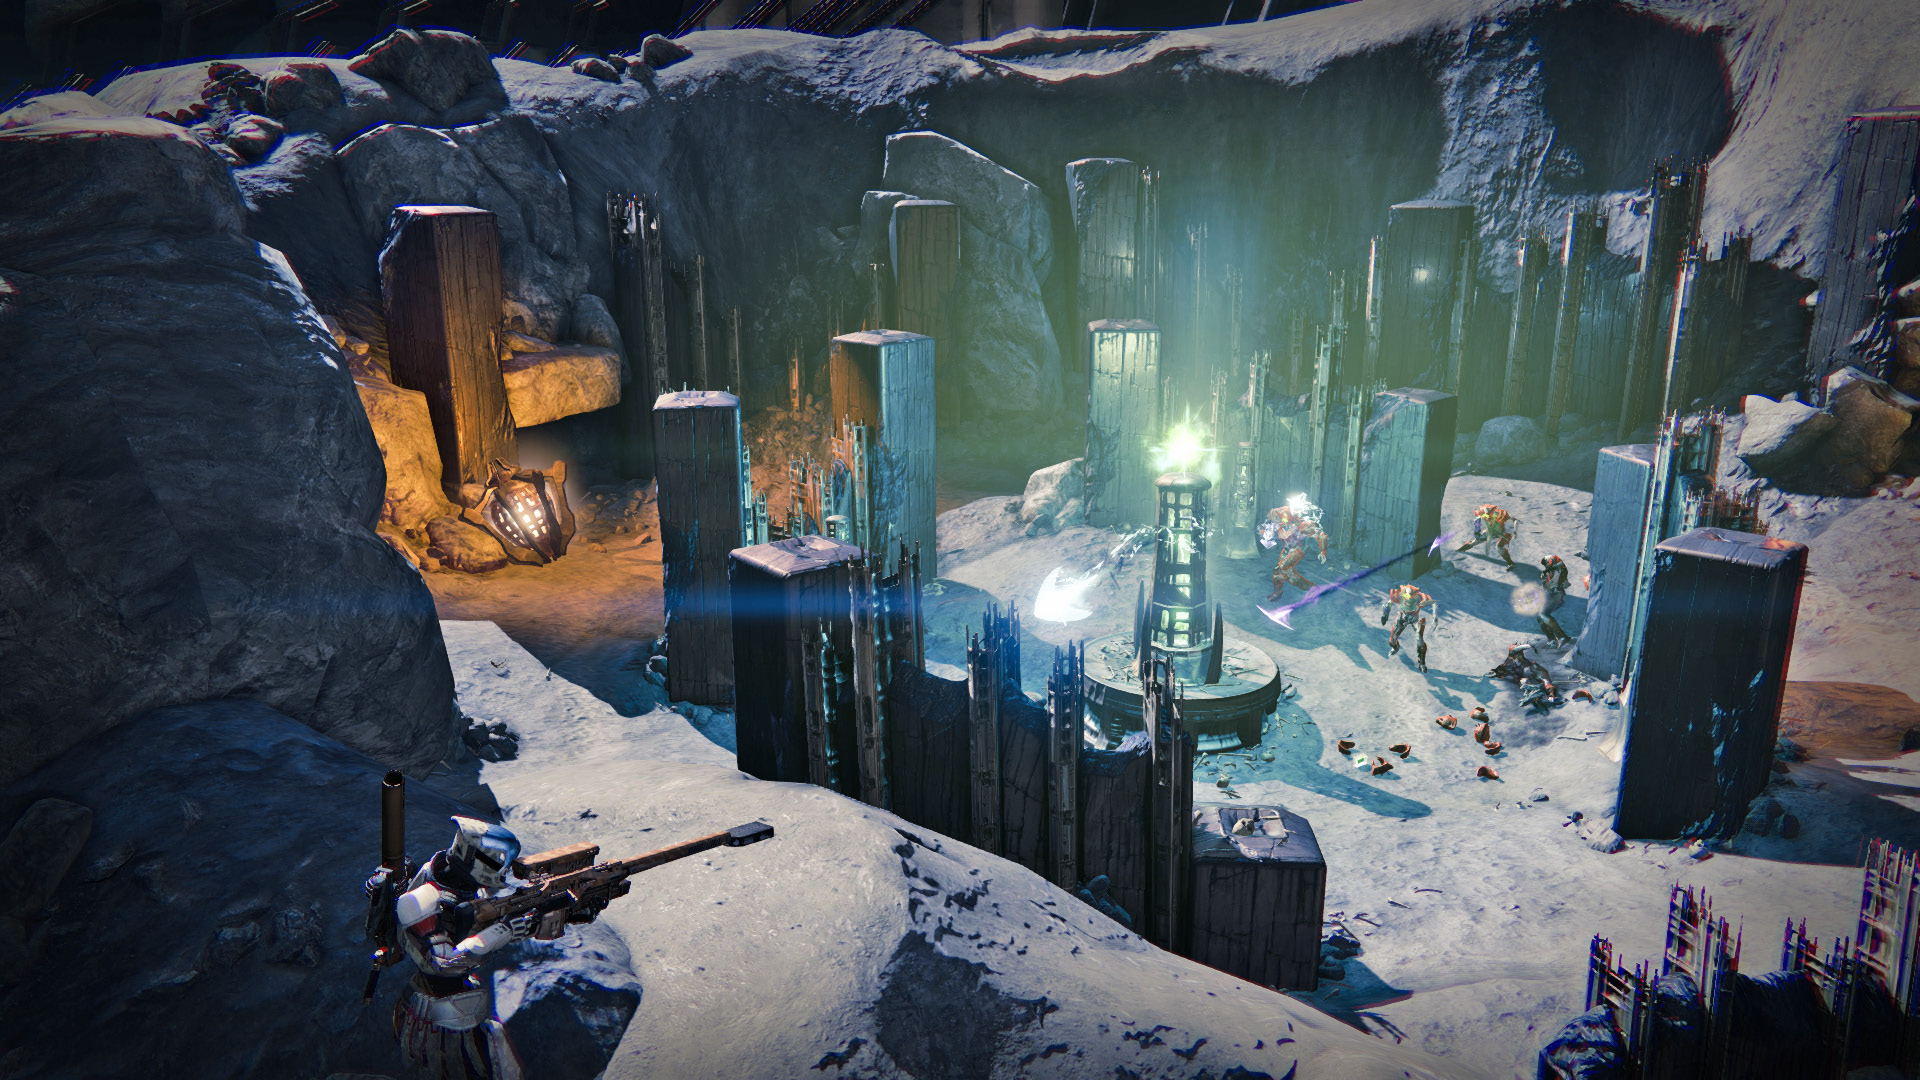
Objective: Track the Sword

Continue through Hellmouth and enter the Hive compound ahead, where three Knights protect the entrance and bombard you with explosive shots. Use the cover in the area as you finish them off.

Objective: Locate the Sword

Location: The Gatehouse
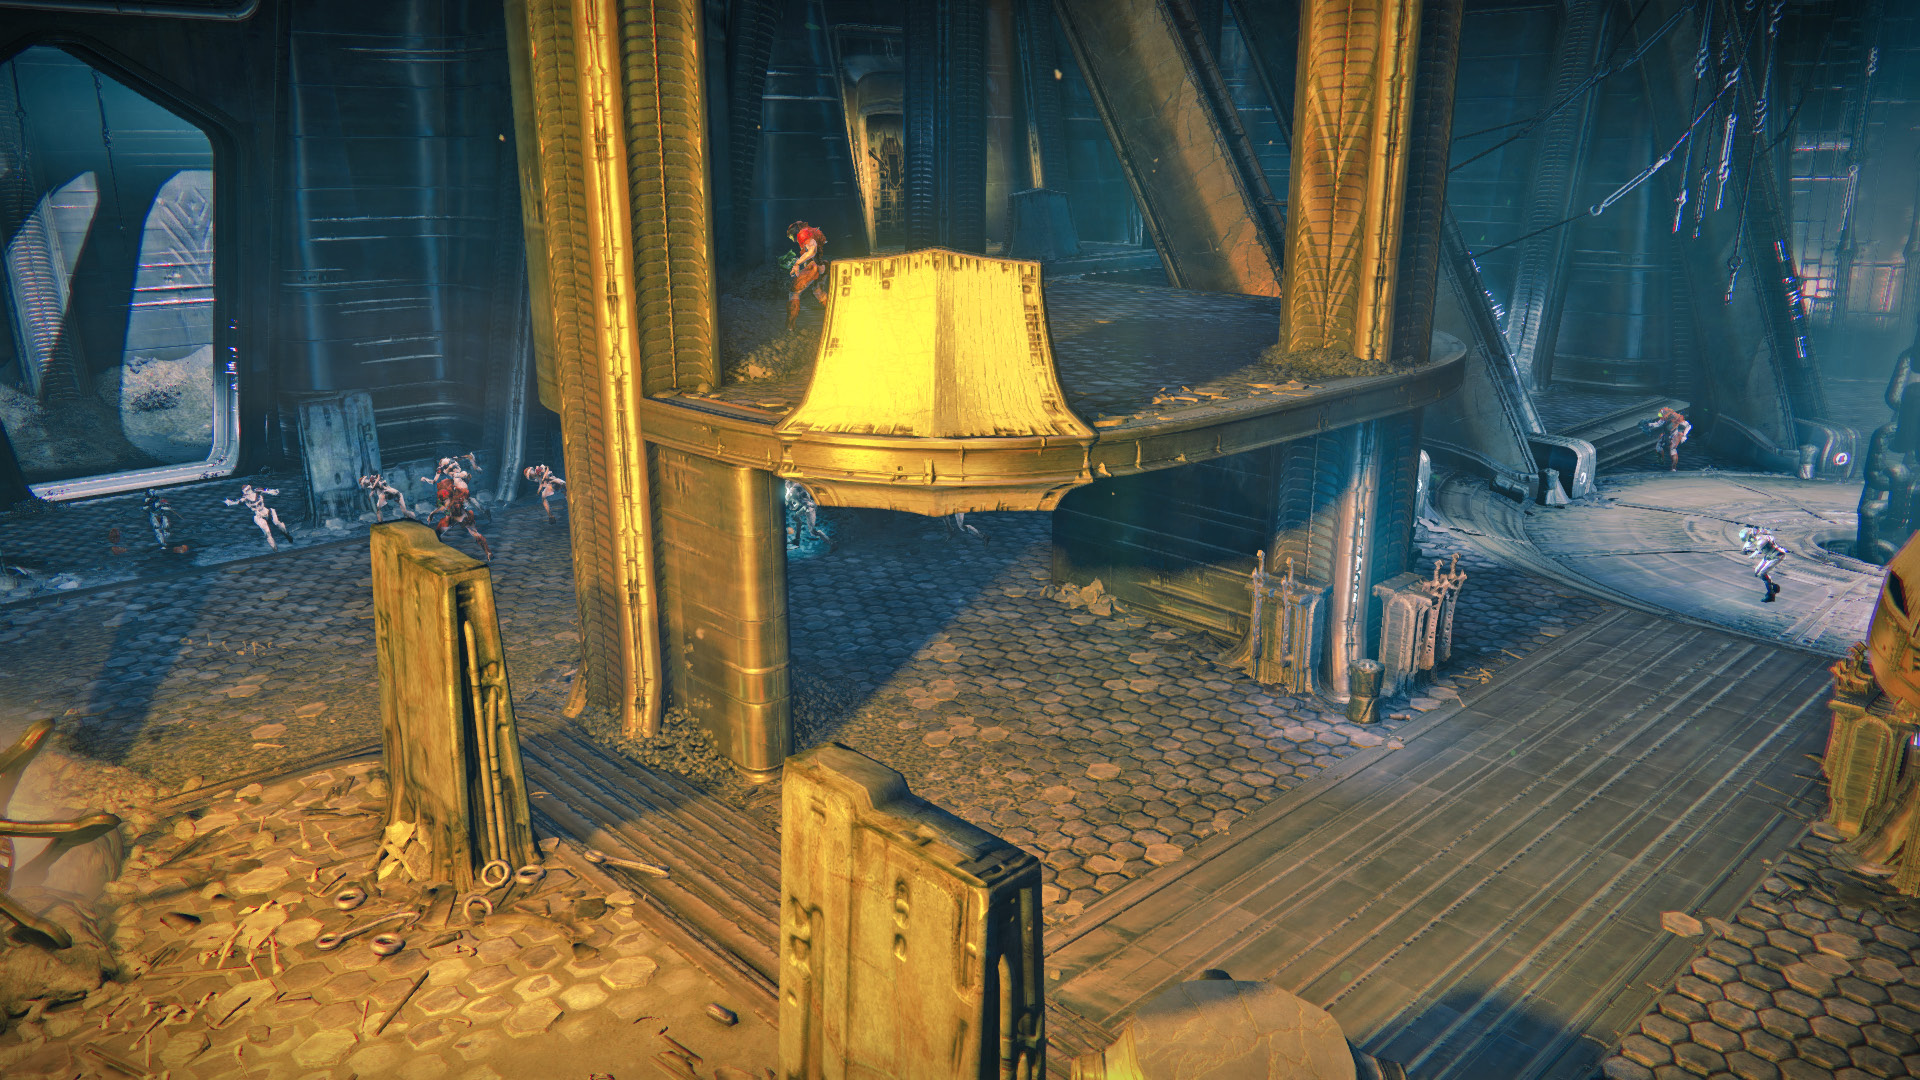
Descend into the Gatehouse as it becomes a Darkness Zone. Remove the Knight and Acolytes as you continue deeper into the complex. Turn the corner into the final area, where Thrall, Cursed Thrall, Acolytes, and a Wizard occupy the room.

Objective: Slaughter the Hive

Make sure the Cursed Thrall do not get too close as you clear the way to the Sword of Crota.

Objective: Claim the Sword of Crota

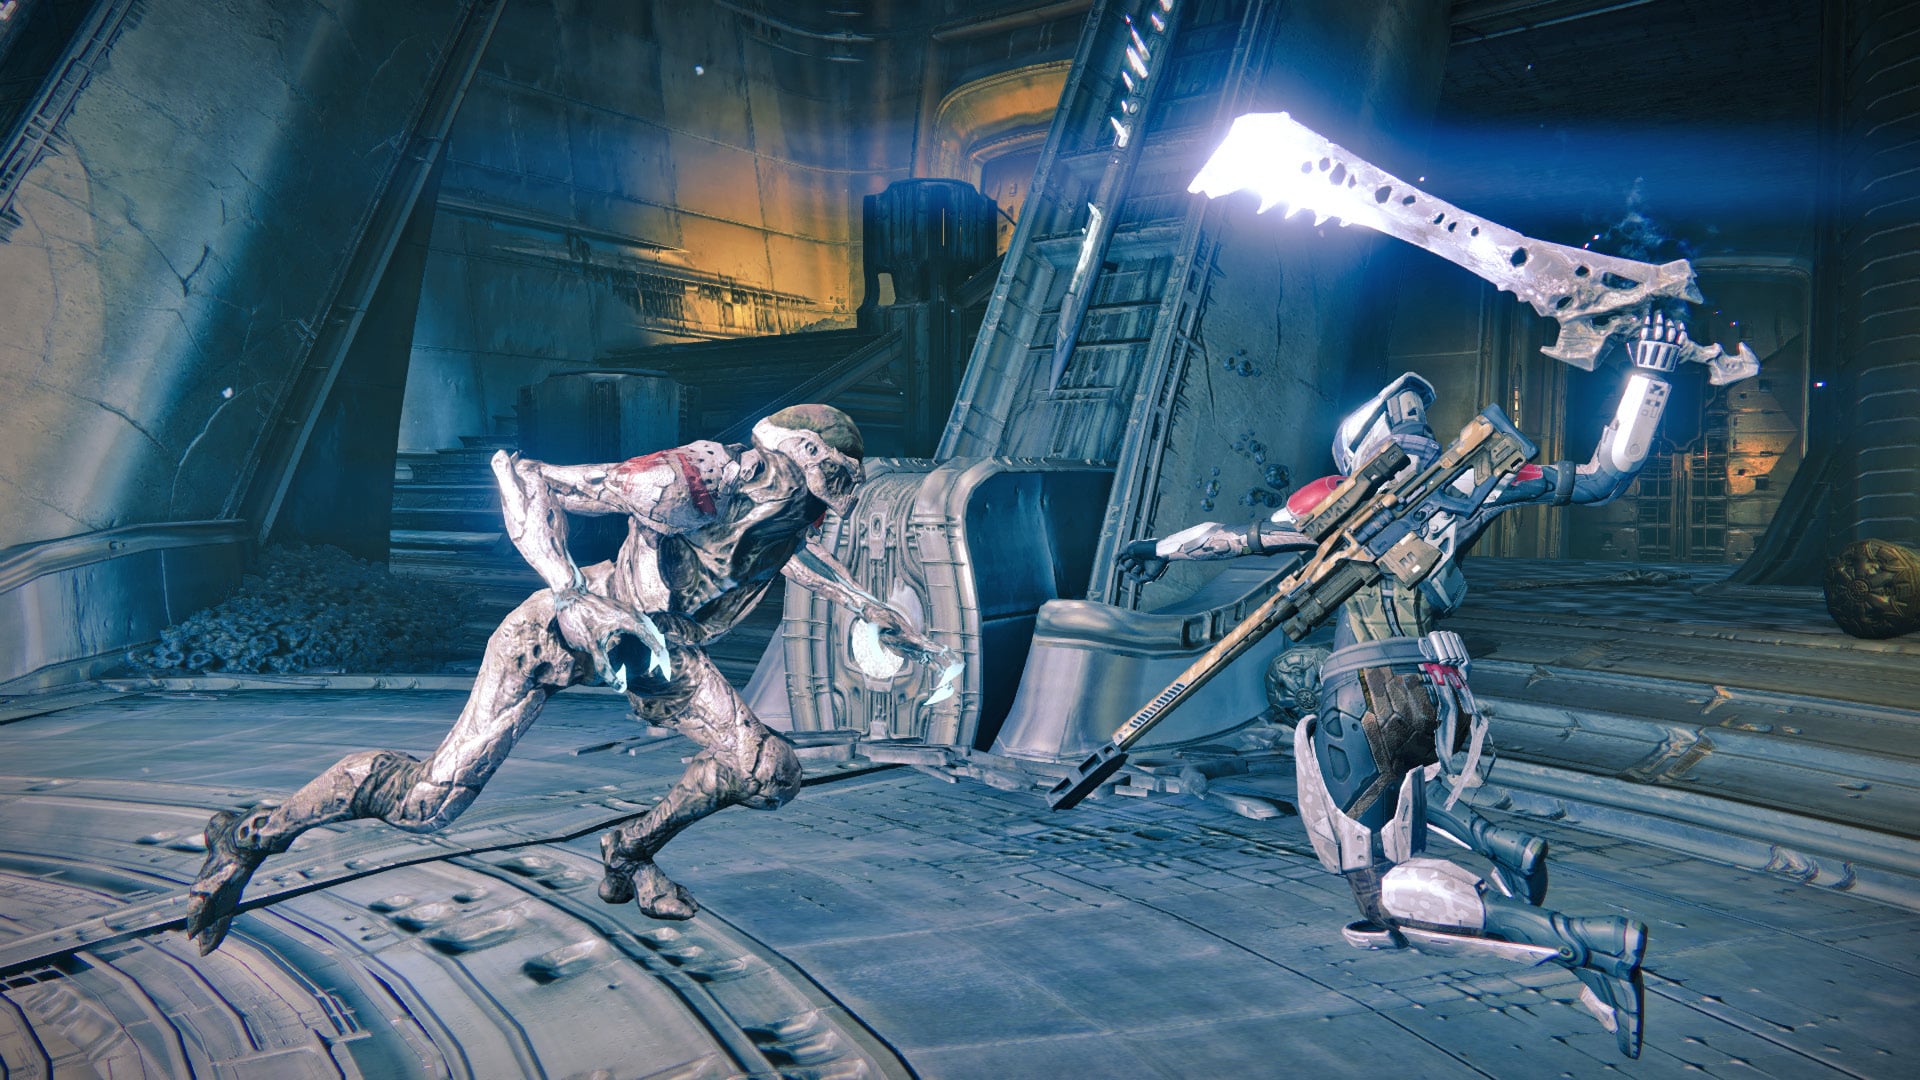
Step up to the sword and grab this relic to lure out the Swarm Princes. Picking up the Sword of Crota replaces your gun and super ability. It is an extremely powerful melee weapon that can tear through weaker enemies.

Controlling the Sword of Crota

Only one member of your Fireteam can pick up the sword, while the others must fight with their own weaponry. Refer to the following table for a complete list of moves and combos:

Sword Controls

Button Press

Move

Right Bumper (RB) / R1 Quick Attack
Right Trigger (RT) / R2 Hard Attack
RB, RB / R1, R1 2-hit combo
RB, RB, RB / R1, R1, R1 3-hit combo
RB, RT / R1, R2 2-hit hard combo
RB, RB, RT / R1, R1, R2 3-hit hard combo
RB (in air), RT (in air) / R1 (in air), R2 (in air) 2-hit air combo
RB + RT / R1 + R2 (with full super meter) Super (can be cancelled and linked into any combo)
Objective:Kill the Swarm Princes

The initial wave of Hive gives you a chance to get used to wielding the sword with only Thrall and Acolytes. Try the two attacks and various combos as you dispose of them. The next wave introduces the first of three Princes, Merok, from a pool of darkness at the far end of the room. The Princes are Major Knights, carrying big weapons of their own. Watch out! These foes have a better chance of going berserk than the regular Knights. If available, use the Sword of Crota's super attack on the boss and use the weaker Hive units to build it back up.
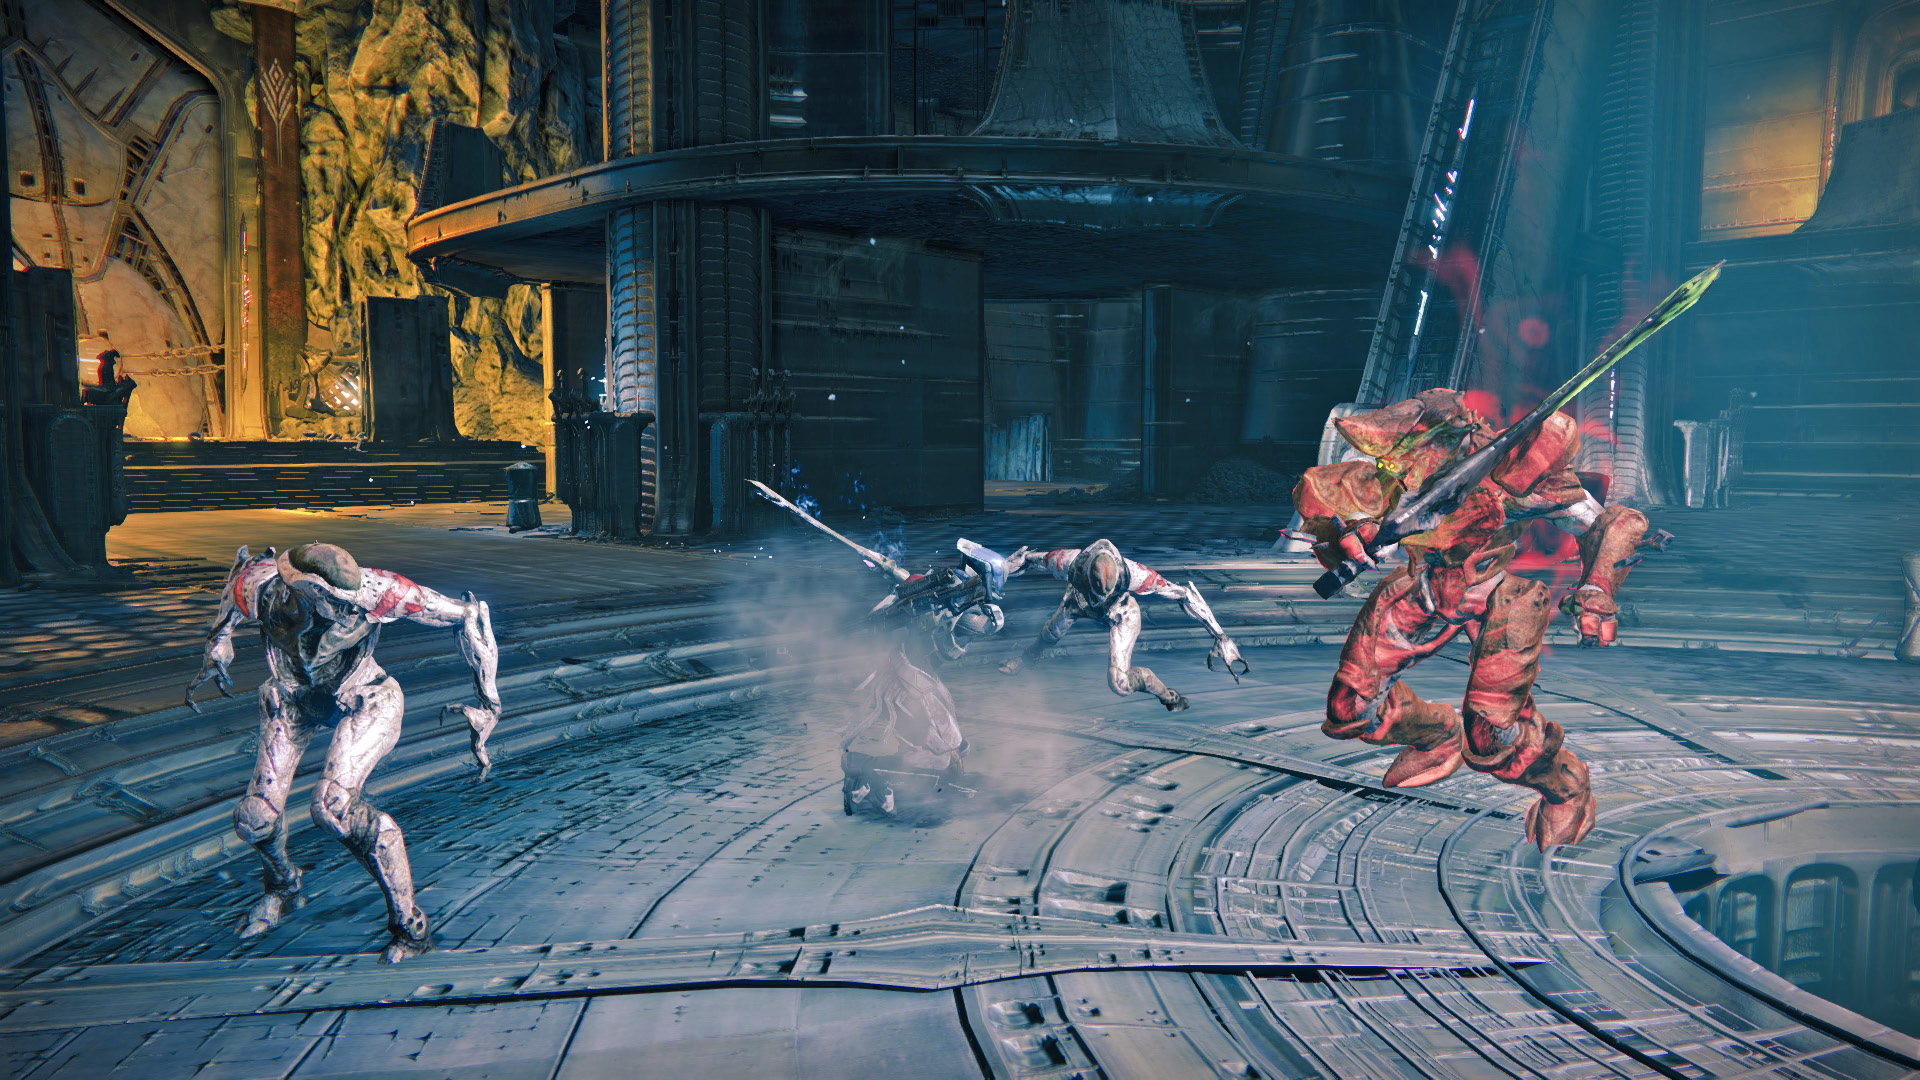
Jump up to the surrounding balconies to escape when taking on too much damage. When attacking the Knights, go in for a quick combo attack and immediately dodge out of the way. Merok is joined by a group of Thrall. With the first Knight out of the way, Dakoor, Yul Prince, emerges with a group of Acolytes. The third and final Prince, Garok, has a crew of Thrall and Acolytes helping out. Finish him off to complete the mission.

Turn in the Blade Shards to your class Vanguard to gain a choice of three pieces of armor.

Keep reading with a free account

The first 3 sections of Destiny Signature Series Strategy Guide are open to everyone. An account opens the rest of it, and every other guide in the archive. It's free, and there's nothing to buy.

Bought guides on the old Prima Games site? Your account and every guide you own moved here, so there's nothing to buy again. Sign in.

Create a free account Or browse our free guides

PreviousThe World's Grave NextShrine of Oryx