
Destiny Signature Series Strategy Guide MOON
The World's Grave
 The World’s Grave
Level 7 Story / Archer’s Line, Ocean of Storms, Moon
Enemy Races: Fallen, Hive
Suggested Damage Types: Arc, Solar
Rewards: XP Bonus
Mission Unlocked: -
| Combatant Changes with Heroic or Epic Mission Modifier | ||
|---|---|---|
|
Objective |
Combatant Changes |
Tip |
| Find the Knight – Knight | -2 Acolytes+2 Major Acolytes | Use cover wisely as the Major Acolytes are much more aggressive. |
| Find the World’s Grave – During Knight | -2 Acolytes+2 Major Acolytes | — |
| Push Back the Hive – Cave | -2 Thrall+2 Cursed Thrall | Back away from the Cursed Thrall to avoid their explosion. |
| Fight Off the Hive – Defense Wave 2 | 12 total Thrall instead of 8 | This only adds to the overwhelming numbers of Hive. Equip a short-range weapon to handle the melee combatants. |
| Fight Off the Hive – Between Waves | Next wave spawns when 1 enemy remains instead of waiting until they are all dead. | As you reach the end of a wave, prepare for the next as you fight thefinal enemy. |
Objective: Enter the Hive Fortress
Location: Archer’s Line
Drive your Sparrow up the hill on the other side of the accelerator, fight through the Fallen, and cut through the dome structure. Continue down the hill, take out the two Major Knights, and enter the Hive fortress. Descend the steps and drop down to the bottom level. Follow the trail and continue into the Hall of Wisdom.
Location:Hall of Wisdom
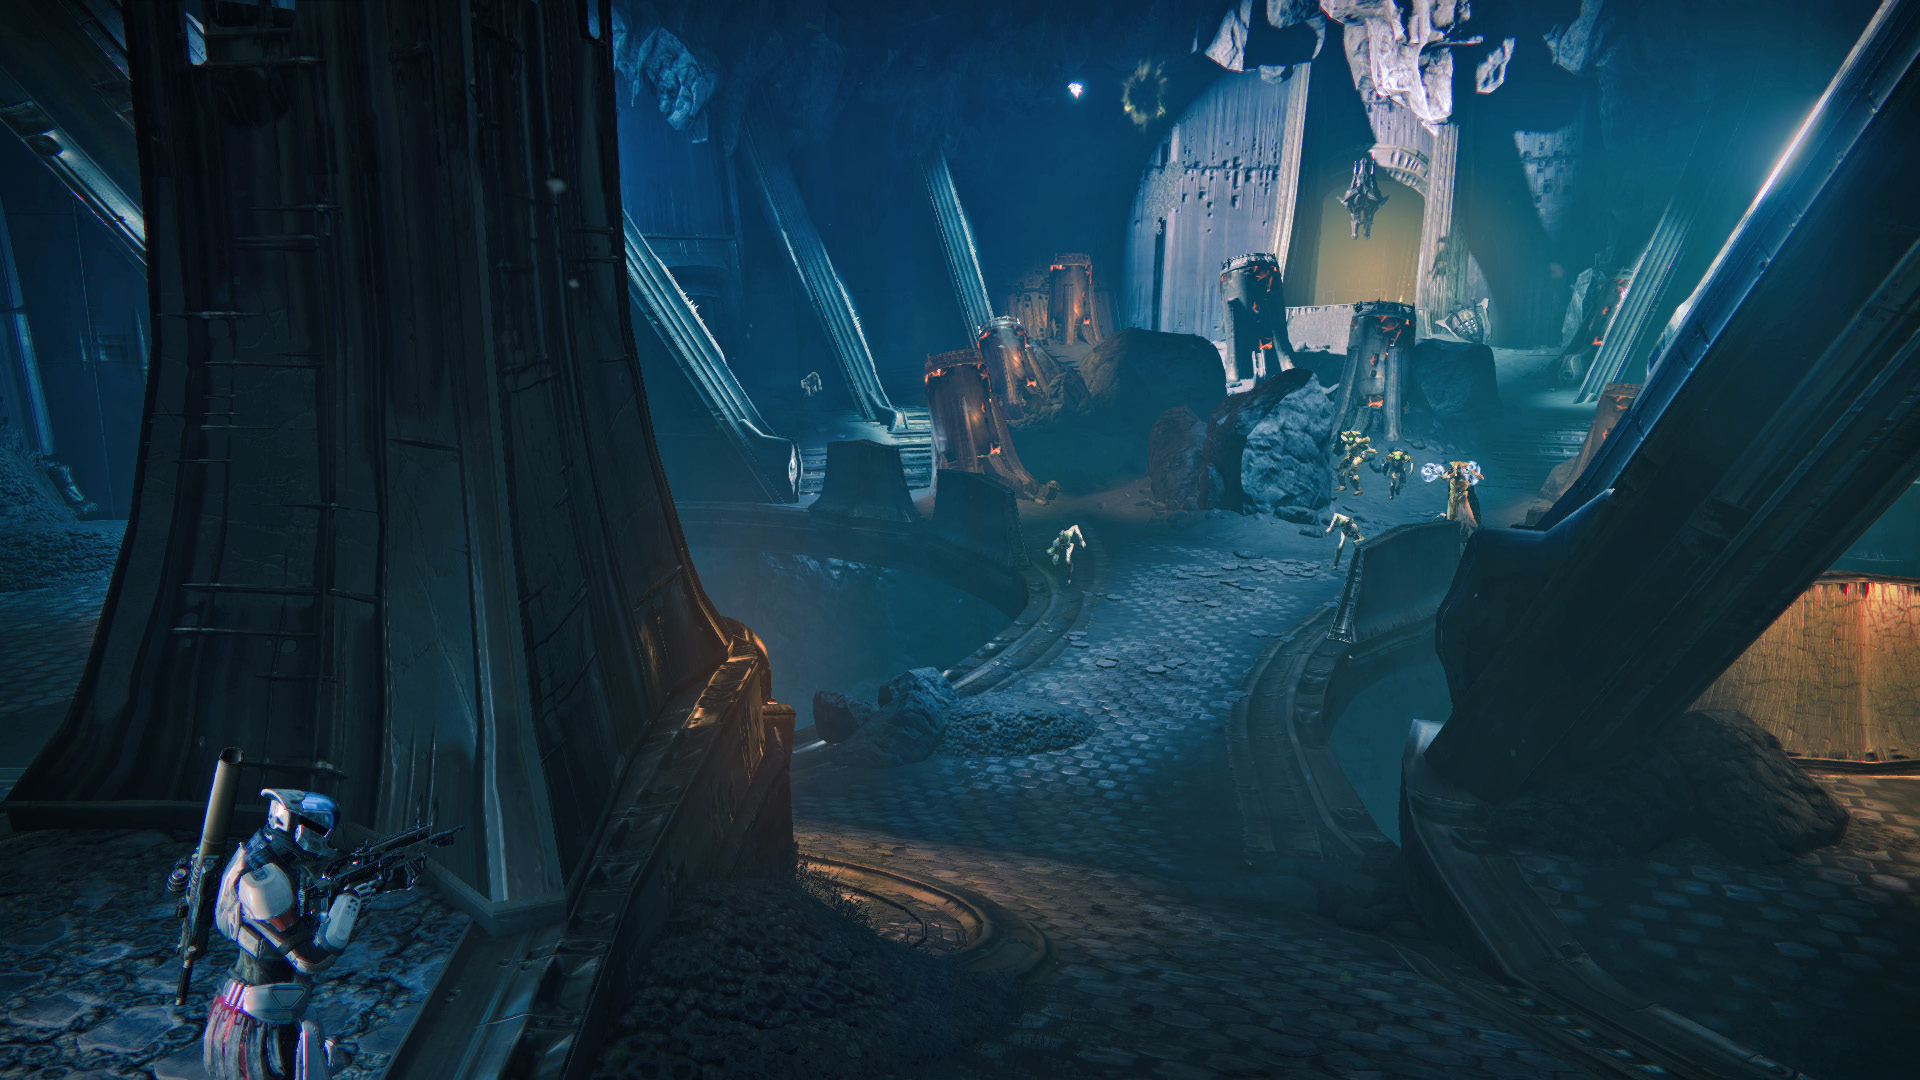
Acolytes accompany a couple Knights and a Wizard ahead. Use a long-ranged weapon from the doorway to weaken the threat and continue down the steps. With the area clear, push into the second half of the hall where a bigger challenge looms. A Knight and Shrieker await your arrival as a Hive drop ship enters the room. Thrall, Acolytes, and a Wizard join the fray. Take out as many of the Hive as you can from a distance and move in to clear out the rest. It is important to note that the Shrieker is only vulnerable when it opens up to fire. Exit the room and follow the path into the Circle of Bones.
Objective: Find the Knight
Location: Circle of Bones
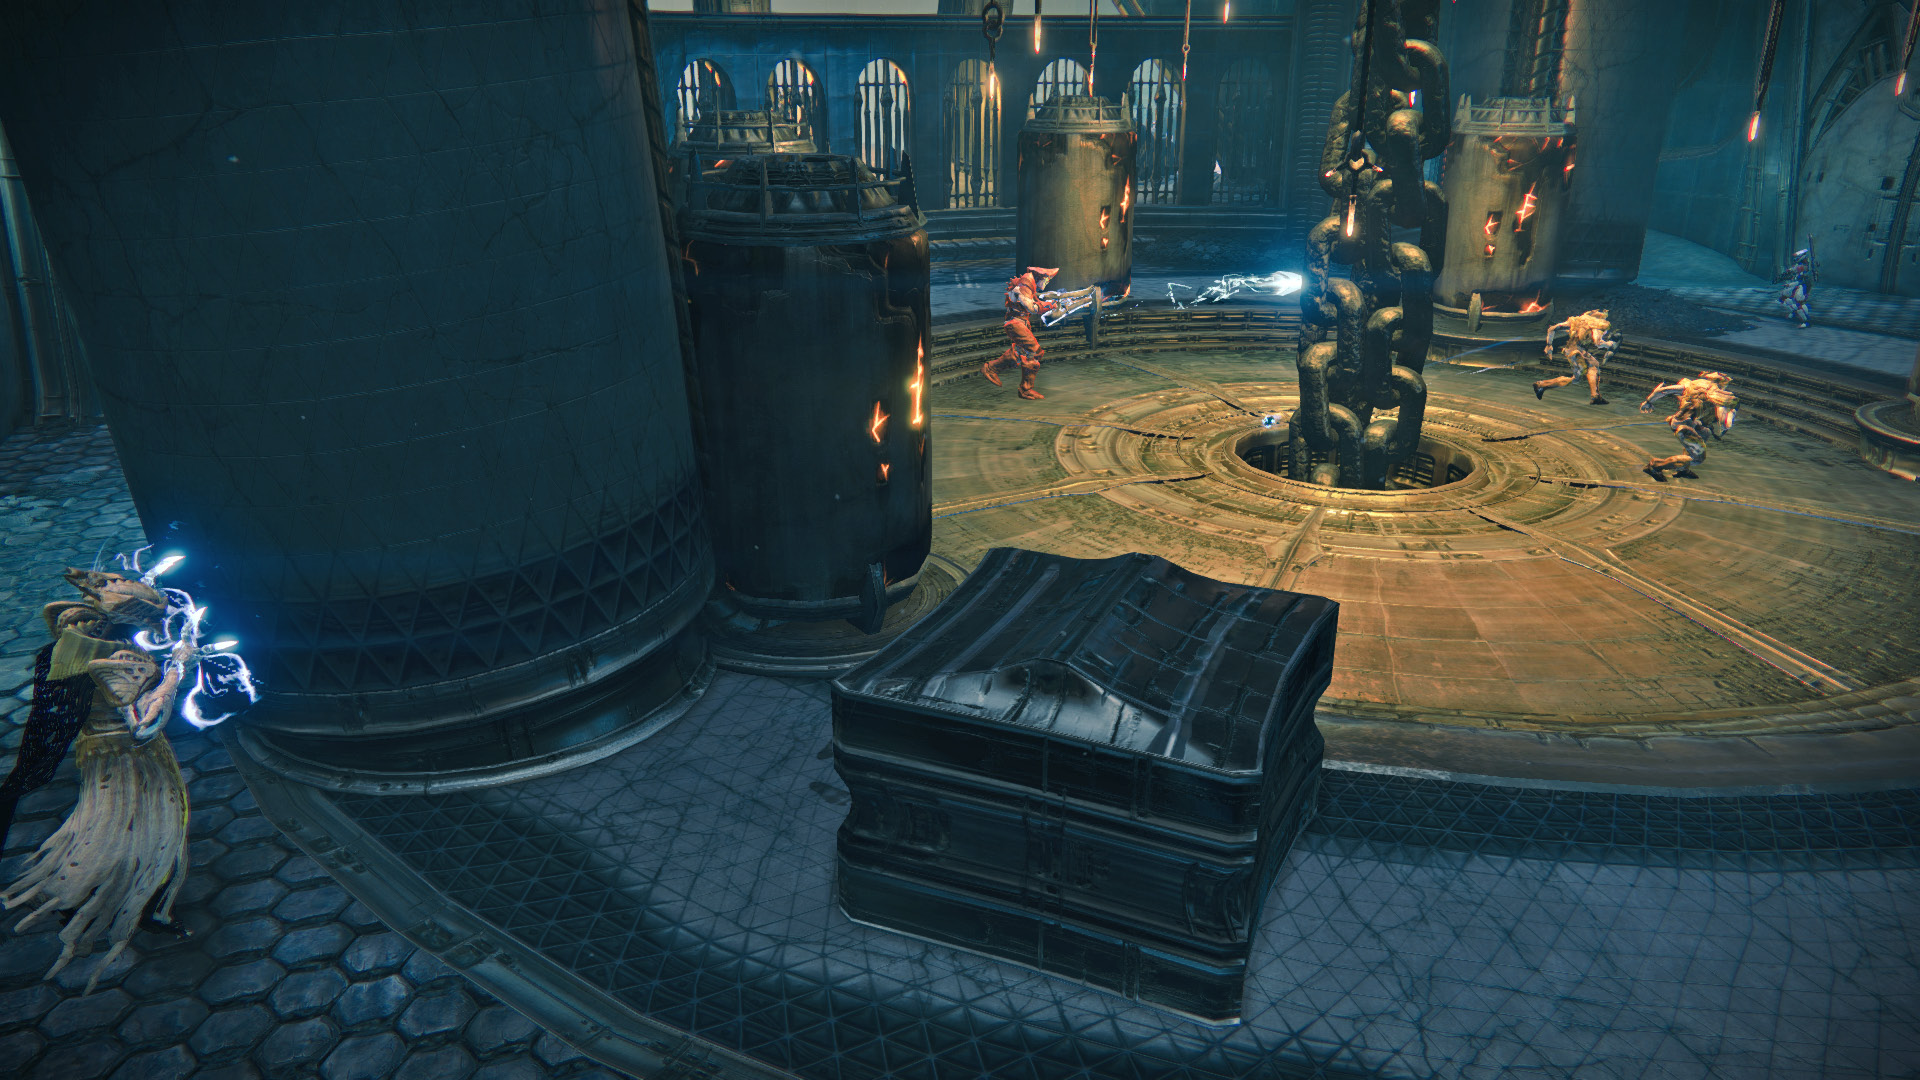
This area is a Darkness Zone, so don’t do anything too risky. Watch out for weapon fire from the Hive dropships that enter the zone as you move through it. They introduce Acolytes, a Knight, and a Wizard. When you encounter the second group of Hive, look to the right to find a tall fence partially blocking access to a small, circular floor. Jump over it or move around the outside to find the Major Knight. Immediately dodge behind cover and work on the accompanying Acolytes and Wizard before taking down this boss. Stay on the move to avoid the Knight’s explosive projectiles.Objective:Find the World’s Grave
Location:The World’s Grave
Continue through the opening at the far end of Circle of Bones to reach The World’s Grave.
Objective:Push Back the Hive
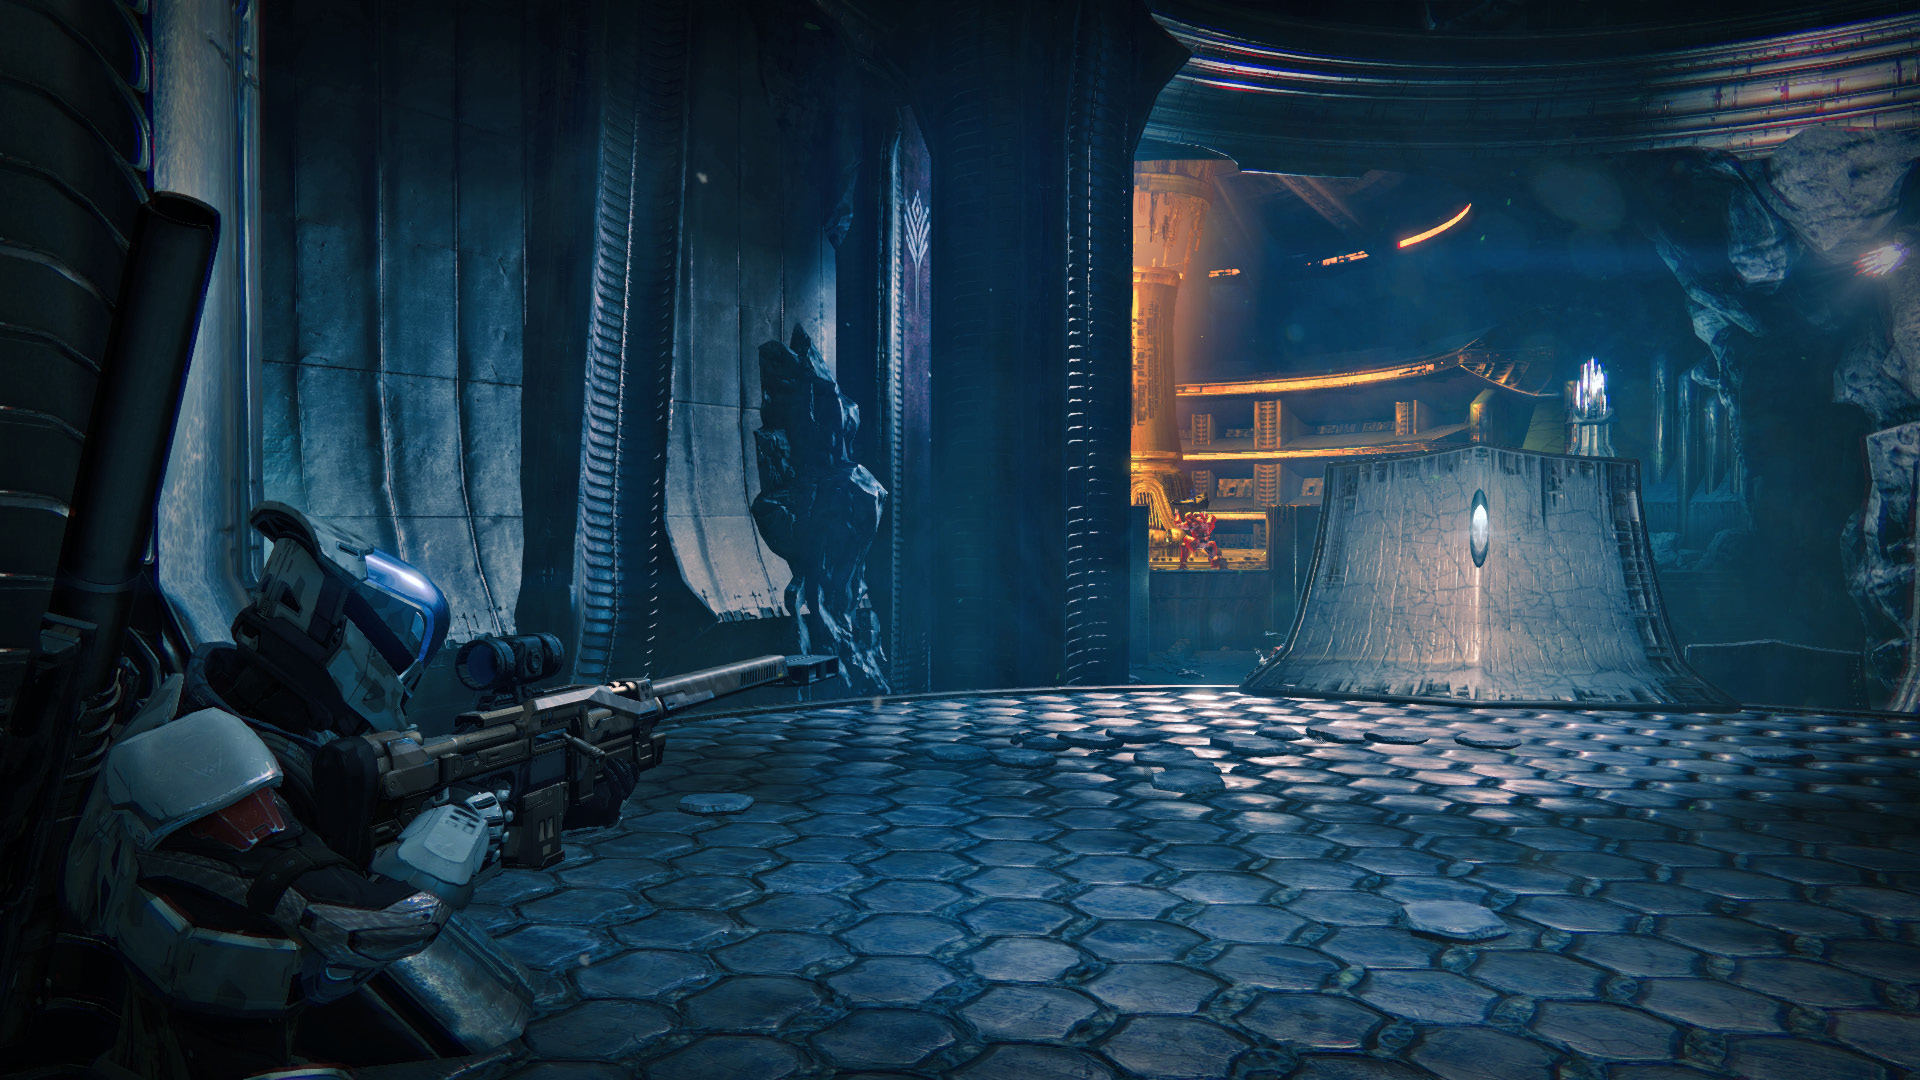
Drop down to the bottom floor and enter the narrow cave to find a slew of Thrall awaiting your arrival. Mow them down with your short-range gun and follow the passage into a Darkness Zone. Once your presence is known, more Thrall attack while Acolytes and a Knight concentrate their fire on you from afar. In the final room, you can surprise the Hive Knights and Acolytes by hitting one with a long-range headshot. Use the provided cover to avoid the enemies’ weapon fire as you clear out the room.
Objective:Open the World’s Grave
Run over to the far platform, reload your weapons if needed, and deploy your Ghost to open the World’s Grave. This attracts a whole bunch of Hive, so prepare yourself for a blitz.
Objective:Fight Off the Hive
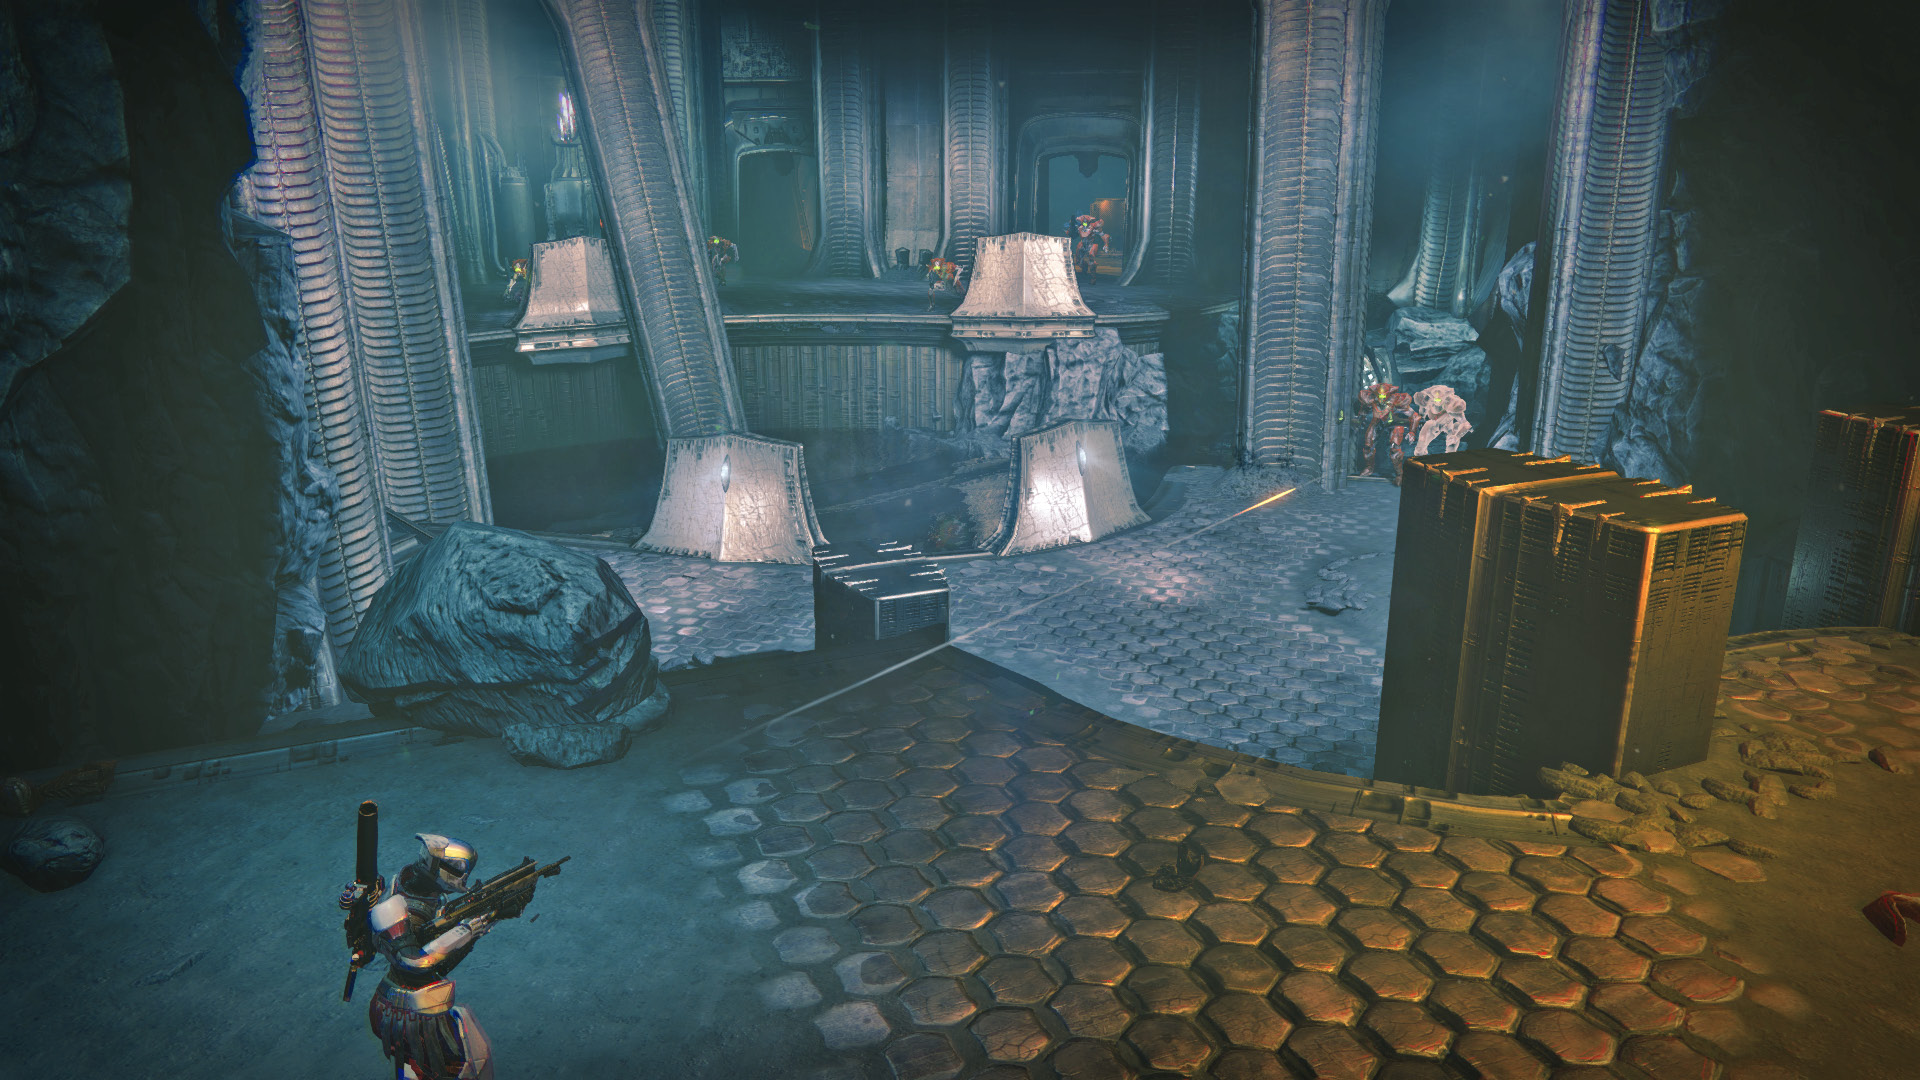
Thrall, Cursed Thrall, Acolytes, Knights, and a Wizard attack in three waves. Take out the Thrall quickly or the number of Hive units may overwhelm you. The Knights present the biggest danger, however. Boomer Knights fire their explosive projectiles from the far side, while Cleaver Knights move in close. A good auto rifle or shotgun is invaluable here for whittling down the numerous warriors of the Hive. If you can, save your super ability for the two Cleaver Knights who appear on the right side during the third wave. Finishing off the final foe in this area completes the mission.
Turn in the Graven Codex to Cryptarch to gain the Cryptarch Engram and Reputation.