
Destiny Signature Series Strategy Guide MOON
The Dark Beyond
 The Dark Beyond
Level 6 Story / Archer’s Line, Ocean of Storms, Moon
Enemy Races: Fallen, Hive
Suggested Damage Types: Arc, Solar
Rewards: XP Bonus, Special Weapon Upgrade
Missions Unlocked: The World’s Grave, The Sword of Crota, Chamber of Night, Patrol the Moon
| Combatant Changes with Heroic or Epic Mission Modifier | ||
|---|---|---|
|
Objective |
Combatant Changes |
Tip |
| Kill the Fallen – Final Group from drop ship | -1 Fallen Captain+1 Major Captain | This shielded enemy becomes a bigger threat as his Vitality and aggressiveness go up. |
| Resist the Hive – Initial Hive Rush | -3 Acolytes-1 Knight+3 Major Acolytes+1 Major Knight+3 Thrall | The Major Knight is extremely aggressive with his Boomer. Stay on the move to avoid being taken out with it as you dispose of the lesser Hive first. |
| Resist the Hive – Wizard | +3 Thrall | — |
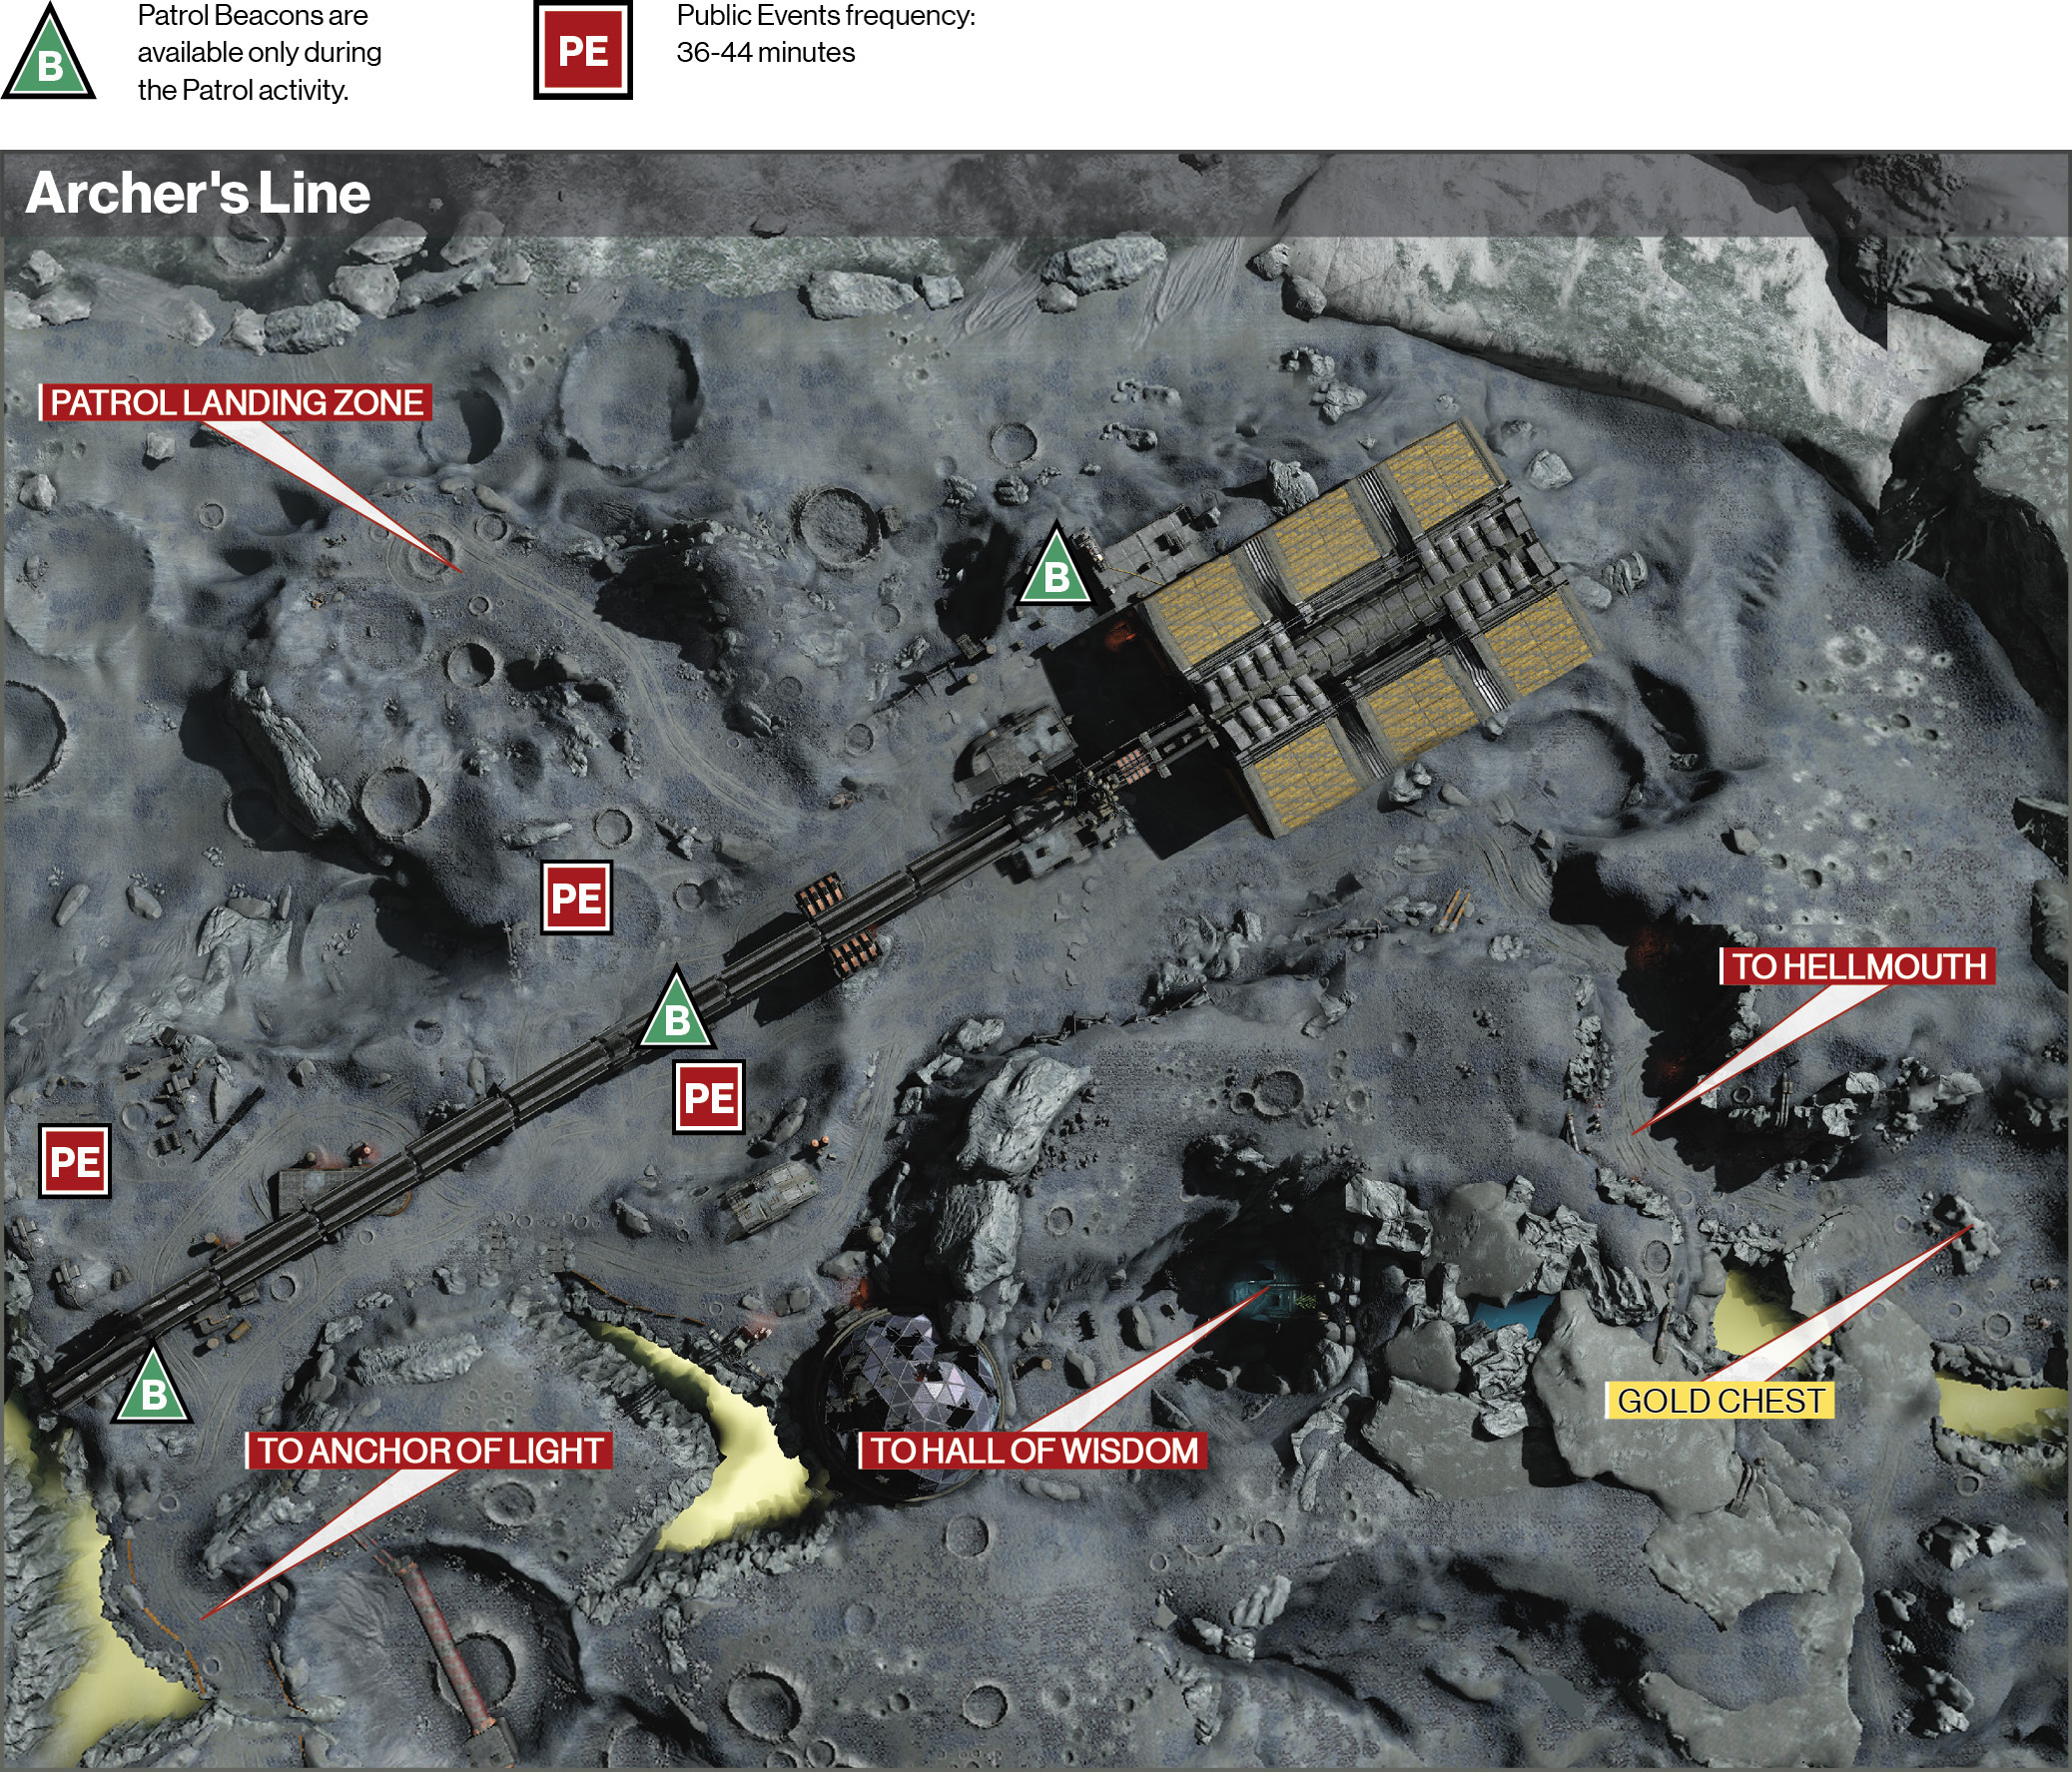
Objective: Track the Guardian
Location: Archer’s Line
The landing zone on the moon is located at the bottom of a hill in Archer’s Line. Run up to the accelerator and enter the building on the left.
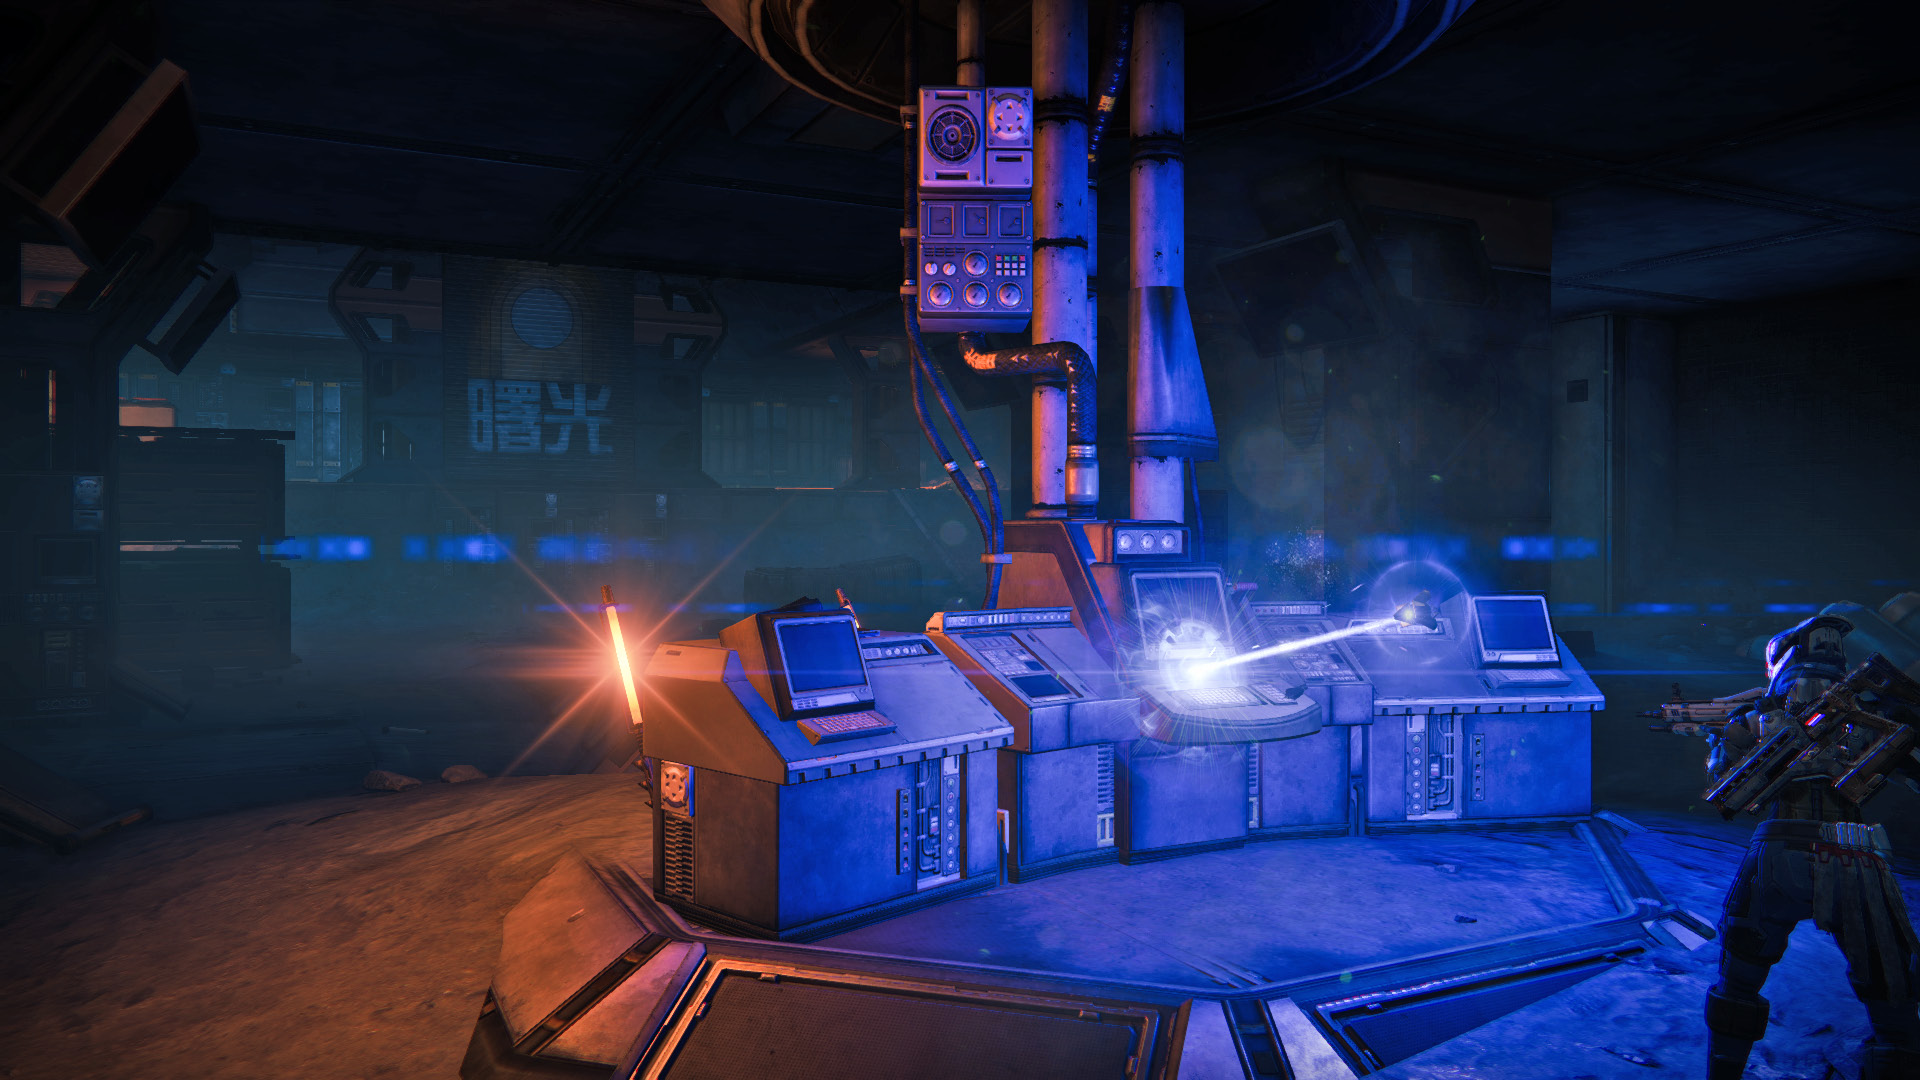
Objective:Hack Colony Equipment
A computer terminal sits in the back of the room. Deploy your Ghost to hack in and find information on the Guardian.
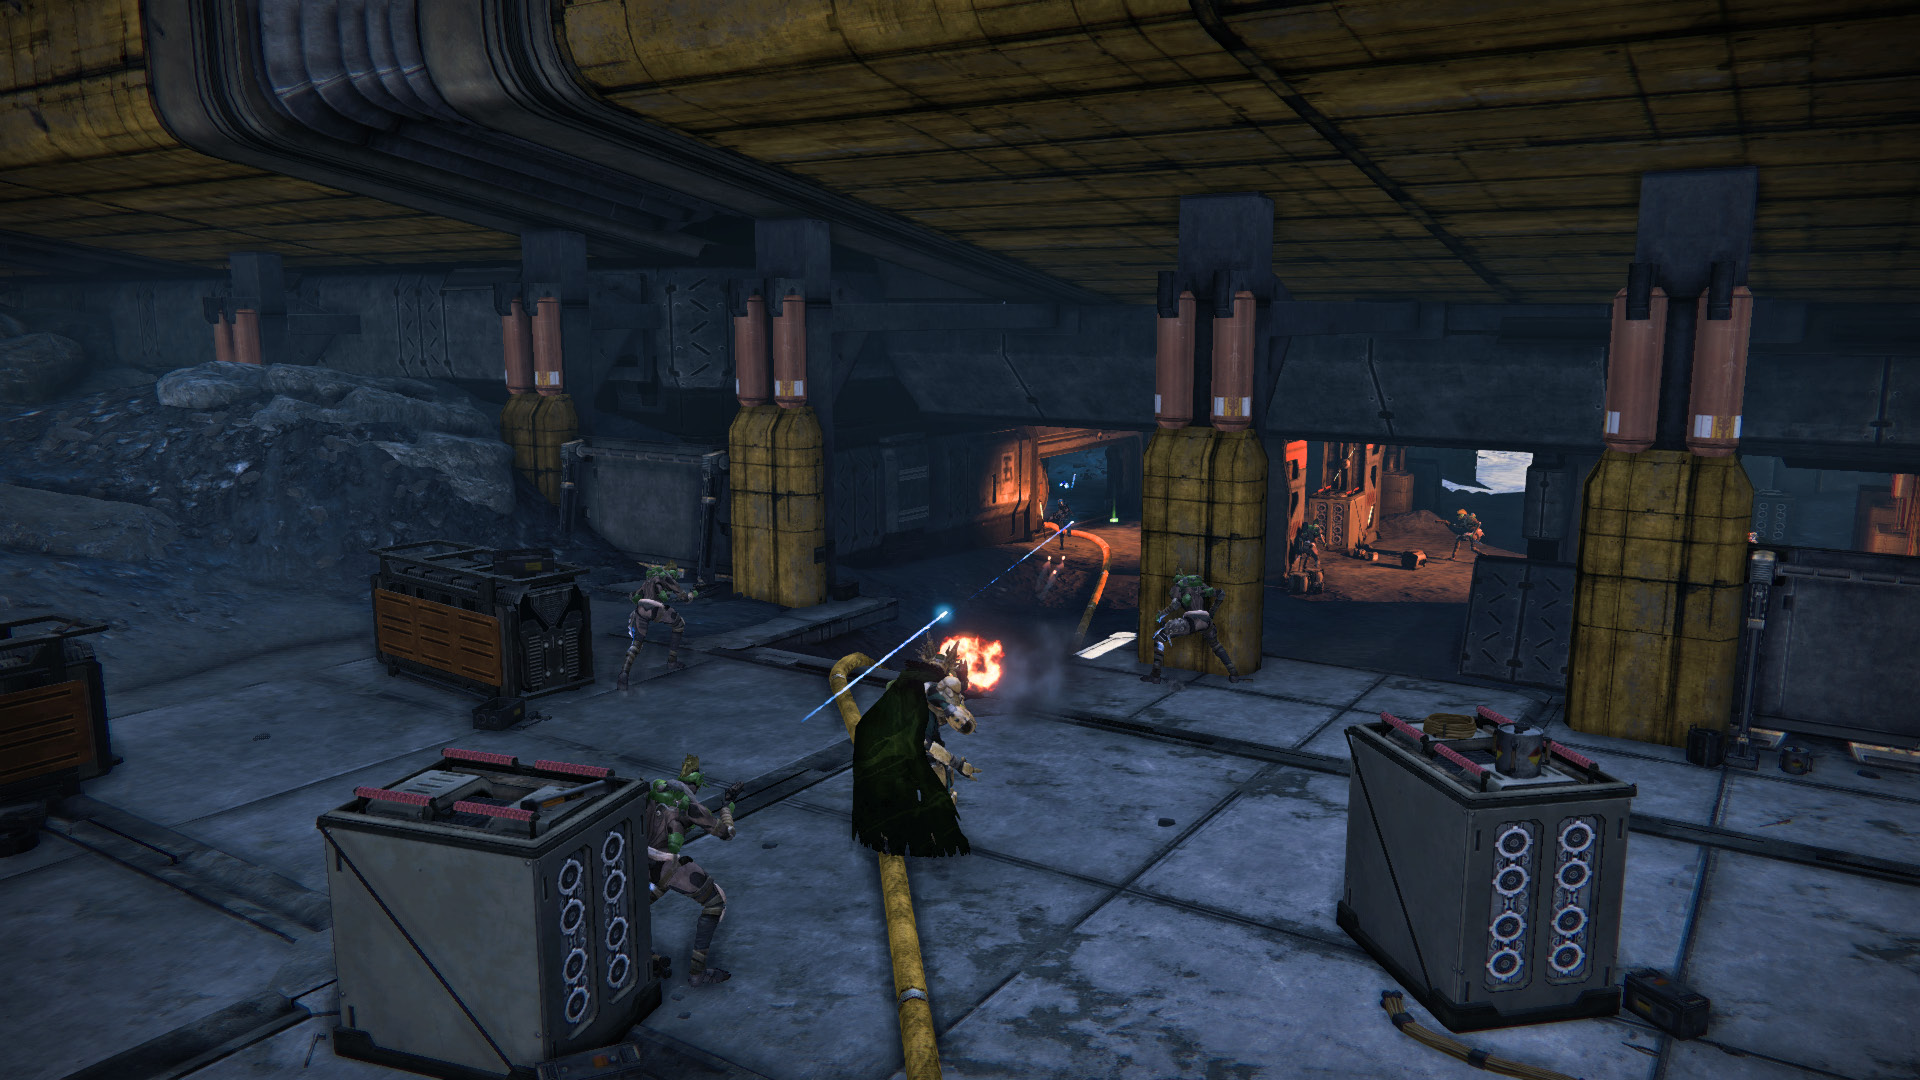
Objective:Kill the Fallen
A few Fallen enter the building as more show up just outside. Fight through these foes to create a path to the doorway and be wary of the cloaked Stealth Vandals. Use the walls as cover while you clash with the scavengers. Your biggest threat comes from a Fallen Captain who has dropped on the right platform. Continue out from the building where more Fallen join in the skirmish, including another Captain and a Servitor. Once the final group has been taken care of, the vehicle link is established—making your Sparrow useable.
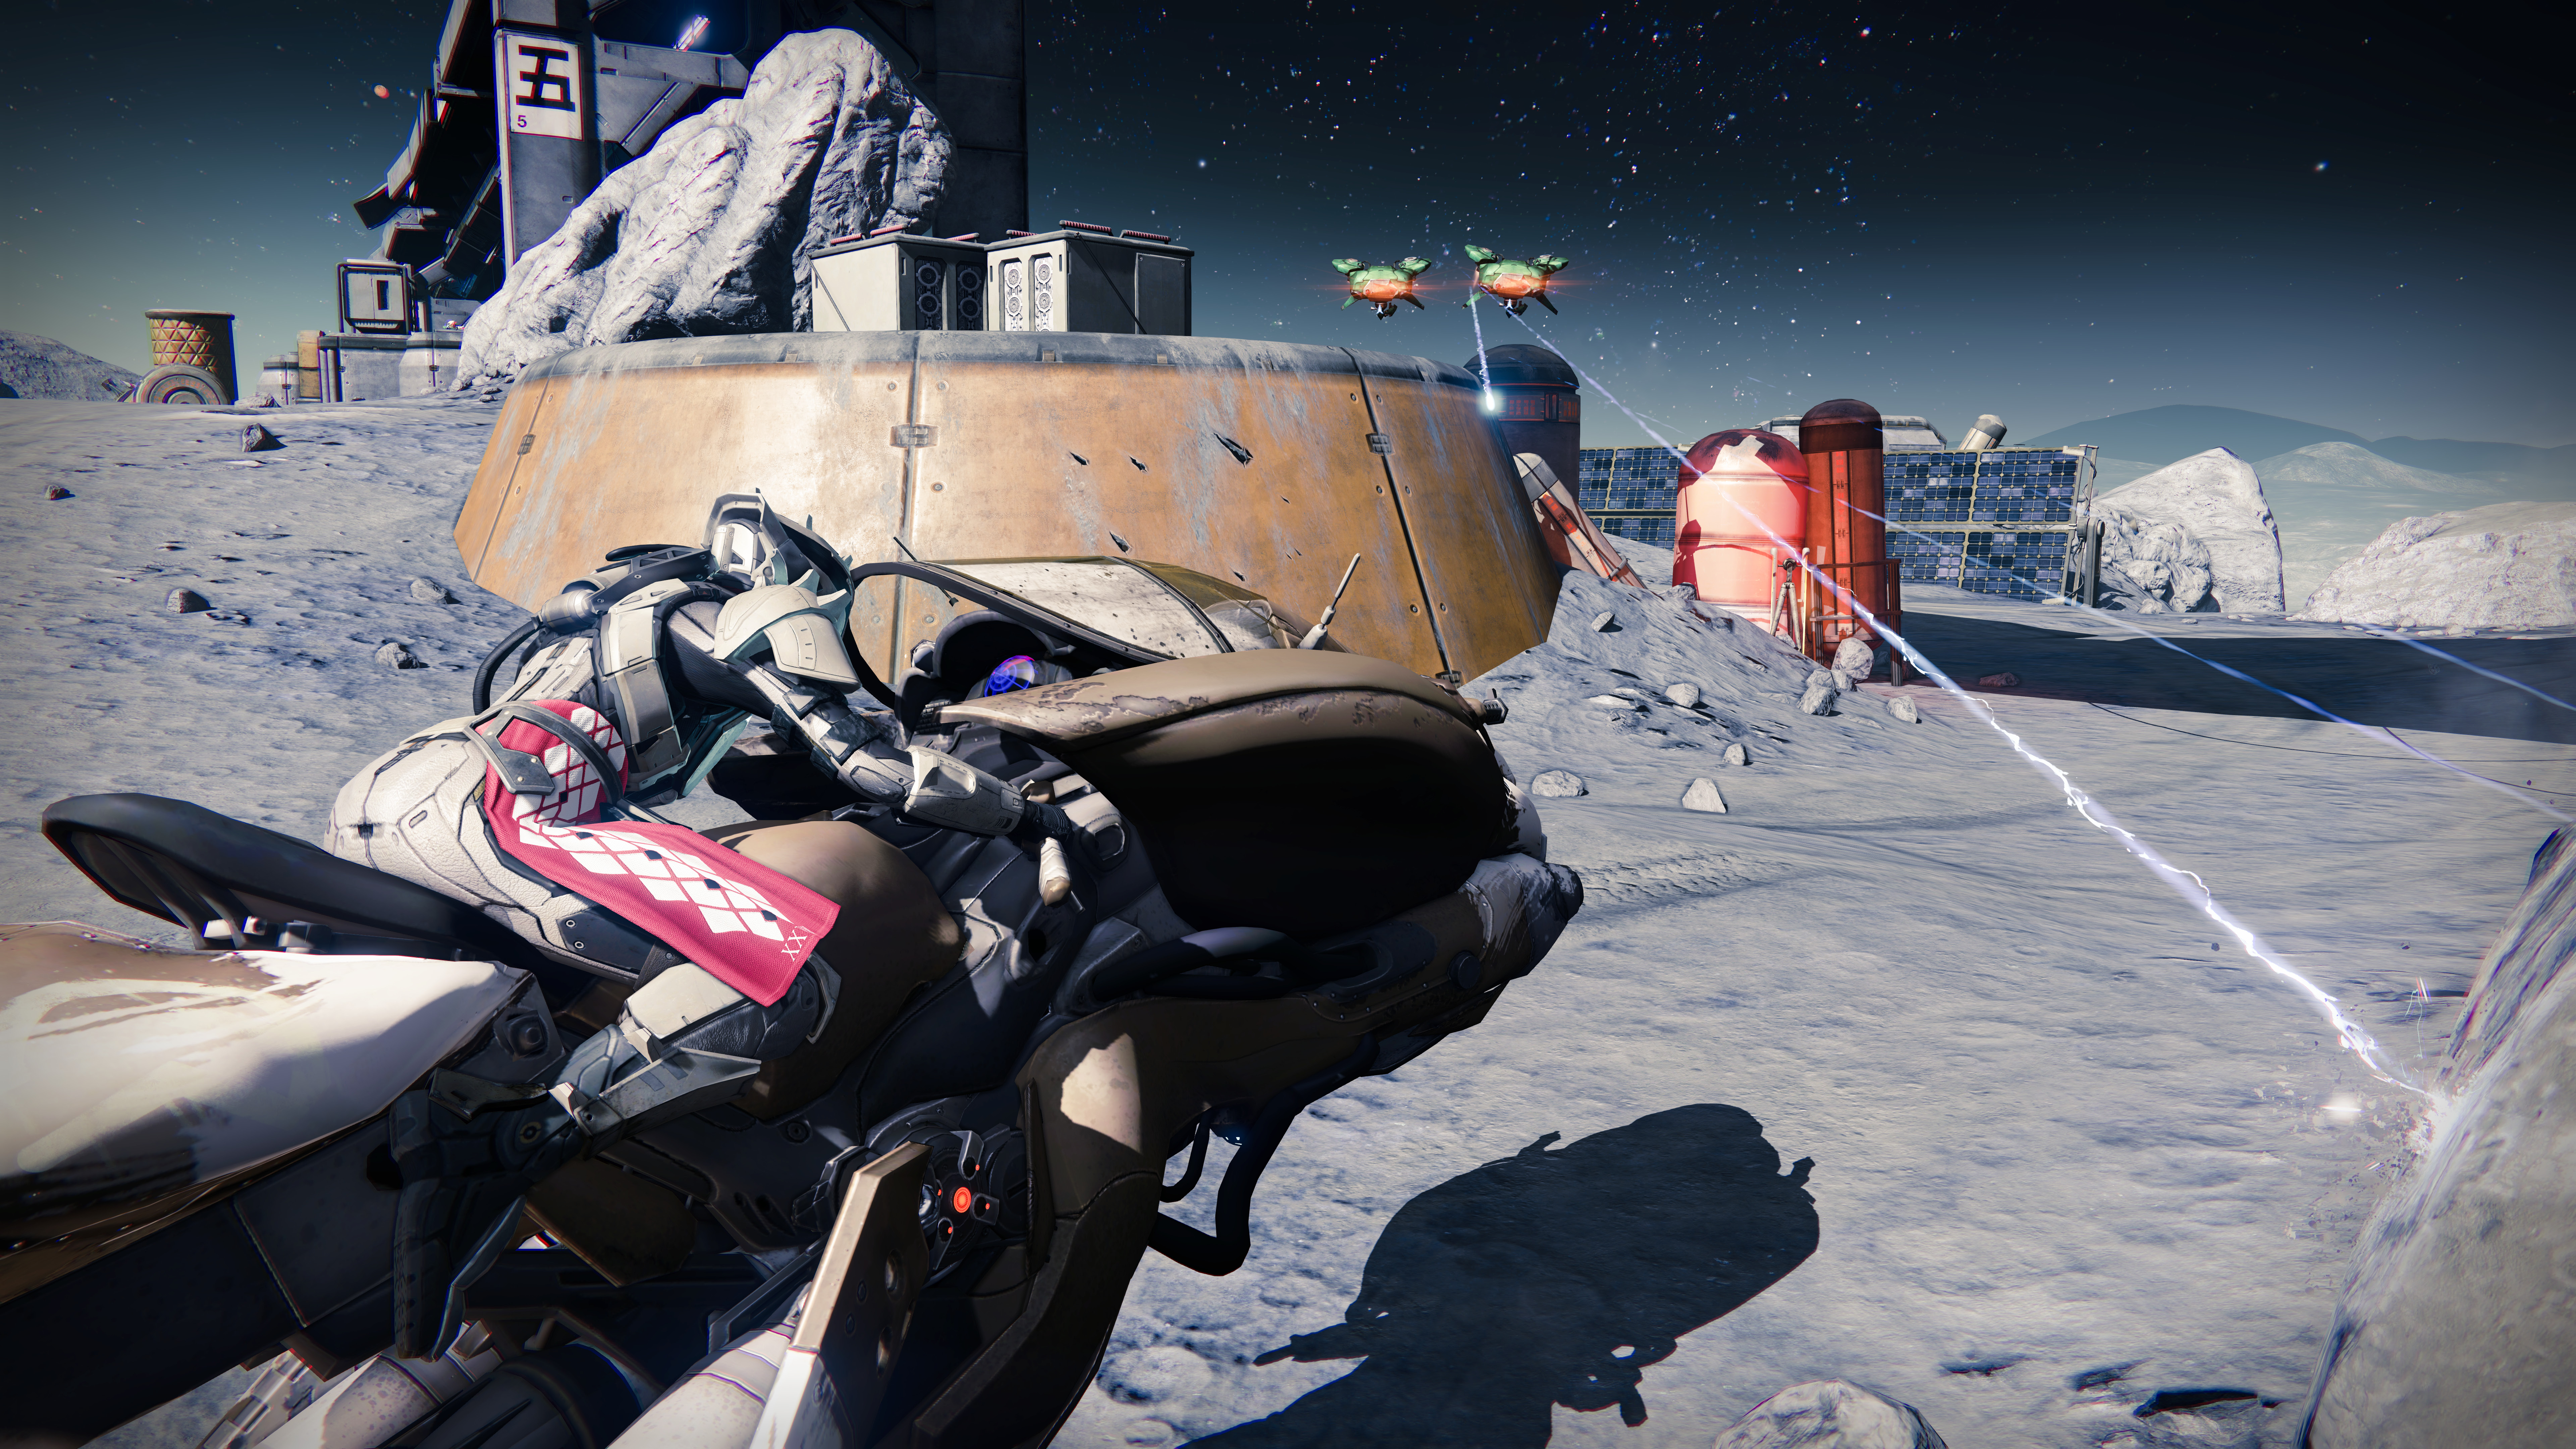
Objective:Find the Colony Base
Jump onto the next rooftop and wait for a Dreg to show up on a Pike. Shoot him off and hop onto the Fallen vehicle. Continue underneath the accelerator and into the Anchor of Light, using the shock cannons to eliminate the Fallen along the way. If your Pike takes any damage, exchange it for a new one before leaving the area.
Your next destination is in the raised, circular structure ahead. Feel free to drive the Pike inside if you wish and use it to eliminate the Fallen along the way. Have your Ghost scan the computer inside to find the next destination.
Objective:Find the Temple of Crota
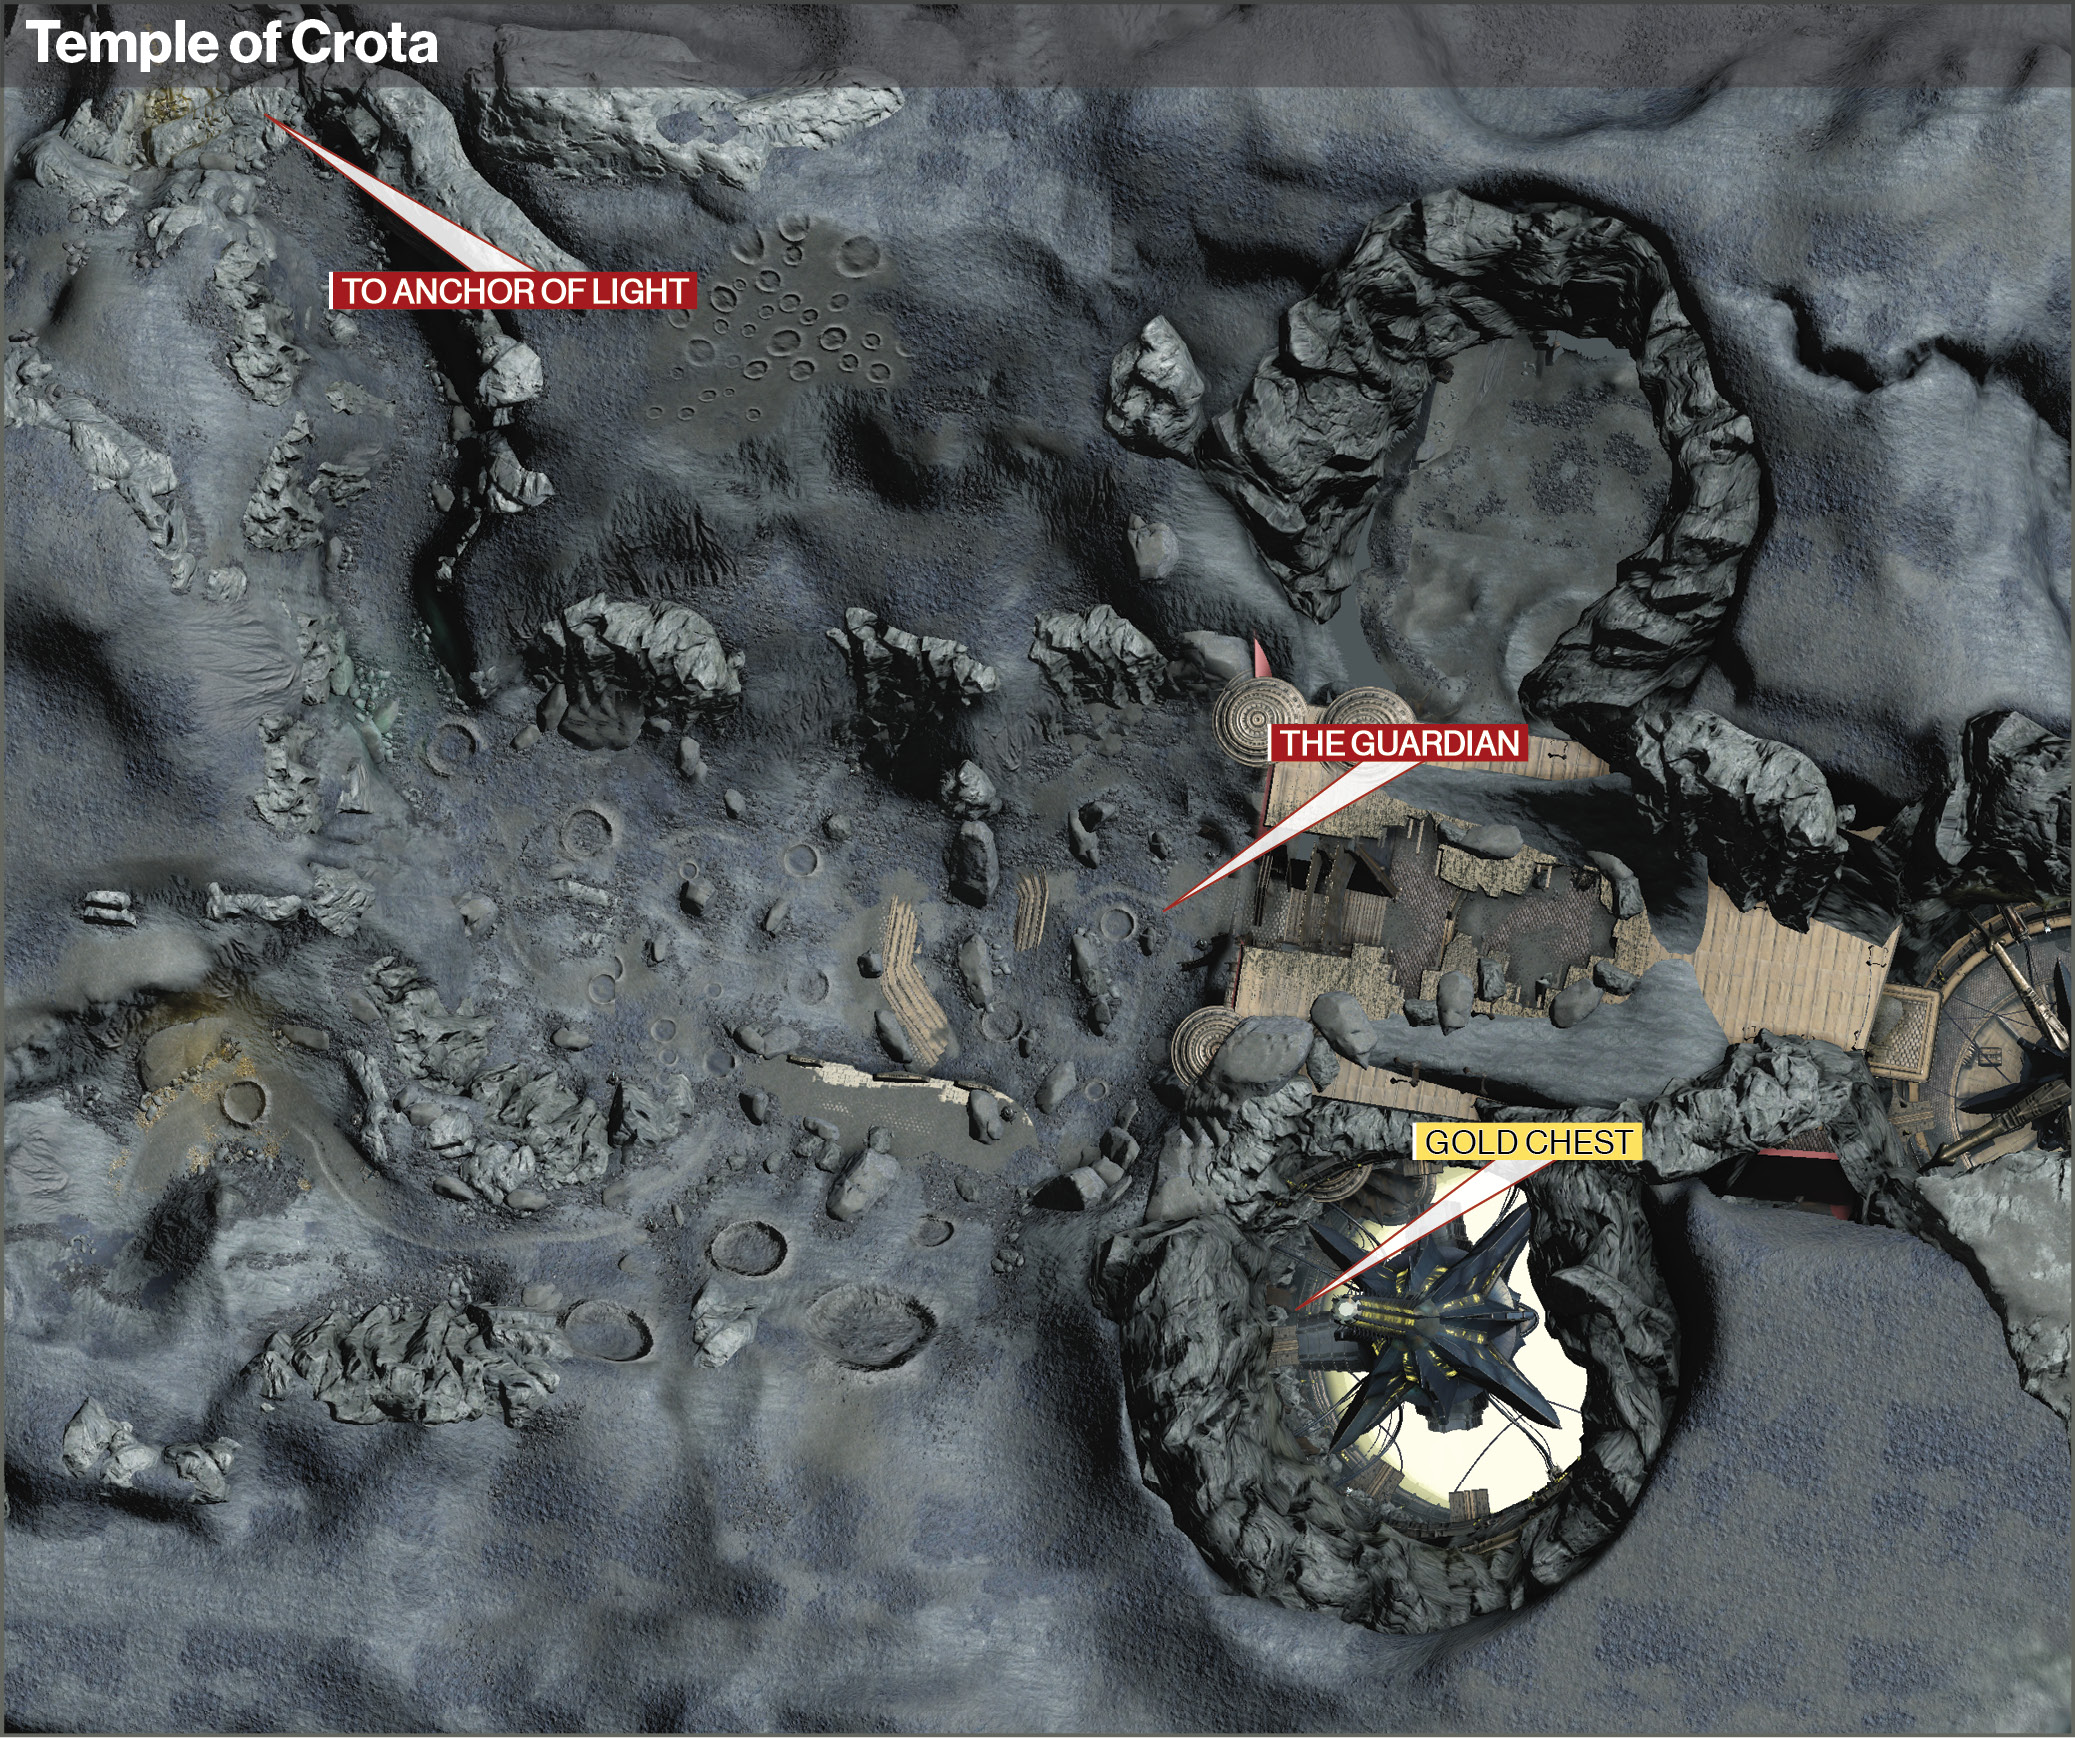
Set up at the big opening and kill as many of the Fallen as you can, including the Servitor on the upper walkway and the Captain below. Drop down and follow the narrow path to the right, through the opening in the rock.
Objective: Find the Guardian
Location: Temple of Crota
The Guardian lies on the ground at the bottom of the hill, just before a big gate. Let your Ghost scan the body.
Objective:Resist the Hive
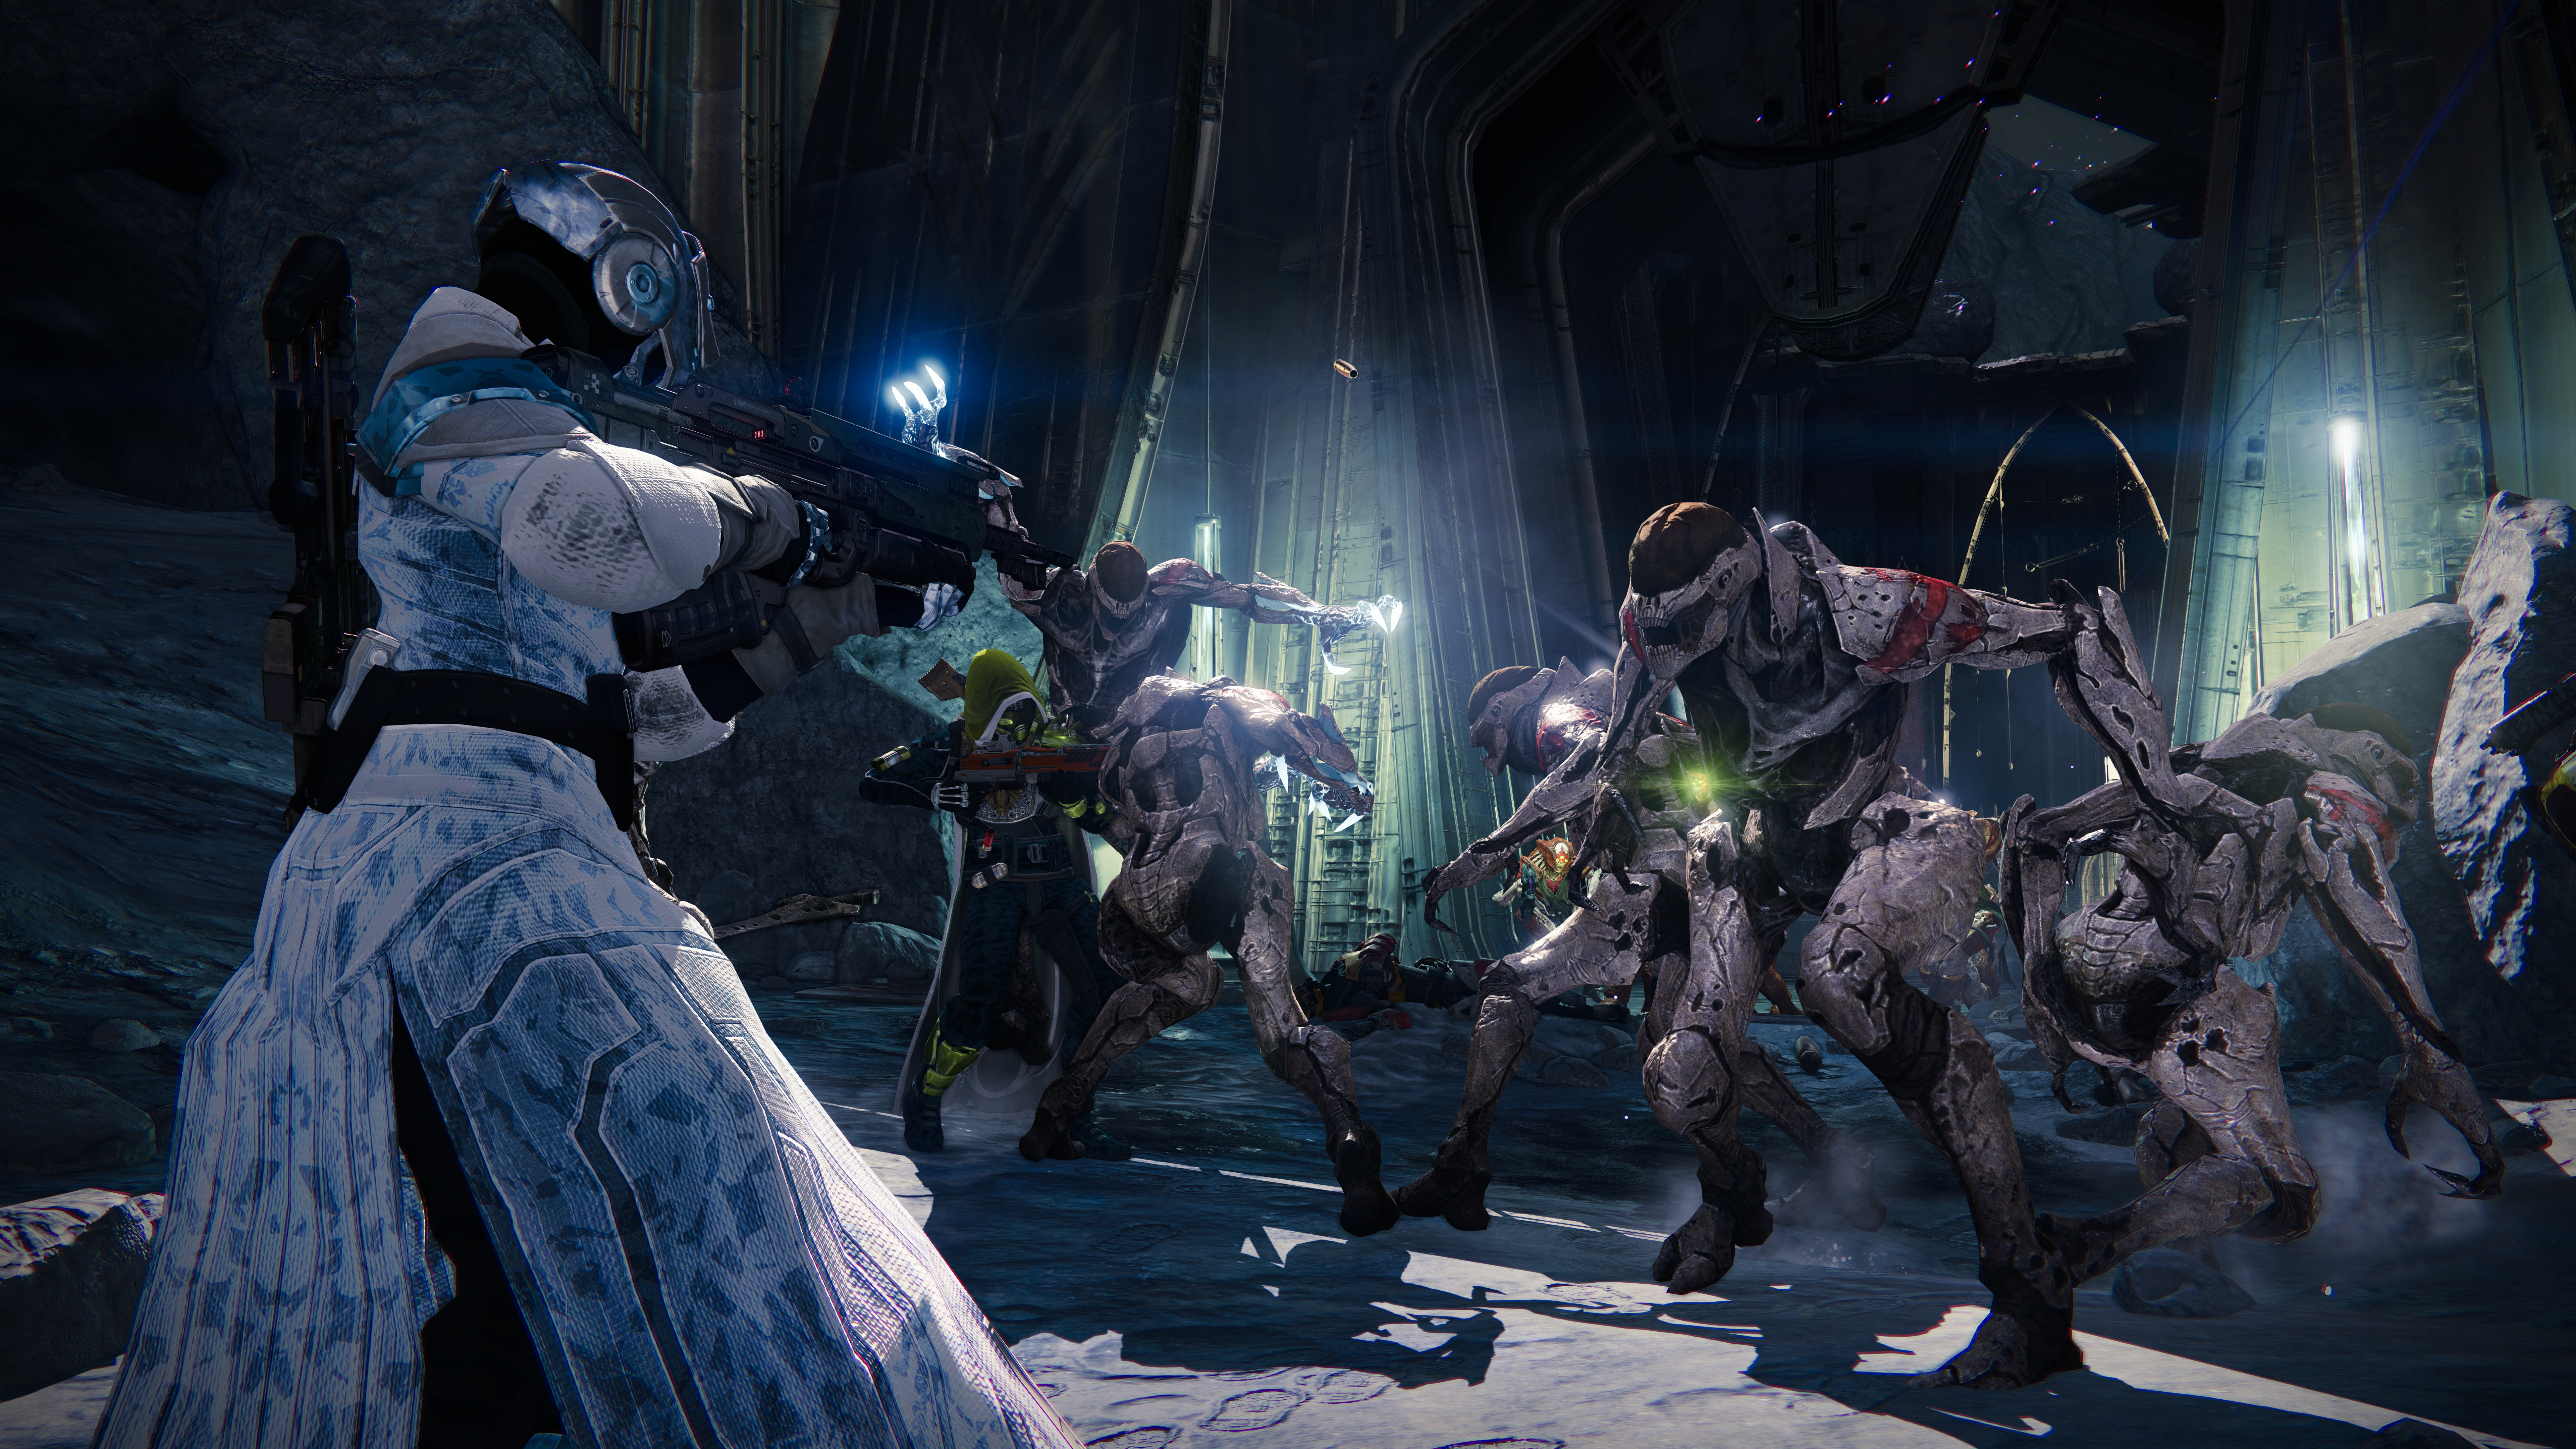
Immediately back up and take cover as Hive emerge through the gate. Note that the area becomes a Darkness Zone, so death here means starting over at the previous checkpoint. A large group of Thrall rushes forward and Acolytes attack while a Knight launches explosive shots from the back of the pack. Stay on the move as you dispose of the weaker enemies first, then focus your attention on the Knight. The last remaining Hive may fall back into the temple, so pursue them inside.
Objective:Find the Ghost
Once that group of Hive has been eliminated, enter the temple and take the right path up the steps. A Major Wizard appears, surrounded by its brood.
Objective:Defeat the Wizard
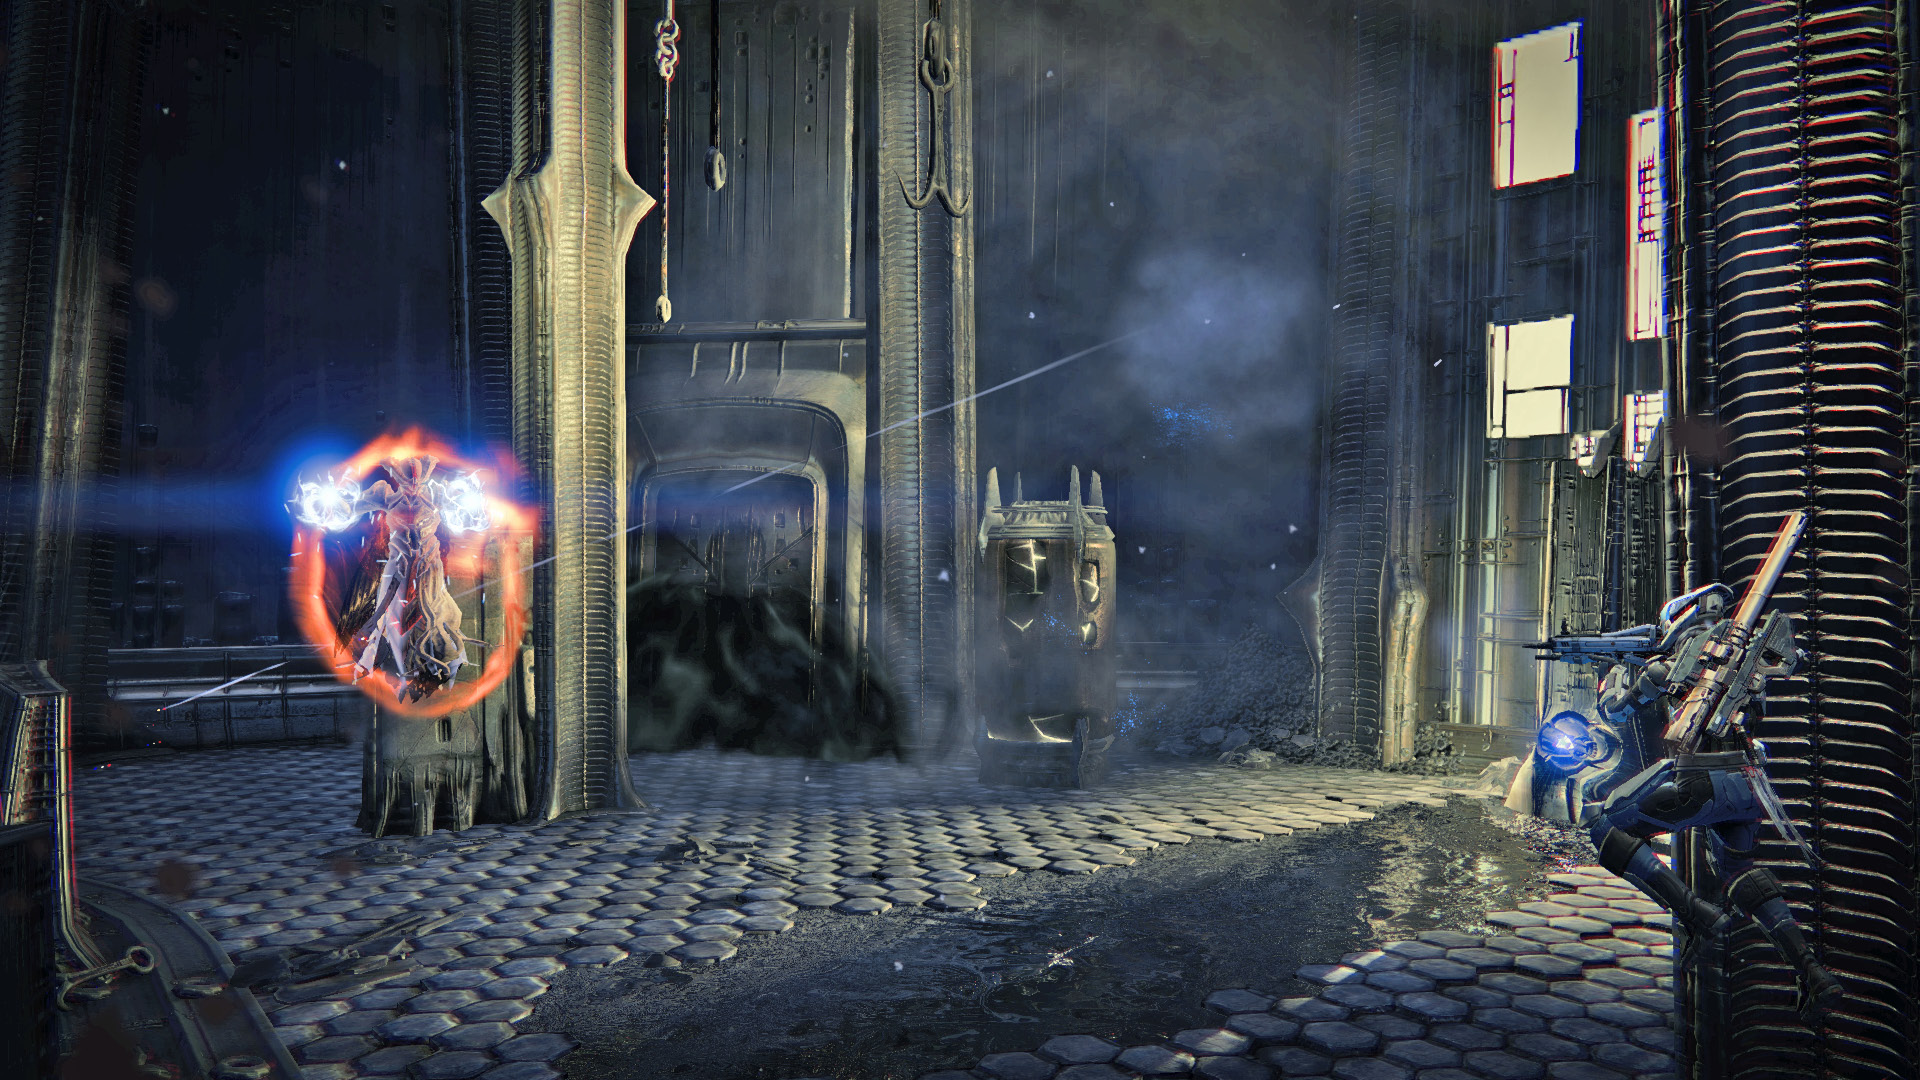
With a long-range weapon equipped, you can fight the Hive Wizard from the temple entrance, even though it will hide behind cover to avoid losing its Solar shield. You need to be more patient than it is, while knocking it down with long-range shots. Once the Hive threat is eliminated, revive the Dead Ghost within the Temple of Crota to complete the mission.
Visit the Speaker to turn in the Dead Ghost for a Speaker’s Writ. You can turn this item in to the Gunsmith for one of three Special Weapons.