
Destiny Signature Series Strategy Guide MOON
PATROL: Patrol The Moon
 Patrol The Moon
Level 8 Story / Archer’s Line, Ocean of Storms, Moon
Enemy Races: Fallen, Hive
Rewards: XP Bonus, Vanguard Reputation
Patrol Missions
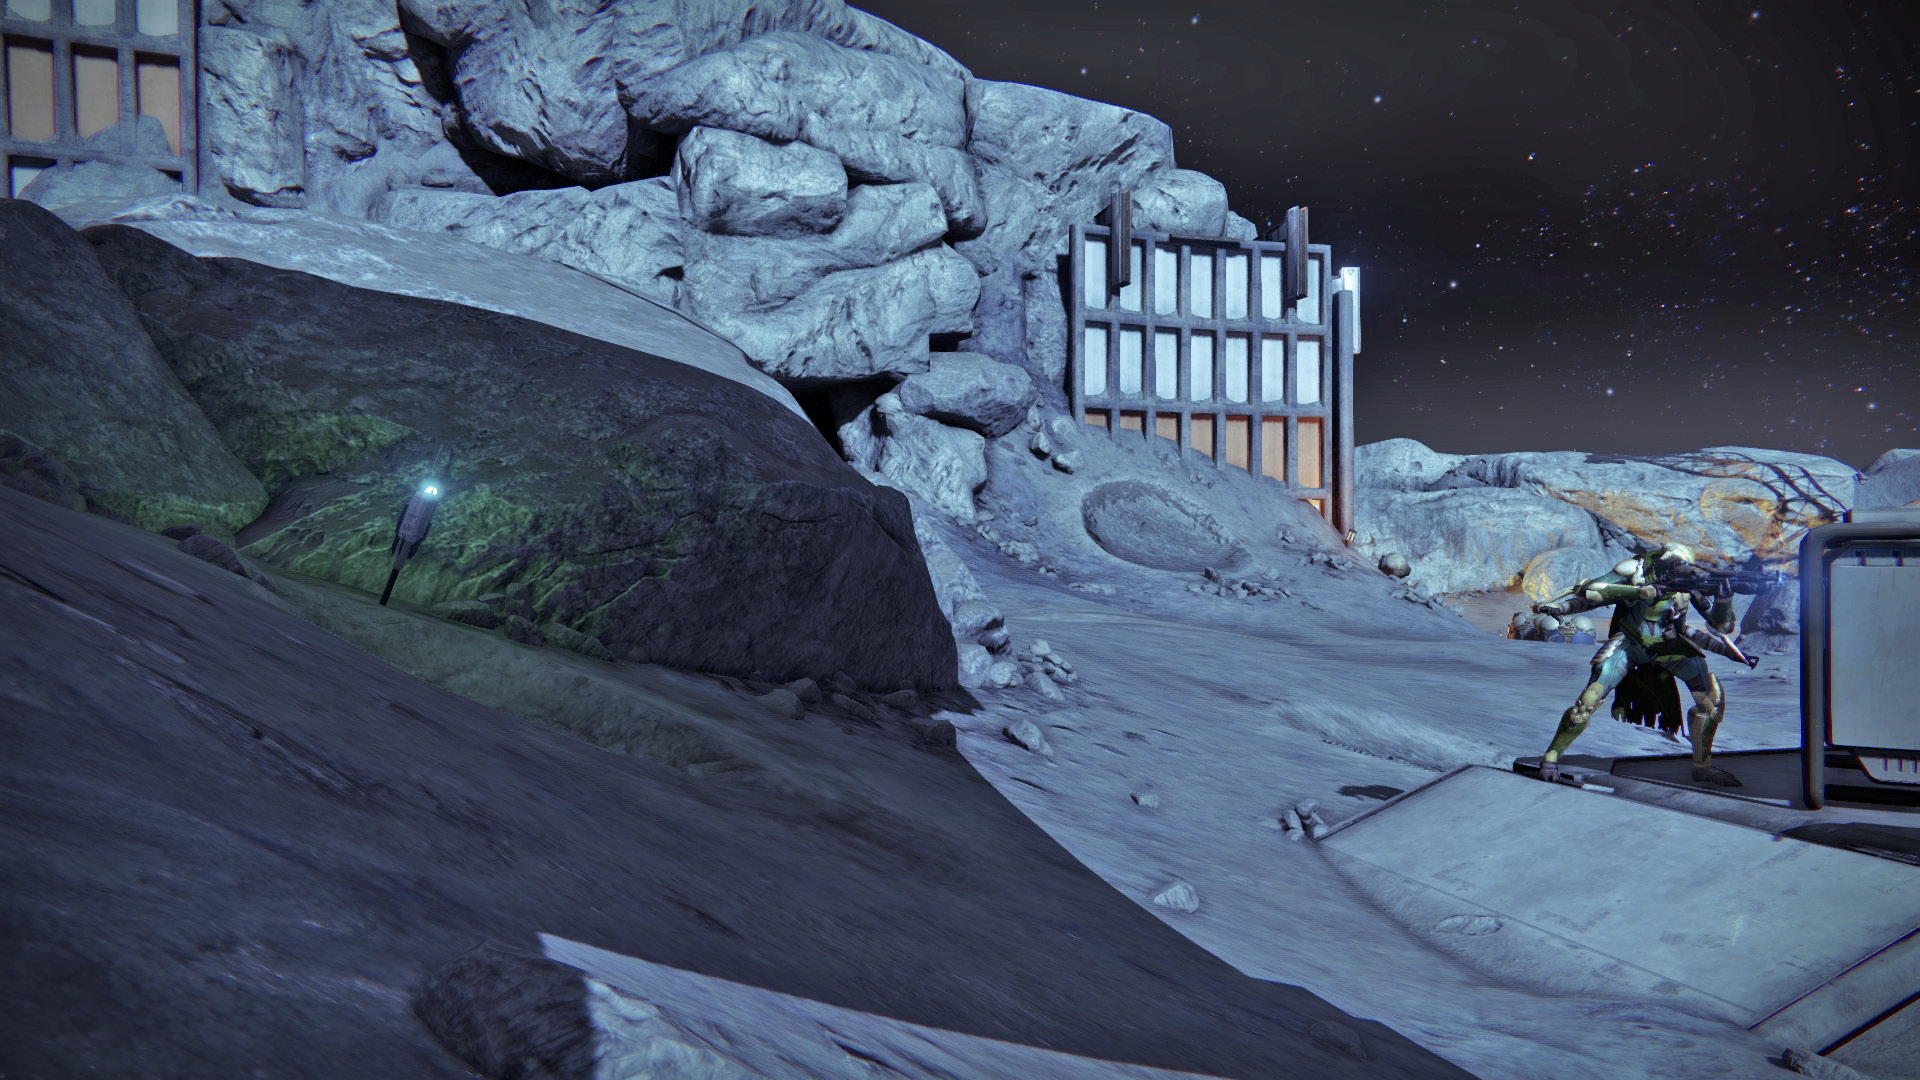
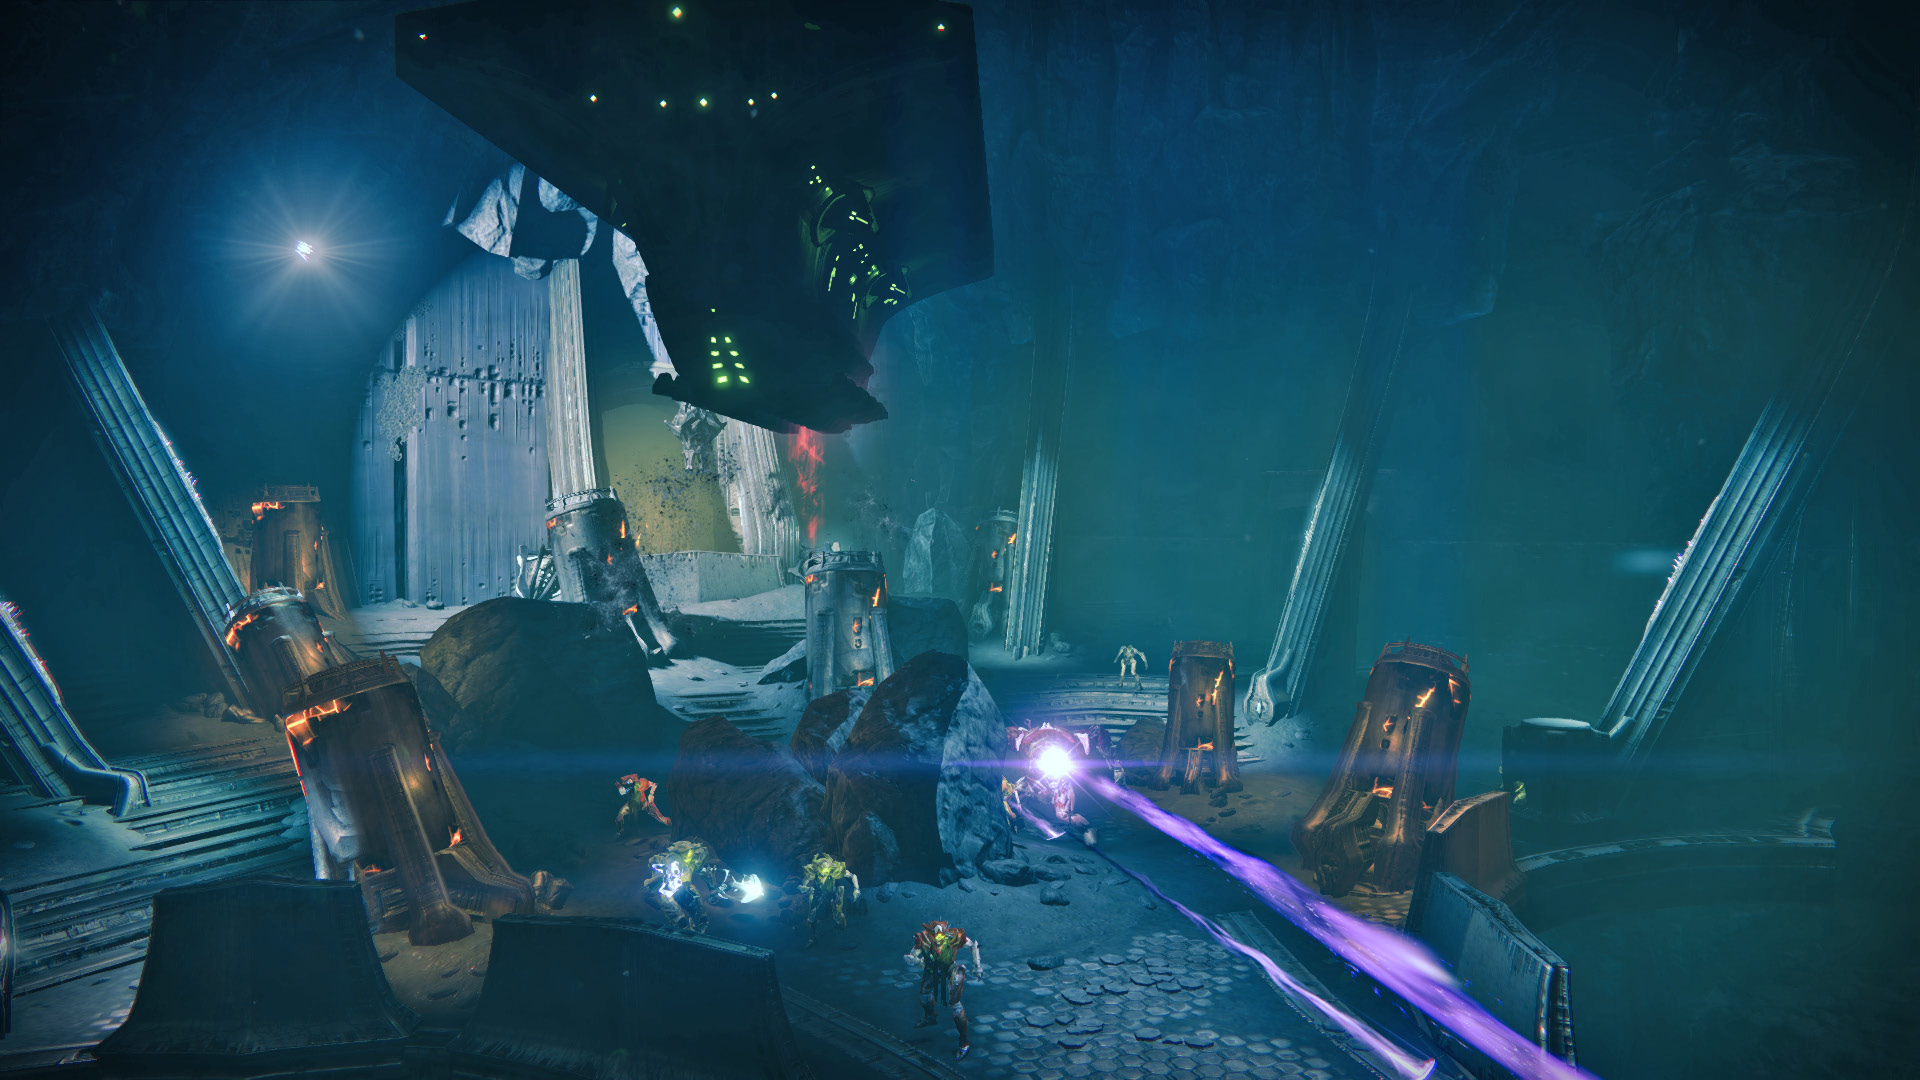
Access one of the many Beacons around the Moon to acquire one of the following missions.
Patrol Missions
|
Mission Name |
Description |
Objective Location |
Objective | |
|---|---|---|---|---|
| Surface Sanction | Scour the lunar surface for enemies of the City. | Location w/Enemies | Kill Enemies |  |
| Dust to Dust | Gather Marrow Dust, a superb solvent, from defeated Hive warriors. | Location w/Hive | Collect Marrow Dust |  |
| Deny Their Power | Kill Fallen and recover the Shock Cores they use to charge their weapons and equipment. | Location w/Fallen | Capture Shock Cores |  |
| Reckon Their Sins | Kill Fallen and collect their Temper Cloth and the data filaments within. | Location w/Fallen | Collect Temper Cloth |  |
| Rites of Obedience | Kill Dreg specimens and collect their nerve interface Docking Caps for study. | Location w/Fallen Dregs | Collect Docking Caps |  |
| Ether Hunt | Take out Fallen Dregs and Vandals and gather the Ether Sups they depend on for life. | Location w/Fallen Dregs and Vandals | Recover Ether Sups |  |
| Proxy War | Shoot down Fallen Shanks and recover their Fusor Proxy Drives for disassembly. | Location w/Fallen Shanks | Salvage Fusor Proxy Drives |  |
| Low Flying Defense Drones | Look for Swivel Turrets in the wreck of Fallen Shanks. They’re valuable salvage. | Location w/Fallen Shanks | Collect Swivel Turrets |  |
| Induction To Pain | Search Fallen Vandals for Induction Rods, full of useful energy systems. | Location w/Fallen Vandals | Collect Induction Rods |  |
| Husk Harvest | Search dead Hive for Husk Flakes, peeled from their grotesque armor. | Location w/Hive | Collect Husk Flakes |  |
| Sample Grafts | Collect the grafted bones of Hive Acolytes so their unnatural fusion can be understood. | Location w/Hive Acolytes | Collect Grafted Bones |  |
| Gather Arc Inducers | Kill Hive Acolytes and detach their Arc Inducers. The City must understand the Hive’s power. | Location w/Hive Acolytes | Collect Arc Inducers |  |
| Collect Symbiotes | Peel Scalpel Leeches from the flesh of dead Hive Knights so their enzymes can be extracted. | Location w/Hive Knights | Collect Scalpel Leeches |  |
| Fallen Tag | The Cryptarchs request a scan of glyphs scrawled by a new Fallen House. | Anchor of Light | Scan Marking |  |
| Built To Last | Help the Cryptarchs understand the relation between a Hive Rune and the surrounding architecture. | Temple of Crota | Scan Hive Structure |  |
| Shuttle Down | Dead Orbit seeks details on the wreckage of a Golden Age aircraft sent to the Moon, to aid future technology development. | Anchor of Light | Scan Shuttle |  |
| Not Beyond Infinity | Scan a collapsed arm of the accelerator to aid Dead Orbit in ship and weapons technology. | Archer’s Line | Scan Accelerator |  |
| Relic Finder | Future War Cult is seeking analysis of a Hive relic, as the basis for a potential weapons platform. | Hellmouth | Analyze Relic |  |
| Ears To The Ground | Future War Cult wants to test the functionality of a communications array. | Anchor of Light | Analyze Comm-link |  |
| Power Underwhelming | New Monarchy requests weapons data stored in the central computing station of the Colony base. | Anchor of Light | Core Analysis |  |
| The Accelerator | Retrieve Golden Age data logged at the Moon’s cargo accelerator. | Archer’s Line | Transfer Logs |  |
| The Stash | Levante is desperate for anything you can recover from a Fallen technology cache near the Hellmouth. | Hellmouth | Scan Tech |  |
| Into the Dark | Gather intelligence on Hive instruments in their launch chambers for Eva Levante’s research. | Temple of Crota | Scan Hive Instruments |  |
| To the Ship | Recover data from a Hive Seeder to help Holliday understand our enemies’ flight systems. | Temple of Crota | Record Launch Data |  |
| Seeder Control | Analyze a component of a Hive Seeder to aide Holliday in her propulsion research. | Hall of Wisdom | Analyze Component |  |
| Will it Blow? | Banshee-44 needs to determine if ancient fuel sources are still viable. | Archer’s Line | Fuel Analysis |  |
| Colony Lost | Banshee-44 is desperate for information on the ruins of a colony structure that may have sunk into the Hellmouth. | Hellmouth | Scan Structure |  |
| The Harder They Fall | Take down a Hive monstrosity Guardians have been hunting for years. | Temple of Crota | Take Down Ogre |  |
| Going To Need A Bigger Gun | Taking down one of the great Hive monsters will bring a good price. | Gatehouse | Kill Ogre |  |
| Troll Patrol | Bring down a frenzied Hive Ogre and scatter its attendants. | Hall of Wisdom | Kill Ogre |  |
| Take Down | Eliminate a Hive Wizard believed to be heading for Earth. | Temple of Crota | Kill Hive Target |  |
| Bury the Wizard | The price on this Wizard’s head is high. Take it out. | Gatehouse | Eliminate Hive Target |  |
| The Wizard in Dust | Every ship near the Moon can detect this Wizard’s dark power. You must defeat it. | Hall of Wisdom | Kill Wizard Target |  |
| The Way In | Scout the area surrounding a lesser known entrance to the Hive fortress. | Archer’s Line | Scout Hive Entrance |  |
| Search and Recover | Assess the viability of reclaiming an abandoned colony base near the Hellmouth. | Hellmouth | Scout Base |  |
| In Deep | Investigate the launch chambers to assess the threat level of the Hive invasion. | Temple of Crota | Probe Area |  |
| Tight Grip | Scout the ruins of a Colony base held by Fallen for potential reclamation by mankind. | Anchor of Light | Scout Area |  |
| All that Remains | Survey the extent of the damage the Fallen have inflicted on an ancient communication outpost. | Anchor of Light | Survey Area |  |
| Into The Maw | Recon the interior of the Hive fortress with particular focus on the miasma spewing from the Hellmouth. | Gatehouse | Scout Hellmouth |  |
 Public Events
Check out the maps at the start of the Moon chapter to find where the events occur and how often.
Defend the Warsat
Locations:Archer’s Line, Hellmouth, Anchor of Light
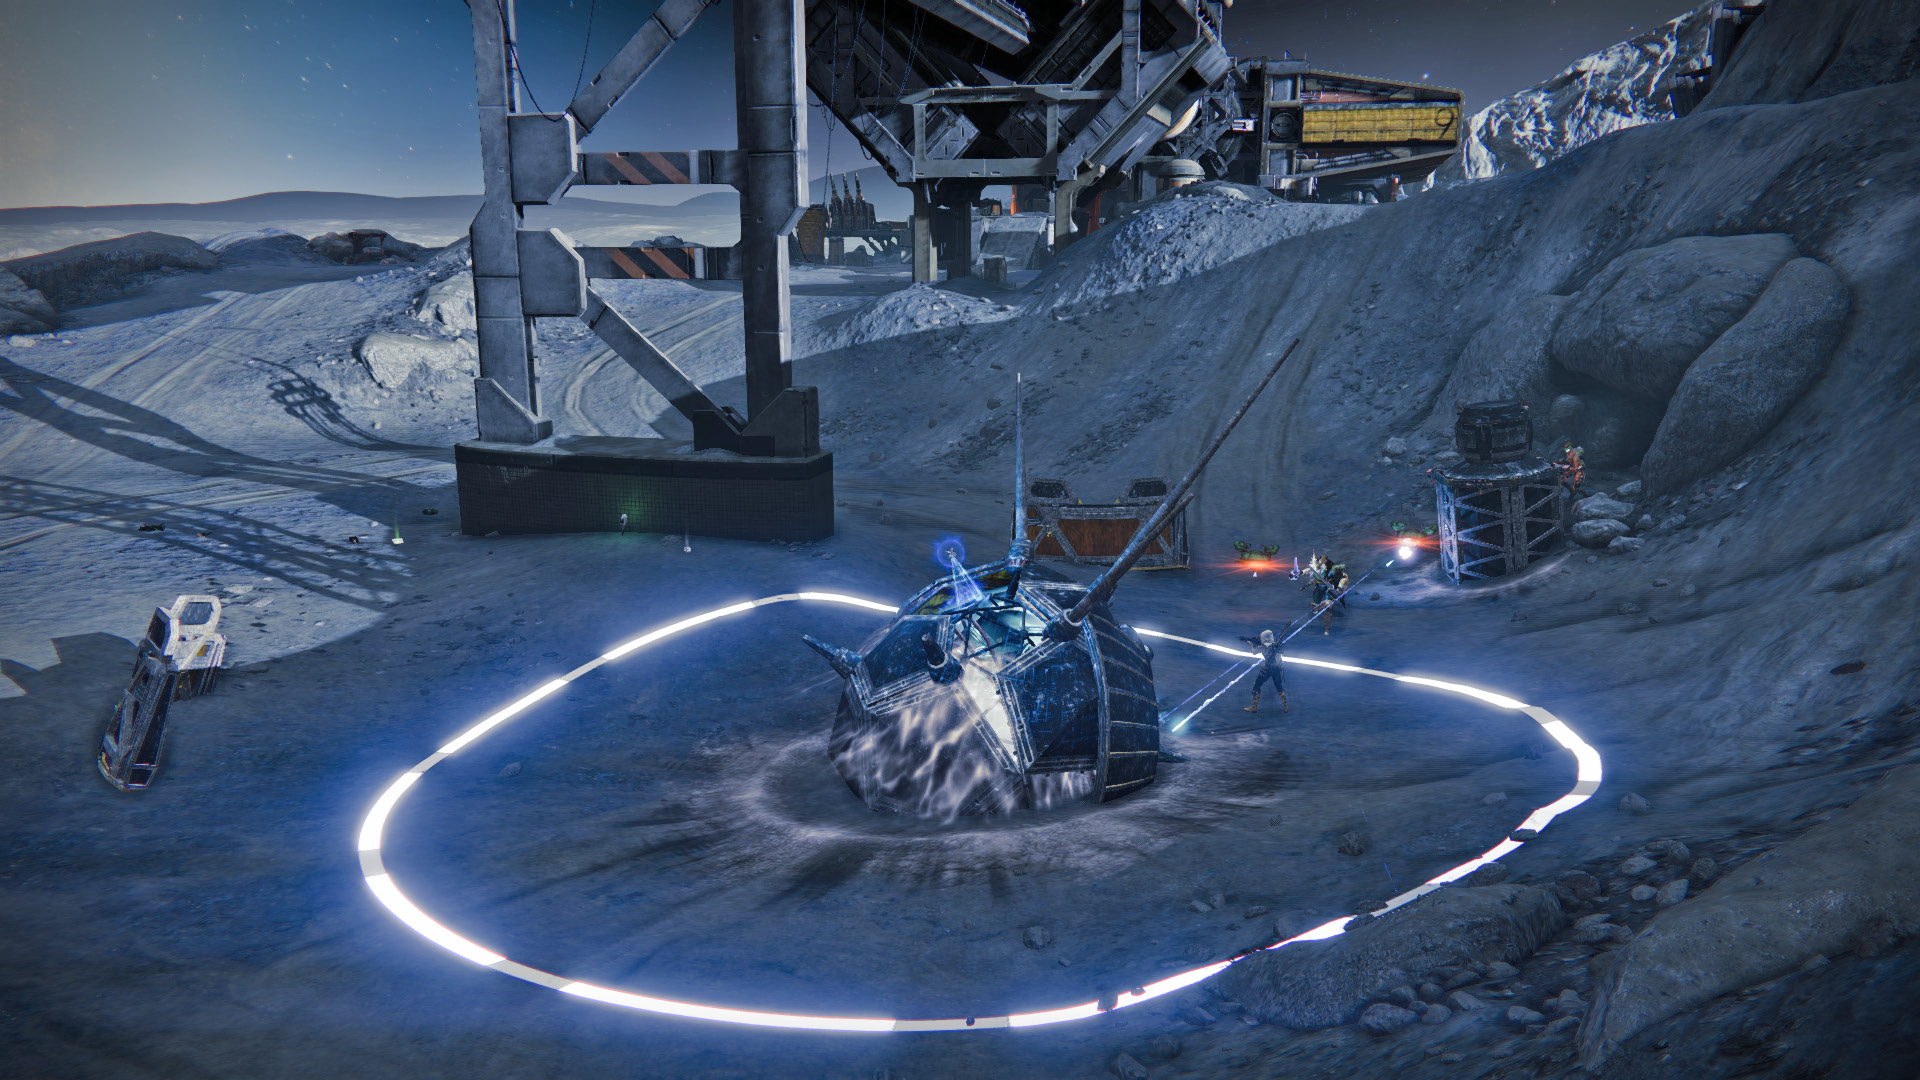
A flash of light represents the touchdown of a Warsat in the area as a one minute timer begins a countdown. One Guardian must deploy their Ghost to start the event. A circle appears around the satellite. As you stand inside it, a meter starts to fill with a number inside. Your objective is to guard the Warsat until the number reaches 100. Step out of the circle and the meter pauses. The more Guardians that are linked (standing inside the circle), the faster the meter fills. Enemies are constantly dropped in as a timer counts down from four minutes. In Hellmouth, it is possible to have two Factions, the Fallen and Hive, attacking the Warsat.
 Eliminate the Target
Locations:Hellmouth, Anchor of Light
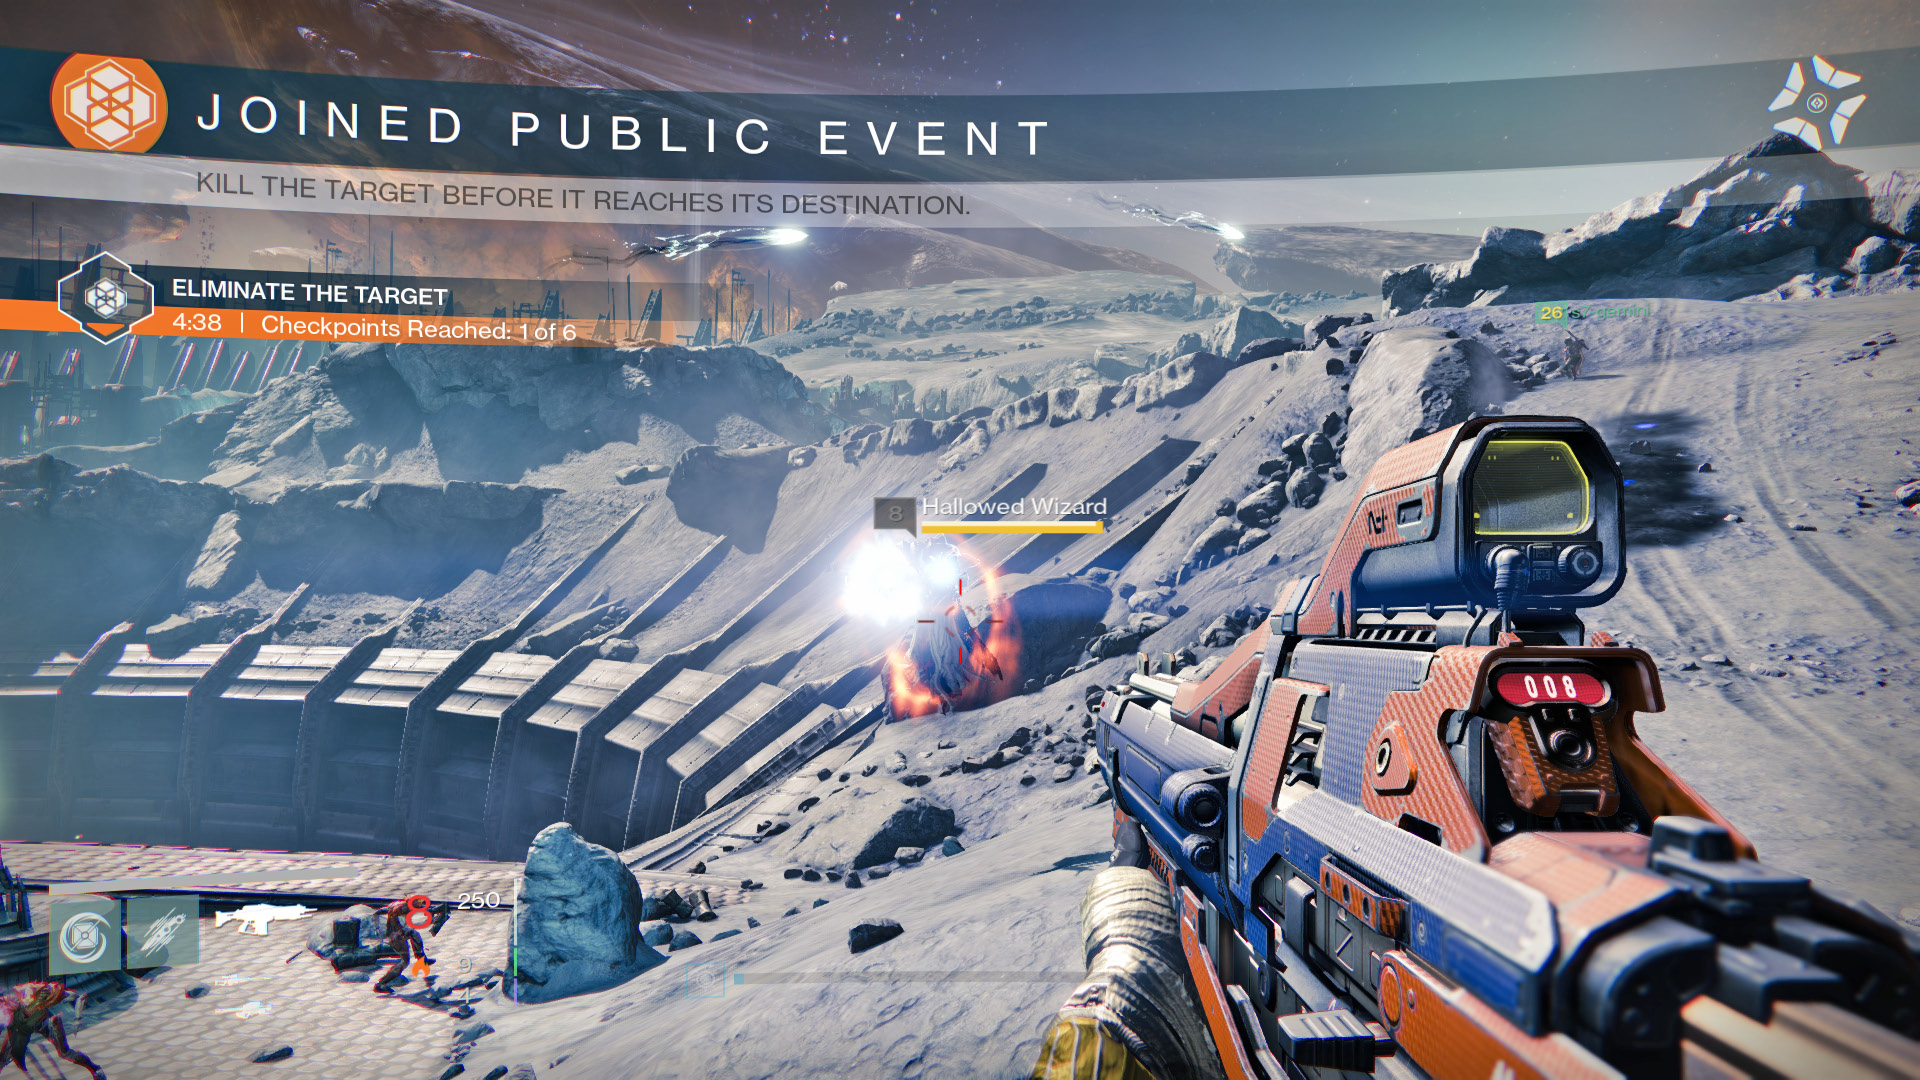
An enemy appears in the area and slowly makes its way to a certain destination. Your objective is simply to eliminate it before it gets there. It is always a special enemy with more vitality and aggressive behaviors than the norm. Its progress through five checkpoints is given on the left of the screen, along with a timer. Take it down before the timer reaches 0 and it reaches checkpoint 5 to complete the event.
 Defeat Extraction Crew
Locations:Archer’s Line, Hellmouth
A crew of Fallen are dropped into the area as they attempt to extract precious Glimmer. The Guardians must clear the drill site by killing all of the Fallen. Once one crew has been defeated, a second shows up elsewhere in the zone. Clear out three drill sites to complete the event and earn a Gold Tier.
 Destroy Fallen Walker
Location:Anchor of Light
A Fallen drop ship delivers a Devil Walker into the public space. Now it is up to the Guardians to defeat the tank, before it causes too much trouble. Take down the target in the same manner as in the Earth Strike, Devils’ Lair. Do so before the five-minute timer reaches zero to complete the event with a Gold Tier. Remember that it is invulnerable until its lights come on.
Gold Chests
1:Temple of Crota
Enter the temple, drop to the lowest floor, and spin to the right to find the exit. Follow the path further into the Hive temple. Cross the bridge into the ship and continue out the right side—stopping at the end of the ramp. Look down to the right to spot a small platform with a Gold Chest.
2:Archer’s Line to Hellmouth
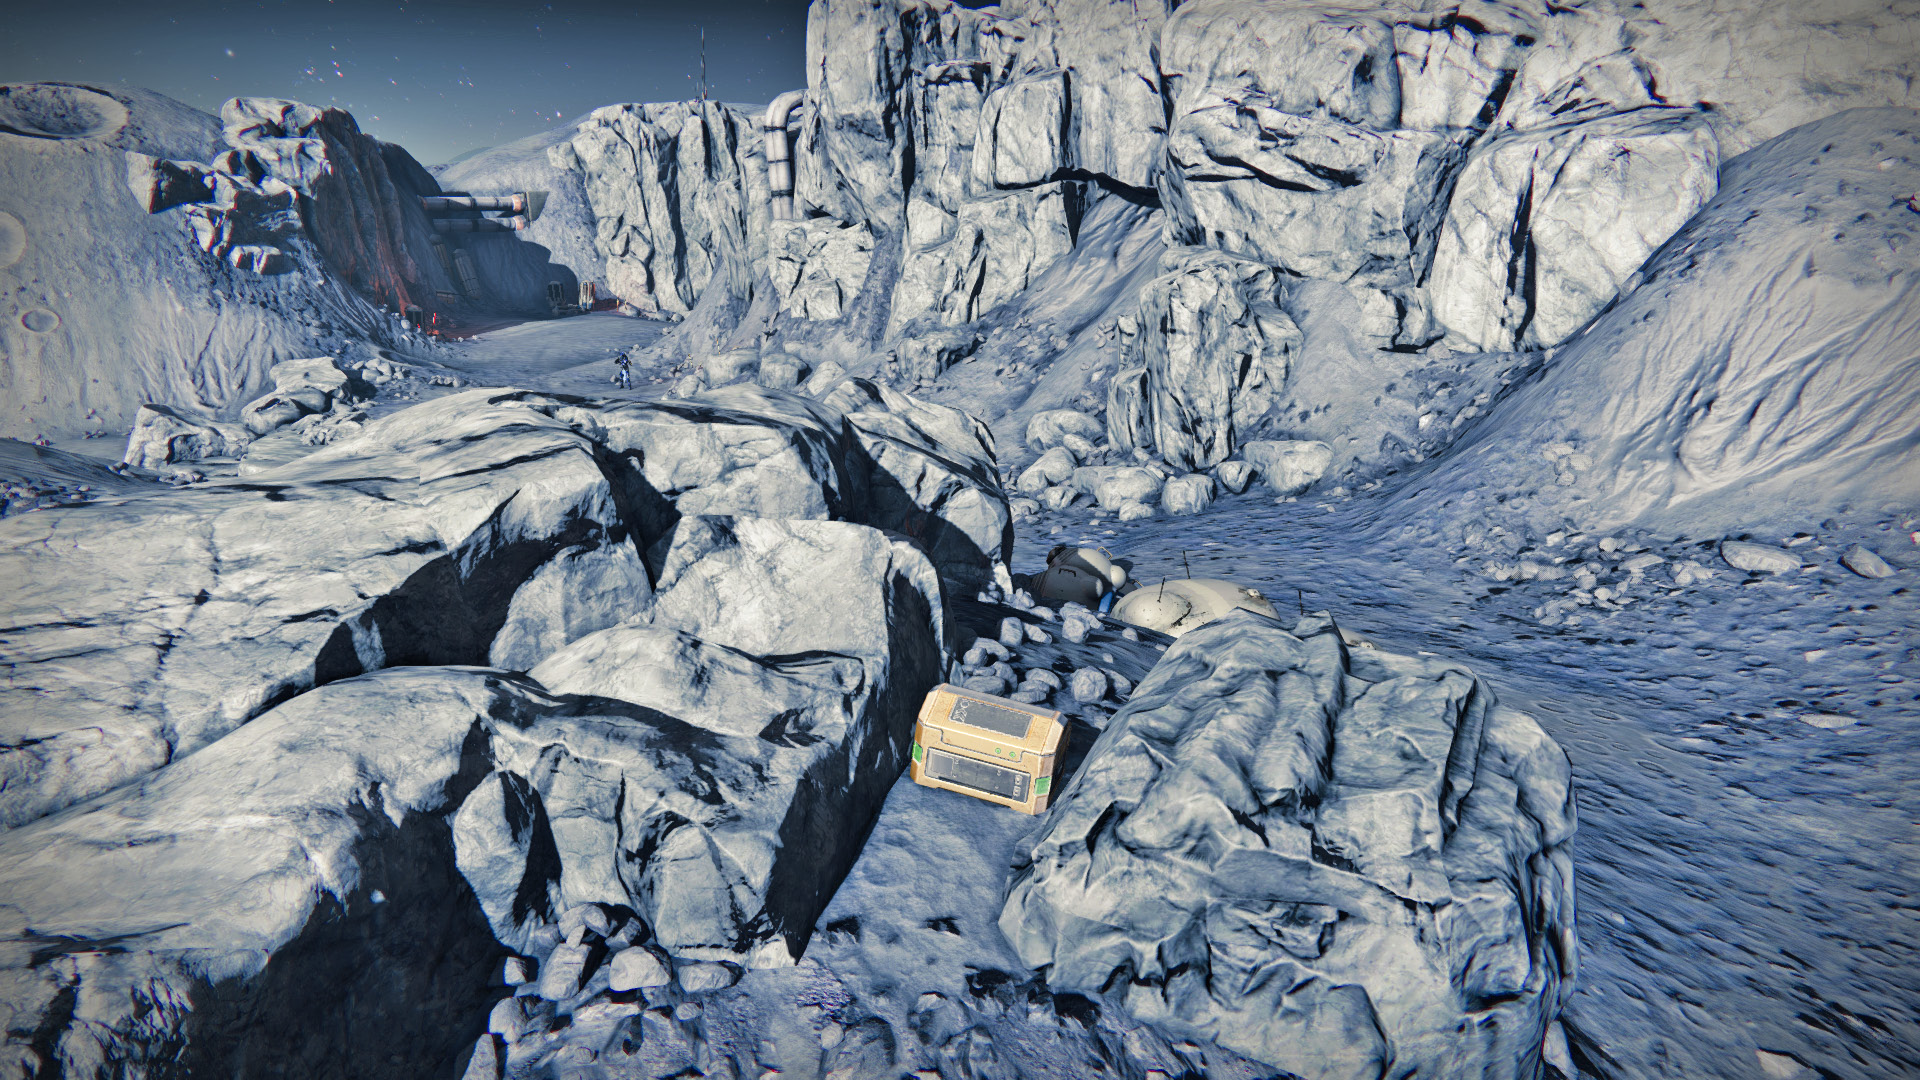
As you make your way to Hellmouth from Archer’s Line, look for a rock formation on the left just before the short bridge. Look behind it to find this Gold Chest.
3:Archer’s Line to Hall of Wisdom
Climb the hill across from the starting point in Archer’s Line, cut through the debilitated dome structure, and follow the path into the Hive fortress. Take the spiral ramp down to the bottom of the cave or simply drop down. Enter the water to the right of the Hall of Wisdom entrance to find the chest.
4:The World’s Grave
Find this Gold Chest inside the final room of The World’s Grave. Drop into the water right away and search along the rocky wall to get your reward.
5:The Summoning Pits
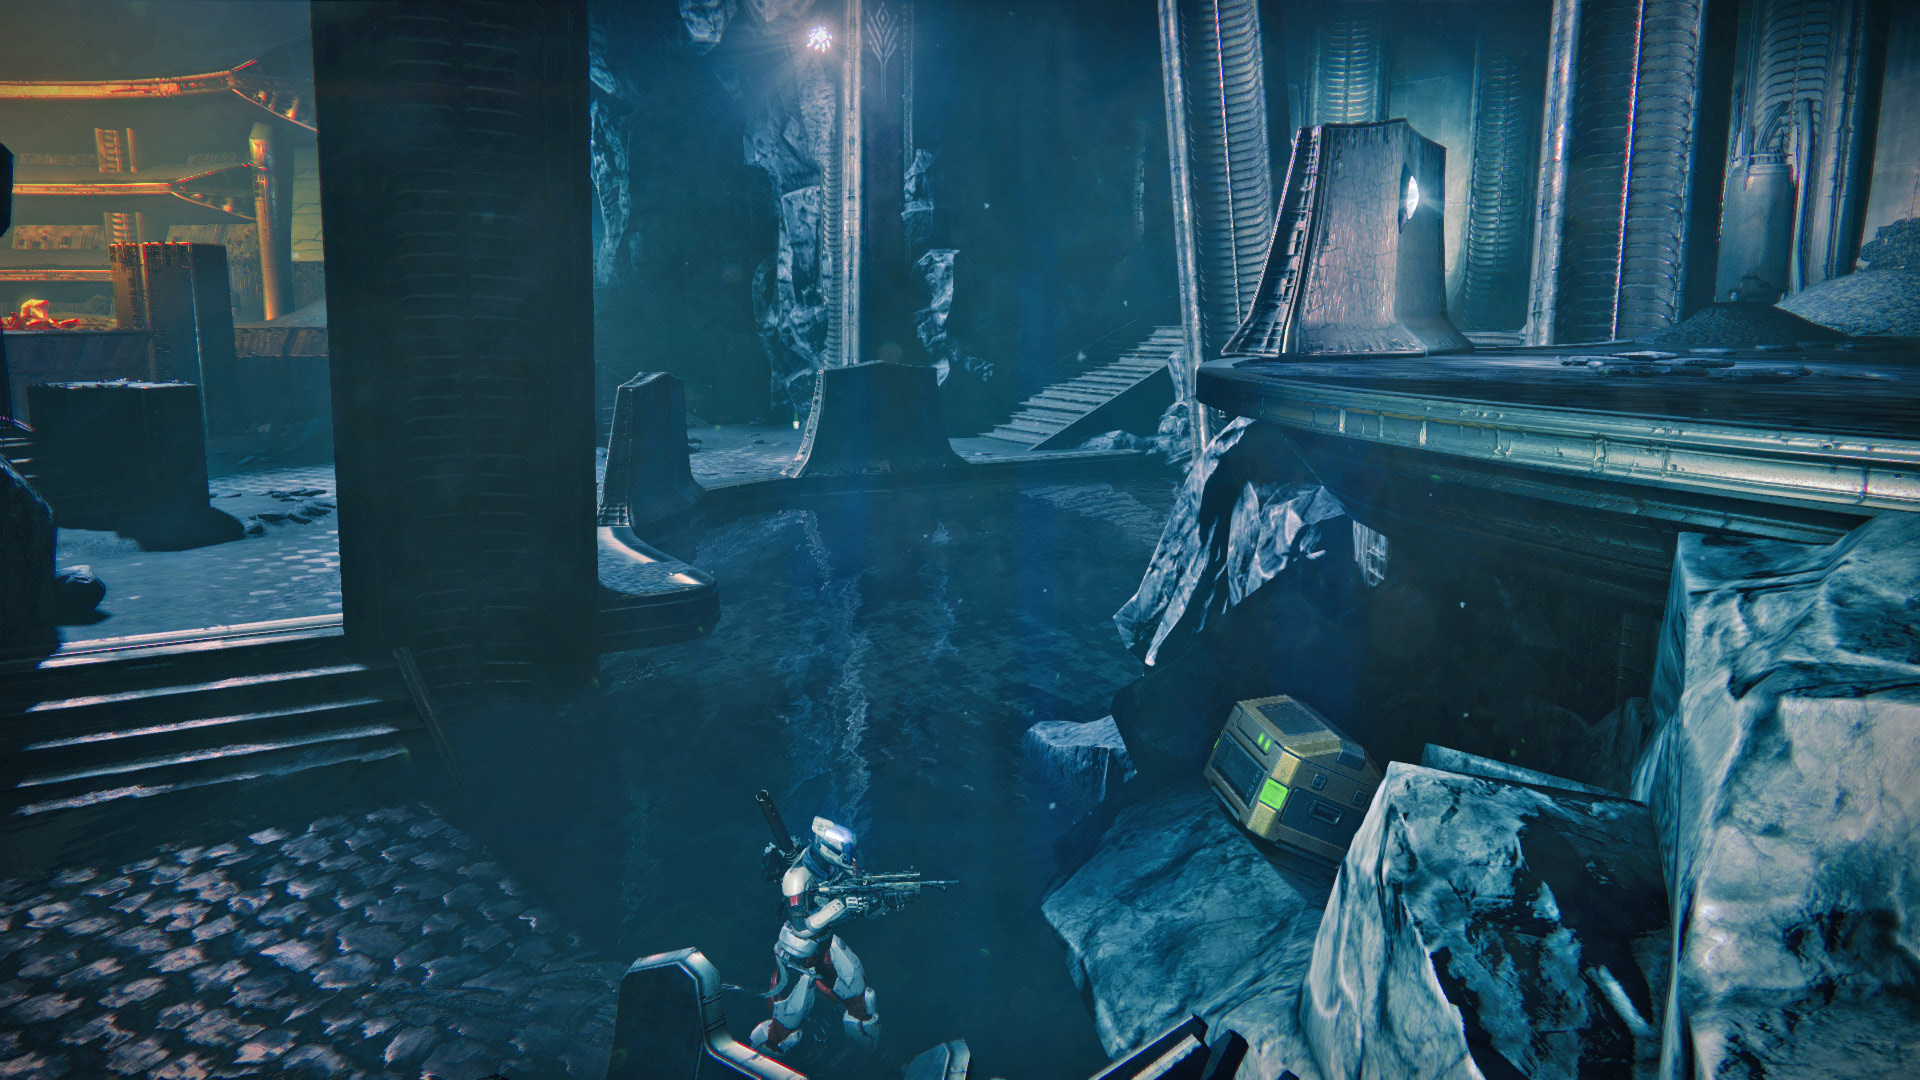
This chest is only accessible during the Moon Strike, The Summoning Pit. Move over to the lower platform at the far end of the arena and search between the two staircases.
Dead Ghost Locations
1 Archer’s Line
From the landing zone, approach the cargo accelerator that spans across the zone and turn left. Climb up the pile of containers and search the right side of the accelerator tube to find a Dead Ghost in a small nook.
2 Archer’s Line
Find the moon dome at the top of the hill, near the accelerator. Look over the edge to the right to spot a Dead Ghost resting on a narrow ledge below.
3 Anchor of Light
Locate the main building with a giant satellite dish. You'll have to climb and jump up the girders in order to find the dead ghost on one of the supporting beams.
4 Temple of Crota
At the Temple of Crota, a Dead Ghost is visible through a grating in the courtyard, but you must descend to the bottom of the temple and make your way back up to get it. Clamber up a rock pillar, cross some platforms, and finally reach the terminal where the collectible sits.
5 Hellmouth
Located near the entrance from Archer’s Line, a couple open buildings surround a big crack in the Moon’s surface. Enter the central structure and search around the computer on the left. Sitting on the console, opposite a dead astronaut, is another Dead Ghost.
6 Circle of Bones
Upon entering the area, follow the right-hand side, down a hallway, to find a u-shaped window; once there, jump on the ledge. From the ledge, double-jump to the area behind it. Now follow the railing on the side to find the Dead Ghost.
7 Gatehouse
Enter the Gatehouse and step off to the left side of the overlook. A Dead Ghost sits on a pillar, just off of the rock ledge.
8 Hall of Wisdom
Inside the Hall of Wisdom, just before the exit to Circle of Bones, look toward the drop off on the left. Run over to the wall on the right side of this gap and walk out onto the narrow strip of rock to collect a Dead Ghost.
During the Shrine of Oryx mission, as you cut through the corridor between Hall of Wisdom and the shrine, look for the pile of bones in the corner, where you fight the Thrall and a Knight.Resting atop the pile is the Dead Ghost.