Destiny Signature Series Strategy Guide VENUS
STRIKE: The Nexus
 STRIKE: The Nexus
Level 14 Strike / Ishtar Commons, Ishtar Sink, Venus
Enemy Races: Vex, Fallen
Suggested Damage Types: Void, Arc, Solar (Epic)
Rewards: XP Bonus, Armor Upgrade
Mission Unlocked: -
| Combatant Changes with Heroic or Epic Mission Modifier | ||
|---|---|---|
|
Objective |
Combatant Changes |
Tip |
| Stalk the Servitors - Initial Fallen | -3 Dregs+3 Major Vandals | — |
| Stalk the Servitors – Right Servitor | -2 Vandals-2 Dregs+4 Major Vandals | — |
| Stalk the Servitors – Left Servitor | -1 Vandal-3 Dregs+1 Major Vandal (Shock Blades)+3 Major Vandals (rifles) | Use the multiple levels and offices to escape danger when things start to get overwhelming. |
| Stalk the Servitors – Final Servitor | -1 Captain-3 Shanks+1 Major Captain+3 Vandals | — |
| Find the Nexus – Exiting N/Gen Branch | -6 Vandals+3 Stealth Vandals+3 Major Vandals | — |
| Find the Nexus – First Encounter | Goblins become Major Goblins | — |
| Find the Nexus | Hobgoblins become Major Hobgoblins | — |
| Find the Nexus | Minotaur become Major Minotaur | — |
| The Nexus | Minotaur become Major Minotaur | — |
Objective:Descend into the Academy
Location:Ishtar Commons
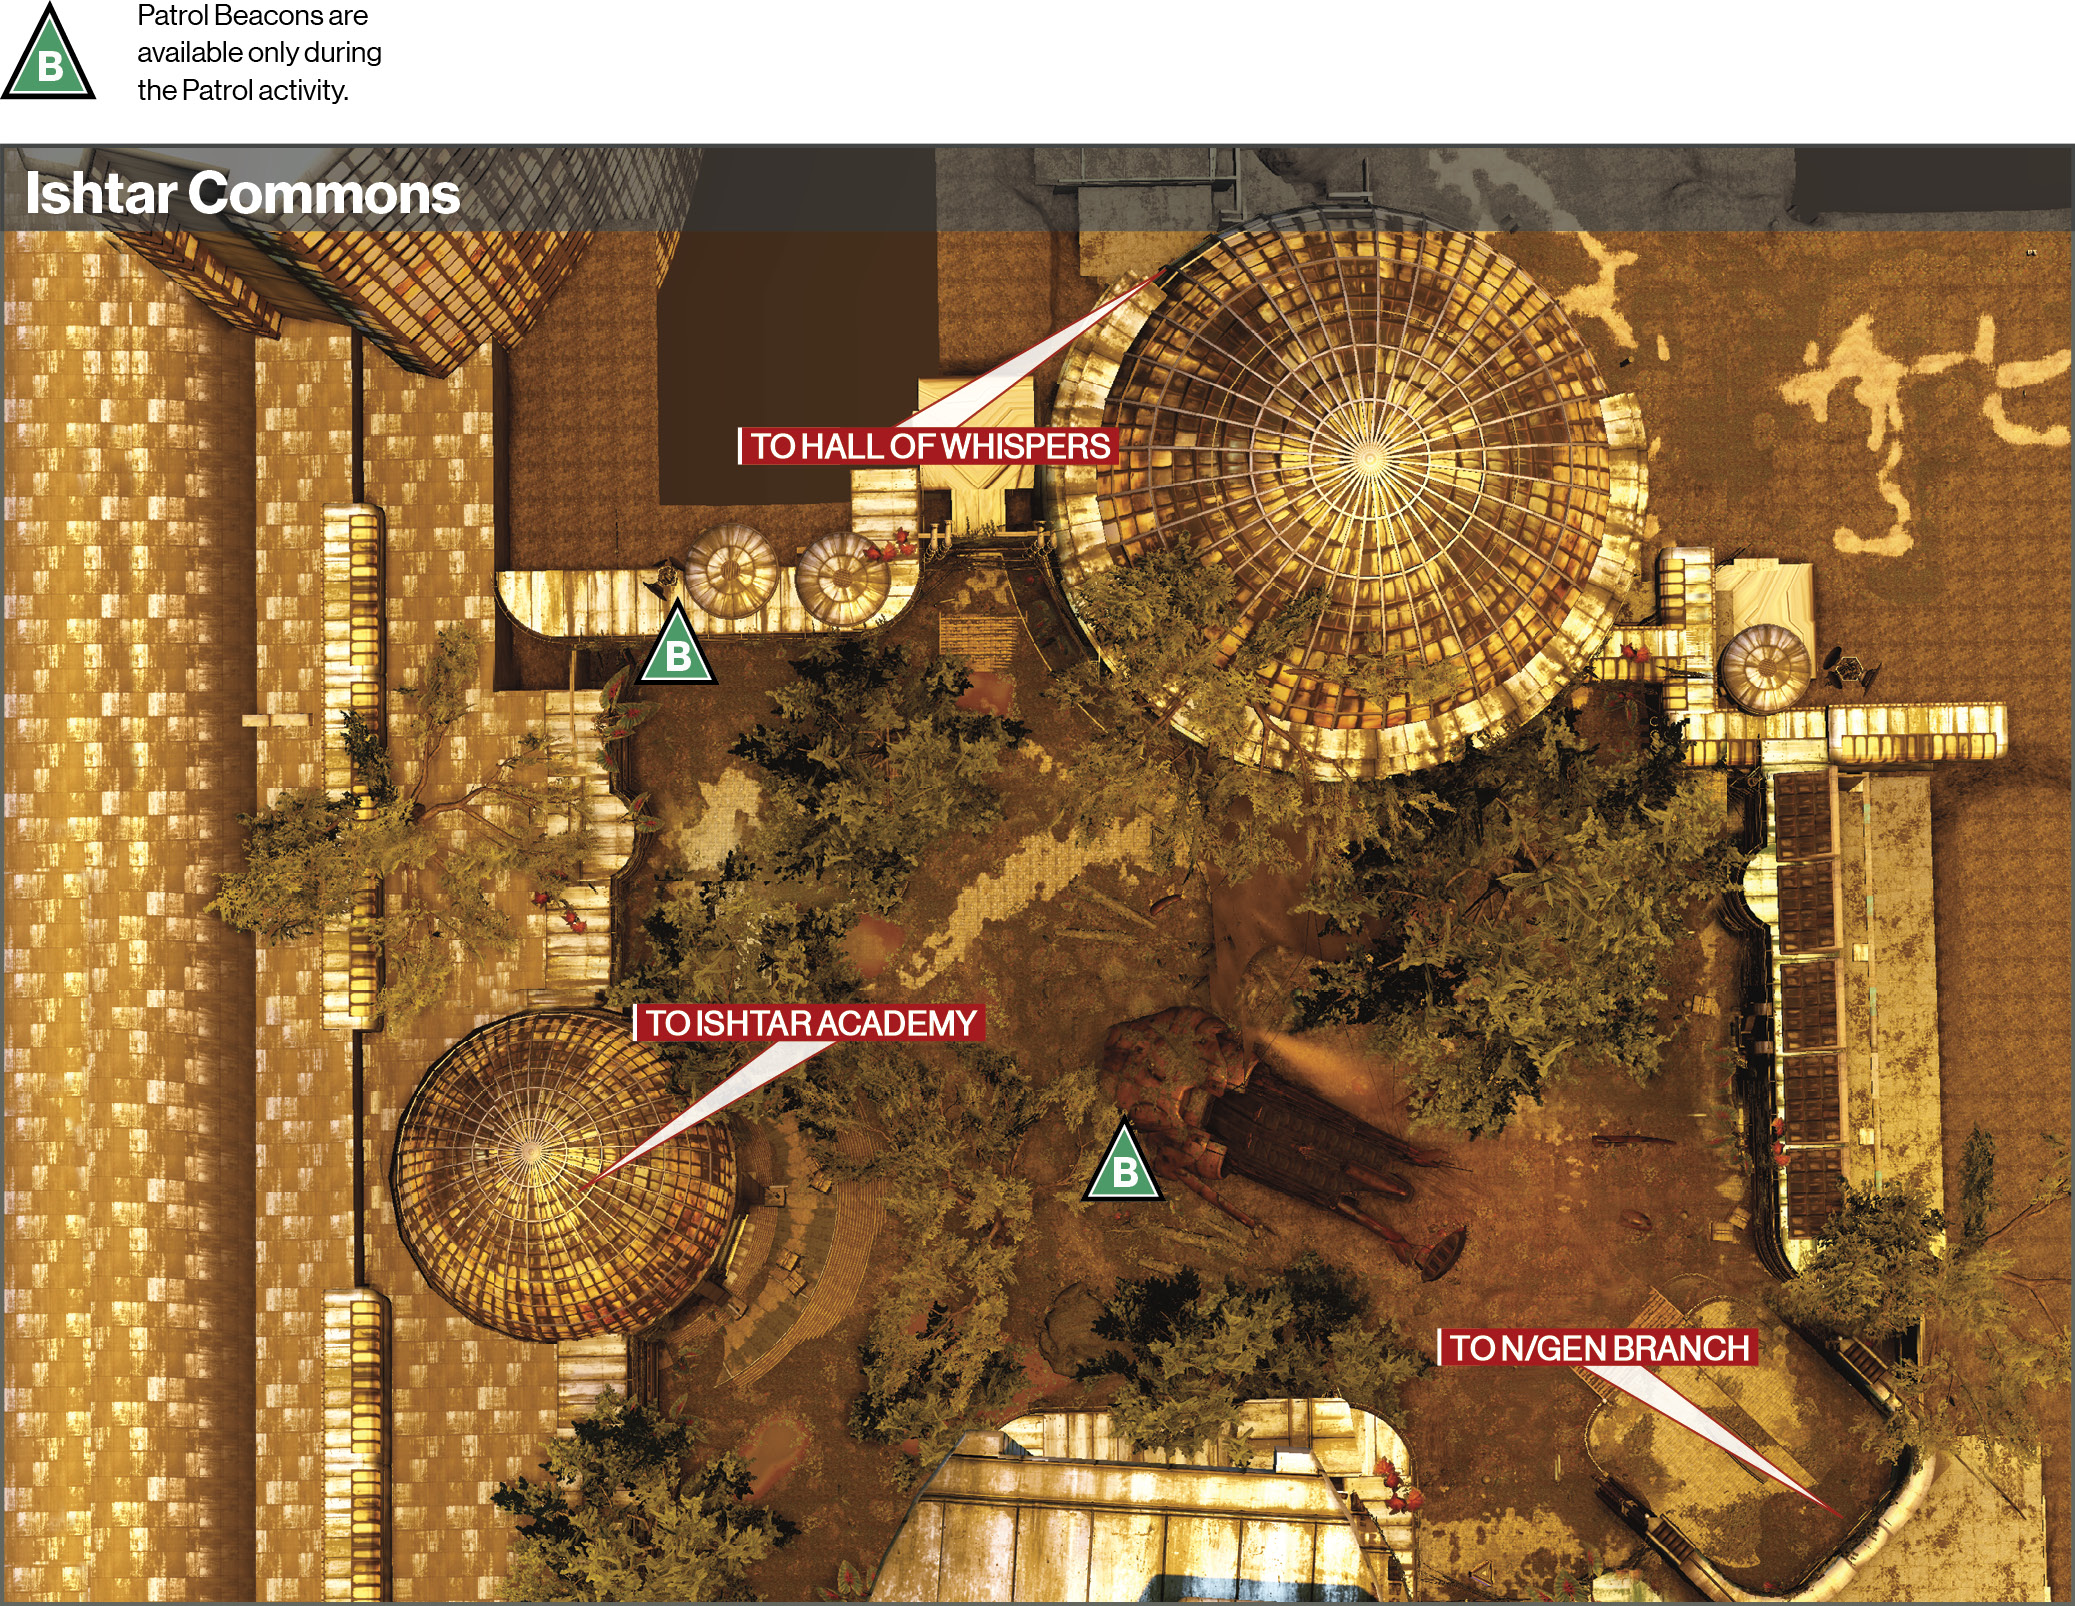
Fallen and Vex continue fighting it out in Ishtar Commons, and your next objective is located on the other side. Sprint past the skirmish, or mow down these lower-level enemies as you move into the open door and descend into N/Gen Branch—it’s designated a Darkness Zone.
Objective:Stalk the Servitors
Location:N/Gen Branch
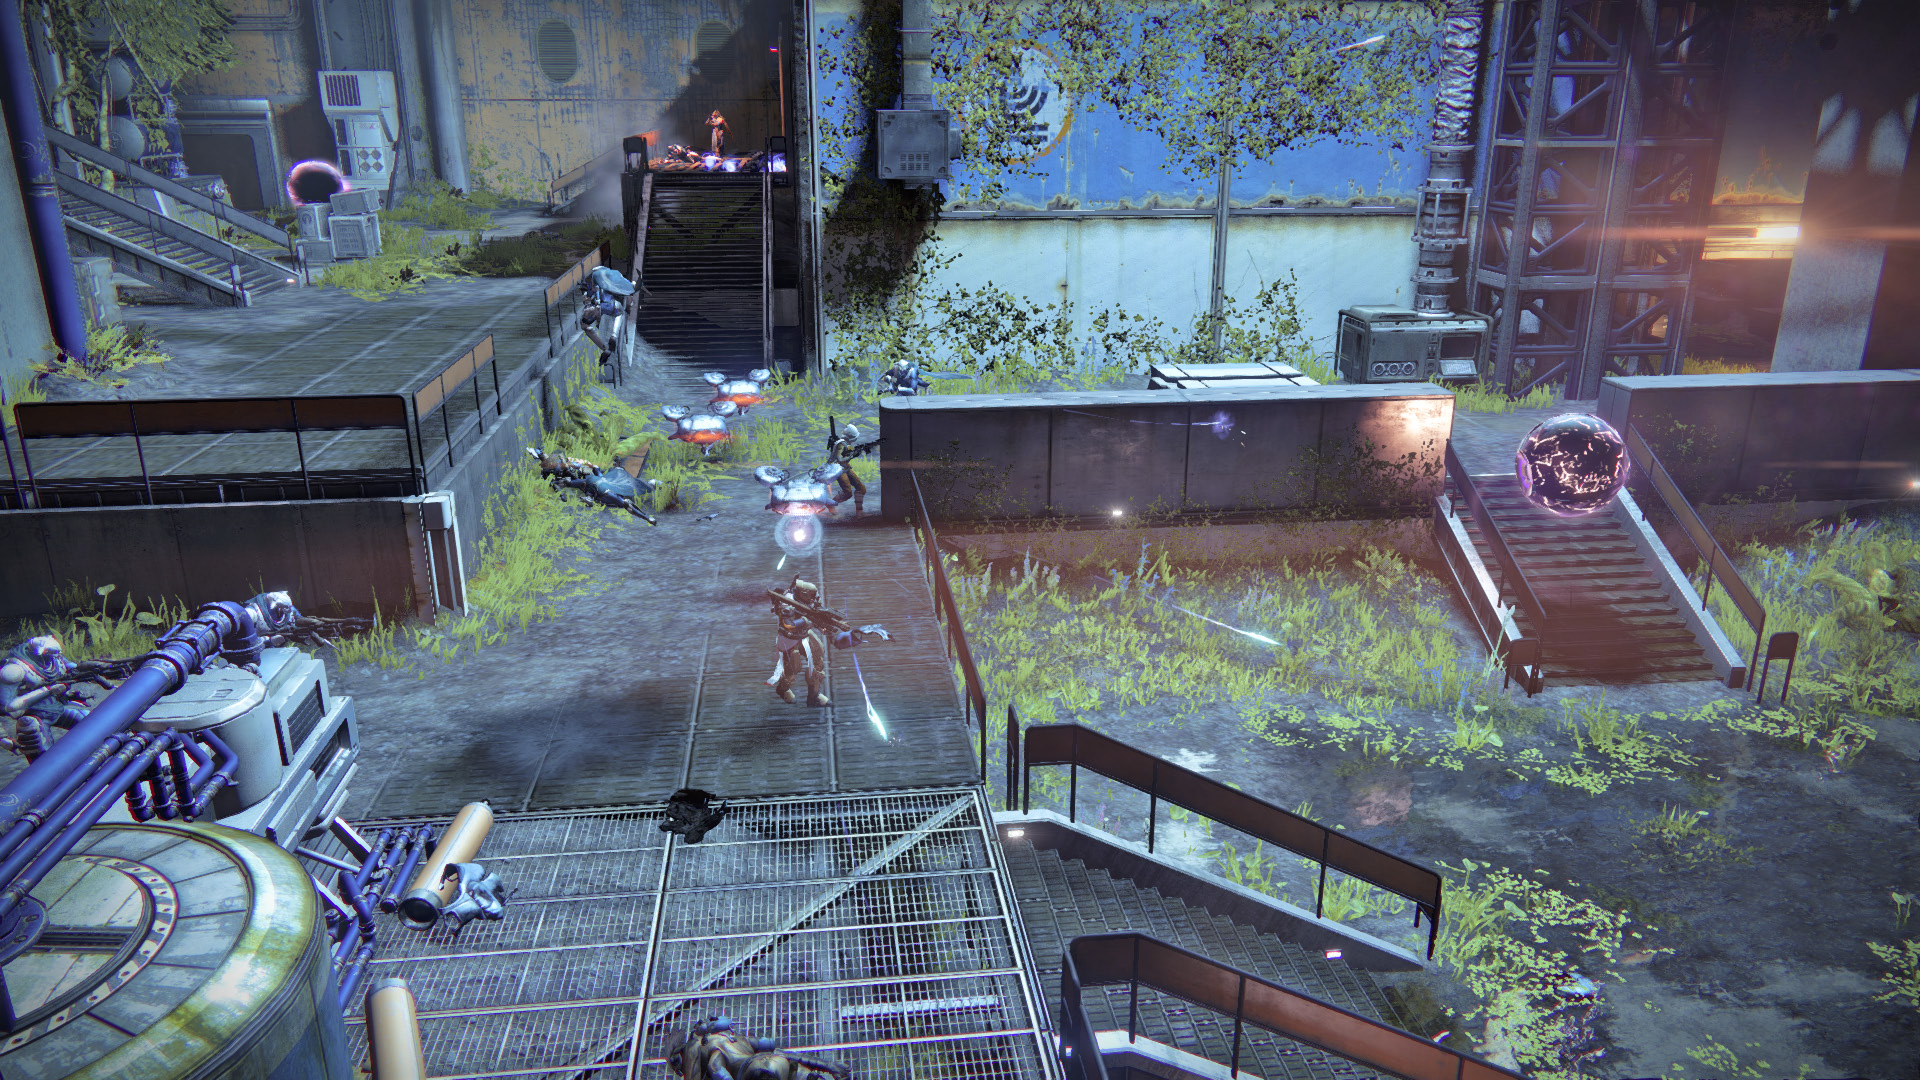
Inside this complex, one Major Servitor appears with its crew of Fallen in each of three waves. You must defeat all three to continue the mission. The first appears in the second-floor room on the right with Dregs and Vandals. Use the doorway as cover while the team takes it down. The second spawns in the far corner on the ground level. Shanks join this pack, and you fight out in the open. A Captain joins the final Major Servitor.
Objective:Find the Nexus
Location:Dig Site 4
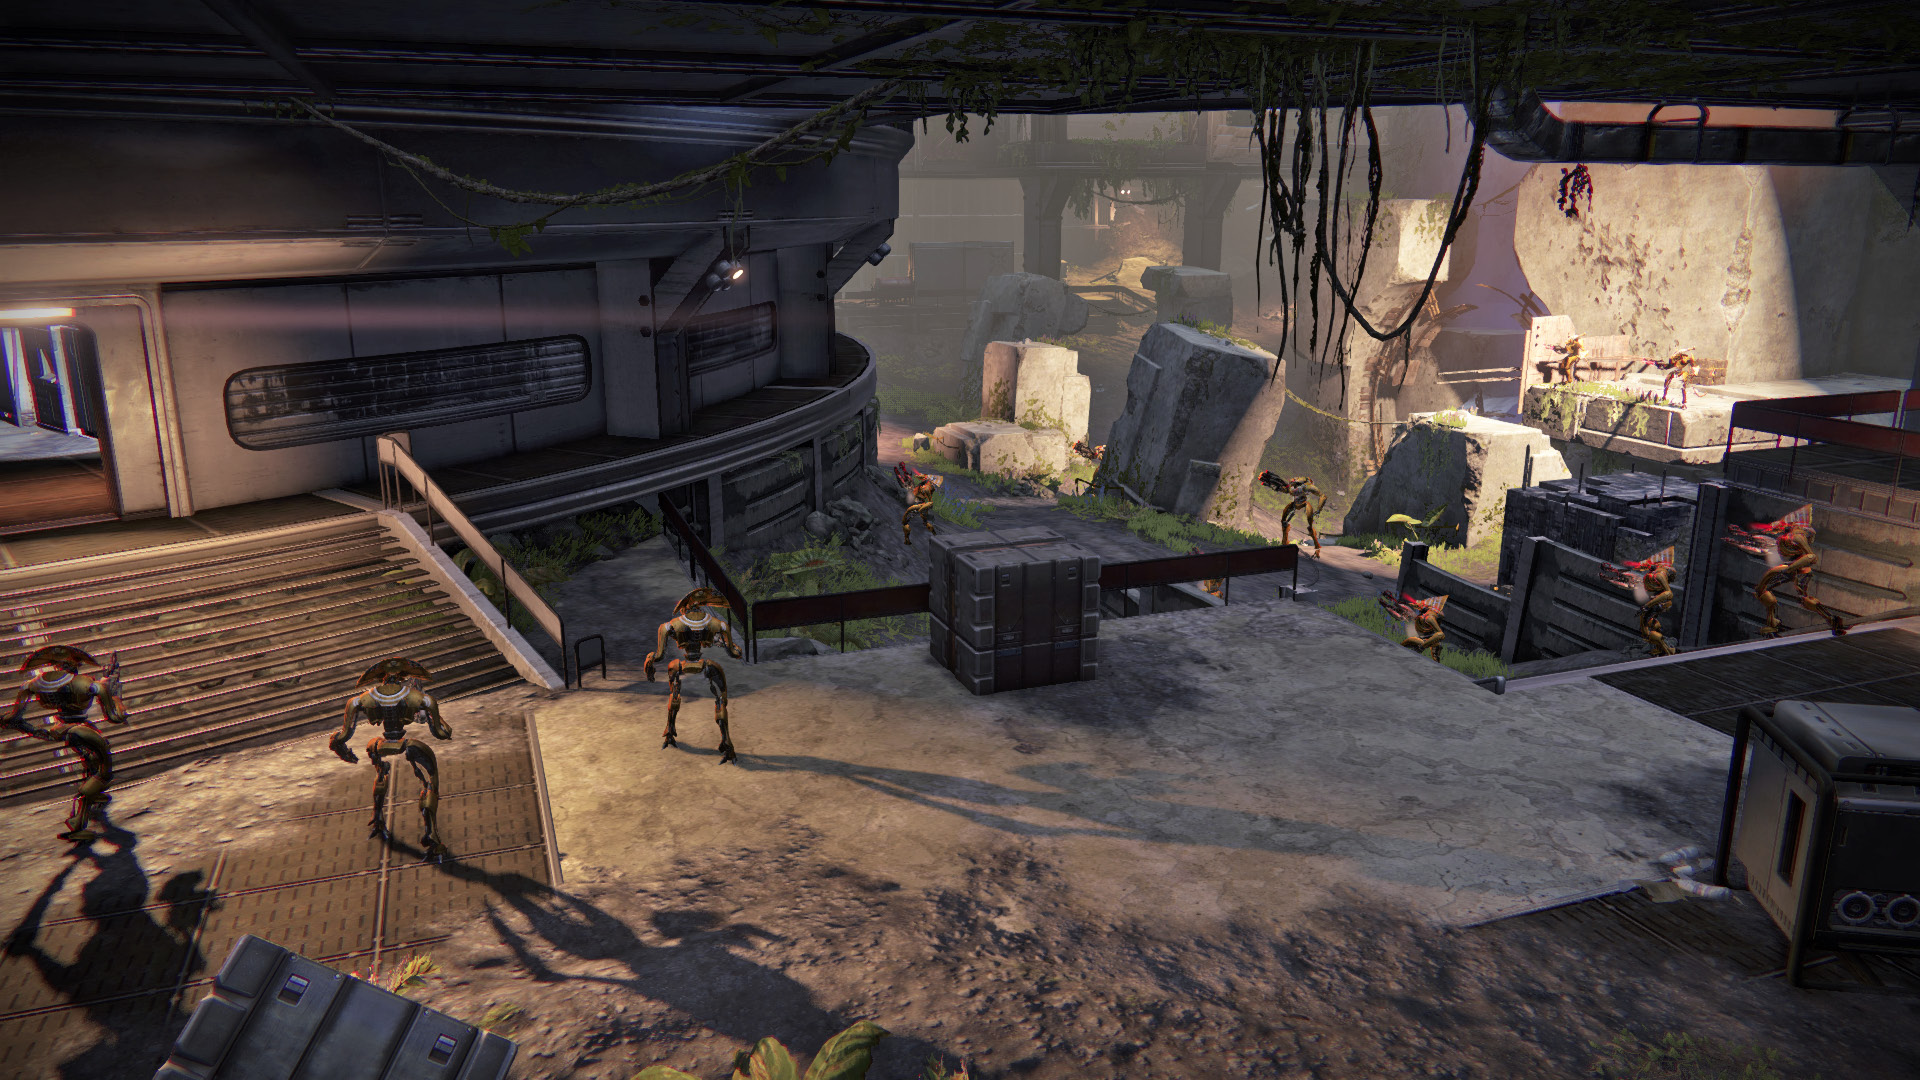
Once you take care of the Major Servitors, climb up to the second floor of the corner building, fighting your way through more Fallen. Hop up to the walkway and follow the steps to the right. This path leads into Dig Site 4, where Fallen are at war with the Vex. Clear out these weaker enemies and descend the stairs to the basement, where Harpies occupy the computer room. In the dig site’s final area, Goblins, Hobgoblins, and Minotaur mount some resistance. Eliminate the threat before you follow the narrow path to the Nexus. Watch for the pack of Goblins that approaches your position very quickly along the route.
Location:The Nexus
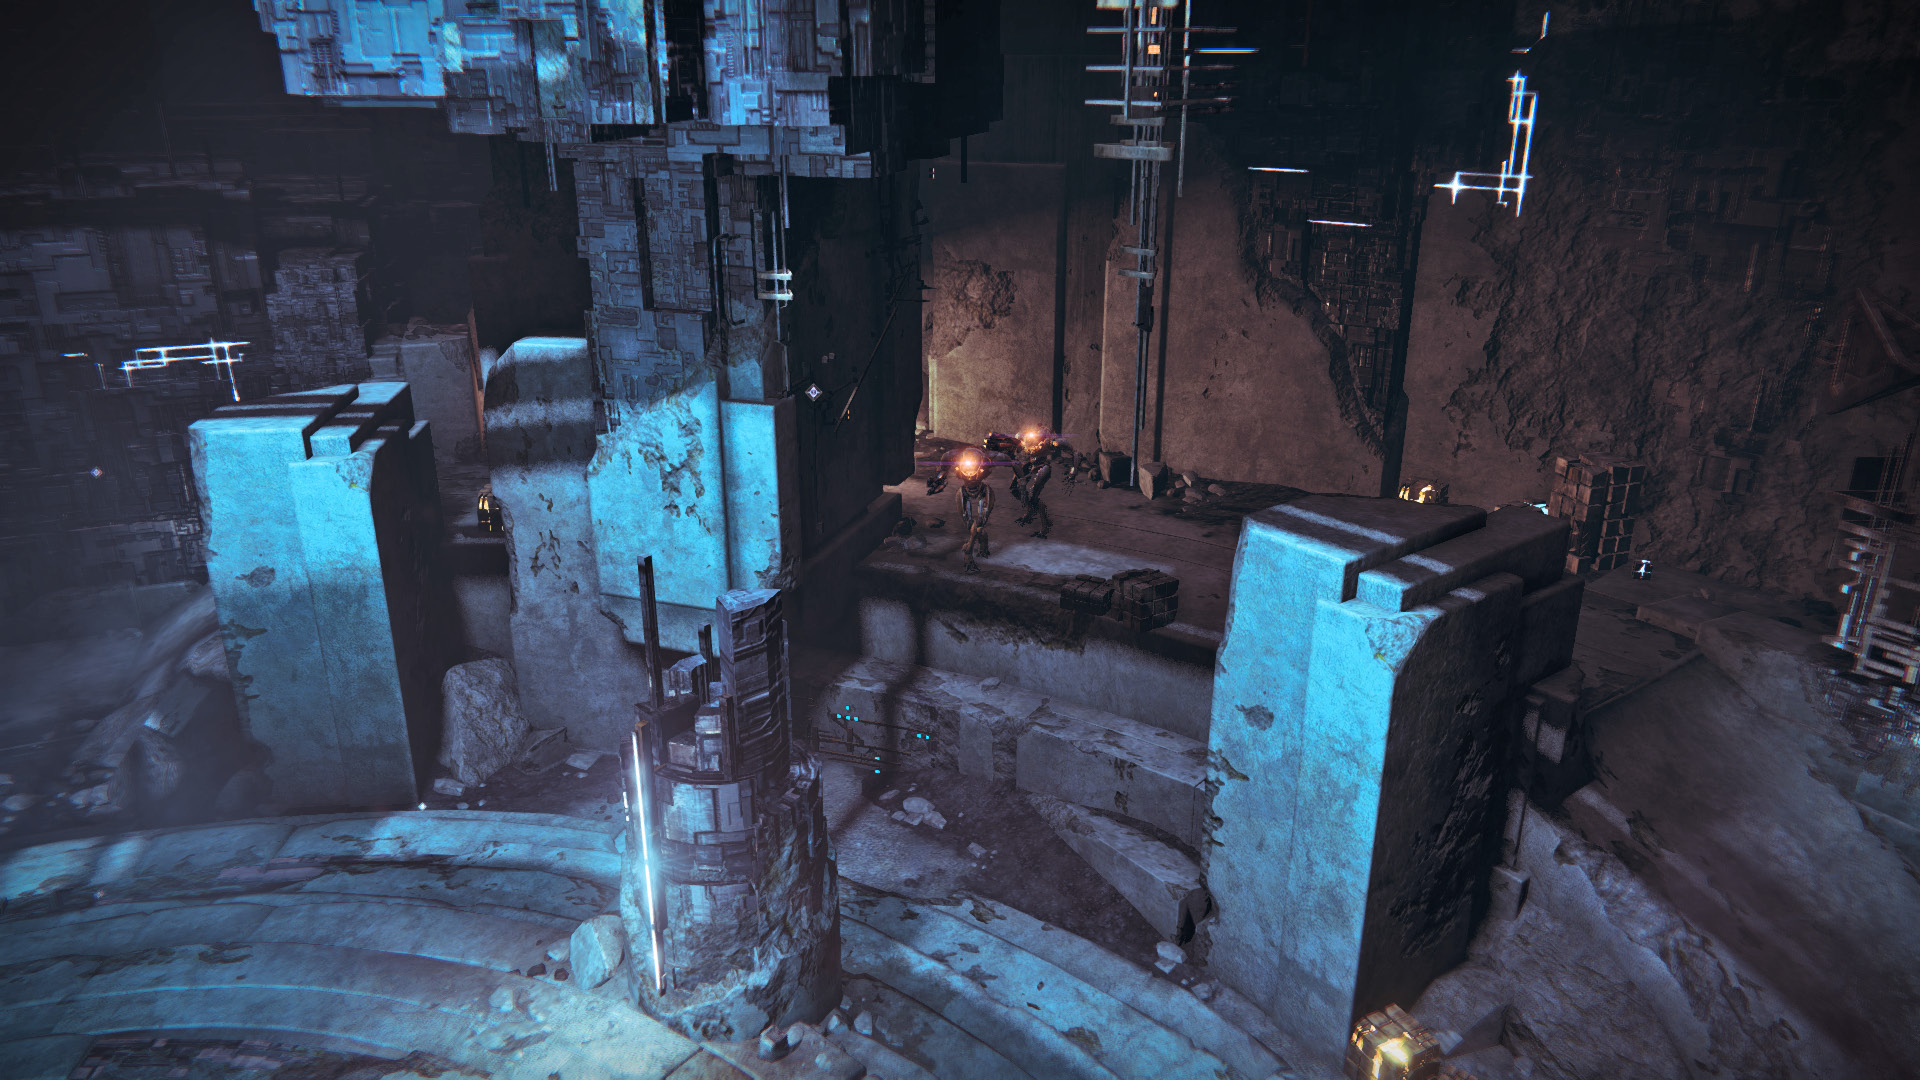
When you find the Nexus itself, the team stands on a ledge high above the ground. Drop off and perform a second jump or glide just before you touch down to avoid taking unnecessary damage. Minotaur occupy a path that runs around the cavern’s perimeter. Team up on each Minotaur as you fight your way through the Vex. Bring along a Void weapon, as it eats through the enemy’s shield much faster. The Minotaur’s blink walk allows them to close in on their targets very quickly, so be careful to avoid being surrounded.
Sekrion, Nexus Mind
Weak Spots: “Eye”
Attacks: Dual Torch Hammers, Stomp
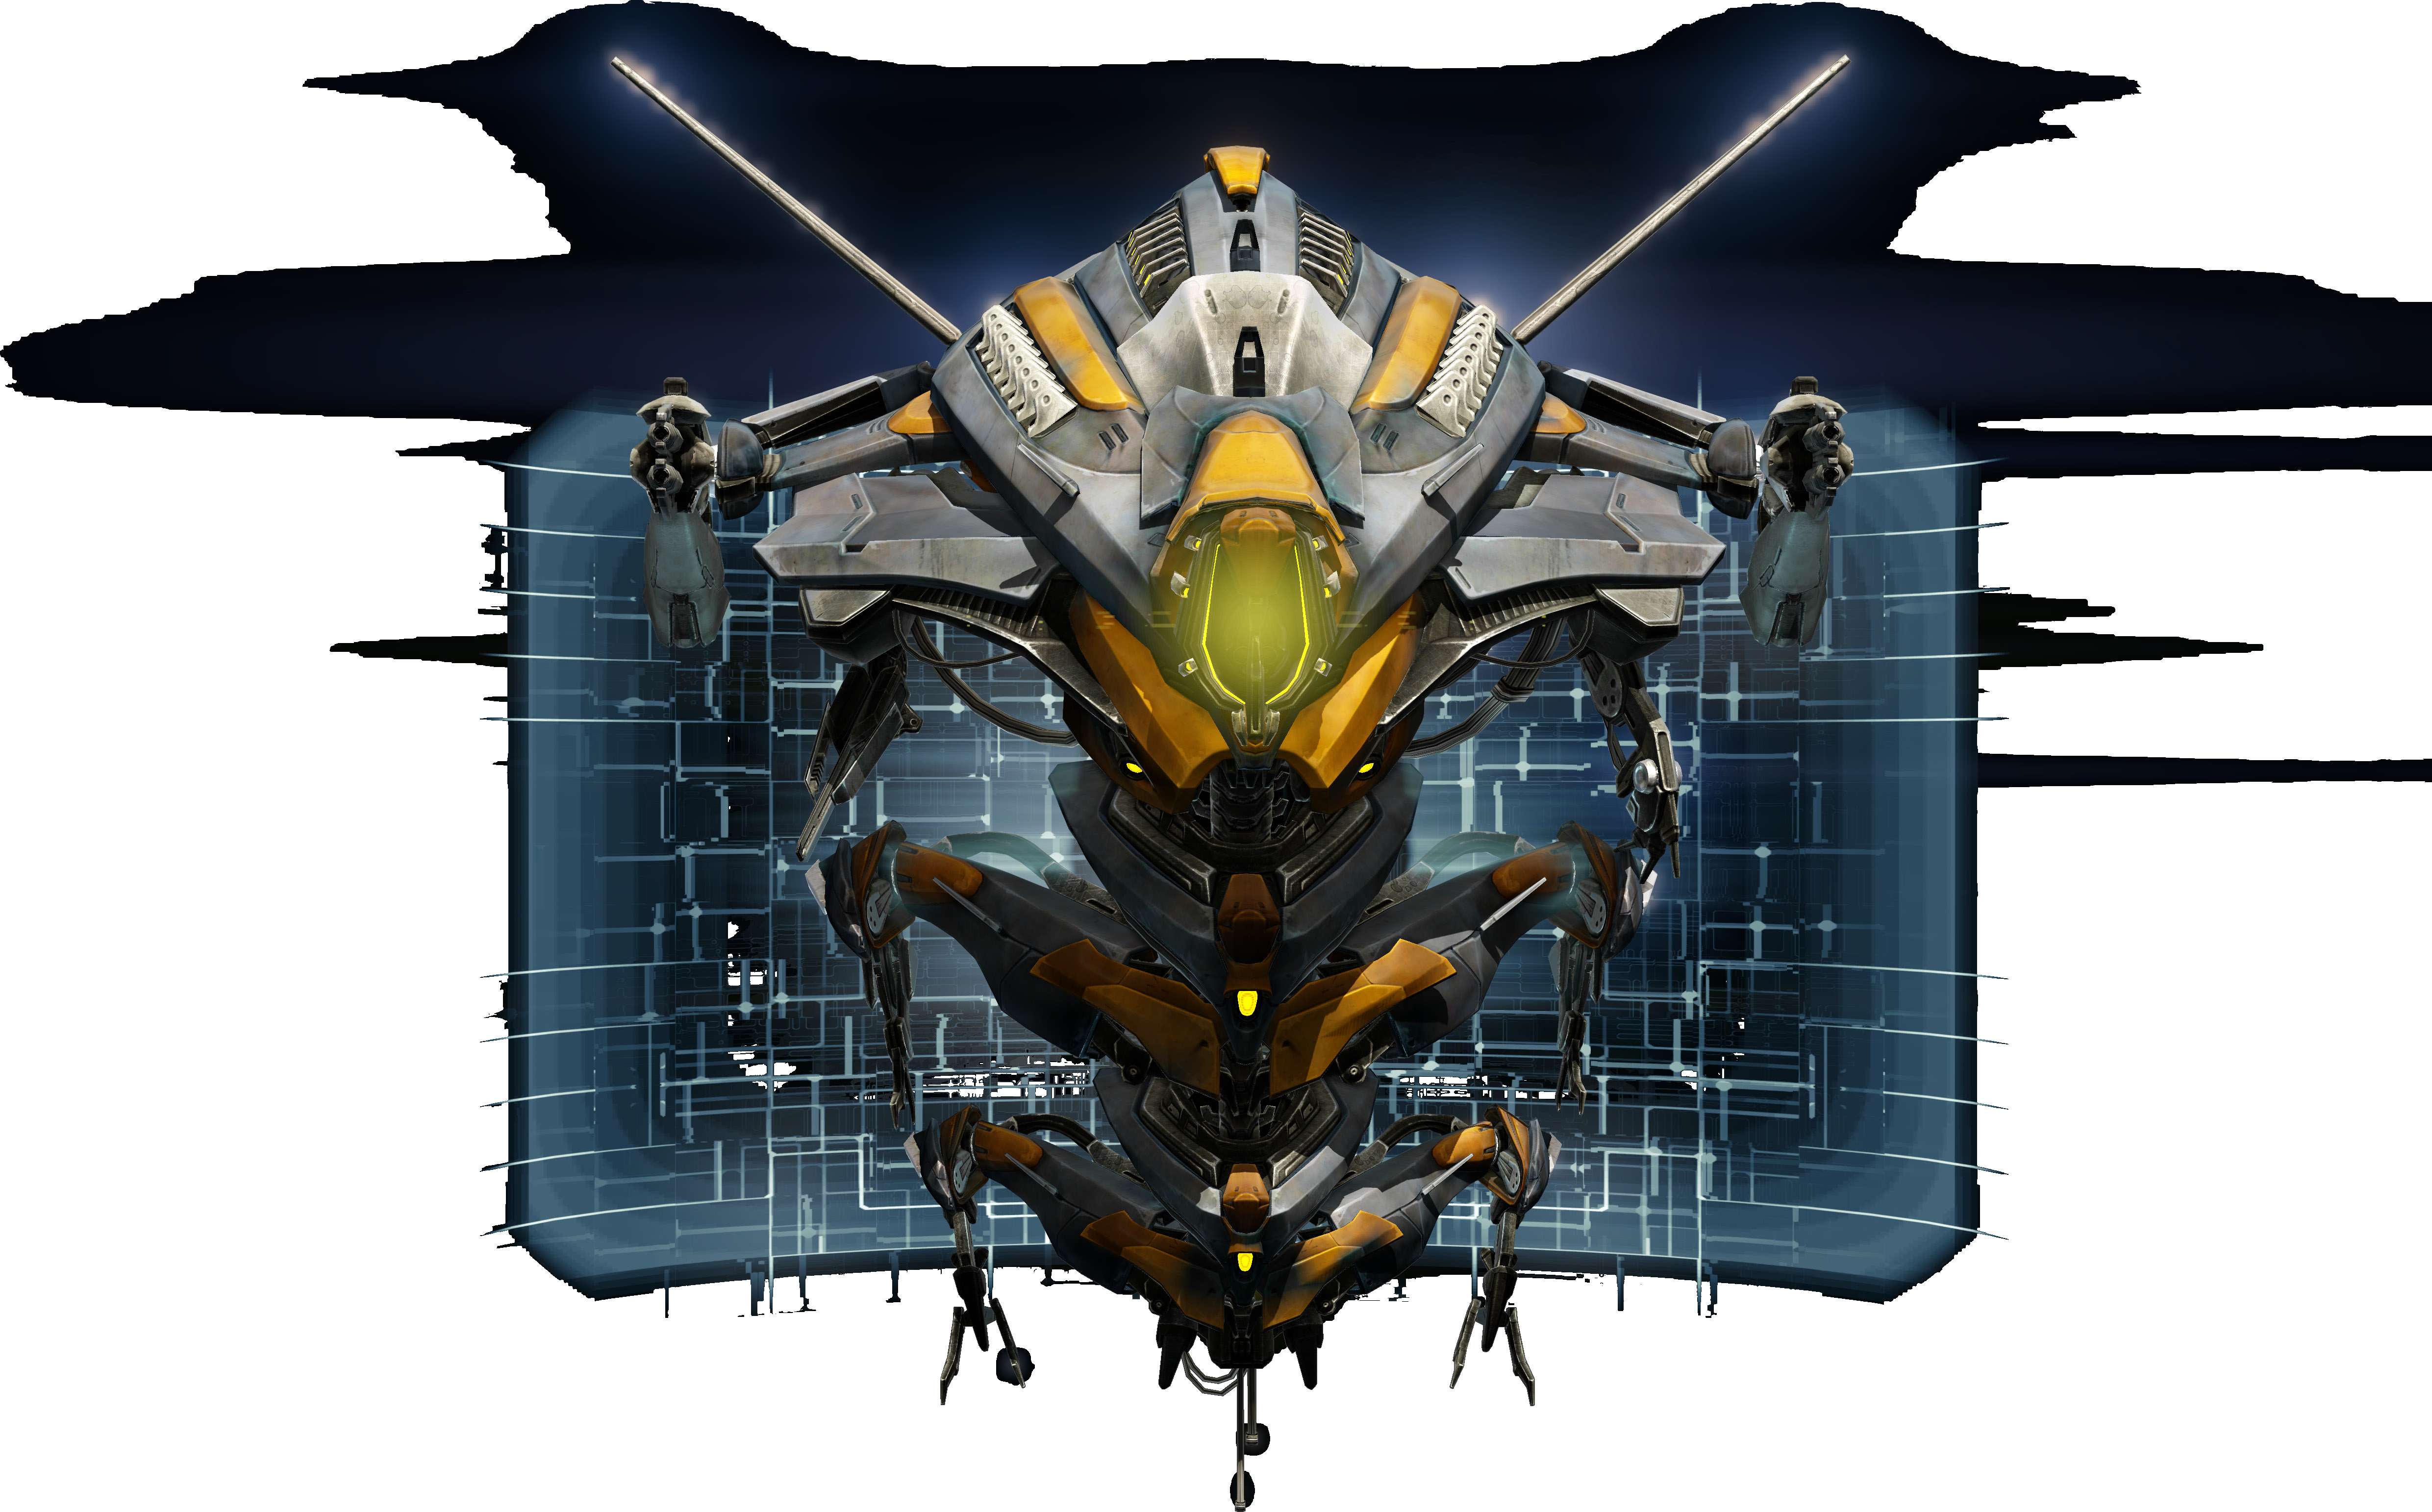
Attacks
Aeon Maul:
The giant Hydra carries dual torch hammers that fire explosive projectiles at its target. Be sure to duck behind cover as it targets you with these powerful shots.
Stomp:
If a player ventures into the center area, Sekrion pounds the ground, sending the target flying away.
Strategy
Once you eliminate the initial Minotaur, the Nexus opens and Sekrion drops into the arena. This Vex boss is an Ultra Hydra with the usual indestructible, rotating shield and powerful torch hammers. It moves around in the central, circular area and does not venture outside it.a
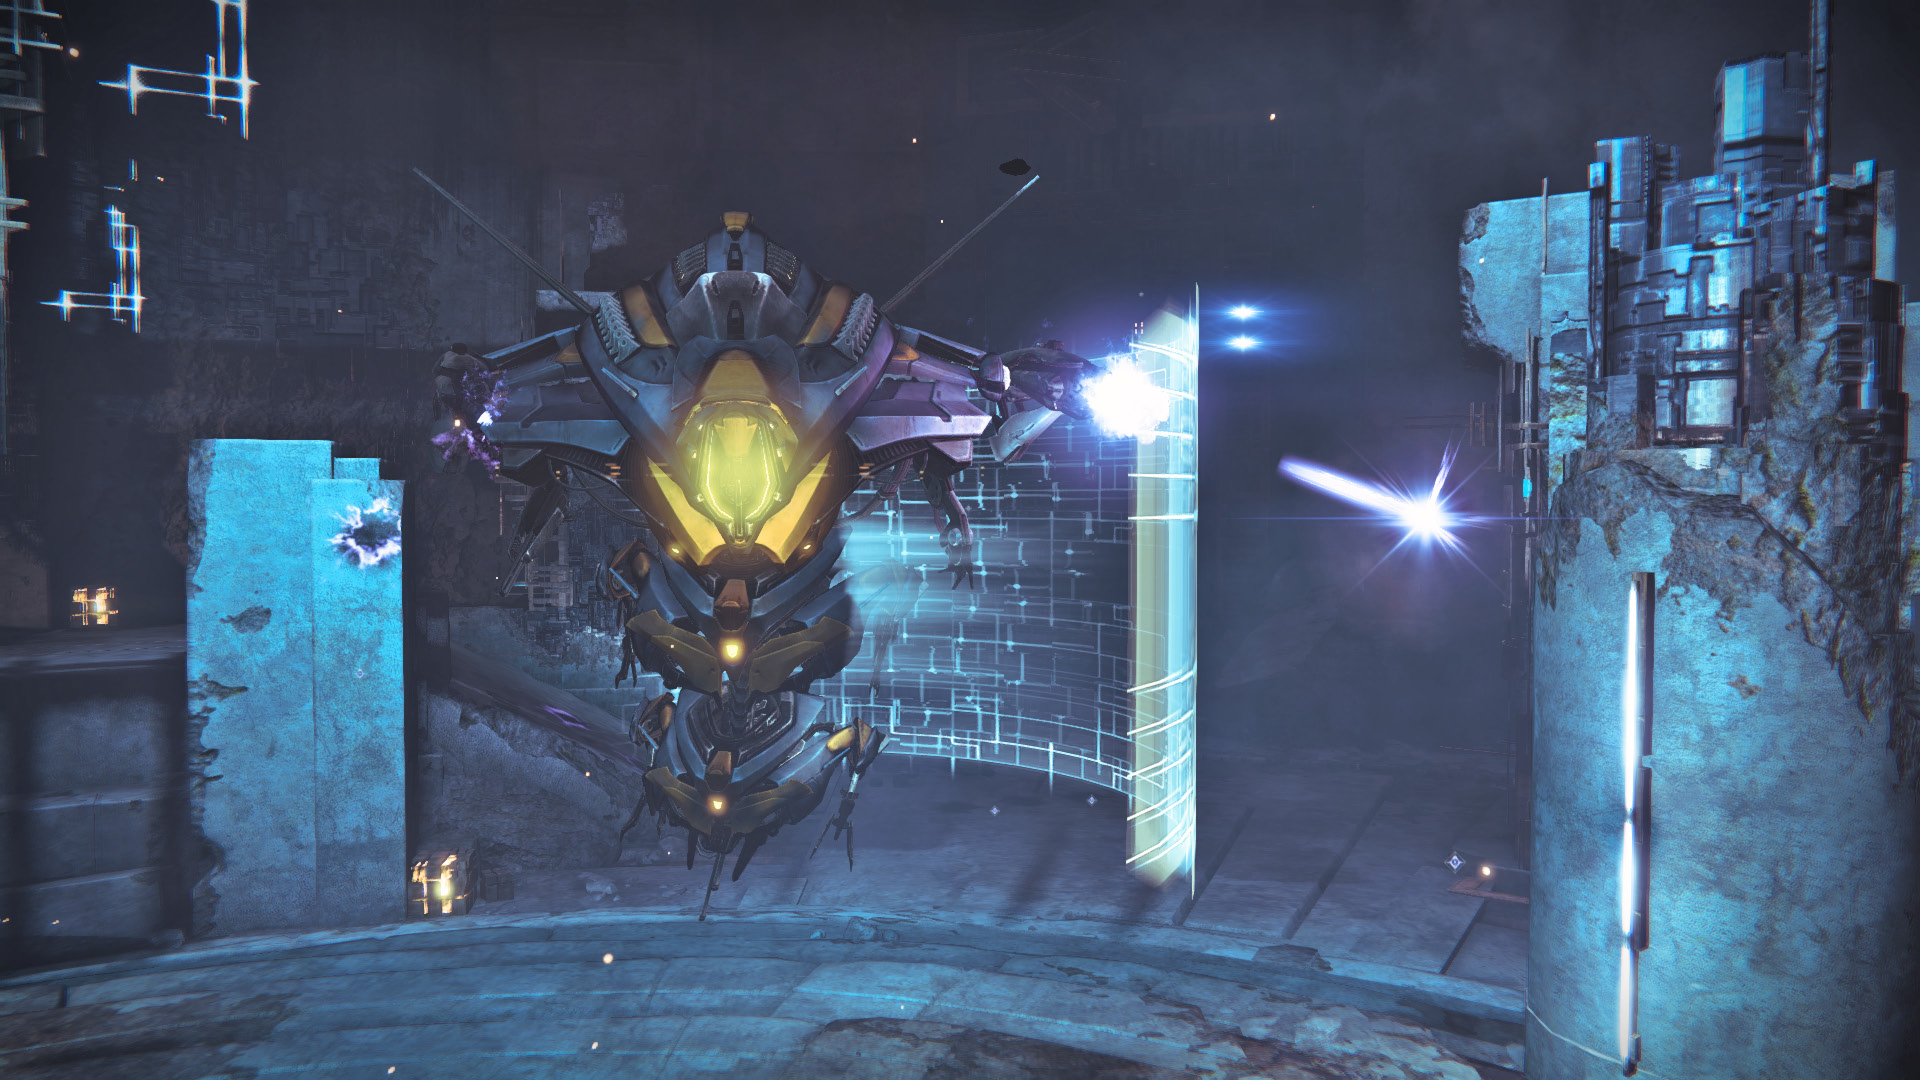
Its shield blocks all attacks, but it does not extend all the way around the machine. Instead, the shield rotates around the boss, so you must wait for it to move out of the way before you can inflict any damage. It’s possible to hit the very top of the Hydra’s head when the shield is in front, but this is a very small target. Hit it in its glowing “eye” to deliver critical damage.
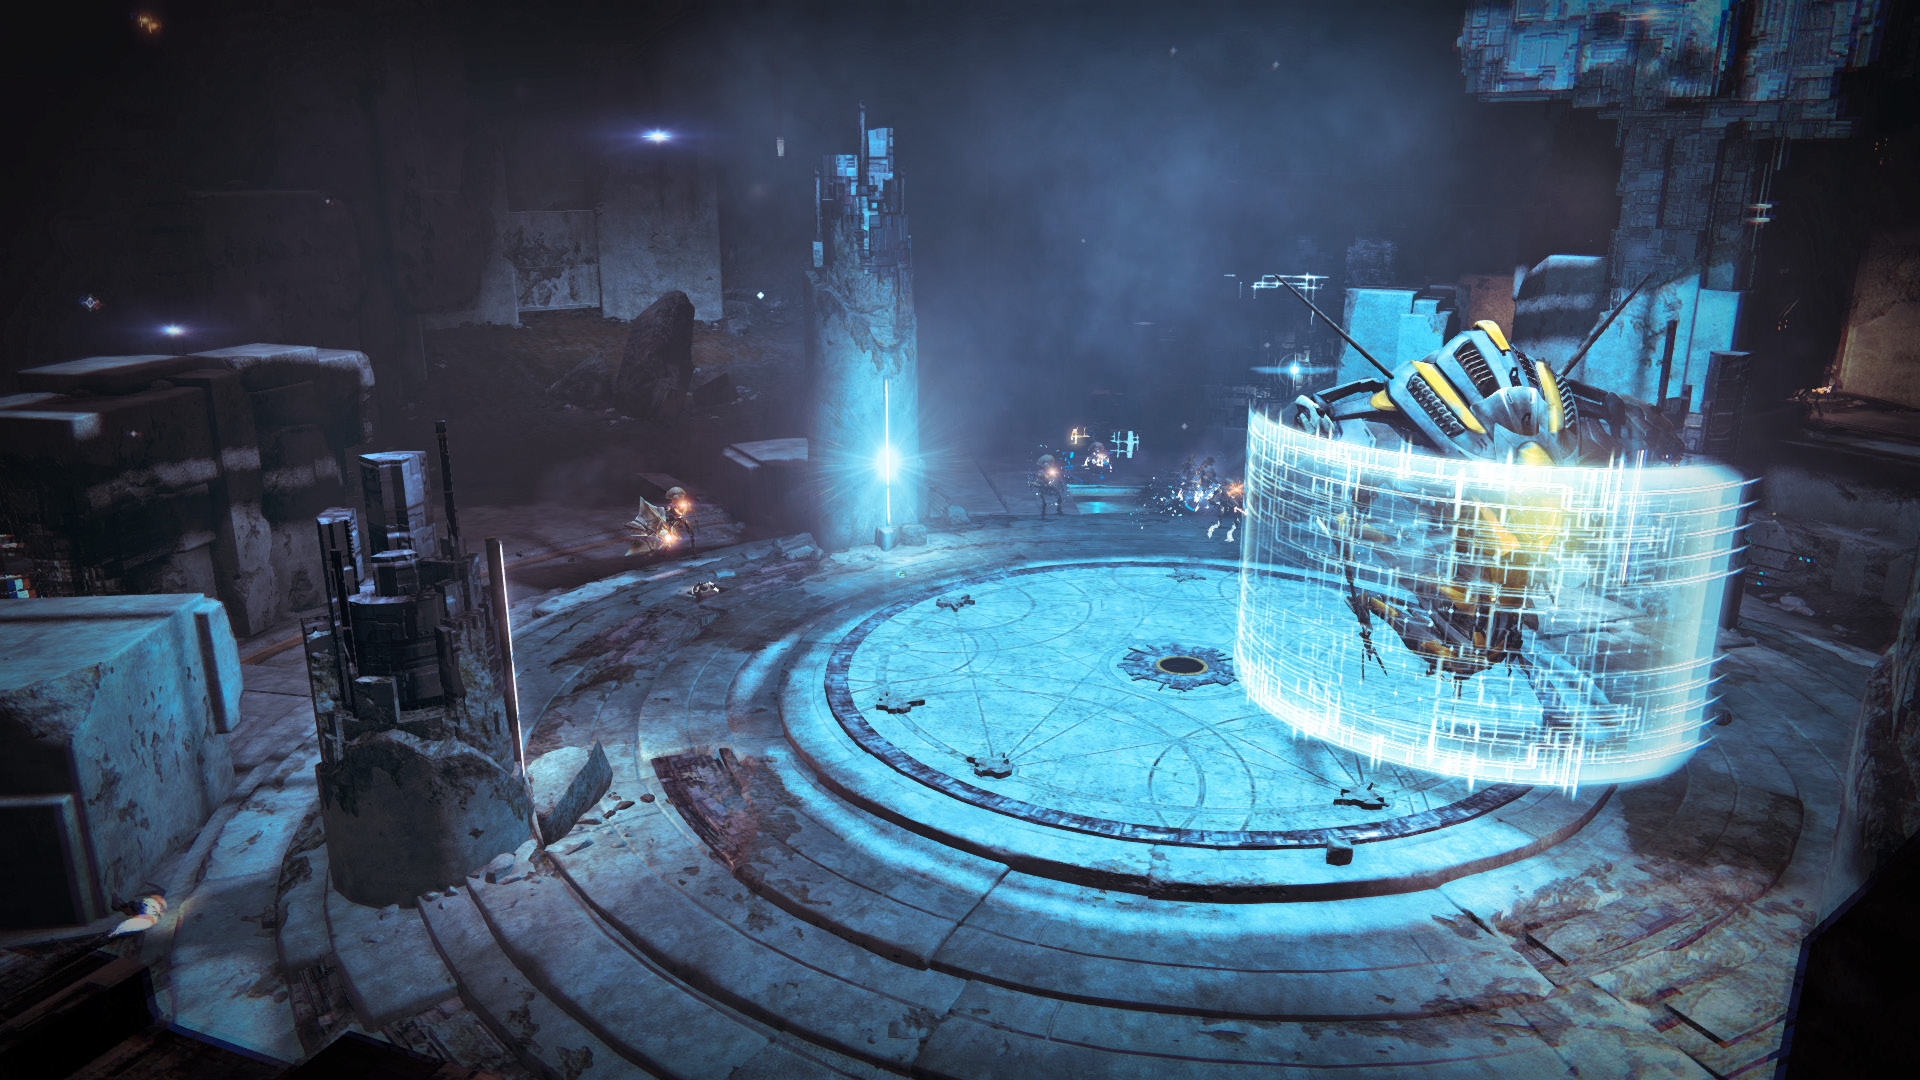
Use the ruins for cover as you fight the boss. Jump out to fire a few shots and then duck back behind after you get its attention. Spreading out the Fireteam allows you to distract the Vex, diluting its focus between the three of you.
Listen for your Guardian comrades going down, and be ready to get them back on their feet. If you find you’re the last Guardian standing and your teammates lie out in the open, don’t take the risk. Do whatever you can to stay alive until one can respawn. It’s possible to spawn above, on the path that leads into the Nexus. You can spend some time on the ledge sniping at the boss from a safe distance. However, as a deterrent, a Minotaur charges your position, so don’t overstay your welcome.
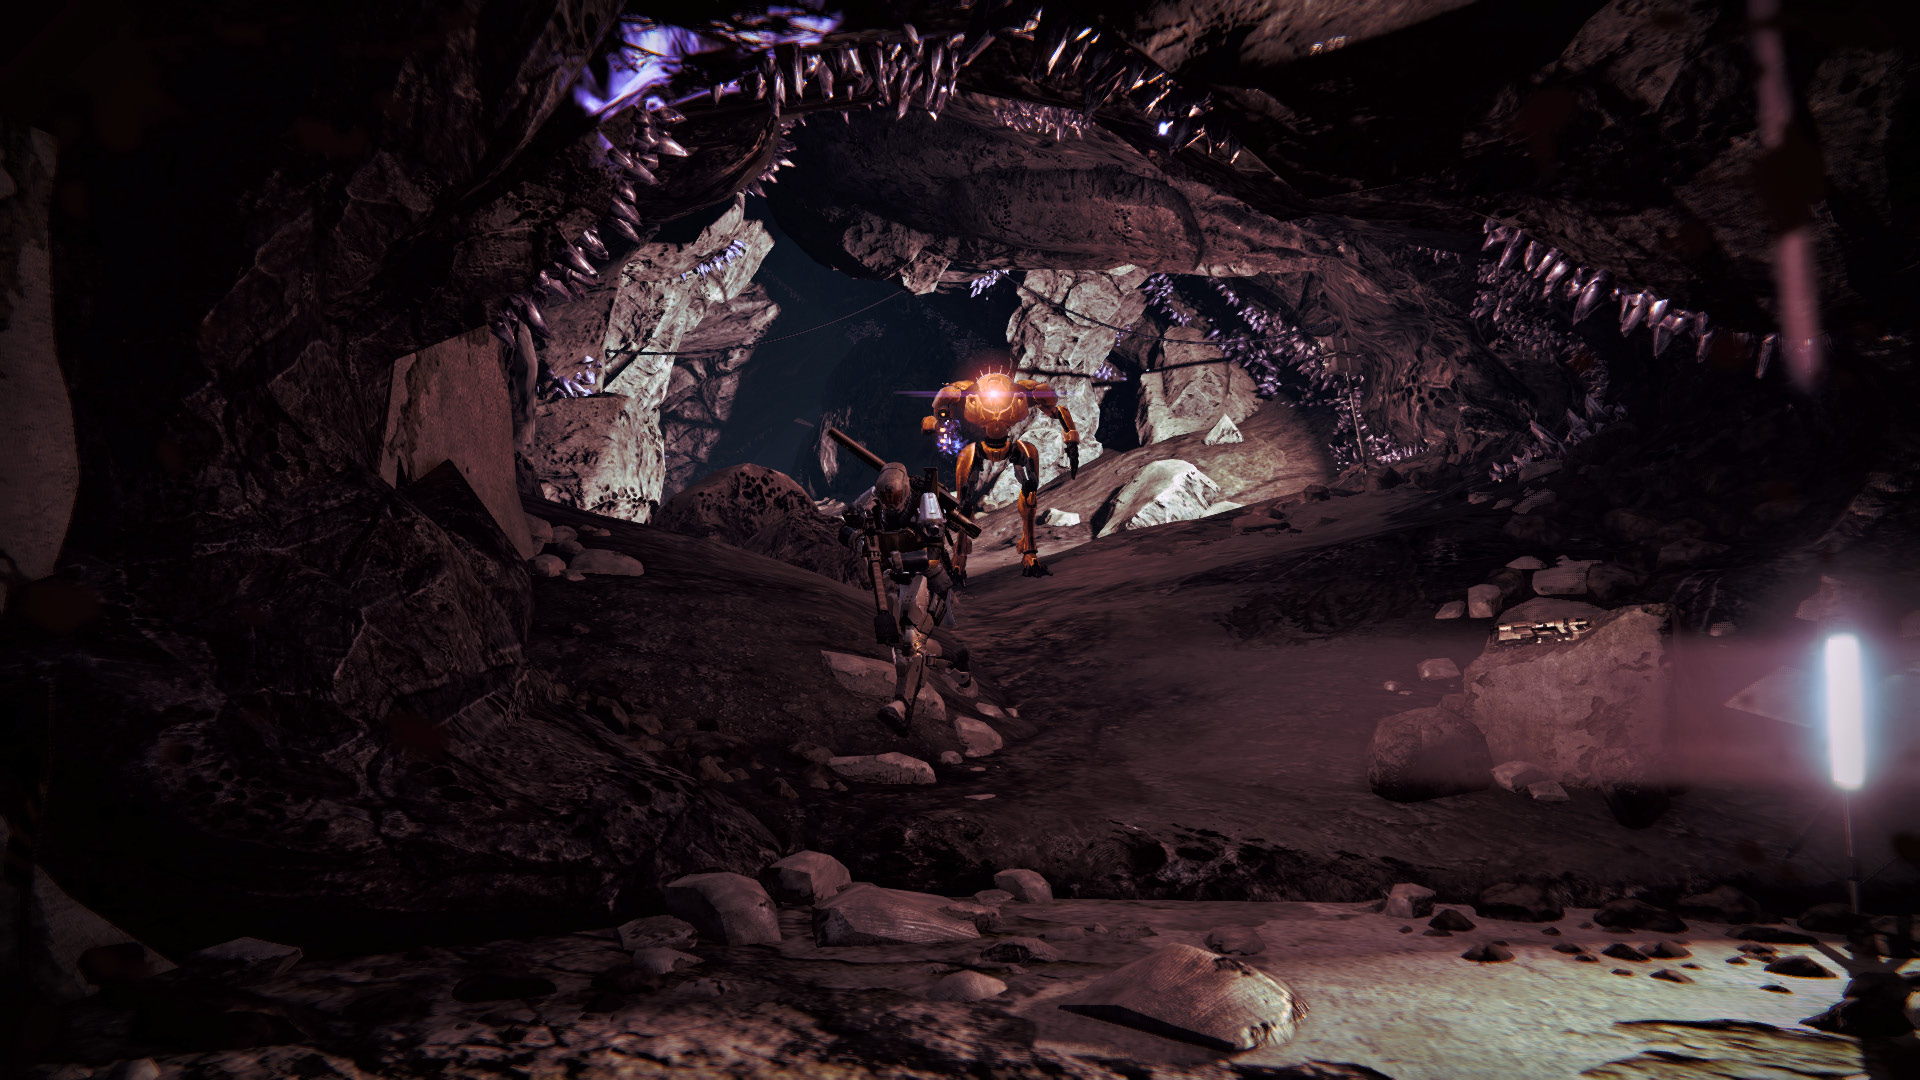
As you the fight progresses, Goblins, Hobgoblins, and Harpies spawn around the perimeter. Fight them from behind cover, or the boss will make you pay. Continue to chip away at the big guy’s massive vitality until it finally collapses and explodes.