
Destiny Signature Series Strategy Guide Codex
The Fallen
The Fallen are ruthless scavengers. Brutal and uncaring, they arrived on their massive Ketches in the wake of the Collapse to loot and pillage the devastated worlds.
There are hints of ancient nobility to the Fallen—the scars of lost grandeur. The Kells of their scattered Houses still claim to be royalty, but they leave only grief and wreckage in their wake.
The Fallen Houses: House of Wolves, House of Winter, House of Devils, House of Kings, The Shattered House.
The Fallen are a dangerous race, fast and agile, skilled in combat and supported by robotic allies. They have stolen and raided the ruins of civilization across the solar system, and you must deal with them in order to reclaim the lost colonies.
Fallen Weapons
Most Fallen weapons deal Arc damage, with a few exceptions.
The Shrapnel Launcher and the Devil Walker tank’s cannon deal Solar damage.
The Servitor’s blast deals Void damage.
Weak Points
Humanoid Fallen all share vulnerability to headshots.
Shanks have no weak points.
Servitors have a critical point in the “eye.”
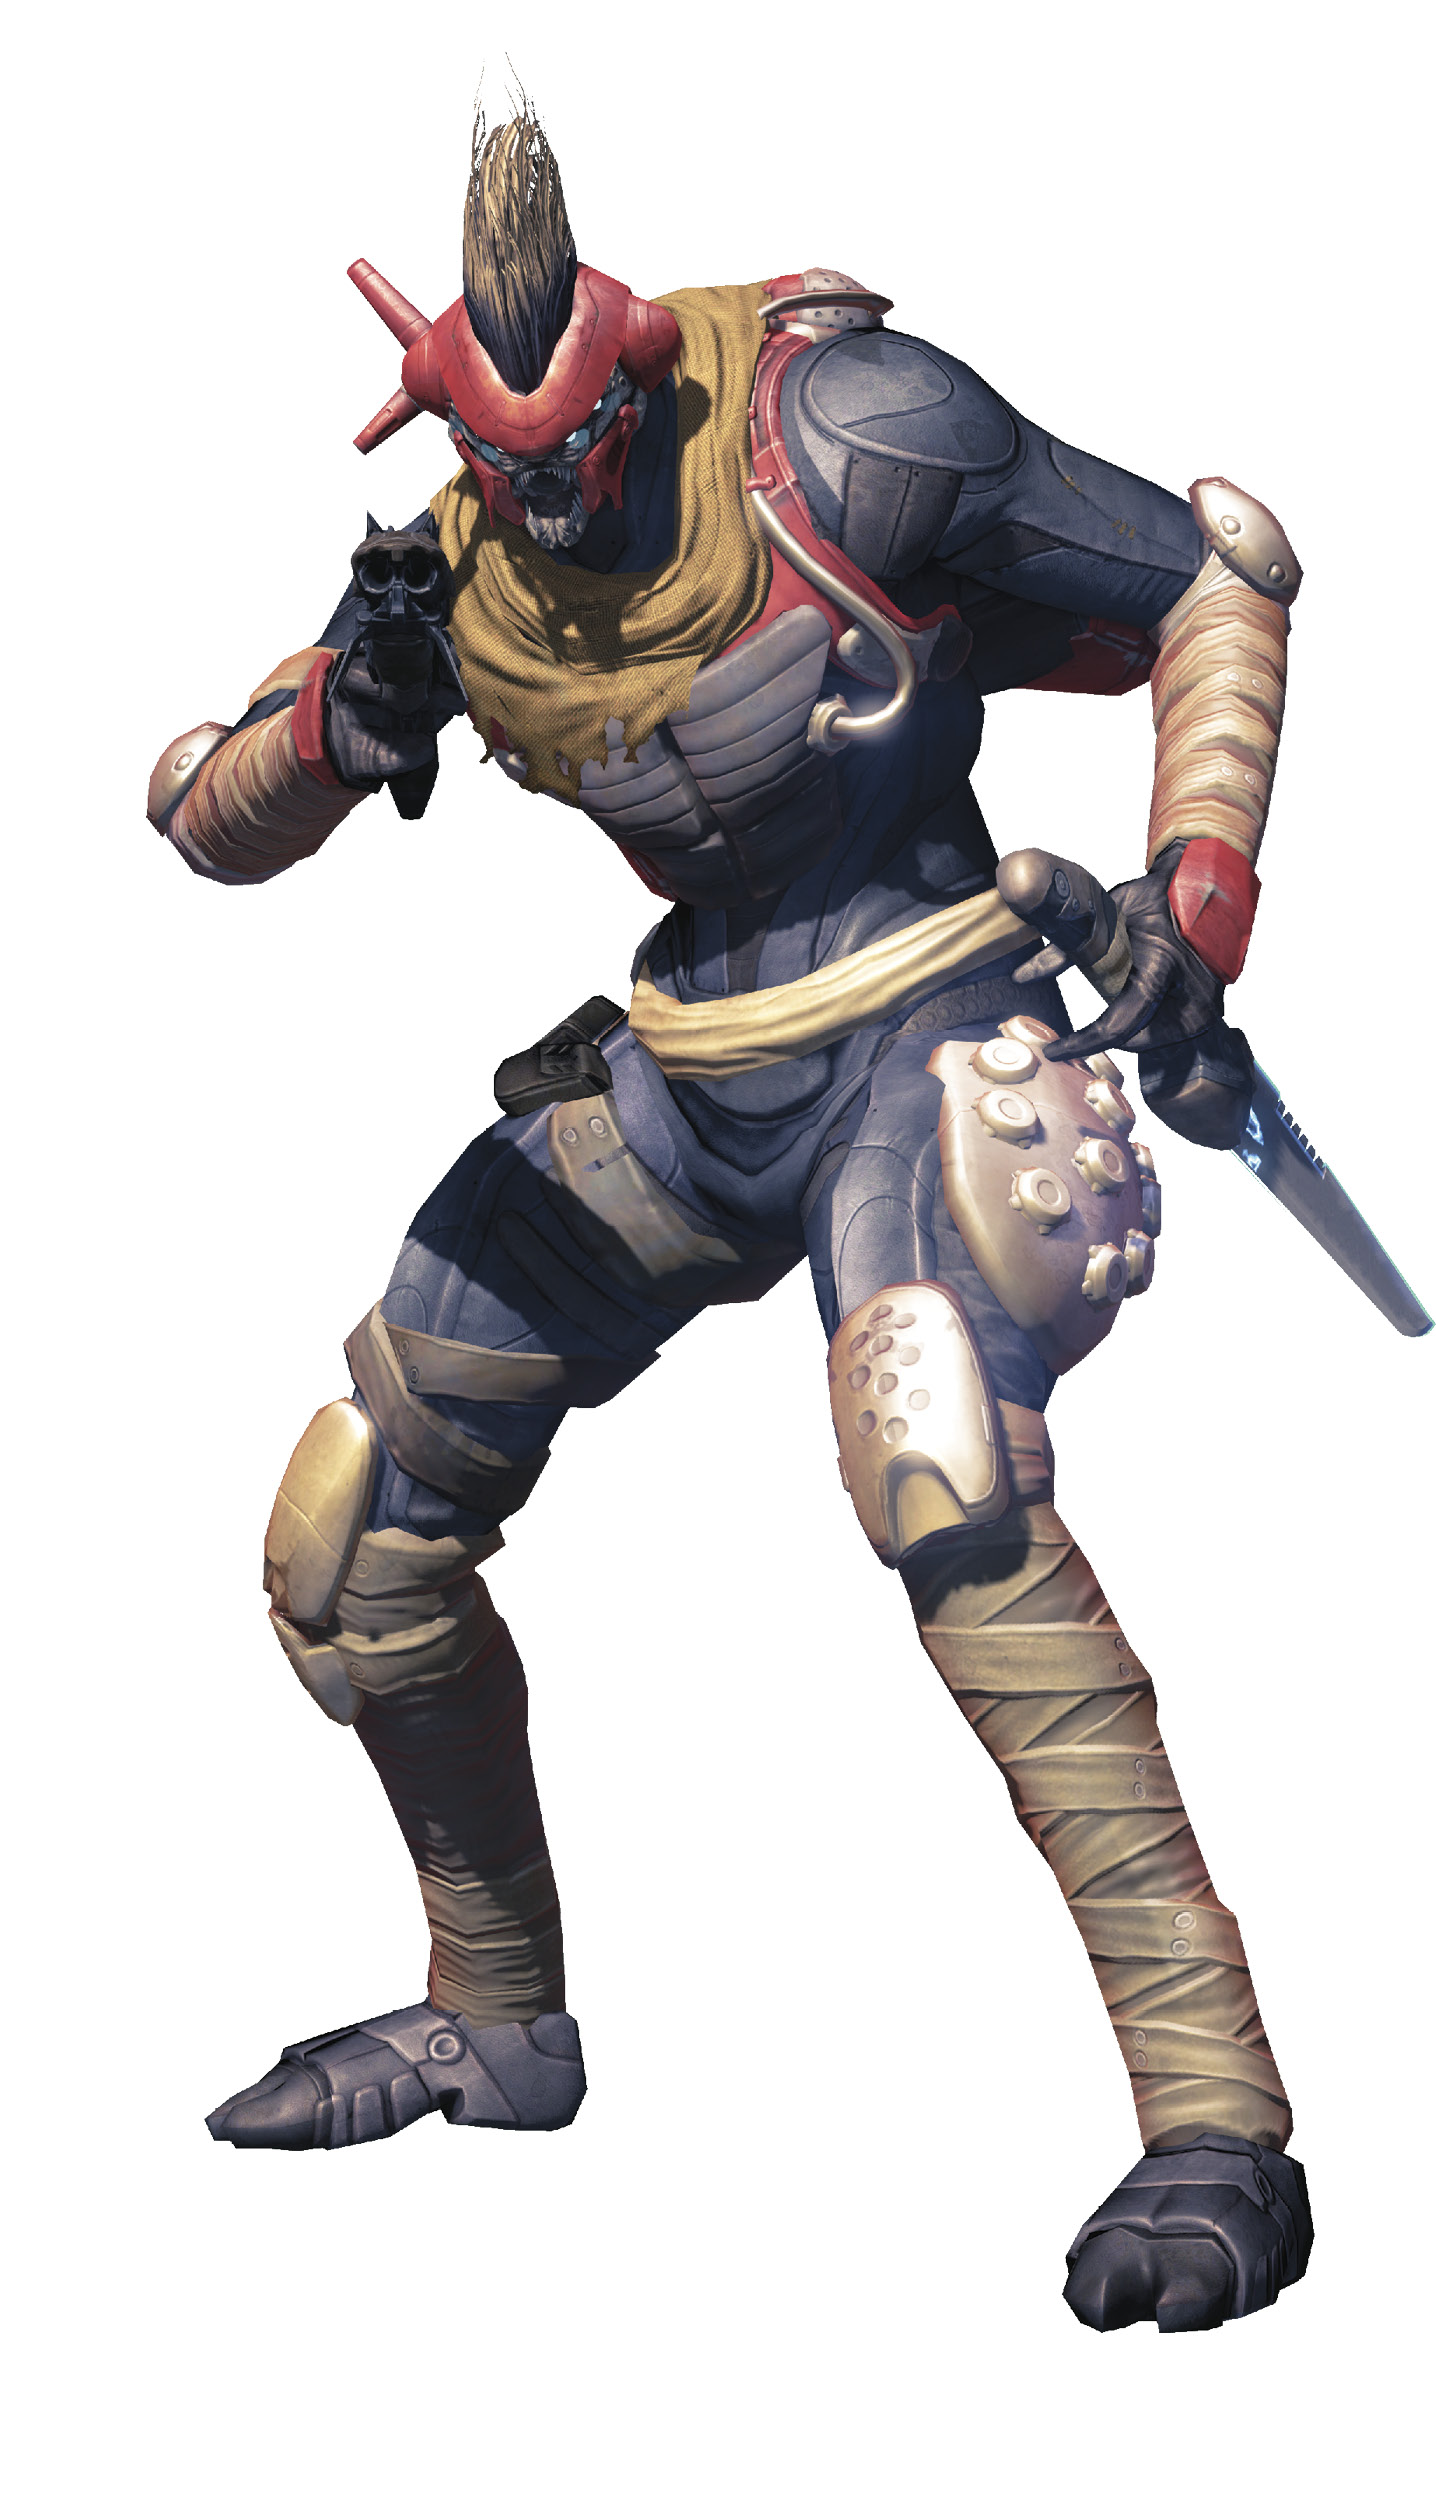
Dreg
The lowest class of Fallen, Dregs fight viciously to prove their worth to their superiors.
Loadout: Shock Pistol, Shock Dagger, and Shock Grenade
Variants: Shrapnel Launcher or Dual Shock Daggers
Behavior
Dregs are individually weak, though they retain the speed of all Fallen combatants, making them tricky targets when they are on the move.
Dregs prefer to fight from cover, which they actively seek out and use against you. They often use their own Shock Grenades to flush you out of cover while they try to pick you off with Shock Pistols.
If forced into close-range combat, Dregs retaliate with Shock Daggers. This is one of their less threatening moves, but watch out for the Dregs armed with twin daggers.
You may occasionally encounter Dregs armed with Shrapnel Launchers. These foes have no Shock Dagger, and they are usually only a threat if you get too close to them.
Tactics
You can easily dispatch Dregs with basic weapon fire, grenades, or melee attacks.
Dregs are especially useful for triggering melee-based special abilities because a melee strike can often dispatch them in a single blow. This instantly activates any melee power that triggers on kill.
However, if Dregs manage to find cover and open fire on you, be careful. Both their accuracy and their rate of fire increase while they are hunkered down. If they have a good line of sight on you from their cover, you must pick them off or flush them out.
Dreg Shock Grenades range from a nuisance on lower tiers of difficulty to a serious threat on higher tiers, particularly if the Arc Burn Skull is active. While you can easily avoid just a few grenades, dodging a hail of them while dealing with other Fallen is a serious threat.
Use your own grenades and potentially even a super on higher tiers if you can take out a cluster of Dregs in a single shot.
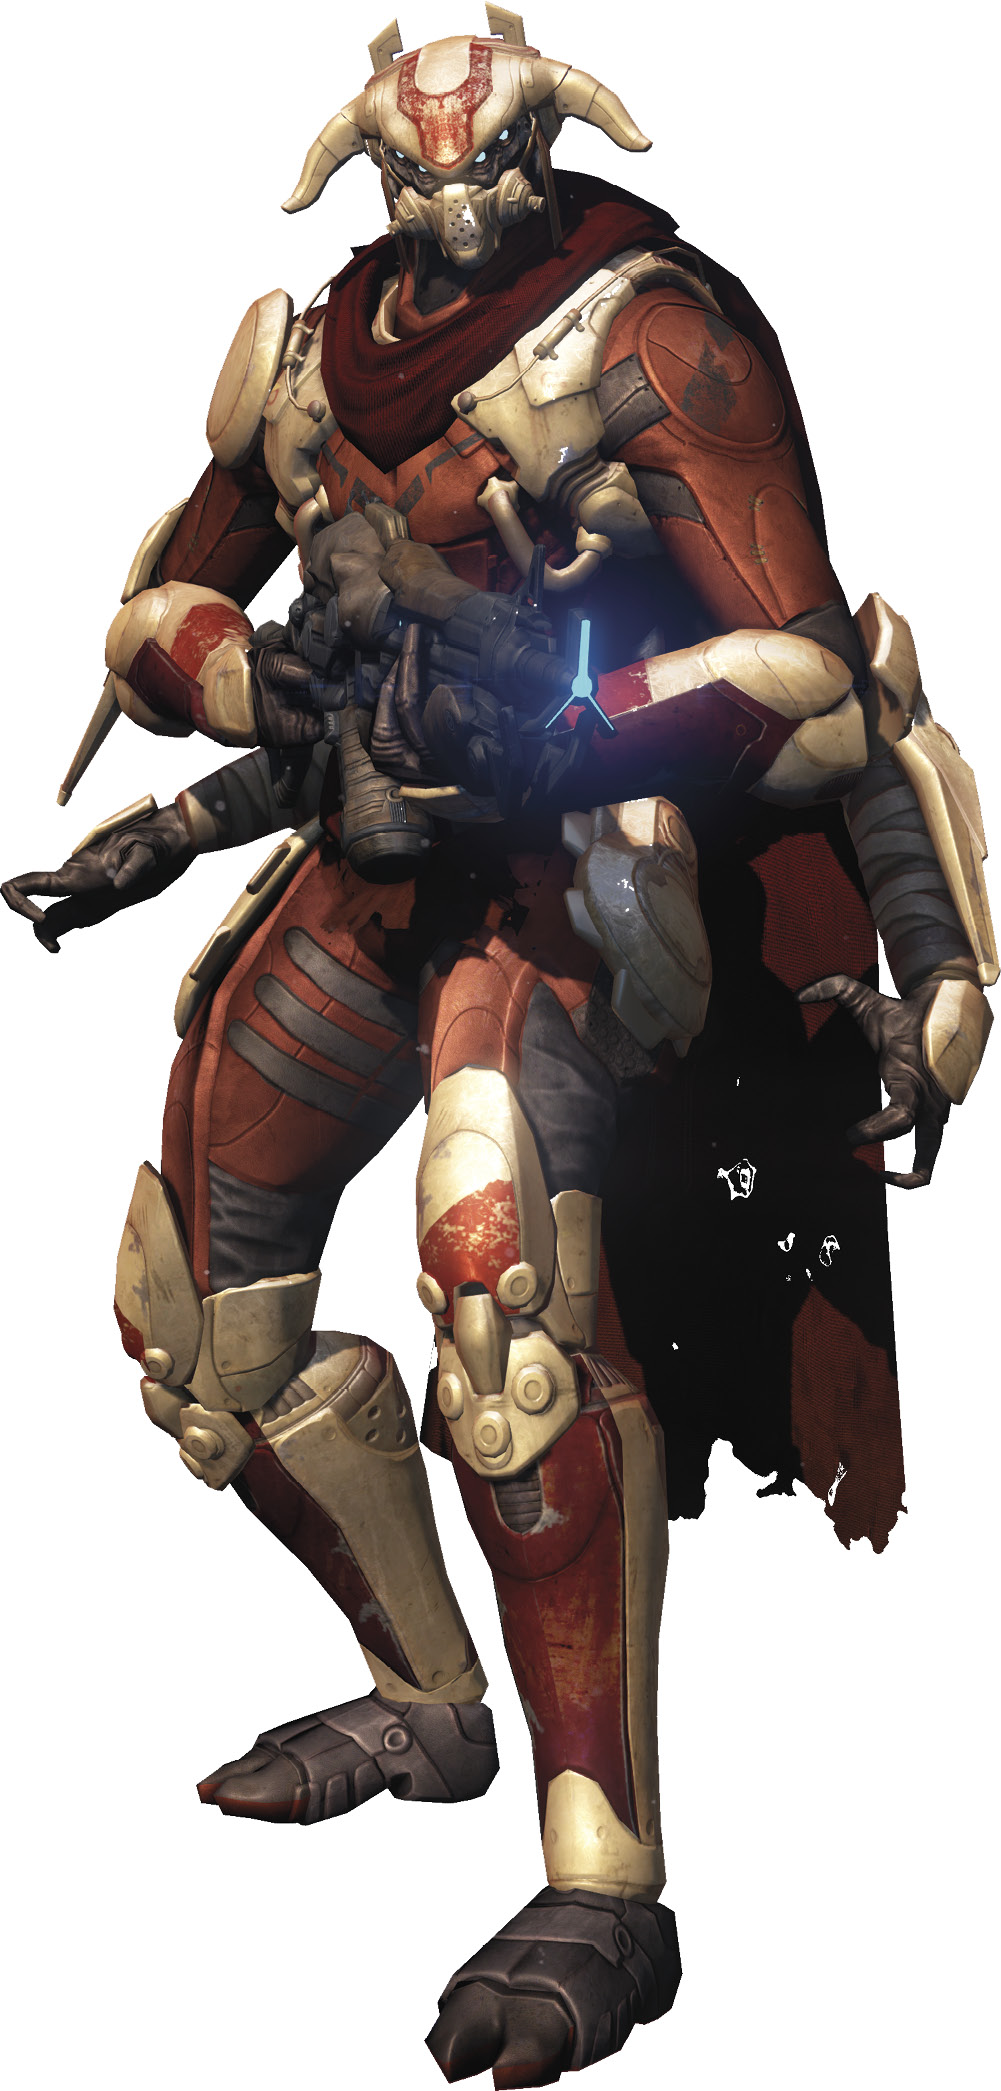
Vandal
The core of the Fallen forces, Vandals present a serious threat at any range.
Loadout: Shock Rifle or Shock Blades
Variants: Wire Rifle or Shrapnel Launcher and Shock Blades
Behavior
Vandals are dangerous combatants at medium range with their tracking Shock Rifles, or at long range with their sniper variant, the Wire Rifle.
Shock Rifle Vandals prefer to stay at a moderate distance, letting their homing projectiles do the work of flushing you out of cover or hammering you in the open.
Standing out in the open with multiple Shock Rifles targeting you is asking for a quick trip to the grave.
On the other hand, Wire Rifle snipers are typically located at long range and prefer to stay that way. You can spot them by the telltale glow of the Wire Rifle as it charges to fire at you.
Vandals can move very quickly, so be wary of losing track of them during a close-range firefight. Fireteam communication is very helpful when Vandals are around. Any party members who are at longer range and have a good overview of the battlefield can keep tabs on Vandal movement.
Tactics
Vandals are tougher and faster than Dregs, and their Shock Rifles are considerably more dangerous than Shock Pistols.
Make good use of cover when fighting them, especially if there are multiple foes present. Pursuing combat in the open or rushing them is a potentially bad idea.
Staying in hard cover and changing your position frequently is also helpful for dealing with sniper Vandals, as you can avoid their shots entirely and pick them off once you have a clean line of sight.
For all types of Vandals, you should use a precision medium- to long-range weapon to eliminate them swiftly and from a distance. Close-range or sustained fire weapons expose you to a greater volume of Shock Rifle fire or Wire Rifle shots, neither of which is good for your health.
Single target or area denial grenades work better than most seeking varieties because Vandals are usually strong enough to survive a seeker grenade hit. On the other hand, sticky grenades are frequently lethal, and area denial grenades can push them out of cover (or kill them outright if they refuse to move).
Be careful when trying to use grenades or slower offensive supers against Vandals. These enemies are fast enough to evade incoming attacks if they are fully aware of your position and spot the incoming grenade or super.
Stealth Vandal
Equipped with cloaking technology, Stealth Vandals are a dangerous invisible threat.
Loadout: Shock Rifle or Shock Blades
Variants: Wire Rifle or Shrapnel Launcher or Shock Blades
Behavior
While Stealth Vandals are technically a simple variant of the basic Vandals, their inherent cloaks make them considerably more lethal.
Stealth Vandals can be armed with Shrapnel Launchers, Shock Rifles, Wire Rifles, or Shock Blades.
Melee Stealth Vandals use their cloaks to get in close and attack you for massive damage at point-blank range. In hectic battles or poor lighting conditions, it can be very difficult to spot sniper Stealth Vandals before they fire.
Unalarmed Stealth Vandals won’t trigger their cloaking devices until they are aware of you. In some encounters, you can pick them off at long range before they become active and alert.
Tactics
Firing at a Stealth Vandal disrupts its cloak while it is taking damage, and they do decloak completely when they perform a melee attack.
Using your movement abilities to escape from melee Stealth Vandals is highly recommended if they manage to close the distance with you.
Sniper Vandals aren’t any more dangerous than normal Vandals once you are aware of their position. The trick is finding them in the first place before they take your head off.
Stealth Vandals do sometimes move more slowly than normal Vandals to maximize the concealing properties of their cloaks, but they still advance very quickly into melee range when using their Shock Blades.
Unlike normal Vandals, consider bringing some form of close-range weaponry if you know there is an abundance of melee Stealth Vandals in your chosen mission.
You can often evade Stealth Vandals by jumping, but not every combat situation is suitable for exposing yourself in the air repeatedly while trying to maintain your distance.
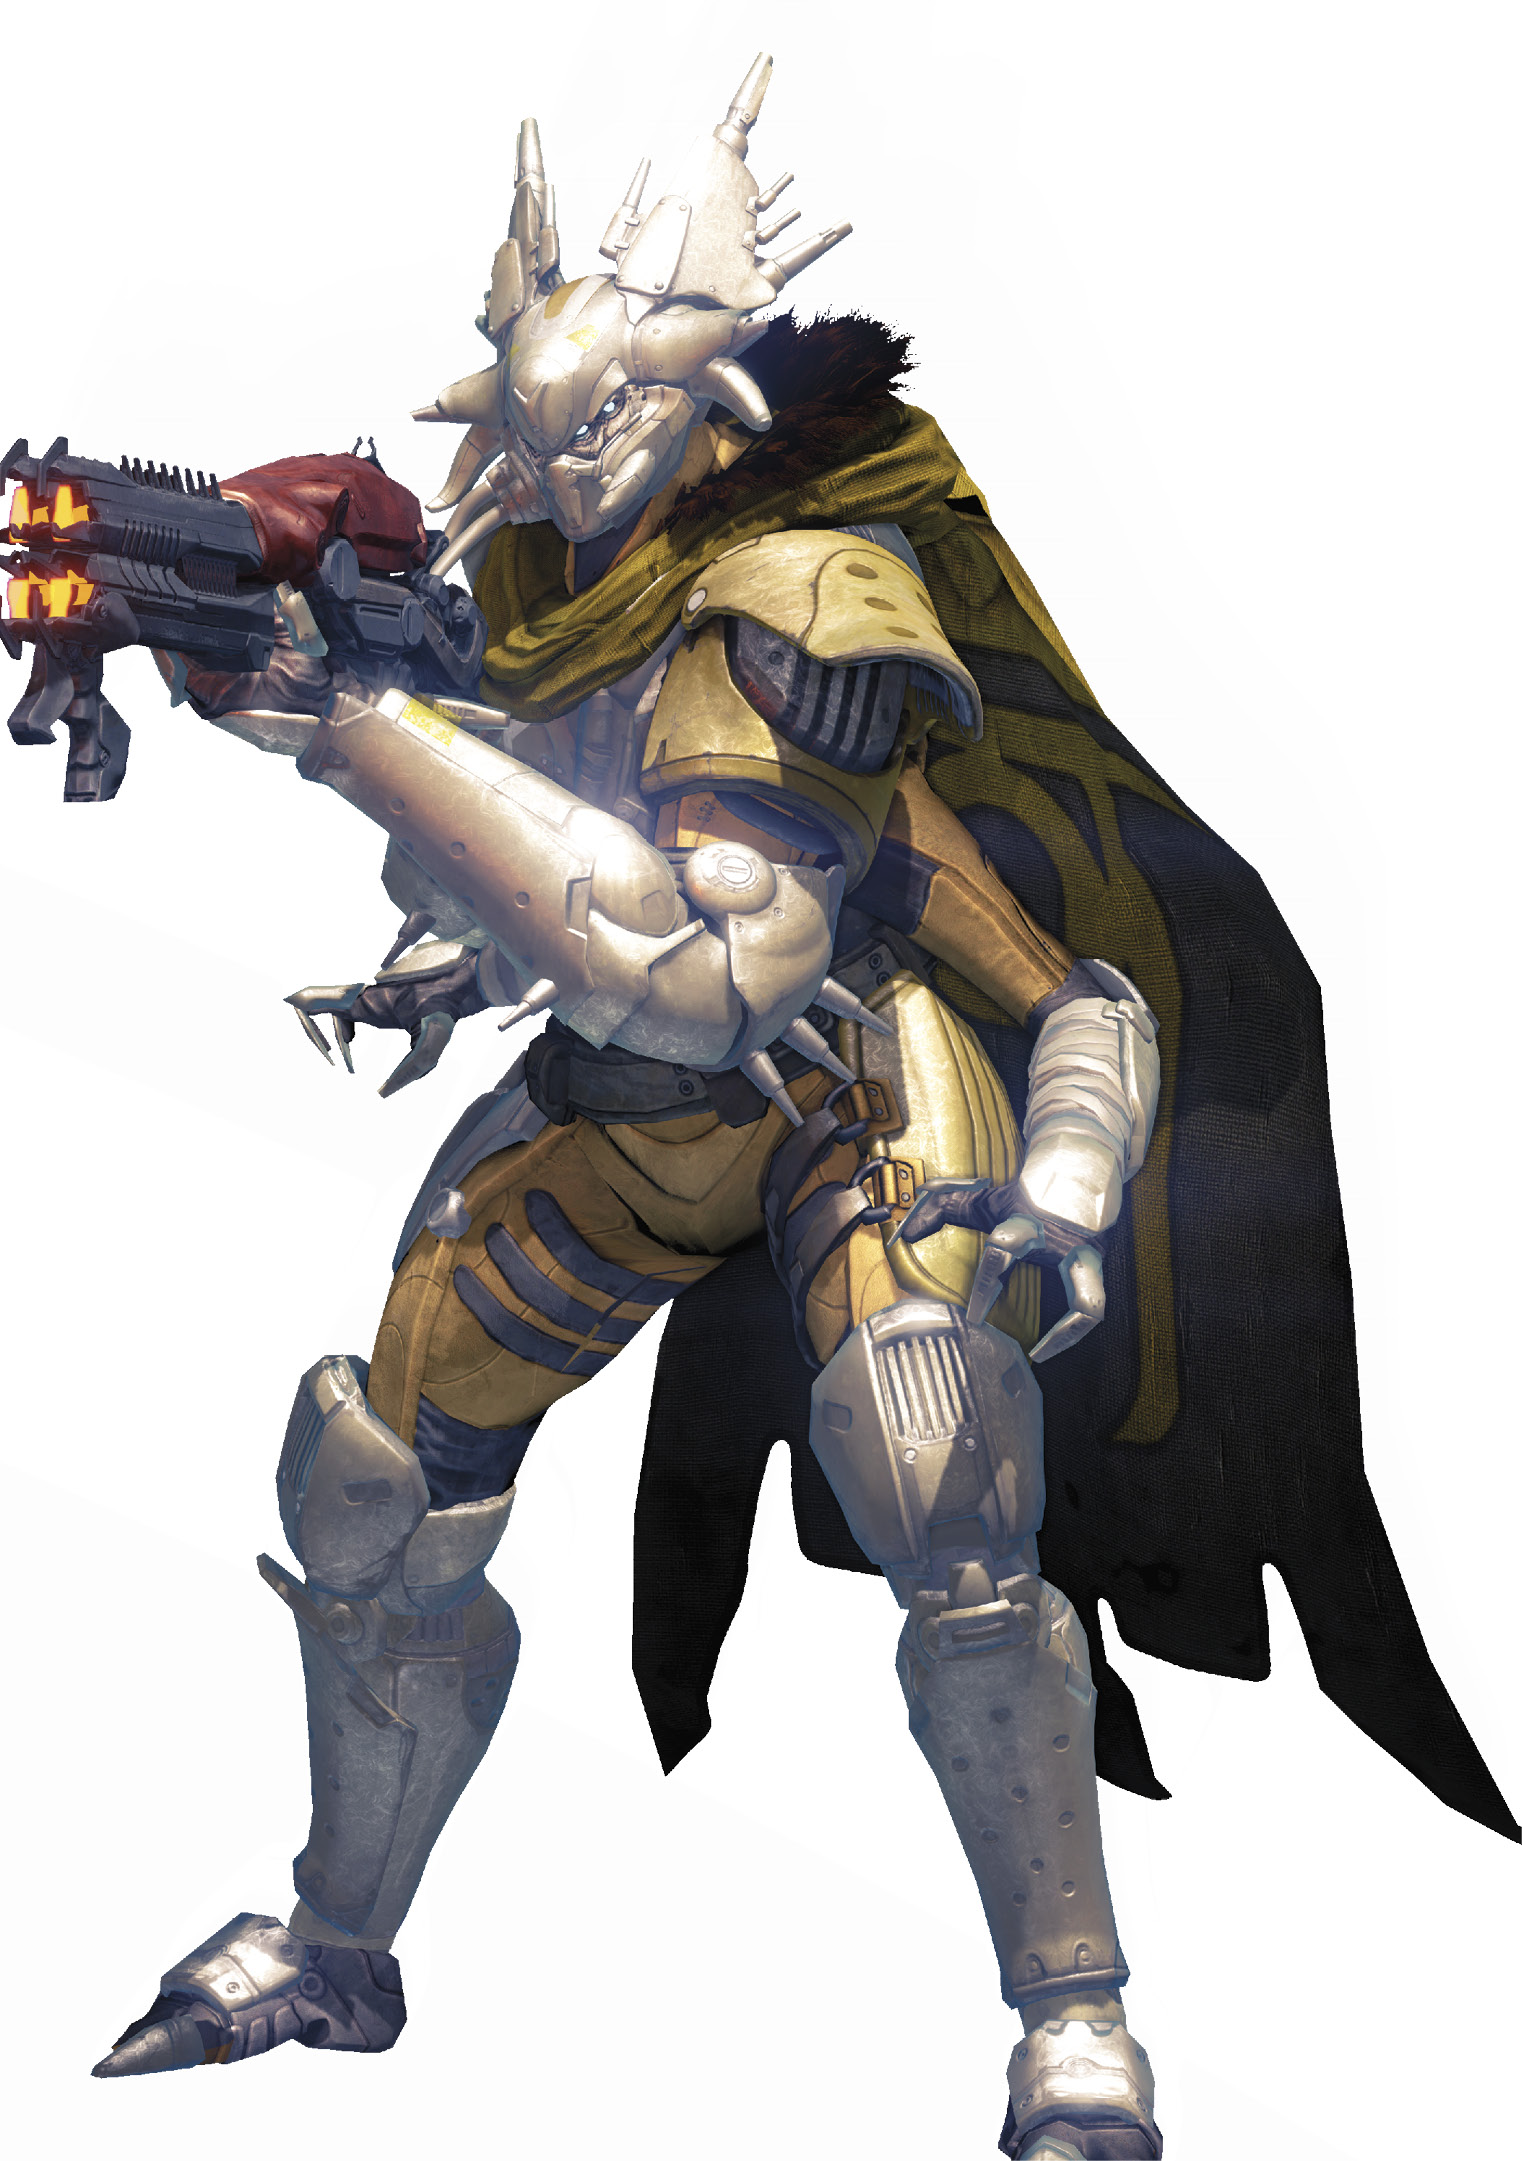
Captain
The elite of Fallen society, Captains are tougher and more dangerous than their lesser brethren.
Loadout: Shrapnel Launcher, Shock Blades, or Arc shield
Variants: Shock Rifle or Shock Blades
Behavior
Captains are the most dangerous of the Fallen minions. They are protected by Arc shields and equipped with teleporter tech that lets them rapidly relocate or evade incoming attacks.
Captains also have superior accuracy with their weapons and are tougher than other Fallen.
Captains exhibit a range of behaviors depending on their weapon type. Shrapnel Launcher Captains usually push toward you more aggressively, whereas Shock Rifle Captains keep their distance. Captains weilding dual Shock Blades are dangerous due to thier shields.
The Captains’ teleport ability makes them particularly dangerous when they approach you and aggravating when they retreat to restore their Arc shields.
There is no direct counter to the teleport; you simply must be aware that they can do it. Expect Captains to blink away from grenades (or you!) if they want distance, or teleport toward you if they want to get into Shrapnel Launcher or melee range.
Tactics
Shock Rifle Captains are dangerous and present a significant threat as long as they are active in the battle. Respect their presence and keep tabs on their location, ideally remaining behind hard cover if you aren’t actively engaging them.
Depending on the specific encounter, you can sometimes ignore Captains armed with the Shrapnel Launcher if you can keep your distance.
Captains attempt to exploit their Arc shield protection fully, and they will use their teleport and agility to get out of line of sight and recover their shield if it drops.
If you attack a Captain, expect that it will retreat when its shield drops. You can use this to force a disengagement, but it won’t buy you much time, and it can be draining on your ammo reserves or available ability energy.
It is typically better to focus fire on a Captain once it presents a credible threat and eliminate it before it can regenerate. Just don’t expose yourself to other Fallen while you recklessly pursue a fleeing Captain.
If you are playing any high-difficulty mission with a heavy Fallen presence, bring a reliable source of Arc damage to cut down Captains quickly.
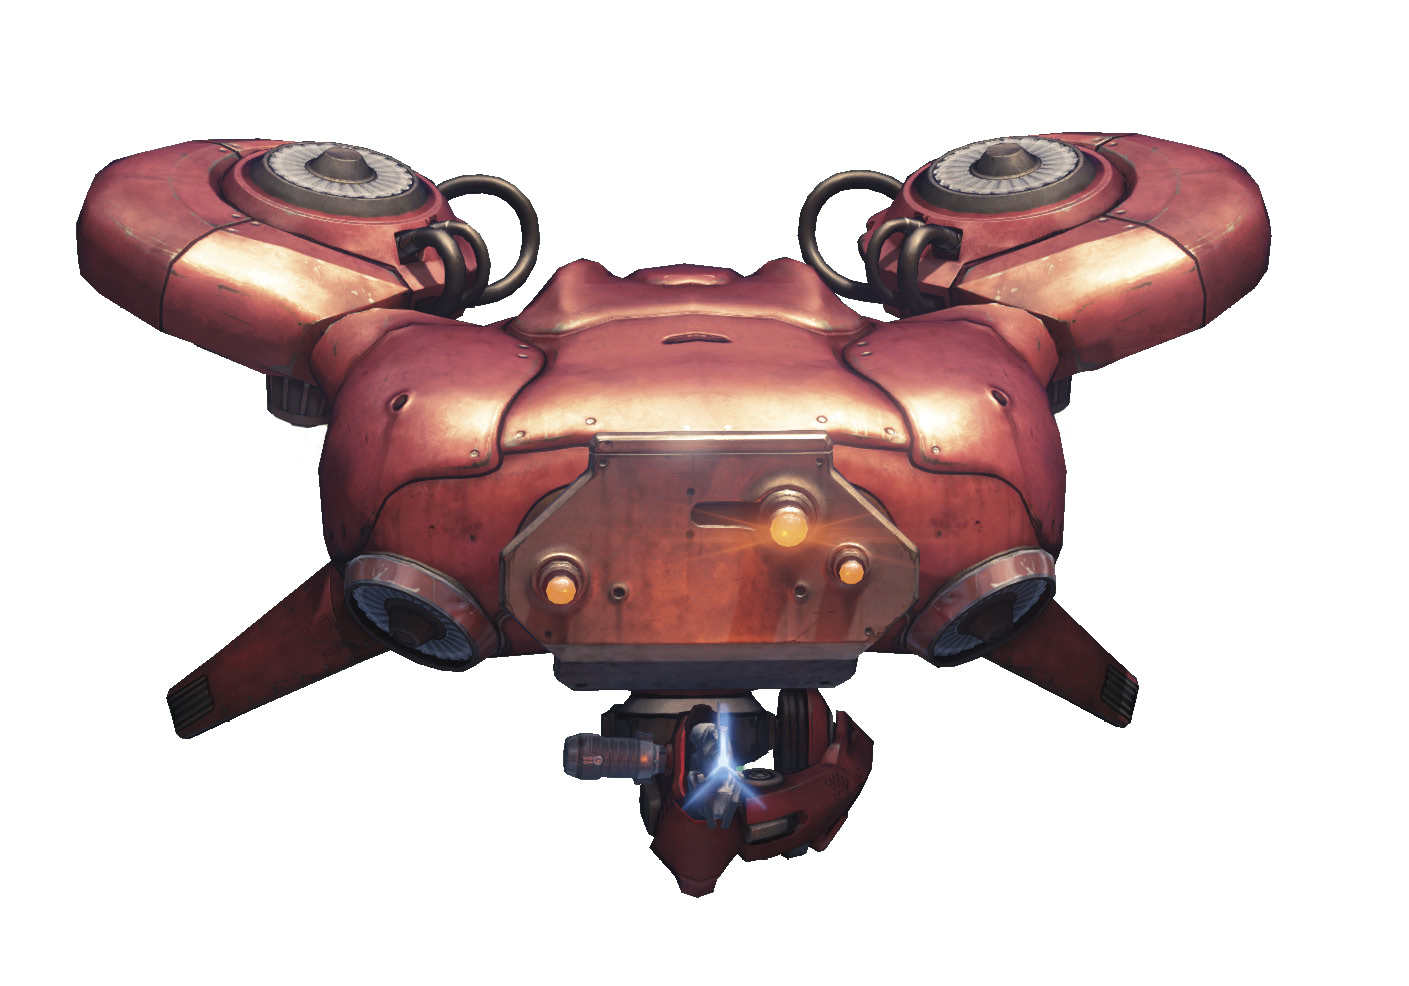
Shank
As hovering robotic assault drones, Shanks provide fire support to Fallen combat teams.
Loadout: Shock Pistol
Variants: Shock Rifle
Mythic Difficulty: Gain Solar shield
Behavior
Shanks float across the battlefield at a moderate speed and open fire whenever they can get a clear shot. Shanks have less of a self-preservation instinct than the humanoid Fallen, and as a result, they can be dangerously aggressive.
Because Shanks hover and push toward your position, they can often flank you by surprise, or simply nullify your cover by floating around or over it. Individually, Shanks aren’t much more dangerous than Dregs, but their impact on the flow of battle can be significant because of this behavior.
Some Shanks are armed with Shock Rifle-equivalent guns, which are noticeably more dangerous than the basic Shock Pistol model. Because you can’t tell them apart at a glance, you often find out the hard way when they open fire on you with tracking projectiles.
On Mythic difficulty, Shanks become equipped with Solar shields, and this moves them from pests to serious threats. You can no longer safely ignore them until the last minute because they won’t simply explode when you use your primary weapon against them, unless you have a powerful source of Solar damage prepped.
Tactics
When dealing with Shanks, you should eliminate them the instant you spot them joining the fight. They are fairly weak and easy to destroy, and because they hover and float around the battlefield rather than actively using cover, they are often exposed and make for simple target practice.
If you do not destroy them quickly, you risk being flanked when they move on your position. Being pushed out of cover by Shanks while other Fallen are firing on you is a bad situation to be in—avoid it in the first place!
Shanks with Solar shields are another matter. If you’re going into a Mythic mission with significant Fallen presence, bring a ready source of Solar damage. You must still destroy Shanks quickly when they join the fight, and the only way to do that reliably is shredding their shields.
Shanks do not have a weak point that you can strike for precision damage, so don’t worry about accurate fire—just land hits on them.
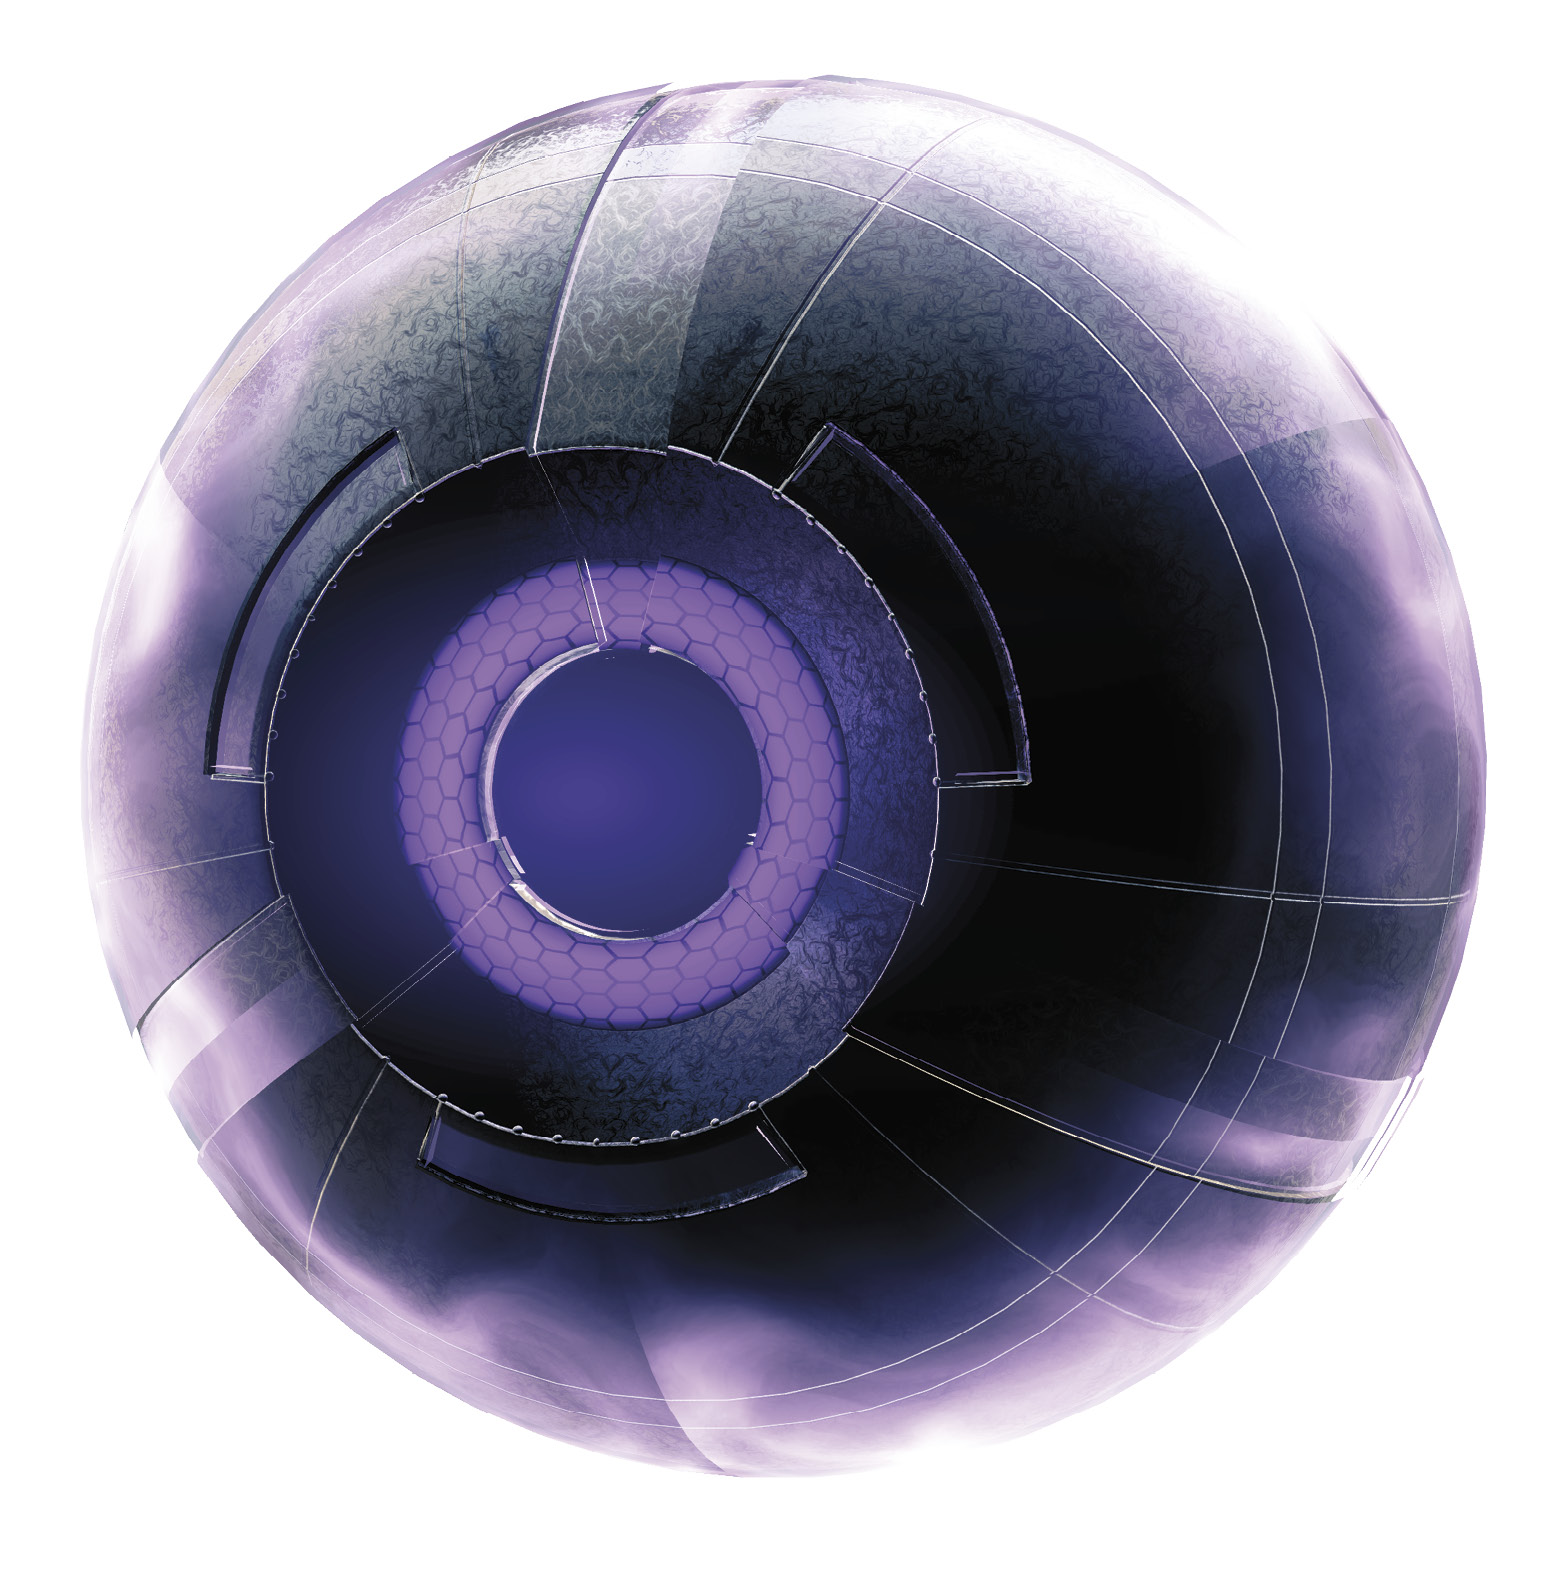
Servitor
Servitors are floating robotic support units that protect and heal nearby Fallen.
Loadout: Eye Blast
Variants: None
Behavior
As hovering support units, Servitors are larger and more dangerous than Shanks, but considerably less common. Servitors possess the ability to heal humanoid Fallen units and can also employ a short-range teleport.
Servitors tend to hover behind other Fallen units, letting the heavy hitters engage you while they bombard you from a distance and heal any damaged and retreating Fallen.
Servitors use their teleport to disengage or avoid attacks much like Captains do. However, their normal floating movement speed and agility are both much lower than that of a Captain.
Tactics
A halo of Void energy surrounds Servitors, and they continuously heal any nearby Fallen. This ability, combined with their powerful explosive attack, makes them a priority target on the battlefield.
Servitors are easy targets because of their considerable size, relatively slow movement speed, and large “eye” as a weak point.
However, they are also sturdy units, so while they are easy to hit, exposing yourself long enough to destroy one is often inadvisable if there are many Fallen nearby.
Servitors make excellent targets for rocket launchers and offensive super moves. They are easy to hit, and eliminating them (and any Fallen nearby) can improve your odds against any remaining Fallen forces.
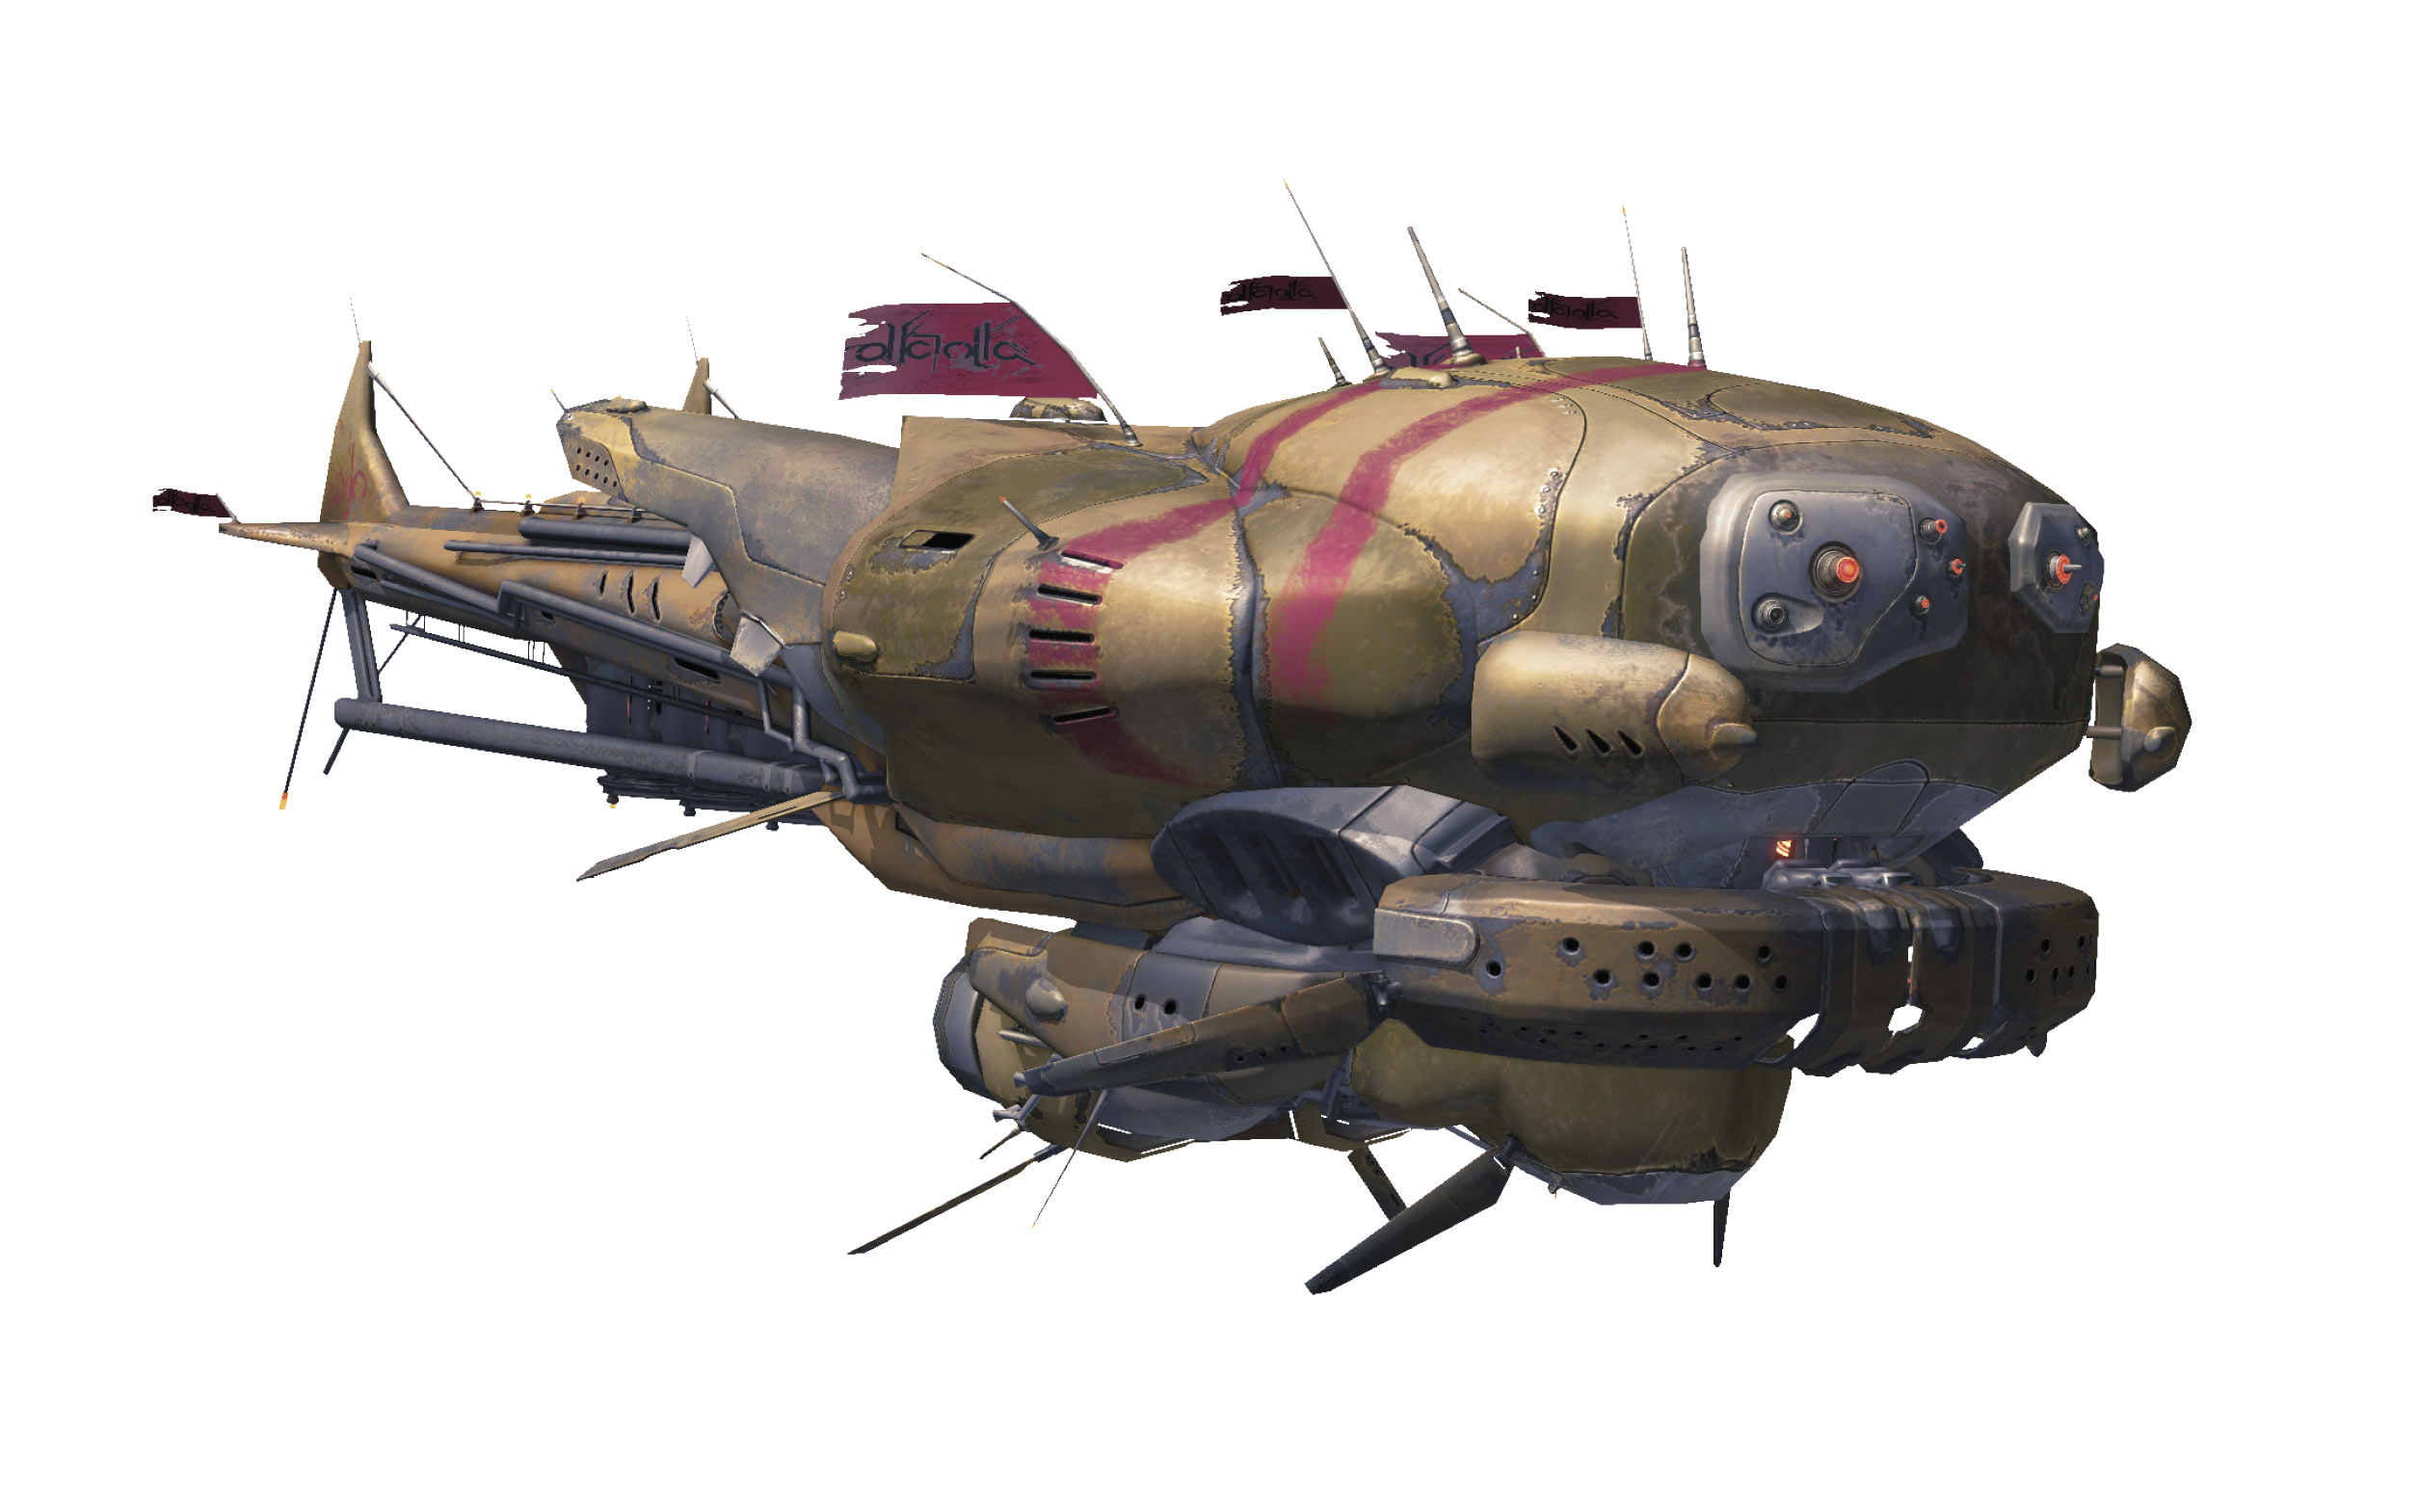
Skiff
A rapidly moving cloaked transport, a fleet of Skiffs dispatched from the Fallen’s massive Ketch warships can quickly deploy strike teams to the battlefield.
Loadout: Skiff Turrets
Variants: None
Behavior
You typically only encounter dropships in open exterior areas, where they arrive, decloak, drop packs of Fallen, and then depart.
While Skiffs are flying in, deploying, and departing, they can bombard you with fire from their turrets. The turret fire is not devastatingly powerful, but it can make safe cover very unsafe because of the high altitude and angle from which the Skiff can attack you. Find a ceiling to hide beneath, or keep moving!
However, during some encounters or Public Events, a Skiff may hover overhead for a longer period of time. If this occurs, the Skiff’s turrets continuously attack any Guardians in the area.
Tactics
You can destroy the turrets with sufficient firepower. With Skiffs that are simply dropping troops and departing, it’s rarely worth spending the time on them; you’re better served targeting the Fallen as they deploy.
On the other hand, if a Skiff remains on the battlefield, destroy its turrets to remove the Fallen air support.