
Destiny Signature Series Strategy Guide MARS
STRIKE: Cerberus Vae II
 STRIKE: Cerberus Vae III
Level 18 Strike / Rubicon Wastes, Meridian Bay, Mars
Enemy Race: Cabal
Suggested Damage Type: Solar, Void (Epic)
Rewards: XP Bonus, Armor Upgrade
Mission Unlocked: -
| Combatant Changes with Heroic or Epic Mission Modifier | ||
|---|---|---|
|
Objective |
Combatant Changes |
Tip |
| Find Valus Ta’aurc – Iron Line | -2 Legionaries+2 Major Legionaries-1 Centurion+1 Major Centurion | — |
| Kill Ta’aurc’s Guard – Interceptor Garage | -1 Colossus+1 Major Colossus | — |
| Kill Ta’aurc’s Guard – Outer Support | -2 Centurions+2 Major Centurions | — |
| Kill Ta’aurc’s Guard – Front of Tower | -1 Colossus+1 Major Colossus | — |
| Kill Ta’aurc’s Guard – Dropship Support | -3 Legionaries+2 Major Legionaries+1 Major Centurion | — |
| Destroy the Goliath | -1 Centurion+1 Major Centurion | — |
| Kill Valus Ta’aurc | -1 Centurion+1 Major Centurion-2 Legionaries-1 Phalanx+2 Major Legionaries+1 Major Phalanx | — |
| Kill Valus Ta’aurc – Reinforcements | -3 Psions+3 Major Psions-3 Phalanxes+3 Major Phalanxes-3 Psions+3 Major Psions | The Major enemies take time and resources away from fighting the boss. Bring plenty of ammunition. |
| Kill Valus Ta’aurc – Anti Camp | -3 Phalanxes+3 Major Phalanxes | Avoid spending too much time in the entryway, as three Phalanxes will appear behind you. |
Objective: Access the Defense Net
Location: Rubicon Wastes
Fight your way into the Interceptor garage ahead, step up to the computer, and deploy your Ghost to access the network.
Objective: Find Valus Ta’aurc
Location: Iron Line
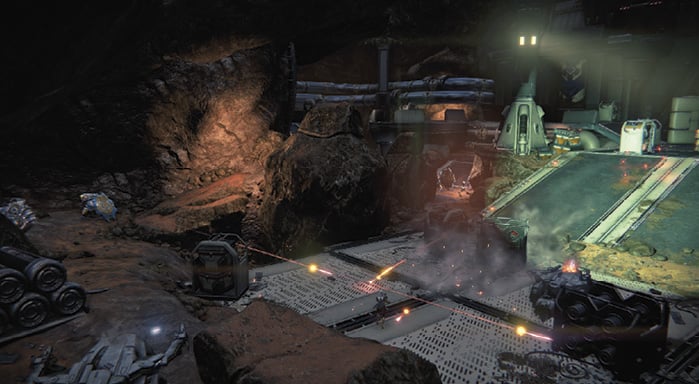
Jump into an Interceptor, and fight your way into Iron Line through the opening next door. You can take the vehicle inside, but remember that if it blows up, you go down with it. Also, keep track of which cannon fires next to avoid mistakenly hurting yourself. Note that it can get crowded if all three players use the Interceptor.
Every type of Cabal enemy participates in this skirmish, with the usual culprits giving you the most trouble. Watch out for the Colossus’ deadly rocket barrage and the Psion’s psionic blast wave. A Solar Shield protects the Centurion. Use the cover around the ramps to take care of the nearby foes, and then stand on the left walkway and fire down on the remaining enemies below. Exit through the door below. If you have managed to hold on to your Interceptor, you must abandon it now.
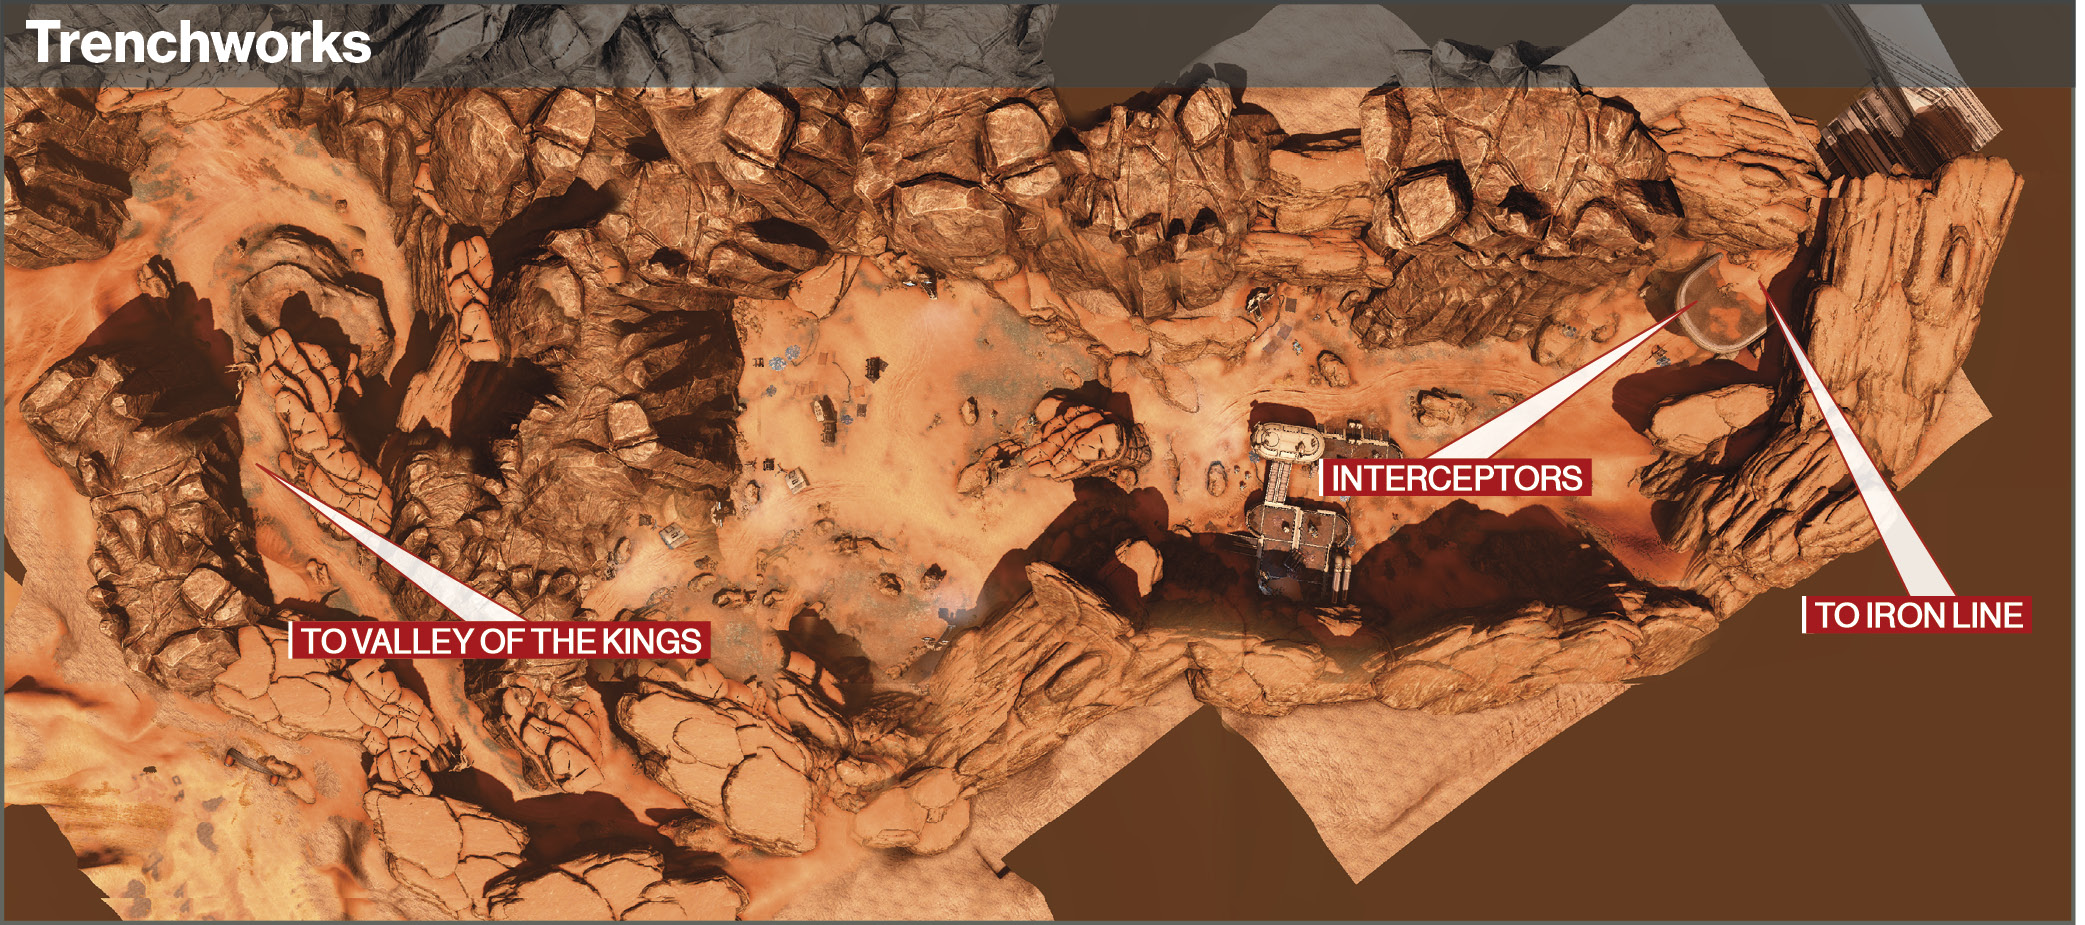
Objective: Kill Ta’aurc’s Guard
Location: Trenchworks
Follow the corridor down to Trenchworks, which is designated as a Darkness Zone. One of Ta’aurc’s guards is just ahead, but several of his minions stand in the way. Quickly take down the Colossus and Psions before hopping into one of the three Interceptors. It is best to keep the vehicle at the bottom of the hill, and these foes do not respawn, so fight cautiously or leave it behind for now. You can always run back and get it later.
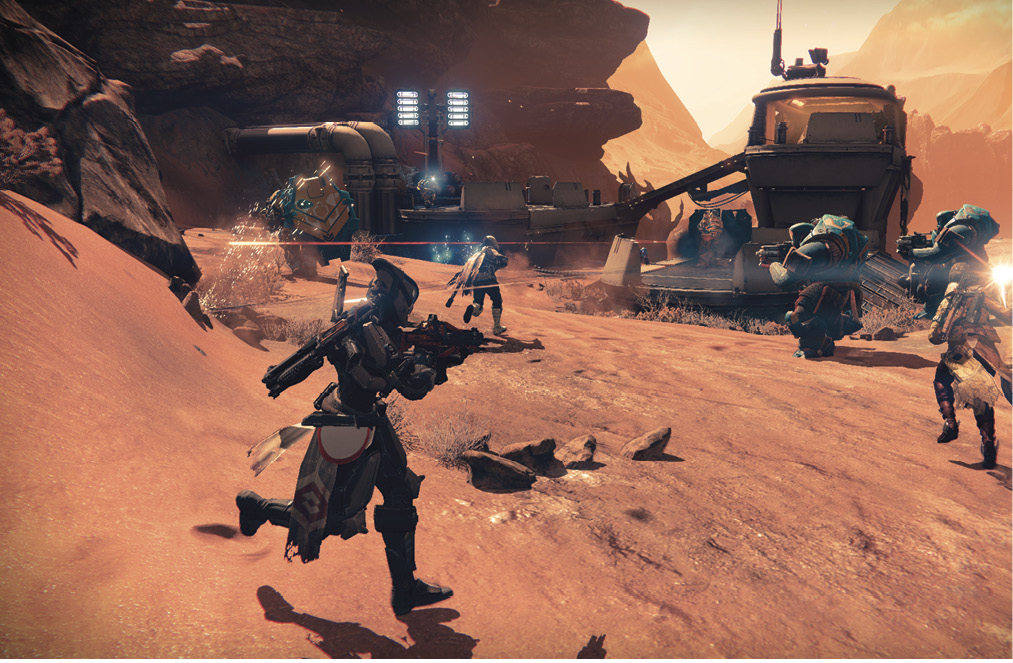
Obliterate the Cabal along the sides of the ravine and then the enemies that occupy the area around the guard tower. These foes include Ta’aurc’s guard Val Bou’urc, a Major Phalanx who hides out at the top of the tower. Take him down with a barrage of cannon fire from the Interceptors. Alternatively, take cover on the lower platform as you fire from the side. It is possible to knock the guy out of the back of the structure. In that case, you must pursue him around back and finish him off.
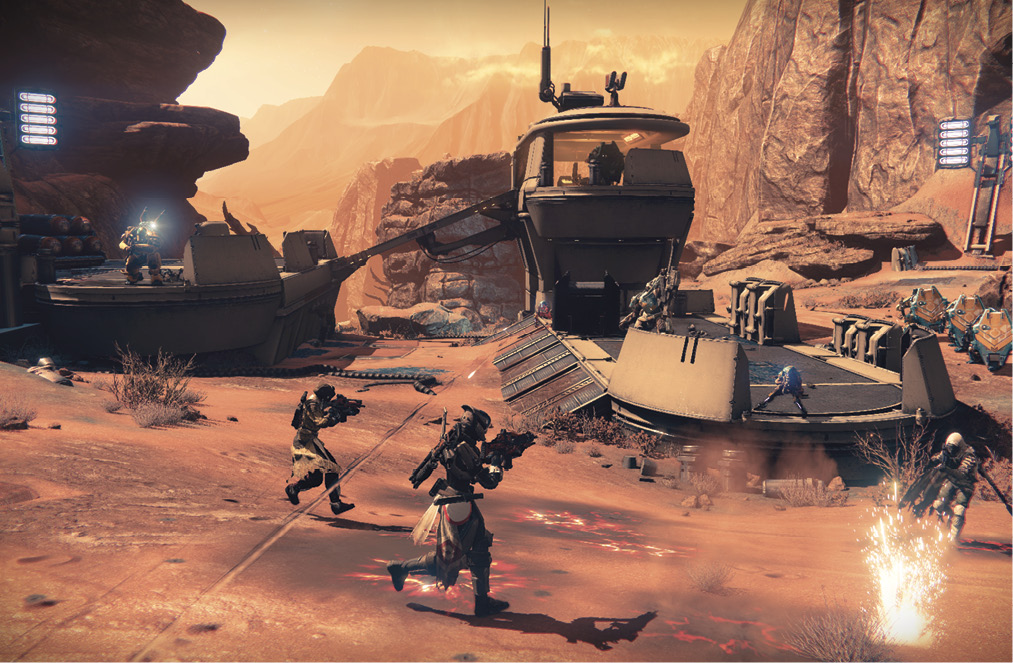
With one guard killed, a Cabal dropship brings in more enemies, along with the other two guards, Val Zu’uarc and Val Ma’aurg. Back out of the area so that you aren’t immediately surrounded, and eliminate them all. The two guards more than likely end up in the tower just like the first.
Objective: Destroy the Goliath
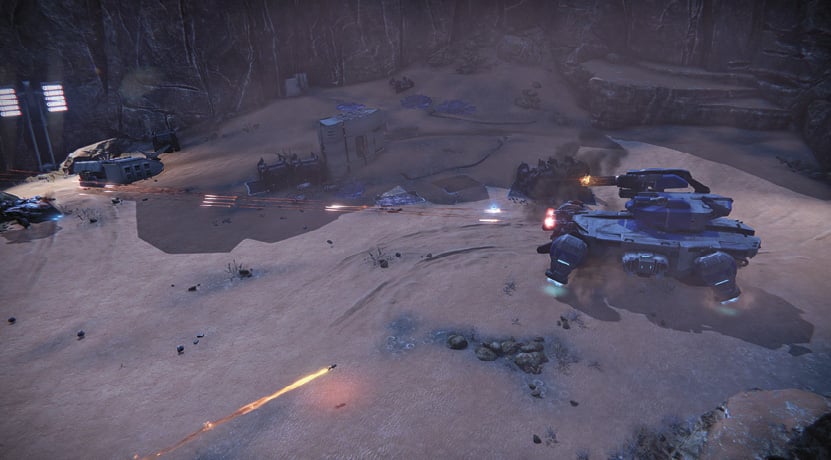
With the three guards dispatched, look down the hill, where more Cabal have been dropped off in the clearing below. This includes the Goliath Tank, a huge armored vehicle with an impressive arsenal of weapons.
Goliath Tank
Weak Spot:Hover Engines
Attacks:Main Cannon, MG Turret, Side Missile Batteries, Flak Turrets, Charge and Mine Missiles, Front Turret, Hover Engine Flame Out
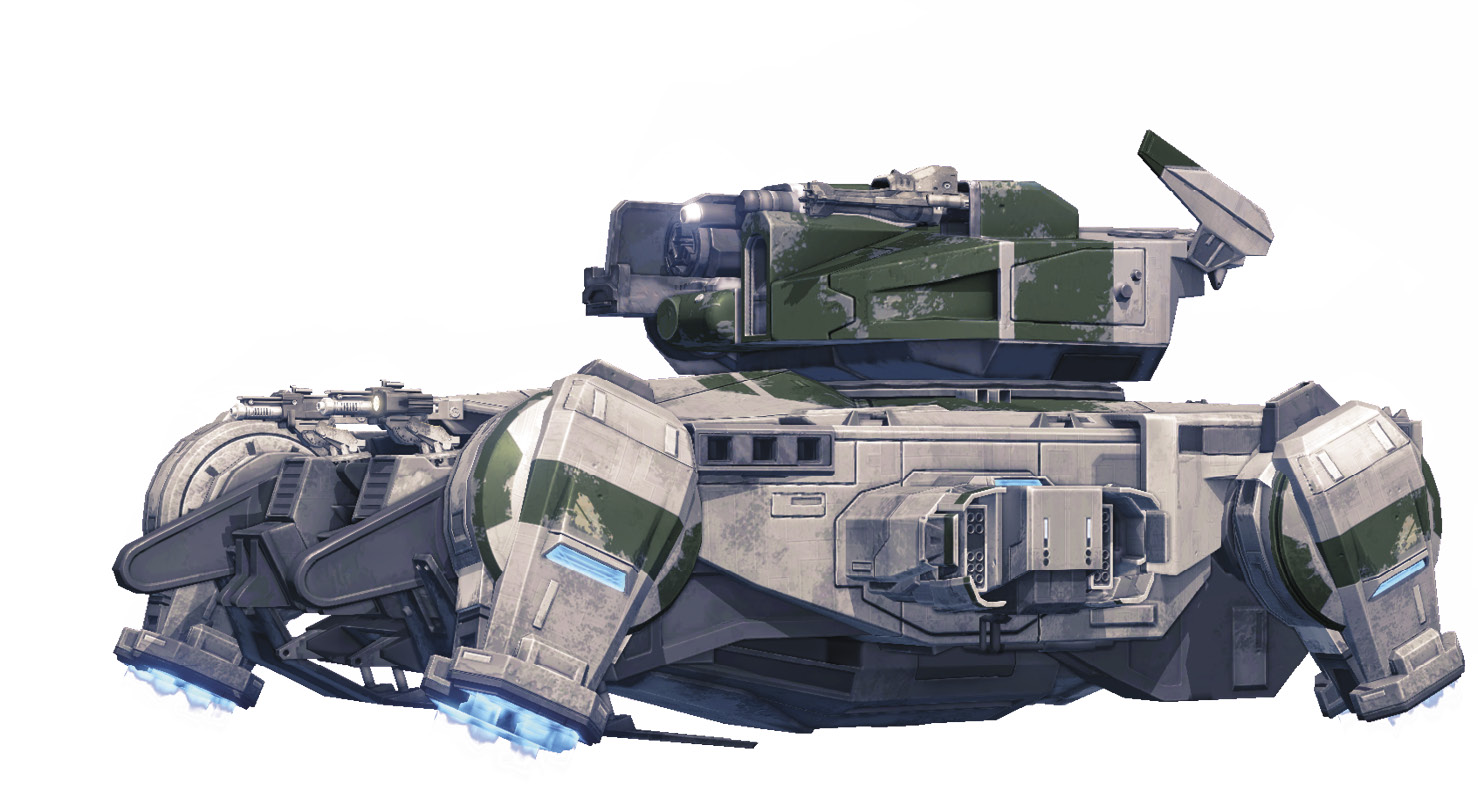
Attacks
Main Cannon:
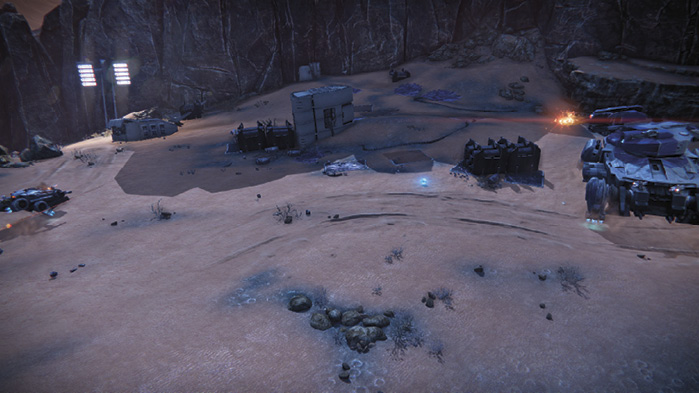
Fires a fast-moving, arching shot, with 5-10 second delay between volleys. This turret moves independently from the tank. Listen for the cannon to spin up, giving you time to move clear of the big blast.
MG Turret:
If the main cannon is not engaged, a small turret on its side spins up and fires at opponents within a close range. You can destroy this weapon.
Side Missile Batteries:
When opponents are in close to medium range, these open and close on a five-second interval, firing three tracking missiles. You can destroy the batteries and also shoot the missiles out of the air.
Flak Turrets:
Mounted on the front sides of the tank, these guns fire at opponents who are in close and in the air. You can also take these out.
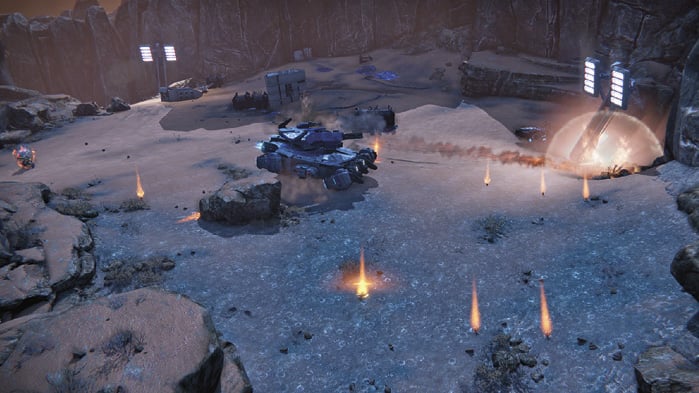
Charge and Mine Missiles:
The tank charges a Guardian in front of it and releases canisters out the back. These detonate in the air, causing six mine missiles to stick into the ground and explode over time or trigger when an opponent gets close. Watch out for its charge, as it can destroy an Interceptor. You can shoot and eliminate the mines.
Front Turret:
Dual cannons mounted on the front fire at opponents within close to medium range. This weapon is relatively harmless compared to the rest of its arsenal. You can destroy these guns.
Hover Engine Flame Out:
If a Guardian gets too close, the tank revs up, producing a large flame from all four engines that damages anyone nearby.
Strategy
Spend some time picking off the lesser Cabal before driving your Interceptor down the hill. The fight takes place in a huge clearing, with plenty of space to maneuver your vehicle. Avoid sliding in front of a team member. Be aware that the Goliath Tank’s main cannons deal four times as much damage to an Interceptor as a Guardian. Abandon ship if your ride is set on fire, or you will die if it blows up.
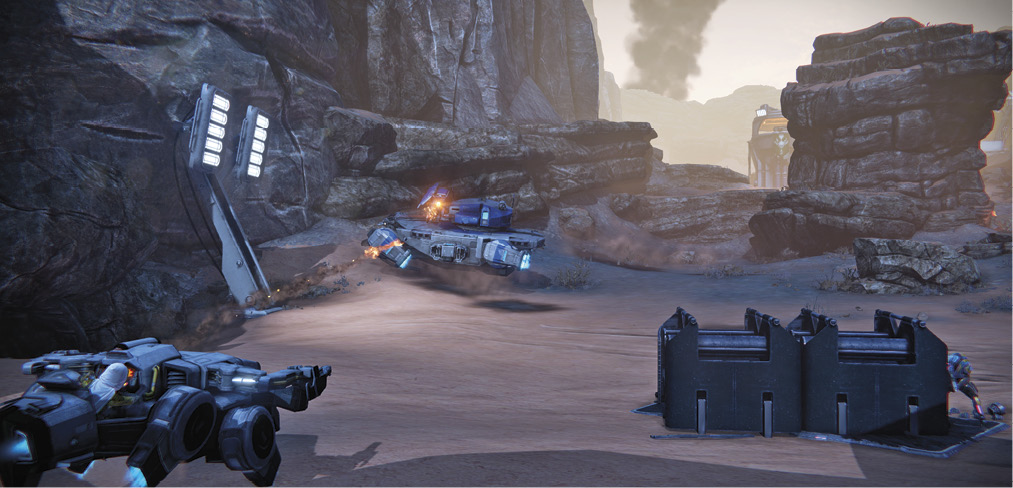
Focus your cannon fire at the tank’s engines. Destroy all four to finish it off, or dispatch a combination of turrets and engines (for example, taking out three engines and two turrets also works). If you are no longer operating an Interceptor, dodge behind cover as you use heavy weaponry and supers on the boss.
The tank has a huge arsenal of weapons, and they all have their own tell. Listen and watch the tank’s movements so that you can be ready to dodge incoming fire. When fighting from long range, listen for the main cannon to fire up, and quickly change position to avoid the explosive projectile.
If you must go in close, do not jump, or the tank will shoot you out of the air with its flak turrets. You can avoid gunfire from its front and MG turrets by getting behind cover. Quickly back away if you see it raise up and flare its engines.
Objective: Get to the Land Tank
Location: Valley of the Kings
After destroying the tank, ride your Sparrow over to Valley of the Kings, and fight your way into the huge land tank.
Objective: Kill Valus Ta’aurc
Location: Cerberus VAE III
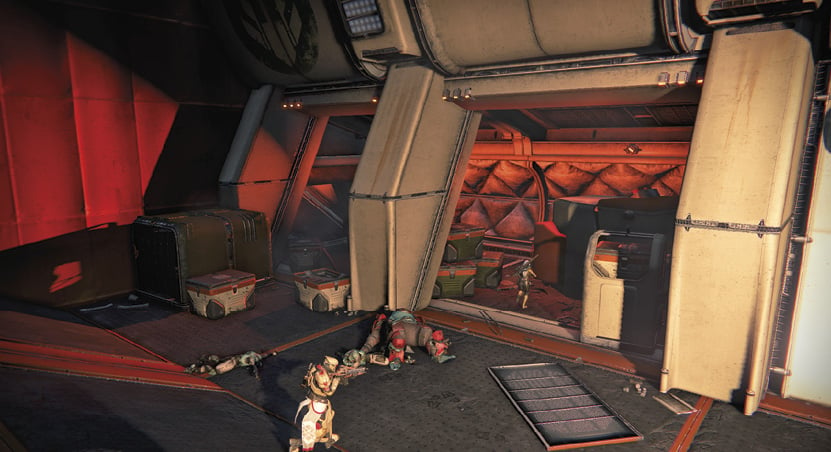
Inside the first room, Legionaries, Phalanxes, Psions, and a Centurion put up little resistance to your firepower. Abandon your Interceptor if you still have it, and enter the small corridor in the far corner. This leads into the back room of the land tank and the final showdown for the Strike.
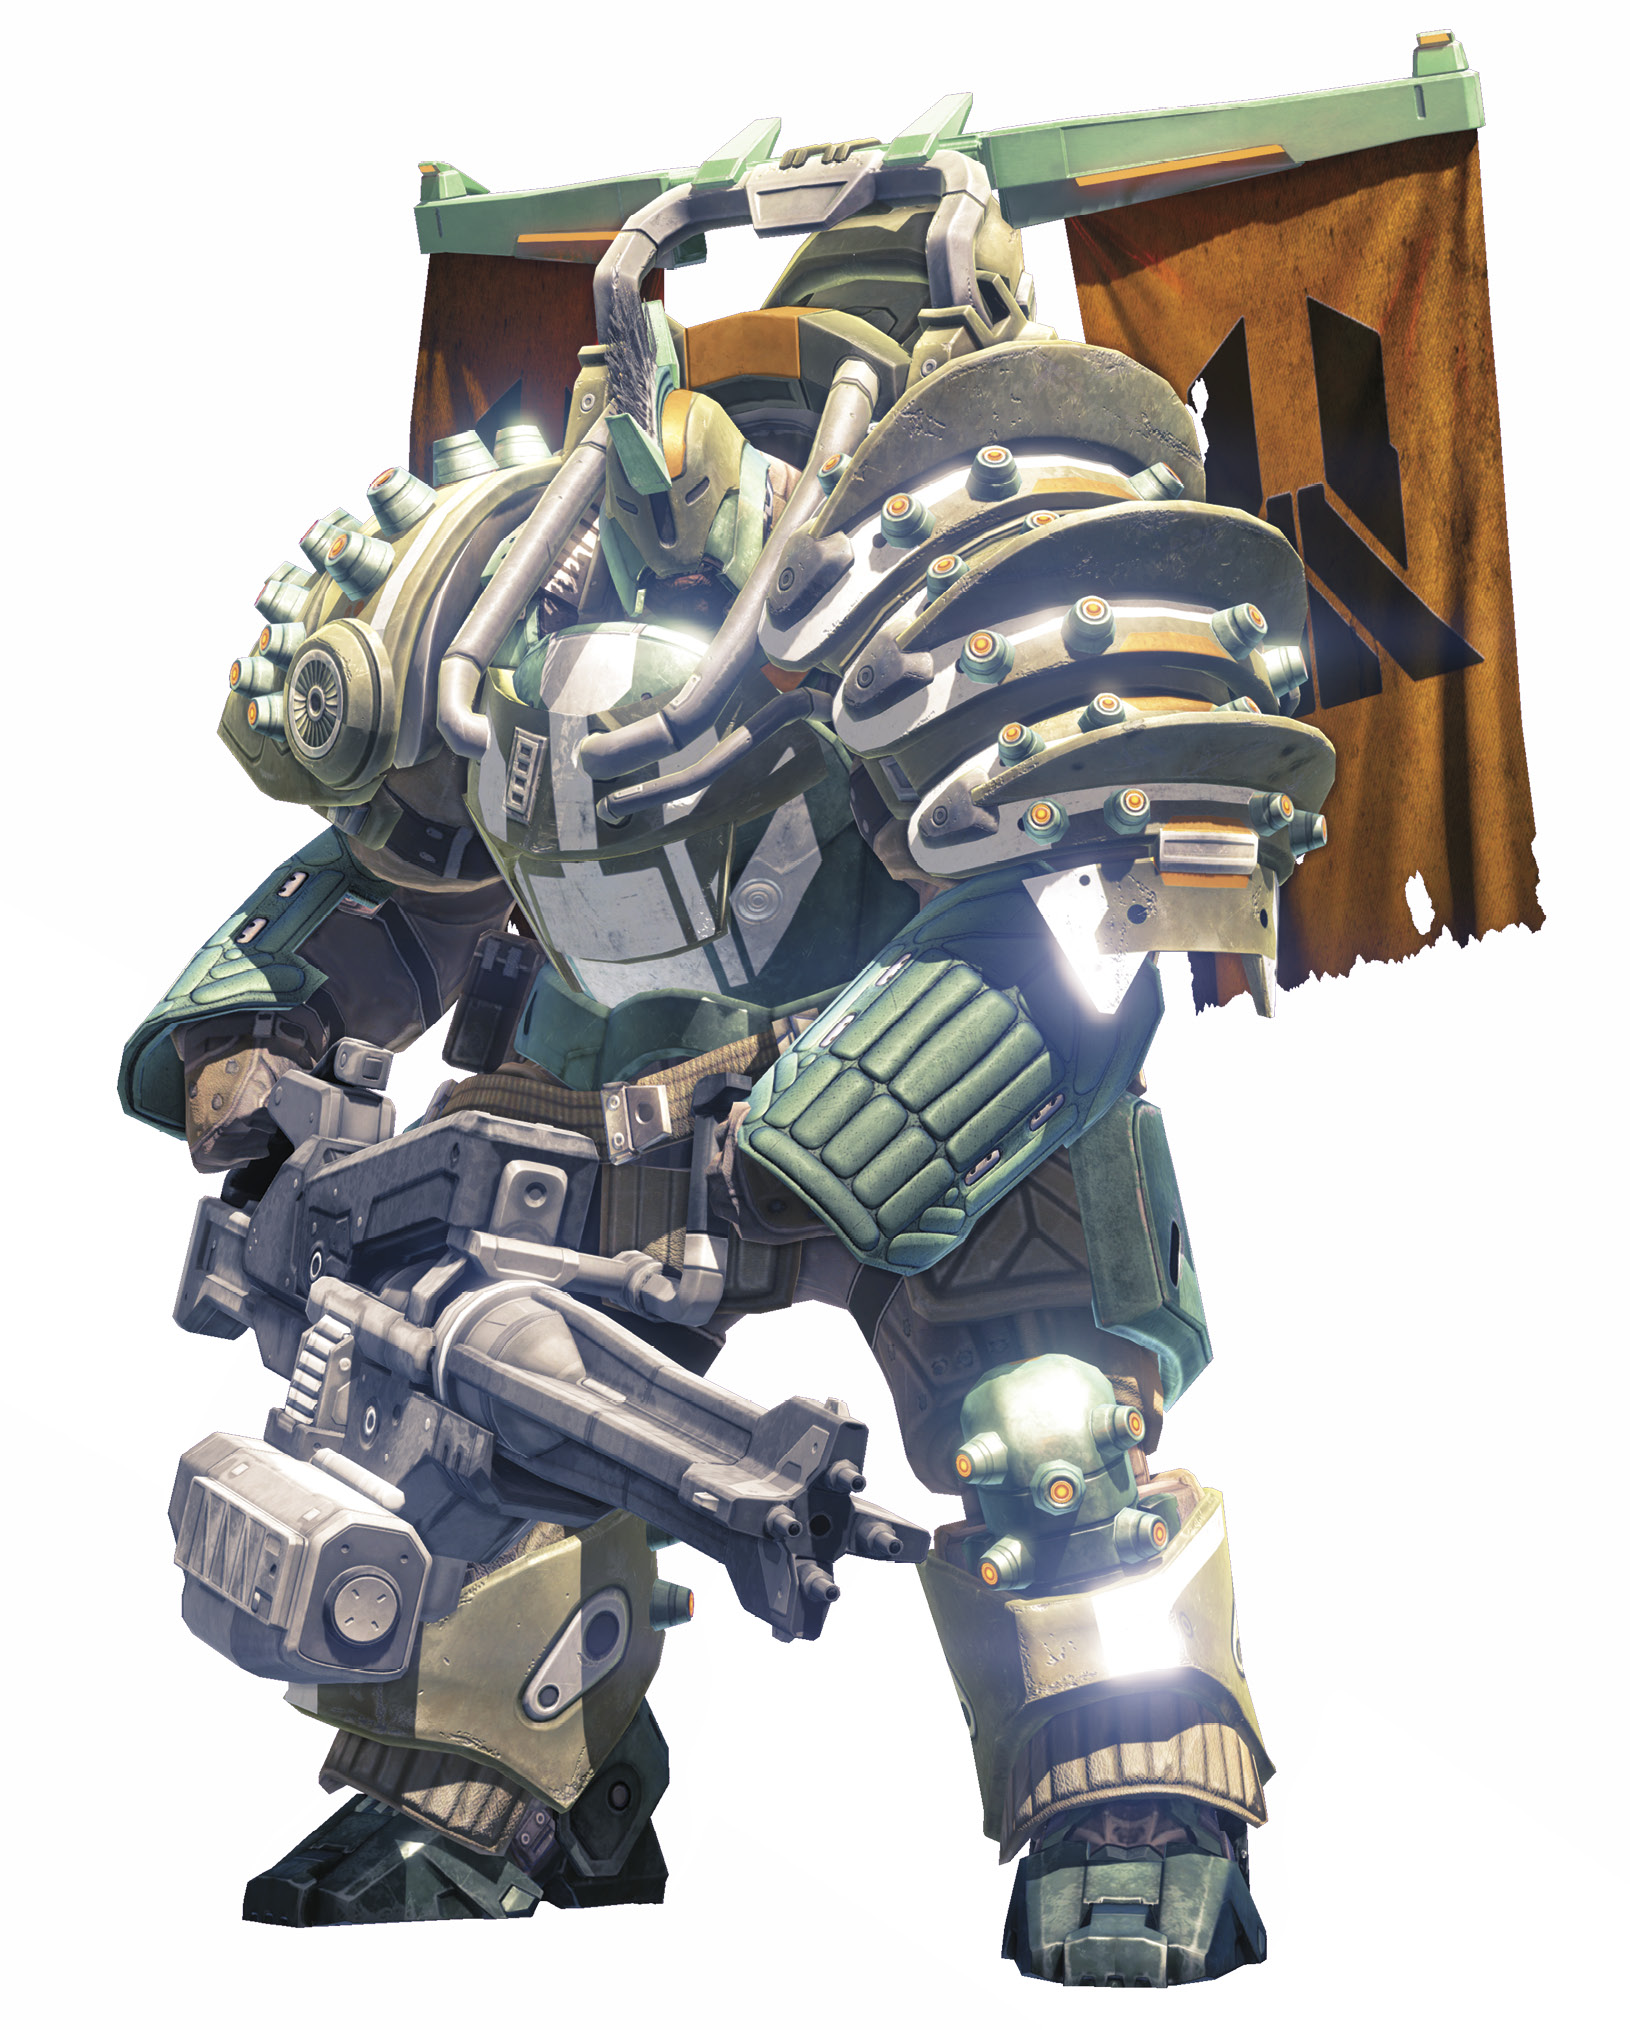
Valus Ta’aurc
Weak Spots: Head
Attacks: Heavy Slug Thrower, Rocket Barrage, Ground Slam
Attacks
Heavy Slug Thrower:
This heavy suppressive weapon has a high rate of fire and devastating consequences. It doesn’t have the greatest accuracy, but you still do not want to stick around when Valus Ta'aurc fires it.
Rocket Barrage:
Valus Ta'aurc raises his gun in the air and releases five rockets toward his target. These are tracking, explosive projectiles. If you see them coming, hightail it out of the area.
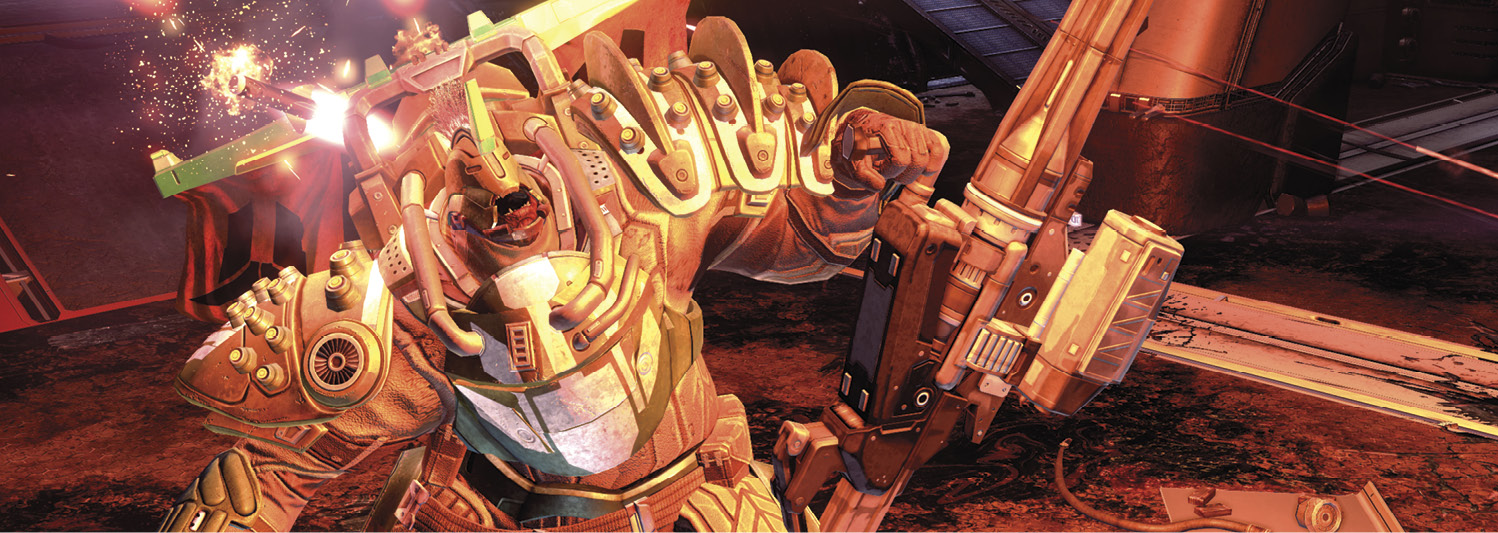
Ground Slam: Get too close to the boss, and he slams the ground, knocking you back and causing serious damage.
Strategy
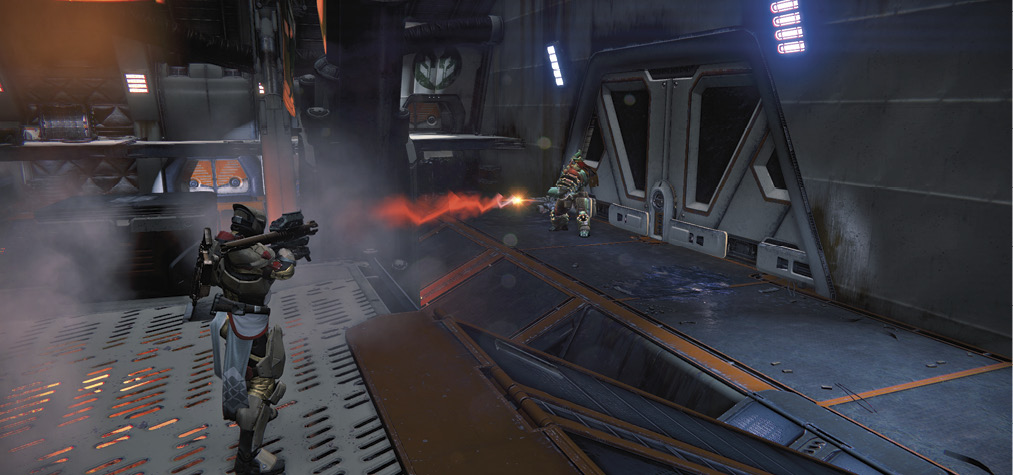
Valus Ta’aurc, an Ultra Colossus, emerges from the far door in grand style. Wait for him to stop showing off, and then hit him with everything you got. Use high-powered weapons and supers on the boss whenever available. Hit him in the head with gunfire to inflict critical damage.
Throughout the fight, reinforcements enter from the sides, so always be aware of your surroundings. Legionaries, Psions, and Phalanxes join in as small groups on the ground floor or on the platforms above. Though you should focus most attacks at the boss, deal with the minions whenever you can, or you risk being overwhelmed.
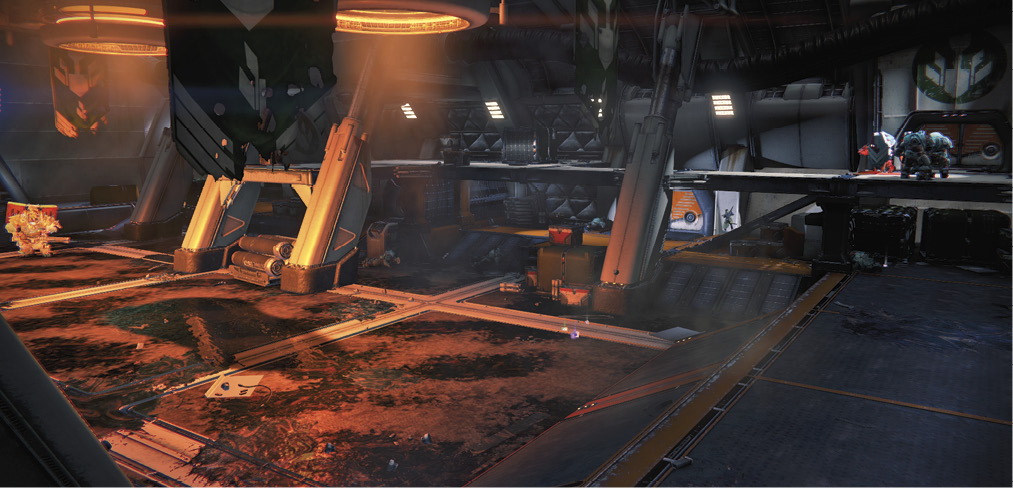
It is good to split the team so that you cover both sides. This lessens the likelihood of all three players going down at once, and it divides Valus Ta’aurc’s attention between the left and right. For the most part, the Ultra Colossus walks the length of the main floor, but he can move up the right ramp onto the upper platform.
There are locations where you are less likely to get hit, but if he launches the rocket barrage your way, you had better change position. Continue chipping away at his health until he finally dies.