Destiny Signature Series Strategy Guide Crucible
MAP: Rusted Lands
Layout
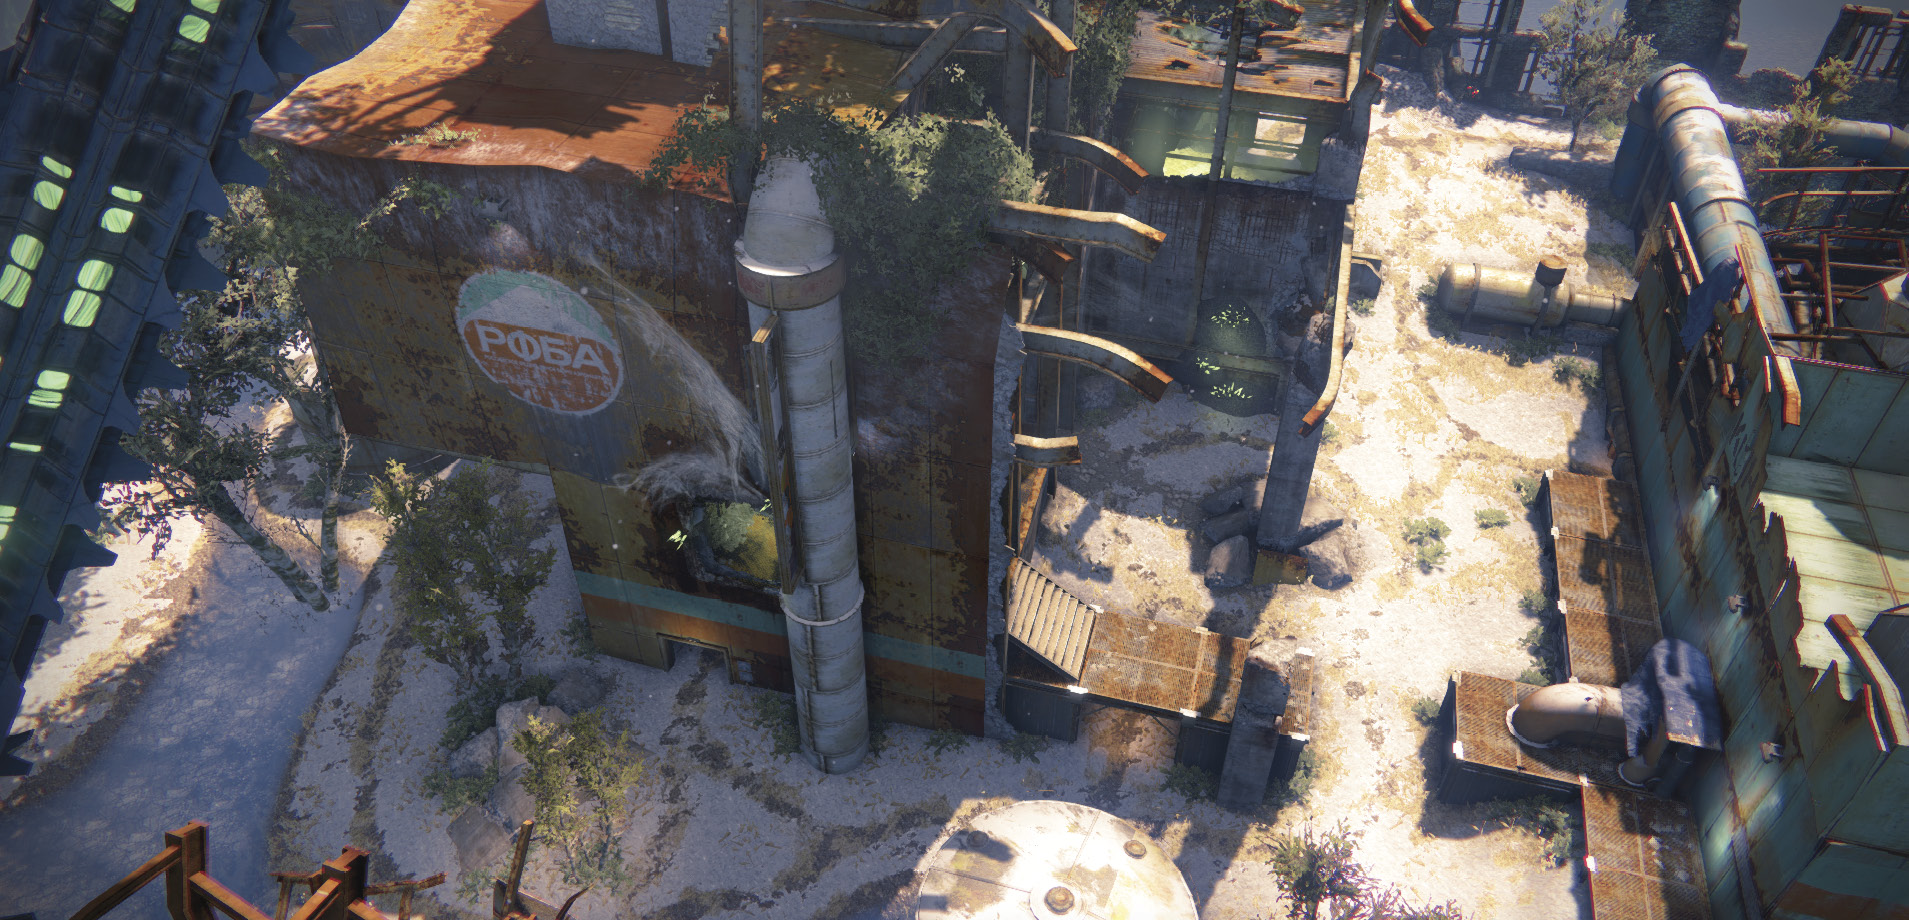
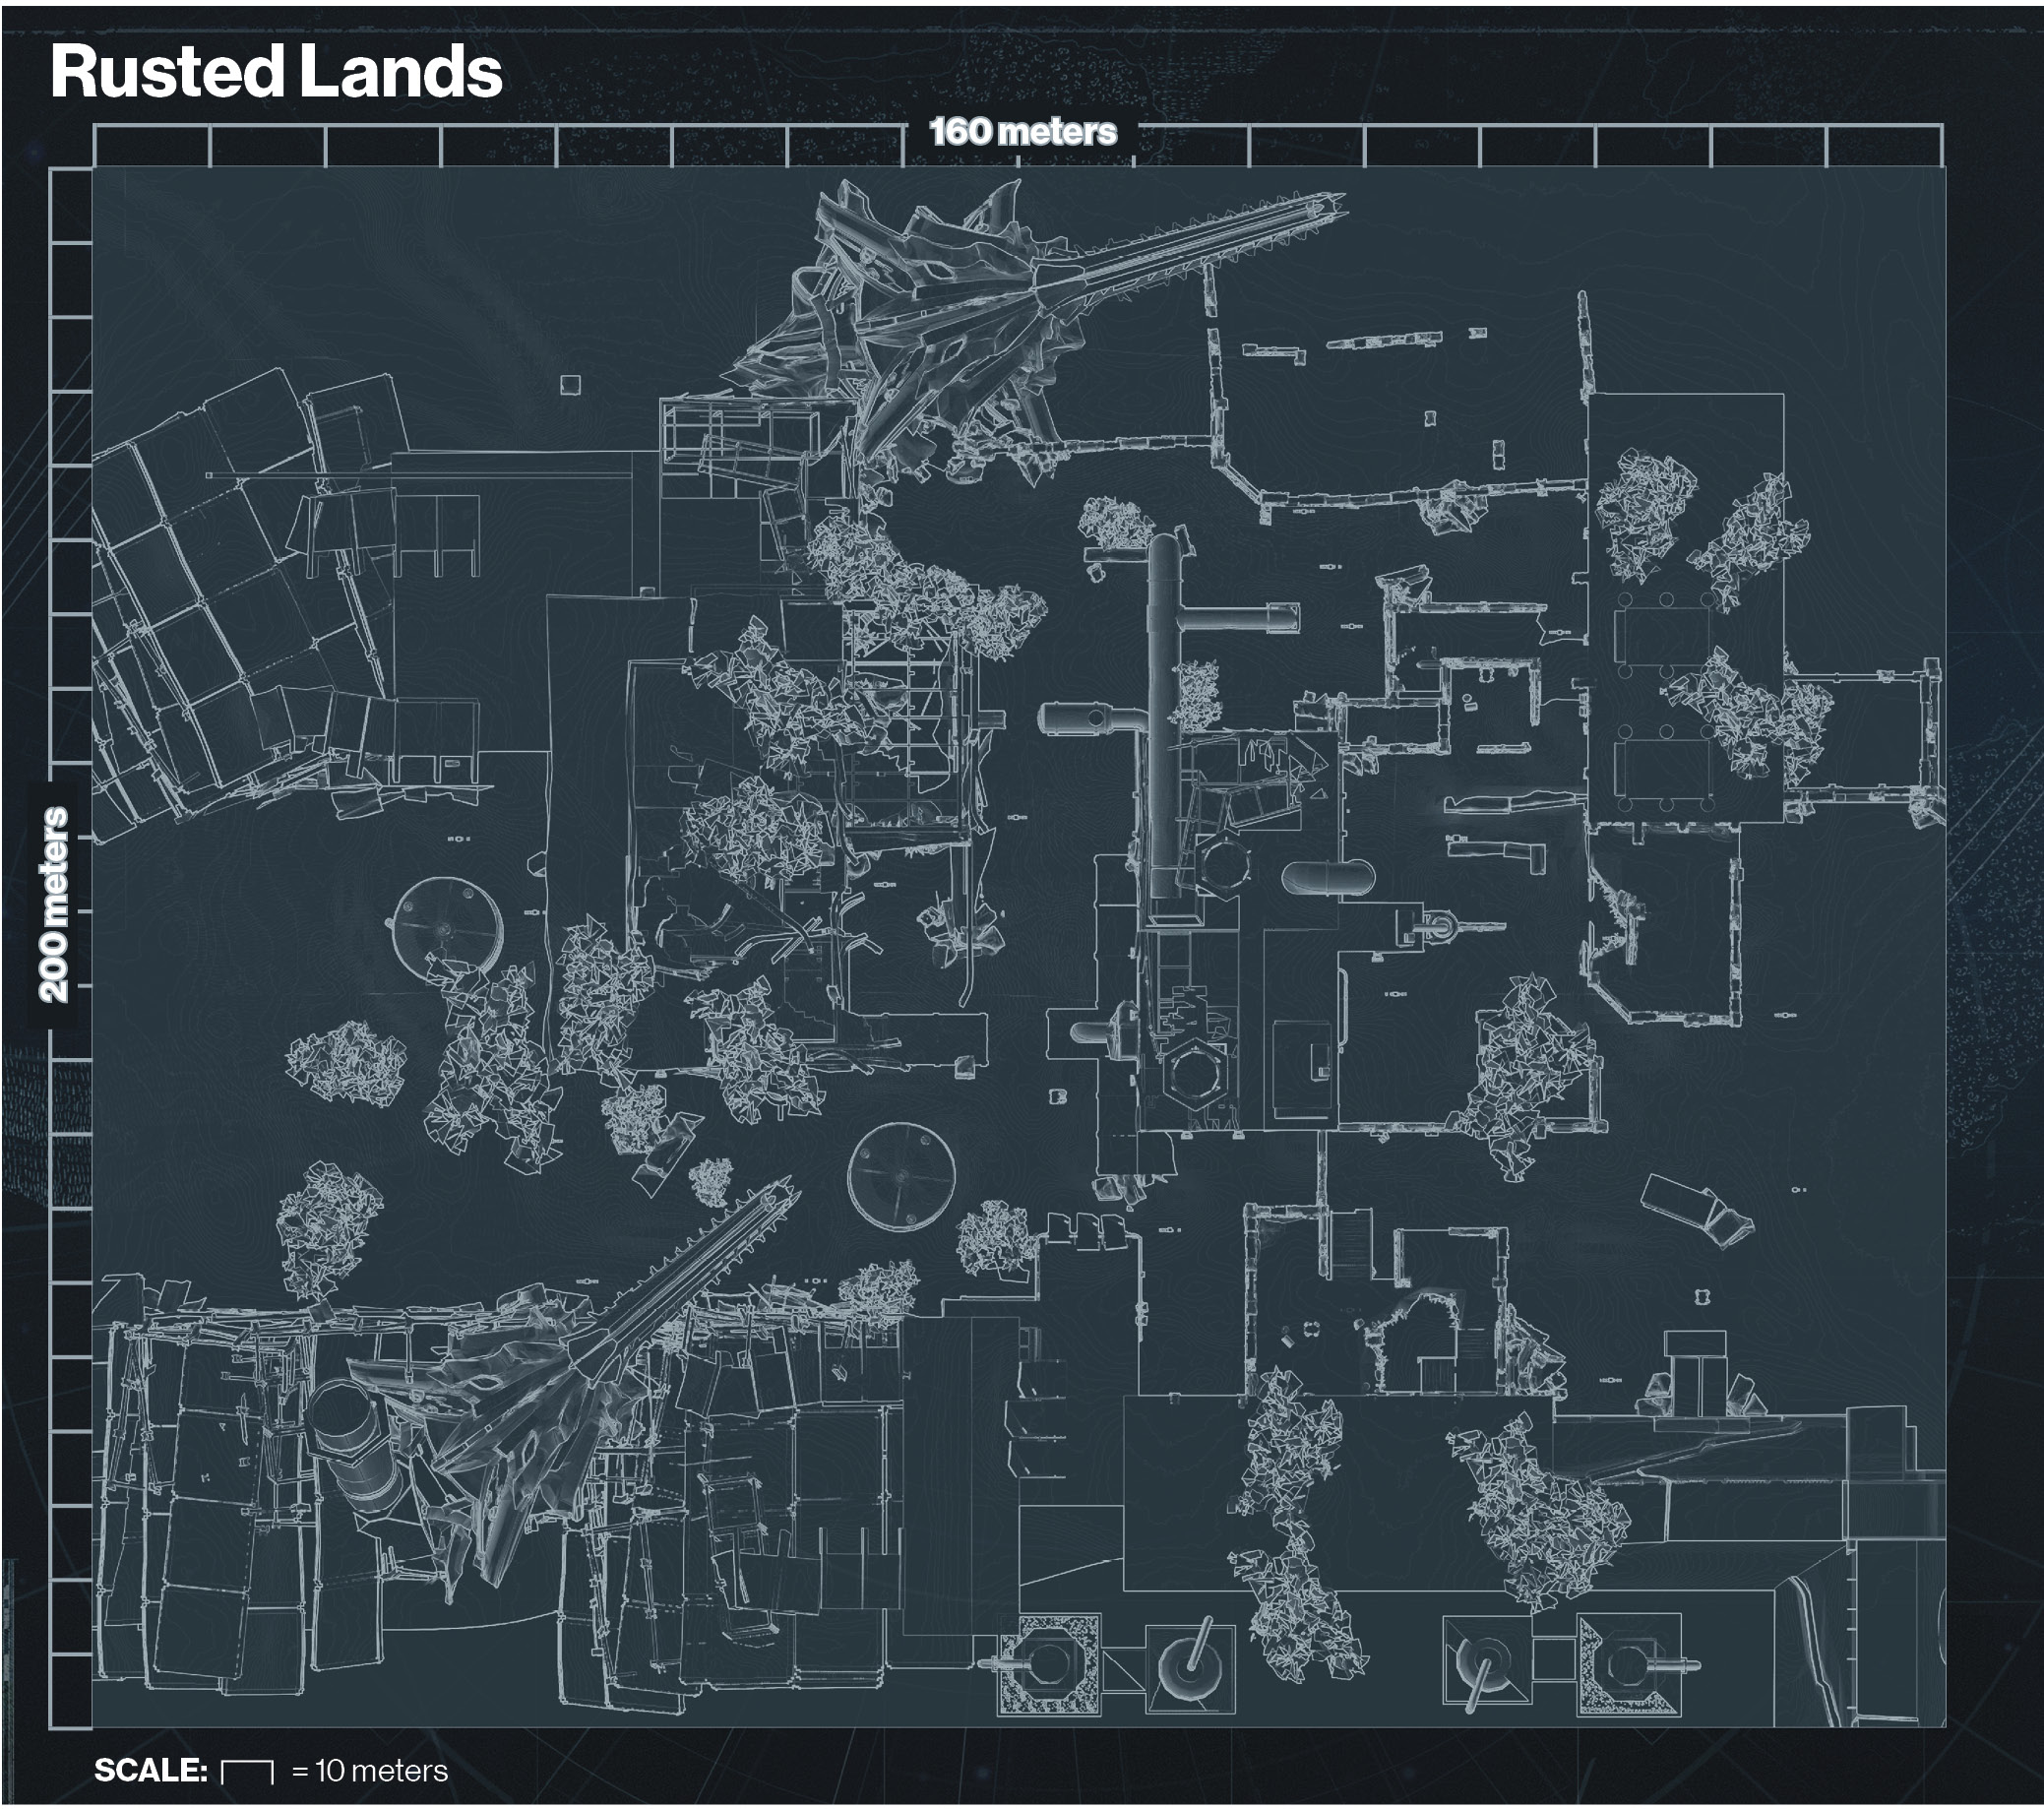
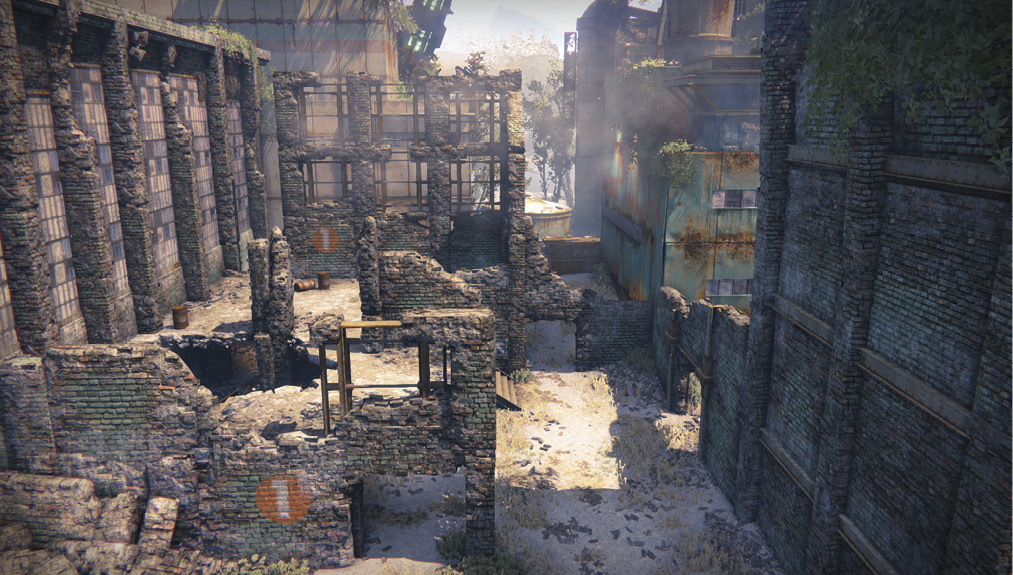
A ruined and overgrown old factory complex, Rusted Lands is a small- to medium-size square level with a mix of interior and exterior combat.
Combat tends to flow around a central lane that bisects the map, with a handful of multi-floor structures at the edges being focal points for conflict, particularly in objective modes.
The largest building on one side of the map contains a wrecked Hive ship that crashed through the roof. On the opposite side, smaller blasted-out buildings provide multi-floor elevation and cover.
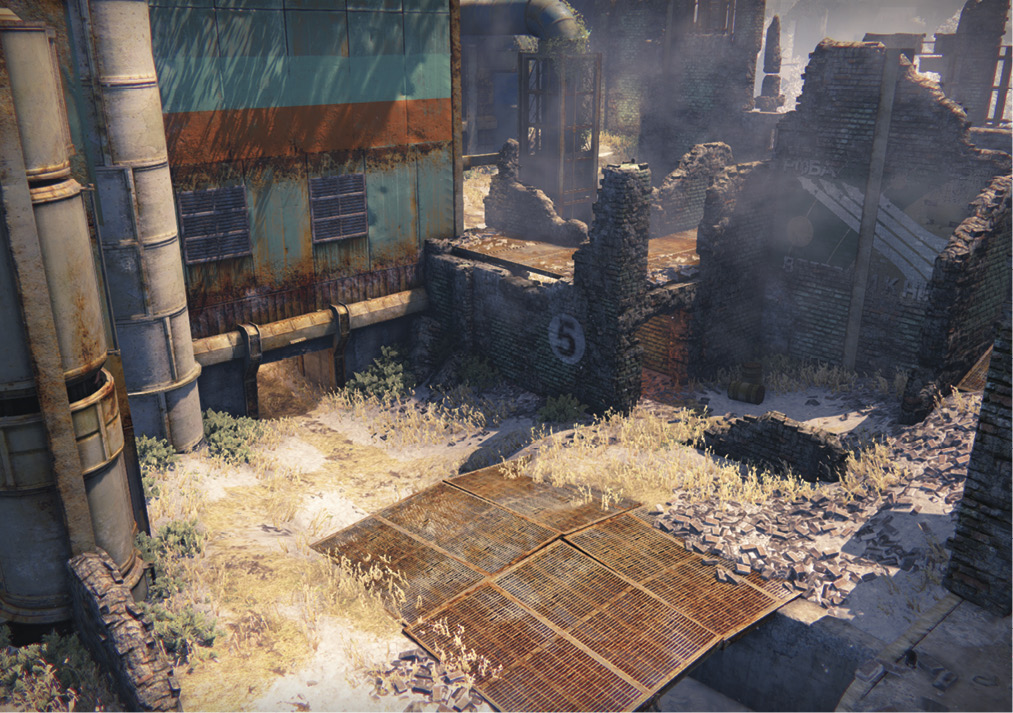
Next to the large building is a central lane that sees the most traffic, and you can cross to both sides of the map via several different routes at either end of the lane or through the middle.
Tactics
Rusted Lands rewards area domination and careful movement. If you lock down a corner of the map, you can use Motion Tracker reads to intercept any incoming foes, preferably from behind cover.
On the offense, use the multiple routes in and out of the middle to attack the building positions. Just don’t approach a strongly defended structure alone.
The central lane is a bad place to be. Either travel through it in a large group at the edges, or avoid it when you see a lot of red in the area on your Motion Tracker.
Motion Tracker
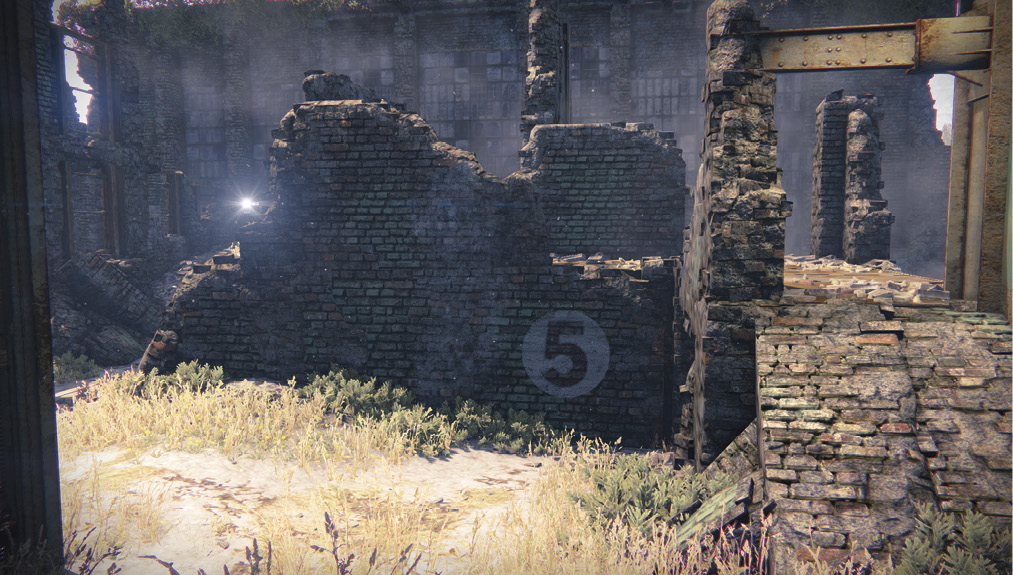
Rusted Lands is a poster child for Motion Tracker training: it has multiple elevations, linear lines of fire, interior and exterior areas, a central hot spot, and corners that you can use to get easy directional reads.
Use Rusted Lands to practice your Motion Tracker reads. It is easiest to use by patrolling the edges of the level and picking up on enemies ahead of you, but you can also use it while defending any strong point on the map to get a read on incoming foes.
Also, learn to pay attention to dim wedges, indicating attackers below you. While they are easy to spot due to the map layout, this will help train you in recognizing when enemies are below you from a glance at the Motion Tracker. This is very useful on some of the more complex multi-layered maps.
In the center of the map, don’t be too surprised to see multiple wedges lighting up at once and coming toward your position. Even an uncoordinated team may often end up pushing on a position from multiple directions by taking different routes through the center lane.