
Destiny Signature Series Strategy Guide Crucible
PvP Combat
The basics of combat in PvP are identical to PvE; all the controls are the same, all of your Class abilities and weapons work the same, and all of your mods are functional. However, certain considerations change when you are facing other players, the smartest and most dangerous opponents you can battle in Destiny.

The Single Most Important PvP Tip
Never fight alone.
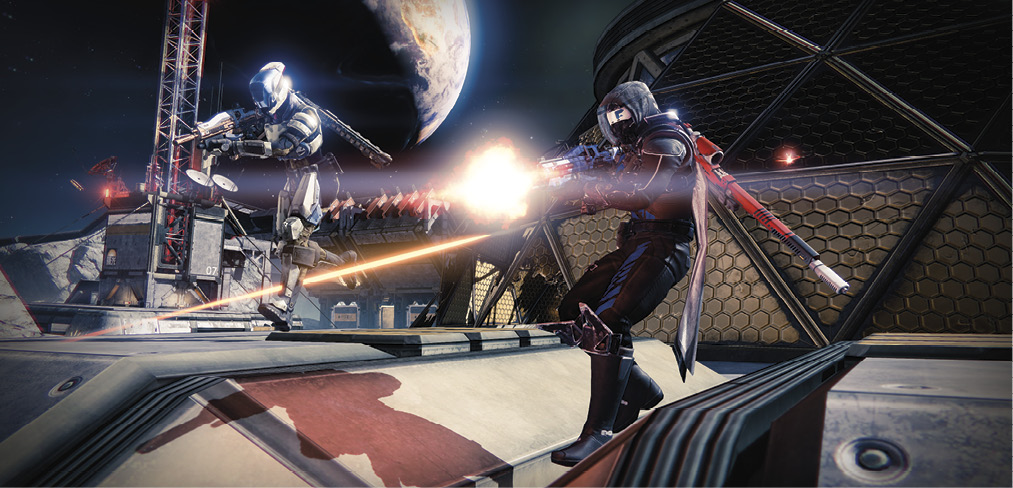
Don’t fight fair. 2v1 combat is what you want, every single time.
PvP in Destiny is very teamwork-oriented, and the most reliable way to triumph in a firefight is having a teammate at your back.
The only caveat is that you don’t want to fight so close to each other that you become vulnerable to grenades, supers, or rockets. Otherwise, mutually supporting lines of fire and coverage of routes is vital to success in Crucible.
You don’t even need to be in an organized Fireteam to use such team play, either. You can just loosely follow teammates using the Motion Tracker. As long as you’re nearby when a fight erupts, you can tip the balance.
Okay, That Was a Lie
There is one other piece of advice that is more important: practice.
There is nothing you can read in this book or watch online that will make you an amazing PvP player overnight. The best players become the best through hard work and time.
However, know that you can improve more quickly if you pay attention while you play. The difference between good and great players tends to come down less to stick skill and raw aim than it does to what’s going on in their heads.
Great players are always thinking one step ahead, have vastly superior situational awareness, and play consistently well under pressure.
These are absolutely learnable skills, and you can learn them more quickly if you focus on improving them while you play.If there’s any trap you can fall into that will stunt your growth, it’s blaming the other guy for your failures.
When you lose a firefight, don’t blame your opponent’s weapon (or your own). Take a minute to step back and examine the situation.
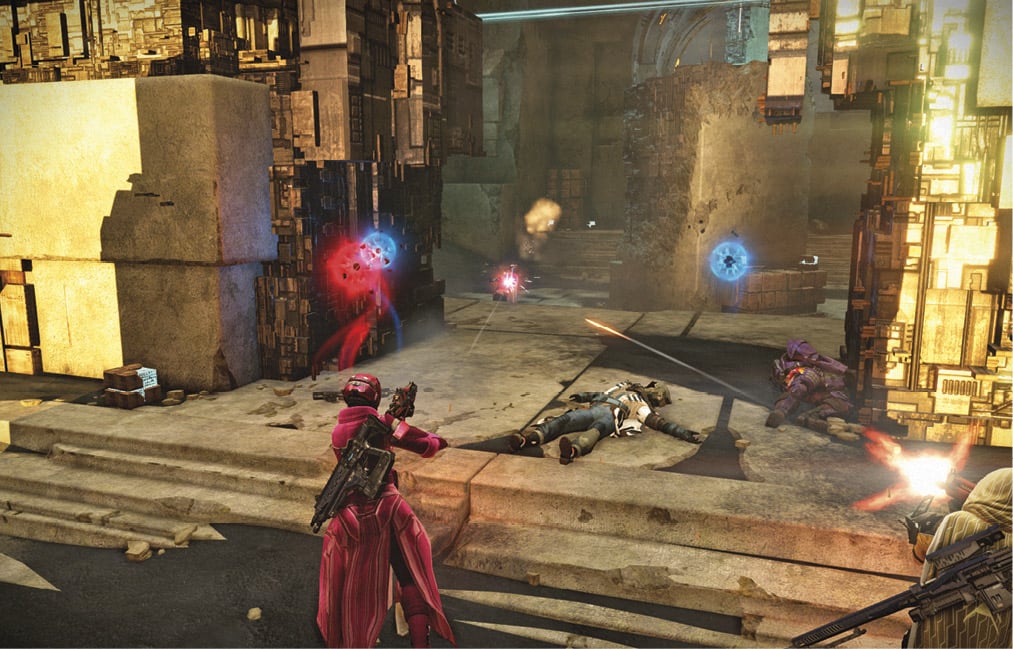
• Were you in a 2v1 situation (or worse)?
• Did your opponent have a terrain advantage?
• Did your opponent have heavy ammo or a vehicle?
• Did they have a super charged?
• Did a grenade hit you?
• Were you already injured?
• Did your opponent ambush you, and you didn’t see or hear them coming?
• Did they have the proper weapon in hand for the distance you engaged them at?
• Did you have the wrong weapon?
• Did you misjudge your opponent’s health when you went for a finishing melee attack?
• Was your opponent difficult to hit?
• Were you moving while you were fighting?
• Did you miss multiple headshots?
• Did you miss completely several times?
If you’re consistently dying in a certain part of a specific map repeatedly, avoid it! Learn the dangerous locations, and bypass them (or be the one aiming at them from a safer location).
Note that out of that entire list, your actual aim is only one small part of the whole combat scenario.
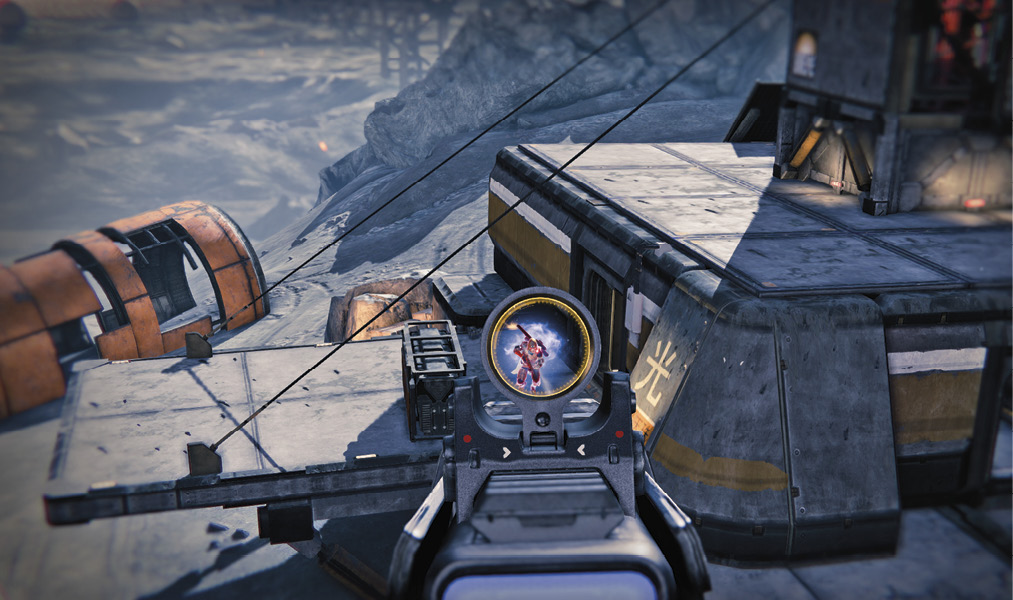
A fight can be won or lost before the first shot is fired. If you sneak up behind someone, it doesn’t matter if they have twice the aim you do; odds are that you’re still going to win that engagement.
If you consistently engage in 2v1s and fight with your teammates, even if you do go down, your teammate can finish off your opponent, keeping the score even, or possibly in your team’s favor due to score bonuses!
But if your snap reaction is to blame your opponent’s obviously superior weapon/Class/spec/armor/online connection, you’re shifting any fault from your own actions and refusing to consider any mistakes you might have made. Mistakes you can learn from!
You can’t control how your opponents play, but you absolutely control everything about how you play. Even if your aim is poor, if you excel at positioning, situational awareness, and teamwork, you can learn to dictate the terms of an engagement, and you can be a tremendous asset to your team.
The lesson is a simple one: think about what you’re doing as you play. You can learn a lot from a single death if you take a few seconds to review what caused it. Such lessons learned accumulate over time, and eventually, they become ingrained in your playstyle and habits.
You expose yourself less, avoid dangerous lines of sight, and support your teammates instinctively. You have a good feel for the position of your team and the enemy team at all times.
You use your grenades, your jumps, your melee, all of your weapons, your super, every tool at your disposal.
You are difficult to surprise, quick on the trigger, already aimed at an opponent’s head as they round the corner, always equipped with the correct weapon, and aware of when to push aggressively and when to fall back.
There’s no need to take PvP incredibly seriously and treat every match and every death like an Olympic training regimen with hidden meaning. You should be playing Crucible matches because you enjoy PvP!
But if you are interested in pushing yourself and seeing how good you can get, practice, and practice intelligently. Two players who invest the same amount of time in Destiny can end up at very different skill levels depending on how they approach the learning process.
Have fun out there, play matches with your friends, and enjoy yourself.
Loadouts
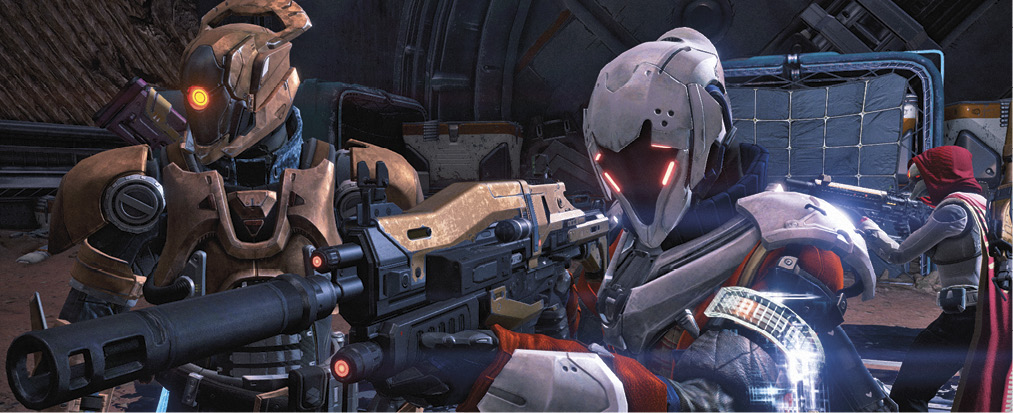
In PvP, your equipment all functions the same, with a few caveats.
First, in normal Crucible matches, Level, Attack, and Defense stats do not matter. All weapons deal the same base damage based on their archetype. However, in matches where Level Advantages are enabled, those stats do matter, though they have less of a total impact than they do in PvE. That is, being quite a few levels below enemies in PvE makes combat impossible, but this is not the case in matches where Level Advantages are enabled. Otherwise, all of your weapon and armor mods function normally. This doesn’t mean that every mod is equally useful in PvP, mind you, only that they still behave the same.
As you gain experience with PvP and with the various mod combinations you can create from your equipment, you will gradually develop a feel for which mods you prefer on PvP-focused gear, and which ones you prefer for PvE.
Make use of your Vault, and store sets of PvP-specific equipment (or PvE, if you spend the bulk of your time in the Crucible).
It’s a bit of a hassle to switch full sets of gear every time you jump in or out of a PvP match, so you may only want to “suit up” if you’re going to be playing an extended Crucible session with some friends in a Fireteam.
If you’re competing in a special PvP event like Iron Banner, do take the time to gear up for it specifically.
And, of course, remember that you can swap around gear during a match if necessary. This is particularly relevant for changing weapons if you find that you need a different weapon setup to handle your opponents.
UI Notes
The user interface is identical in PvP, but the Motion Tracker becomes much more important in PvP. You must learn how to read it quickly and accurately without becoming so focused on it that you lose firefights.
Spend time exploring each of the maps in the Crucible. As you learn their layouts, your ability to use the Motion Tracker will improve because you will know the possible positions that adversaries can occupy. Remember that the Motion Tracker’s inner circle represents 8 meters, the wedges extend to 23 meters, and the outer ring represents 24 or more meters.
Enemy Highlighting
To aid in the recognition of enemy players, any hostile that you target with your crosshair briefly flares red.
Nameplates
Enemy players have their health bars appear over their heads when you target them.
This effect is basically instant if you are aiming down the sights (ADS) and aiming directly at a target in a clear line of sight. However, the nameplate appearance can be delayed slightly if you are only looking in the general direction of an enemy at long range and you’re aiming from the hip.
During a match name plates of other player will be highlighted in yellow if their super is ready. So watch out for enemies with highlighted name plates, and stay near teammates with highlighted nameplates.
Motion Tracker
It should be noted that crouching will cause players to appear on enemy radar at a decreased frequency. This can be a great way to get the drop on opponents in PvP.
If the motion tracker section is full red an enemy is on your level. If the motion tracker section is outlined in red but not full red the enemy is either above or below your location.
Class Stats
Class stats function the same in PvP as they do in PvE, but their importance is a bit different.
Agility
Speed is life in PvP, so Agility is always helpful.
It gets you to key objectives faster and lets you move into position or to a vehicle at the start of a match more quickly.
You can use your speed to disengage from fights more swiftly, and your superior jump speed and height can give you more mobility for rapid map traversal.
Speed also gives you an edge in Motion Tracker combat. If you can move more quickly than an enemy is expecting, you can sometimes pull off a flank even if they know you are coming. This is especially true for cloaked Bladedancers with their inherent Motion Tracker suppression.
Speed also helps you evade long-range fire. A max Agility Hunter sprinting and sliding is a very difficult target to pick off from a distance.
In a heads up firefight, Agility provides a small benefit, though typically not as consistently as Armor.
Armor
More Armor gives you the edge in heads-up firefights.
If you’re going to be engaging in face-to-face combat with Primary Weapons frequently, high Armor can ensure that you emerge victorious more often.
You might come out with a sliver of health left, but if you’re still standing, that’s all that matters.
High Armor is typically a Titan specialty, but any Class that maximizes Armor is going to have an easier time in 1v1 firefights. A max Armor Titan is perfect for breaking a lock on an objective or key location.
Recovery
Recovery is a bit of a dark horse stat in PvP. At first glance, it seems weaker than Agility or Armor. It doesn’t help your mobility, and it won’t save you in a 1v1 firefight, so what good is it?
Quite a bit, as it turns out. Recovery does two things for restoring your health: it reduces the stun time before your health regenerates, and it speeds the rate of recovery.
This means that a high Recovery value has a much more significant effect on your downtime between or during fights than you might expect.
A Warlock with maxed Recovery can duck away from an engagement, wait for regen to begin, and then re-engage immediately, certain that they have gained a health edge over their opponent.
This is particularly nasty when combined with burning damage, a specialty of the Sunsinger. A grenade-spamming Voidwalker is no slouch in indirect combat, either.
Good Recovery also reduces the number of times that you get “mopped up” by another hostile after you finish a fight. A few seconds shaved off your regen time can get you to full health before you get attacked, and almost always before you hunt down another player.
Movement in PvP
Movement is crucial in PvE, and it is even more important in PvP.
How well you move in combat determines how easy you are to hit, and how well you move out of combat affects how quickly and safely you can traverse a map.
Learning how to move through a level also gradually improves your ability to monitor common routes, avoid dangerous hot spots, and make use of good cover and strong sightlines.
Movement Modes
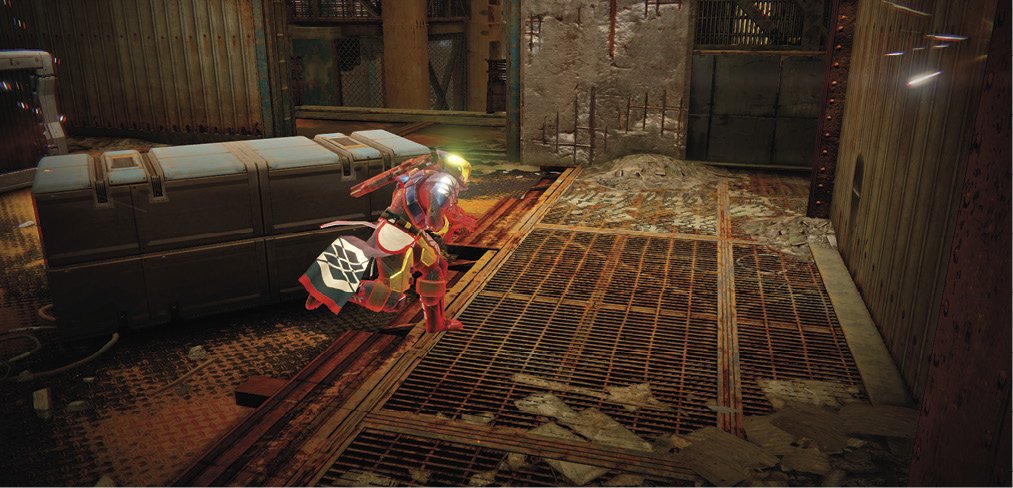
Be careful with Glide and Lift in PvP; remember that both can be cancelled by tapping Jump again. Long hangtime in PvP is a bad idea.
The Hunters’ Double Jump is unique because it allows for mid-air evasion. You can adjust the height of each jump and how long you delay the second (or third), which serves to break up your movement to a much greater degree than the smooth levitation of Glide or Lift.
Blink, which is exclusive to the Voidwalker and Bladedancer, is a very powerful movement mode in PvP. Unfortunately, it is also the hardest to use.
Blink has a cooldown, so you cannot use it more than twice every 10 seconds or so. If you are caught without your Blink, you can get yourself trapped.
Blink is also trickier to traverse levels with, and it can be disorienting to use.
But with all that in mind, Blink is also the only instant movement ability. This gives it significant power for escaping combat, closing distance, and ambushing or confusing enemies in a skirmish.
Crouching
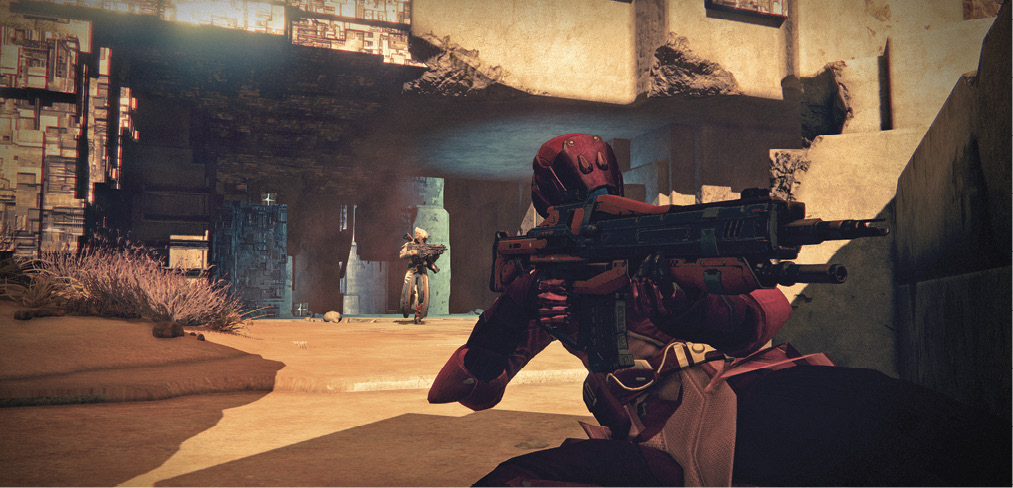
Crouching conceals your Motion Tracker signature, slowing the pulses that make you appear on other players’ HUDs as a red blip.
If carefully timed and positioned, crouching allows you to ambush overly aggressive adversaries, and it can aid in defending objective areas.
Be careful with crouching: if you are spotted, your head makes a nice easy target.
Sliding
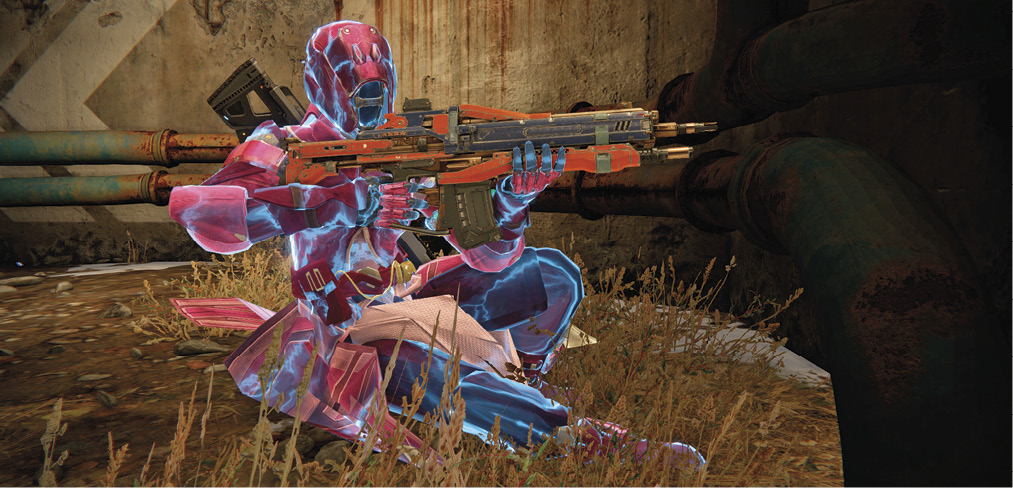
Sliding is very useful in PvP, both for the sudden burst of speed (ideal for shoving a shotgun into an enemy’s face) and for breaking up your silhouette at a distance.
A player lining up a long-range sniper headshot will whiff completely if you slide before they fire. In situations where you know (or suspect) that you are being tracked, using a slide when you sprint through the open between cover can save your life.
It is possible to transition from a slide to a cover lean or immediately into a sprint.
Slide to cover and aim down sights (ADS) to look over it, or slide and then tap sprint as you finish the slide to begin sprinting immediately as the slide completes.
A Bladedancer talent and a mod found on weapons can increase your slide distance (though they do not stack their effects if you have both). The extra distance is excellent for both speedy evasive mobility and shotgun and melee rushing.
Grenades
Grenades are useful as zoning tools to force your opponents away from a position. You can use them to block hallways or objective points, cover an escape, or force a target to move out of cover.
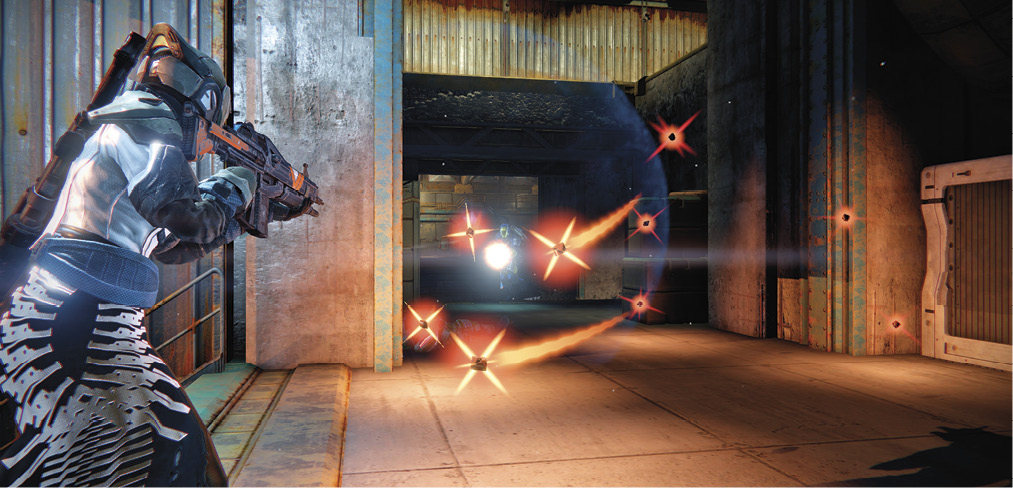
Seeker-type grenades are great for locating enemies, either on offense, when you’re pushing into a space where you suspect an adversary is hiding, or on defense, when you want to locate exactly where an incoming target is.
Persistent grenades are perfect for blocking chokepoints or objectives; talents that affect them can be very useful.
Blast grenades often provide the most raw burst damage, since persistent grenades can be avoided and seeker grenades rarely deal heavy damage.
Sticky grenades are usually a bit tougher to use than other grenade types, but a stick is almost always a kill.
Special mention also goes to the Flashbang, Suppressor, and Tripmine grenades, as well as the Sunsinger Warlock.
The first two grenades are Titan-specific and have really nasty debuff effects on opponents. Blinding or shutting down enemy powers is strong in PvP.
The Gunslinger’s Tripmine is unique as a trap grenade, and it is very powerful for defending an area… or camping with a sniper rifle (no judgment here).
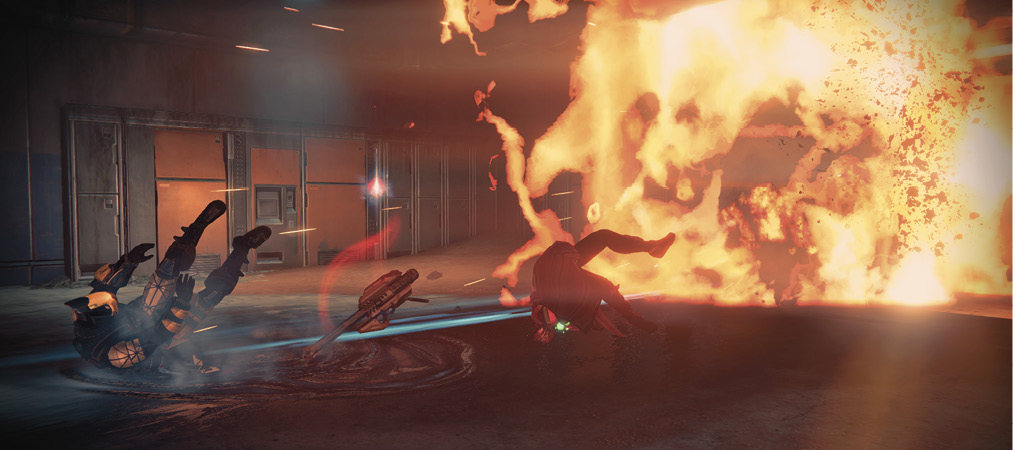
The Sunsinger is particularly noteworthy when it comes to grenades, because this spec can be built to ignite your foes. Burning damage plus grenade spam from a Radiance and Discipline/Intellect build can be very dangerous.
Melee
Melee is extremely important in PvP. You must develop the instinct for when to move in for a melee kill, and when to back off or jump to avoid someone charging you.
Two hits can kill an adversary, and any gunfire plus a melee strike is almost always fatal as long as you get in sufficient damage before striking. When you are engaged in close to medium-range fights, these are often the situations where you need to decide if you’re going to go for a melee kill.
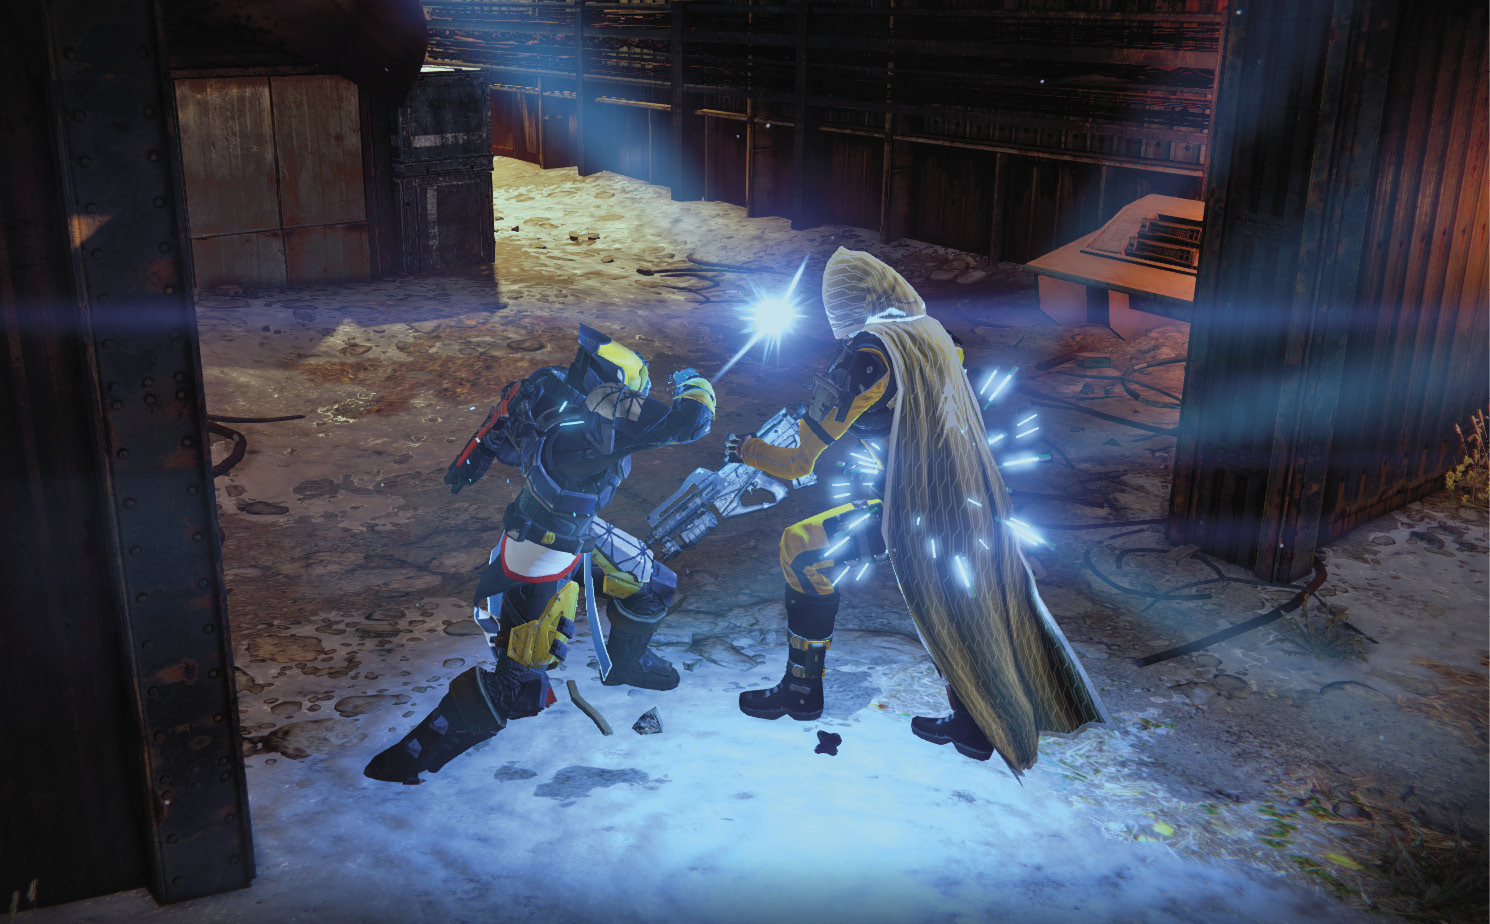
If you ambush an enemy from the flank or rear, melee gives you an easy means of taking them down fast, and you can use the opportunity to trigger talents that activate from melee kills.
Melee combat is dangerous. You’re at risk from shotguns and fusion rifles, auto rifles are at their most efficient, and enemy melee strikes and grenades can take you down quickly.
But used properly, melee strikes can end a fight swiftly, leaving you with more health and activating a variety of talents and mods that trigger on kills and melee kills.
Super Moves
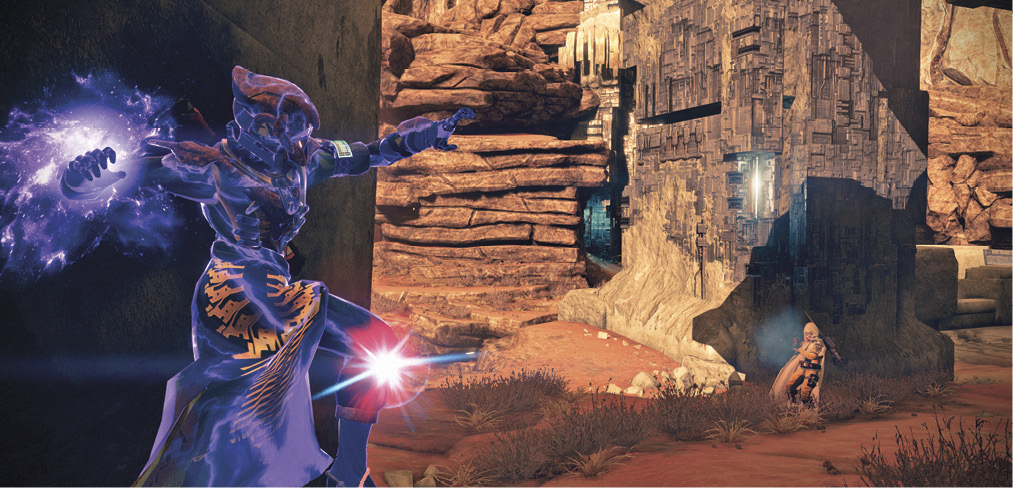
Supers are incredibly powerful in PvP, and using yours well can be a huge asset to your team (and your score).
In general, burning your super to maintain control is the best way to use it. If you have a good position as a team or while solo, you can use your super to maintain your lock on good terrain or near an objective.
Supers also work well as siege breakers. If the enemy team is heavily defending an area, they are at risk of being multi-killed by any of the offensive supers.
The Titans’ Ward of Dawn bears special mention as the only outright defensive super in the game. It allows you to create cover from nowhere and is particularly powerful in wide-open areas that have long sightlines. In fact, the Ward can completely protect you and your teammates from distant enemies.
Weapon Usage
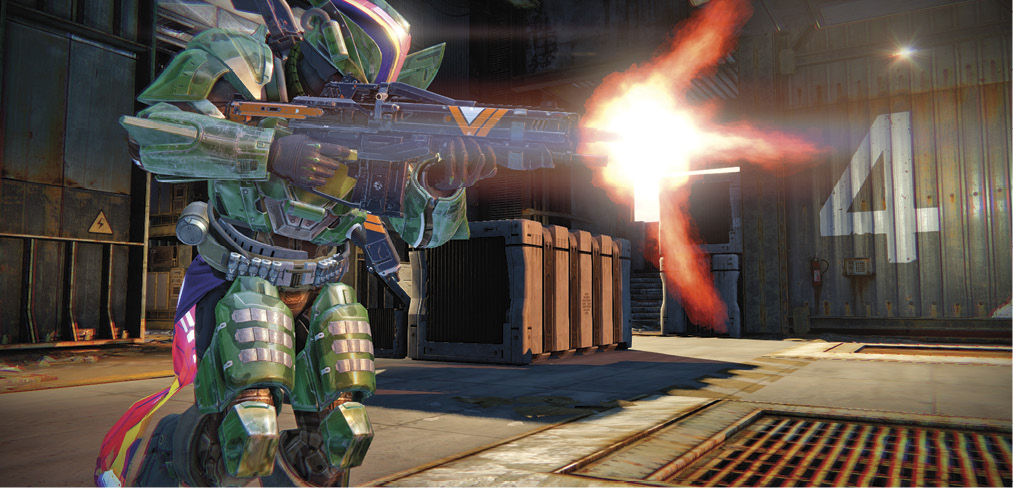
Every weapon suits a specific role in PvP, and while most of them are obvious, they bear repeating. All of these notes assume roughly evenly skilled opponents. If you’re considerably more skilled, you can get away with using a weapon “improperly,” but in situations where your target is just as good as you, the player with the best weapon for the job tends to win the fight.
Primaries
Auto Rifles: Best at shorter distances where you can empty a magazine into an opponent’s head with good accuracy. Out to medium range, with sufficient Stability, you can still take down your foes quickly. You can still kill enemies at longer range with a high Stability auto rifle, but you’re not going to reliably win fights against scout rifles or sniper rifles.
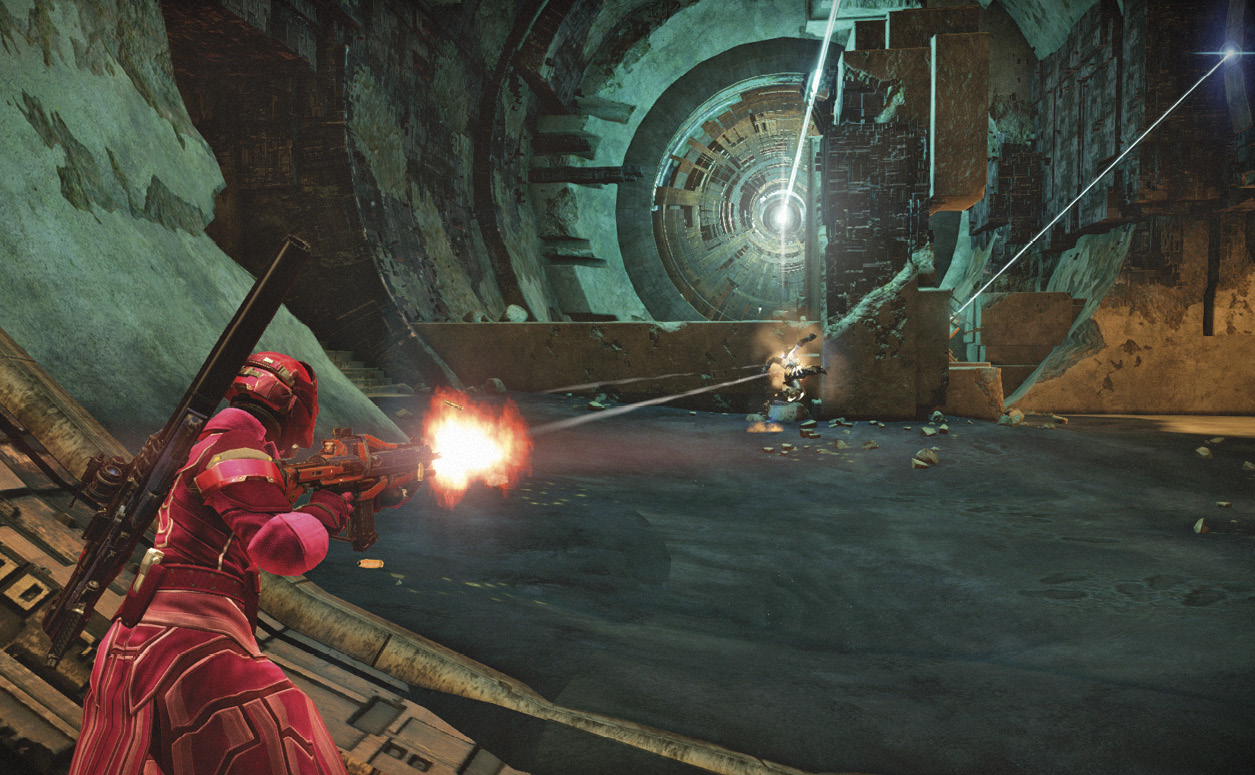
Pulse Rifles: Better at medium distances. They can’t compete with auto rifles’ kill time up close (unless you’re meticulous with headshots), and missing any shots in a burst puts you at a disadvantage at longer ranges. However, if you get a good pulse rifle with solid Stability, you can drill foes at a distance where the auto rifle begins to fall off and the scout rifle can’t quite keep up in damage output.
Scout Rifles: Best at medium to long range. Fights against pulse rifles can be fairly easy or very tight depending on distance and headshot accuracy, but you’re not going to have a great time at short range against auto rifles.
Hand Cannons: The toughest Primary Weapon to use, hand cannons deal significantly more damage per shot than auto and pulse rifles and slightly more than scout rifles, but they are much less forgiving of missed shots.
With high damage per shot, they are ideal as close-medium to medium-range “snipers.” You can easily finish off wounded adversaries, or you can rapidly tip the scales in a teammate’s favor by landing just one or two shots.
Primary Notes
Choosing your Primary Weapon generally comes down to your personal preference (what you’re best with), your strongest available weapons, and the map and mode you’re playing on.
On larger maps or maps with longer sightlines, favor the longer-range options, and vice versa if they call for a lot of close-quarters combat (CQC).
Remember that you can always back up a scout or pulse rifle with a shotgun or quick-charging fusion rifle, and a sniper rifle can fill the gap for an auto rifle or a pulse rifle with poor Stability.
Specials
Two of the secondaries are very straightforward. Take a shotgun, and use it in tight spaces. If you want long-range firepower, bring a sniper rifle.
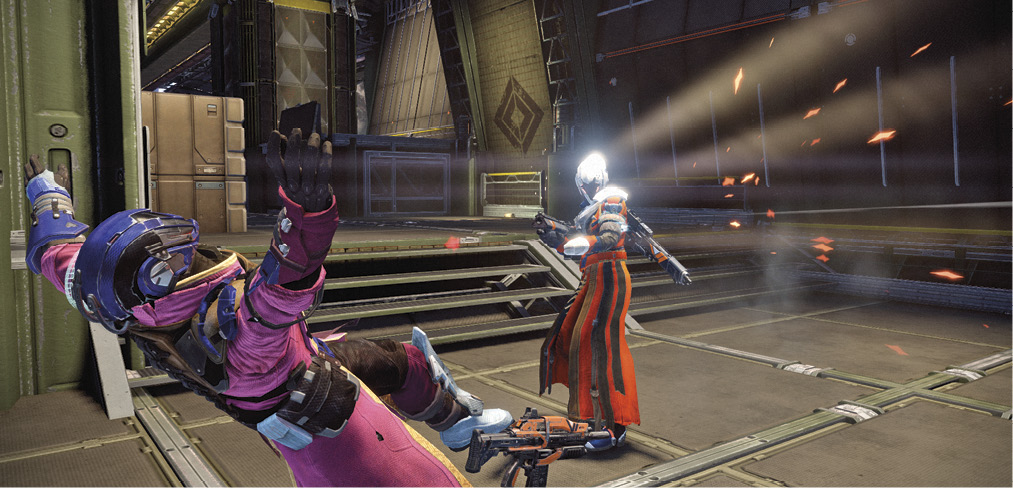
The fusion rifle is the oddball, as it lacks the instant trigger-pull lethality of the shotgun and certainly cannot compete at long range with a sniper rifle. However, the fusion rifle can deal one-shot kills at longer range than shotguns, and it is particularly strong at finishing a weakened enemy in one blast.
If you have a situation where you can back off behind cover for a moment during a fight and switch to a fusion rifle, you can often charge it and finish the skirmish the instant you emerge from cover.
The fusion rifle is also powerful in a situation where you can ambush an enemy who is fighting someone else. One accurate shot can end the fight faster than your Primary and at a longer range than a shotgun.
Even a glancing hit with the majority of the blast can be enough for your teammate to finish off the wounded opponent. Remember that fusion rifles deal less damage the faster they charge, so if you want greater one-shot kill potential, you must deal with a slower charge time.
Special Notes
Except for the fusion rifle, Special Weapons don’t have many quirks: the shotgun and sniper rifle behave exactly as you would expect.
Respect the danger that shotguns and sniper rifles present, and practice with the fusion rifle. Its unique characteristics can make it a very powerful short-range weapon if used well.
Heavy
Machineguns: With very strong sustained damage, a machinegun can potentially score you more kills than the rocket launcher from a single pack of heavy ammo. However, machineguns lack the instant explosive finality of a rocket.
If you are confident in your map knowledge and aim, the machinegun is a good choice, as no Primary Weapon can compete with the machinegun. Special Weapons have a chance if they can engage you from the correct distance or ambush you—don’t let them.
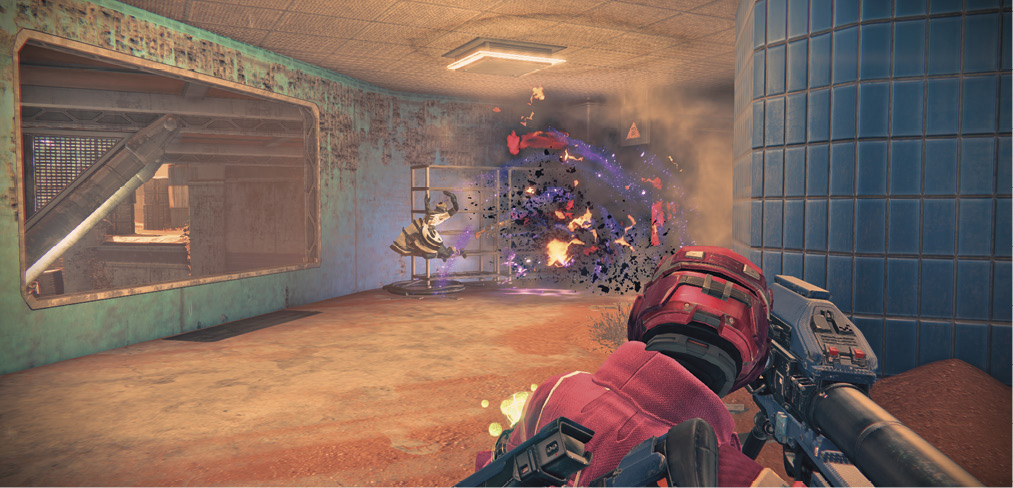
Rocket Launchers: Ideal for instantly clearing an objective area, and devastating for wiping out clumped adversaries or clearing a confused firefight.
In an organized Fireteam, several players should always bring rockets, as their easy-to-use lethality is vital for swinging engagements in PvP.
Heavy Notes
Heavy ammo is a vital resource in PvP: it spawns periodically, it has a randomized delay before it appears, and everyone in the match gets a warning announcement 10 seconds before it appears.
Be sure to lock down at least one of the heavy ammo spawns for your team. If you can secure both, you can deal significant damage to your opponents.
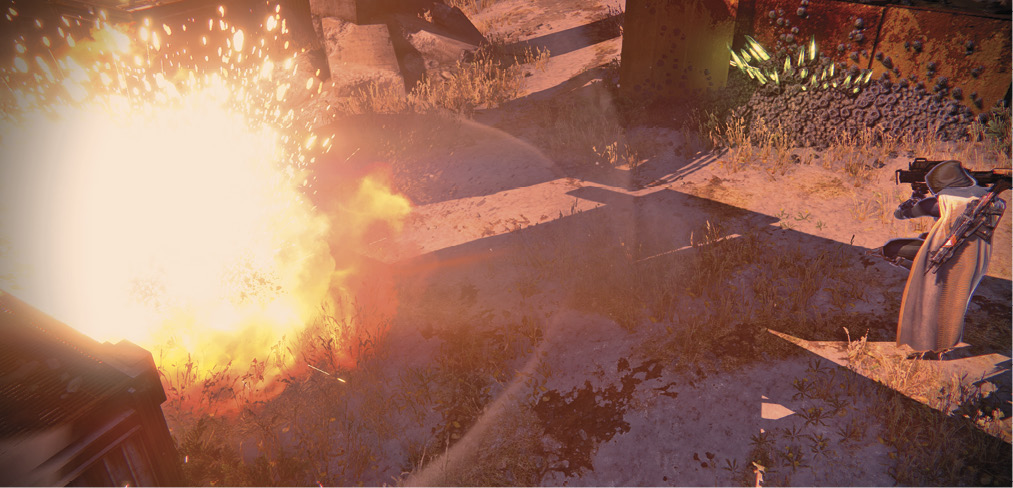
Dying with heavy ammo in your pack causes you to drop a heavy ammo box, but the ammo amount is cut in half. If the amount remaining is too low, no ammo box is dropped at all.
Don’t throw your life away if you have heavy ammo—use it!
Both Heavy Weapons are strong against vehicles. If you’re playing on a map with vehicles, always remember that you can destroy them quickly with machinegun fire or rockets.
Reviving
Reviving other players in Skirmish and Salvage is critical. This gives your team more points (easing some of the loss from the death) and keeps your Fireteam together in one area rather than dealing with a random respawn location. Just be careful about going for a revive if you know enemies are nearby; you don’t want to give up multiple kills for free.
Also, keep in mind that you can revive from a decent distance away from a downed Guardian’s Ghost marker. If you are behind cover, you may be able to revive a teammate without nearby foes spotting you.
Crucible Marks
You earn your weekly PvP currency by winning or losing any PvP match, so even if you don’t think you are skilled in PvP, join some friends and play some matches.
Have some faith in Bungie’s matchmaking! It does its best to place you in matches with similarly skilled players. If you play consistently for a few days, the system has time to properly evaluate you and start matching you with other players right around your skill level.
The equipment you can purchase with Crucible Marks is just as powerful and useful as that acquired with Vanguard Marks.
Also, if you can cap both weekly, you can speed up your rate of Legendary equipment acquisition significantly.
If you really don’t enjoy PvP, look into the Material trade-in vendors in the Tower who will give you Marks for Materials.
Don’t ever feel that you are forced to PvP (or PvE, for that matter). There are always other activities with powerful rewards, no matter what you prefer.