
Destiny Signature Series Strategy Guide Field Manual
Combat
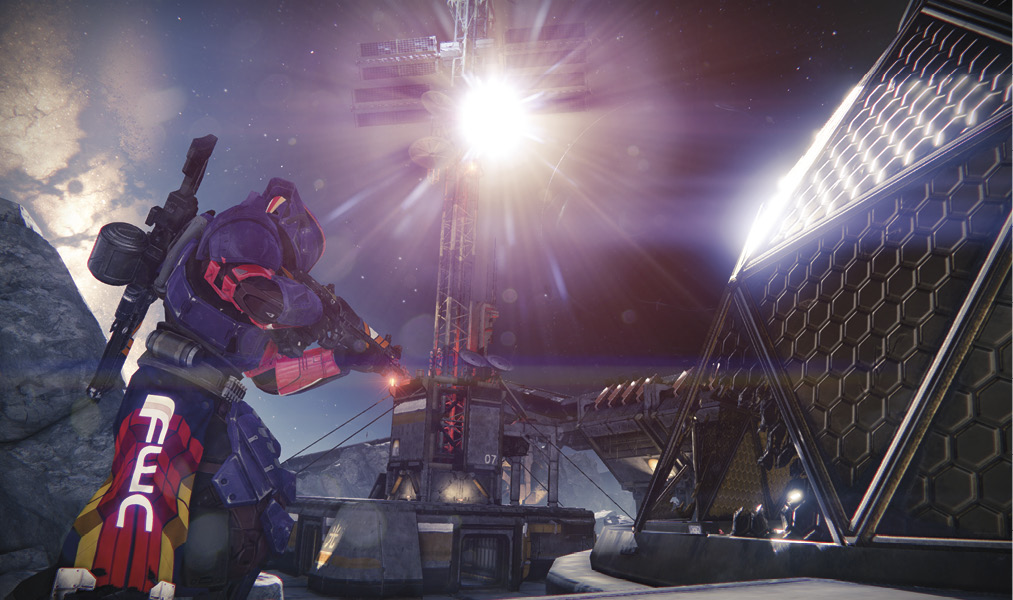
Combat in Destiny is as simple as point and shoot…mostly. It is that simple on the surface, but once you look a little deeper, complexities begin to unfold. At the beginning of the game and at low levels, your options are severely limited. You have an incomplete set of weapons, your weapons and armor lack stats and mods, and your Class specializations are not yet fully unlocked. As you progress, more options for customizing your performance on the battlefield open up. As this occurs, the complexity increases, as does your ability to form powerful combinations in your Fireteam.
Weaponry
Primary Weapons
Auto Rifles, Pulse Rifles, Scout Rifles, Hand Cannons
As reliable tools of war, primary weapons deal good, consistent damage and have plentiful ammo, both in terms of the amount you can carry and how easily you can find it on the battlefield.
Auto Rifles
Fully automatic
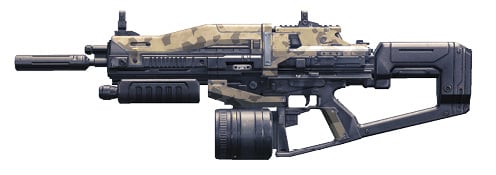
Auto rifles are most powerful up close, where you can maintain nearly perfect accuracy through an entire magazine. Good Stability and a good sight can extend this performance out to a medium distance, but auto rifles generally lack the ability to deal their full potential damage to long-range targets. Also, nailing consistent precision shots is very difficult, even at a close-medium distance.
Pulse Rifles
Three-round bursts, semi-automatic
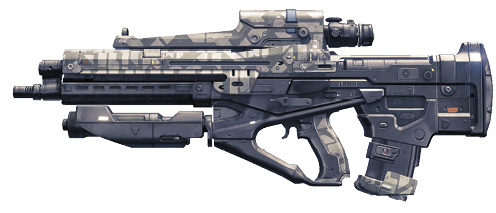
Pulse rifles work well out to a medium distance. Compared to a perfectly accurate auto rifle, they don’t deal quite as much damage up close. At long range and compared to a scout rifle, missing shots in your bursts causes your damage to fall off. Between close-medium to medium-long distances, they perform well. With sufficient Stability and a good optic, you can often land a decent percentage of precision hits.
Scout Rifles
Semi-automatic
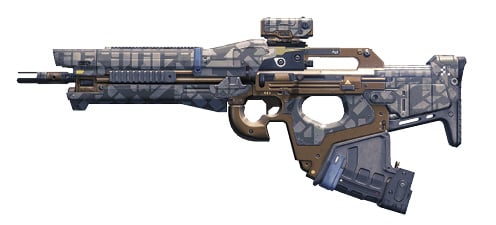
Scout rifles are long-range specialists. They are pinpoint accurate, deal good damage per round, and are ideal for scoring consecutive precision shots. If you can consistently land precision shots, scout rifles can perform quite well at a medium distance.
Hand Cannons
Semi-automatic
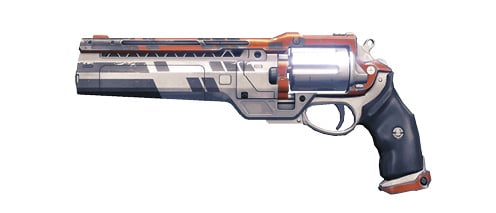
Hand cannons perform slightly better in terms of potential damage output than either pulse or scout rifles, but they demand excellent accuracy. Hand cannons have small magazines, and missing any shots causes them to fall behind the other weapons in damage output. In general, they work best out to a close-medium distance. Hand cannons deal the highest damage per shot of any primary, so if you can manage to chain precision hits with no delay and no misses, they can inflict heavy damage.
Primary Weapon Notes
Semi-automatic
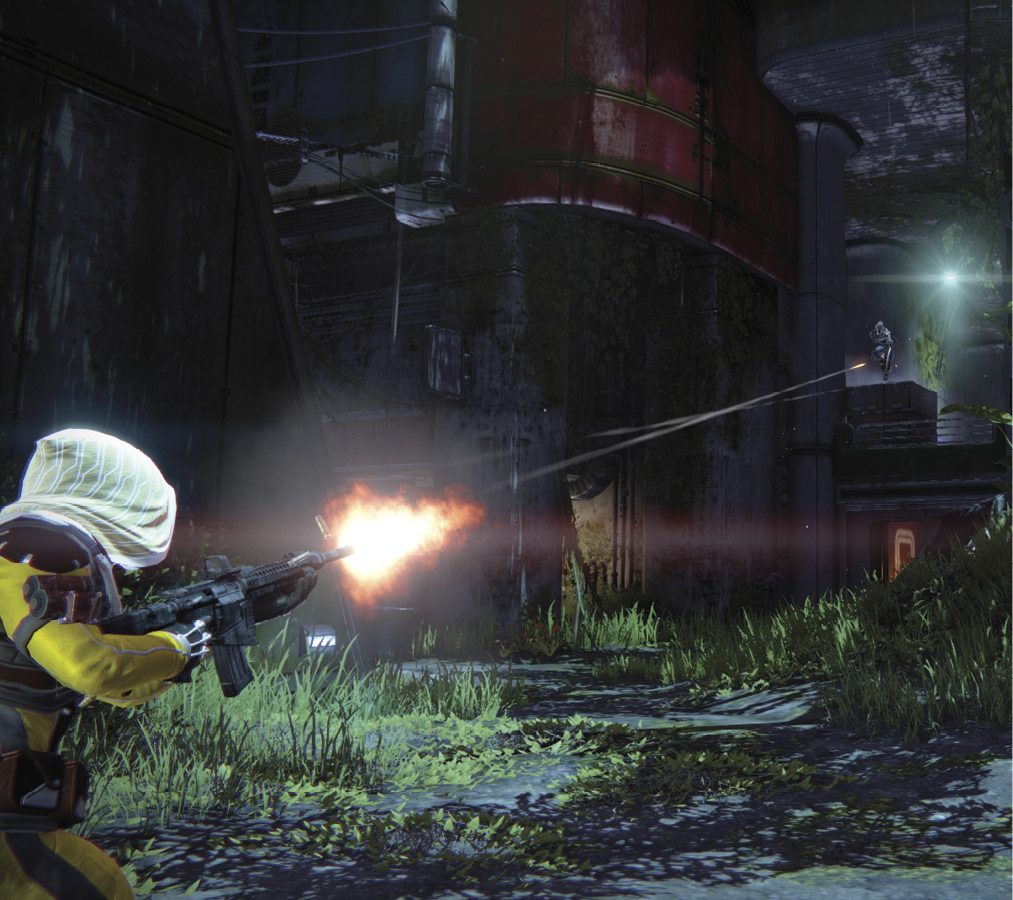
All primary weapons benefit from good Stability scores. However, this is most critical for auto and pulse rifles, weapons with high rates of fire. To achieve their maximum damage potential, these weapons require a majority of rounds fired in rapid succession to be on target.
Scout rifles and hand cannons can get away with slightly lower Stability simply because they are semi-automatic weapons. You can use the time between shots to ensure that you are on target for the next round.
Keep in mind that that delaying your shots due to poor Stability will result in a decrease in your potential DPS. This is generally only a serious concern in PvP, where fractions of a second count. In PvE, unless you’re constantly slowing your damage output, it’s usually not as big of an issue. Hand cannons in particular benefit from a good Reload stat, and having bonus magazine capacity doesn’t hurt, either.
Special Weapons
Fusion Rifles, Shotguns, Sniper Rifles
Special weapons are your backup weapons, your close- and long-range specialists, and your most reliable source of elemental damage.
Fusion Rifles
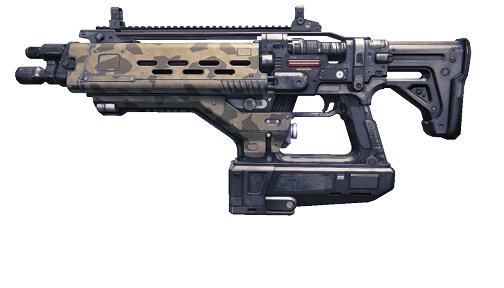
Fusion rifles are strong out to a close-medium range, and the high Stability, high Range, low Recoil models can be used out to a medium distance. You must charge fusion rifles to fire by holding the trigger. The amount of time you must hold the charge varies based on the rifle’s Charge Time stat. Once you fully charge a fusion rifle, it instantly shoots. You cannot hold the charge, so make sure you’re on target when the rifle fires!
It is possible to “pre-charge” your fusion rifle by feathering the trigger, tapping and holding it until just before it fires, releasing, and repeating. Doing so can cut the effective Charge Time in PvE or PvP, but recognize that you do make noise when doing this in PvP!
Fusion rifles fire a volley of seven high-damage fusion energy blasts. Unlike all other weapons in the game, fusion rifles do not have damage falloff. That is, a fusion blast inflicts exactly the same damage at any range—other weapons begin to fall off to 50% of their maximum damage at long range. If you can stay on target, you can deal a very high burst of damage to a foe even out to medium range… but the staying on target part is the tricky bit. They kick up with each blast fired, and because all seven are fired instantly and consecutively, the recoil can be significant. Practice firing the fusion rifle while ADS, and learn to wrestle the recoil down as the fusion rifle fires the full volley. With practice, you can land remarkably accurate shots at a greater distance than you might first expect. At very short ranges, you can essentially use the fusion rifle as a shotgun, drilling your target with a hipfired volley. At any greater distance, though, ADS and fight the recoil to get as much of the volley on target as possible. Also, because of its unique mechanic of firing seven consecutive shots in a single volley, you can continue to aim as the weapon fires, placing some number of shots on multiple targets. This is a great way to take down multiple targets with a single charge.
Fusion rifles lack the shotgun’s hair-trigger instant damage at short range, and they cannot compete with sniper rifles at long range. They are far more effective on targets too far for a shotgun and too close for a sniper rifle. In PvP, you can use the fusion rifle as a shotgun substitute in the sense that you can score a one-shot kill at close range (or even farther if you are on target). However, the charge time required to fire the fusion rifle means that up against a real shotgun, you’re not likely to come out on top. Likewise, because of the lack of damage falloff, a fusion rifle can kill in one shot out to a surprising distance. Still, the greater the range, the harder it is to get the full volley on target, and if you miss, few PvP opponents allow a second chance.
Shotguns
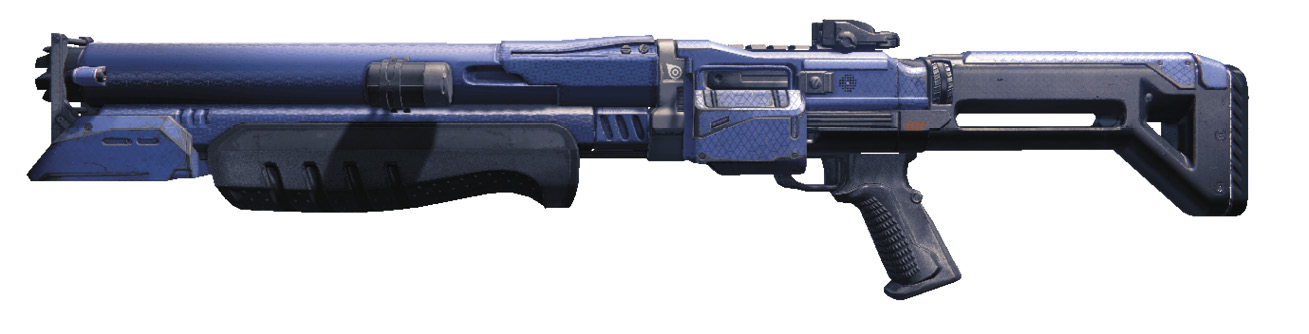
Shotguns are brute force implements designed solely to deal lethal damage at short range and do nothing else. They do not have finesse (or any range, for that matter), but what they do, they do well.
You can easily hipfire shotguns because at the ranges you’re using them, accuracy is rarely an issue. However, if you want to ensure that all your damage gets on target, use ADS and line up your shot squarely.
In PvP, shotguns can commandingly shut down other opponents in close-quarters fights, and a sliding shotgun blast or a shotgun-melee combo is extremely deadly. In PvE, shotguns are ideal for missions with many fights in confined spaces, and they are particularly useful for rapidly dispatching multiple lesser minions at short range. Shotguns have intense recoil, poor range, and slow reloads, but when you want a target dead immediately at short range, there is no better tool.
Sniper Rifles
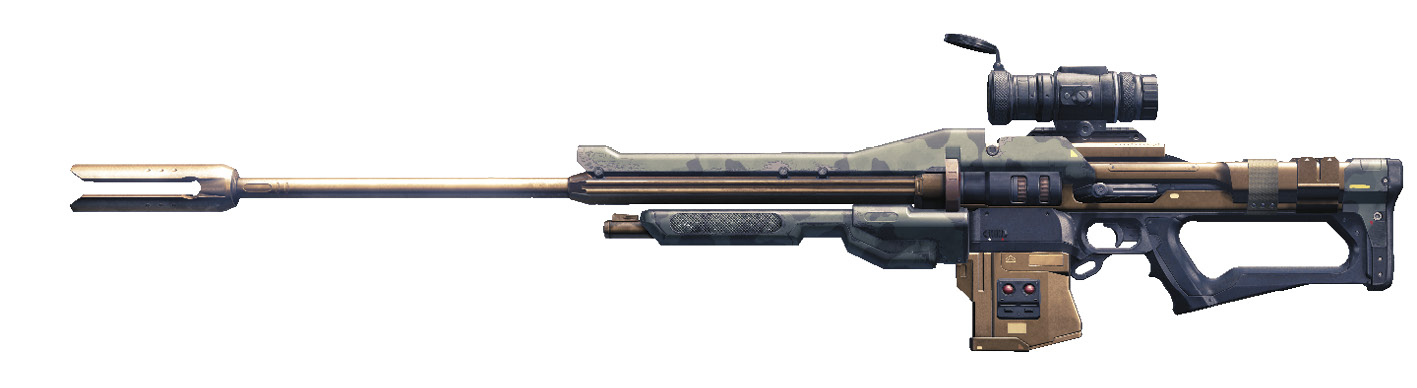
Sniper rifles are long-range finesse implements, demanding a steady hand in exchange for dealing lethal precision damage. These are powerful long-range killing machines, limited by shallow magazines and ammo reserves. Sniper rifles also have a base zoom scope of 4x, so using them at short range is awkward, and hipfiring them is all but useless. However, at long range, sniper rifles are pinpoint accurate and deal heavy damage per shot. Always try to aim for precision shots to maximize your damage output.
In PvE, it’s very important to have at least one sniper rifle of an appropriate element around in your Fireteam on any mission that involves long-range combat. The sniper can easily take care of distant threats and, critically, distant enemy snipers.
This also applies in PvP on any large map with long lines of sight. One competent sniper can keep an entire line of fire locked down, forcing opponents to take alternate routes. An uncontested sniper can deal serious damage with little fear of retaliation. In PvP, a single headshot is almost always fatal, while two body shots can usually take down an adversary.
In PvE, precision shots are almost always fatal on weaker enemies, and they deal very heavy damage on tougher ones. Depending on your damage output, you may be able to down weaker foes with body shots, but don’t use your ammo for this unless you are sure you won’t need it later on tougher or more dangerous long-range attackers!
Special Weapon Notes
All three weapons in the special weapon class are useful for different range bands, and they are also your primary source of elemental damage. Pairing a special weapon that complements your primary weapon range is a good idea. A shotgun can help make up for the scout rifle’s weakness at close range, and a sniper rifle can assist you if you’re using an unstable auto rifle or hand cannon.
The fusion rifle occupies a middle ground; unsurprisingly, it is the most broadly usable of the three. Keep in mind that while a fast-charging fusion rifle can (mostly) replace a shotgun for short-range combat, it cannot replace a sniper rifle for extremely long-range shots. If you know that a mission requires dealing with targets at long range, either bring a scout rifle with a good sight, or bring a sniper.
In PvE combat, having a mix of range bands in your Primary Weapon and Special Weapon slots lets you deal with a variety of situations. By spreading the necessary elements around your Fireteam’s special weapons, you can efficiently deal with shielded enemies. In PvP combat, you should choose your special weapon based on the map and mode in question, as well as your own personal playstyle preferences.
Heavy Weapons
Machineguns, Rocket Launchers
Heavy Weapons are your power weapons. Limited in ammo but devastating in effect, they can take down a dangerous target faster than any other weapon.
Machinegun
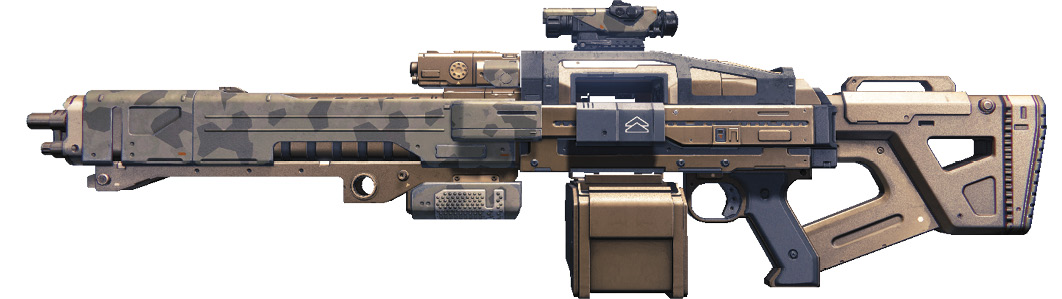
Machineguns are high-powered, high-recoil, fully automatic weapons. While they are broadly similar to auto rifles, they hit much harder per bullet and generally have higher recoil, making them more difficult to use at a distance. Machineguns also have slow reload times, so once you drain a belt of ammo, you need time and cover to reload safely. But when you need sustained damage output, machineguns are the heavy weapon of choice. Rockets are more powerful, but their ammo is even more sharply limited, and they can suffer from overkill. With a machinegun, on the other hand, you can use exactly as many bullets as necessary.
Elemental machineguns are particularly useful in PvE for agile shielded targets or for mobile shielded targets that are difficult or wasteful to hit with rockets (such as Wizards or Shanks on Mythic difficulty).
In PvP, machineguns lack the instant lethality and explosive AoE power of rockets, but they can potentially kill more targets per heavy ammo drop if you are careful. Prize Stability on machineguns, and hunt for a Legendary machinegun with a good set of mods. The right gun with the proper mods can be a truly lethal piece of hardware.
Rocket Launcher
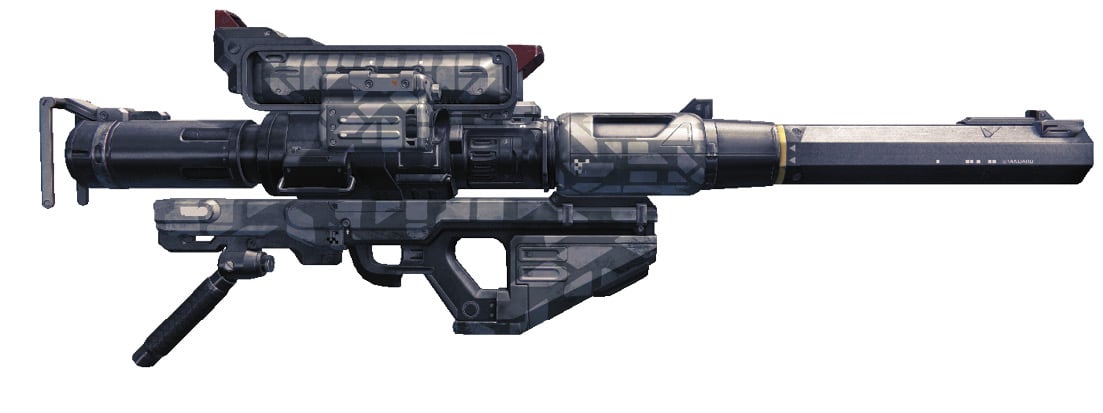
Rocket launchers offer destructive firepower. Instantly lethal in PvP and devastating to vehicles and enemies in PvE, rockets are ideal when you need an entire room of enemies gone immediately.
A word of warning: rocket explosions don’t have any friends, so if you are too close to the blast, you can take yourself down with your shot. Don’t do that.
Rocket launchers vary in the speed of the rocket and the size and damage of the blast. Some are more suitable for mid-range targets (particularly with a tracking mod), while others are best used at close to close-medium distance.
It is often a good idea to use your Jump ability to get some altitude before you fire. A rocket’s splash damage means that aiming down from above lets you get a perfect angle and drop the rocket directly at your target’s feet.
In PvP, if you care more about clearing clumped enemies or an objective area in Control or Salvage than sustained damage, a rocket launcher is preferable to the machinegun.
In PvE, rocket launchers are vital for quickly clearing waves of adds during certain encounters. Also, having at least one member of your Fireteam packing explosive firepower is a good idea.
Heavy Weapon Notes
Heavy Weapons are generally a less reliable source of elemental damage than Special Weapons, though a machinegun can work well if you are accurate and frugal with its use.
Otherwise, which Heavy Weapon you prefer largely amounts to personal preference, as both are highly damaging and effective. Rocket launchers excel at instant demolition but are often overkill against individual targets. Machineguns lack the AoE potential but offer you more sustained damage and ammo efficiency.
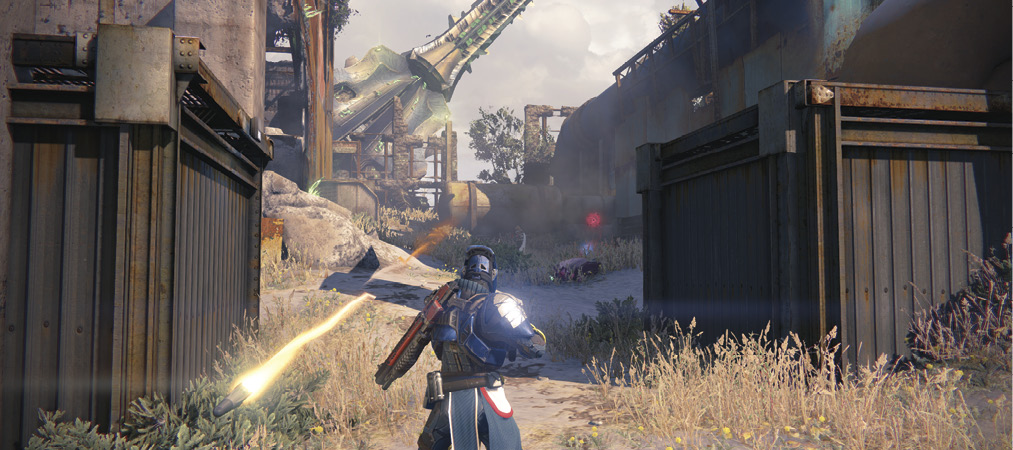
Remember to bring heavy ammo synthesis packs for difficult PvE missions, as you may need something heavy at a critical moment. Enemies in PvE rarely drop heavy ammo, but there are mods that can aid your ammo efficiency with heavy weapons. Keep an eye out for them.
In PvP, heavy ammo spawns randomly within a 30- to 45-second window every several minutes, with an announcer message occurring 10 seconds before it spawns. Most Crucible maps have two heavy spawns, but a few have three. Control those positions whenever possible.
Accuracy
A simple but important topic, accuracy is vital for using any weapon efficiently in Destiny. There are several factors that influence your accuracy:
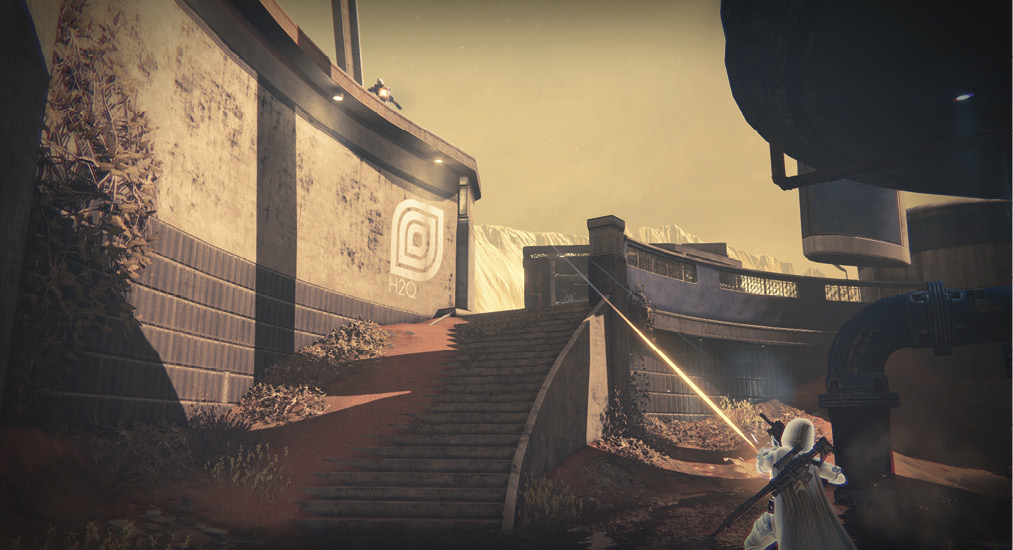
Firing while in ADS is the most accurate.
Shooting from the hip is less accurate, and each shot causes your “bloom” reticle to expand, indicating the area where your shot may travel. The Range stat on your weapon affects the size of this bloom.
The Stability stat on your weapon helps dampen recoil while you are firing.
Holding down the trigger on an automatic weapon or mashing the trigger on a semi-automatic weapon is guaranteed to make your weapon bounce heavily. Only maximum Stability weapons with good recoil characteristics or mods can hope to stay on target when you fire them rapidly. Getting hit jostles your aim, and getting hit hard causes you to flinch hard. Some mods can affect this, and some weapons cause more flinch than normal when they hit in PvP. Jumping instantly causes your hipfire bloom reticle to maximize, and it kicks you out of ADS. If you attempt to ADS while in midair, you immediately drop out of any movement ability and fall to the ground.
Damage
Damage in Destiny is calculated differently depending on where you are in the game and what activity you are doing.
In all places, your weapon class and the impact value of your weapon set your base damage. That is, all scout rifles of a given impact deal the same basic damage per shot. The general rule of thumb is that the faster a weapon fires, the less damage it deals per shot.
A higher rate of fire is more forgiving of misses, as you’re losing less damage from each miss (for example, an auto rifle). A slower-firing weapon with high damage harshly penalizes you for misses (for example, sniper rifles and hand cannons).
In normal Crucible PvP, that’s the extent of the calculation! You deal exactly the same damage with any weapon of the same class, rate of fire, and impact value no matter the level of the weapon in question, your level, your target’s level, or your Attack or Defense values. That isn’t to say that higher-level weapons are exactly the same, however. Although damage stays the same, high-level Rare and Legendary weapons can have more powerful mod combinations that you can’t get on a low-level weapon.
In PvE and PvP where Level Advantages are enabled, however, Level, Attack, and Defense stats all play a role in the calculation. Additionally, in PvE, powerful enemies may be resistant to damage, while weaker foes may take more damage from precision shots.
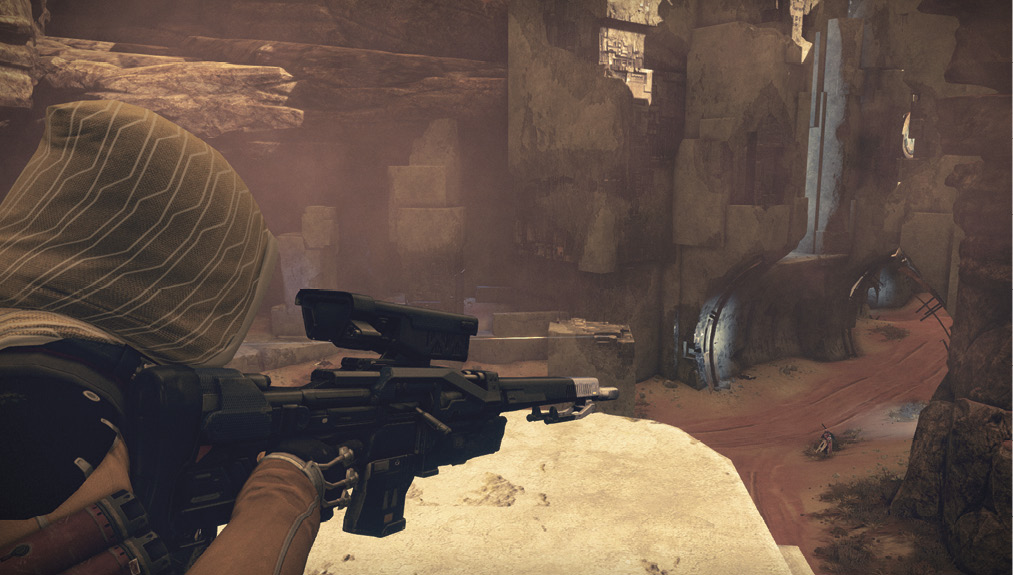
Starting with your basic damage value, your level is compared to your target’s level, then your Attack stat is compared to their Defense stat. If you are a higher level, with higher Attack, you deal considerably more damage, and vice versa if you are on the wrong end of that calculation.
But no matter where you are fighting, the only thing you really should worry about is having up-to-date weapons and armor. As long as you have level-appropriate gear and keep it upgraded, you always stand a good chance against enemies around your level. Note that the Level part of that calculation is handled differently in PvE and PvP where Level Advantages are enabled.
In PvE, enemies too far above your level can be outright immune to your damage. The general rule of thumb here is that at lower levels, you can fight adversaries several levels higher with difficulty, but as you approach Level 20, fighting foes more than three levels above you becomes increasingly suicidal. In Iron Banner PvP, the extreme ranges are clamped. You don’t need to worry about opponents becoming immune to your damage or killing you with a single auto rifle bullet.
Precision Damage
Precision damage occurs when you strike a target in its weak point (if it has one). Doing so makes the damage number float up in a yellow color, slightly enlarged from its normal white display.
In PvP, an opponent’s weak point is their head. Aiming for precision shots in PvP with primary weapons is absolutely vital to your survival. If you get into a heads-up firefight with an equally skilled player using a similar weapon, whoever aims for (and hits) the head will win the fight.
In PvE, most hostiles have weak points in their heads, with some exceptions. Various special creatures and robotic units have weak points in their “eyes,” or in the case of the Vex, in their stomachs.
Some creatures in PvE do not have weak points, and neither do vehicles. This means that you cannot score precision damage shots against them, which is important for some Class abilities and weapon mods that trigger off precision damage or precision kills. Weaker enemies in PvE also take additional damage to their weak points, making them particularly susceptible to accurate weapons and a steady hand.
Most weapons have a 1.5x base multiplier, but a few weapons stray from that value.
Elemental Damage
Special and heavy weapons, grenades, and super moves deal Arc, Solar, and Void damage. Most primary weapons deal Kinetic damage, although special or heavy weapons can deal it as well. Kinetic damage has no special attributes; it is simply “normal” damage.
Precision Damage Multipliers
|
Weapon |
Multiplier |
|---|---|
| Baseline | 1.5x |
| Fusion Rifle | None |
| Shotgun | 1.25x |
| Sniper Rifle | 2.5x |
Certain enemies in PvE have elemental shields, and if you hit a shield with the same element, you deal double damage. When you hit your target’s shield, a larger critical damage style number in the color of the element floats up from it. Blue signifies Arc, red stands for Solar, and purple represents Void.
Bringing the correct element for the adversaries you expect to face in a given PvE mission is important, especially on higher difficulty levels.
On Mythic difficulty, each hostile enemy race gains one new elemental shield, and hitting a shield with anything but the correct element suffers a 50% damage penalty!
Consult the Codex chapter for specific details about which enemies have which elemental shields. In short, all you need to know to handle them is to bring appropriately aligned elemental weapons. In PvP, the element of your weapons or abilities has no effect on other players.
Elemental Skulls
Higher-difficulty PvE missions can have a variety of Skulls active, each of which makes the mission more difficult. One set of Skulls is oriented around increasing specific enemy elemental damage types.
Each enemy weapon and attack in the game has an associated element. While normally they do not have any special effects, with the elemental Skulls active, it’s good to know which foes are especially dangerous! The Codex has details about enemy damage types for each enemy race.
Flinch
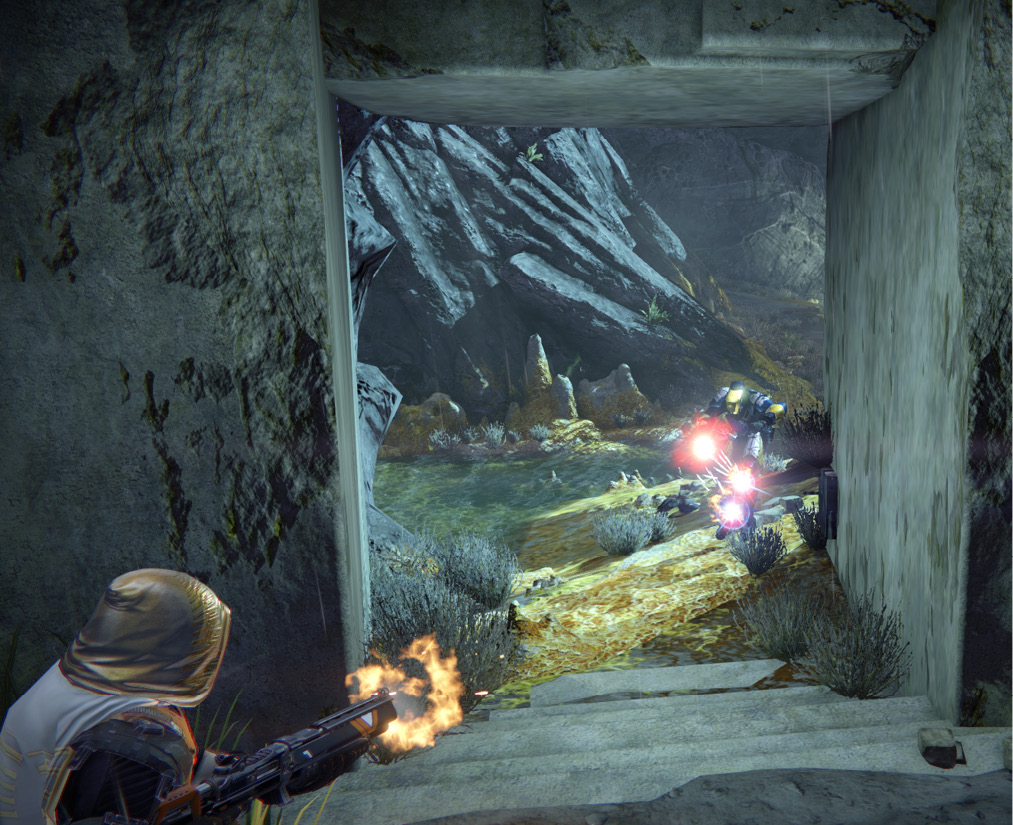
Flinch is simply the effect of incoming damage on your accuracy. When you are damaged, your view is shaken. This harms your ability to land shots accurately, particularly when you’re firing at long-range targets.
In addition to the small flinch that always occurs when you take damage, there is another larger flinch that occurs if you take a large amount of damage in a single hit or enough small hits in a short period of time.
Both flinches cause your view to jerk significantly, which can completely foul your aim, even at medium range. This is particularly devastating in Crucible matches when you’re firing at long range.
Certain available mods can reduce Flinch. Keep an eye out for these on weapons that demand consistently high accuracy to perform well. Similarly, there are mods that can increase the flinch effect of your weapons. This is particularly nasty in PvP, but it is also useful in PvE to stagger enemies.
The following table gives you an idea of how hard each weapon hits in terms of its flinch effect. A weapon with a 2x multiplier causes twice as much stagger effect for the same amount of damage dealt. This has no effect on damage; it is simply an increase in how much a given weapon shakes your target.
Flinch Multipliers
|
Weapon |
Flinch Amplification |
|---|---|
| Auto Rifle | 1x |
| Pulse Rifle | 1x |
| Scout Rifle | 1.5x |
| Hand Cannon | 1.75x |
| Shotgun | 1x |
| Fusion Rifle | 1x |
| Sniper Rifle | 2x |
| Machinegun | 2x |
| Rocket Launcher | 2x |
Grenades
In both PvE and PvP, many grenade types are ideal for damaging groups of enemies. Opening a battle with a well-aimed grenade can soften your targets, giving you an edge in the firefight that follows.
There is a wide array of grenade types, so practice with all of the grenades available to your specializations. Some are more useful in PvE, while others fare better in PvP.
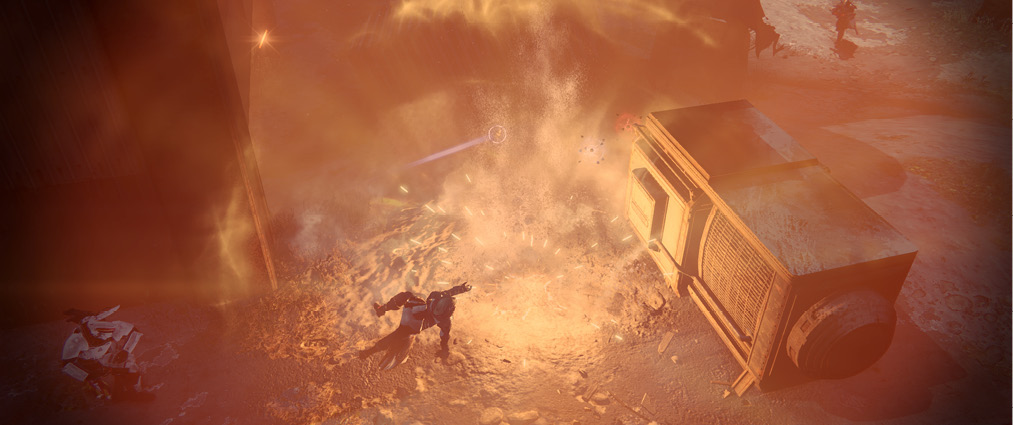
Blast grenades, the closest to a “normal” grenade type, deal the bulk of their damage in a quick explosive burst. These are perfect for dishing out instant damage to multiple targets, and they can deal more damage against alert and agile opponents than persistent-style grenades.
Persistent grenades leave fields of damaging energy or traps in their wake, harming any foes that remain within them or pass through them. These are great for blocking off hallways, chokepoints, and doorways, or for covering objectives in PvP. They tend to be less effective in open spaces, where enemies can easily avoid or move away from the affected area.
Seeker type grenades automatically track and attack nearby enemies. These are perfect for scoring hits on adversaries when you aren’t certain of their exact location. They are especially useful in PvP for pinpointing an opponent’s position that you’ve detected on the Motion Tracker. Seeker grenades have lower single-target damage potential than other grenades, but have very consistent and reliable damage delivery.
Sticky grenades can literally stick to their target, dealing more damage. These grenades are almost always lethal if you score a direct hit in PvP, and they are useful for dealing focused damage to single tough targets in PvE. They do require more throwing accuracy, and although they have a slight amount of tracking, you still must be fairly on target to score a stick.
Health
Classes in Destiny have total health values ranging from 150 to 180. The exact amount varies depending on your Armor stat, which you can adjust by changing abilities in your Class specialization.
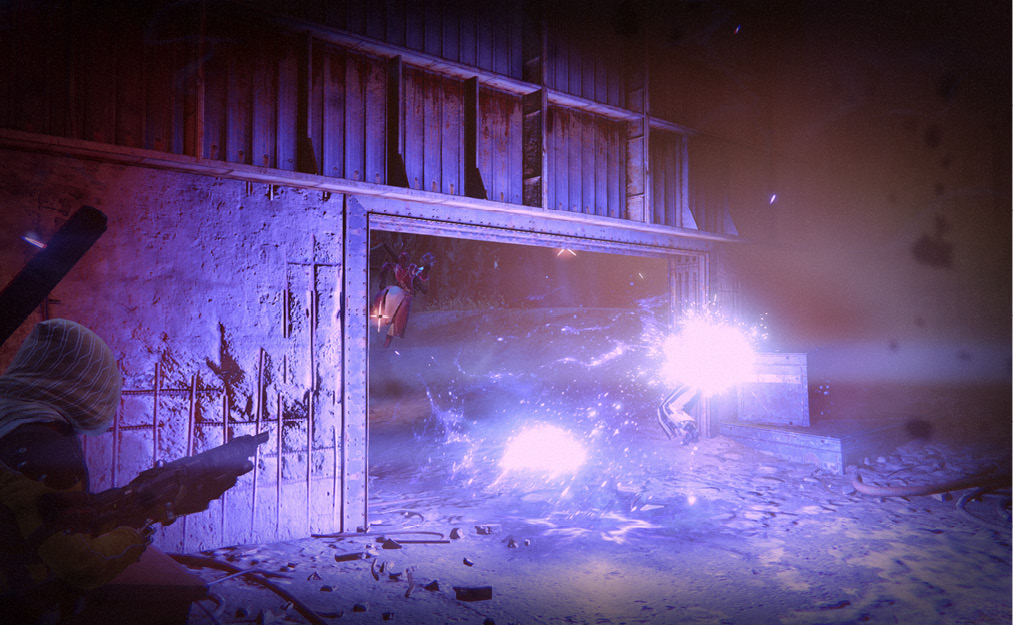
Note this is distinct from the Defense stat found on armor that you have equipped. Instead, the Armor stat is a specific bonus to your health determined by the specialization you choose.
Your health is shown in-game as a meter at the top of the screen that appears when you take damage. It is divided into thirds: the two-thirds on the right show your shields, while the last one-third represents your actual health value.
Your basic health is 85, and your shields start at 65 (for a total of 150), but they can increase or decrease based on your Armor value. When your shields break, your health meter and screen begin flashing, and a warning alert sound plays. This is a very firm message that you better seek cover and recuperate!
In PvP matches, you need the nerve to stand and fight when you’re in a close-range firefight no matter how low on health you get. You cannot afford to be distracted by the visual or audio warnings. In PvE, however, having your shields broken is almost always a sign that you should fall back and seek cover.
Health and shields regenerate after not taking damage for a few seconds. Your Recovery stat sets both the time before they begin to regenerate and the speed at which they regenerate. If you take damage again while healing, your regeneration stops, so be wary of enemies wielding splash damage weapons or grenades. Foes can cut your healing short by damaging you while you’re behind cover.
Health and Damage Numbers
Throughout this guide, whenever specific damage values of abilities and weapons are listed, they are relative to this basic health value, and they are exactly the amounts that you can expect to encounter in Crucible PvP matches. However, in PvE and PvP where Level Advantages are enabled, Level, Attack, and Defense stats all come into play, affecting incoming and outgoing damage. Also, in PvE, the toughness of a specific enemy and the difficulty settings of the mission can influence how much damage you deal (or take).
Because damage is scaled, the relative power of a weapon or ability stays the same. That is, if one grenade deals more damage than another, it’s going to deal more damage in PvE and PvP where Level Advantages are enabled. For this reason, you can use these damage values to help inform your decisions about Class spec, weapons, armor, and mods. The damage numbers you see on your screen won’t match up precisely, but their performance will.
Movement
Movement might seem like a simple topic, but skilled movement is vital in PvP, and it’s also extremely important in difficult PvE missions. The basics of moving and aiming are quite simple, but you must be aware of your options.
Basic Movement
When walking or sprinting, your Agility Class stat affects your movement speed. Agility influences both your maximum speed and your acceleration to that speed. Likewise, Agility affects your maximum jump height and your aerial acceleration with any jumps and Jump abilities. Moving sideways or backwards slows your movement, and moving while in ADS also causes you to move slower. Carrying a heavy weapon in hand slows you slightly, as well. Sprinting allows you to move more quickly, but it also causes you to drop your weapon. In PvE, this is rarely an issue, but in PvP, sprinting into a fight with your gun down is a good way to get killed. it is important to note that the Handling stat on weapons affects how quickly your weapon comes up from a sprint.
Jumping
The Classes section discusses Class-specific Jump abilities in more detail, but as far as basic mobility is concerned, jumps are critical for getting around swiftly in Destiny.
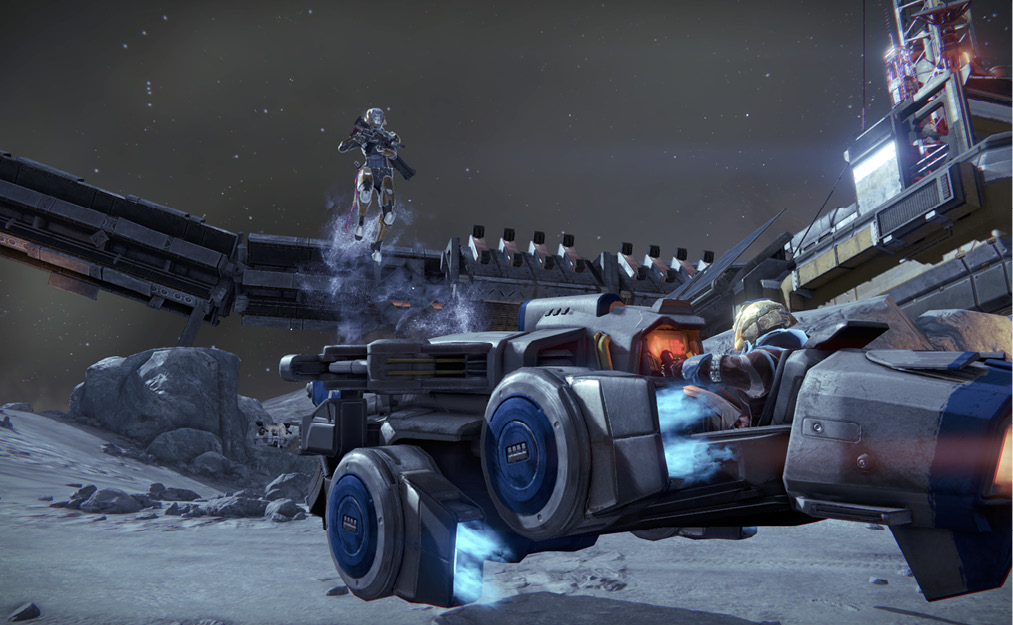
There are many, many multi-level areas in the game, with features ranging from buildings to boulders. Also, you can jump over and onto a great many objects in the world, or use them as escape routes in PvE and PvP.
Jumping during combat can throw off an opponent in PvP, or help you evade melee enemies in PvE. In both settings, be careful about using movement abilities to extend your jump in midair if multiple hostiles are nearby. You make a very easy target in the air.
Jumping is also useful for gaining elevation, because the best place to be in a gunfight is up high with an unaware opponent below you. You can always move back from a ledge to recover, but enemies below you often cannot escape behind cover if you have enough of a height advantage.
Crouch and Lean
Crouching lowers your profile slightly, potentially allowing you to hide behind short cover.
Crouching is usually a bad idea in PvP, as it slows your movement and makes you an easy target, but there is one exception. While crouched, your Motion Tracker signature is muted, making you more difficult to detect.
There is one other key use for crouching: you can lean over cover. Crouch near any obstacle, and enter ADS to lean. With the correct position, you can peek over hard cover and open fire. Crouching also serves as a trigger to activate a few specific weapon mods.
Sliding
Hold Crouch while sprinting to trigger slides.
Slides cause you to accelerate rapidly for a moment, and they can be quite useful when you need to move the last few meters into cover. Sliding into low cover and immediately leaning over it is also very useful in some situations.
You can sprint out of a slide immediately, but there is a bit of timing required, as you must tap Sprint again just as the slide finishes. Experiment with it to get the rhythm down.
Sprinting and sliding are very important in PvP. If a distant enemy has a bead on you, you can easily throw their aim off. Skilled players track your head, and sliding causes your head to suddenly change position.
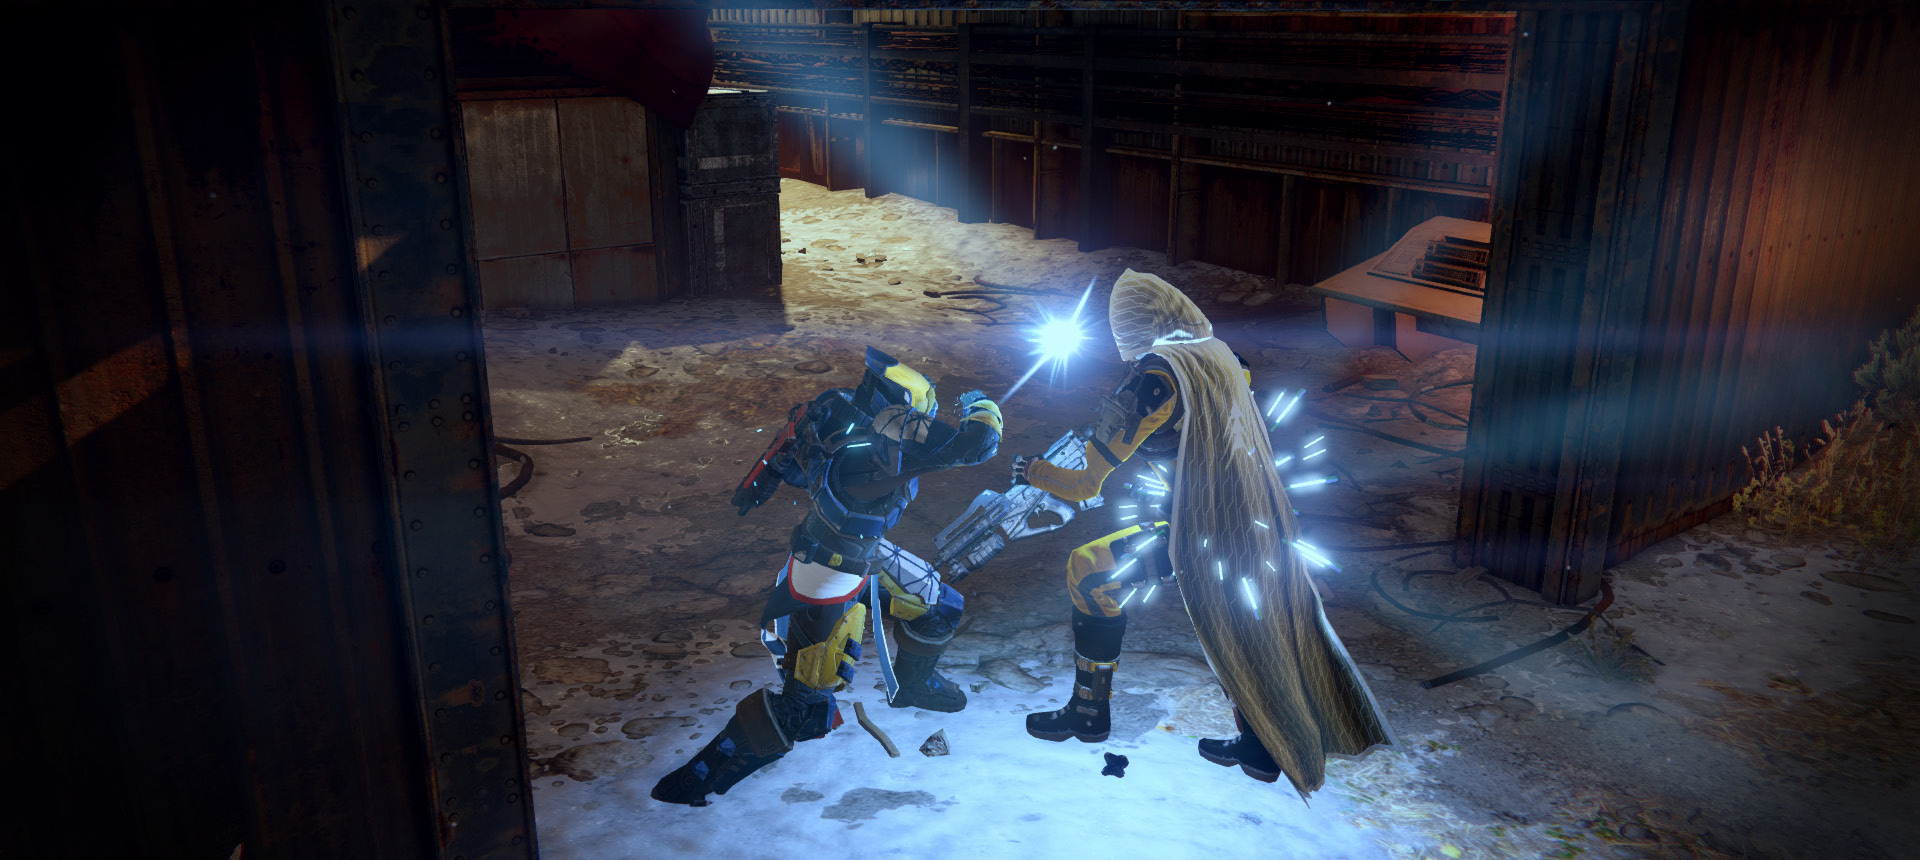
You can also use slides in PvP to round a corner or get into melee range with a shotgun. A one-two punch from a shotgun and a melee attack is lethal.
User Interface
The user interface in Destiny is sparse and informative, showing you just what you need when you need it. There is little that requires additional explanation, but there are a few points of note. From any place in the game, you can tap the Navigator button to bring up your Ghost. In all locations, this allows you to summon your Sparrow for quick transport and to return to your ship in orbit if you want to leave your current activity. As a Fireteam leader, going to orbit brings your Fireteam with you. As a Fireteam member, going to orbit leaves your Fireteam. Your Navigator also causes location icons to pop up in PvE for Beacon missions in Patrol mode. During Story or Strike missions, nav pointers appear, which guide you toward the next objective.
Motion Tracker
Your Motion Tracker is a powerful weapon in PvP and a very useful tool in PvE.
It is made up of a central ring, six outer wedges, and an outer ring. The center, the wedges, and the edges of the outer ring outside the wedges all light up in red when an enemy is present in that direction. The central ring represents about 8 meters of space and flashes red when an adversary is very close to you, within melee striking distance. If you see this in PvP or PvE and don’t know where your assailant is, consider jumping immediately to avoid a nasty melee blow.
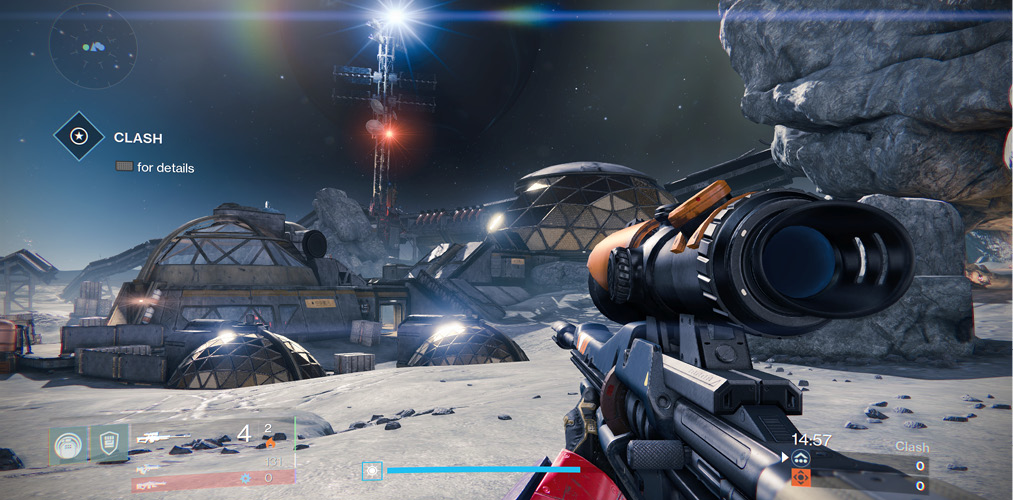
The outer wedges represent targets between 9 and 23 meters of distance away, while red lines that appear outside the outer circle are targets that are 24 or more meters away. If the wedge is lit up brightly, there are multiple enemies in that region. You can use the directional wedges to triangulate the location of a foe in PvP, and it also serves as an excellent threat assessment tool. If three wedges in front of you are lit up and you don’t have teammate support nearby, it’s time to retreat. If the wedges are dim, the target is either above or below you. In PvE, use the Motion Tracker to quickly locate and attack any nearby adversaries. If you see that you are being flanked on the Motion Tracker, deal with the flankers, or fall back so they are in front of you again.
Managing the Motion Tracker largely comes with practice. You want to glance at it occasionally to get a sense of where enemies are relative to your position, but you can’t monitor it constantly, or you risk being blindsided.
In PvP in particular, once you know roughly where an opponent is, pay attention to your screen, get your crosshair where it needs to be in advance, and trust your instincts to track your target’s movement. Practice will improve your guesses. The more time you spend on each PvP map, the easier it becomes to read the tracker. You can soon identify the only possible routes from which an incoming “wedge” can attack you. When you’re on the offensive, you can also detect the most likely spots where your target is waiting to ambush you from.