Prima Games eGuides
primagames.com Browse Redeem a code Help
Destiny Signature Series Strategy Guide
Sign in My Guides

Sign in or create an account

We'll email you a link. No password needed, and if you don't have an account yet, the link makes one.

By creating an account or signing in, you agree to our Terms of Service and Privacy Policy.

Have a password?

Had an account on the old eGuides site, or a code from a printed guide? Help and troubleshooting

Sign in with a password

By signing in, you agree to our Terms of Service and Privacy Policy.

Check your email

A sign-in link is on its way. It works once and expires in 15 minutes. Open it and you're in, with an account if you didn't already have one.

Contents

  • Introduction
    • About Destiny
  • Field Manual
    • Welcome to Destiny
    • Your Character
    • Character Classes
      • TITAN
      • HUNTER
      • WARLOCK
    • Combat
    • Vehicles
    • Builds
    • Equipment
    • Customization
    • Inventory
    • Progression
    • Difficulty
    • Navigation
  • TOWER
    • About The Tower
    • A Guardian Rises
    • Overview
    • Tower Plaza – Tower Watch
    • Tower Plaza – Hall of Guardians
    • North Tower
    • Tower Hangar
    • Tower Plaza – Traveler's Walk
    • Bounties
  • EARTH
    • Overview
    • Restoration
    • The Dark Within
    • The Warmind
    • The Last Array
    • STRIKE: The Devils' Lair
    • PATROL: Patrol The Cosmodrome
  • MOON
    • Overview
    • The Dark Beyond
    • The World's Grave
    • The Sword of Crota
    • Shrine of Oryx
    • Chamber of Night
    • STRIKE: The Summoning Pits
    • PATROL: Patrol The Moon
  • VENUS
    • Overview
    • A Stranger's Call
    • Ishtar Collective
    • The Archive
    • Scourge of Winter
    • Eye of a Gate Lord
    • STRIKE: Winter's Run
    • STRIKE: The Nexus
    • RAID: Vault of Glass
    • PATROL: Patrol Venus
  • MARS
    • Overview
    • Exclusion Zone
    • The Garden's Spire
    • The Buried City
    • A Rising Tide
    • The Black Garden
    • STRIKE: Cerberus Vae II
    • STRIKE: Dust Palace
    • PATROL: Patrol the Buried City
  • Codex
    • About the Codex
    • The Fallen
    • The Hive
    • The Vex
    • The Cabal
  • Armory
    • Overview
    • Weapons
    • Weapon Stats
    • Weapon Mods
    • Mod Descriptions
    • Mod Lists
    • Weapon Tables
    • Weapon Drop Locations
    • Weapon Charts
    • Mod Stat Charts
    • Handling Charts
    • Inventory Charts
    • Magazine Charts
    • Range Charts
    • Velocity Charts
    • Reload Charts
    • Stability Charts
    • Recoil Patterns
    • Armor
    • Armor Mods
    • Exotics
  • Crucible
    • Overview
    • PvP Combat
    • Game Modes
    • General Game Mode Advice
    • MAP: Anomaly
    • MAP: Asylum
    • MAP: Bastion
    • MAP: Blind Watch
    • MAP: Burning Shrine
    • MAP: Exodus Blue (timed PlayStation exclusive)
    • MAP: Firebase Delphi
    • MAP: First Light
    • MAP: Rusted Lands
    • MAP: Shores of Time
    • MAP: Twilight Gap
  • Expansion I: The Dark Below
    • Introduction
    • Missions
      • Overview
      • Fist of Crota
      • Siege of the Warmind
      • The Wakening
      • Ritual of Sacrifice
    • Eris Morn Quests
      • Disciples of Crota
      • The Urn of Sacrifice
    • Strikes
      • STRIKE: The Undying Mind (Timed PlayStation Exclusive)
      • STRIKE: The Will of Crota
    • Eris Morn Bounties
    • Crucible Maps
      • Skyshock
      • The Cauldron
      • Pantheon
  • Trophies & Achievements
    • Overview
    • Specialization
    • Gear and Vehicles
    • Kill Enemies
    • Strikes and Raid
    • The Crucible
    • Patrol and More

Destiny Signature Series Strategy Guide › Crucible

MAP: Blind Watch

Layout

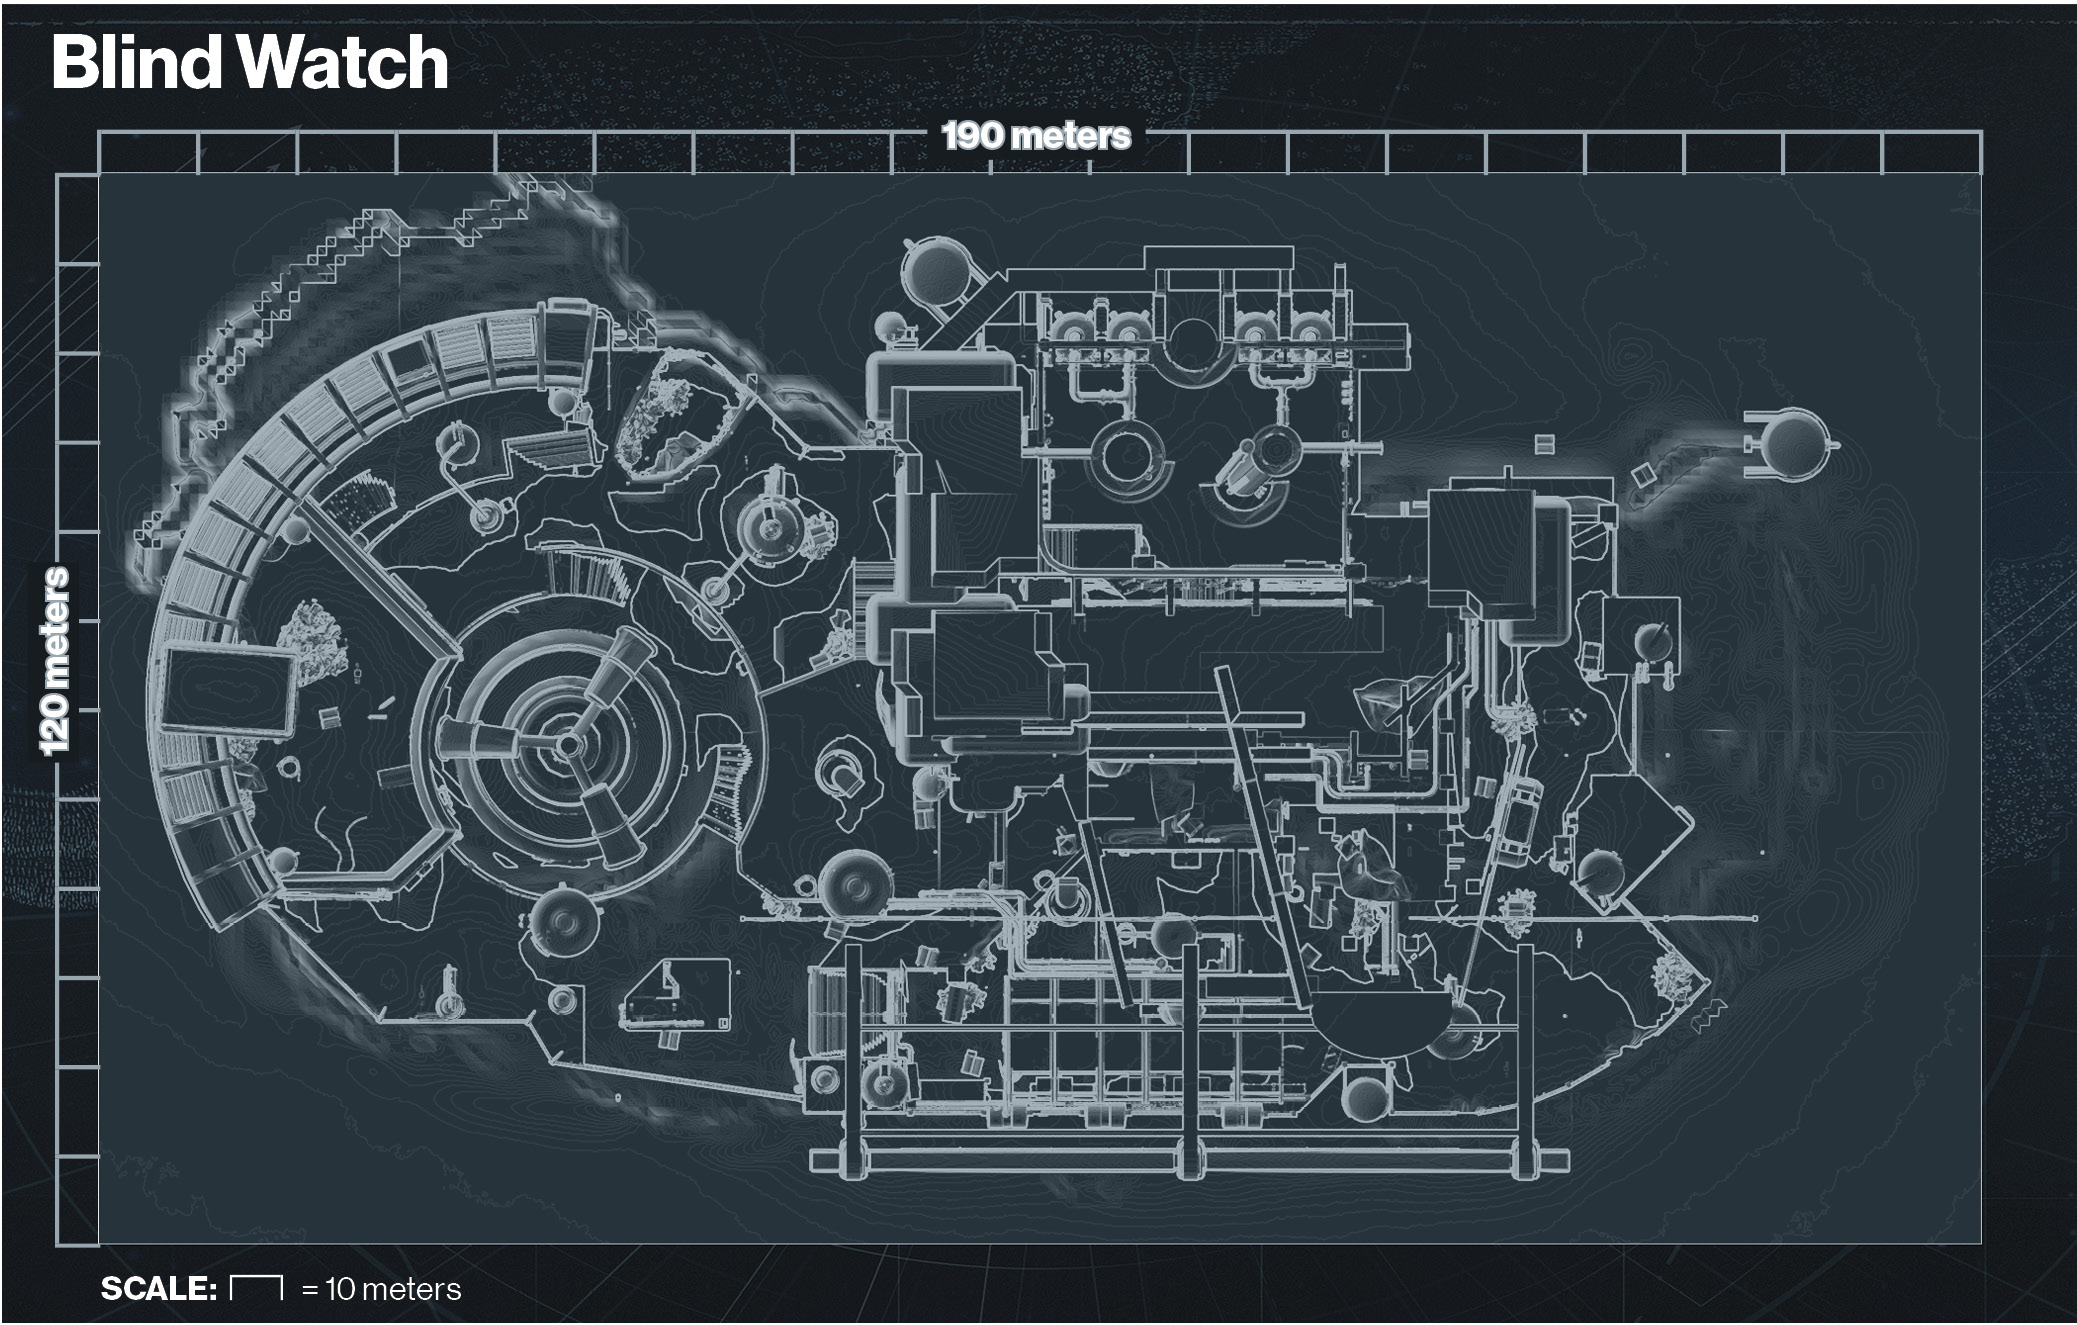
Blind Watch is set on the rooftops of a former human city on Mars.

Located in a hydroponics and water processing facility, Blind Watch has a mix of open exterior areas, tight interiors, and changing elevations.
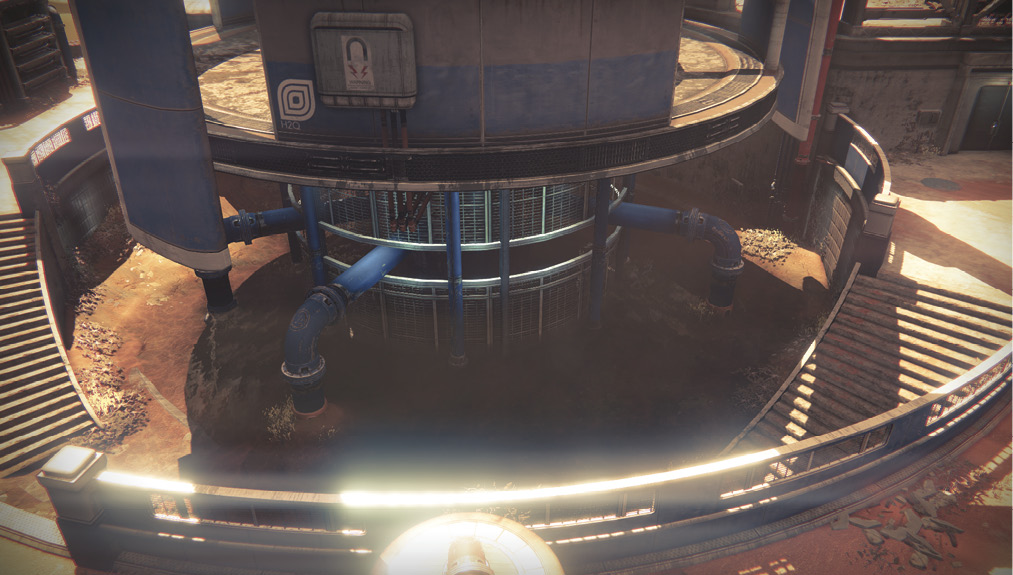
The exterior is located near a giant turbine that still rotates, albeit slowly. Its shifting movements can block lines of sight through it from one end of the exterior to the other.

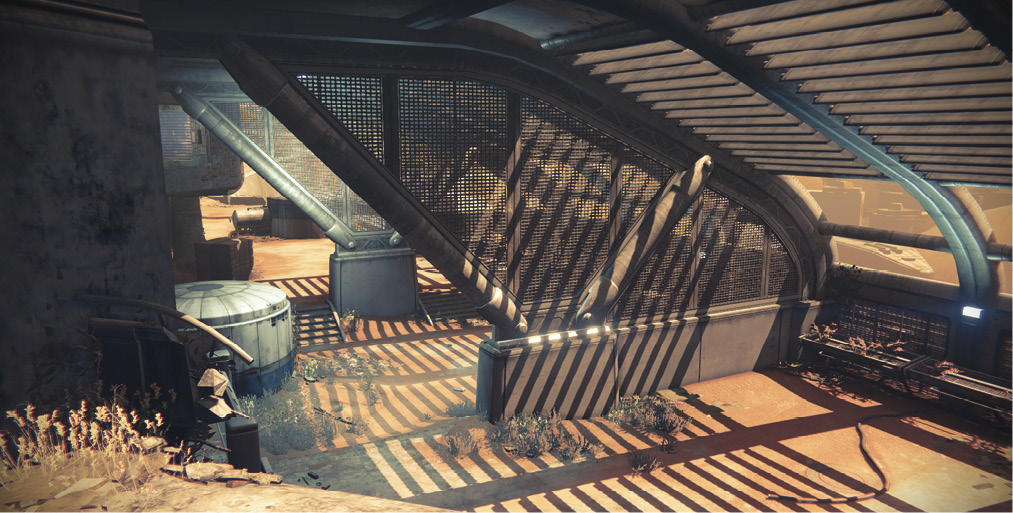
Beside the turbine and close to the desiccated remnants of the garden is a small building that provides some cover from the battles outside.

You can also drop down into the water below the turbine and make your way around the turbine, or you can jump up into (or onto) the interior of the structure that houses the turbine itself.

From outside, you can travel into the larger interior building that makes up the rest of the map. In fact, there are quite a few ways between the two: there’s a door that opens directly onto the exterior, an upper ledge that leads to an upper hallway, and a smaller covered garden area that leads to the rear.
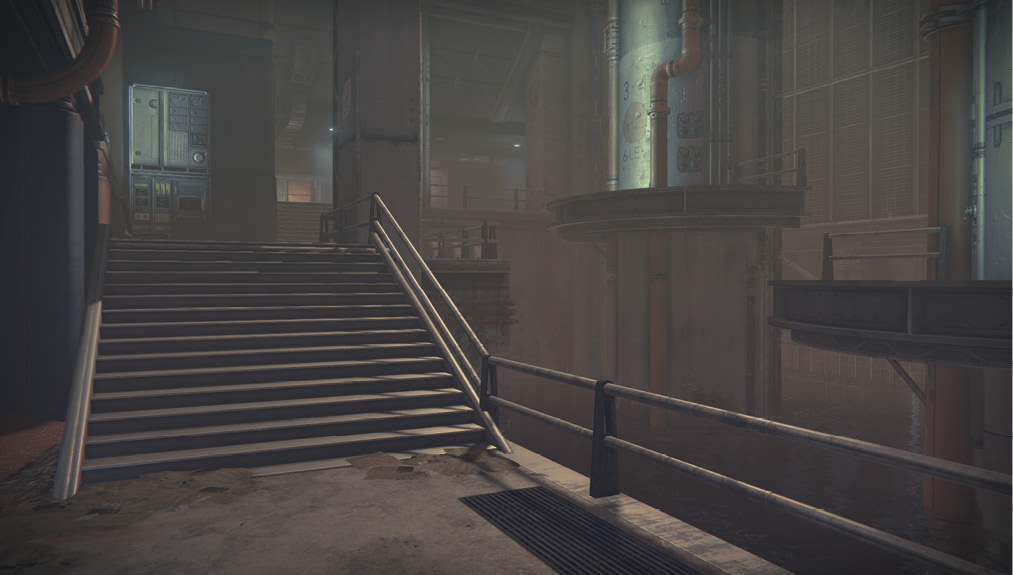
The interior is made up of a few connecting hallways and a slightly larger room containing a few tanks. This larger room is the hub for the building, and from it, you can travel to any of the exits to the exterior.

Tactics

Blind Watch rewards a flexible play style, as you can be involved in long-range peekaboo firefights or close-quarters brawls within seconds of each other.

Bring a loadout that gives you a Primary Weapon and a Special Weapon option suitable to different parts of the map, and switch as needed. The outer area tends to see a lot of conflict, and it is most dangerous near the center of the level, where the exterior and several exits from the building’s interior meet.

Rather than freely engaging in raging firefights in the center, if you are more careful and patrol the edges of the map, you can minimize the number of routes you must cover and focus on eliminating enemies in front of you.
Motion Tracker
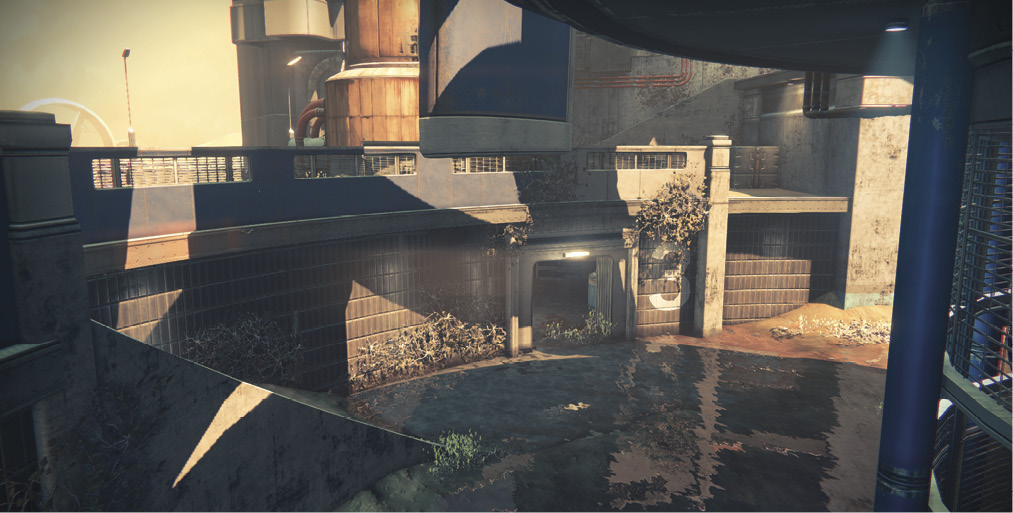
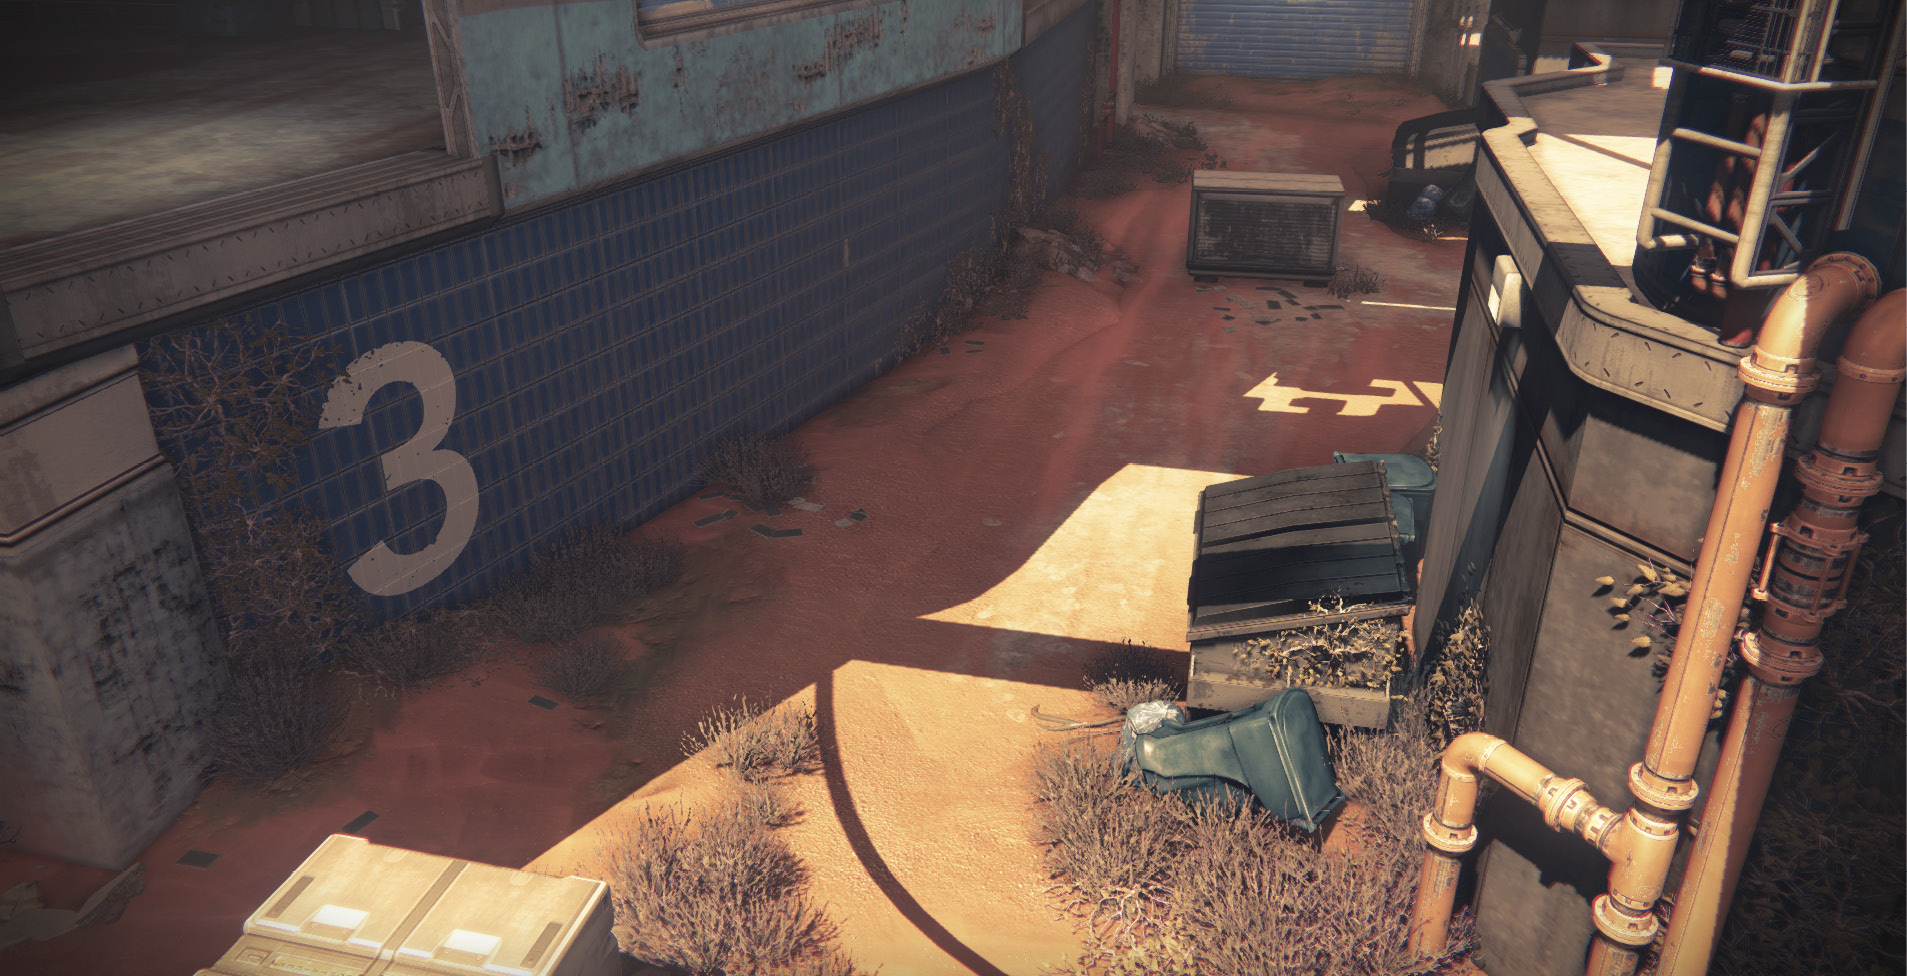
You can make good use of the Motion Tracker inside the building, as the defined hallways make it fairly easy to guess an opponent’s position. Watch out for the elevation changes near the lower garden, as there are a few different places where you can travel high or low in the same general area.

Outside, use the Motion Tracker to get a rough bead on enemy presence, but don’t rely on it for specific location. There’s a fair amount of cover, and with jumping abilities, it’s possible to shift positions rapidly. In particular, keep your eyes peeled for targets out on the rooftop. If you’re near the center of the map, expect to have your Motion Tracker lighting up with enemy presence regularly, possibly all around you if your team doesn’t have one side of the map locked down.
Keep reading with a free account

The first 3 sections of Destiny Signature Series Strategy Guide are open to everyone. An account opens the rest of it, and every other guide in the archive. It's free, and there's nothing to buy.

Bought guides on the old Prima Games site? Your account and every guide you own moved here, so there's nothing to buy again. Sign in.

Create a free account Or browse our free guides

PreviousMAP: Bastion NextMAP: Burning Shrine