
Destiny Signature Series Strategy Guide Expansion I: The Dark Below Eris Morn Quests
The Urn of Sacrifice
The Urn of Sacrifice
|
Quest |
Requirement |
Reward |
|
 |
The Urn of Sacrifice | Purchase the Urn of Sacrifice from Xur and return to Eris. | Unlocks Gather Their Dust Quest Step |
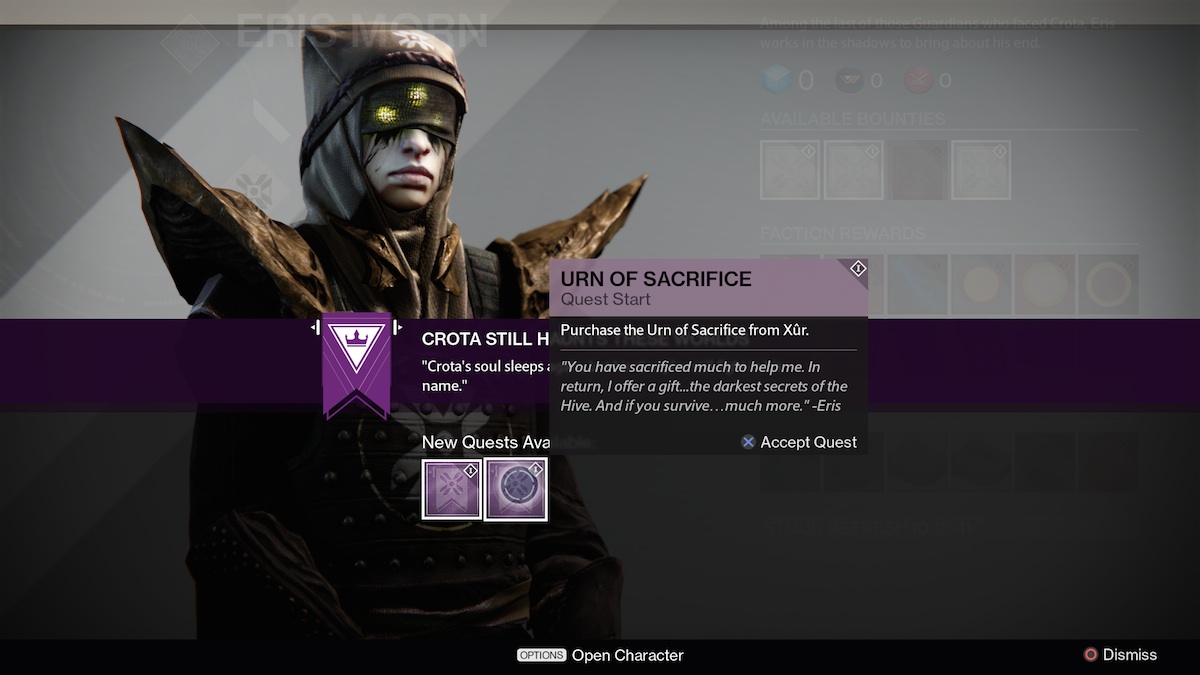
Unlocked after completing The Wakening, accept the Urn of Sacrifice quest from Eris and locate Xur (only in the Tower from 1:00 AM PST Friday to 1:00 AM PST Sunday) and purchase the Urn of Sacrifice for one Strange Coin. Once purchased, this quest will automatically convert into Gather Their Dust.
Gather Their Dust

|
Quest |
Requirement |
Reward |
|
 |
Gather Their Dust | Kill 25 Thrall with Solar damage from a Fusion Rifle and collect the Embers they drop. | Unlocks Gather Their Fury Quest Step |
Kill 25 Thrall using Solar damage from a Fusion Rifle and collect the Embers of the Lesser they drop. This can be done in any activity and does not have to be completed all at once. The Guardian should be in possession of Murmur (earned from The Wakening), a Fusion Rifle that can deal Solar or Arc damage, the perfect weapon to complete Gather Their Dust and proceed to Gather Their Fury.
Gather Their Fury

|
Quest |
Requirement |
Reward |
|
 |
Gather Their Fury | Kill 5 Cursed Thrall with your Melee attack. Death will reset your progress. | Unlocks Gather Their Faith Quest Step |
Kill 5 Cursed Thrall with Melee attacks without dying. This can be accomplished in different missions, although death at any point will reset its progress. Using the Cursed Thrall that spawn in the first half of the Fist of Crota mission provides enough Seething Mist to complete this mission. Try to move around and pull one of the Cursed Thrall out of the group at a time; if another Cursed Thrall is too close when a thrall is eliminated it will also detonate, possibly causing the Guardian to die. Now it's on to Gather Their Faith.
Gather Their Faith

|
Quest |
Requirement |
Reward |
|
 |
Gather Their Faith | Defeat Hive Acolytes and Wizards with Void Damage and collect their Sullen Hearts. Some progression will be lost on death. | Unlocks Gather Their Suffering Quest Step |
Defeat Hive Acolytes and Wizards using Void damage and collect their Sullen Hearts; note that your Guardian’s death will reset some progress. Like the others, this task can be completed anywhere. Rocketyard in the Cosmodrome houses a good amount of Hive Acolytes, and is a fairly safe place to accomplish this quest step, as the enemies are lower level and pose less threat to slow your progress. Once completed, this quest must be turned in to Eris in the Tower for a reward of 100 Crota’s Bane Reputation.
Gather Their Suffering

|
Quest |
Requirement |
Reward |
|
 |
Gather Their Suffering | Kill Urzok the Hated in Earth’s Skywatch during Public Events. | Unlocks Ritual Of The Forsaken Quest Step |
This quest step requires the player to fight Urzok the Hated, a powerful knight who is hard to solo. Urzok wil only spawn during a public event or when you see the prompt "The enemy is moving against each other." A team of Guardians is recommended to take down Urzok as he will not spawn alone and his Arc shield regenerates extremely fast when he isn’t taking damage, so equip your Guardian accordingly. There is no way to influence the spawn rate of Urzok, so waiting may take a while. Do not let this discourage you; instead, pass the time by searching for Chests and Spinmetal spawns. Note that Urzok will disappear if not defeated before the public event ends. When Urzok Spawns, head for high ground to help the Guardians avoid his attacks. However, he may venture into areas that cannot be seen, forcing the players down to his level to fight. Once eliminated, return the Urn to Eris to receive 100 Crota’s Bane Reputation and unlock the next quest step.
Ritual of The Forsaken
|
Quest |
Requirement |
Reward |
|
|
Gather Their Suffering | Kill Urzok the Hated in Earth’s Skywatch during Public Events. | Unlocks Ritual Of The Forsaken Quest Step |
Entering The World's Grave puts the Guardians in the first Darkness Zone of this mission. Be prepared to turn around upon entering the first room of The World's Grave, as the enemies will be on the balcony behind the Guardians. While moving up the stairs, be prepared to fight a few Acolytes and Hive Knights.
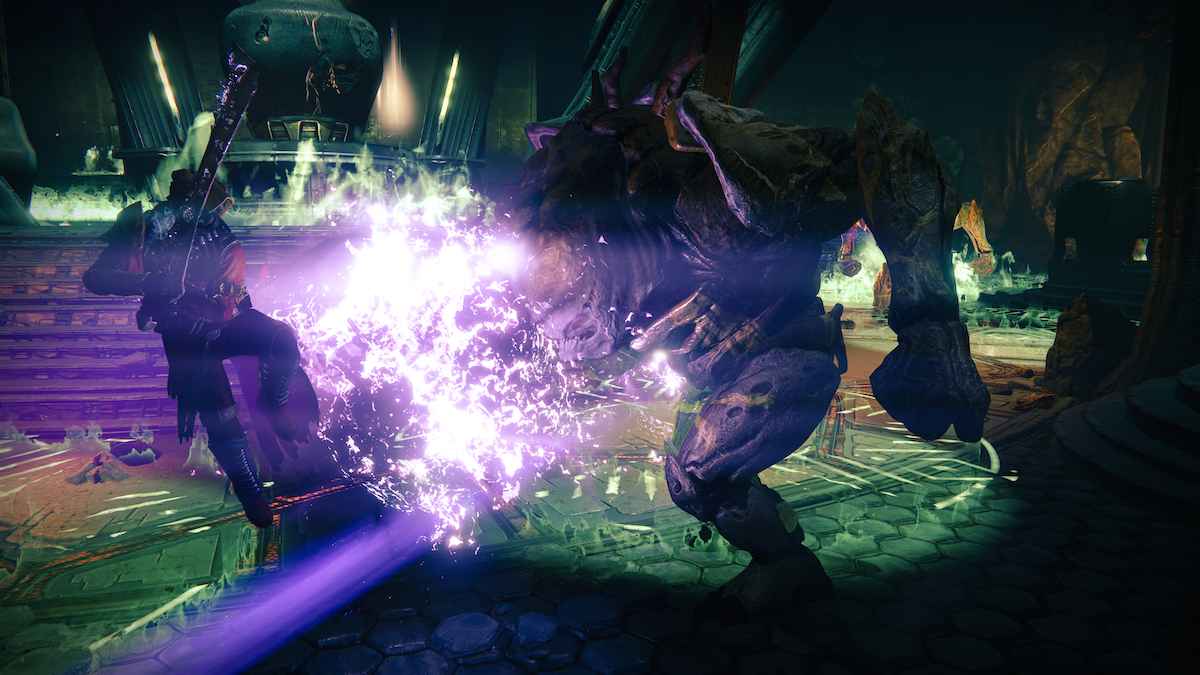
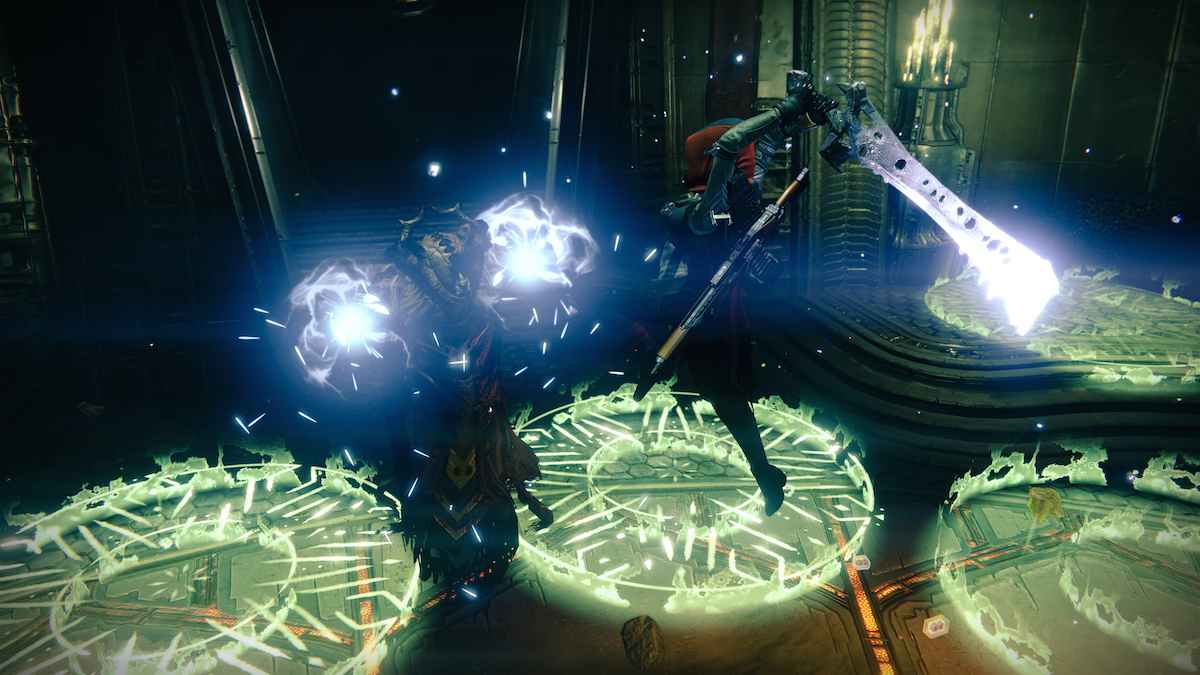
Once the Guardians enter the room containing the cauldron to activate it. After doing so, a massive wave of Thrall swarm the area. Grab a sword next to the cauldron, or enter one of the doorways to bottleneck the Thrall and eliminate them. If you head to a doorway, be advised that enemies will spawn from the doors behind the Guardian. During this fight, vestiges will also spawn in the room.
After the Thralls are defeated, several Acolytes will spawn. Dropping the sword in favor of a ranged weapon is key in this fight, as more swords can be found later in the center of the room. Clear out one corner and slowly work around the edge of the room eliminating Acolytes.
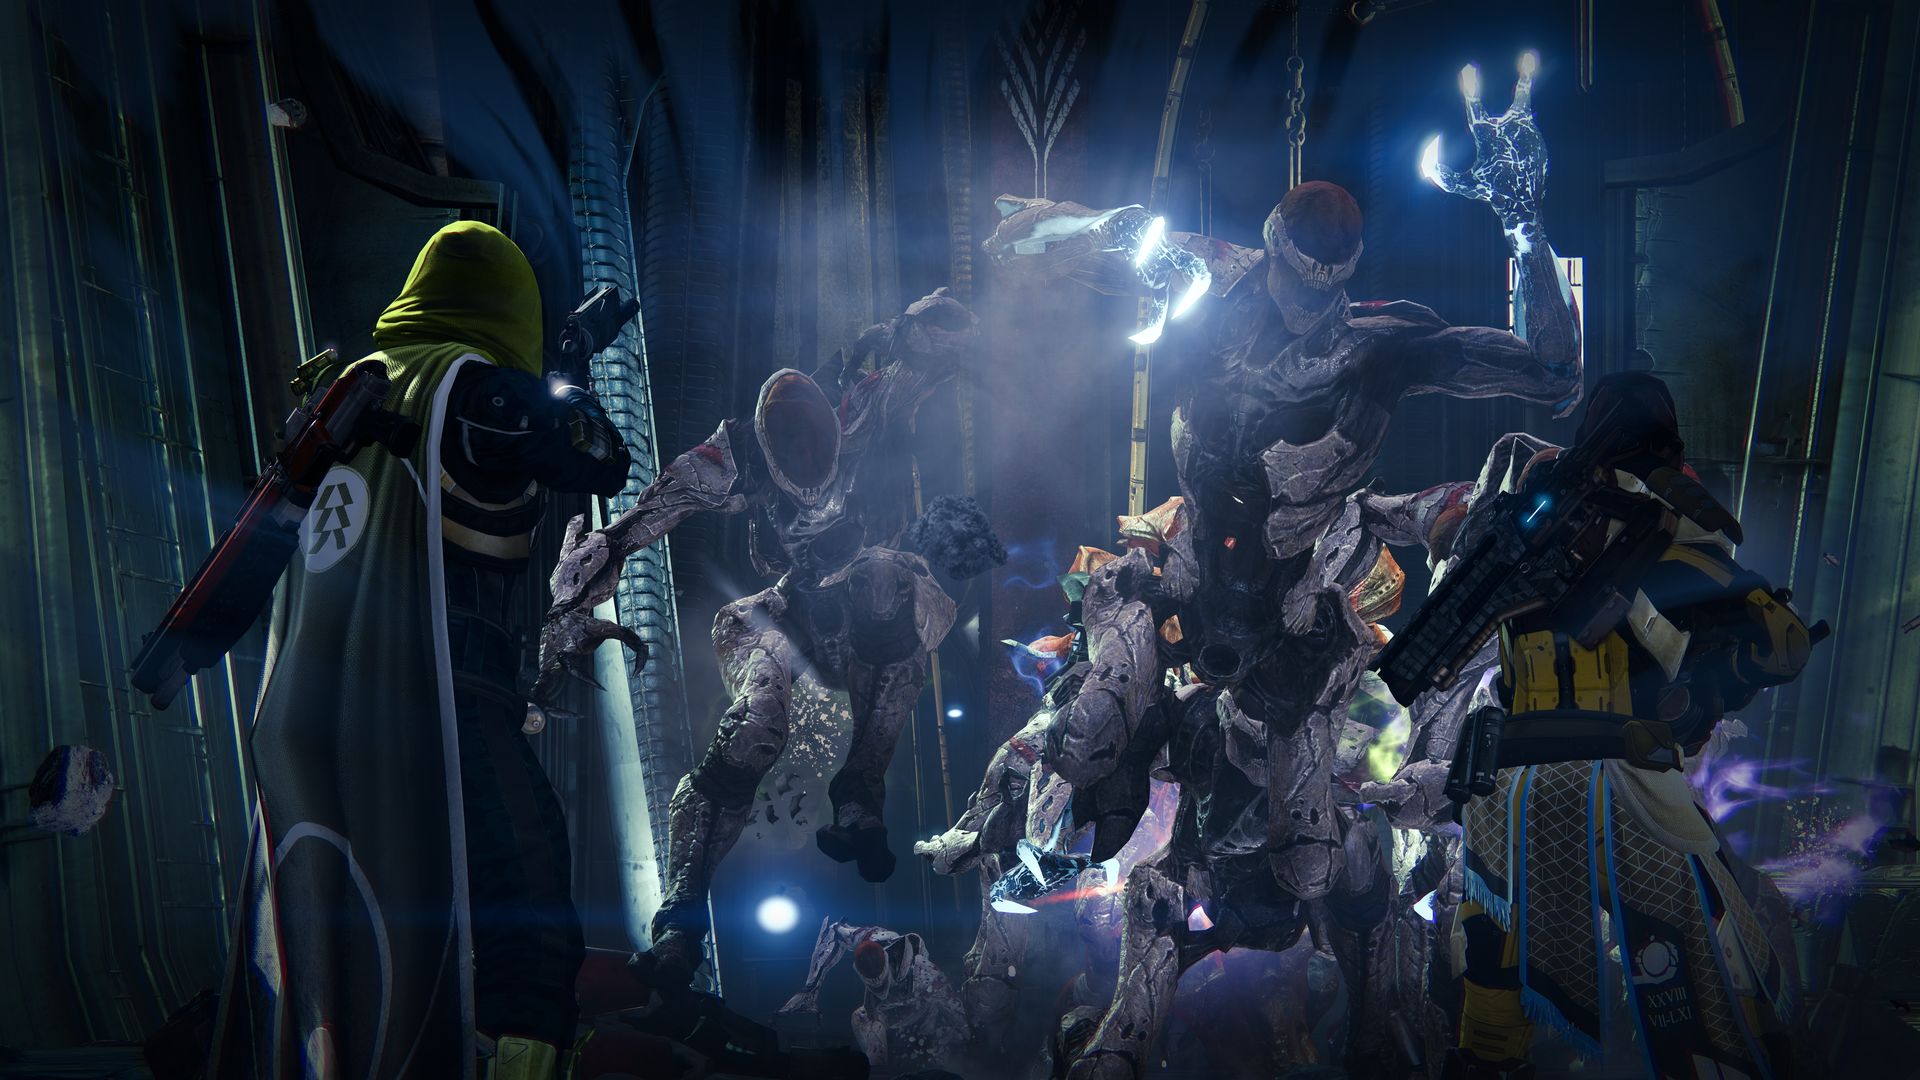
When the Acolytes are defeated, a wave of sword-bearing Knights will rush the Guardians. These Knights are immediately reinforced by Hallowed Knights carrying ranged weapons. Work around the room while defeating the melee-focused Knights, engaging the ranged Knights when necessary.
"The Sullen hearts will begin to crack and scream" will appear on-screen when the Hive Knights are defeated, signaling the spawn of a few Wizards. Try to engage the Wizards one at a time. Remember that you can use the swords to quickly change your aerial direction.
Once the Wizards are defeated, two Ogres (Thogar, the Forsaken and Malgor, the Forsaken) will spawn. Push out and eliminate the first Ogre before the other one can enter the room. Killing the Ogres before they can group up is key to winning this fight. If the Ogres form together, their accumulative damage will essentially "one-shot" a Guardian. With both Ogres defeated, the mission ends and the Urn of Sacrifice is ready to return to Xur in The Tower.
Eyes of The Forsaken
|
Quest |
Requirement |
Reward |
|
 |
Eyes of the Forsaken | Bring Eris the Eyes of the Forsaken that were acquired from Xur. | +100 Reputation and Legendary Gauntlets |
Take the Eyes of the Forsaken that Xur provided for the Urn to Eris in the Tower. Once Eris receives the Eye’s of the Forsaken, the player will receive Legendary Gauntlets and 100 Crota’s Bane Reputation. Hunters will receive an Acolyte Rung; Titans will receive a Knightbone Guard; and Warlocks will be awarded with a Thrallskin Brace.