
Hunted: The Demon's Forge Guide Walkthrough Prologue
The Swamps of Despair
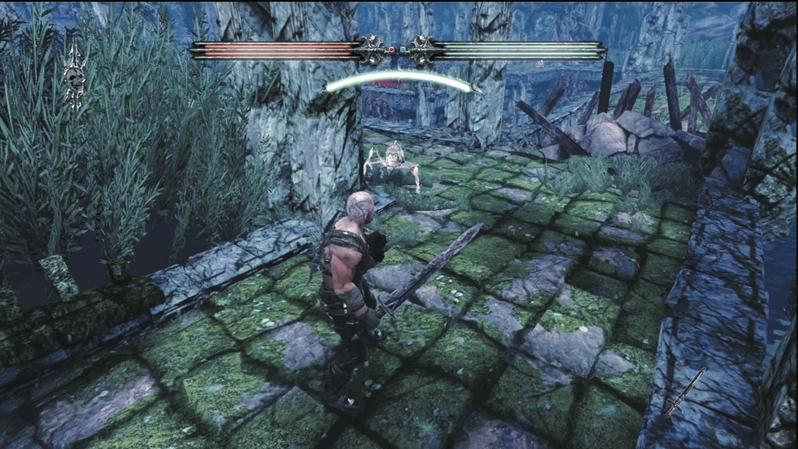
Shattering the weapon rack reveals a new path deeper into the ruin-filled swamp. If you cut through the tall grass on the left side at the corner, you reveal a secret area with three separate gold rewards. After you collect your new gold, continue back down the main path, pick up the Health Vial on the ground and press on through the ruins, stopping to break open another weapon rack in the next rotunda. Drop down the ledge and continue on to locate the ax the spirit told you about when you touched him with the Deathstone.
The majestic ruins are crawling with Aracklings. Dispatch the little menaces as you circle a pool of water. The ax is on an island in the center of the pool, but you need to discover the means of reaching it—if you want the ax. Remember, you are not required to complete puzzles or discover secret areas to complete the adventure. But, to be sure, it's useful to do so.
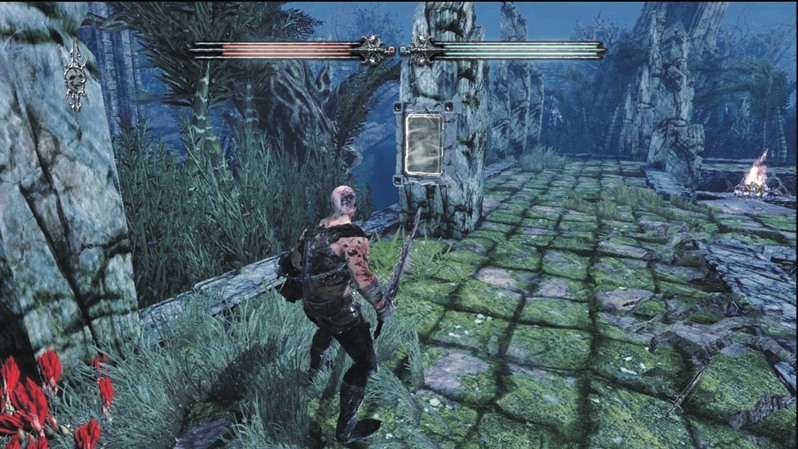
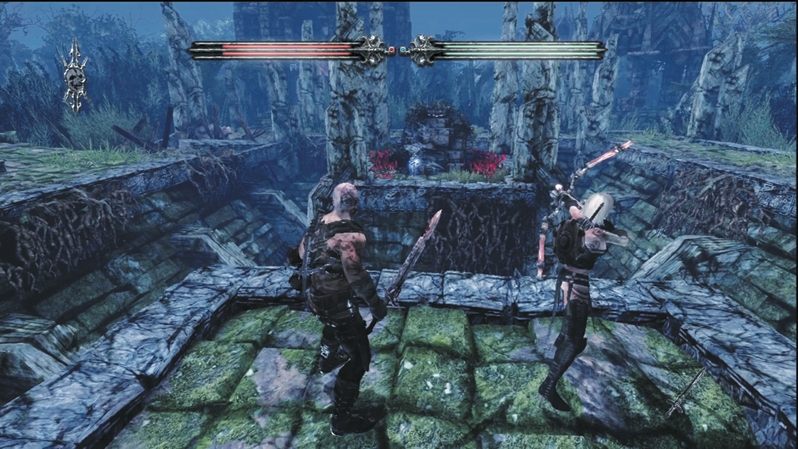
There is a plaque on a pillar near a fire pit. These plaques often offer hints about puzzles. This plaque reads: He who wishes to wield the Axe of Delaine must first ignite the burning flame.
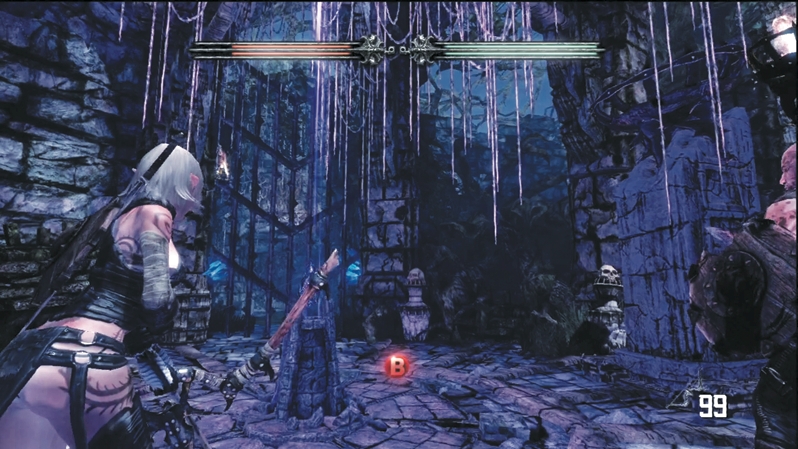
To collect the magical ax, direct E'lara to light an arrow at the nearby fire. Once prepared, fire an arrow and light the pyre atop the island. When the pyre rages, stones rise from the pool and create a sturdy path to cross the gap and recover the weapon.
The Axe of Delaine is an enchanted weapon. While it has base properties like all other weapons, it has been imbued with special powers. For example, it has the power to freeze the enemies you strike. However, that magical charge is not limitless. This enchanted ax has only 10 charges. Once depleted, it will not freeze any more foes, but you can continue to use it like a regular melee weapon.
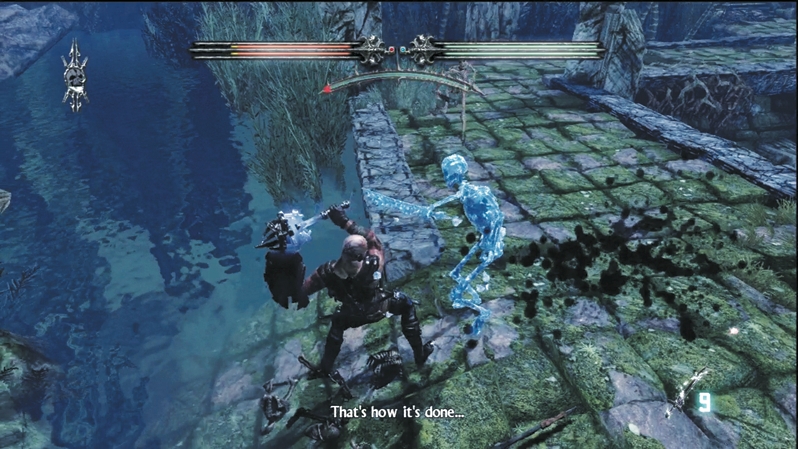
It isn't long before you have a chance to try out the ax and see how an enchanted weapon works. The magical bonus is randomly dispersed, but it is not entirely unreliable. On the Skeletons around the pool and on the wooden path over the swamp water, the ax tends to deliver a freezing blow when you need it. But be warned: Even with a lot of magical charges, an enchanted weapon may run out when you need it, so keep an eye out for not just weapon racks, but also special enchanted weapon racks that deliver greater gear.
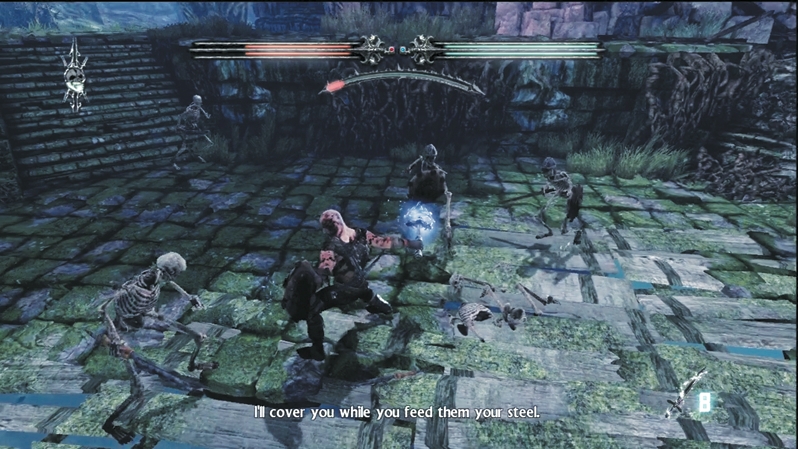
Now, even though you have backup from an elf and an enchanted weapon, you are not invincible. The Skeletons of the swamp are many and can overwhelm you. When going into a fight, be sure to utilize your shield often to deflect blows. Skeletons may be weak, but those little nicks add up, especially if you are surrounded. To put some distance between you and a target or to quickly dodge an incoming blow, use a roll. Dive out of the way and then pop back up to unleash a return strike.
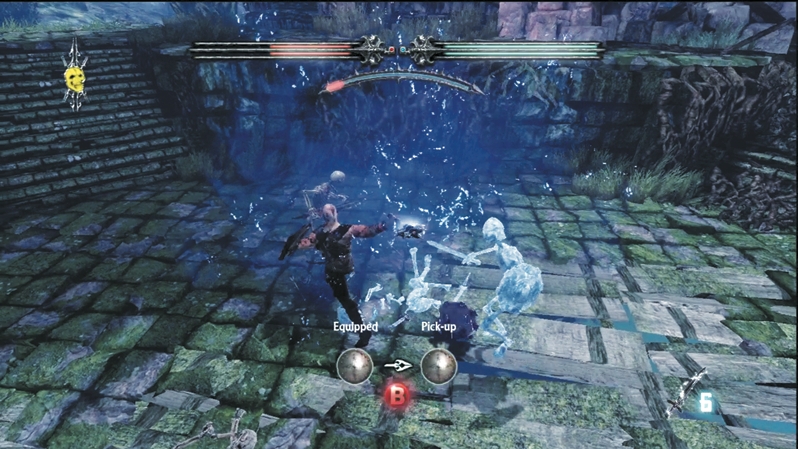
Watch out for resurrected skeletons wearing armor. They are tougher to defeat and will often block incoming blows with a shield. Use a roll to get behind them and deliver a devastating blow.

The path ends at another gate that requires both heroes. (If you haven't retrieved the magical ax but want to do so, go back and do that now) On the door's other side, Seraphine steps out of the ether to warn of increasing troubles ahead. She temporarily grants the magic of the Dragon's Breath. This is a good opportunity to taste magic, but it will be stripped from you soon. That's why you need to collect Crystals from Crystal Chests or shards from dead enemies—to buy access to magic.
Seraphine grants you lightning magic and promises it will be useful to survive the battleground ahead. As you charge forward, your hand glows with the power of the Dragon's Breath.
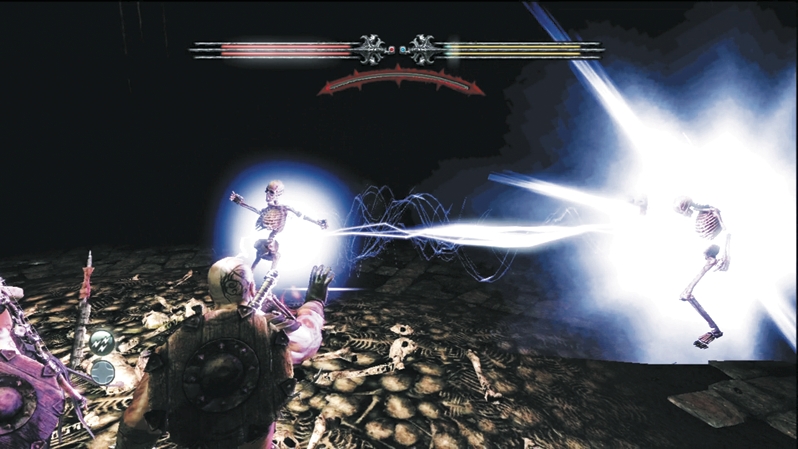
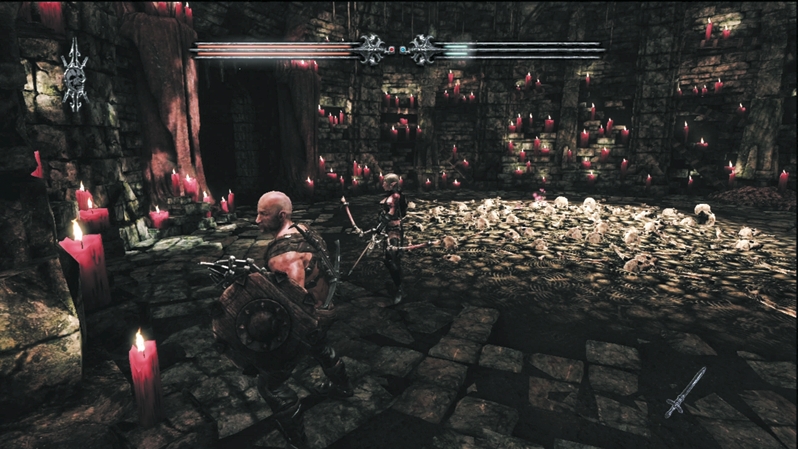
Several steps into the battlefield, the ground gives way and drops you atop a pile of bones. Within seconds, the bones rattle to life. Skeletons rise and you must put them back down. Use lightning to rip through advancing Skeletons, but if any get close, resort to melee attacks. Again, use rolls to dive away from crowds of Skeletons. Enemies are much easier to manage if you can take them apart one by one rather than fight your way out of the center of a group.
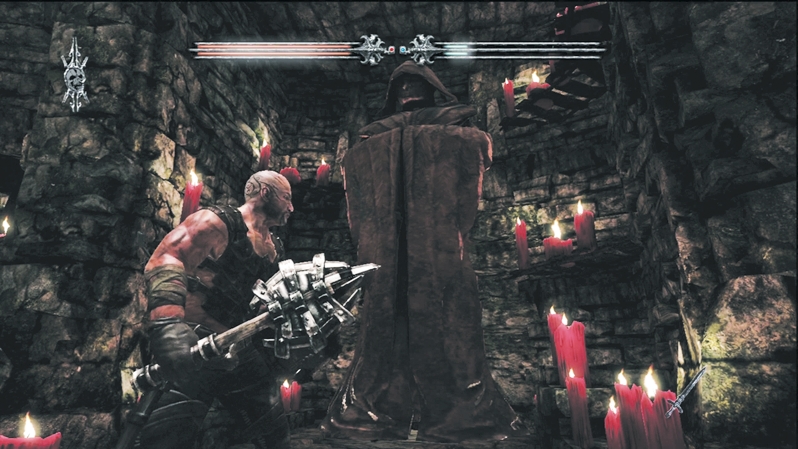
After defeating several waves of Skeletons, the candles in the room flicker to life. Is this the crypt from your dream? The scene looks all too familiar. The rising lights also indicate the loss of Dragon's Breath. Though you still have a mana supply, you do not have any magic spells at your command. You will be able to rectify this soon enough, but for now, it's back to arrows and blades.
There is an obvious exit to the room (hit the Spirit Guide to clearly identify it), but don't be quick to leave. The large statue behind the Mana Vial is actually the door to a hidden room. Use Caddoc's strength to push the statue aside and reveal a darkened corridor. You can use the torch on the ground to light your way or hold on to the ax.
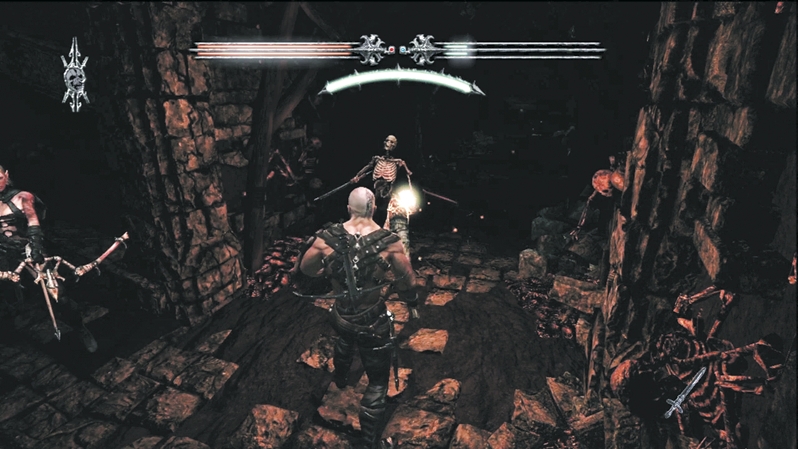
Follow the corridor to the end. See something sparkly on the ground? That's gold. Collect gold whenever possible. You don't use it in your adventure to buy gear, though. Instead, it goes into a bank that unlocks rewards in the Crucible. ( For more on the Crucible, please see the "Crucible" chapter.) Grabbing gold here rouses the dead. You must fight off a few Skeletons as you backtrack to the main room and then exit.
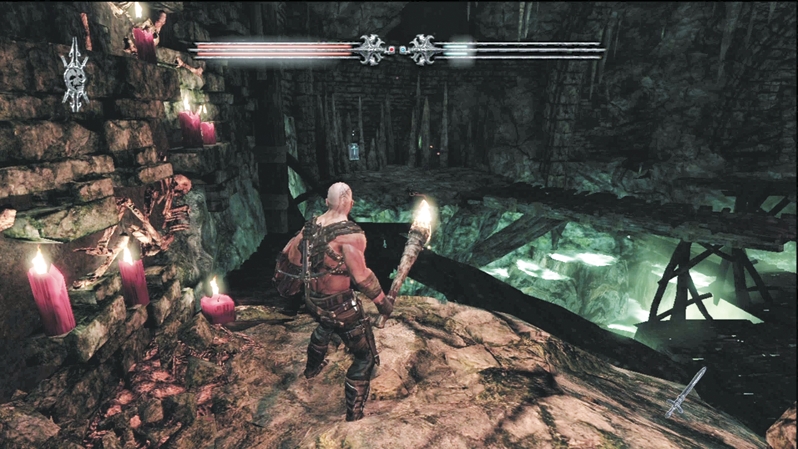
Follow the path to a room with illuminated pits. Trace the wooden paths over the pits to a Crystal Chest (this should bring your total up to three, which is enough to unlock magic).
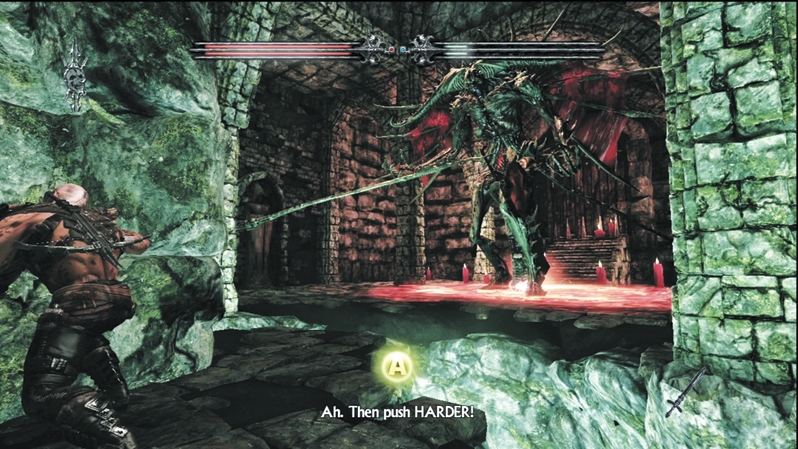
The path leads to a grim chamber that seems to be a dead end. Your point of interest is a weakened wall to the left, which looks like it could be shattered. After fighting off the local Skeletons, use E'lara's arrows to clip two ropes holding up the statue in the room's center. Then, put Caddoc's shoulder into the statue and push it over. Hurry, because something's brewing on the room's far side. After repeatedly tapping the onscreen command to push the statue down, it breaks through the wall, revealing a way out of this damnable place. And just in time, too, because you get some ugly company. A demon rises from the floor and launches a volley. Fortunately, the heroes escape just before the demon's strike causes a cave-in that closes off the hall in the wall.
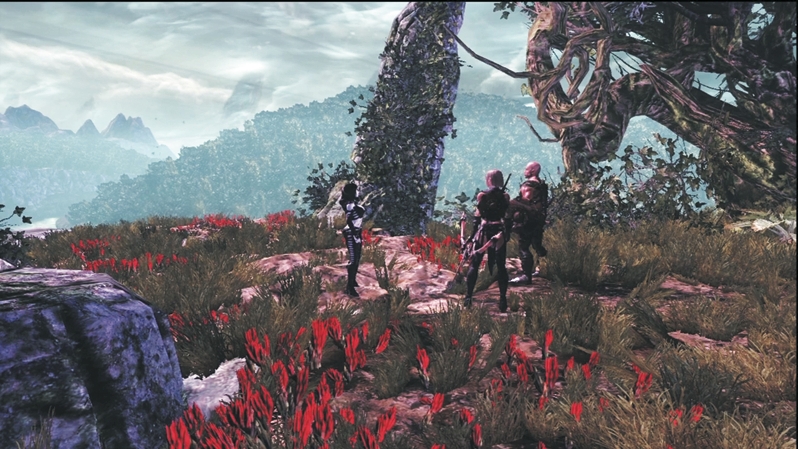
Once you're safely outside, Seraphine reveals herself again. The mysterious lady commends the pair for their performance and requests they hand over the collected Crystals. This opens up the Magic Spell Selection screen, which allows you to spend those Crystals. If you collected all three, you have three Crystals each to use on Caddoc and E'lara. Fortunately, Crystals are not spent from a single source. Whatever you collect is effectively doubled.
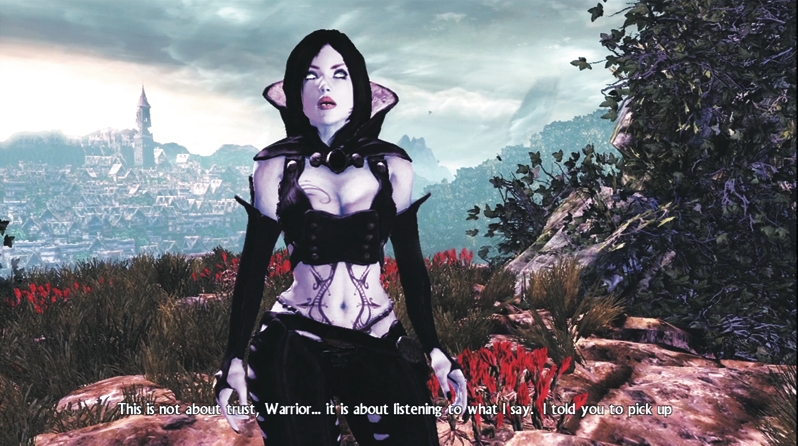
How you choose here is entirely up to you. If you liked Dragon's Breath, then grant either hero a lower form of this ranged-attack magic (high-level Dragon's Breath is well out of your price range right now), and look into lightning or fireballs. Or you can purchase battle magic, which affects weapons. You may upgrade E'lara's arrows with special powers such as armor-piercing tips. Caddoc's attacks can be upgraded, too, with brute strength enhanced to lift and slam enemies.
Following the dispersal of magic, Seraphine has another request. She admits that she is the wayward daughter of Lord Mayor of Dyfed, the village behind her. Seraphine wants you to find her father and speak to him, but she requests that you make the meeting appear to be by chance—she does not want her involvement known. According to Seraphine, Dyfed is in great peril, and her father could use the skills of such heroes. She even promises a reward. And that's enough to spur you into action....