
Hunted: The Demon's Forge Guide Walkthrough Chapter 1
Dyfed Inn
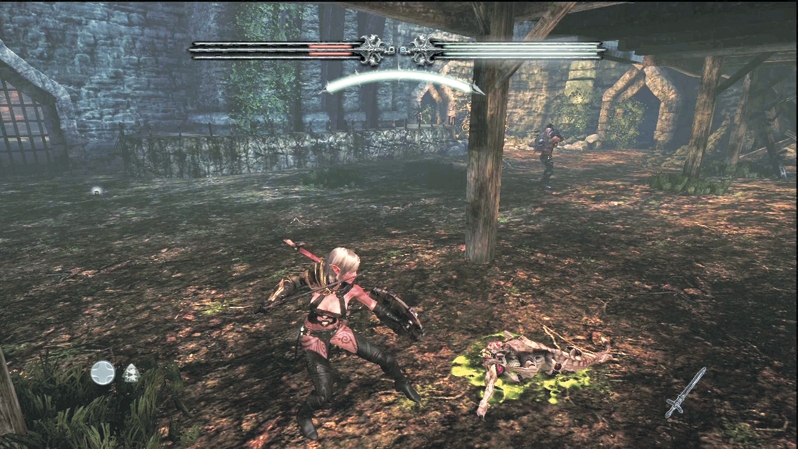
Upon entering the next section of town, you see a terrible sight: Wargar marching human captives across the bridge, presumably to their doom. You have to do something about this, but the moment you take a step forward, Aracklings attack. The swarm surrounds you beneath the bridge, leaving little room for making the necessary distance for ranged attacks. Magic and melee are better suited for shattering these nuisances anyway.
The Arackling here are in legion and melt out of the stonework. Expect well over a dozen of the nasties to creep into the arena, but if you maintain your guard and roll out of swarm situations, you can survive the encounter. The area seems gated in, but after dropping the final Arackling, a Wargar enters to check on all the fuss. Kill it as soon as it arrives and then slip through the now-open portcullis.
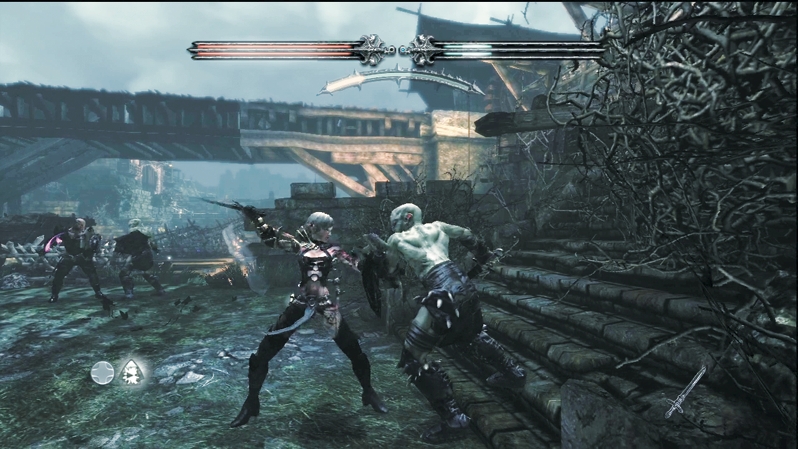
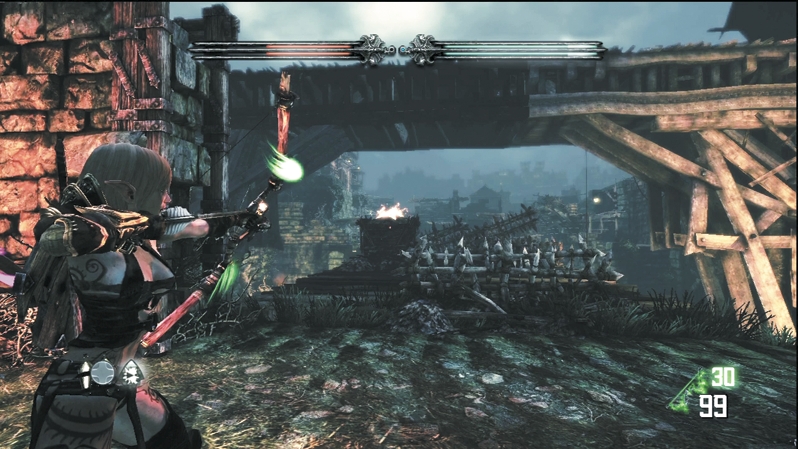
More Wargar guard the next area. After dispatching the small crew (look out for one or two to use cover and return fire with crossbows), use the fire pit to ignite one of E'lara's arrows and then set fire to the hay cart on the bridge. Once the cart is on fire, use Caddoc to roll the cart across the bridge so it ignites the debris on it. Now, cross the beams to reach the bridge's far side and lay into the next band of Wargar.
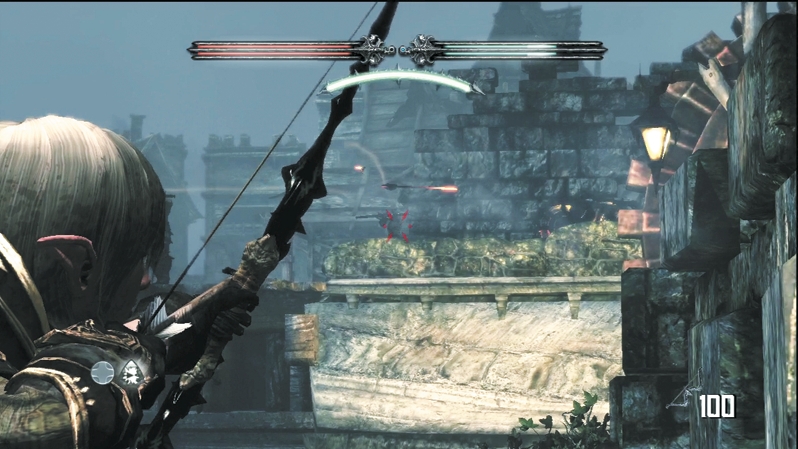
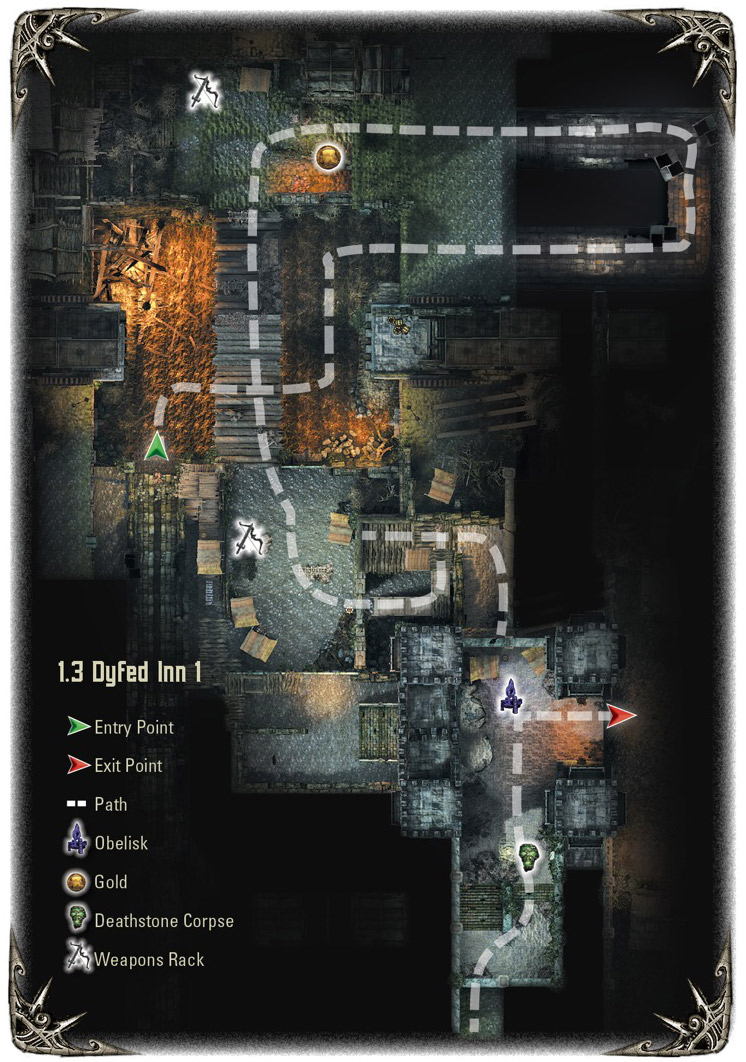
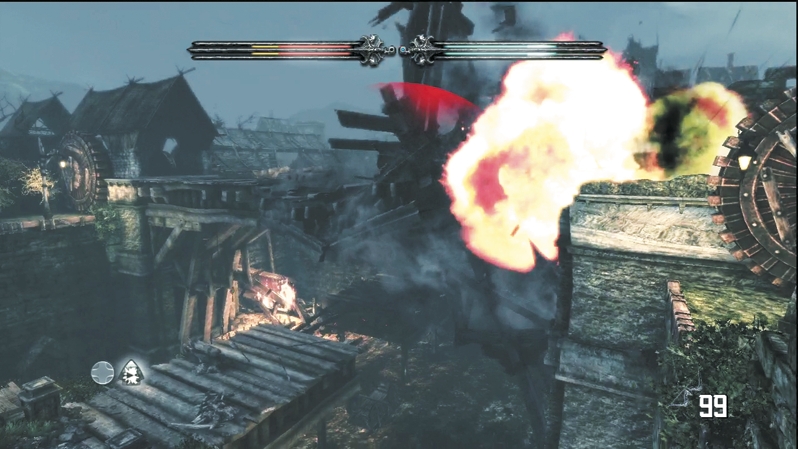
Beyond the hole in the wall is a set of stairs. Climb these to get a good shot at the explosive pots on the giant bridge overhead that Wargar are using to transport prisoners. One whistling arrow is all it takes to detonate the bridge and any Wargar on it. Once the dust settles, you hear ballista fire in the distance. That's not good. Follow the trail along the city walls toward the sound of the artillery, stopping only to consult a corpse via the Deathstone.
After leaving the corpse, use the nearby obelisk to swap heroes if you'd like. Otherwise, move on through the next gate and close in on the ballista situation.
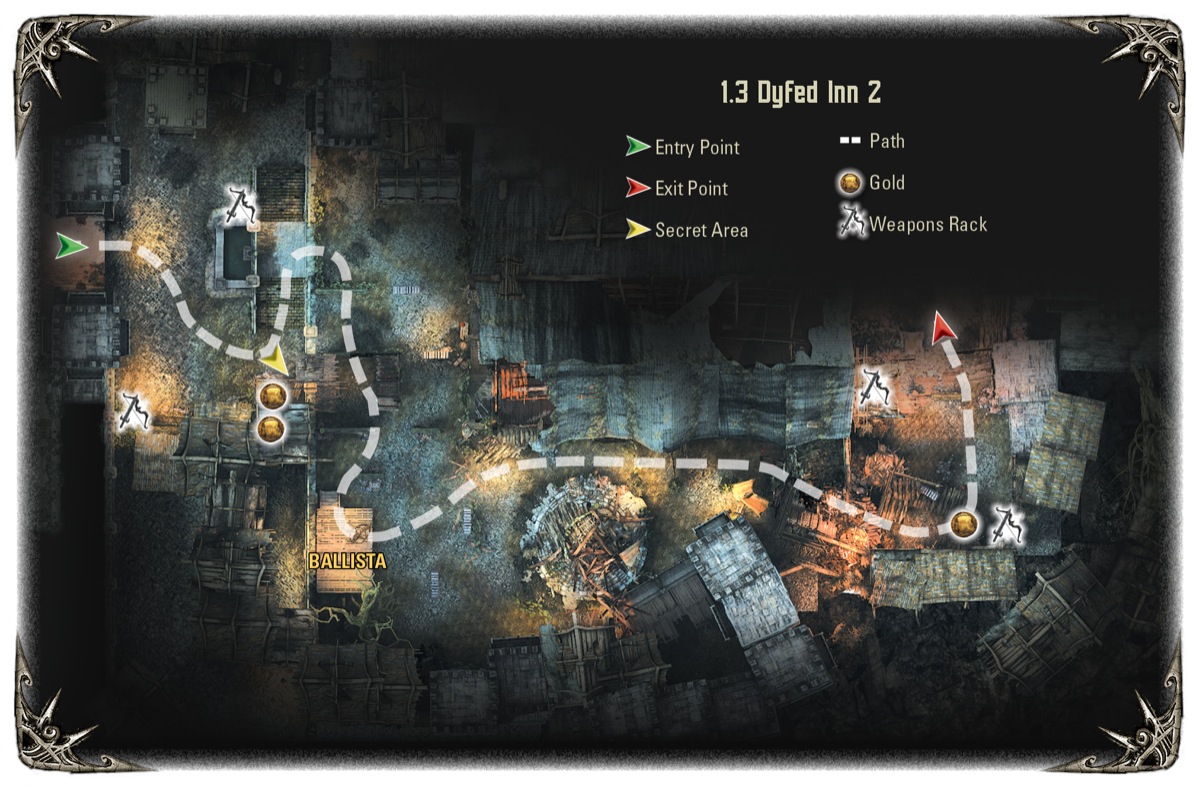
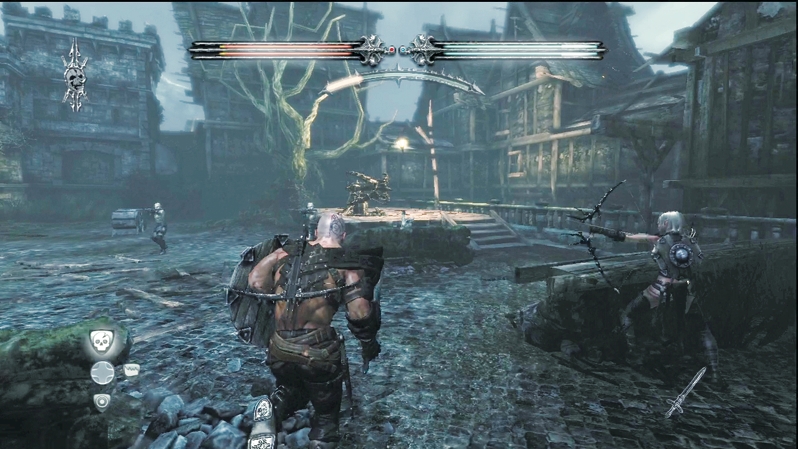
Breeze through the next block, enjoying the reprieve from action. Break open crockery to liberate vials and smash weapon racks to see if you get lucky with superior gear. Before you climb the stairs to the higher level, shoot out the rope above the sign hanging on the door to the right of the stairs. It reveals a secret room with some extra gold for you. As you climb the stairs, though, you see the Wargar using a ballista on an inn. Seems like overkill, but then the Wargar turns the ballista on you. Fight your way through a batch of aggressive Wargar, cutting a path to the ballista, which is up on the wooden landing.
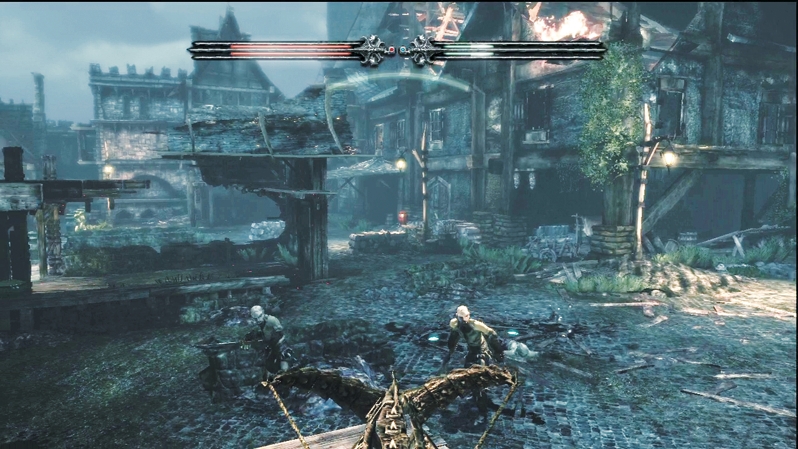
Take control of the ballista (you may have to cleave a Wargar using it, although it may have deserted its post as you approached) and then use it against the marauding Wargar. Only one hero can use the ballista at a time; however, if you are in co-op, your partner way wish to hide behind the ballista. Rain down massive blows on the Wargar as they approach from the debris fields opposite the ballista or from the broken houses.
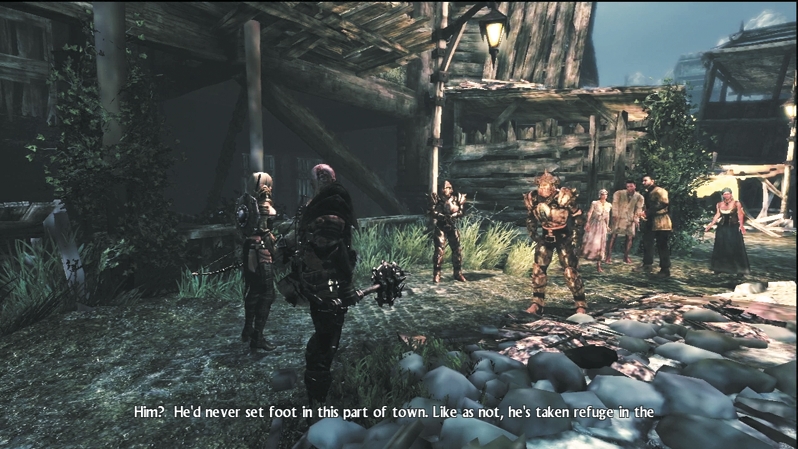
After you down several waves of Wargar with ballista fire, the siege ends. Knights and citizens come out of hiding to congratulate you. They tell you the Lord Mayor is just ahead, taking refuge in the town hall. But first you have to survive the Elder Courtyard, which has apparently seen some heavy fighting.
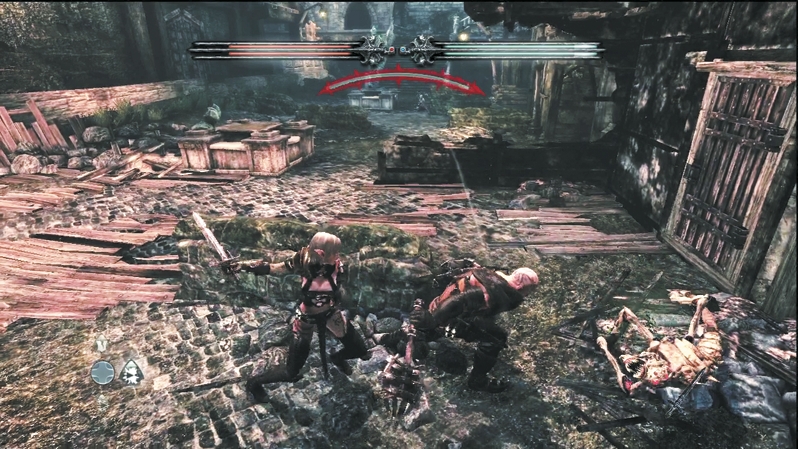
After you squeeze through a narrow passage, more Wargar greet you in a broken street. Settle into cover. However, watch the ground because Aracklings are streaming through the street. Take the Wargar with ranged shots until the Aracklings reach your position, and then slice them up before returning your attention to the Wargar. Expect one last push-back from the Wargar when you reach the street's end.
Wargar Scorcher
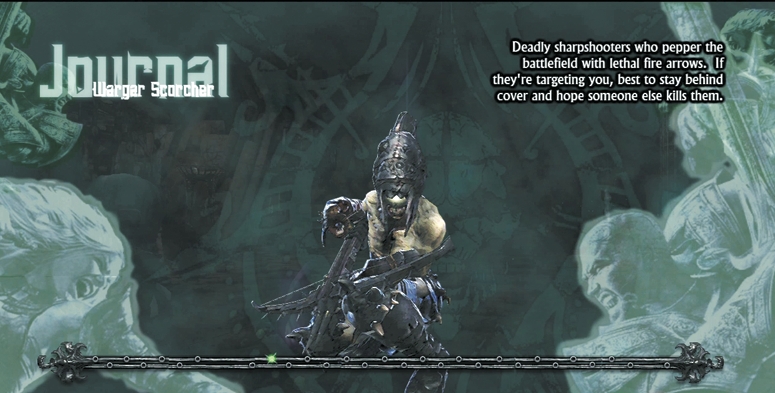
Vulnerabilities:
Dragon's Breath
Resistances:
None
These deadly sharpshooters pepper the battlefield with lethal fire arrows. If they're targeting you, stay behind cover and hope your partner kills them. If you have to take out the Scorcher yourself, rely on Dragon's Breath or a well-placed Arctic Arrow to slow it down.
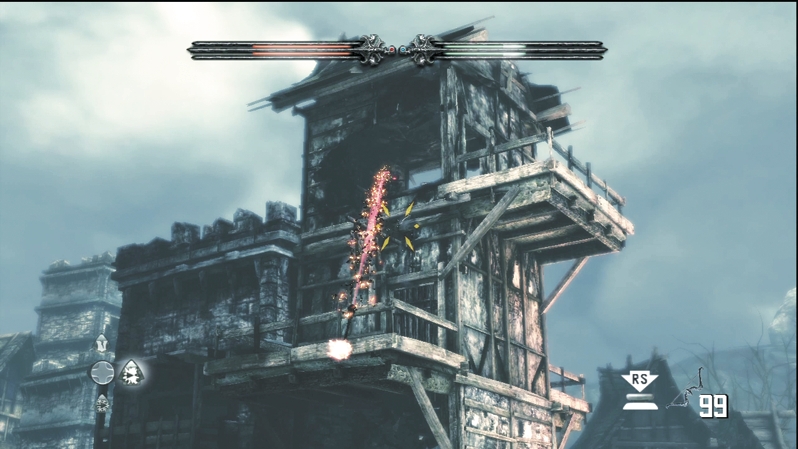
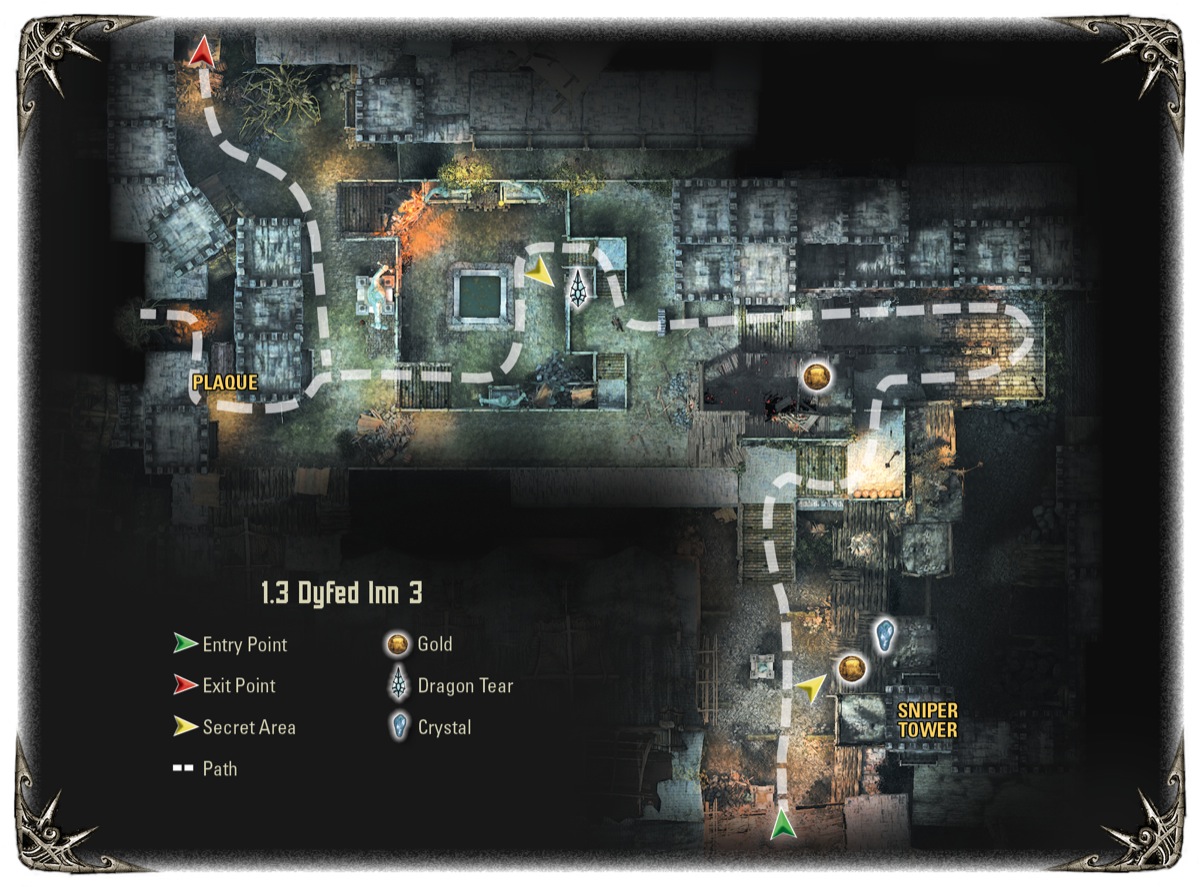
As you climb the stairs at the end of the street, look up. A Wargar Scorcher is firing at you from a tower. Drop an arrow through the window beneath the Wargar to set off some explosive pots and take out the brute. Then, shoot the explosive pot revealed beneath it to unlock the passage to a secret location containing a Crystal Chest.
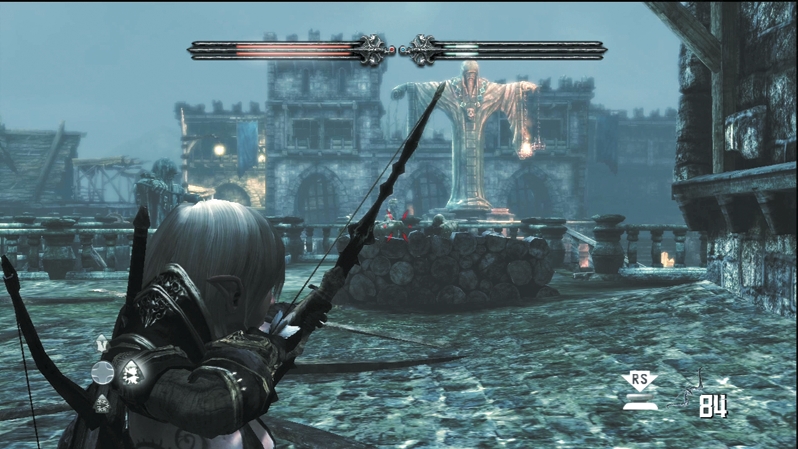
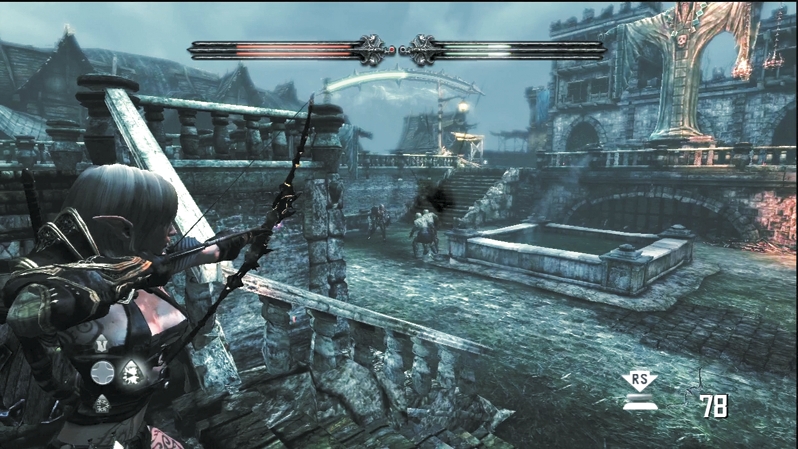
Continue following the path until you reach Seraphine's portal, which allows you to upgrade your magic with collected Crystals. Keep moving and you eventually reach another Wargar battle. Fortunately, you have the element of surprise this time. Two Wargar dine on an unlucky citizen. Drop them and then engage the rest of the Wargar in the courtyard ahead. Several storm up the steps while others hold their ground in the rear of the courtyard. You may have to meet some halfway, battling it out in the courtyard's center.
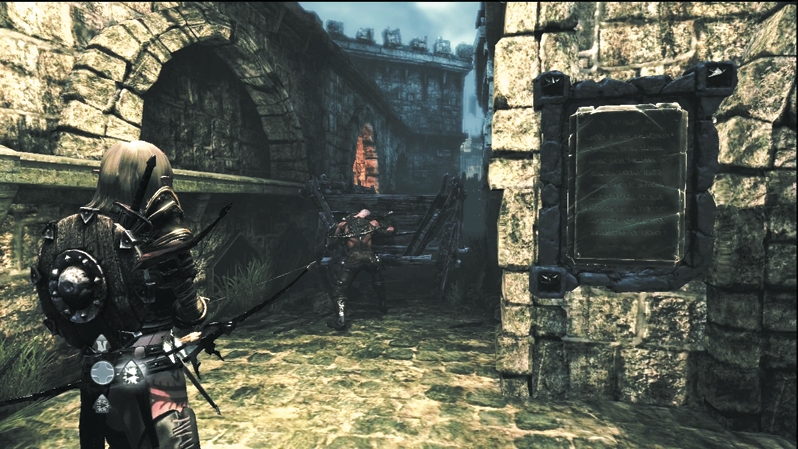
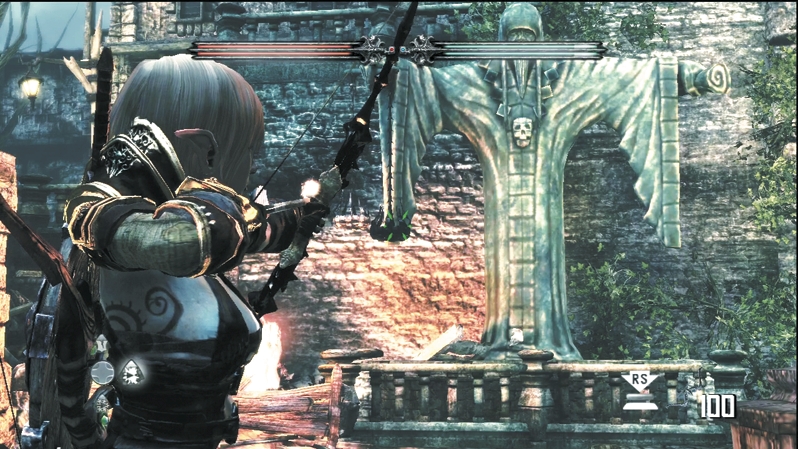
Once the courtyard is empty, you can work on a short puzzle. Look for the plaque on the statue on the courtyard's far side. Round the corner and then push the cart deeper into the narrow space. This reveals a fire pit at which E'lara can light an arrow.
Now, look for the statue in the courtyard without a fiery brazier. Shoot the fire arrow at the brazier to light it. This reveals the third Dragon Tear inside a wall in the courtyard. Now that you have the treasure, leave via the narrow passage on the courtyard's far side. It drops you right in front of another obelisk and a Seraphine portal for upgrading magic.