
Hunted: The Demon's Forge Guide Walkthrough Chapter 2
Crane Room
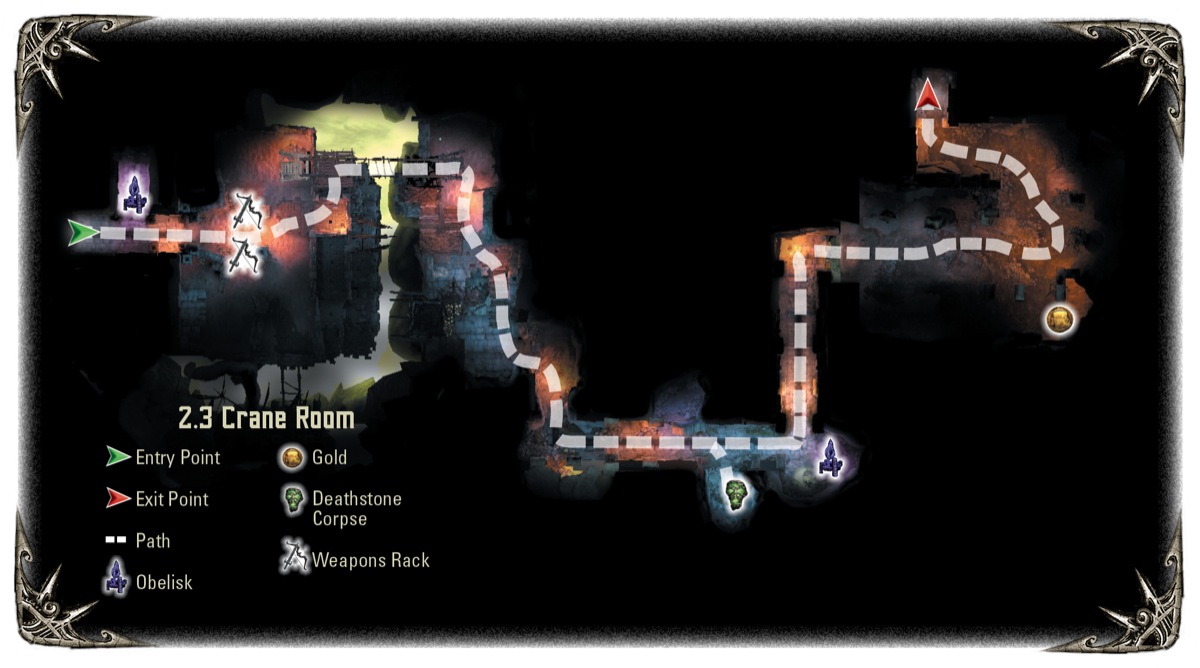

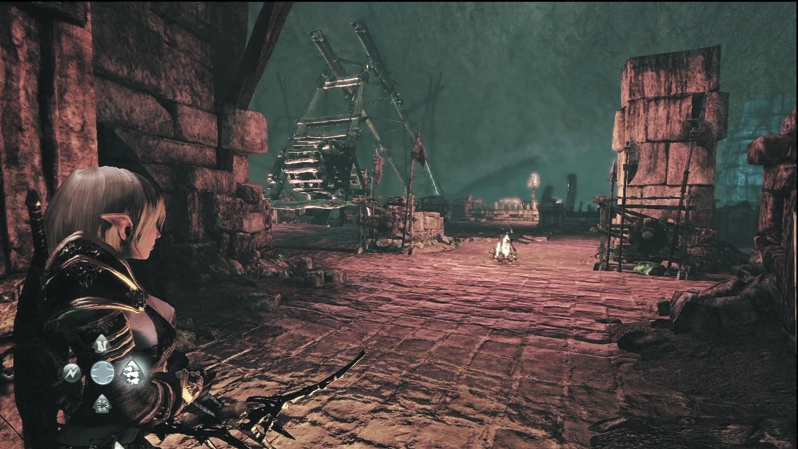
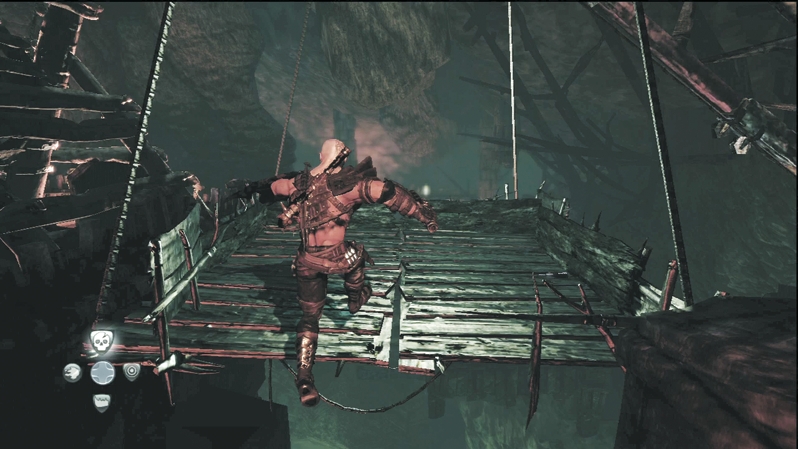
Kick in the next door to enter the crane room. Scour the undefended area around the crane for weapon racks and canisters. To descend, one character should jump over to the hanging platform and the other character should crank the crane winch. You're about to get pelted with arrows and then have a big melee fight once the platform reaches the bottom, so it's probably best to send Caddoc onto the platform as the vanguard.
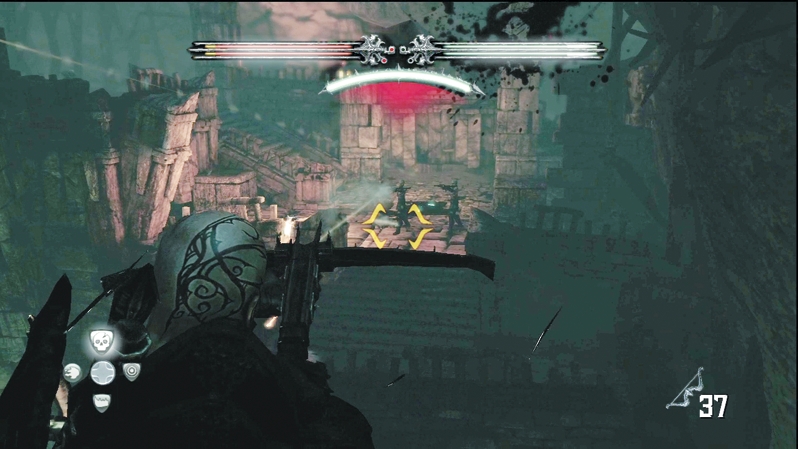
The platform will descend slowly to the bottom level. While it does, Wargar Archers storm out of the ledge in the distance and rain arrows down on the platform. Hold up your shield if you want to play defense against the hail of arrows, or you can minimize the strikes by shooting arrows back at the Archers. Explosive barrels litter the enemy area; concentrate on hitting those to blow up more foes.
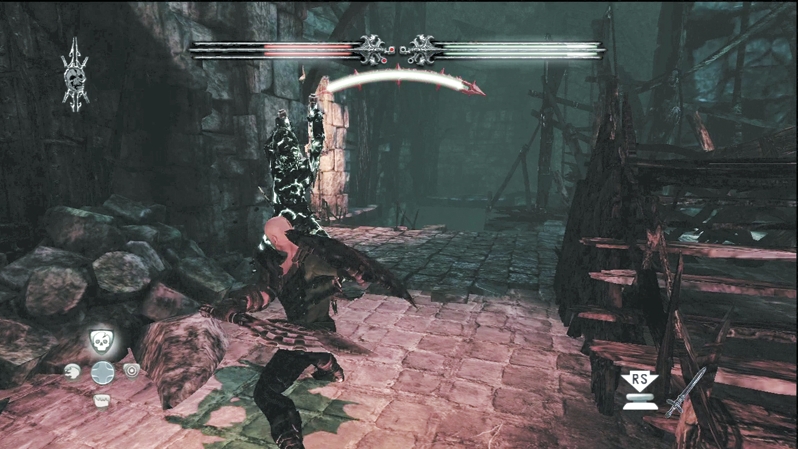
When the platform finally hits bottom, race down the stairs to avoid any more enemy fire. A Wargar Zealot charges at you, and because your partner is high up in the crane room, it's just one-on-one. Roll often to avoid the big Zealot downswing and counter with your best attacks. Don't spare any mana; if you can unleash a Dash or a Dragon's Breath on it, do whatever you must to survive.
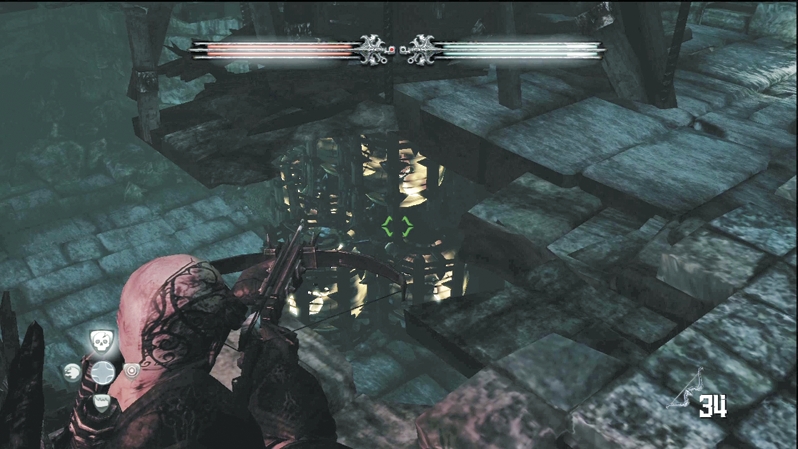
To create a safe path for your companion, fire an arrow or bolt into the stack of explosive crates in the lower section. The resulting explosion drops rocks into a walkway that bypasses the Wargar Archers in the upper area. Reunited, the two of you can now duck under the low-hanging stone at the area's bottom and enter the next corridor.
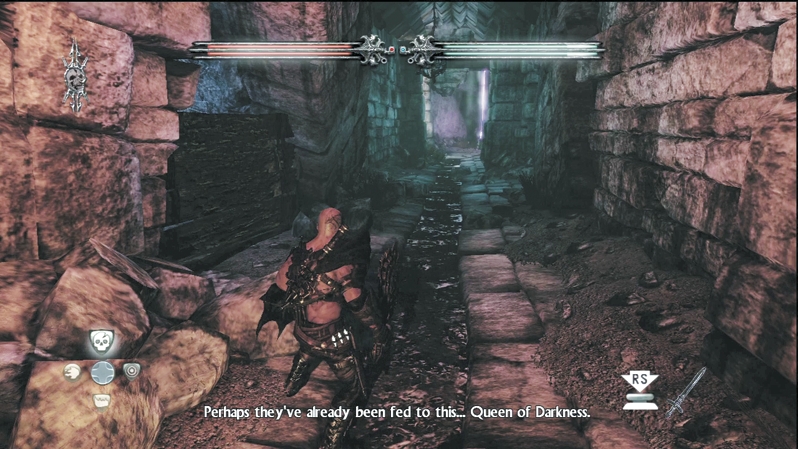
Before you visit the obelisk and magic portal ahead, check out the boards on the left wall. Smash them open for a couple of skull canisters in a hidden area. A few feet down on the right side, an alcove harbors a Deathstone corpse and two more canisters.