
Hunted: The Demon's Forge Guide Walkthrough Chapter 3
Descent
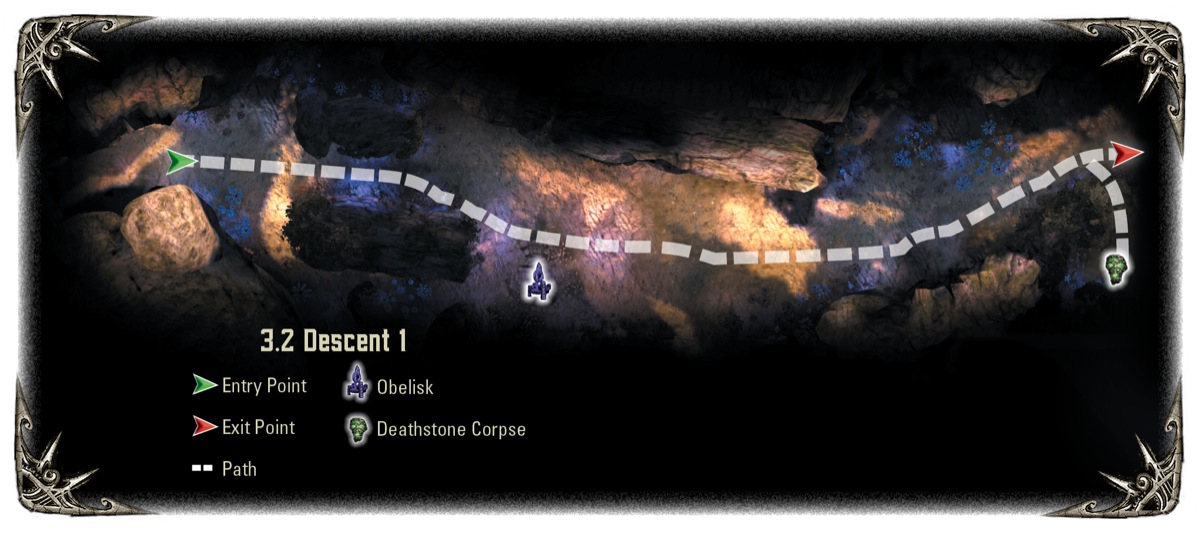
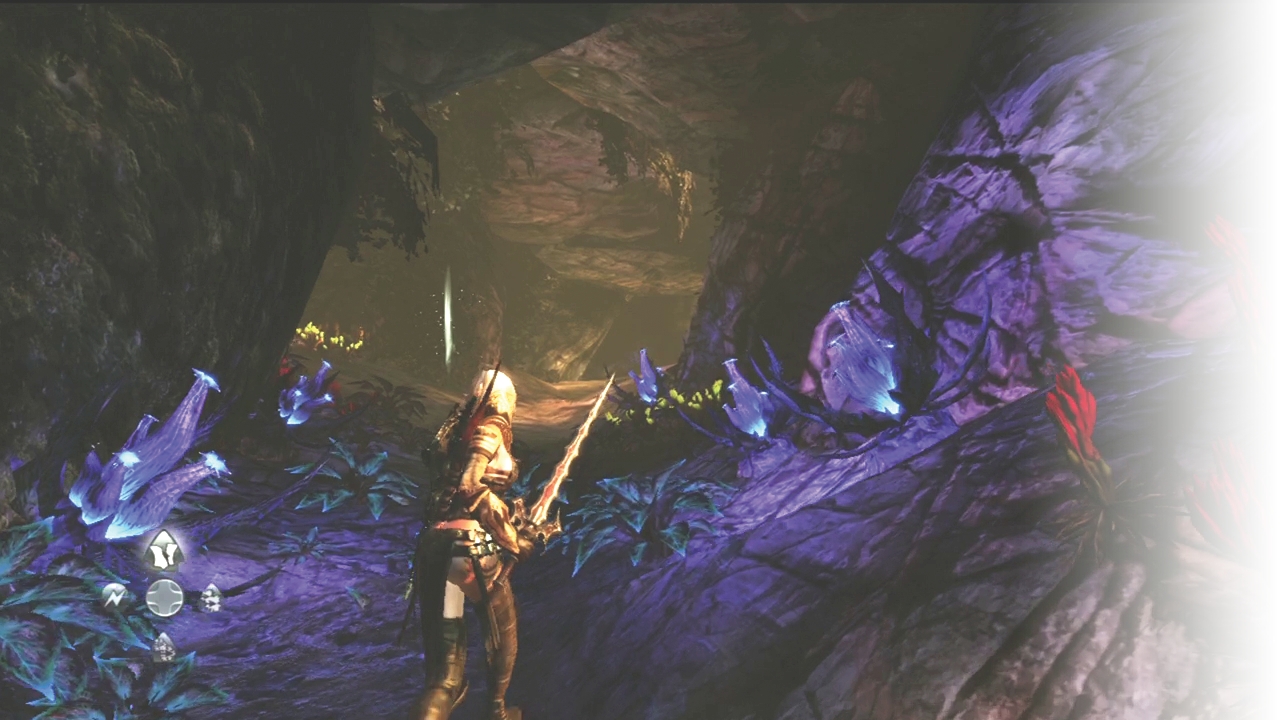
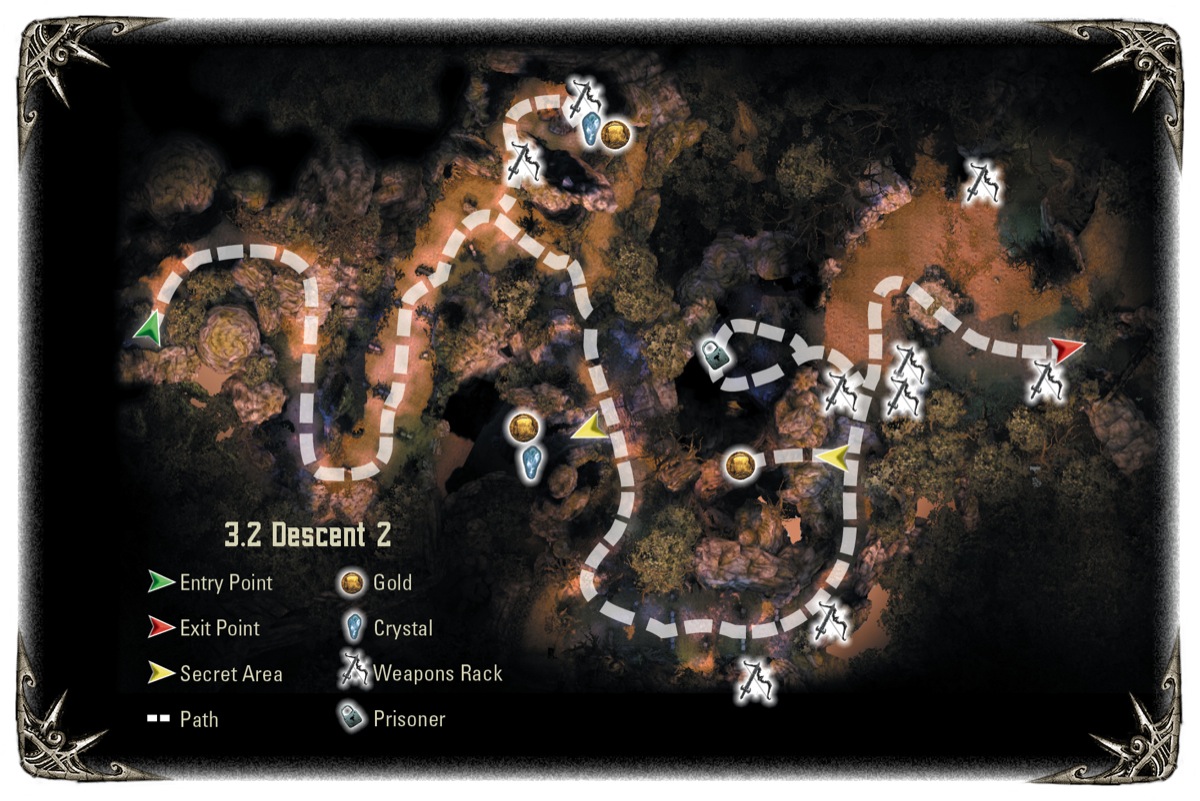
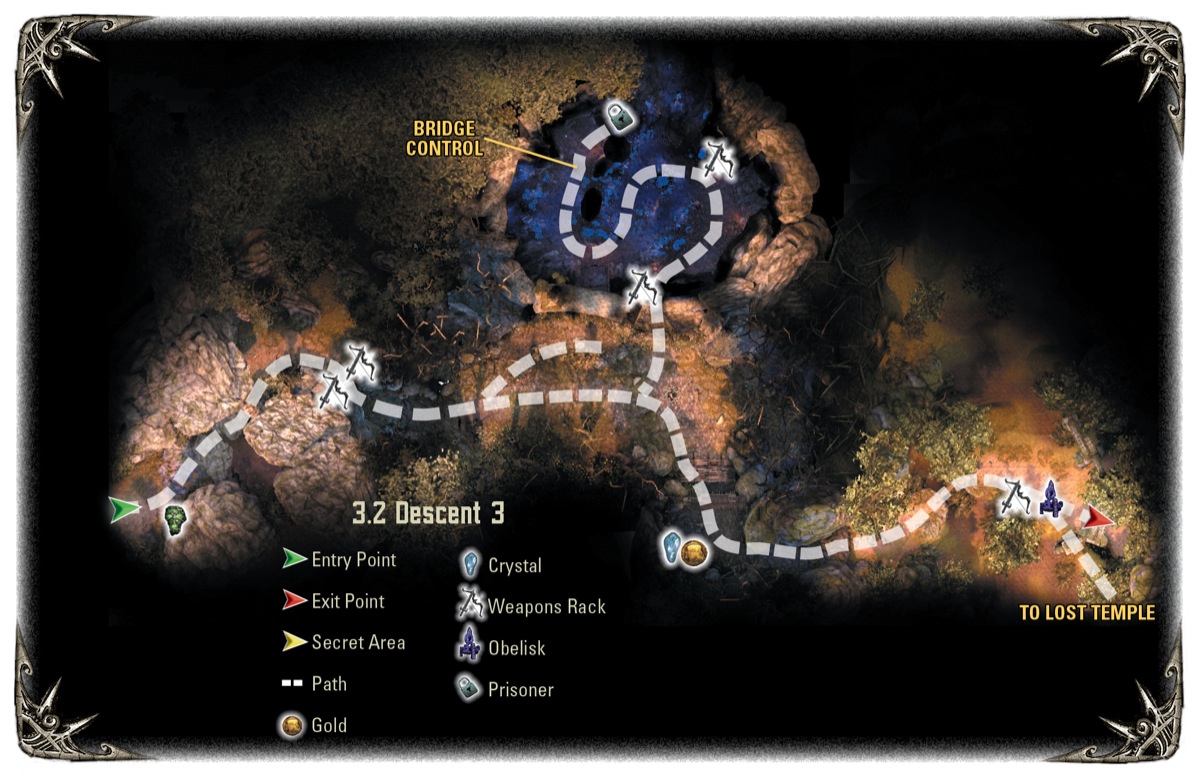
You find yourself in a mountain pass, where blue and red flowers grow. Stop at the magic portal or obelisk if you need a change, then navigate through the twisting rock until you pass the terrified woman up on the hill. Look for an alcove on the right that holds another Deathstone corpse.
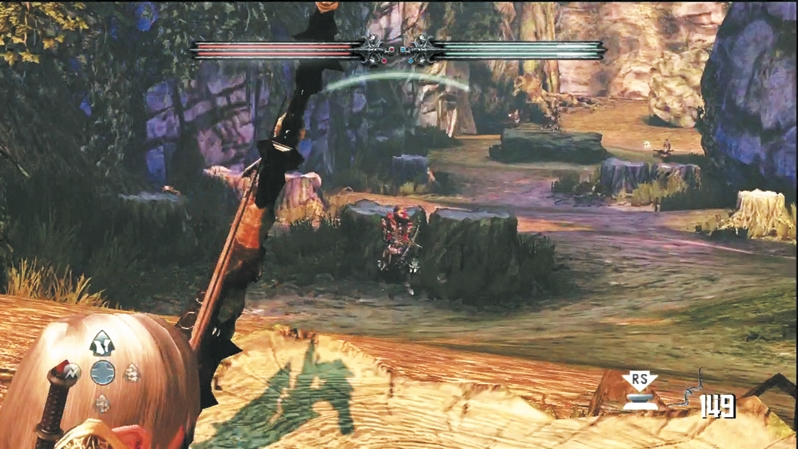
Back out into daylight again, wind down the hill until you see a series of stumps. Wargar Archers and Wargar Scorchers defend this area. Settle down behind the first tree and return fire until they're all down. Caddoc can charge in and deal some solid damage in hand-to-hand combat with the Archers up front, but he'll have to hunker down in cover or use his shield against the Scorchers. A side passage in the mountain hides away some Wargar Soldiers, Wargar Warriors ,and Wargar Blastcasters that come out as you approach. Once you've dispatched them, scour the campsite for some weapon racks, gold coins, and a Crystal Chest.
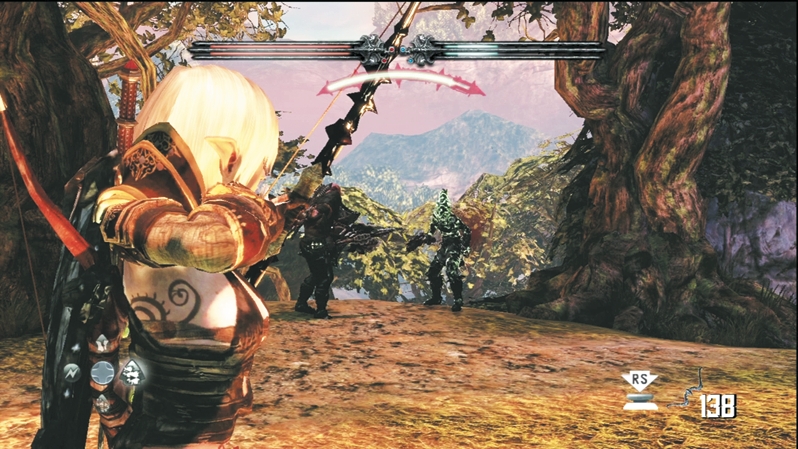
A more dangerous Wargar Zealot climbs up the hill to stop you from descending from the campsite area. Caddoc should engage in melee to keep it off E'lara, while she supports with weapon magic or Dragon's Breath. Once the Zealot lies dead, continue down the slope and jump over the small gap in the path. A single Wargar Archer scouts the bridge ahead; snipe it from long range to keep your approach secret.
Look to your right and you'll spot a waterfall. A path next to the waterfall leads into a secret cave with a gold treasure chest and Crystal Chest.
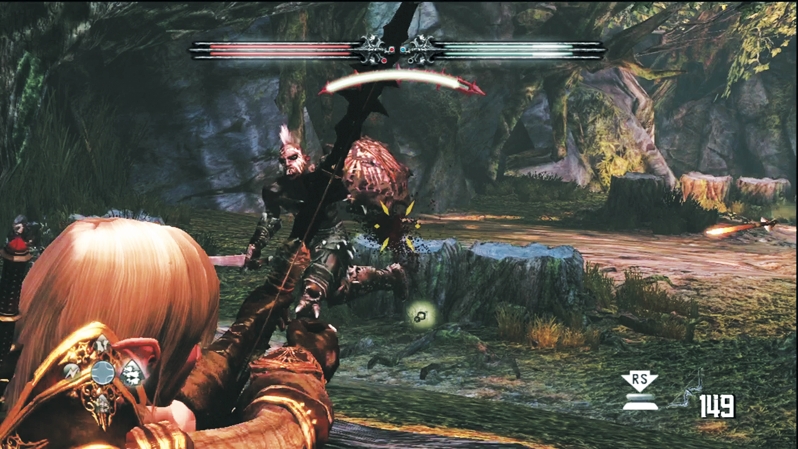
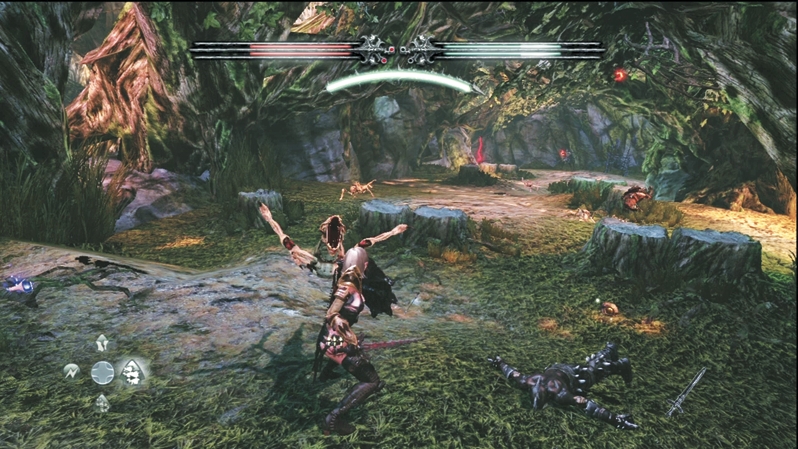
After the bridge, walk down and around the next bend. Another series of stumps provides cover in this secluded area, which is a good thing because you have a horde of enemies headed in your direction. Wargar Archers and Wargar Warriors attack first. An Infected Wargar then joins in, followed by Arackling Crawlers. You can't just sit back in cover like the earlier fight; the Infected Wargar can arc fireballs over the stumps, and the Arackling Crawlers will force you into melee. Balance both approaches. Swat the Aracklings aside in melee, then switch to range to land some hits on the Infected Wargar, or dip into battle magic and destroy anything in your path with Brimstone or Dragon's Breath.
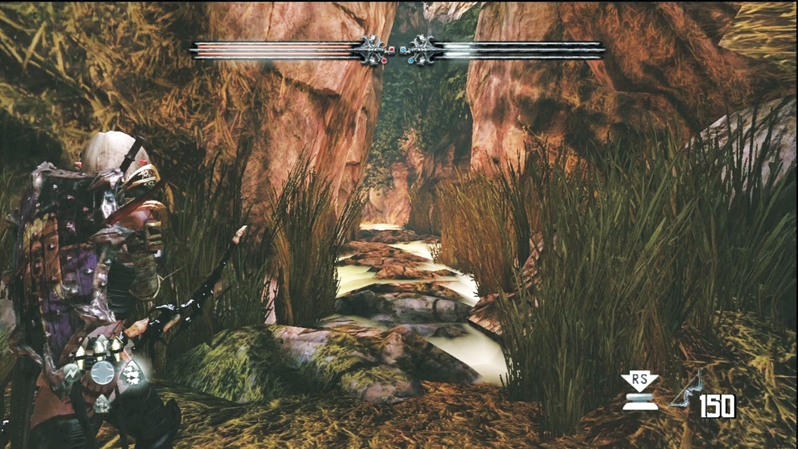
On the next stretch, look for a stream that splits the left wall. A trail of rocks runs down the stream's middle, which makes is passable and leads to a secret area. Collect the gold hidden away in the treasure chest on the small island.
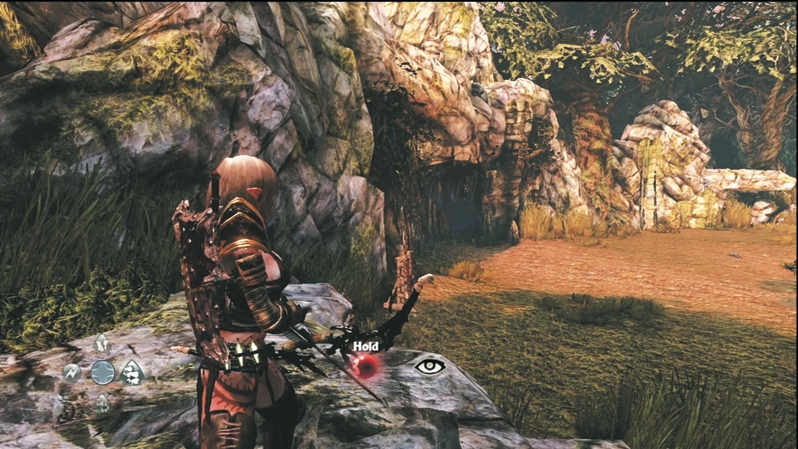
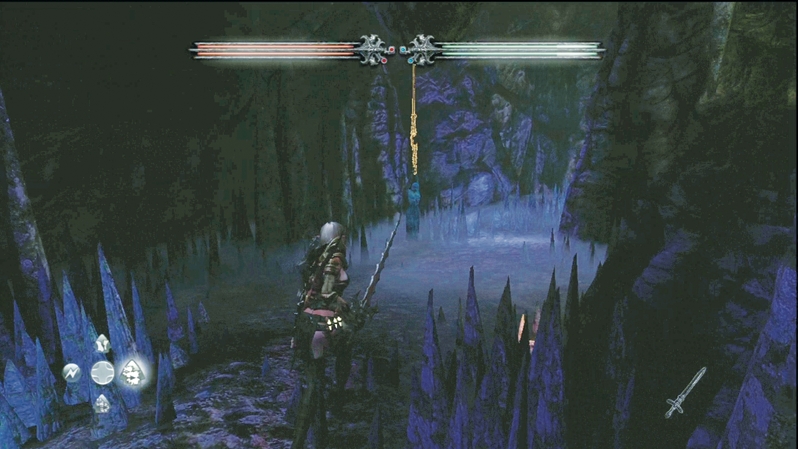
At the next ledge, you'll see a dark cave off to your left. Jump down and replenish resources at the surrounding canisters and weapon racks. Visit the cave to free another prisoner, who happens to be Peredur's wife. Wargar attack while you're inside the cave. Use the stalactites and stalagmites for cover as you beat them into permanent submission.
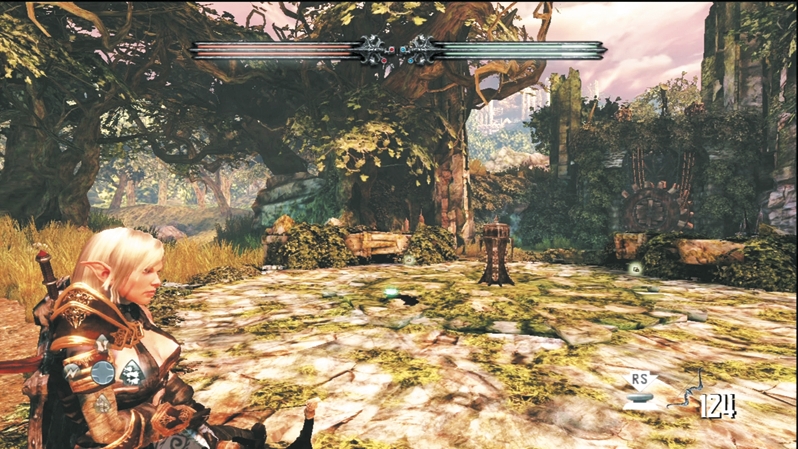
A Sleg vat sits atop the dais out in front of the cave. Based on your earlier encounters, you should know that if you see Sleg, tons of enemies are nearby. Prepare for another big fight to take the large gear-shaped gate in the distance.
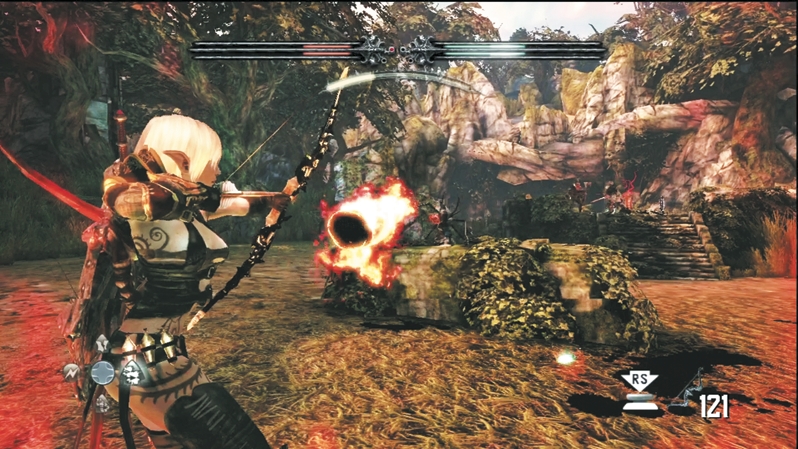
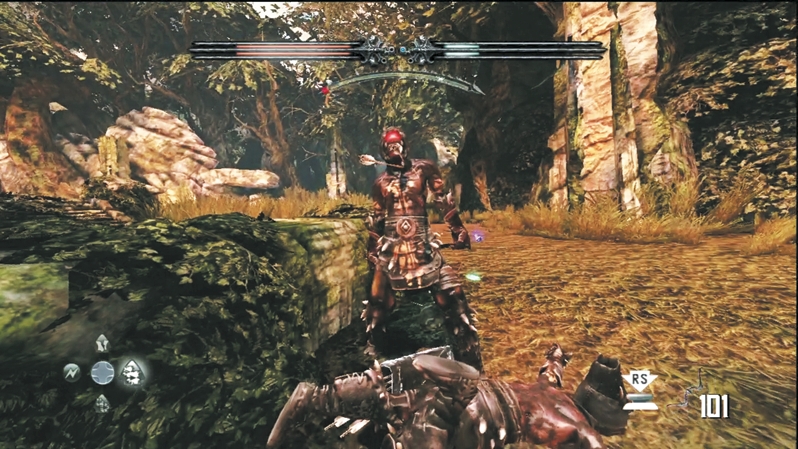
When the Infected Wargar sounds the battle horn above the gate, the battle is on. Every type of Wargar floods the battlefield at some point. Because of the numbers involved, it's impossible to take cover and not take damage. It's best to move quickly and work together to eliminate enemies. Concentrate on the foes that deal the most damage first, such as the Infected Wargars or Wargar Zealots. If you get low on health or mana, retreat to the dais and out of the thick of things. Take a quick glance at the battlefield for dropped loot, and then sprint to the area to pick up renewed resources. With enough coordination, Caddoc and E'lara can defend against the onslaught without resorting to the Sleg.
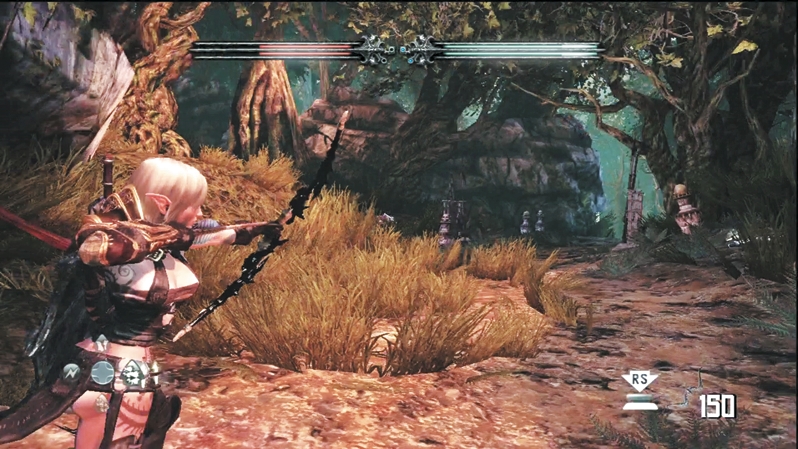
Continue through the gate and out onto a rocky expanse, where you jump between two outcroppings. Make your way through the shadowy area with lots of skull canisters and weapon racks. Once you're powered up to full health and mana, drop down over the next ledge.
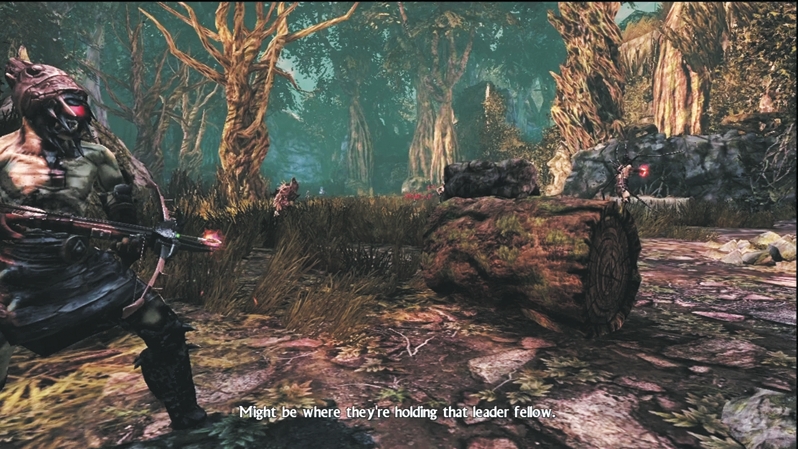
You stand outside the first Wargar encampment. You have three choices: (1) rush in and take on the Wargars head-on, (2) quietly climb the left embankment and set up a sniping position, or (3) wade through the waters to your right and circle around to the encampment's rear. Ideally, you'll have E'lara set up to the left and send Caddoc sneaking off to the right so that you'll catch them in a surprise cross fire.
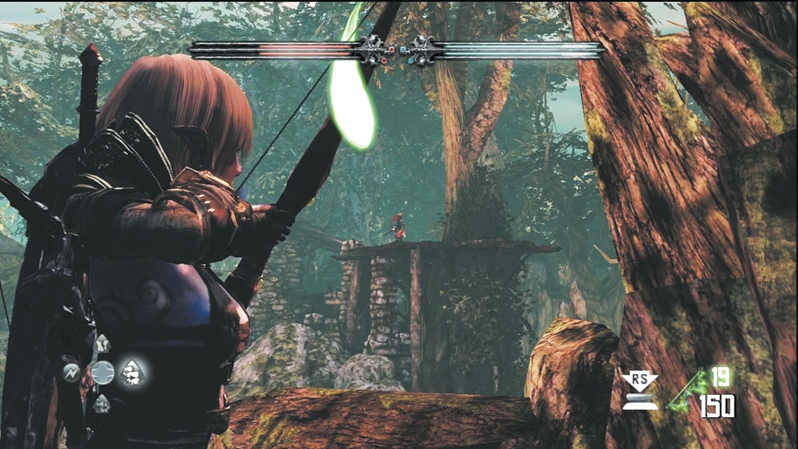
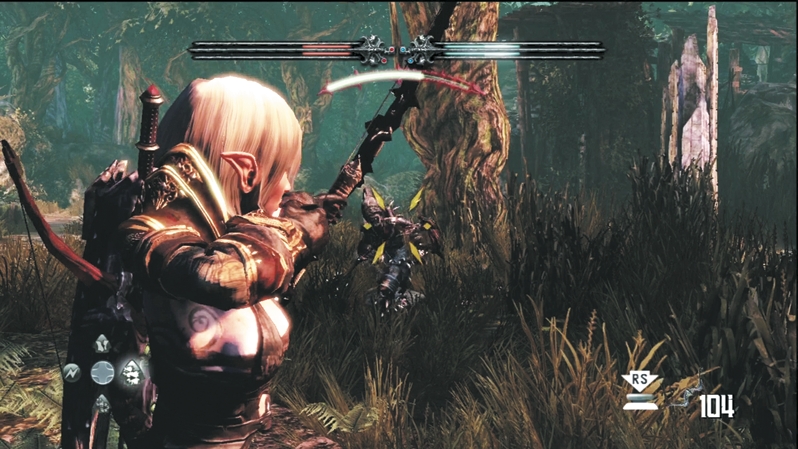
From the left embankment, you spot a Wargar Scorcher watching the camp from the guard tower. The Scorcher is your top priority from this position. If you're on the ground, any target will do, though you'll want to pay strict attention to the Infected Wargar.
Keep at the Wargar until none move. A portcullis in the mountainside will open and enemy reinforcements will arrive. Slay them to continue into the cave behind the portcullis.
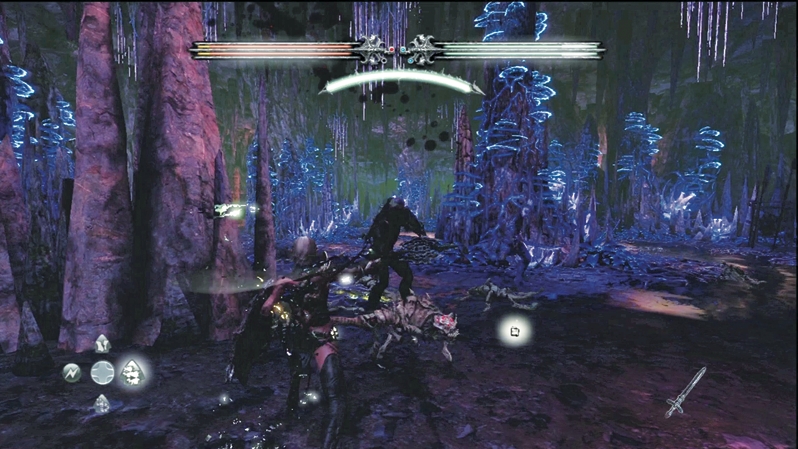
Aracklings thrive in the cave and will swarm after you reach the first bend. Switch to melee and swat these Crawlers aside while trading bigger blows with the Wargars patrolling the cavern system.
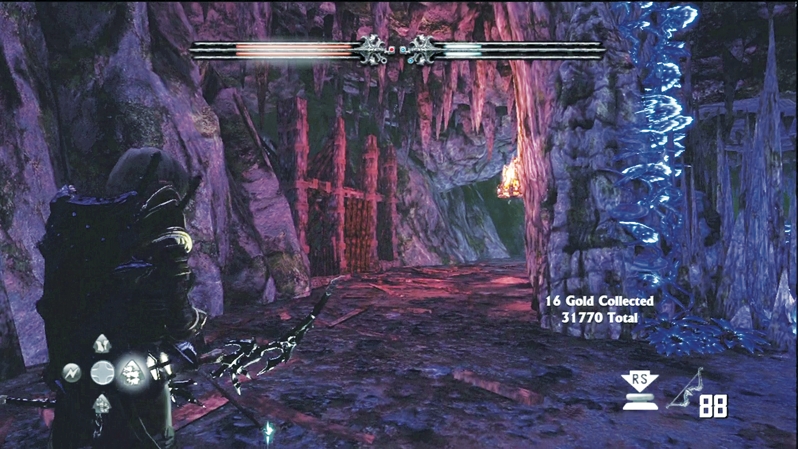
Move to the back of the cave and shatter the wooden door. This small room controls a bridge in the camp outside, and the bridge lowers for a new path farther into the woods.
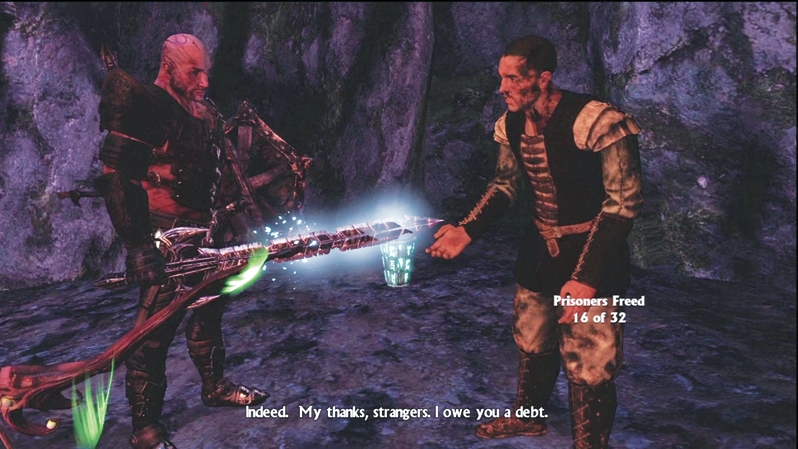
Follow the passage until you see a second wooden door. Smash this open to free another prisoner. It's Peredur, the captured leader who tells you that he's not actually from Dyfed, but from a town called Gwynedd. However, he does know that the other prisoners were taken to the temple ruins, which is your next objective. Cut through more Wargar that arrive just outside Peredur's cell and help him escape.
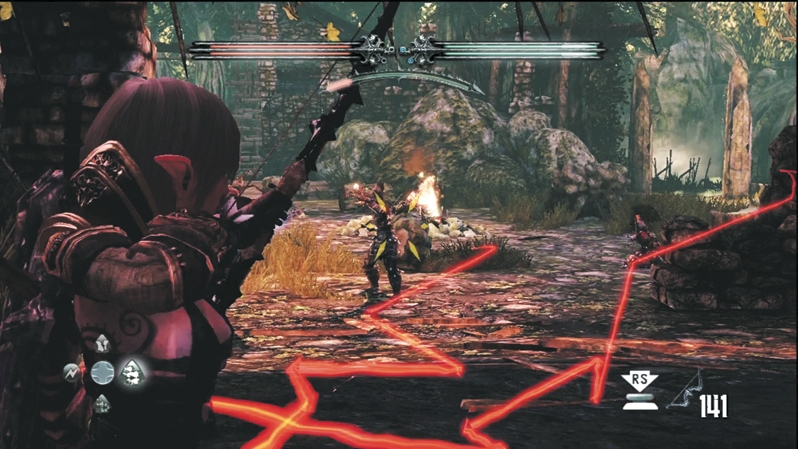
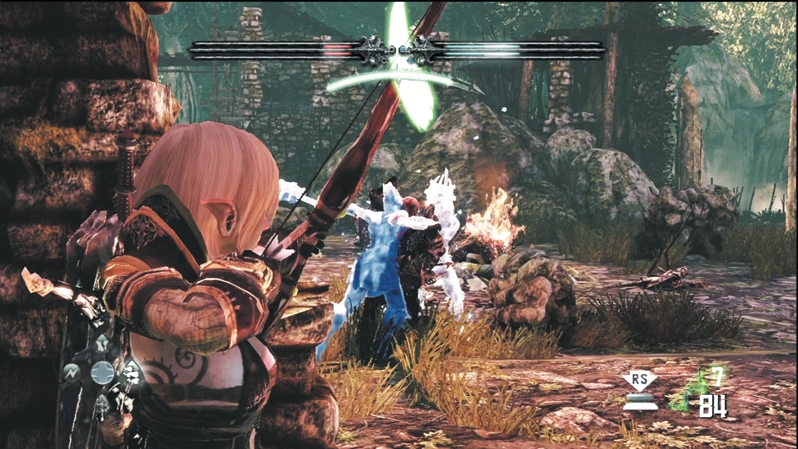
Even more Wargar block the cave entrance back toward the camp. Return fire from cover inside the cave and eliminate the Blastcaster, Archers, Scorchers, Zealots, and Infected Wargar that block your path to the bridge. It might take some time to clear the enemy. Don't venture too far out of cover until you're sure it's quiet. The enclosed area on the bridge's other side holds a Crystal Chest and a bag of gold. The next area is enemy-free with an obelisk and a magic portal.