
Hunted: The Demon's Forge Guide Walkthrough Chapter 3
Temple Puzzle
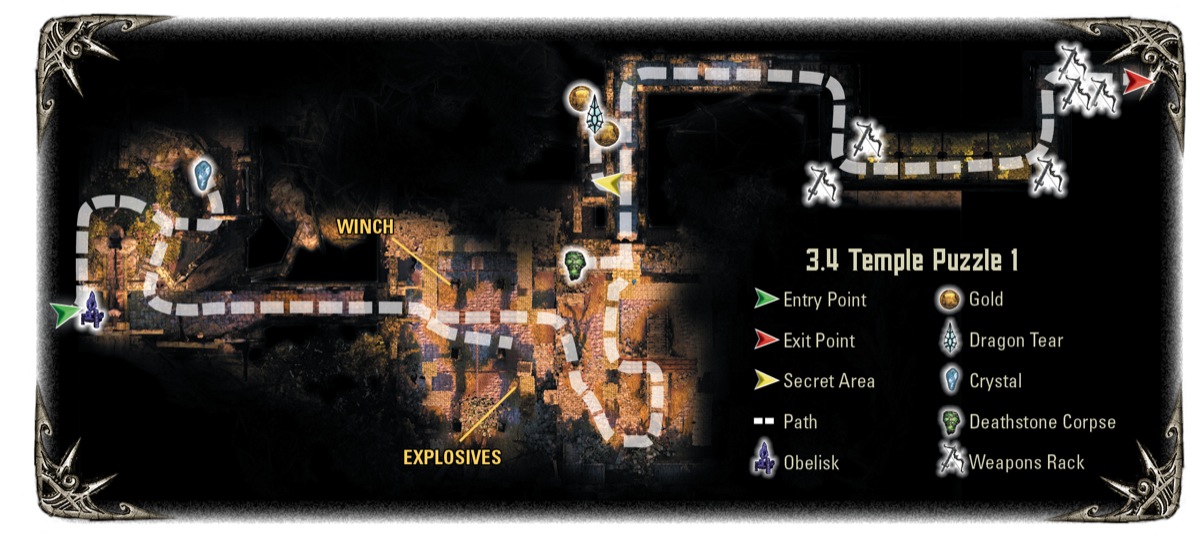
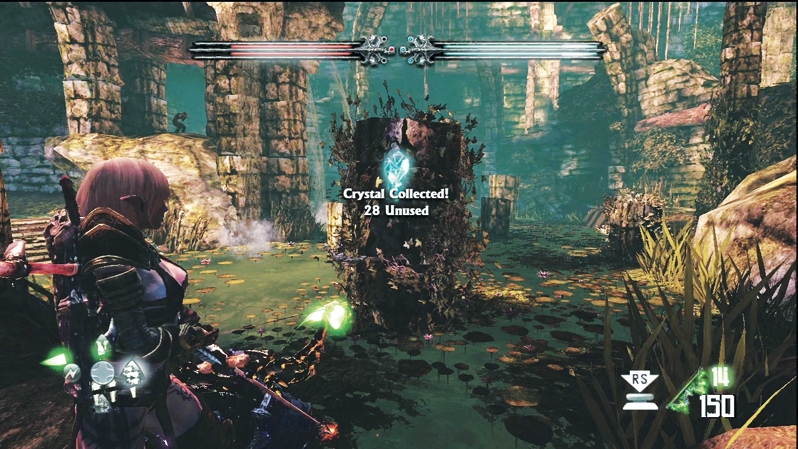
A huge entry chamber filled with sculptures and active fountains greets you. There are no enemies here, so cross the water at your convenience and enjoy the sights. Before you move on, visit the obelisk and magic portal if necessary and pick up a Crystal on the ledge to your left as you leave the waterway.
The temple's first section has several puzzles to solve. First, you must figure out how to reach the middle level (you start on the ground level).
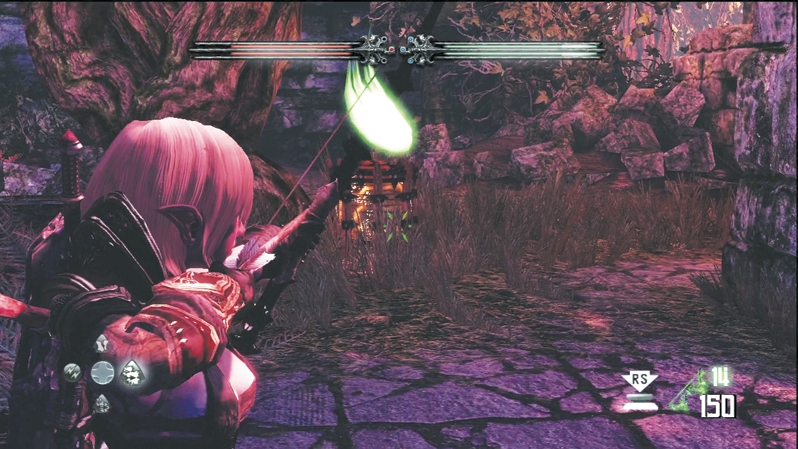
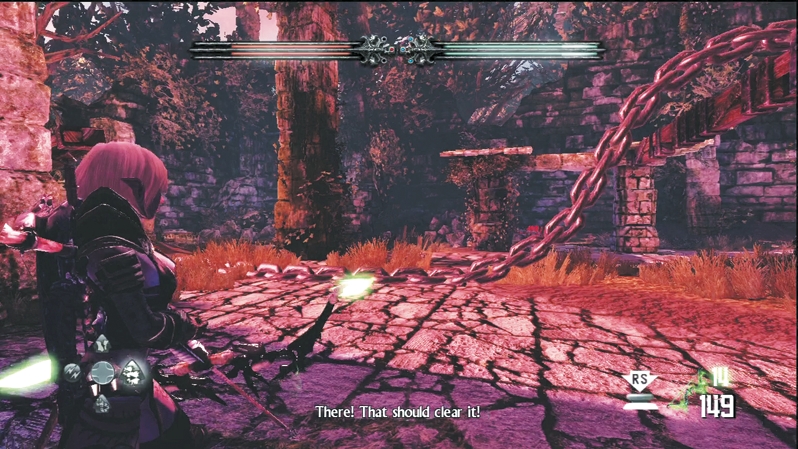
In order to raise the large board, you must remove the rocks from the chain. Proceed to the corner where you'll see explosives. Detonate them from a safe distance. The explosion will destroy the rocks holding down the chain. Cross to the opposite side and use the winch to pull the chain taut.
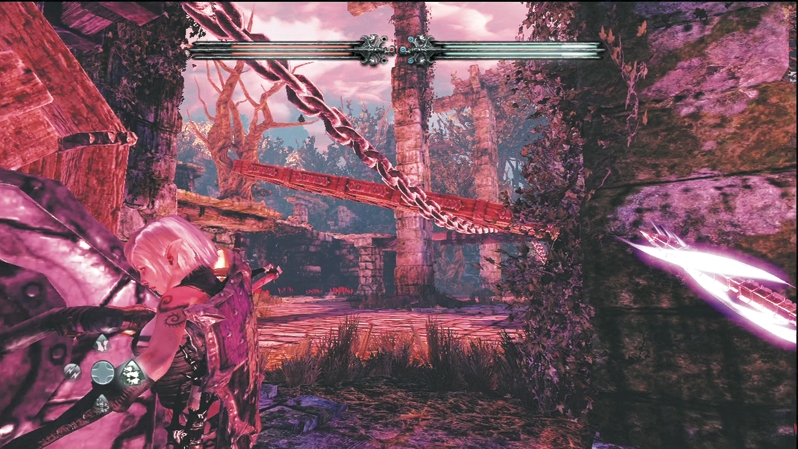
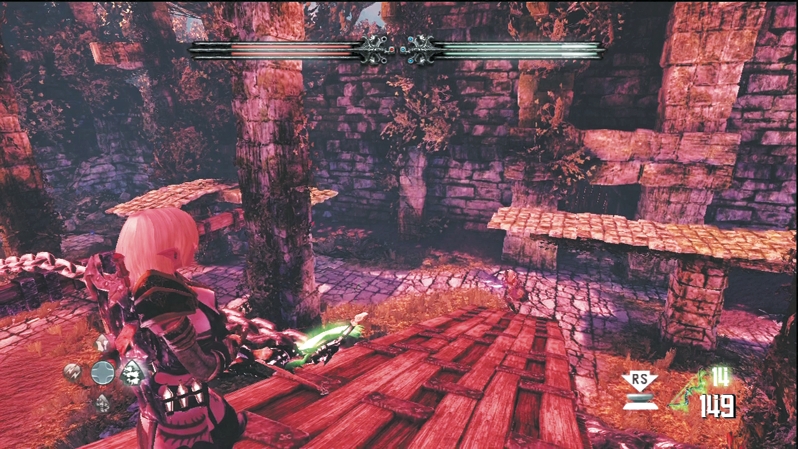
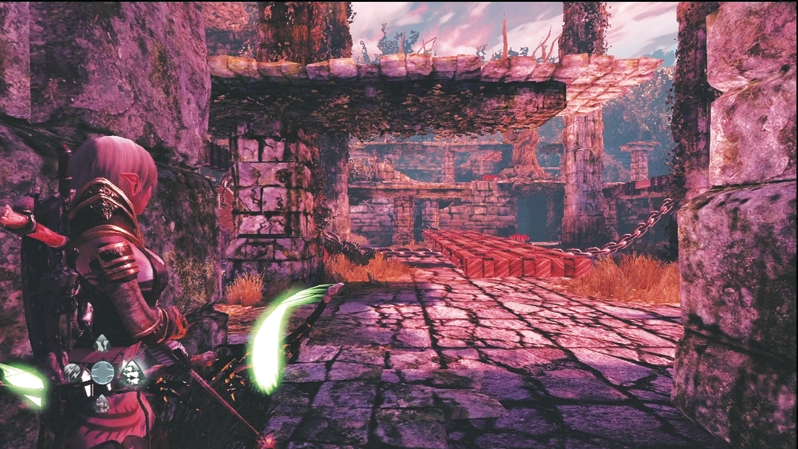
Slowly walk onto the board, without passing the midway point, and let your partner step on with you. If you both stand on the ends, the board will level out and allow you to both step off simultaneously to reach the stone platforms on the middle level.
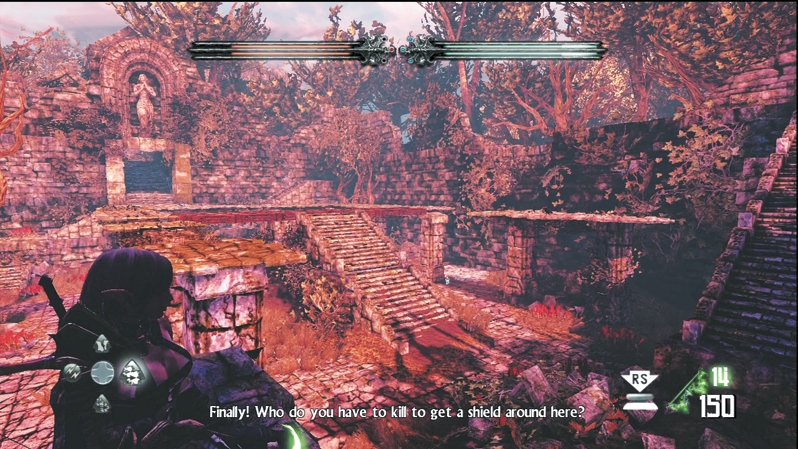
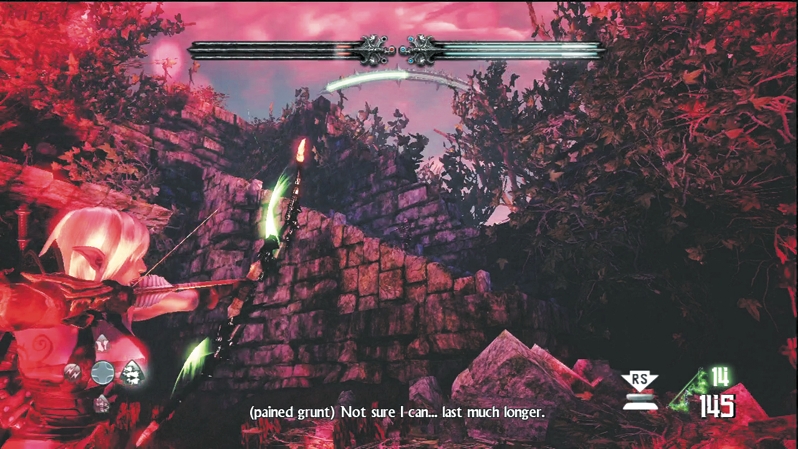
To reach the upper level, you have another balancing board to navigate. Similar to the first one, both partners will have to walk out slowly to both ends to reach the stone platforms. Unfortunately, Wargar will hassle you this time as you step on the board. Return fire against the Archers on the corner steps, and watch for more Wargar that come out of the exit archway. After two enemy waves, you're safe to traverse the balancing board and reach the upper-level stone walkway.
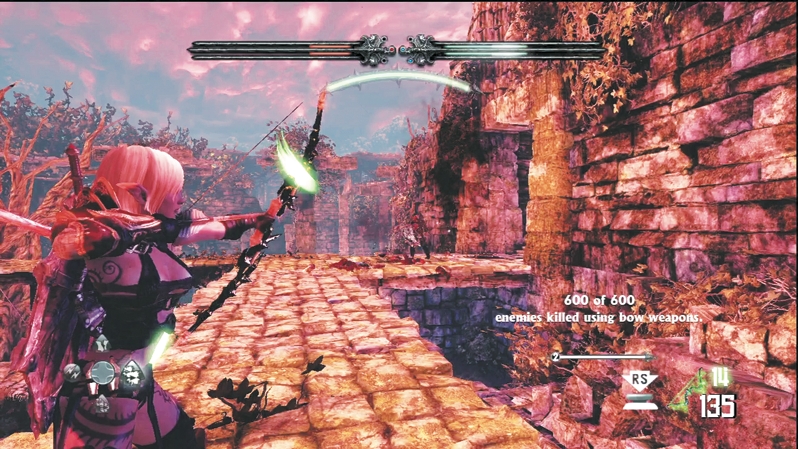
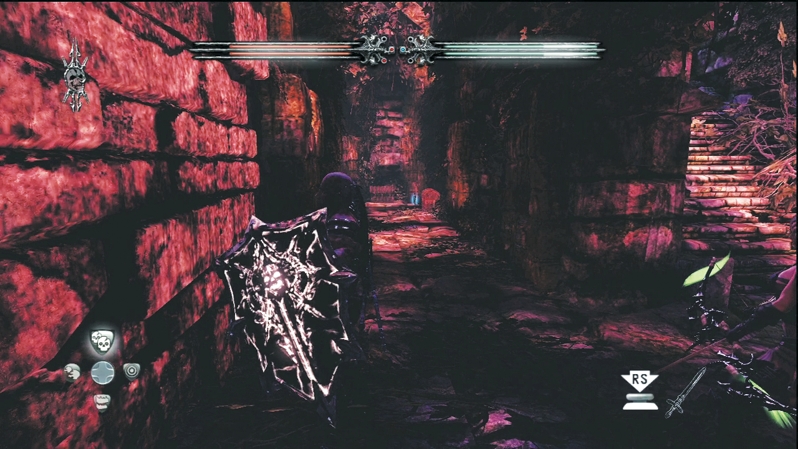
Before you climb the stairs and exit the first temple section, take the stairs to the archway's left to a small landing with another Deathstone corpse. This corpse gives you hints to a secret area that holds the eighth Dragon Tear. You must kill four crows scattered throughout the upper level. Hit each crow with a ranged attack and each will drop a feather "key." The first crow rests at the bottom of the stairway on the other side of the exit archway opening. The second crow sits on the upper platform in the opposite corner from the Deathstone corpse. The third crow perches in the lone tree in the middle of the area. The final crow is on the elevated platform above the Deathstone corpse, a bit hidden by foliage.
Once you have all four feather keys, return to the Deathstone corpse and speak to it again. He tells you to look for a movable wall beneath a statue, which is located in the exit stairs past the archway. On the first landing, stop and you'll see a draft filter dust through the air in front of you. Have Caddoc push the wall to your left and open the secret passage. Inside, you'll find two gold treasure chests and the eighth Dragon Tear.
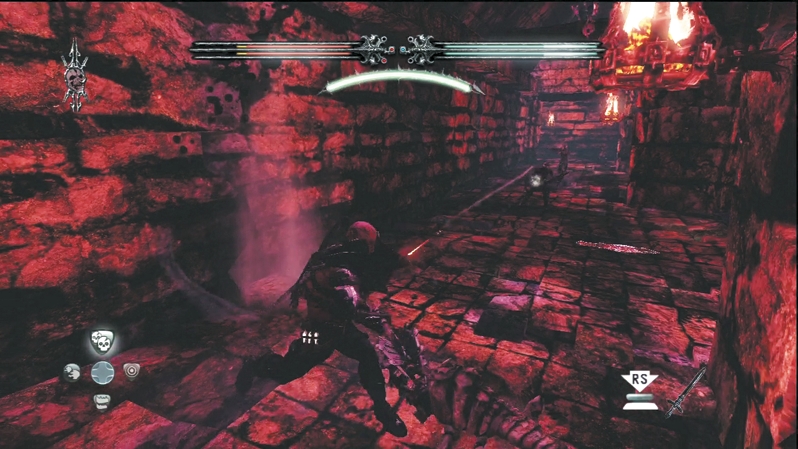
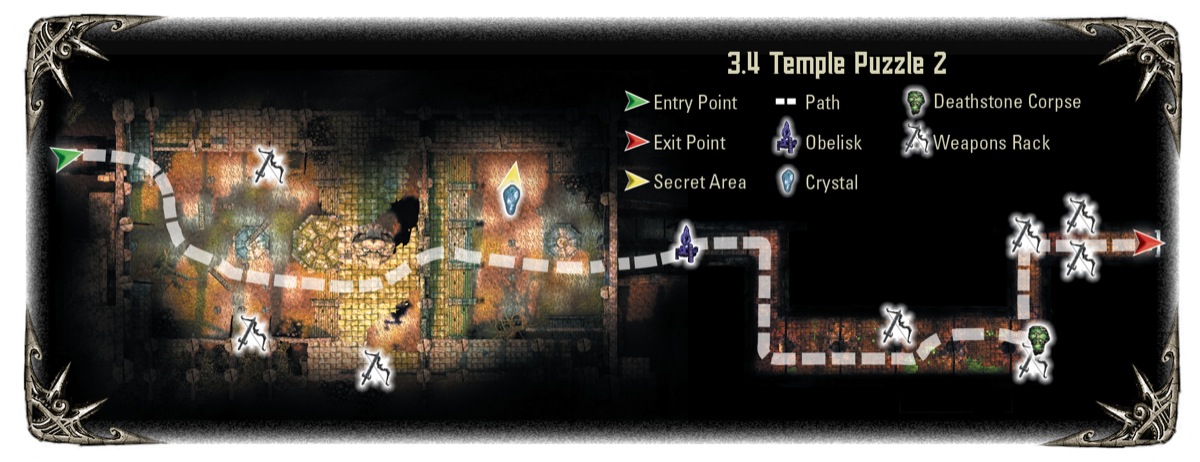
Amid the red torchlight, battle through Arackling Crawlers and Wargar Archers in the long corridor. Use the columns to shield you from arrows as you employ melee to bash the Aracklings. When you get close enough to the Wargar, charge into their midst and wipe them up with a few crushing blows. In the following hallway leading out to the main temple, stock up on the canisters and weapon racks lining the walls.
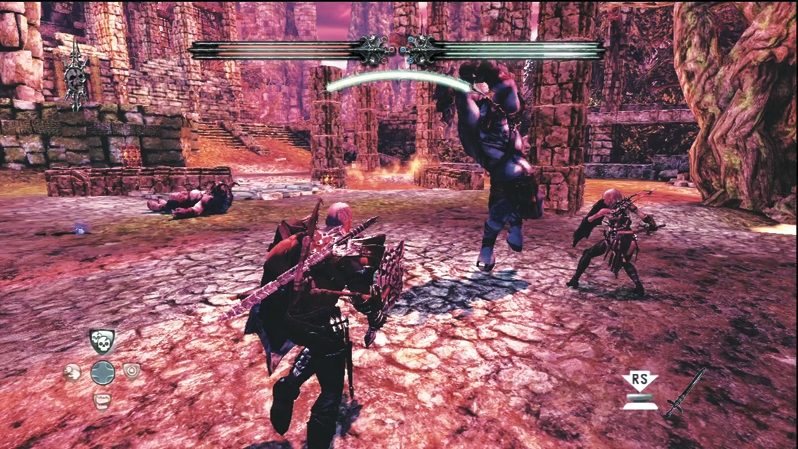
When you reach the main temple, Caddoc and E'lara eavesdrop on a conversation about Minotaur trading Sleg with the Wargar for human prisoners. When the Minotaur spot Caddoc and E'lara, chaos ensues. A huge brawl breaks out in the temple as you face off against countless Wargar and your first Minotaur Juggernauts.
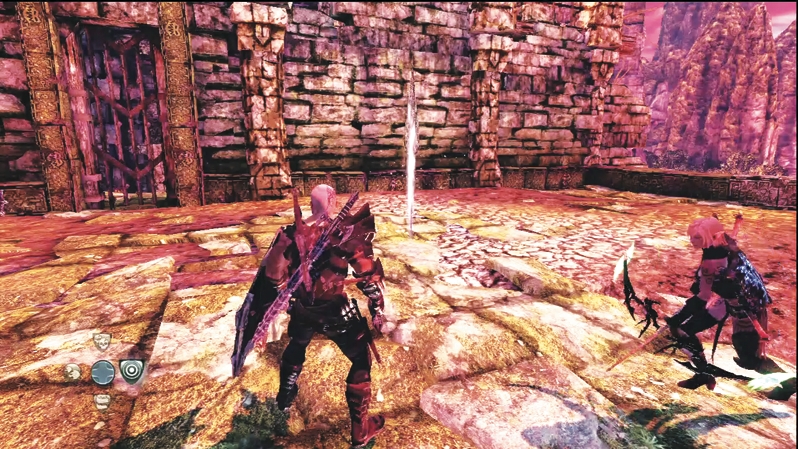
Try to keep your distance from the Minotaur Juggernauts. E'lara should use Arcane Burst whenever possible; four hits will bring a full-strength Minotaur down. Caddoc should blast away with Dragon's Breath or use his combat rolls to strike from behind, especially when he has Fury built up for a heavy attack. After you defeat the first Minotaur, seek out the magic portal on the upper platform. Seraphine pays a visit and warns that the action is about to heat up.
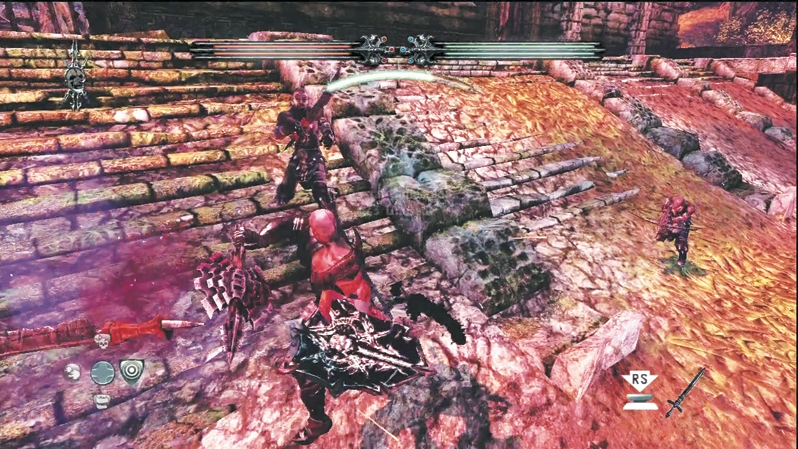
In addition to more Wargar and Minotaur entering the temple courtyard, Aracklings spew forth. Stay on the move, switching to ranged against Minotaur Juggernauts and Wargar Archers and using melee for everything else. If you have to slug it out with the Minotaur, use Battle Charge or Spell Link to enhance your combat damage. Move to the upper platforms when the Minotaur are down below, and when they come up, jump down to the ground floor and continue to deal damage any way you can. When the last enemy hits the dirt, scoop up any resources and enter the portcullis through which the reinforcements arrived.
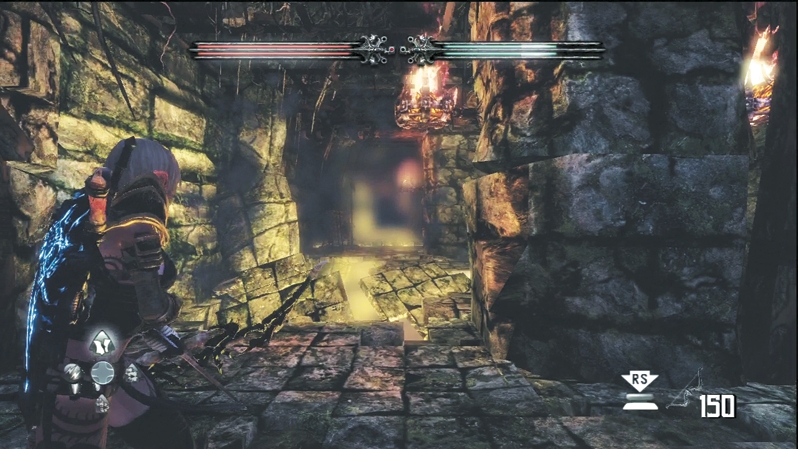
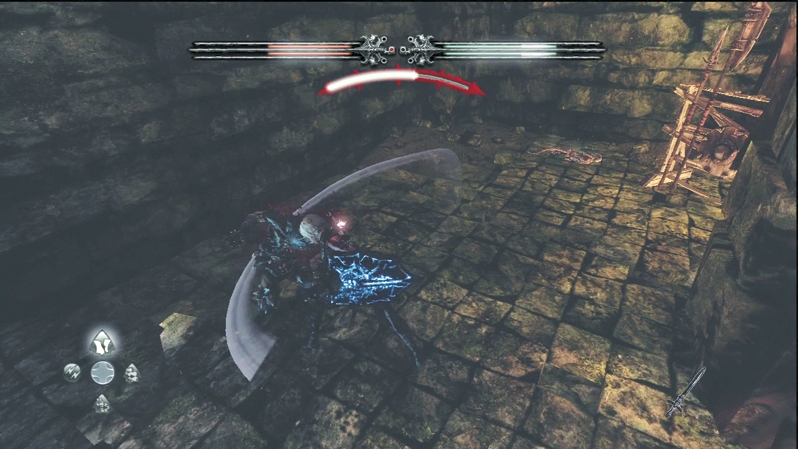
An obelisk and magic portal await you in the next corridor. After that, the ground gets a little shaky as tremors begin to rip through the temple. In the next corridor, the floor starts to fall away; you must weave back and forth to the solid stone and take out the Wargar Scorchers attempting to skewer you from the far side. Make sure you visit the Deathstone corpse in the back corner before moving on to the next corridor. Arm yourself to the max in the corridor lined with canisters and weapon racks; you need all the help you can get as you exit to nighttime outside.