
Hunted: The Demon's Forge Guide Walkthrough Chapter 1
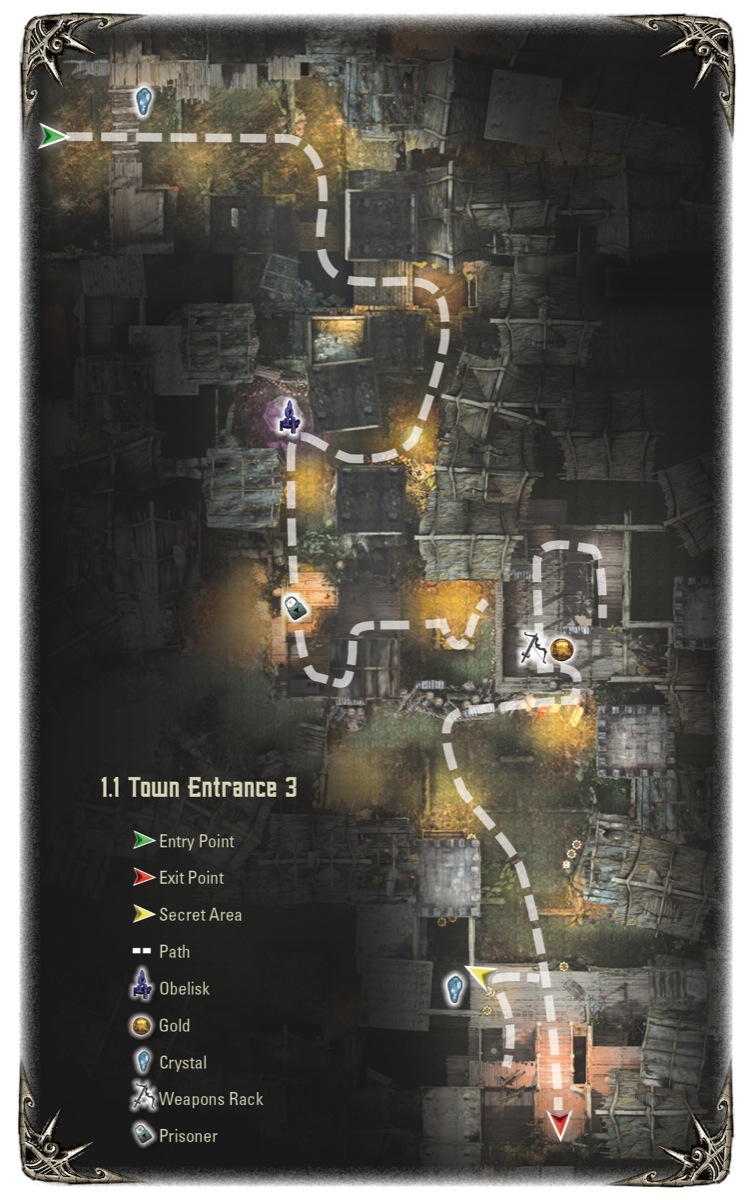
Town Entrance
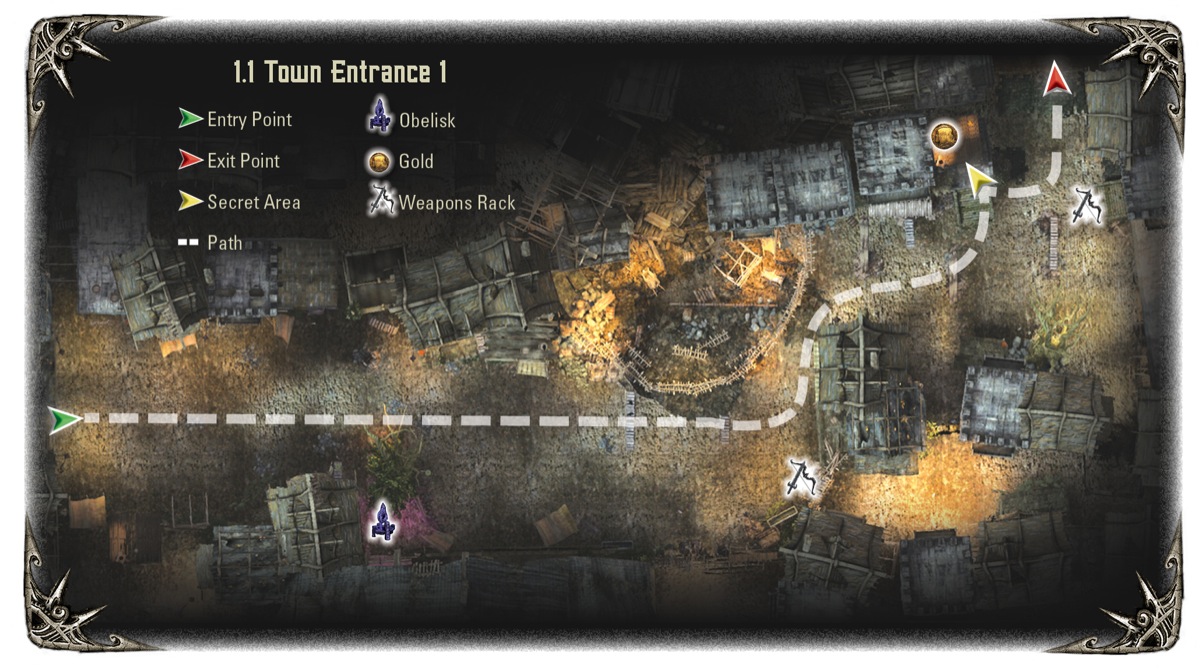
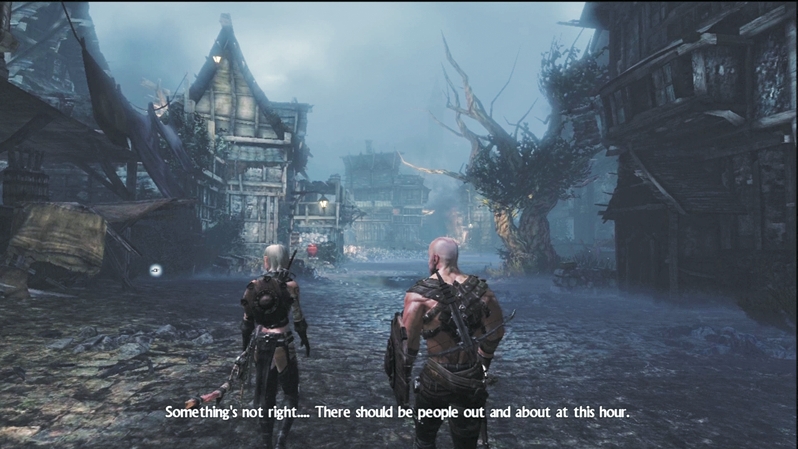
The immediate goal is to reach the center of Dyfed and locate the Lord Mayor. But with no sign of the people, take a moment to poke around the square and shatter crockery and weapon racks to collect vials and new gear. Be on the lookout for colorful jars and vases, as those are more likely to contain useful potions.
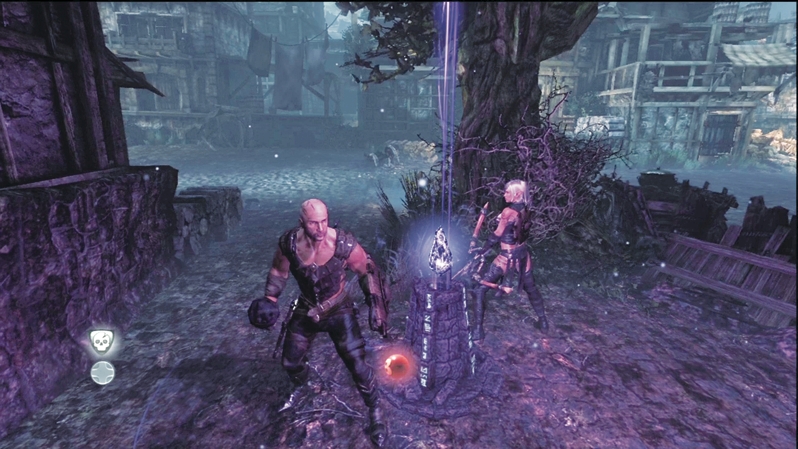
On the street's right side is an obelisk, a stone that allows you to switch characters. You are about to go into combat against a new enemy: a Wargar.
These brutish creatures carry a range of weapons and armor, although the first few patrols you encounter are not well plated. Therefore, E'lara's arrows will be very effective even if you do not land headshots, and Caddoc's melee strikes will be quite devastating.
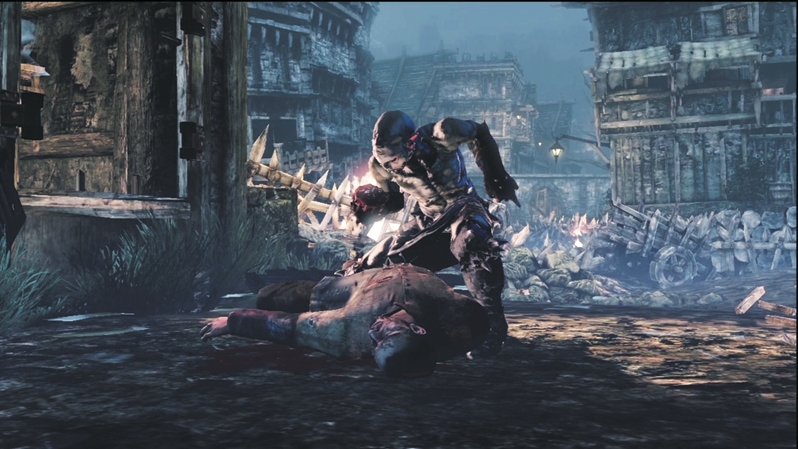
And, speak of the devil, after accessing the obelisk, or after you walk past it if you aren't changing characters, you get your first glimpse of a Wargar Warrior.
A helpless citizen is thrown out of a building on your left and taken down by a rampaging Wargar. The Wargar drives its fist through its victim's rib cage and extracts his still-beating heart. If you needed any inspiration for slicing this Wargar to ribbons, this is it.
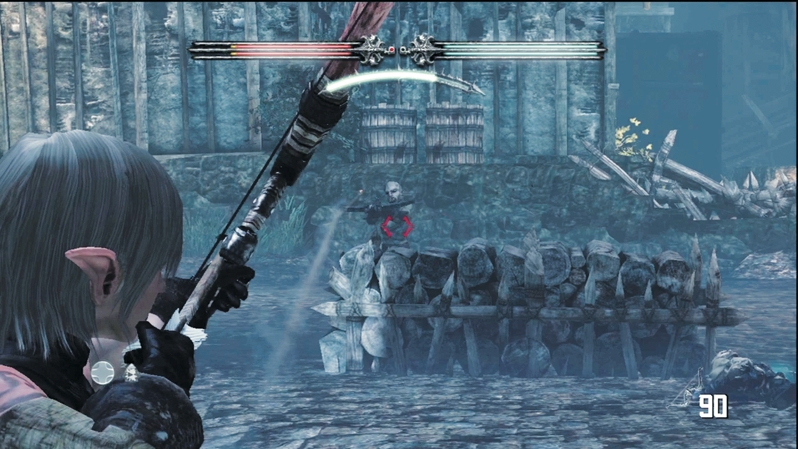
Now begins your battle for Dyfed. Wargar Archers crawl out of the woodwork and launch a volley of arrows. Use the cover on the streets to avoid the incoming attacks.
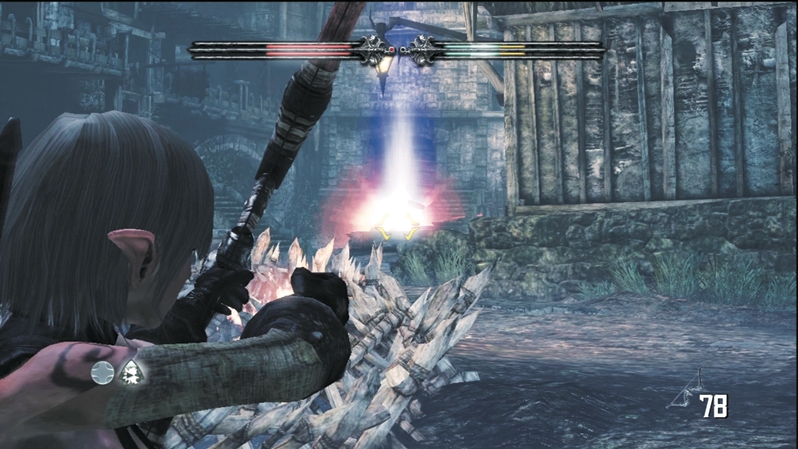
These first Wargar are rather cowardly and will stay behind cover, too, so use either hero's arrows to take them down. Wait for the impatient Wargar to stand up to take aim with their crossbows and then go for a deadly headshot.
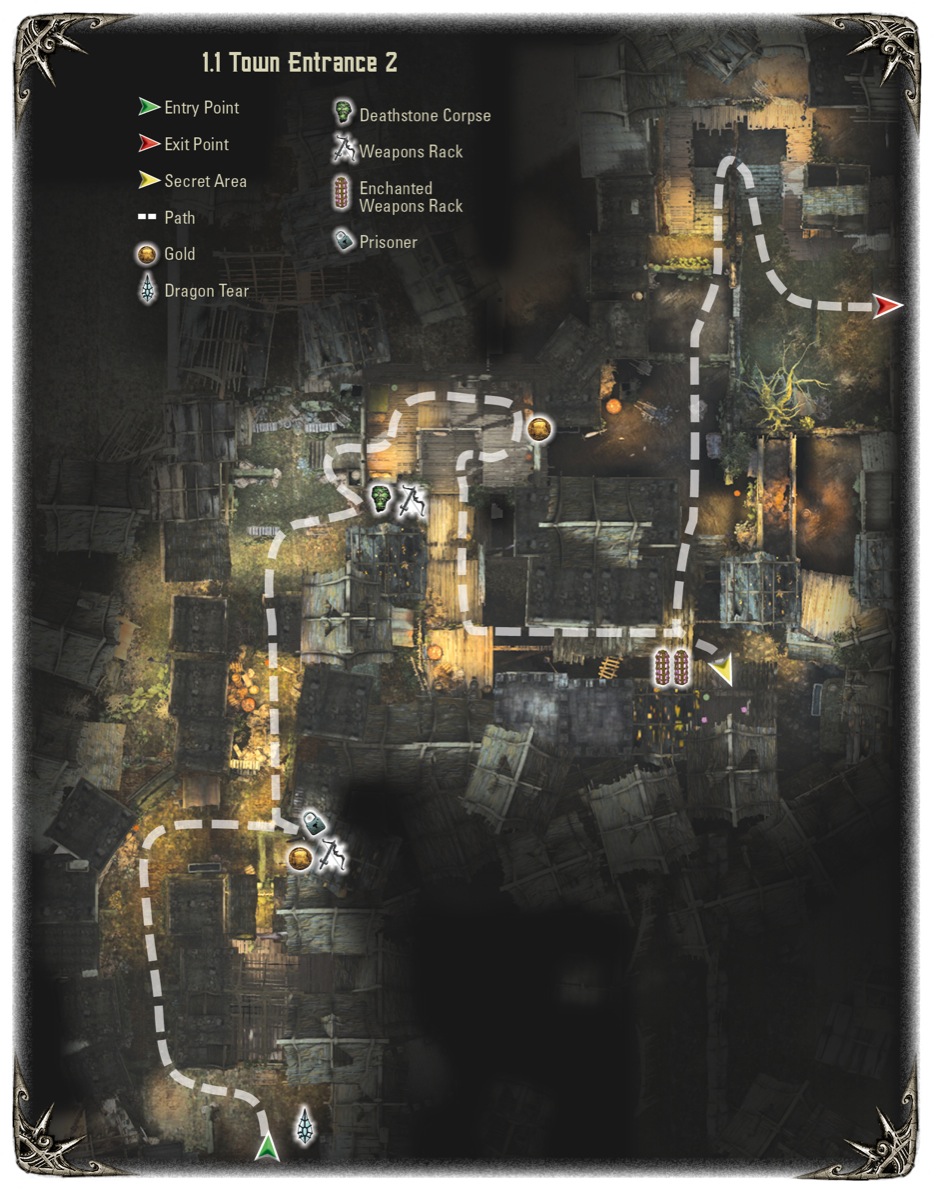
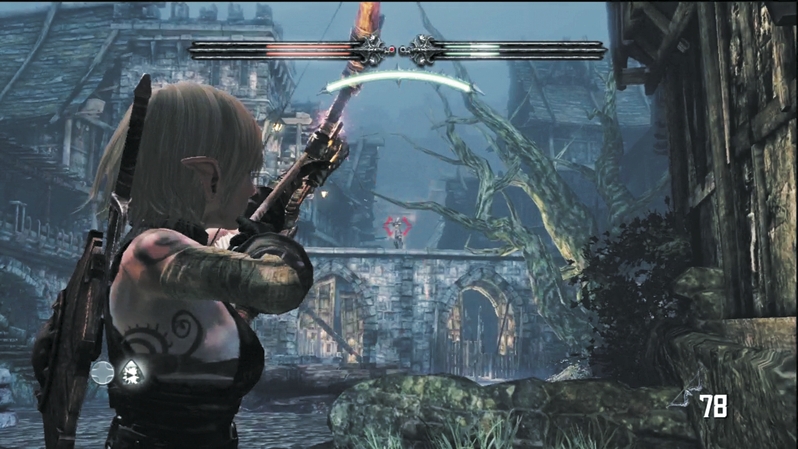
The next block presents a similar challenge, but with more Wargar. Concentrate fire on the Wargar atop the city wall in the distance, as it has a height advantage. It can rain down arrows and possibly clip you, even if you're behind cover. Once this Wargar is down, pick off the remaining Wargar. Melee combat is an option, but if the Wargar are going to keep their distance, use it to your advantage and stick with ranged attacks.
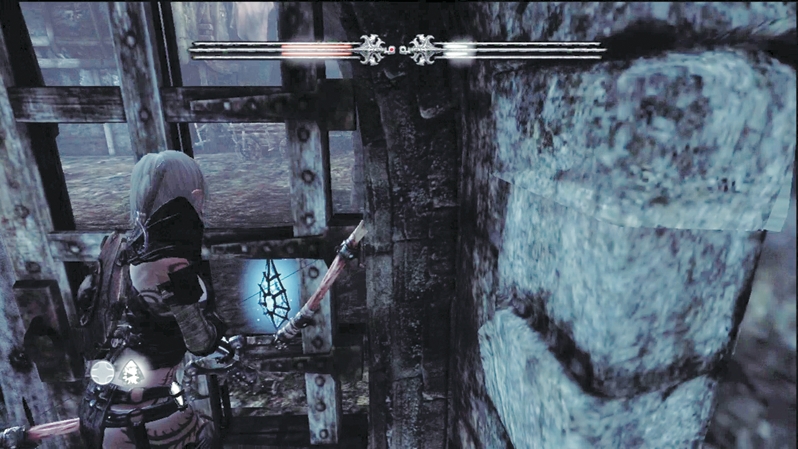
Beyond the next gate is a special canister. It contains a Dragon Tear, which is a powerful artifact that offers great rewards. There are only 13 of them, and they are largely well hidden. This is the easiest Dragon Tear you will find, so enjoy the pick-up. Finding the others will take a little more work...for somebody who doesn't have this guide.
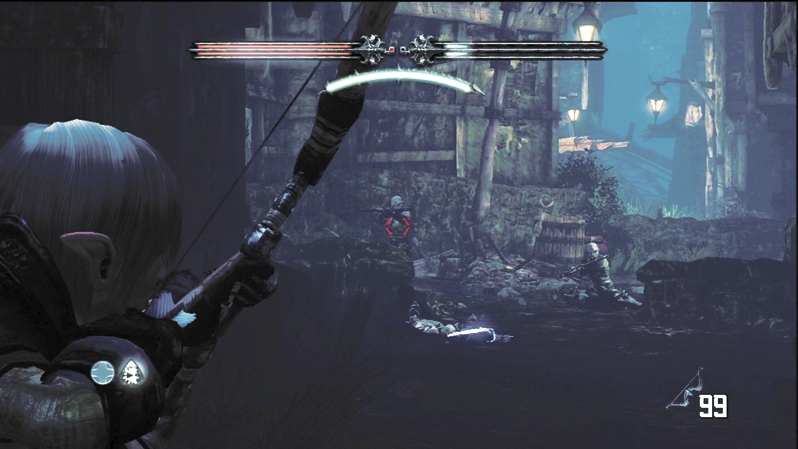
The alley ahead offers your first taste of close-quarters combat. You get the drop on a Wargar feasting on a corpse. Hang back and fire on this Wargar from afar, because as soon as you attack, its compatriots jump into action. In a narrow area like this, distance matters. As the Wargar approach, use ranged or magic attacks to thin their forces. When the Wargar finally close the gap, break out melee weapons.
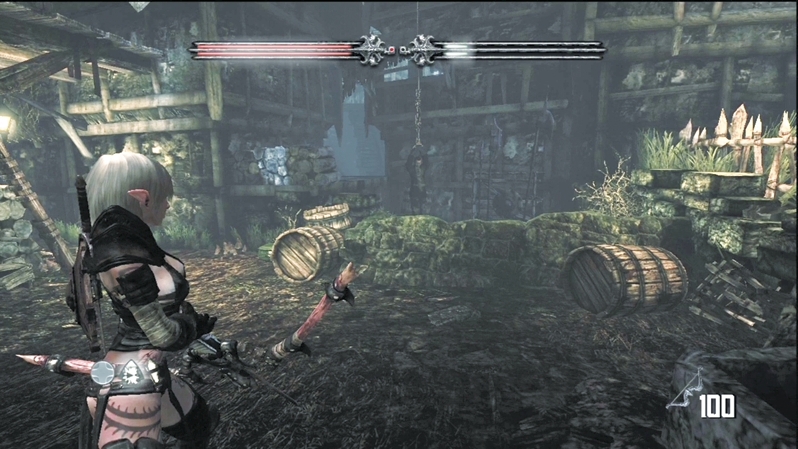
Wicked forces are on a killing spree, but they have taken some prisoners alive. During your adventure, you will encounter 32 prisoners, bound by ropes. You can cut down these poor souls with an arrow and then listen to their stories, which often reveal useful information about the current situation, such as what kind of defenses you might expect to find farther up the road. This particular prisoner just warns of more Wargar ahead, but there is a pile of gold at his feet.
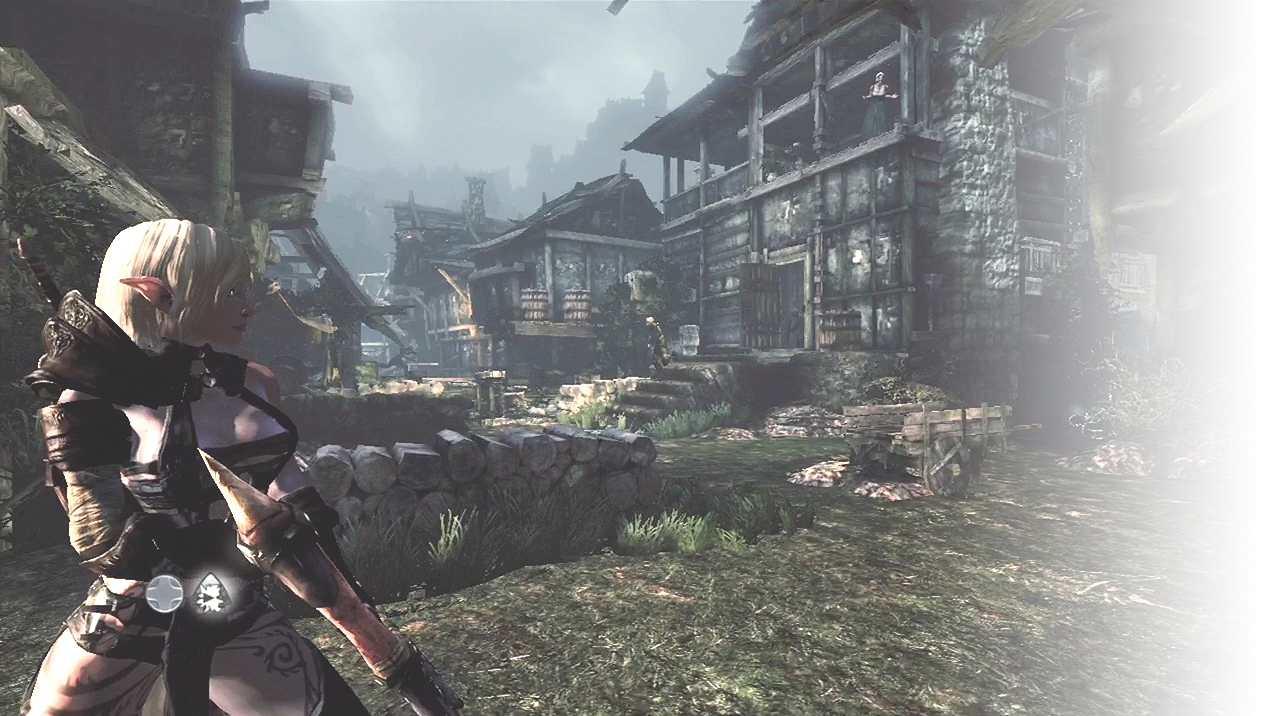
The next block brings another Wargar attack. The first of the brutes breaks through a door following the shrieks of a woman. The Wargar barrel into the street, taking refuge behind stone half-walls, and attempt to launch ranged attacks. So many of these early Wargar use safety in numbers or take cover to compensate for poor armor. Take advantage of this now because soon enough, Wargar equipped with heavy plating and brutal melee weapons enter the fray.
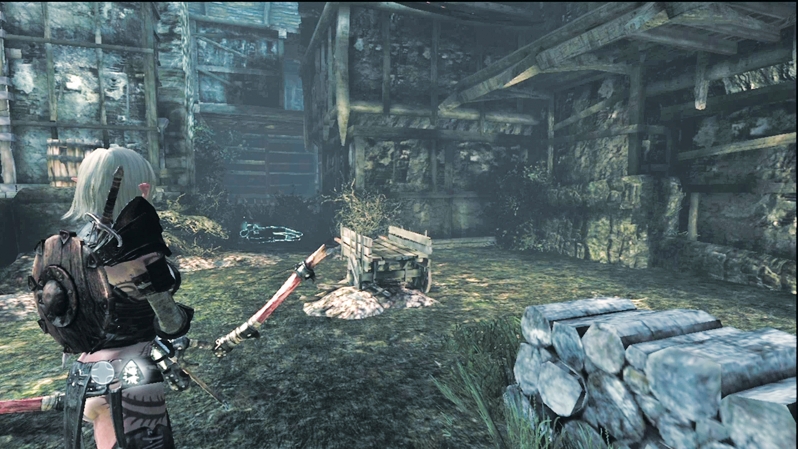
Check the alley next to the house with the screaming woman. There's a body on the ground. Use the Deathstone to listen to the spirit's warning. It says Wargar Warriors attacked and that if he had only concentrated on their shields, he might still be alive. Words of wisdom.
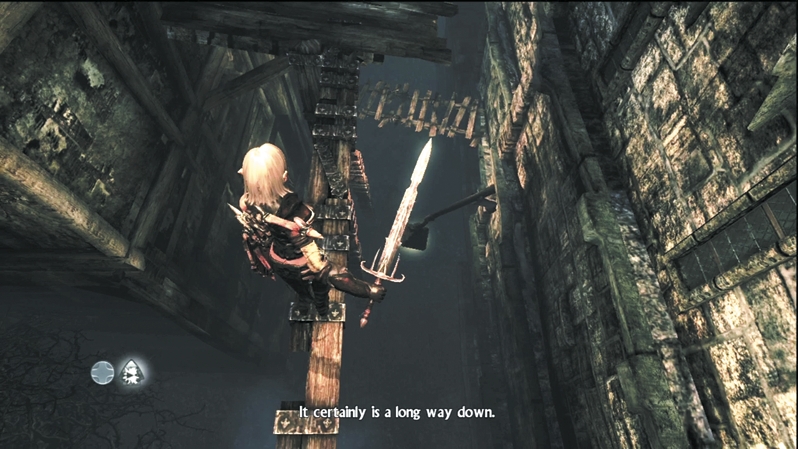
When you enter the house, head up the stairs and swing around until you drop onto a ledge. Walk out to the platform, and the two of you must cross over a thin beam to reach the far rooftop. To the left is the next main area; however, to your right are two enchanted weapon racks inside a small locked shop.
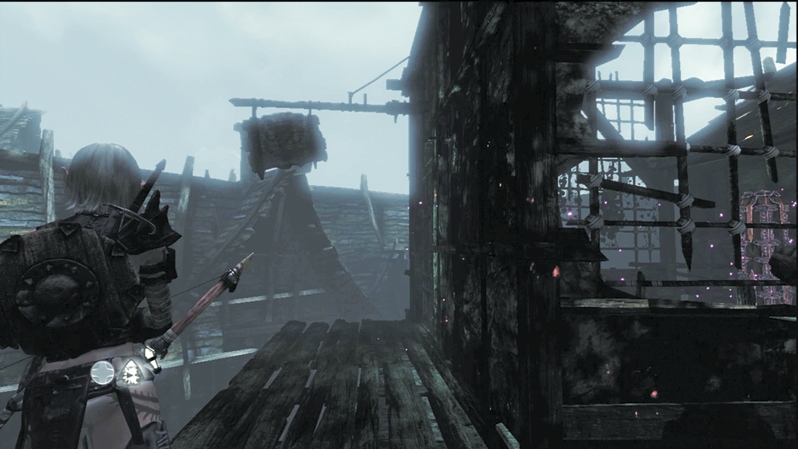
See the sign above the door at the edge of the platform? Either hero can shoot the rope that holds the string; the sign will swing down and smash open the door so you can get inside the small shop. Walk over and smash one rack at a time to receive an enchanted weapon for whichever hero is active. Remember to look for similar signs in the future to discover secret areas.
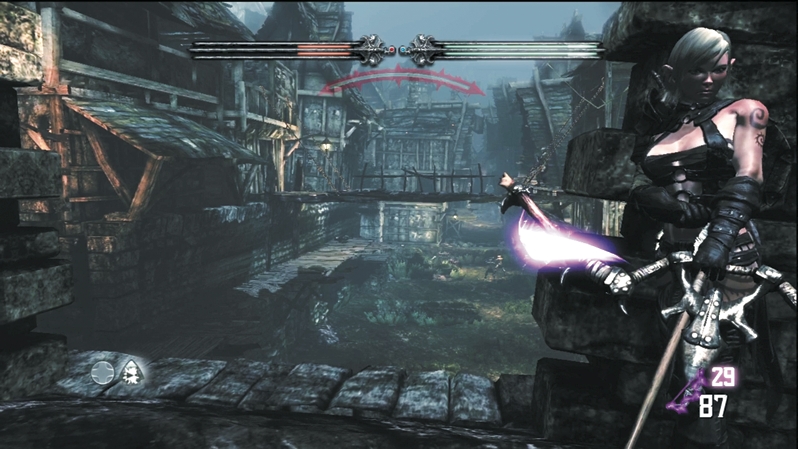
Retrace your steps back to the main area. To your left, down a side passage, is a Regenerative Vial and some more vases. Watch for incoming Wargar and arrow fire from the main courtyard off to your right. The hole in the wall offers excellent cover for a ranged attack on the Wargar surrounding the bridge ahead and the lower grounds below. You can also shoot out the bridge's rope supports to collapse the bridge and kill any Wargar on it.
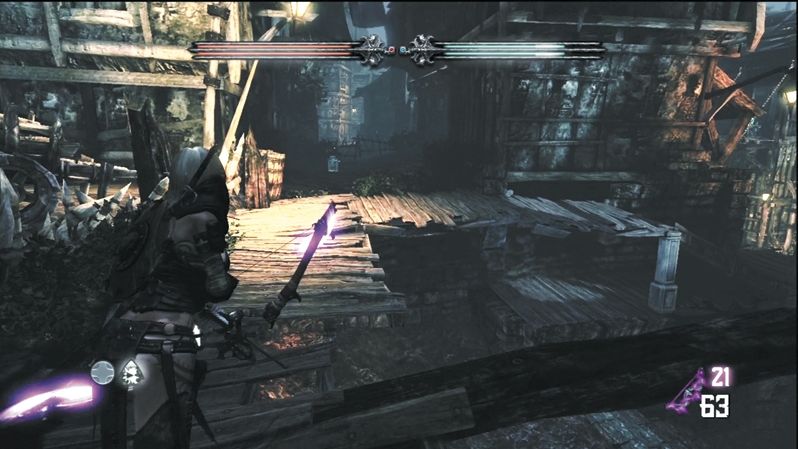
Now, though the Spirit Guide directs you down the stairs leading to lower ground, cross the dirt patch and follow the rooftops a little longer. There is a hayloft overlooking the street below that provides another excellent vantage point on the next Wargar patrol. There are extra arrows on the ground just in case you need them. Stand out on the loft ledge and aim at the Wargar below, pelting their open positions with arrows. Before you leave the upper area, don't forget about the Crystal Chest hidden in the gloom on the rooftop near the bridge entrance.
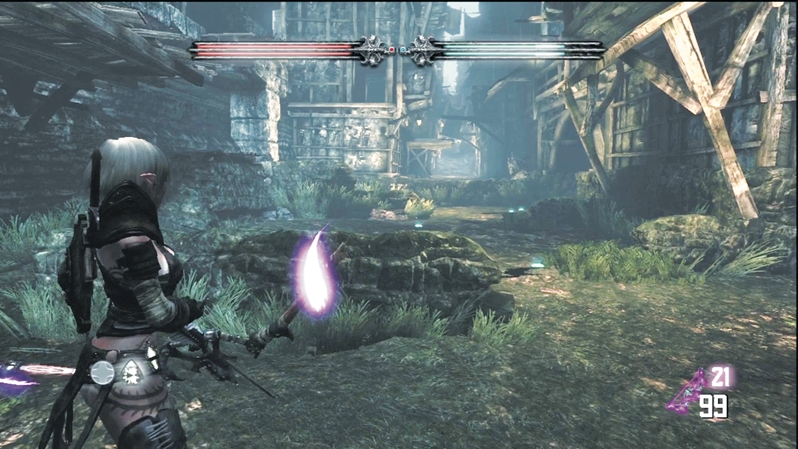
The Wargar are not dumb; they will eventually hide, forcing you to backtrack to the stairs and take them on the street level. They still linger at the back of the street, so use cover to increase accuracy and level the remaining Wargar with arrows (or magic) to their heads.
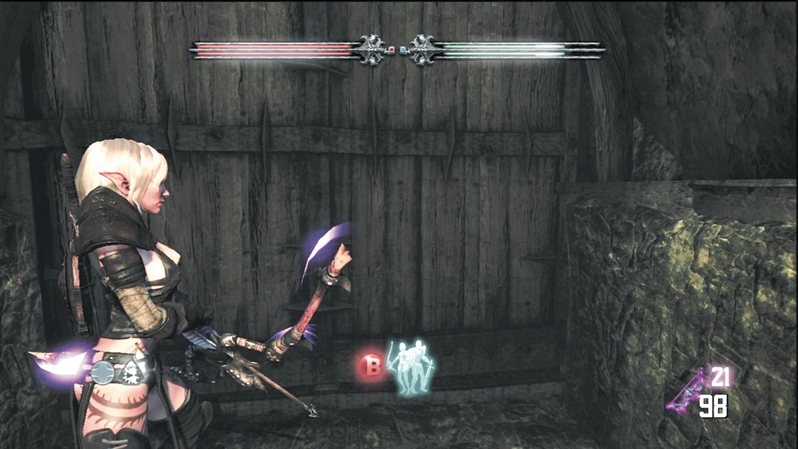
Look for the gate at the street's end. It demands two heroes to open. This closes off the previous area, so make sure you've collected everything before passing under the heavy door. One of Seraphine's magic portals glimmers on the gate's far side. Spend any collected Crystals here on desired magic upgrades. Look for the purple glow of an obelisk just beyond the portal. If you'd like to swap heroes, do so here. The next section features even more Wargar, and many of them are hungry for close combat, so keep that in mind when selecting your hero.
There is a prisoner to the left of the obelisk. Cut the man down. He tells you he was involved in a plot to set up explosives and stop the Wargar. You can use his explosives to turn back Wargar, so look for glowing amber pots. Those are your targets for high-volume explosions.
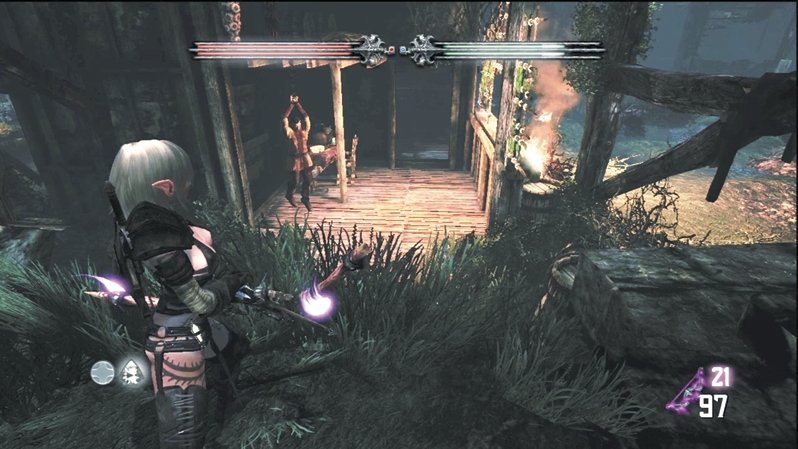
In fact, as you pass through the prisoner's house, you get a sneak peek at the power of the explosives when a villager accidentally sets one off and kills a handful of Wargar with his flaming body. Now that you know exactly what the pots look like, head into the next street and earn your stripes as a demolitions expert.
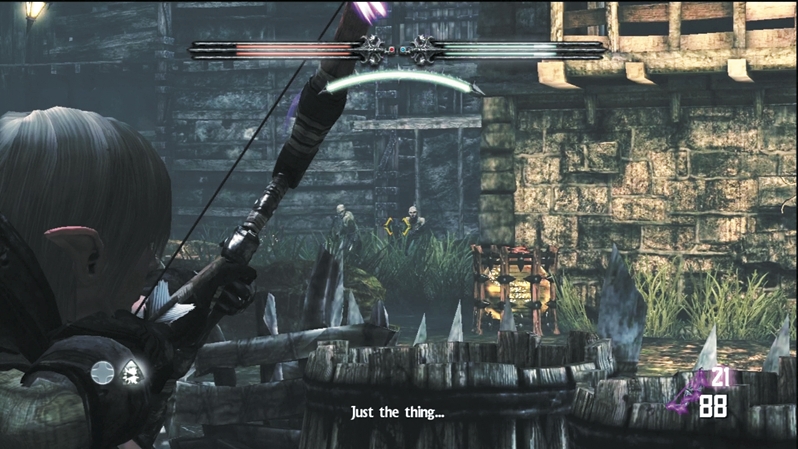
Not a minute passes before your quarry comes into view. A patrol of Wargar enter the yard in front of a massive house that stands between you and the town square. The Wargar do not see you right away, so take cover behind the rocks and wait for the little creeps to get near the explosive pots. A lone arrow from either hero sets off a pot, so as soon as the Wargar get close enough, send a volley across the yard and light up the clearing.
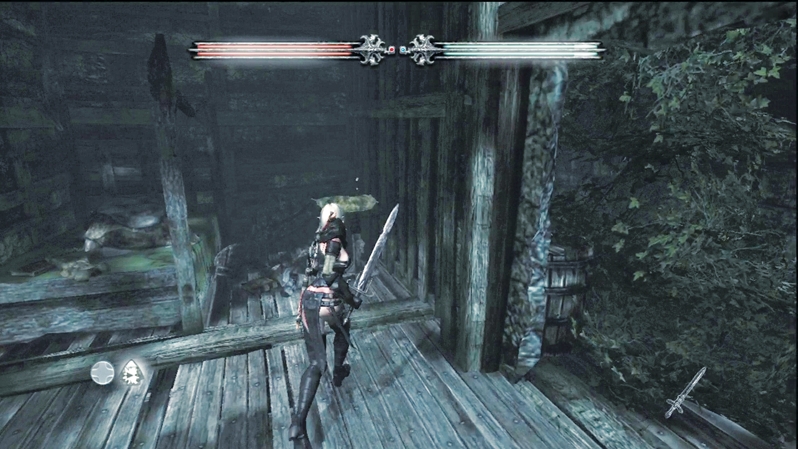
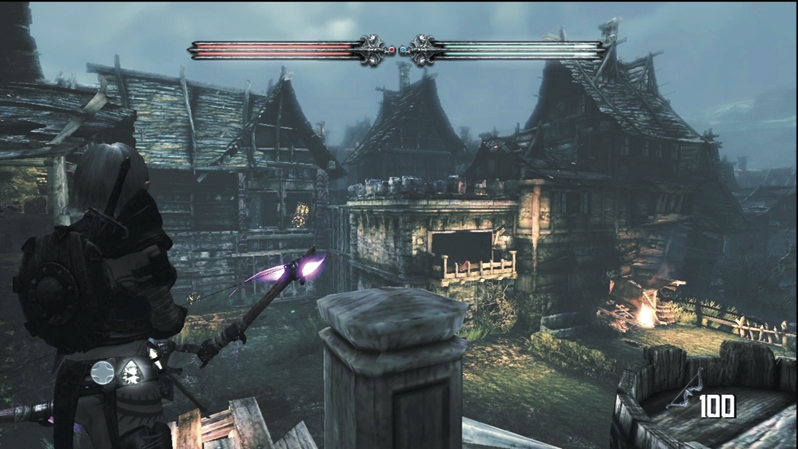
Alternately, you can enter the two-story house behind you. There will be at least two Wargar in the house, but they can be cut down with melee attacks. Head to the top floor to scout out an excellent firing post for raining arrows down on the explosive pots. Plus, there is a fat pile of gold on a desk upstairs.
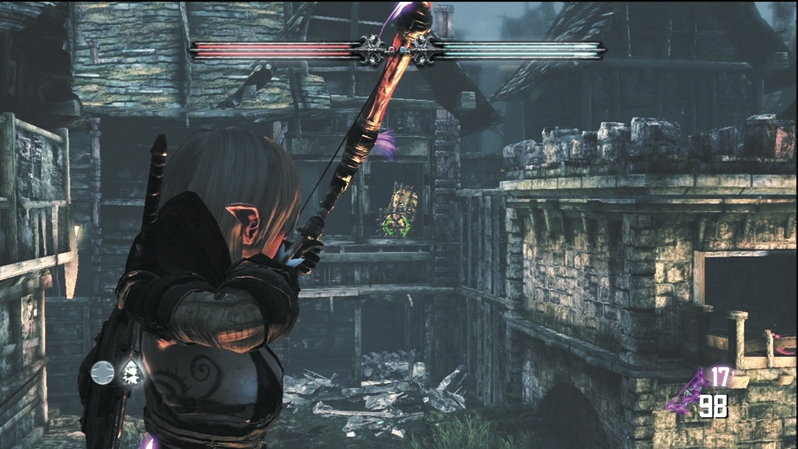
Now, look up at the house across the yard again. See the Wargar on the second floor? Don't worry about them. Send an arrow toward the explosive pots in the house and blow the second story—and the Wargar occupying it—sky-high. When the flames die out, enter the house, collect the Regenerative Vial, and then climb the stairs. There may be a survivor up here, so be ready to cut them down. Loop back around to the main courtyard and glance down to your left. You should spot an explosive hidden behind a stone wall. Shoot the explosive to open up another secret area with a Crystal Chest inside. Drop down to collect the Crystal and retrace your steps back into the house. Jump through the hole in the house's front to keep pushing toward the town square.