
Hunted: The Demon's Forge Guide Walkthrough Chapter 2
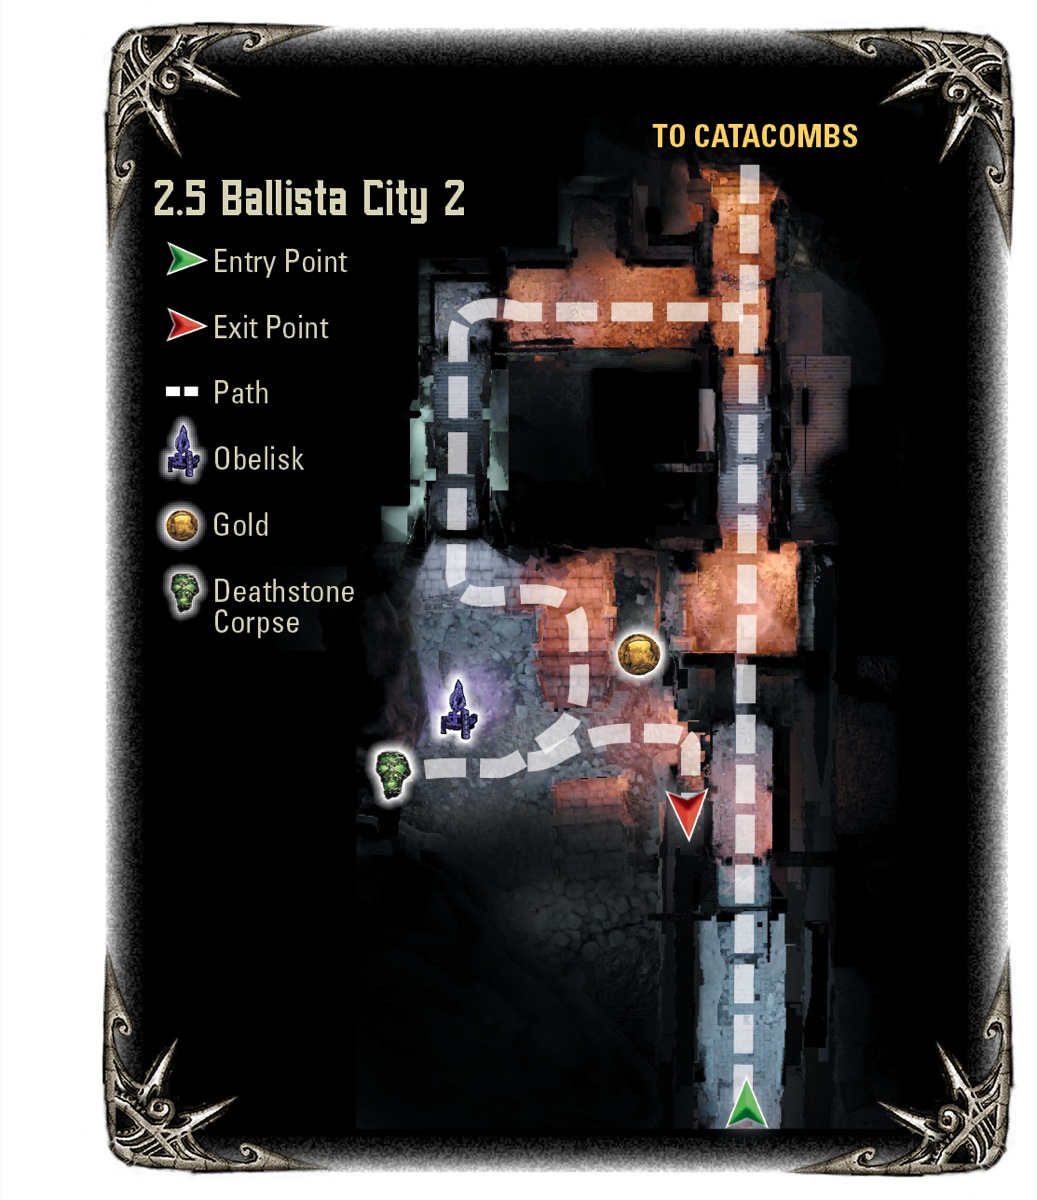
Ballista City
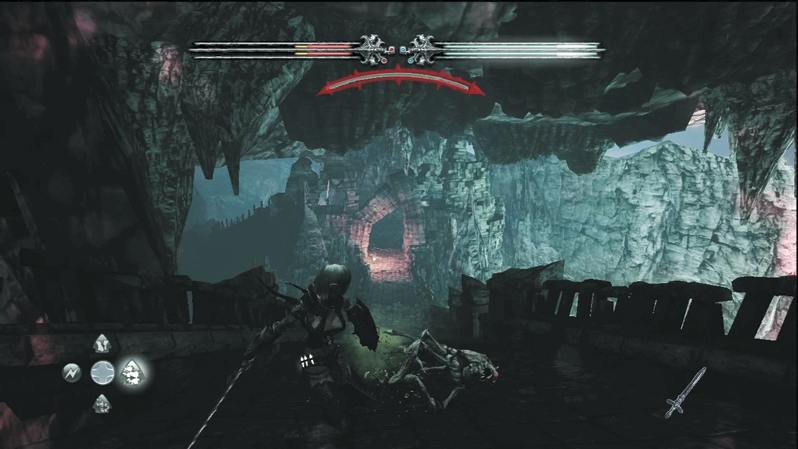
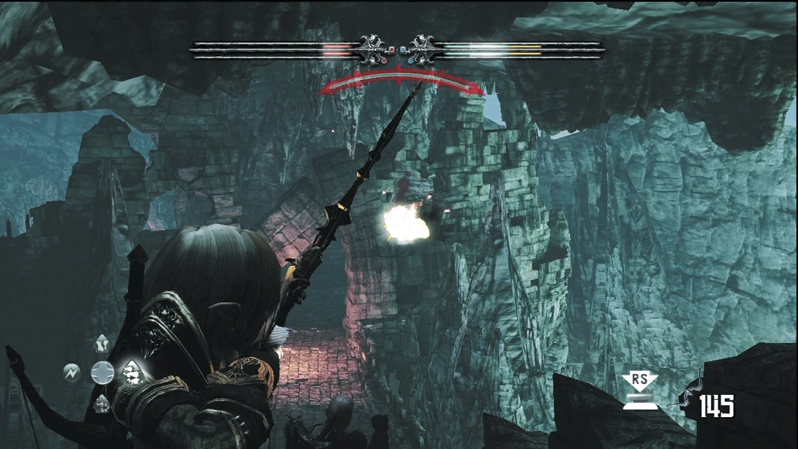
When you wind down the next set of stairs, Arackling Crawlers charge up the cobblestone looking for their next meal. Break out the melee weapons and start swinging, but be careful—Wargar Scorchers guard the mountain entrance down below and will bombard you if you get too close while tackling the Crawlers. If you start getting clipped, Caddoc should pound the Aracklings while E'lara battles the Scorchers. After you've eliminated the Scorchers, continue down and challenge Wargar Zealots and Wargar Warriors in the courtyard beyond the mountain entrance.
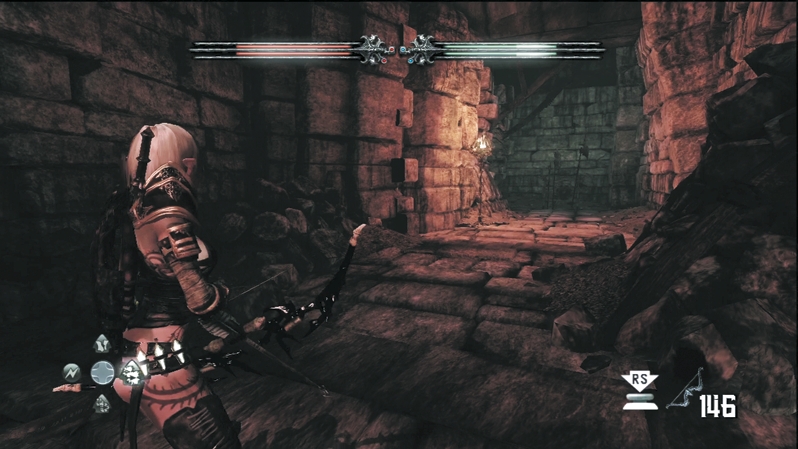
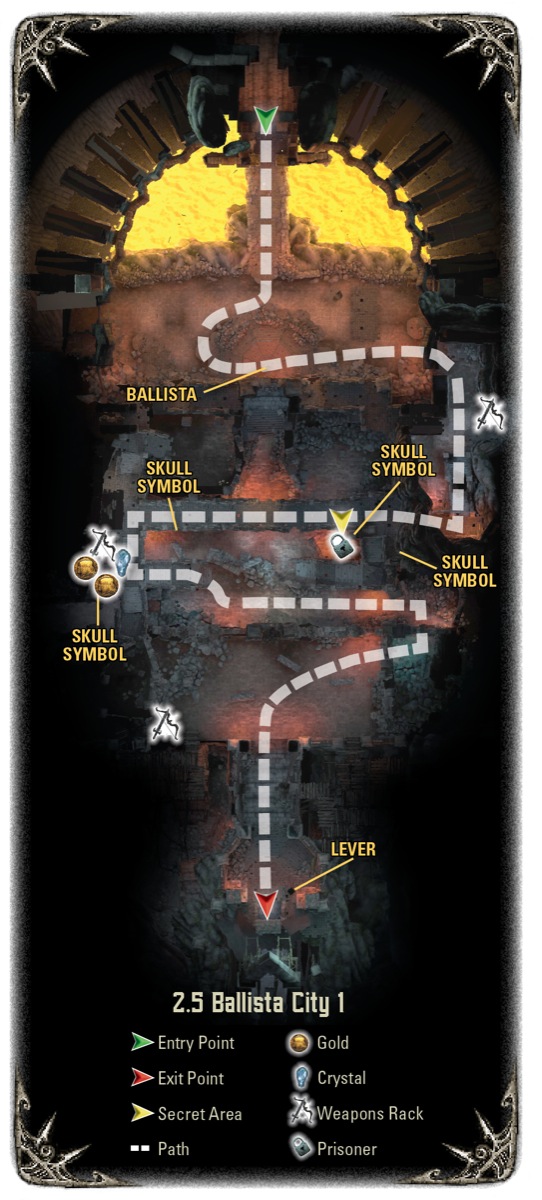
Continue to the next door and head through it to reach the next obelisk and magic portal. Spend whatever Crystals you've accumulated, and journey down the corridor until you see a crack in the left wall. Slide through the tight squeeze to reach Ballista City.
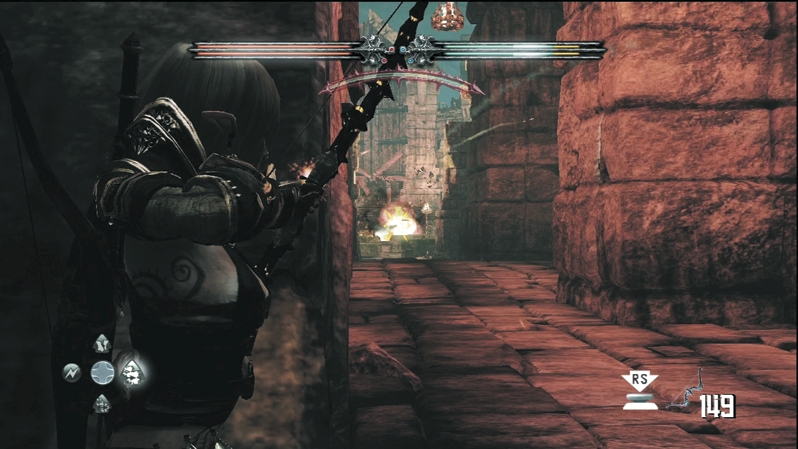
To the left is an alcove with several skull canisters, a Regenerative Vial, and a shard canister. To the right is the main section of Ballista City, and, of course, the main ballista is aimed directly at you. Run down the corridor using the stone indentation as cover; if you fearlessly run down the center of the corridor, you'll get skewered alive.
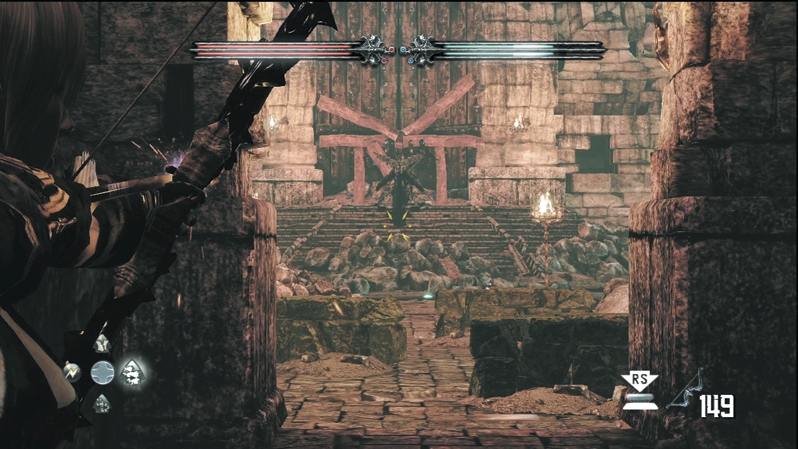
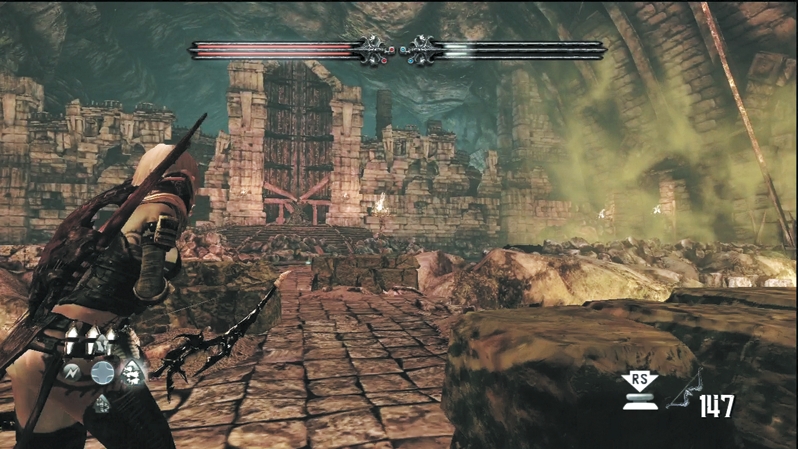
Eventually, you'll have to brave the ballista and run out into the open. Sprint and weave to avoid enemy fire as you race toward the ballista. Let Caddoc intercept any enemy foot soldiers, while E'lara beelines for the ballista.
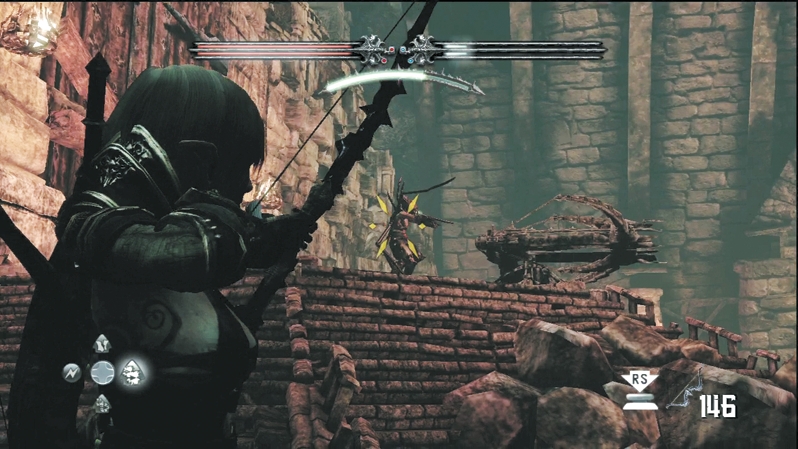
An Infected Wargar mans the ballista. Obliterate it before the thing can disengage from the ballista and attack back. Once the ballista is free, run up and take control. Caddoc needs lots of help with the Wargar reinforcements.
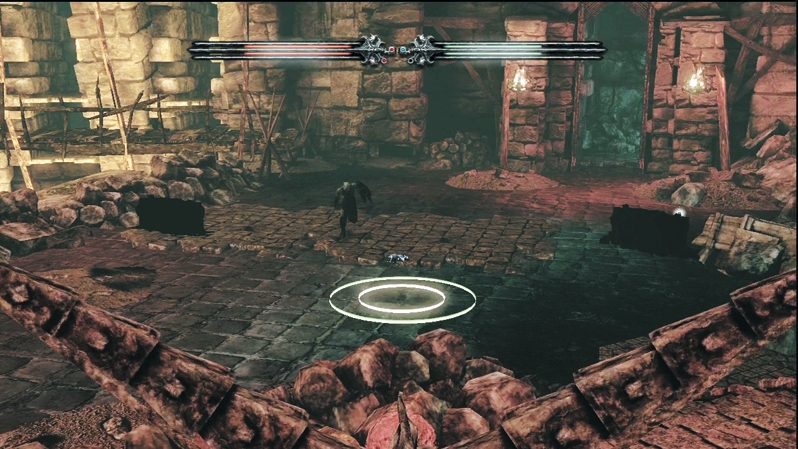
The Wargar swarm from every direction. With Caddoc guarding E'lara's back, E'lara can concentrate on spinning the ballista toward each reinforcement wave. Aim the ballista reticle in front of charging troops and trigger off a blast that catches several in the explosion. The ballista takes a couple of seconds to reload, so make each shot count. If the Wargar begin to swarm the ballista dais, disengage and swing at them with your melee weapon until you clear enough of them away so you can climb back aboard the ballista.
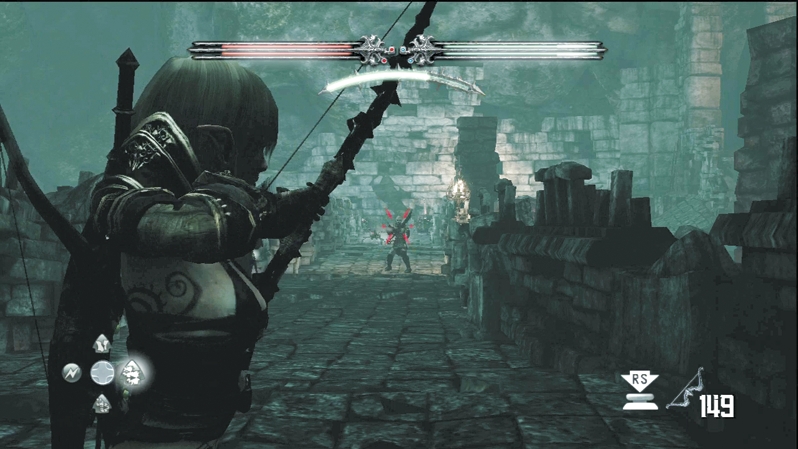
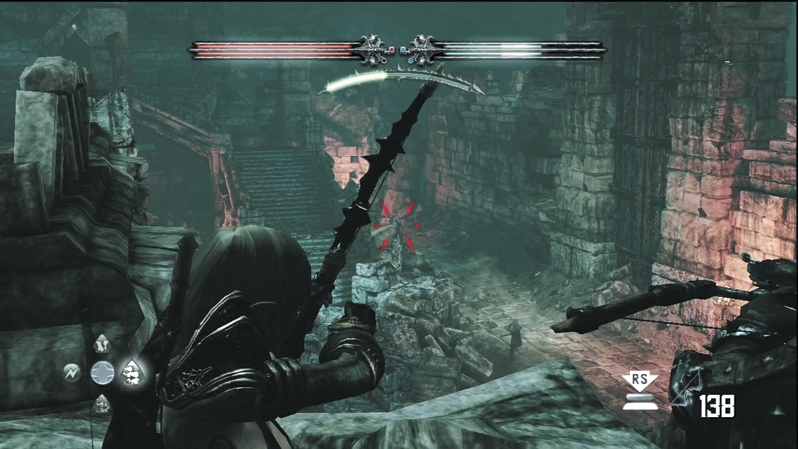
Eventually the dust settles and no more Wargar arrive. Survey the battlefield for loot and continue out the open archway. Take the steps to the door that leads behind the sealed main gates of Ballista City. As soon as you enter the door, Wargar Scorcher fire hits you. Caddoc should sprint ahead and engage the enemy; E'lara should seek out cover near the door and look for the more dangerous targets in the rear to drop first. Continue across the long bridge; when you reach the far side, search out more enemies on the level below.
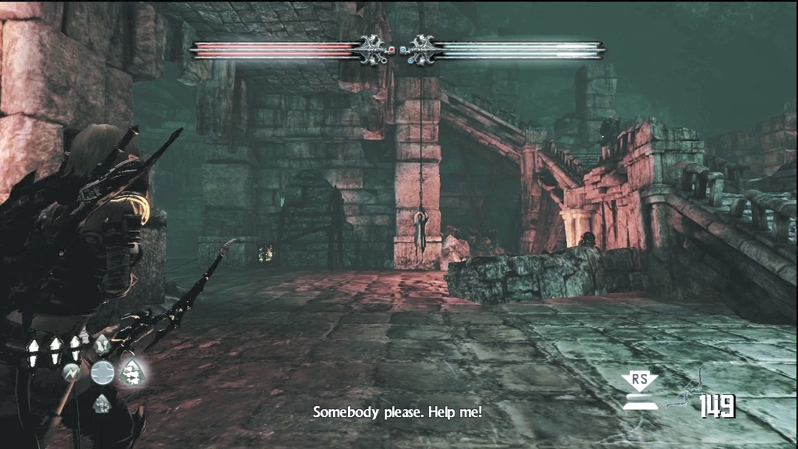
Once you're safe, hop off the bridge and down to the side where you hear a prisoner calling. You'll see him strung up in front of a stone pillar. Cut him down with a bolt or arrow.
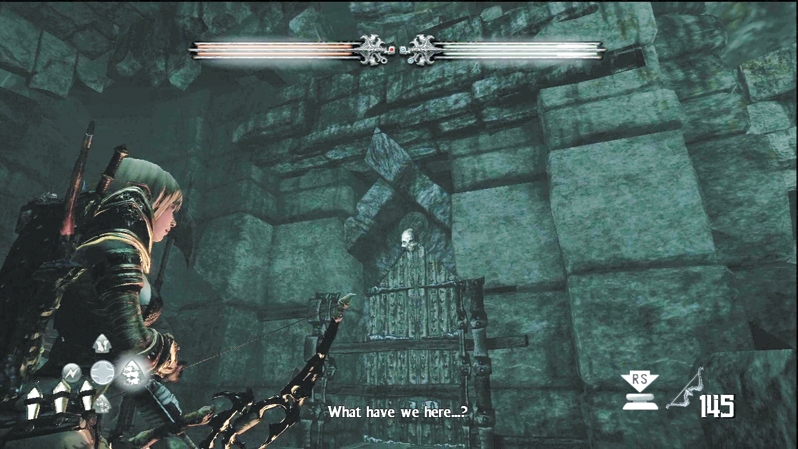
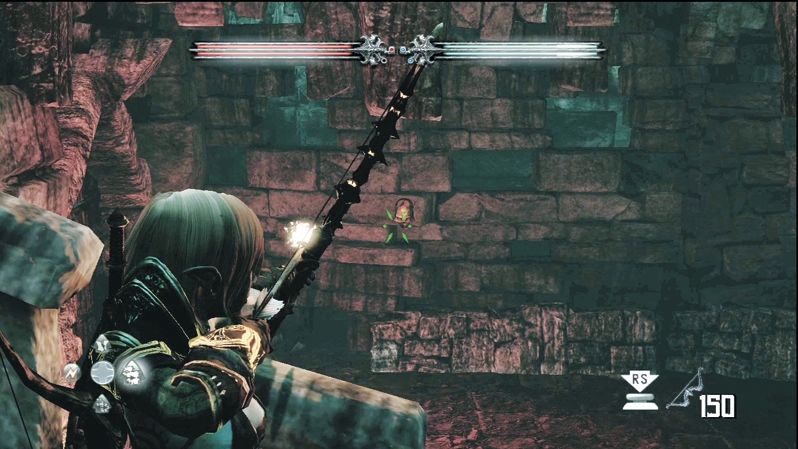
In the opposite corner from the prisoner is a strange door with four wooden bars and a skull above it. Shoot the skull and one of the wooden bars slides to the side. Find three more skulls and you can open the secret room.
Shoot the second skull on the wall around the corner from the skull door.
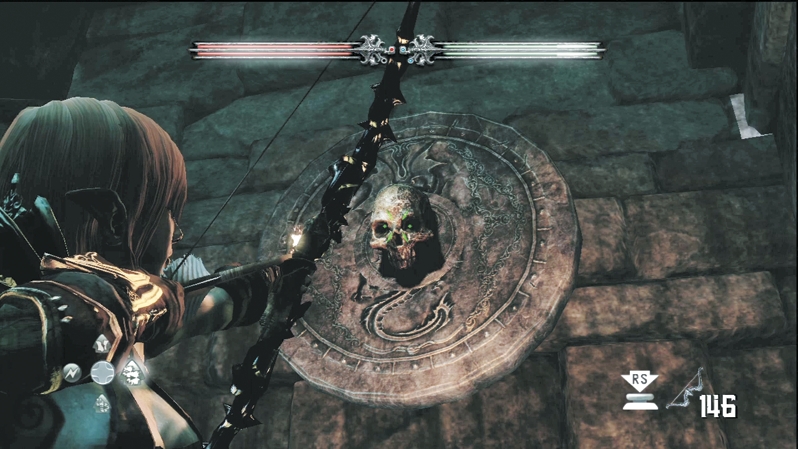
To the prisoner's left is an explosive barrel in the corner. Shoot it to blast open the door next to the prisoner and you'll find the third skull on the wall.
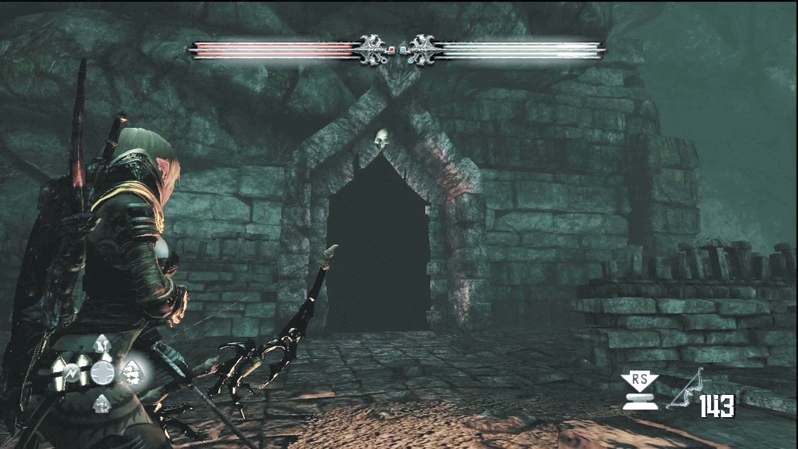
Climb the stairs leading out of the area. At the top landing, you'll see the fourth skull above the nearby door. Shoot it and return to the now-unlocked skull door. Enter the secret area for two gold treasure chests, a Crystal Chest, and an enchanted weapon rack.
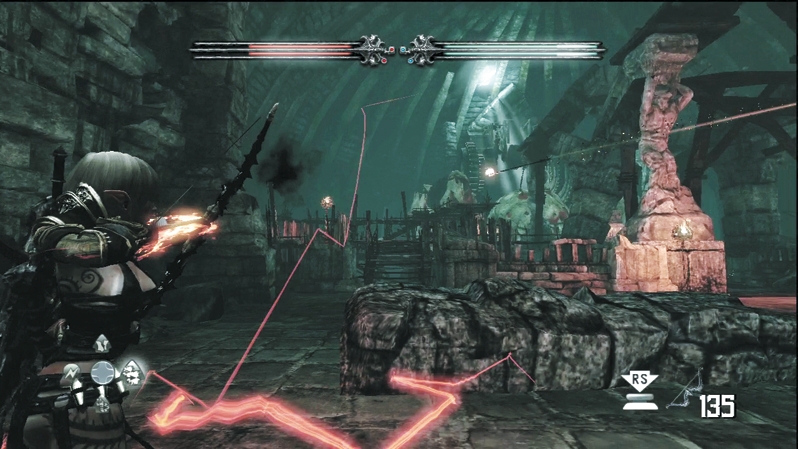
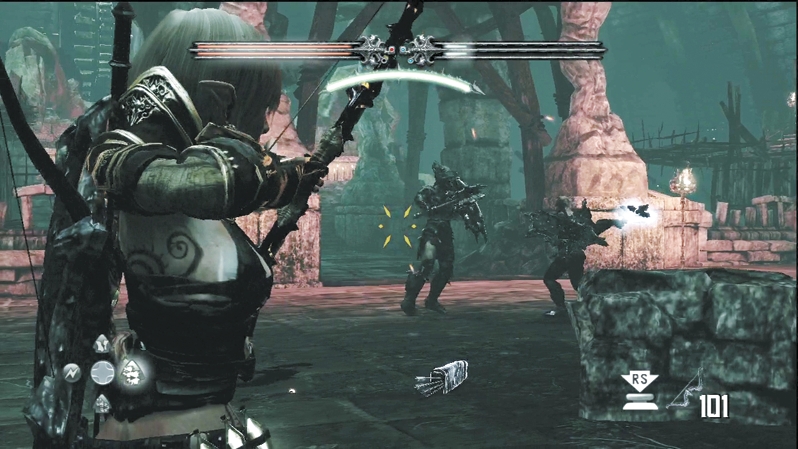
Take the exit door from the area and enter the chamber where the Wargar worship their spider goddess, the Queen of Darkness. A big battle instantly erupts. Wargar Guardians charge out to engage in melee, and Wargar Blastcasters and Wargar Scorchers volley arrows at you from the walkways on either side of the chamber. Split your attention between both enemy groups. Keep the melee combatants off you and try to pick off the ranged attackers one by one. If you just let them fire down on you, it's a lost cause. If you stay on the move, Caddoc can wipe out the Guardians as E'lara squares off against the Blastcasters and Scorchers. Once the Guardians are down, Caddoc can run up the walkways and smash the ranged attackers up close where they don't stand a chance.
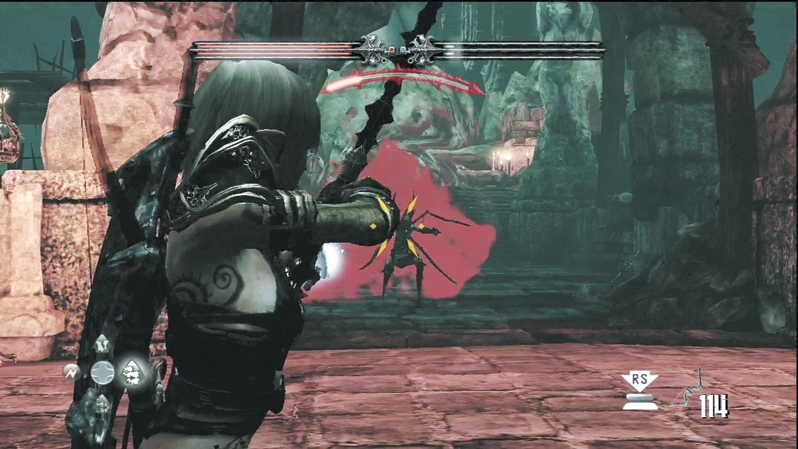
An Infected Wargar guards the altar in the back. Engage it only after you've dropped all the other enemies; otherwise you'll have another problem on your hands before you're ready for it. Exchange fire with the Wargar and zero in on its position after each teleport. Since it stays in the central strip, the teleports are very close together and make for easy aiming.
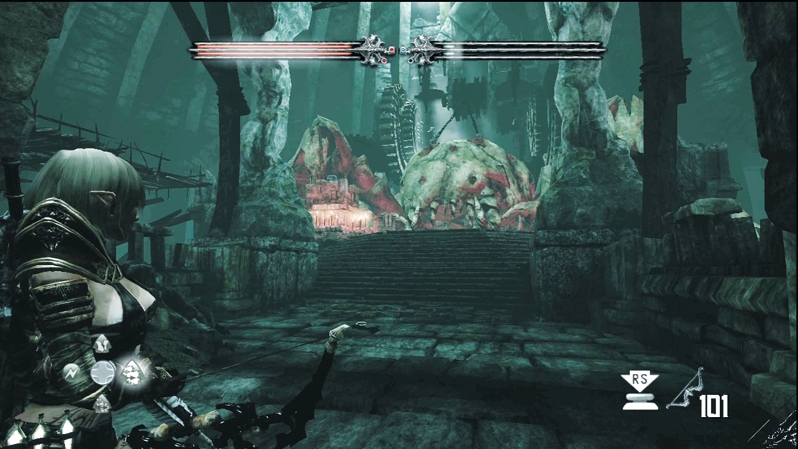
After you've scoured the area for loot, pull the lever next to the giant spider shell. A pit opens up. Drop into the shaft and then slide through the small crevice inside the room.
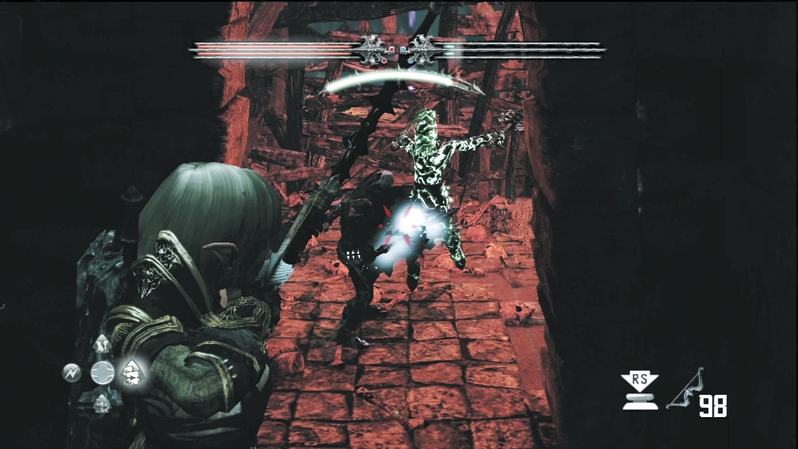
A Wargar Zealot greets you in front of the boarded-up exit in the next chamber. Deal with the Zealot and you can pass into the Catacombs.