
Hunted: The Demon's Forge Guide Walkthrough Chapter 3
Lost Temple
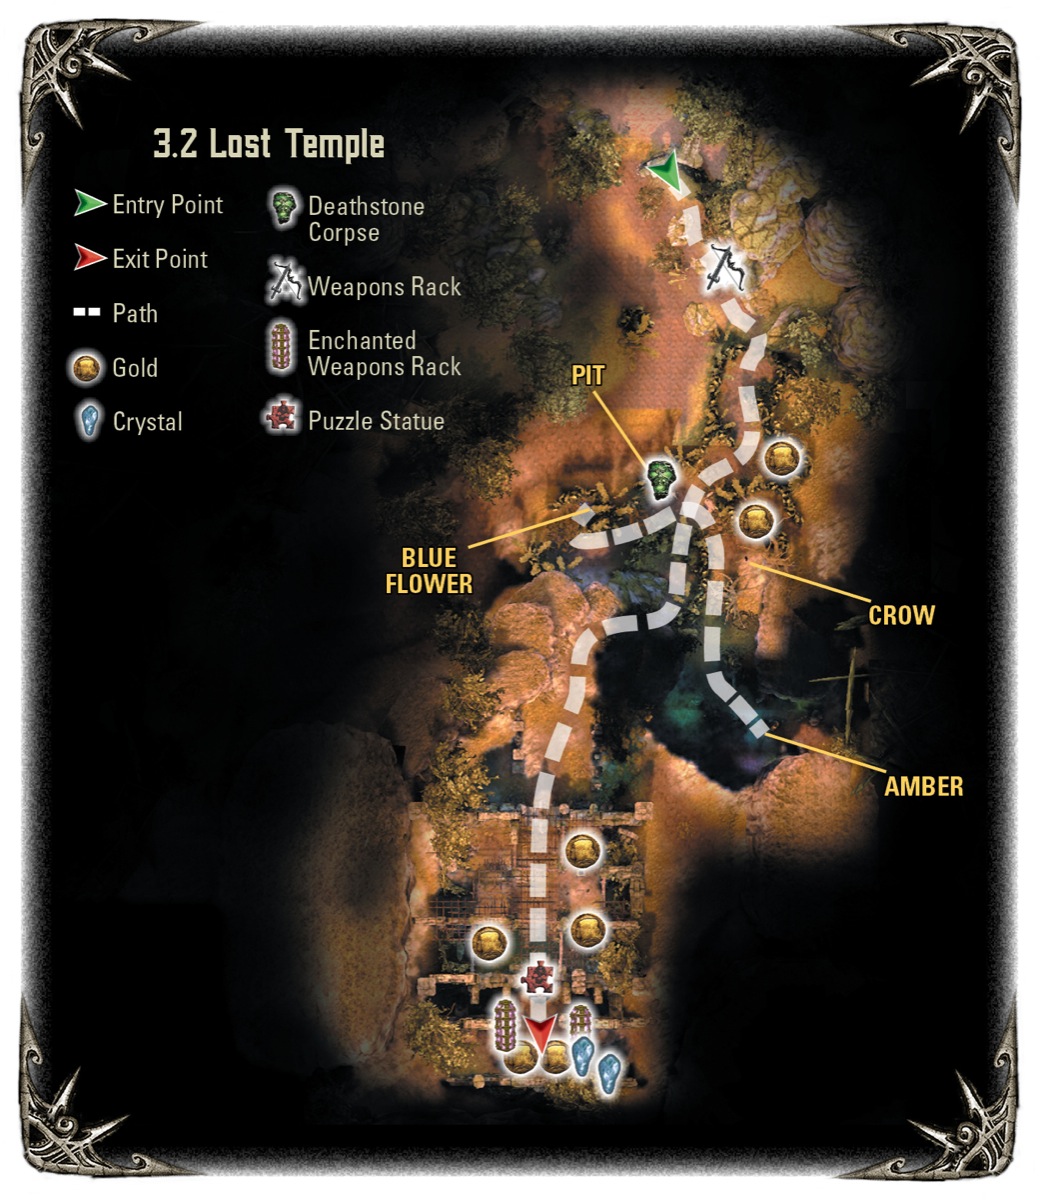
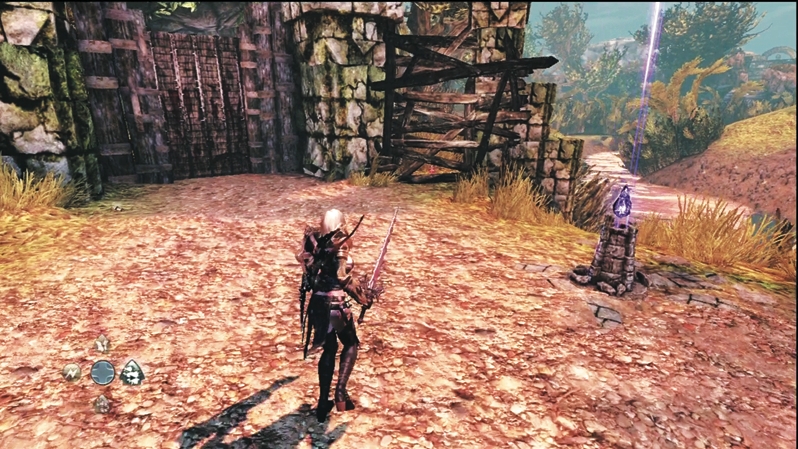
If you want to take a side quest and solve another puzzle, smash through the wooden boards to the right of the door by the obelisk. The side path eventually leads to the Lost Temple and another statue riddle.
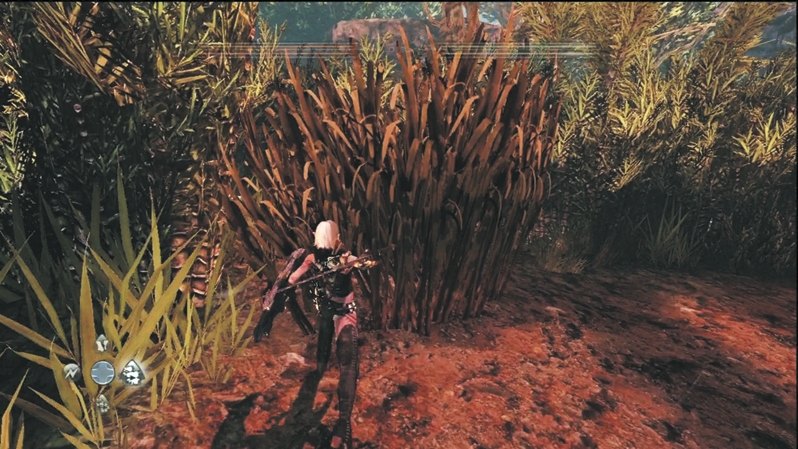
To open the hidden areas around the Lost Temple, cut through any tall grass that you see. The first one on the left offers an alcove with a sack of gold.
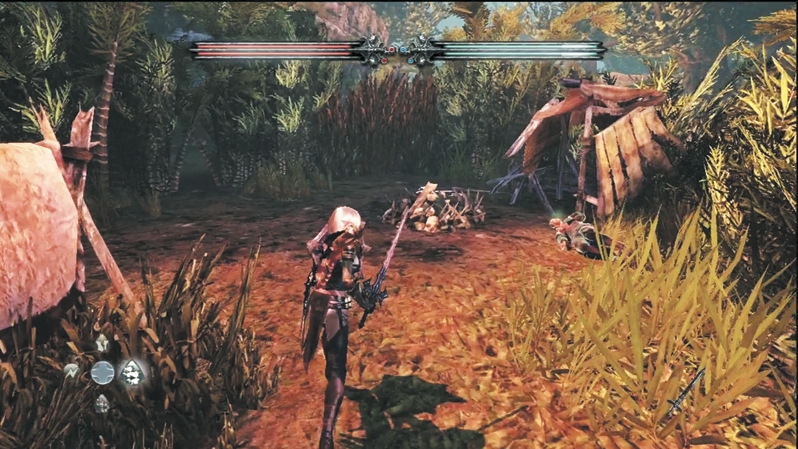
The tall grass on the right leads to a campsite with a Deathstone corpse. The corpse gives you hints on how to solve the Lost Temple riddle. Remember the fire pit in front of the corpse for later use.
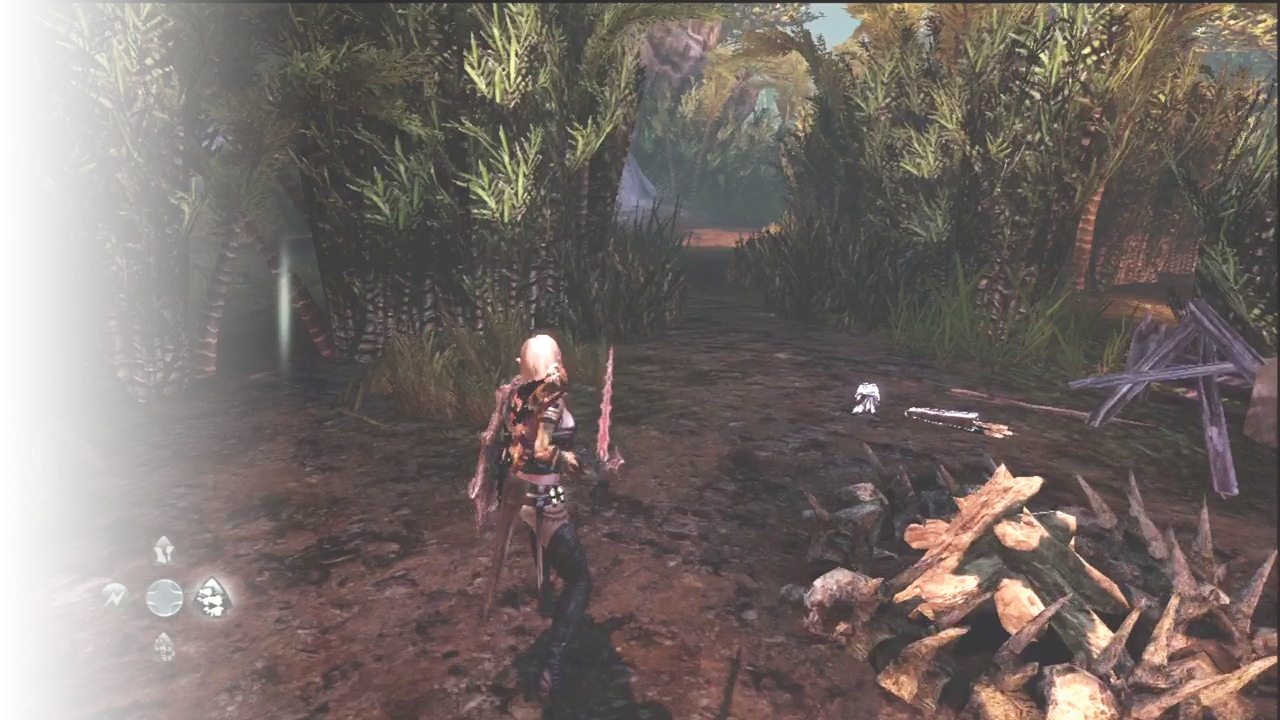
Slip through the thick reeds next to the campsite pit. You'll have a chance to return here, so don't worry about accessing the transition point. It brings you into a clearing with a path leading to the mountain's top. The Lost Temple and its secrets reside up there.
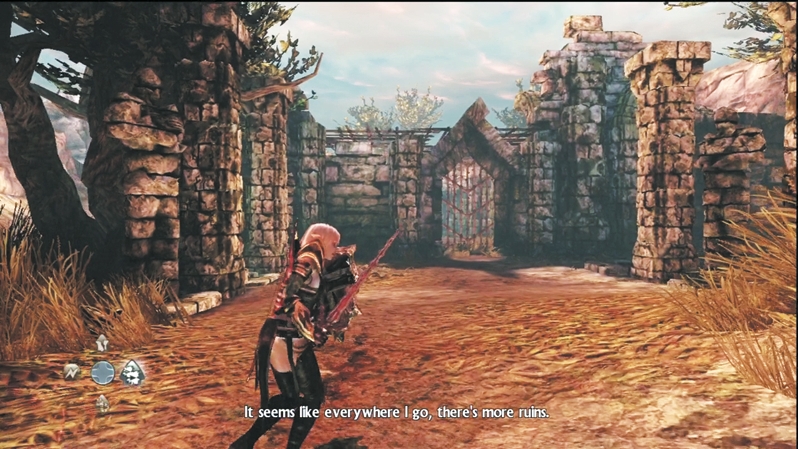
The gate to the Lost Temple remains locked until Caddoc and E'lara step on the pressure plates flanking the gateway. Once inside, collect the three gold piles and two Regenerative Vials without stepping on the nearby poison-dart pressure plates. Speak with the stone statue when you're finished.
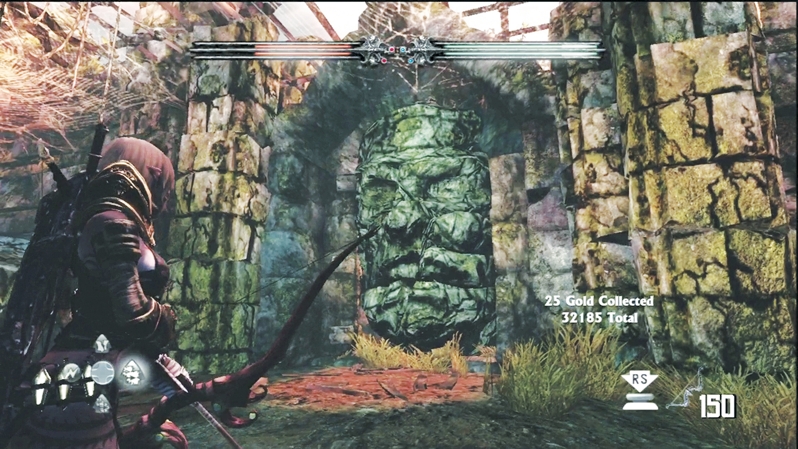
The statue says, "To enter here beneath my sight, find a feather, black as night, a tiny plant with petals bright, and frozen sap with granite's might. In a pit, they will ignite, then bring to me their burning light." Solve the riddle of the Ancient One to enter the treasure vault behind the statue.
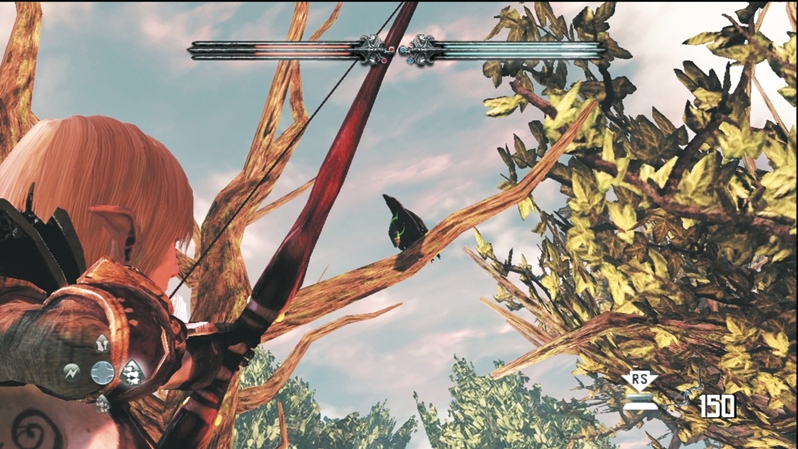
The first part says to find a black feather. That's easy enough, if you know where to look. Exit the temple grounds and drop off the cliff back into the area next to the Deathstone corpse campsite. Run back through the campsite and cut through the other tall grass to enter a new area sporting a dead tree. A crow sits up in the tree; shoot it and collect its black feather.
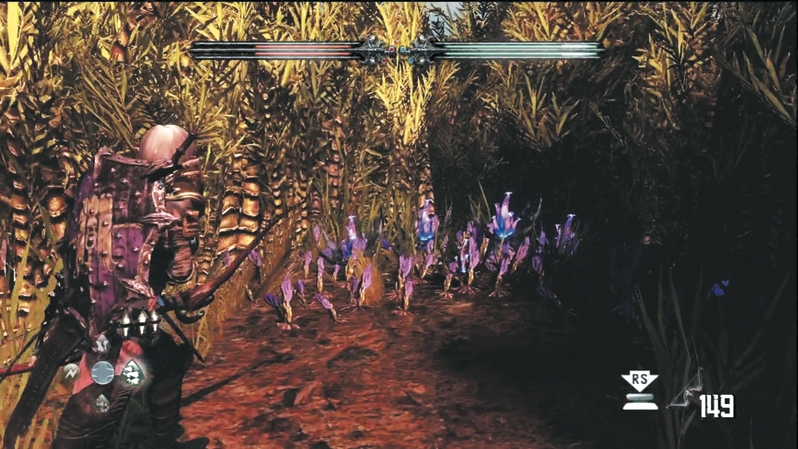
Return to the campsite and cut through the grass on the other side. The path leads down to the river, and blue flowers grow in a side clearing covered by tall grass.
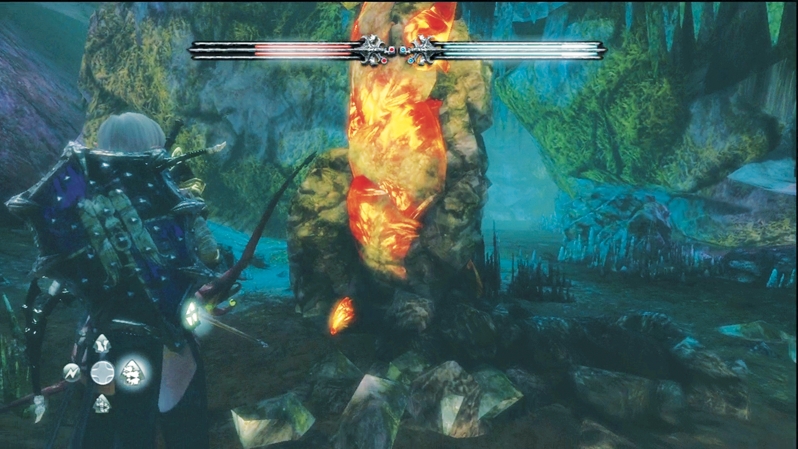
You now have two of the three components. Return to the campsite and head back into the area with the tree. Cut through the tall grass to reveal a cave. Inside the cave you'll find some amber at the base of a granite column: the third component you need.
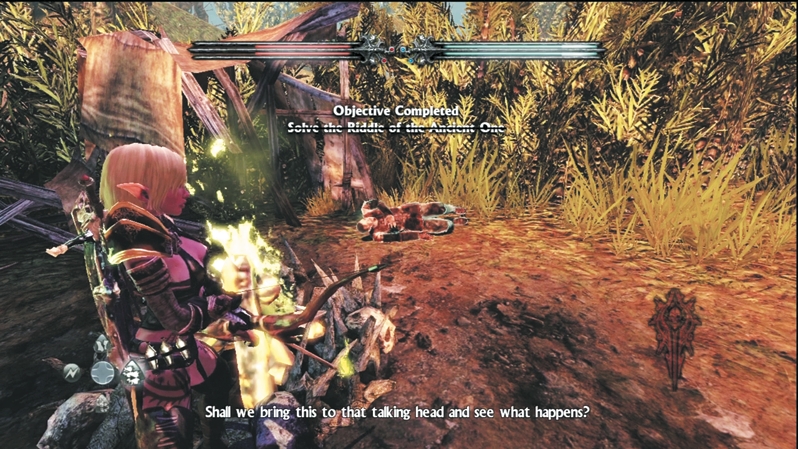
Return to the campsite and drop all three components into the pit in front of the Deathstone corpse. A green flame ignites. Have E'lara dip her arrow into the flames and head back up to the Lost Temple. A Dread now guards the area. If you stand outside the temple, you can hit the Dread with long-range magical attacks and drop it before the creature deals any damage to you.
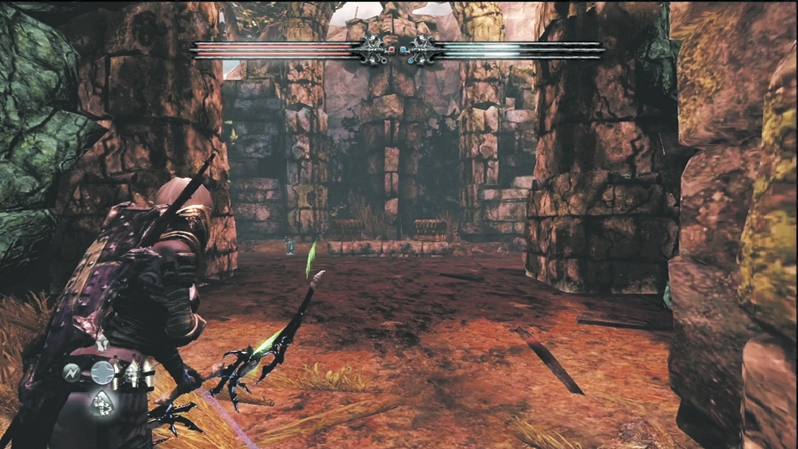
The treasure vault behind the statue contains two gold treasure chests, two Crystal Chests, and two enchanted weapon racks. Retrieve your rewards and then double back to the door leading farther into the Wargar encampments.