
Hunted: The Demon's Forge Guide Walkthrough Chapter 6
Dungeons
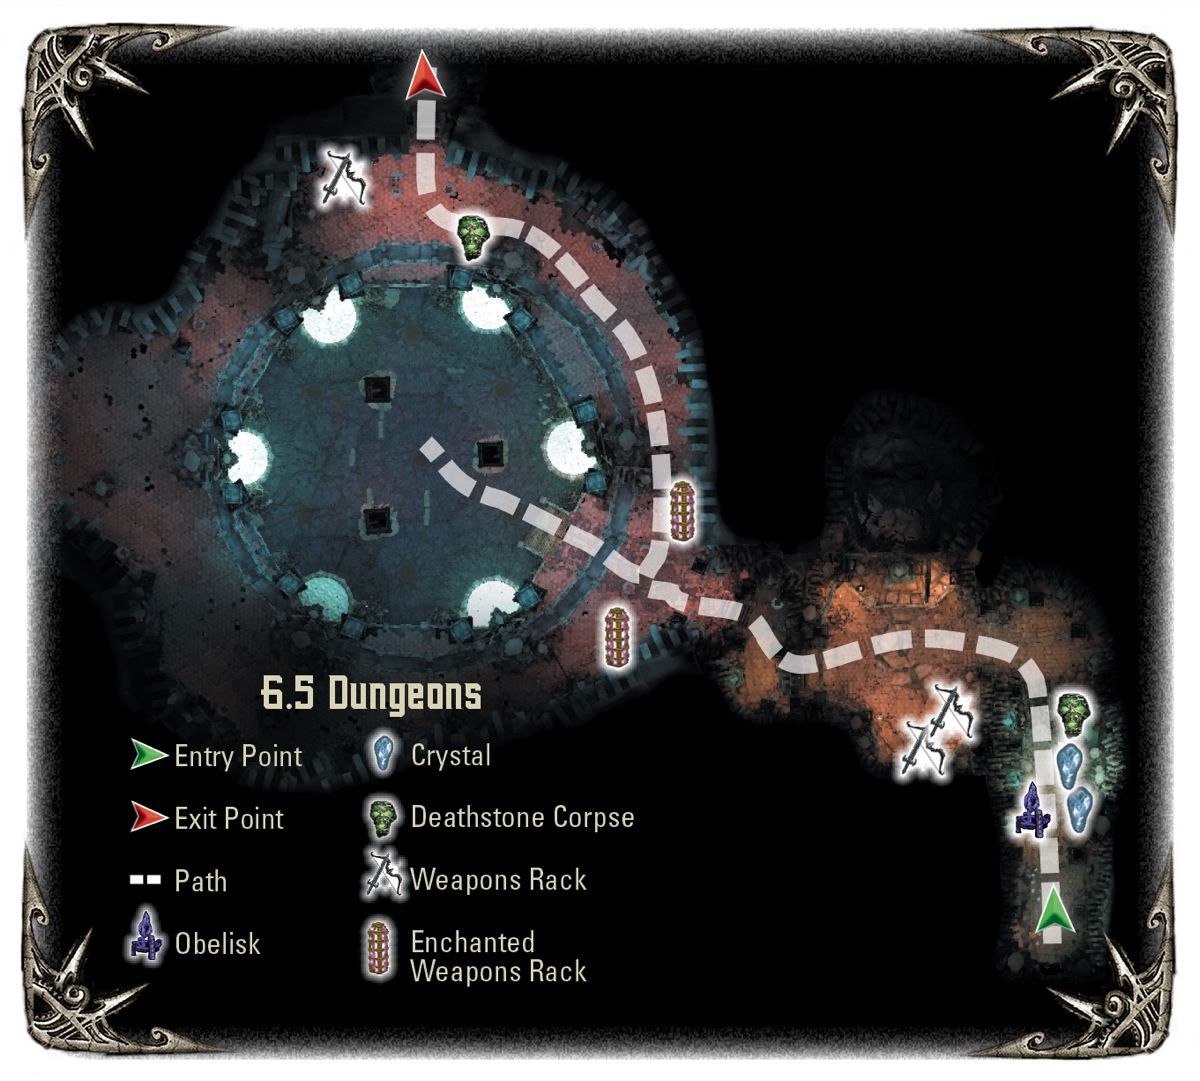
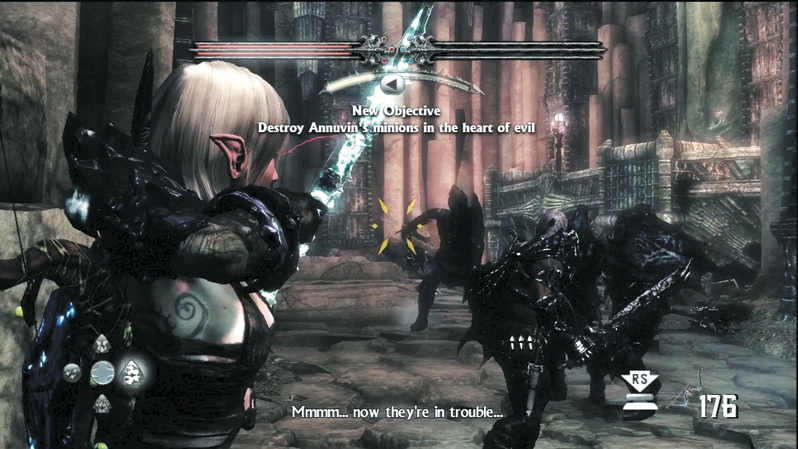
The passages take you to a strange chamber with an obelisk, two Crystal Chests, and a dragon skeleton to use the Deathstone on. The dragon talks about her mate and how the male dragon was consumed by the power of the silver liquid. You get the feeling by now that Sleg is some bad juice? In the next chamber, dismantle the Wargars that clog the room and move into a huge temple devoted to Sleg.
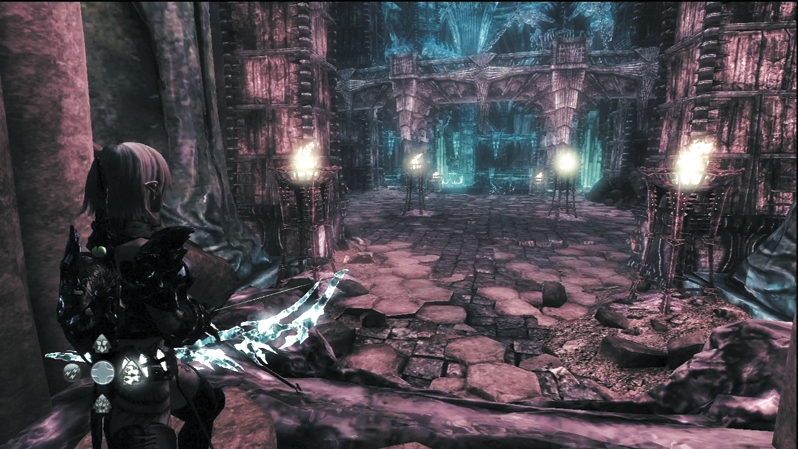
Gates to either side of the entry chamber prevent access to the balcony level that circles the temple. To prepare for the coming battle, smash the canisters around the front area and the two enchanted weapon racks.
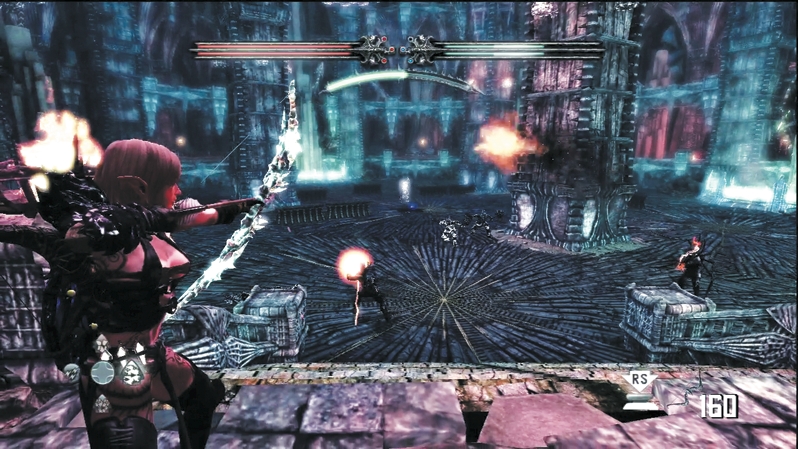
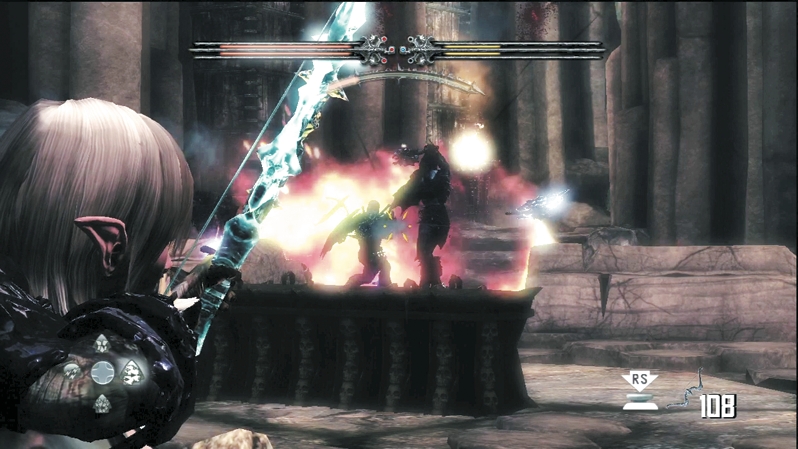
The main temple holds six Sleg fountains bubbling with the glowing, silver liquid. Wargar Zealots and Infected Wargar notice your presence and seek to end your invasion of their holy place. Jump down the stairs only if you want to get into the thick of things; otherwise, keep at ranged distance and pick off as many as you can. The place is so big that you shouldn't have much trouble rolling away from enemies or sprinting to an opposite wall and continuing to chip away with ranged assaults.
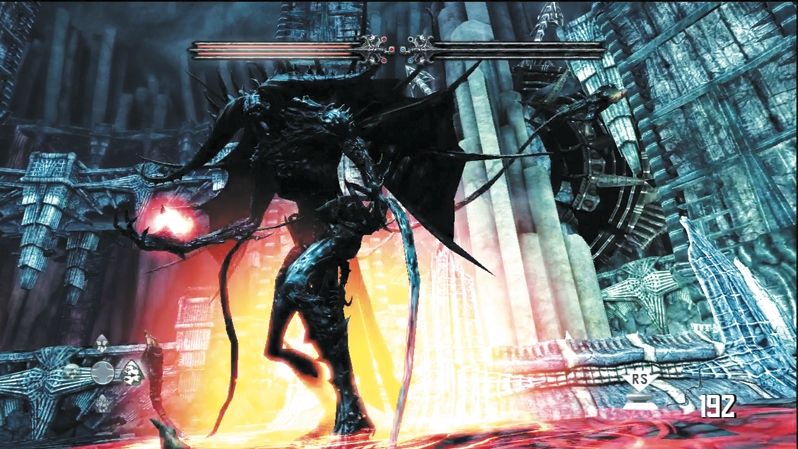
When the Archghoul appears, you must change tactics. The Archghoul summons in Skeletons to surround you, and you'll no longer have the same space you had earlier. Switch to area-of-effect attacks like Dragon's Breath, Brimstone, and Pyre Blast, and alternate your damage to match your target's vulnerability. The Wargars will probably fall first. After you smash through a bunch of Skeletons to clear the way, focus on the Archghoul until its shield and Skeletons can protect it no more. Exit the temple via the opened gate, and circle around the balcony to the passage down to Annuvin's lair. One final Deathstone corpse waits for the stone's touch on the wall opposite the exit.