
Hunted: The Demon's Forge Guide Walkthrough Chapter 3
Boss Battle: Harridan
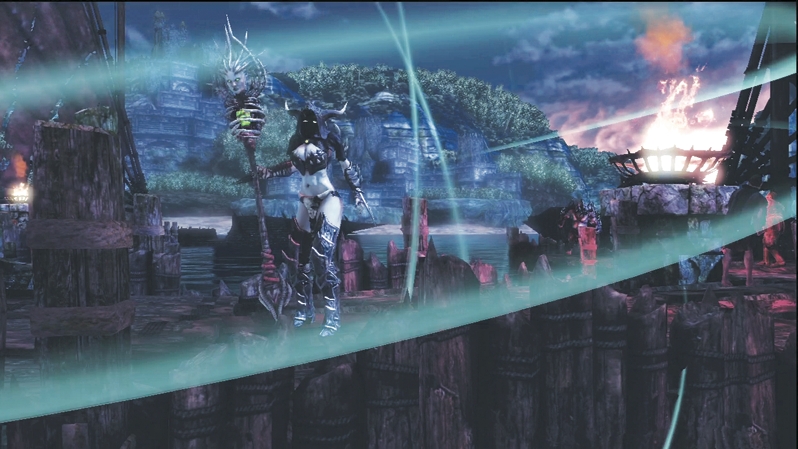
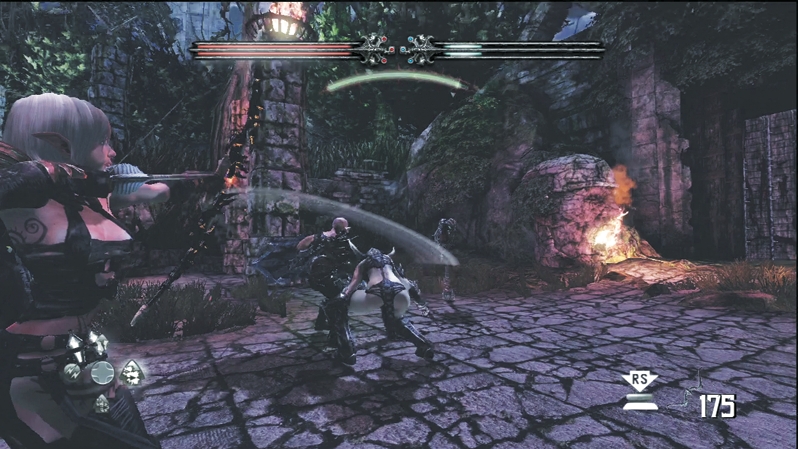
Continue through the door to the docks. A Harridan (witch-assassin) orders the Wargar to put the last of the prisoners on a boat to Llyr. She notices you almost immediately and teleports over to your courtyard to begin battle. The Harridan moves lightning quick, so the most important part of this battle is always staying in motion. Circle the courtyard, dodging attacks, and strike the Harridan only when the opportunity arises. Don't stand still or you're dead.
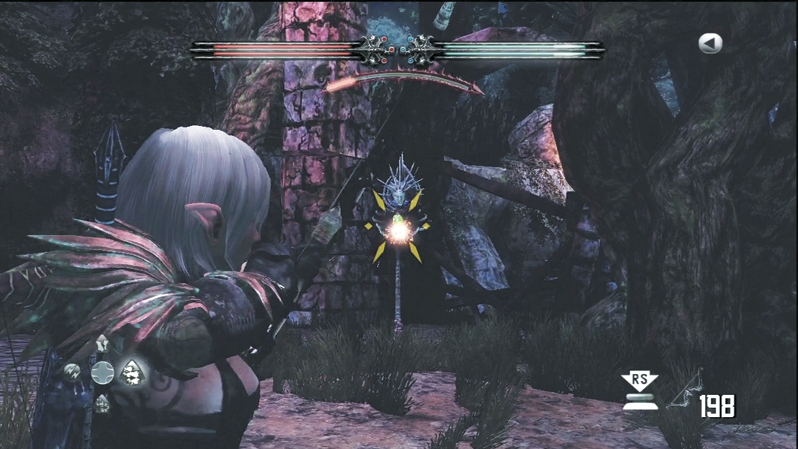
The Harridan drops energy-shooting totems around the courtyard. Destroy these totems as soon as you can or else you'll quickly be in a dangerous cross fire. Some of these totems drop Health Vials and Mana Vials, so you may be able to restock during the fight.
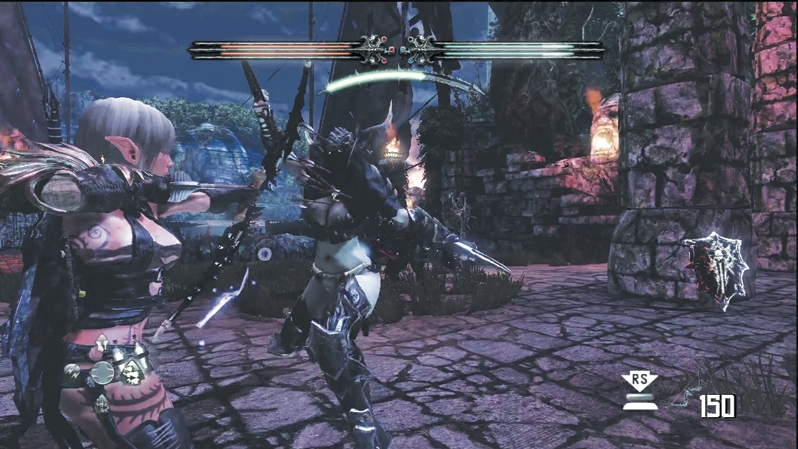
Do not stand in front of the Harridan. Her attacks do quite a bit of damage and will cut you to ribbons if she lands her melee combo. When she gets close, roll away from her or sprint out of her grasp.
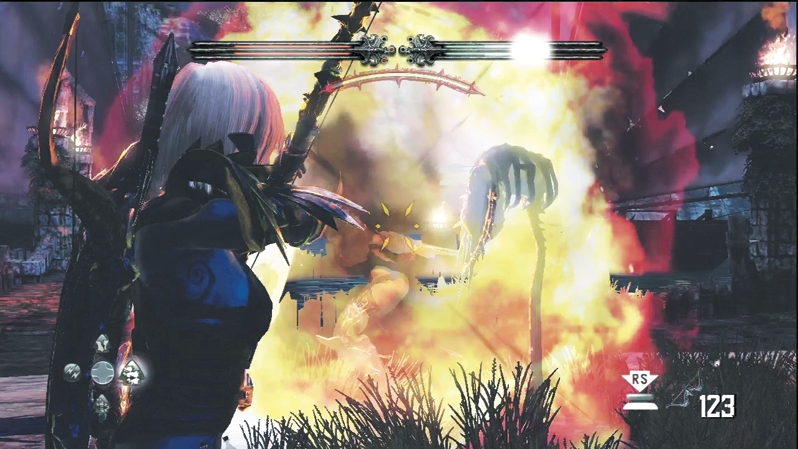
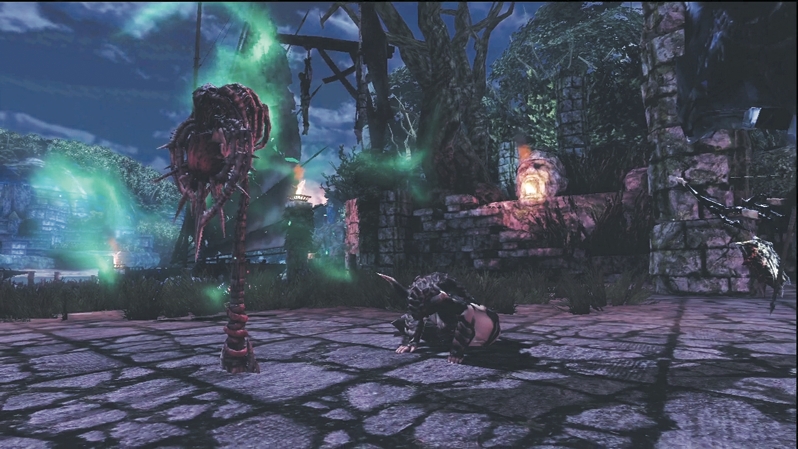
Caddoc's Dash does extreme damage to the Harridan. Use it if you can time the Dash to strike her in solid form. E'lara's Pyre Blast is the magic of choice against the Harridan; fire damage inflicts the greatest wounds on the witch-assassin. If you're constantly on the move and avoiding damage, eventually your attacks will land and the Harridan will fall.
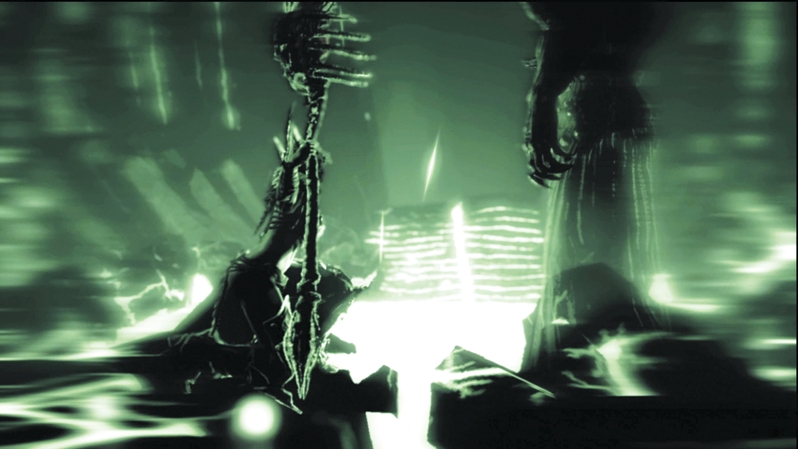
E'lara chooses to look into the Harridan's past with the Deathstone. The Harridan's mysterious master is aware that you seek "his" prisoners and sent the Harridan to kill you. Expect stronger resistance as you unravel the mysterious master's secrets, and those challenges ratchet up at your next stop: the razed city of Llyr.