
Hunted: The Demon's Forge Guide Walkthrough Chapter 2
Prison
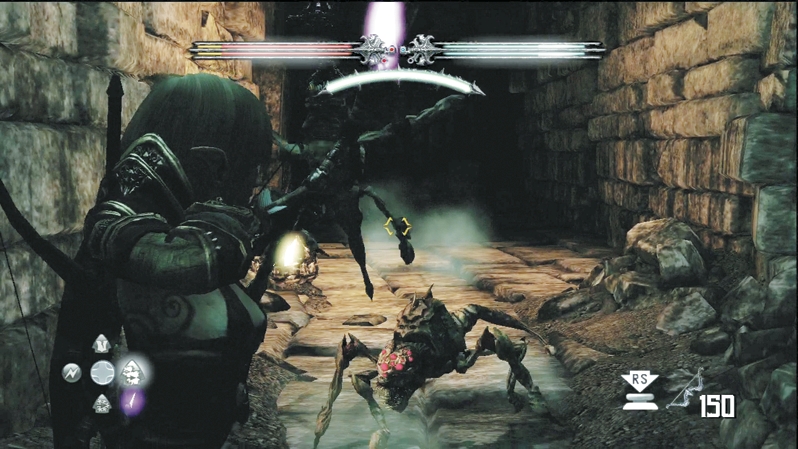
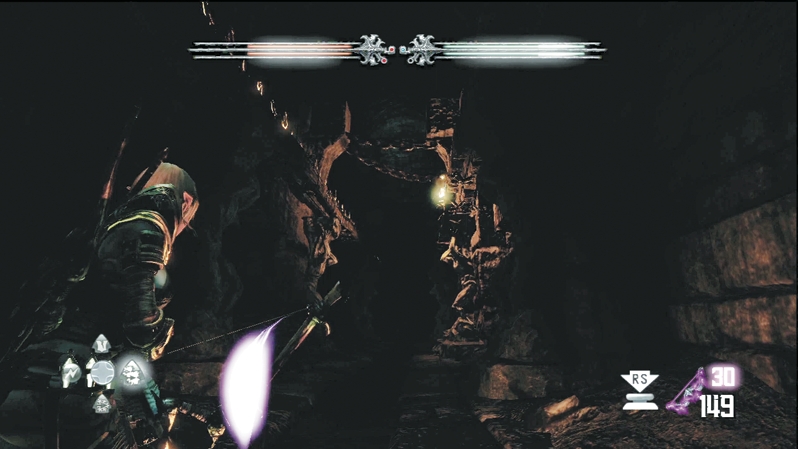
As you leave the Crypt of Eternity area, follow the passage and cross a well-lit stone bridge to the next corridor. Aracklings attack after the bridge; if you see them from far enough away, clip off an arrow or two at range, then switch to melee to hack them apart. Around the next bend, light the brazier in the gloom near the ceiling. The darkened corridor suddenly illuminates with brazier light; you won't have to worry about more Aracklings if you stay in the light. When the fiery trail ends, descend the stone ramp and drop into a spiderwebbed chamber below.
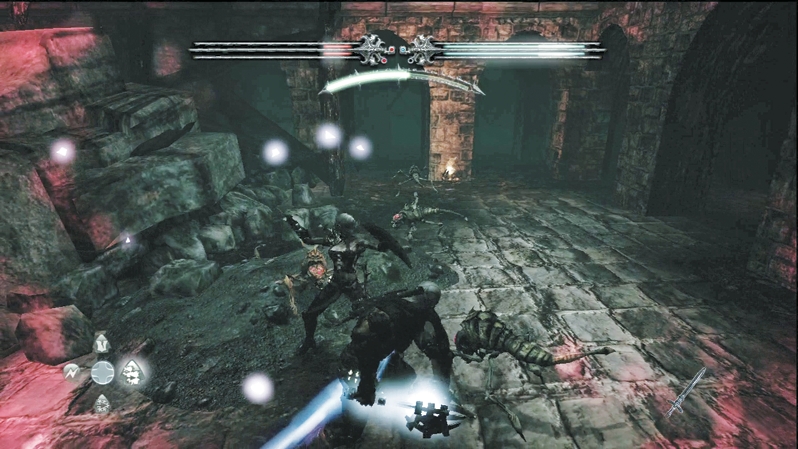
When you land in the new room, more Aracklings swarm your position. Fight the bugs off side by side or back-to-back, melee weapons cutting and chopping. When you're finished, listen to the Deathstone corpse in the side alcove, where you can also pick up a Regenerative Vial if you need one. Circle around the debris in the room's center, pick up a sack of gold along the way, and cross to the room's other side, where the next door awaits.
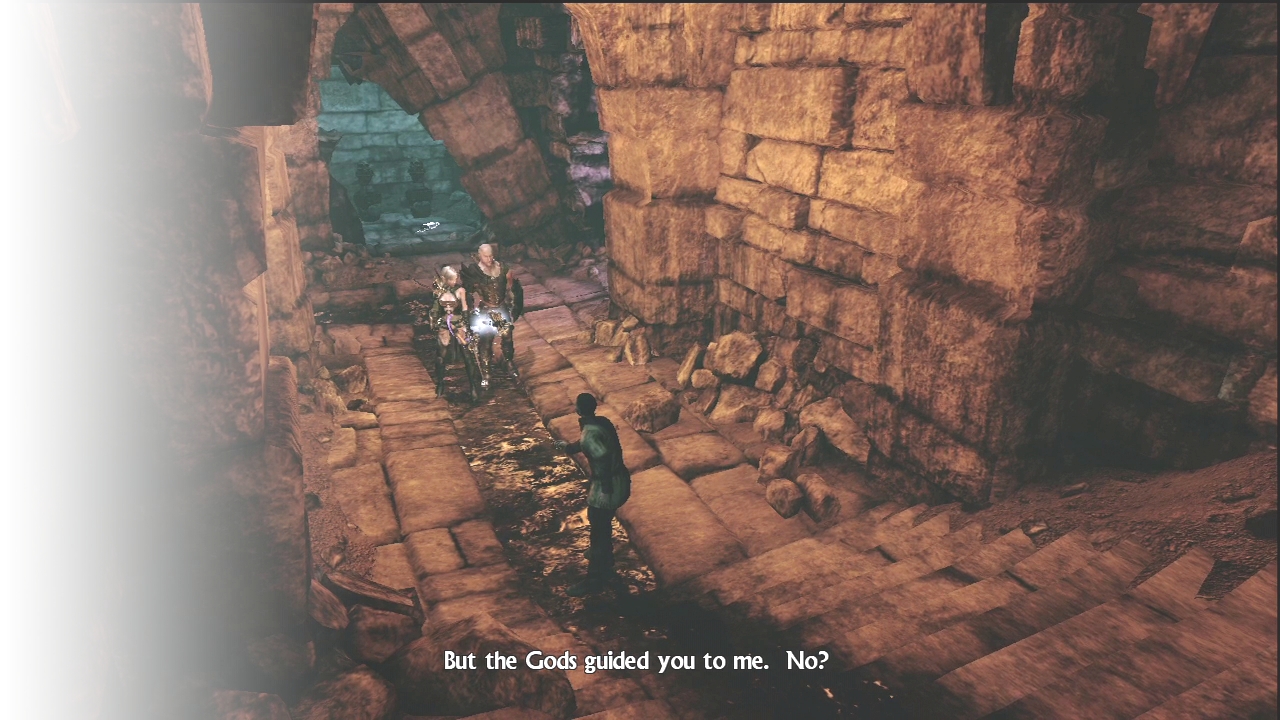
In the following area, you meet up with an escaped captive. He's thankful to see heroes to guide him to safety, until you explain that he's on his own and you're going after the rest of the Dyfed captives. He did see the mayor's daughter with the group, so you're on the right track. Continue down the corridor and slip through the crack in the right wall.
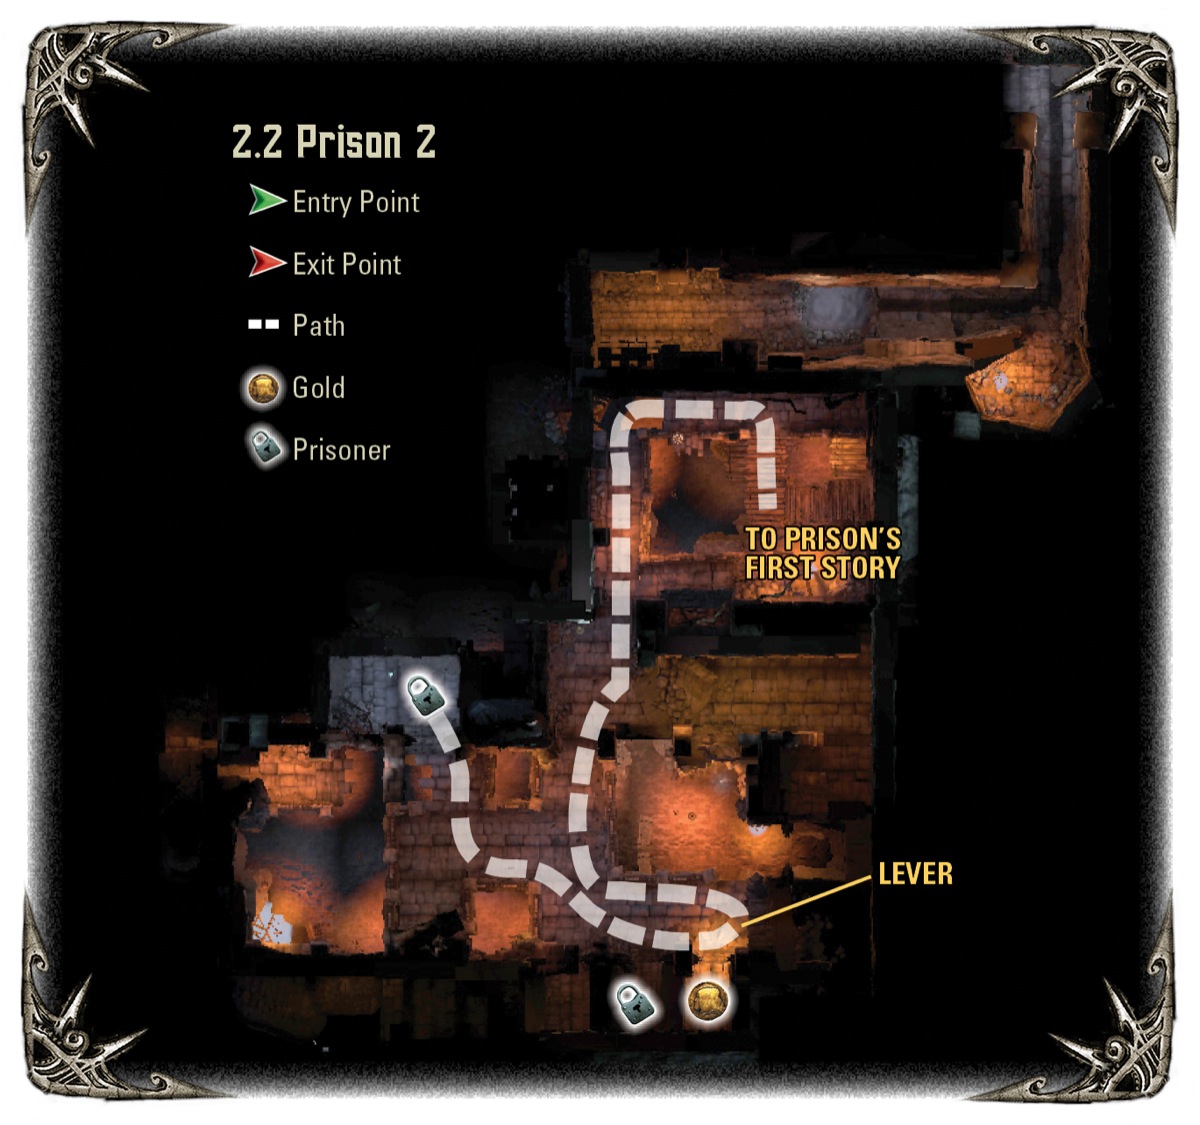
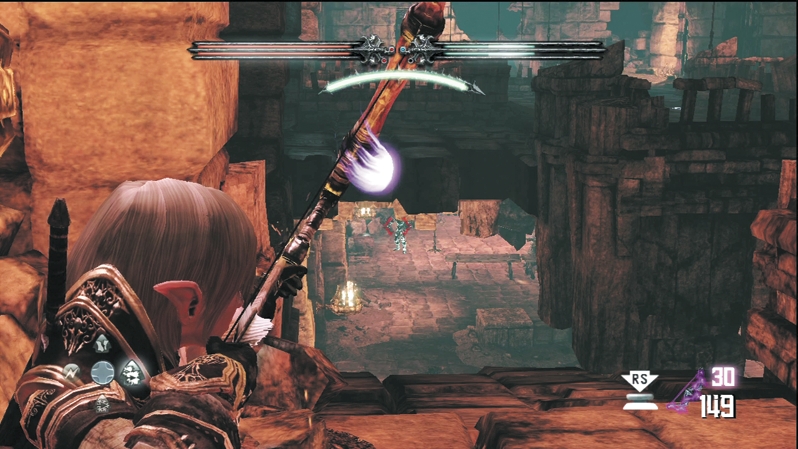
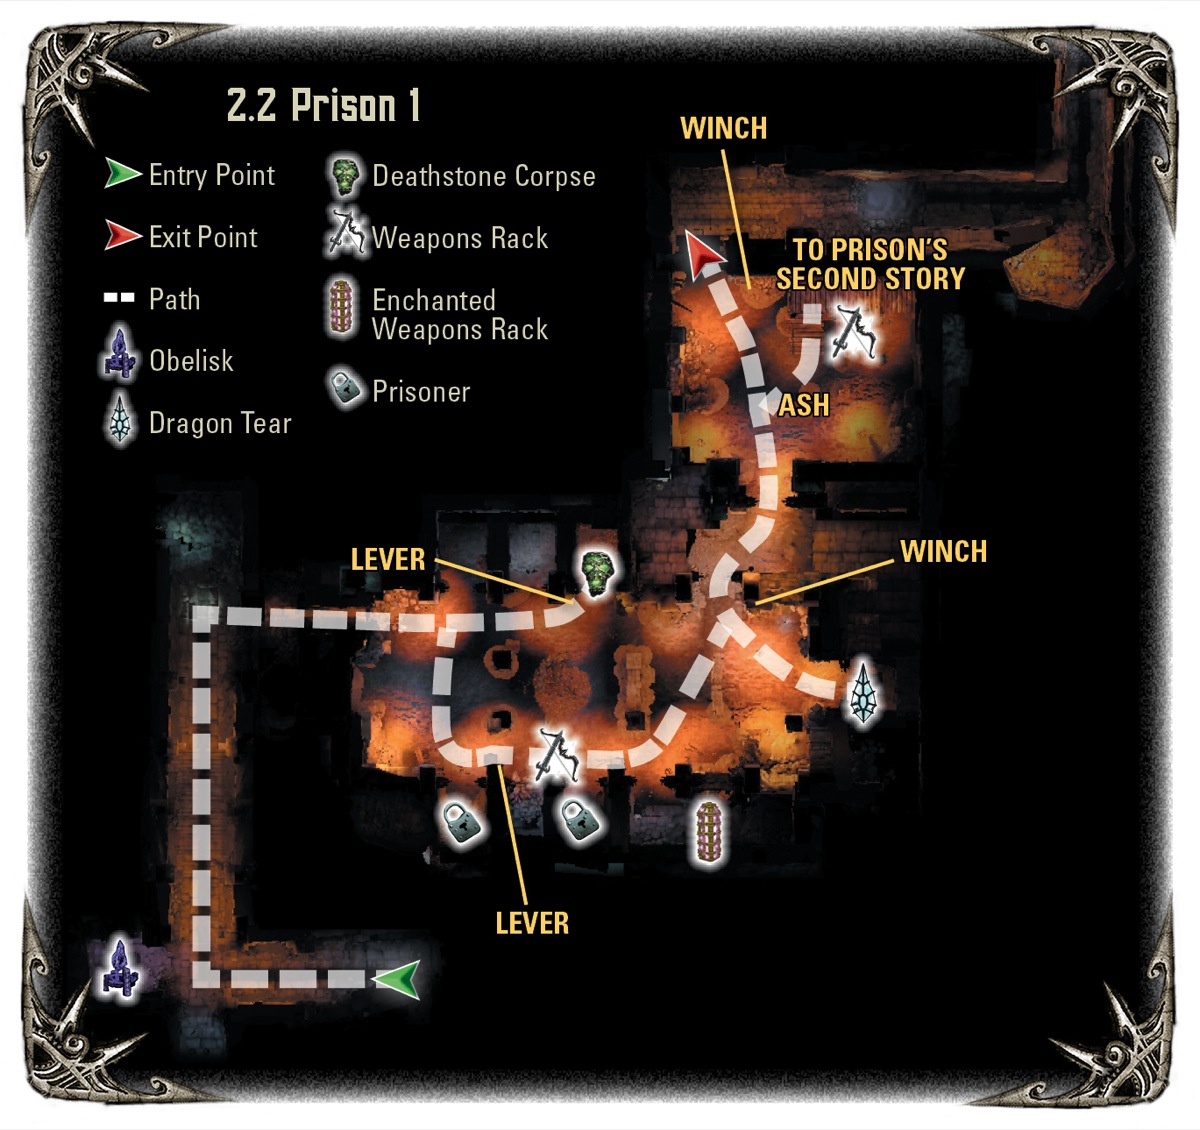
You enter the prison up on a small broken ledge on the second level. Don't jump down yet! Enemies control the prison ground level, so it's better to snipe as many as you can hit from up on this melee-protected ledge. When you think it's thinned out enough to jump down, send Caddoc first and leave E'lara to support with arrows until you're sure you won't get swarmed.
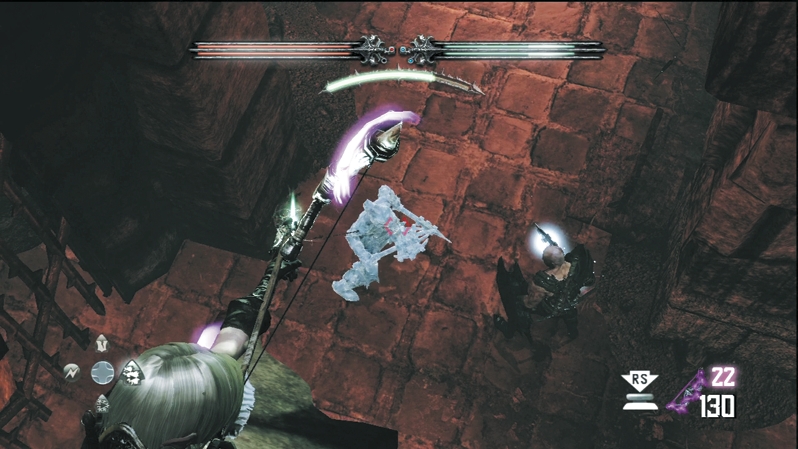
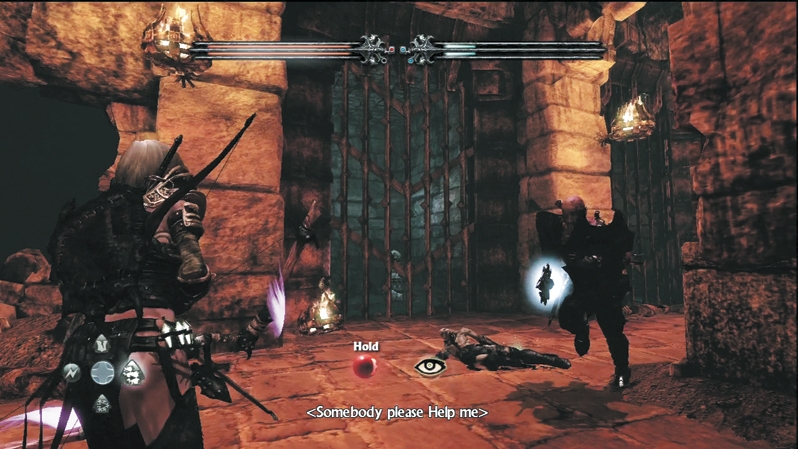
Kill off the Wargar Zealots and Wargar Archers guarding the prison. Once you jump down, keep on the move between the stone pillars and hit targets on the run. You shouldn't drop down into cover too long; with a large space and enemy fire from multiple angles, staying still invites an arrow in your back.
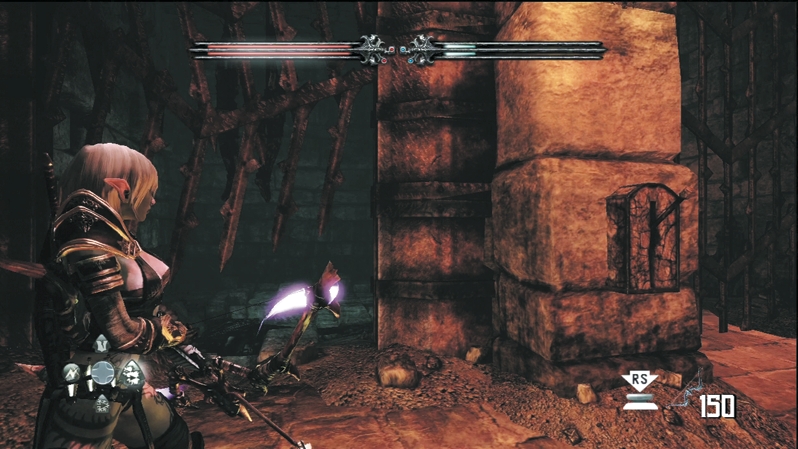
Comb the area for weapon racks and loot from enemy kills. Pull the lever on the wall nearest the entry ledge, and use your Deathstone on the dead prisoner in the far cell. The corpse hints that there's a Dragon Tear in the nearby cell, and if you can figure out how to open the cell, it's yours. On the opposite wall, pull the lever to shoot down two prisoners and gain access to an enchanted weapon rack and a skull canister.
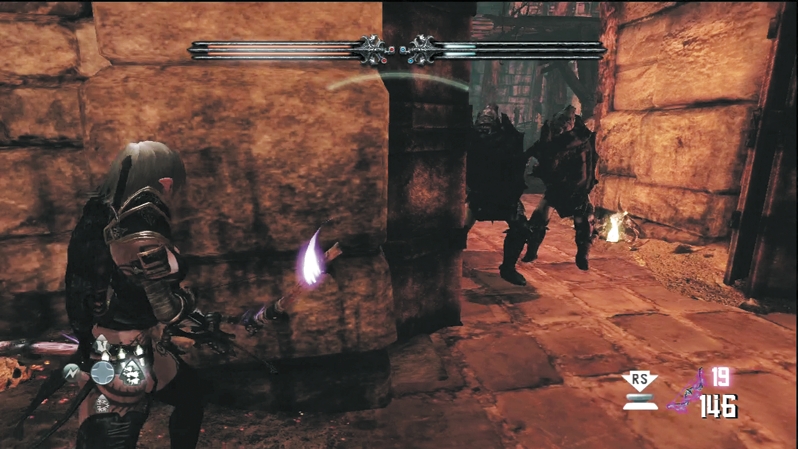
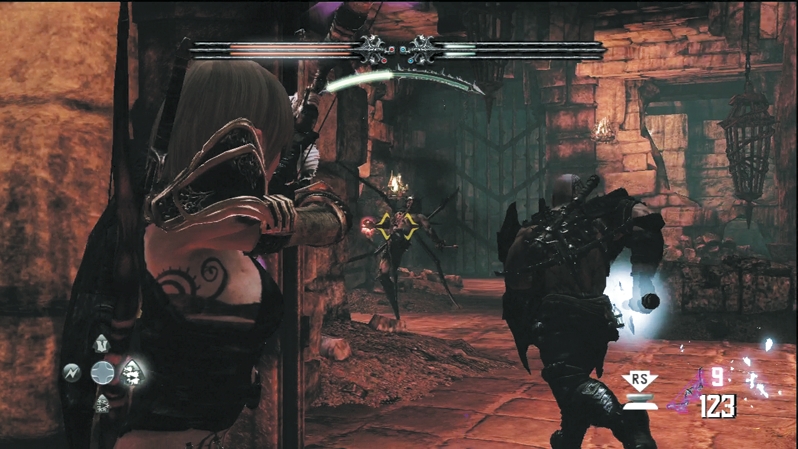
To reach the rest of the dungeon and the second prison level (where you can open the Dragon Tear cell), crank the winch on the exit portcullis. The gate rises and you can enter the next hallway. Stick to the wall and watch for a charge from Wargar Guardians. An Infected Wargar guards the back of the room, so you want to lure the Guardians into the hallway, finish them off, then move into the room and the Infected Wargar's line of sight. If you need more cover, duck back into the hallway and peek out to take shots at the Infected Wargar in between its explosive counterstrikes.
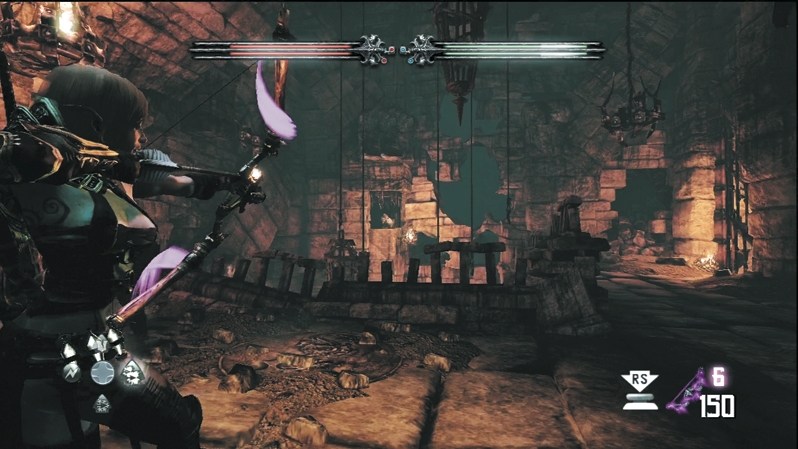
Rather than using the winch just yet to sneak into the next room, take the stairs up to the second level. Proceed through the crumbling hole in the wall, and look for a circular pressure plate on the edge of the floor that overlooks the lower prison level. Stepping on this plate opens a portcullis high up on the far wall, and you can shoot an arrow through the gap to shatter a counterweight and open the Dragon Tear cell. After you collect more gold and free two more prisoners on the second floor, retreat back to the first floor and pick up the fifth Dragon Tear.
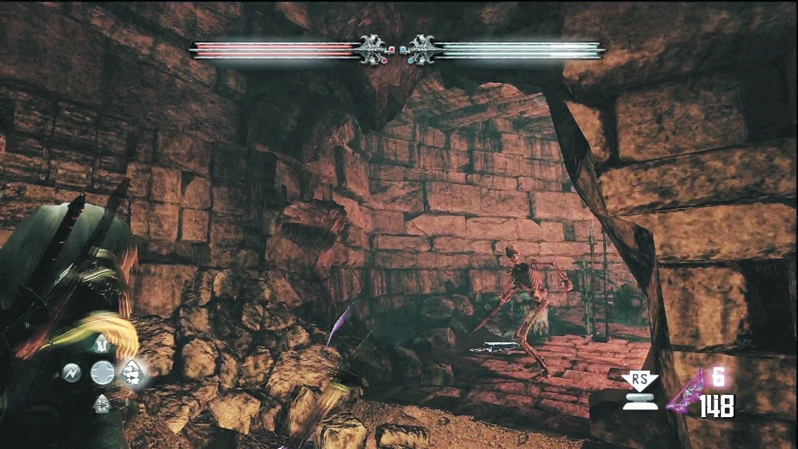
Use the second winch to enter the next area where you wade through some brackish water, leaving you a little dirty but nothing more. At the next bend, a Skeleton defends a side alcove with weapon racks and a skull canister. Defeat it for some possible equipment upgrades and continue down the darkened corridor to another door.
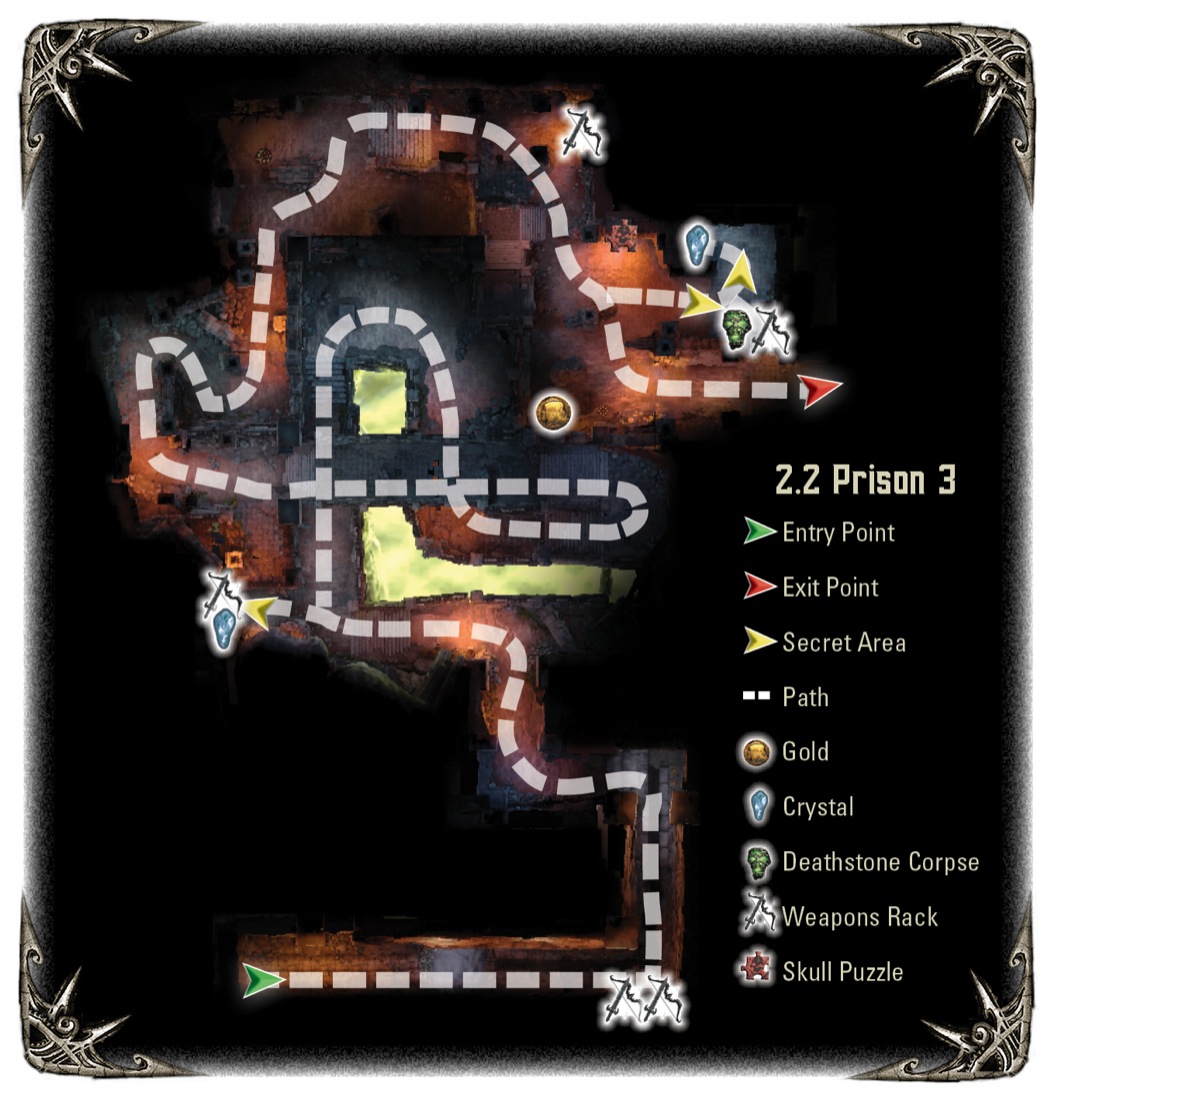
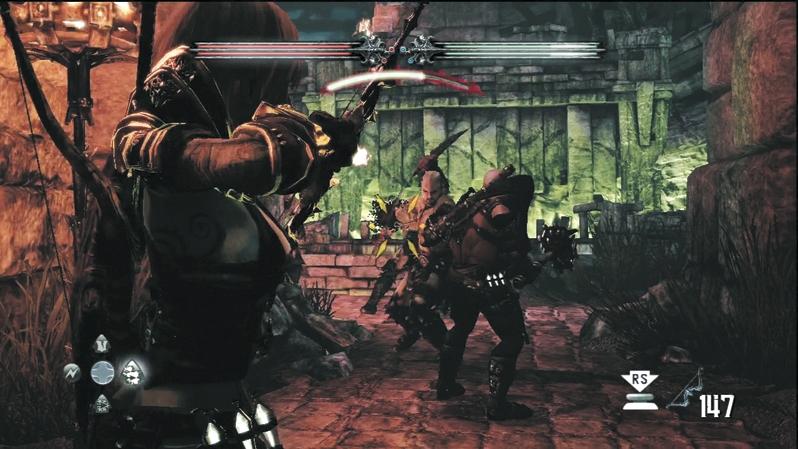
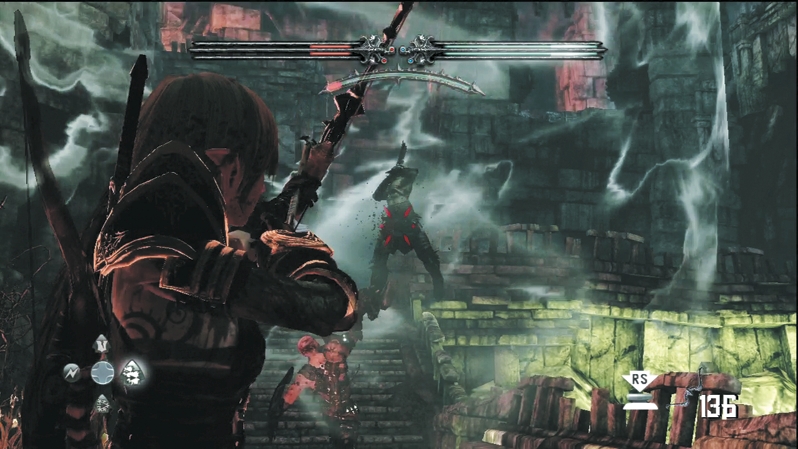
A green glow emanates from a large pit in the next area. Stone walkways wind around this green pit, and Wargar defend every turn. Take each corner slowly and don't race too far ahead or you'll draw more enemies than you can handle. At the top of the first set of stairs, duck into the side passage on your left and shatter the boards on the back area. You'll find a hidden area with a weapon rack and Crystal Chest inside.
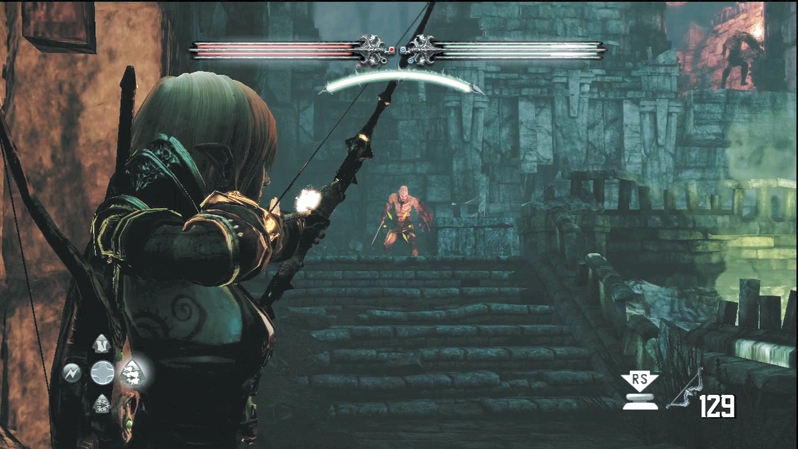
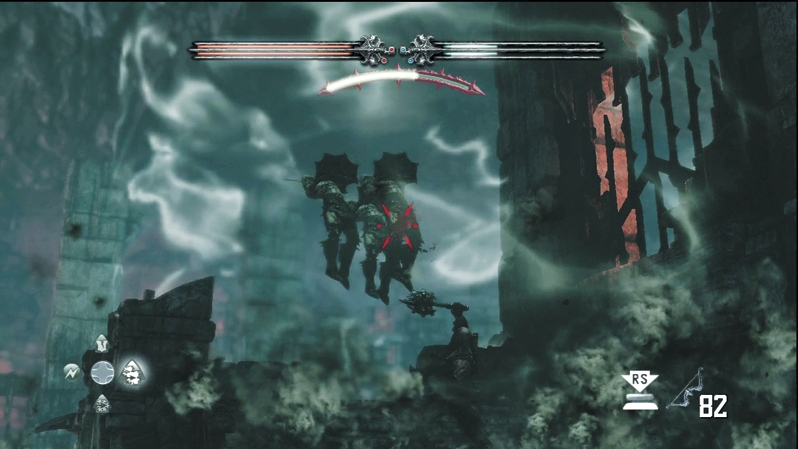
At the second set of stairs, more Wargar drop down off the walls. Clip them off at range and move in only after you've thinned them down enough to take them out with melee combat.
As you wind up the next set of stairs, more Wargar rush you. Caddoc's Wind of Wrath incapacitates them long enough for E'lara to assassinate all of them quickly.
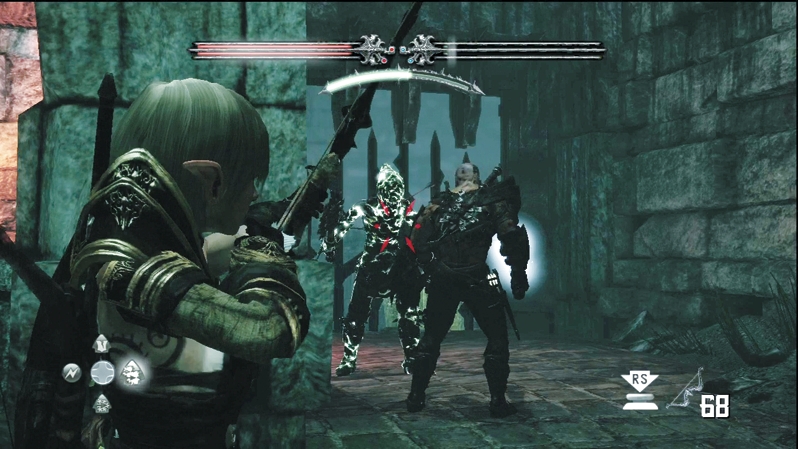
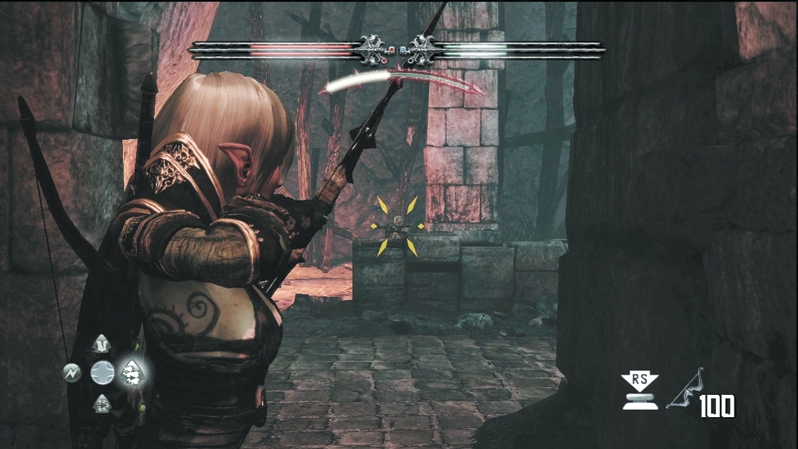
Wargar Zealots, Wargar Archers, and Wargar Warriors defend the end of the pit area. Take on the Zealots first, then wind around the wall and enter the room with the Archers. If the Zealots are down, you can use cover in the room to improve your defense and your aim. You can also ignite the various yellow explosive barrels around the room to take out additional foes.
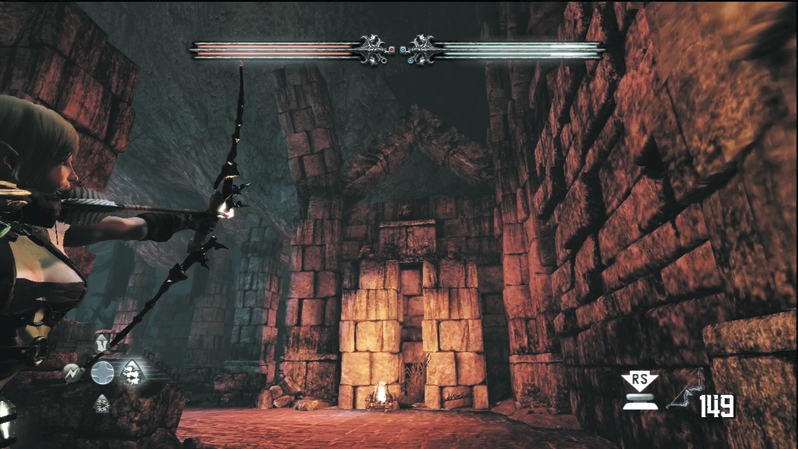
Before you exit the area through the door, look for three skulls high atop the well-lit wall next to the gargoyles. If you shoot all three skulls, a secret passage opens. This will lead you to a small treasure vault that holds a Regenerative Vial, a shard canister, a weapon rack, and a Deathstone corpse. Don't leave yet, though. It's a double-secret passage! Push the interior wall and it exposes a second room with a Crystal Chest hidden away. After your treasure score, step into the next area and use the obelisk on your left if you would like to switch characters.