
Hunted: The Demon's Forge Guide Walkthrough Chapter 3
Watery Depths
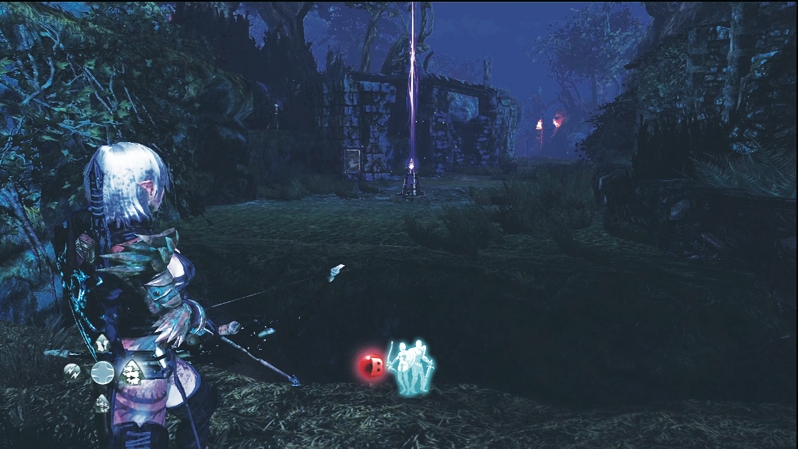
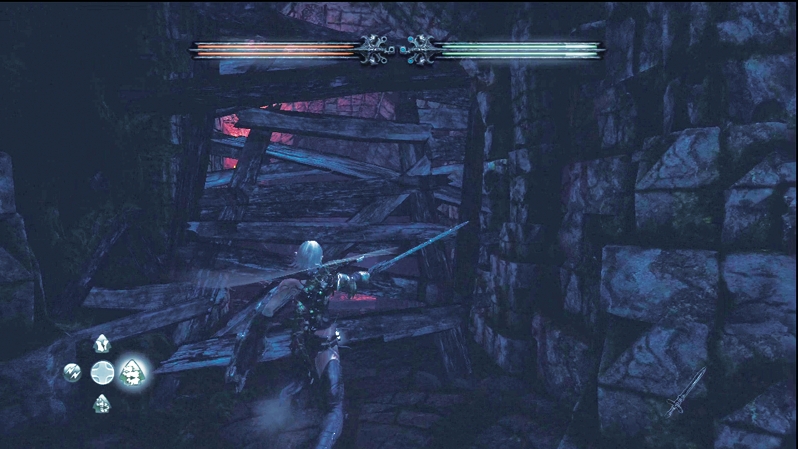
When you see the obelisk near the plaque for the statue puzzle, you've reached the docks. However, you can do the side quest in the Watery Grotto before you tackle the stone statue puzzle outside the docks or end the chapter by stepping onto the docks. To enter the small Watery Depths dungeon, hack through the shuttered door in the ruins on the right side past the obelisk.
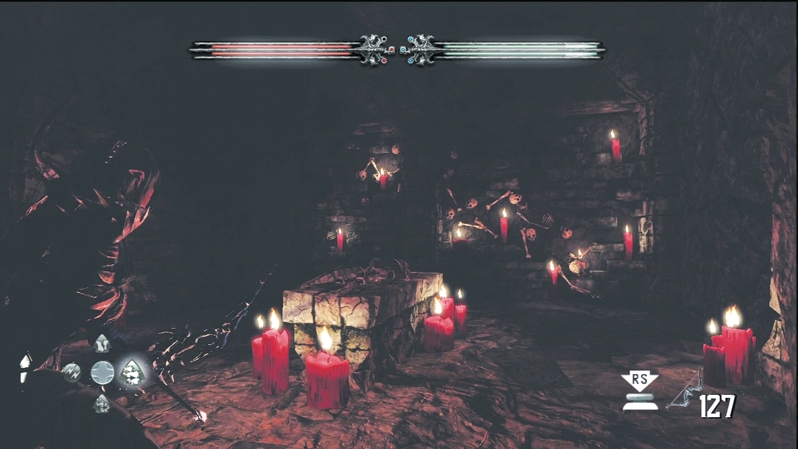
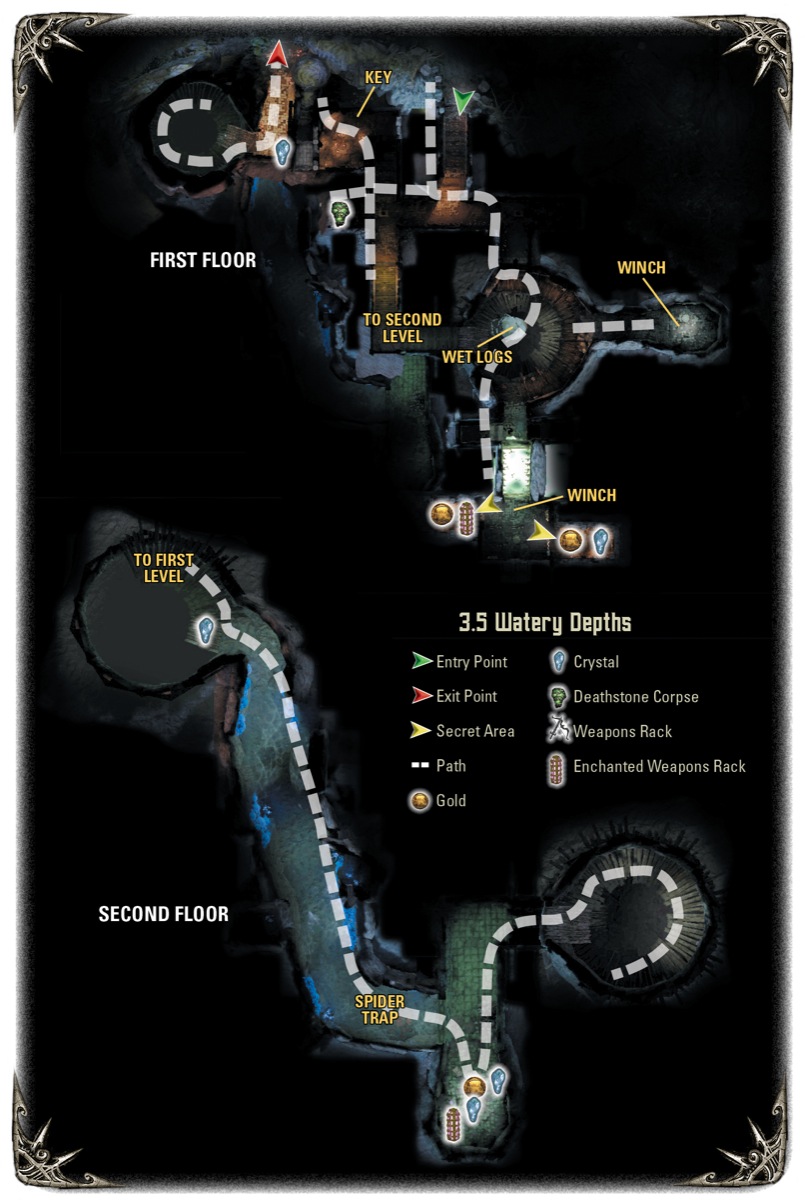
Descend to the first intersection where a Skeleton attacks. Break its bones and head right, where the passage splits into three directions (watch out for the poison arrow pressure plate near this intersection). If you head straight, you find another Deathstone corpse. Left takes you deeper into the dungeon, but that area is filled with water and is blocked for the time being. Right ascends to a small crypt with the following riddle on the sarcophagus: To gain entrance to my watery grotto, find the key I have hidden behind a wall that sounds hollow. To learn the path into its depths, light the logs that are all wet.
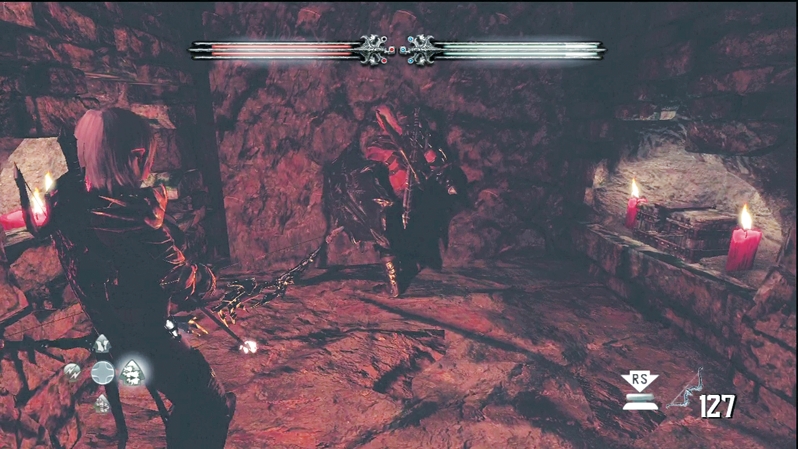
The key in question hides behind a movable wall in the crypt. Walk to the back corner and have Caddoc push a small wall section until it reveals a chest with the key.
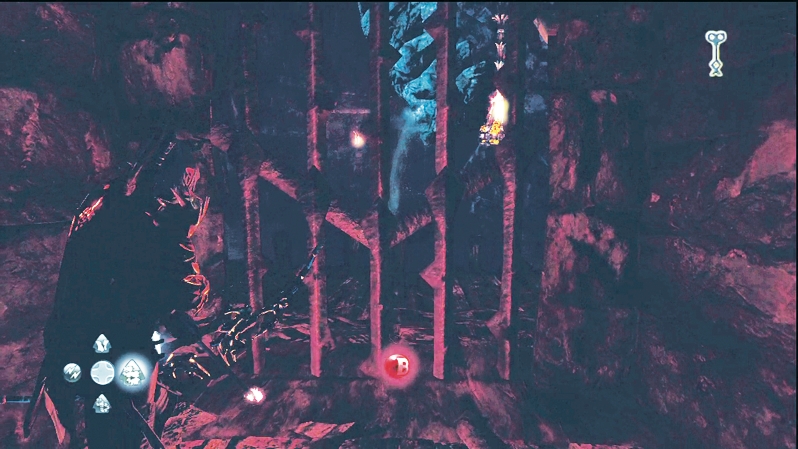
Return to the first intersection and take the opposite passage. Go right at the first turn and use the key at the locked iron gate. If you need a boost, go straight at the intersection instead and smash some of the skull canisters, but beware the poison-dart pressure plate on the floor.
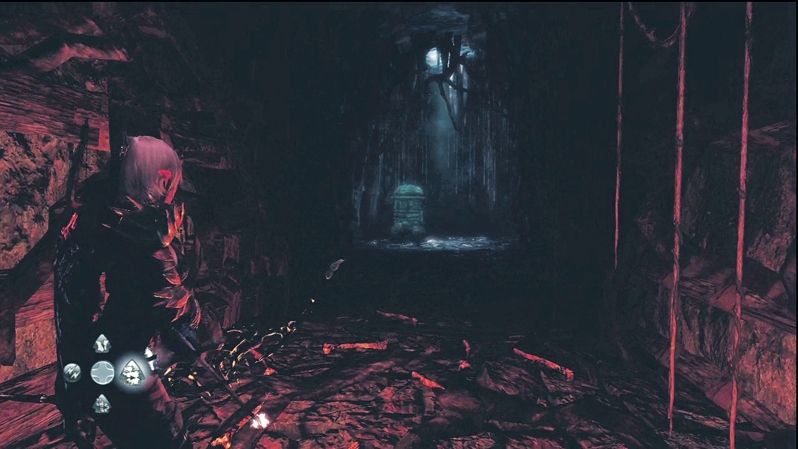
Inside the iron gate, a stone fountain gushes water. Below the water stream, your wet logs await lighting, but first you must shut off the water. Turn left into the first passage and access the crankshaft; it shuts off the water supply.
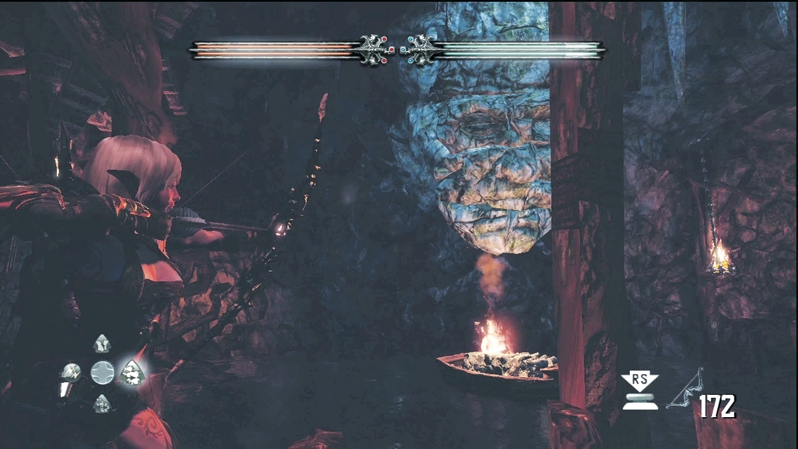
Dip your arrow into the nearby brazier and fire a flaming shot into the wet logs. The statue head above the logs speaks another riddle: Light a fire in shadow, across the chasm tread, turn three times the wheel, to clear the path ahead.
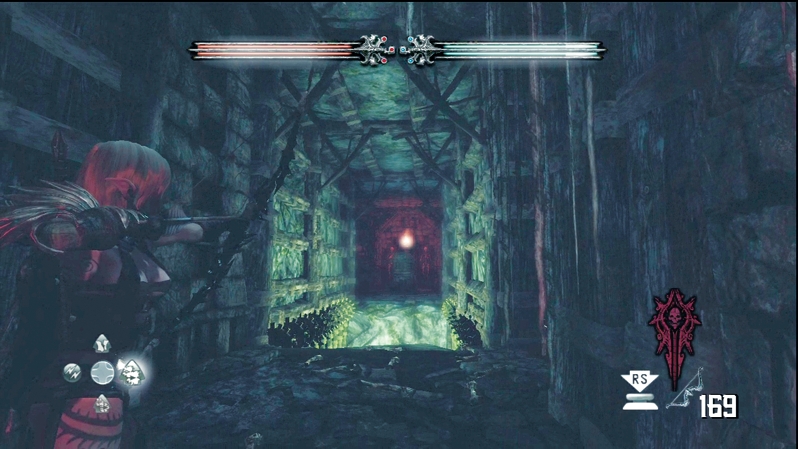
The gate to the next passage (next to the brazier) opens up. One partner needs to stand on the small pressure plate in the corner, which puts the gears in motion and rises slats to create a floor to the back chamber.
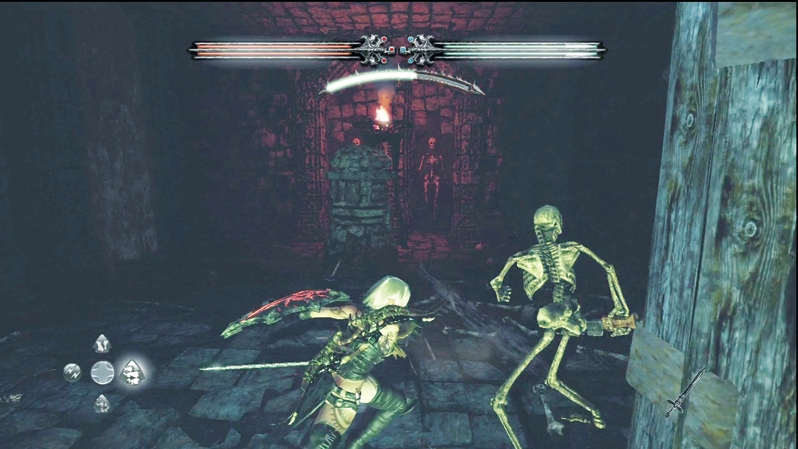
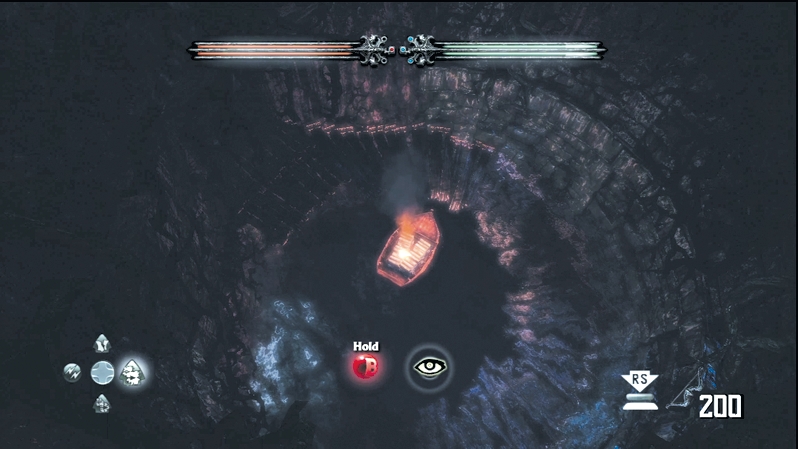
Cross the new floor and battle the Skeletons guarding the second crankshaft. You can flip a lever on the wall to the left as you enter to lock the slats in place and allow your partner to join you. Once the enemies bother you no more, turn the crankshaft to drain all the water out of the dungeon. Before you leave the room, light your arrow and set the wall curtains on fire. A secret chamber to the left holds a Crystal Chest and gold treasure chest, and a secret chamber on the right hides an enchanted weapon rack and gold treasure chest.
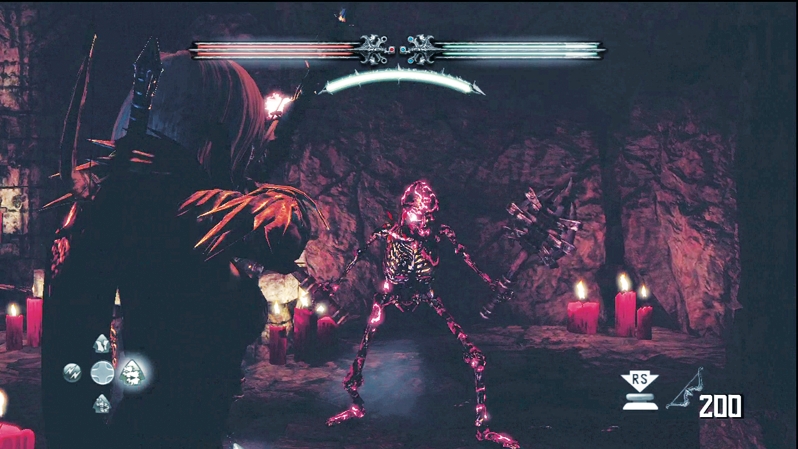
Return to the upper passage and seek out the stairway that was previously flooded. Now that the water has been drained, you can descend to the lower dungeon level. Before you head down, though, watch out for a Dread that has been released to hunt you down. It appears in the crypt, which puts it at your back when you return.
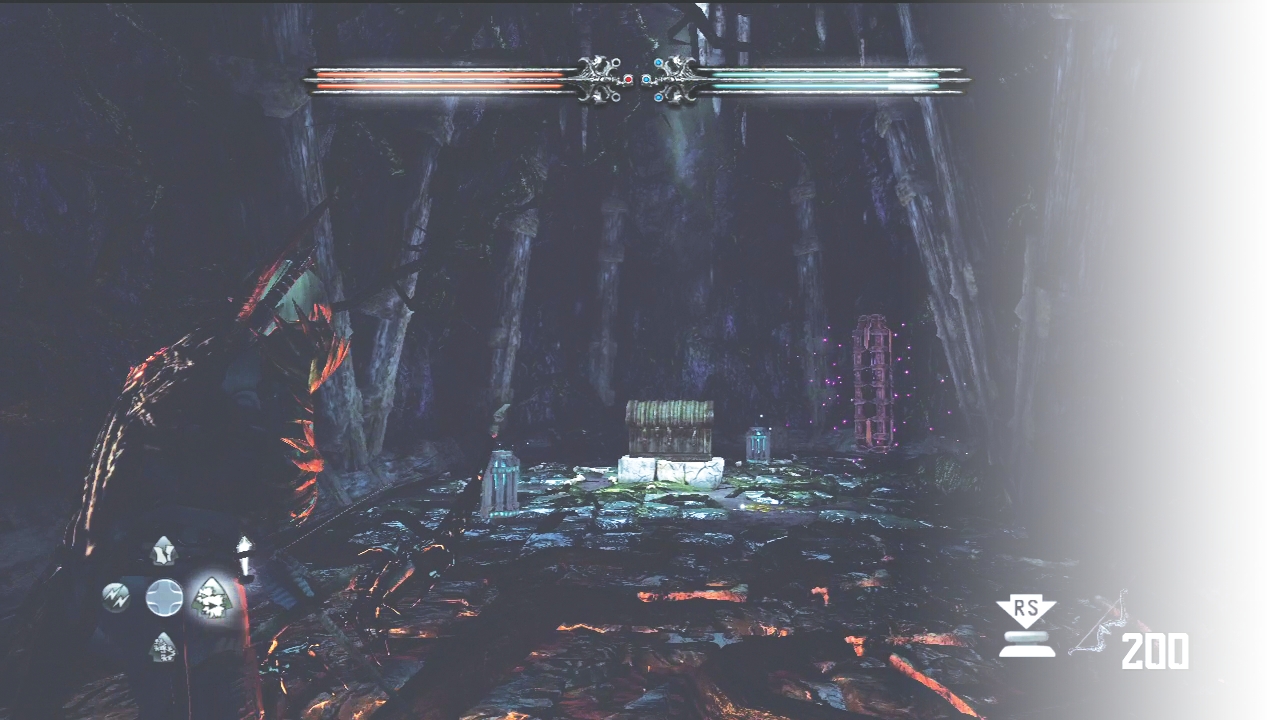
Take the spiraling wooden platform down into the dungeon bowels. At the bottom, slip through a crack in the wall and enter the treasure vault. Gather up your rewards from the two Crystal Chests, a gold treasure chest, and an enchanted weapon rack.
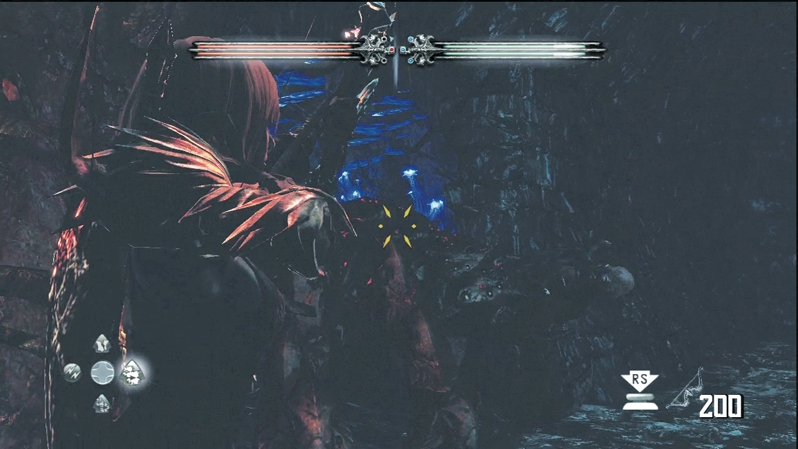
A giant spider attacks through the wall. Repeatedly hit the onscreen button to break free from its grasp. On the plus side, the spider has left you a new passage back up to the surface. Collect another Crystal on your trip back up to the exit.