
Hunted: The Demon's Forge Guide Walkthrough Chapter 3
Bridges
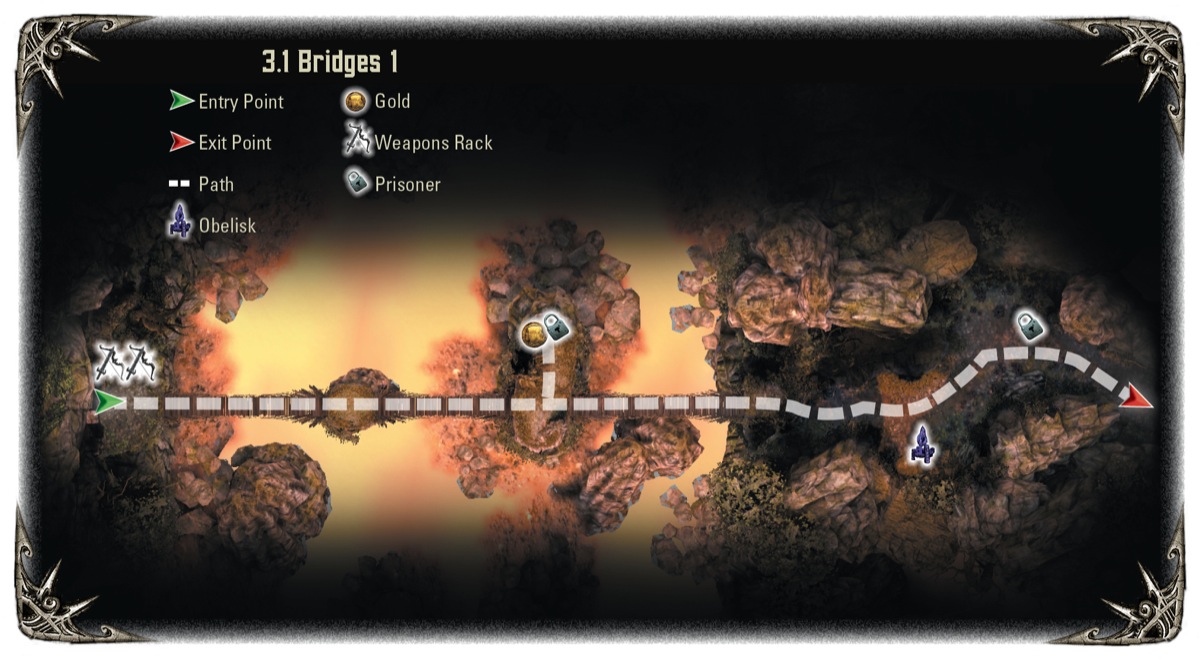
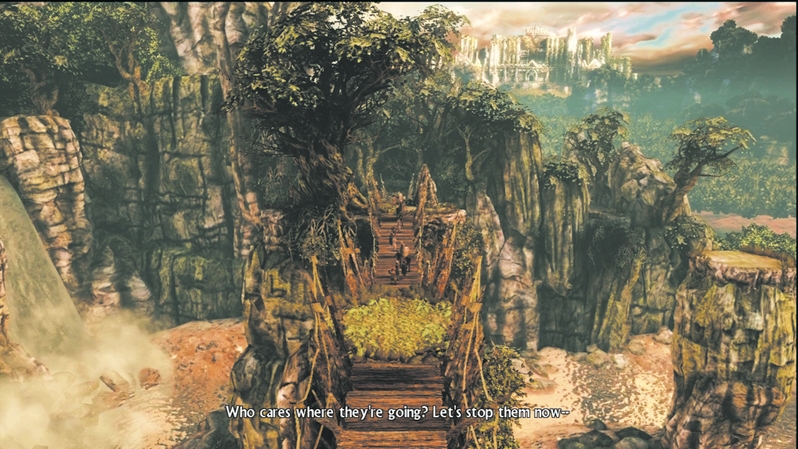
As you exit the Dungeons of Dyfed, you spot the prisoner caravan just ahead on a series of bridges leading into the Wilds of Govad. Life would be so simple if you could catch up with the caravan now; however, the area ahead is heavily guarded and it will be a slow fight to ensure survival.
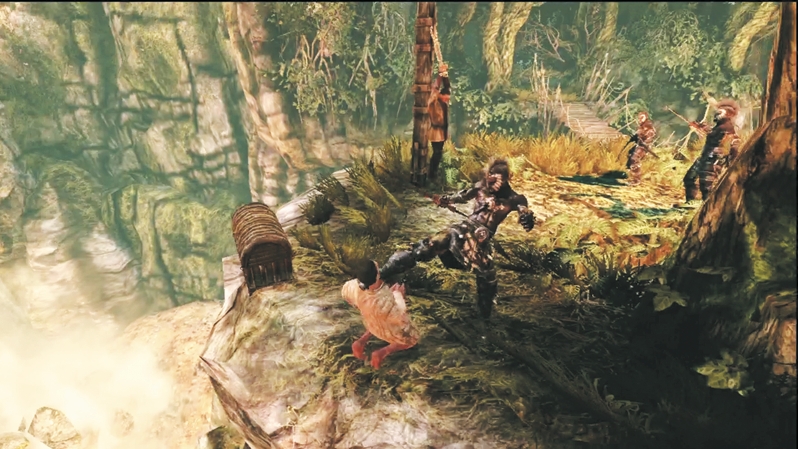
Before you cross the first bridge, smash the nearby weapon racks to look for gear upgrades. When you reach the landing halfway across the first bridge, you spot the Wargar. One of them boots a prisoner off the side of the cliff for "kicks," and the group looks to carve into another prisoner hanging on a post. Rush across the remaining bridge and hack through the Wargar Soldiers to save the prisoner and pick up more gold from a treasure chest.
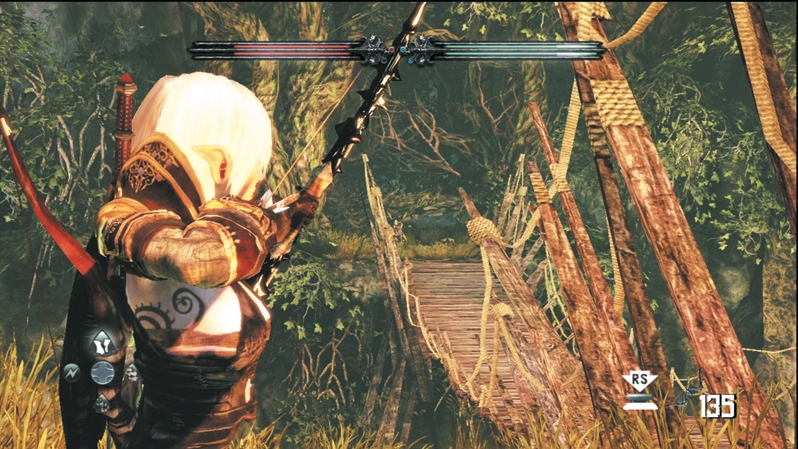
Switch to ranged weapons and pelt the enemies on the other side of the next bridge with bolts and arrows. E'lara's zoom can help you pick off targets at a distance and set up headshot kills. When you do move across that next bridge, look out for a Wargar Archer hidden in the foliage to the left. Step under the fallen tree to reach the next area.
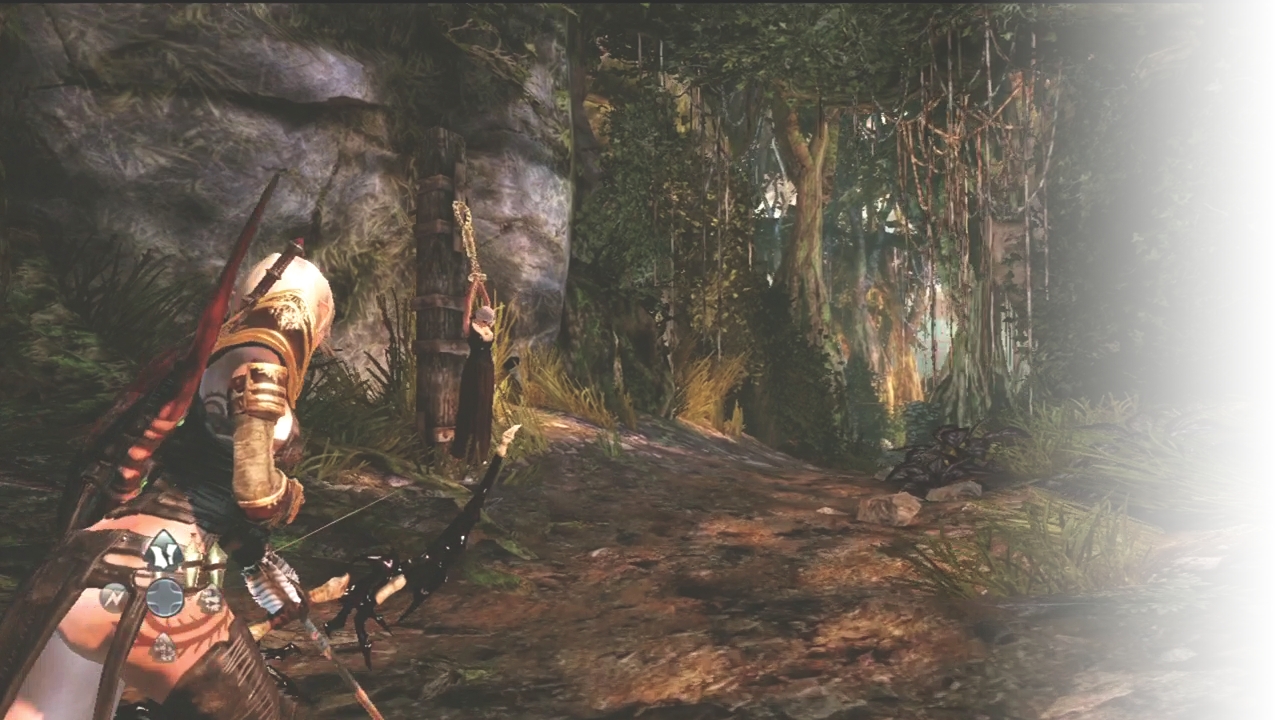
Visit the obelisk and magic portal past the fallen tree as needed. Continue ahead until you see another prisoner roped to a post. You learn that Dyfed isn't the only town that has been raided for prisoners; there are more slaves being corralled toward some unknown purpose.
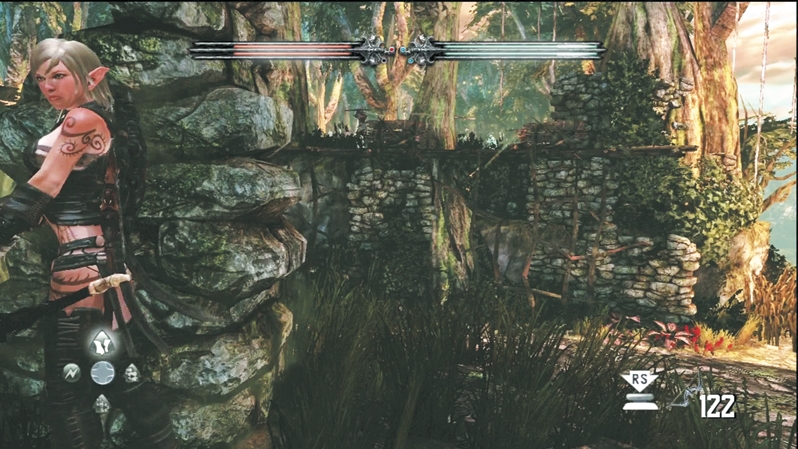
Proceed cautiously when you see the crumbled stone wall. Look for cover against this wall before the Wargar Archers on the larger wall ahead start firing. Don't jump down to the lower landing until you've picked off the Wargar on the wall; otherwise, the reinforcements on the ground will pin you down in a cross fire. Once you jump down, switch to melee and eliminate the Wargar Warriors that arrive to support the Archers.
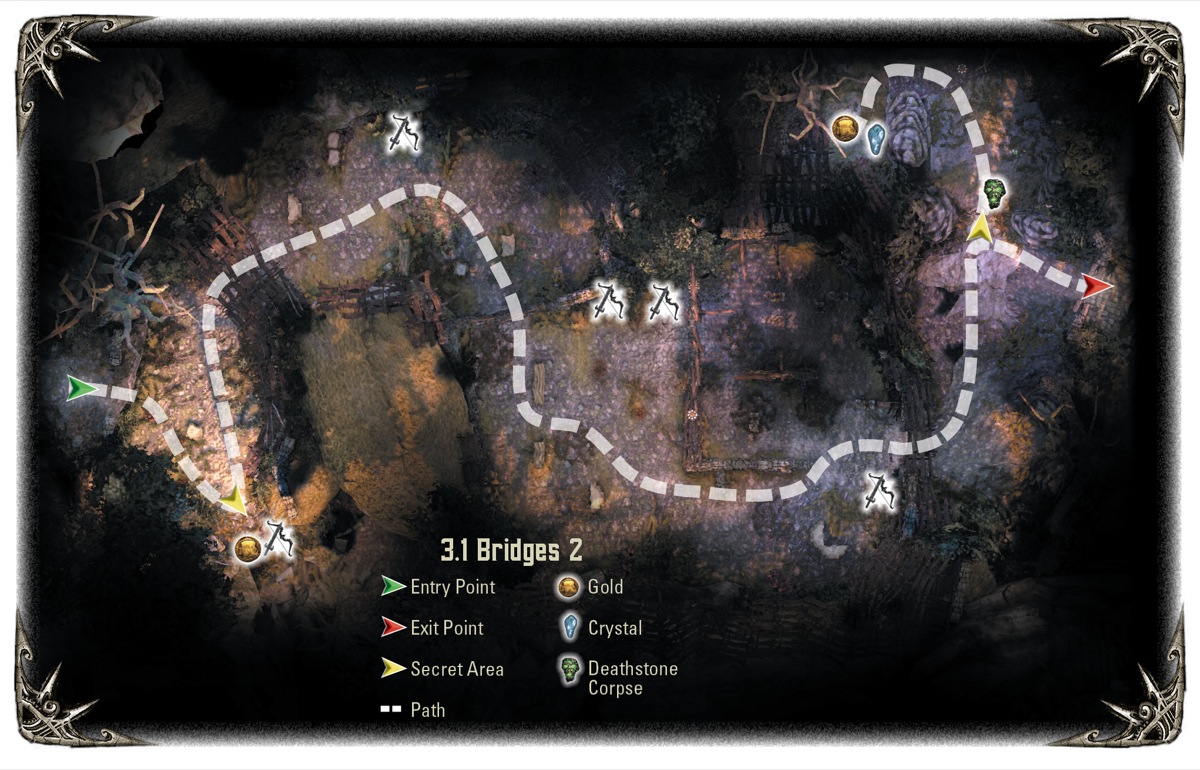
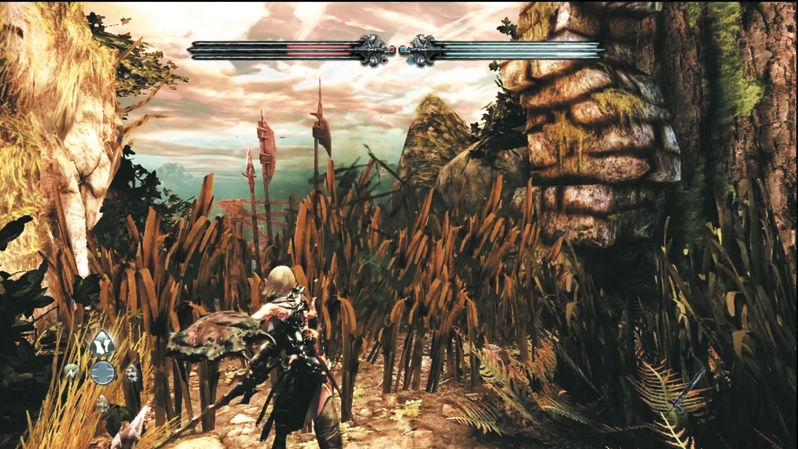
Explore the area for loot, and cut through the tall grass to your right. It reveals a small secret cache with a weapon rack and a pile of gold.
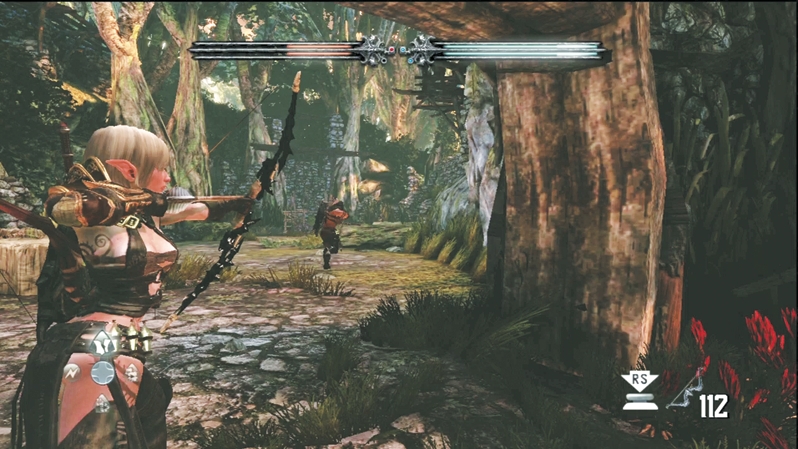
Head through the arch and open fire on the next Wargar group. Caddoc can charge ahead and rip into them, while E'lara should stay in the rear and use the various logs as cover if need be. Reinforcements jump off the platform against the back wall; focus your efforts there.
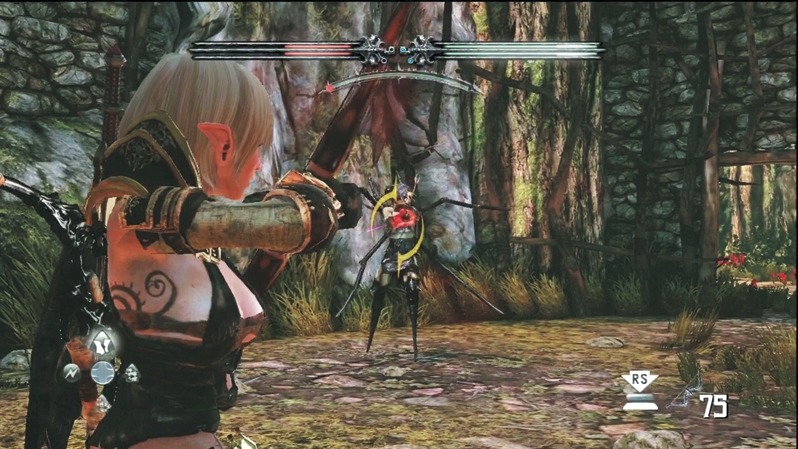
An Infected Wargar reinforcement arrives at the end of the battle. It will teleport all around the area. Stay on the move and don't sit behind cover; this will expose your back to the Infected Wargar. Use your enchanted weapons or Dragon's Breath to take it down.
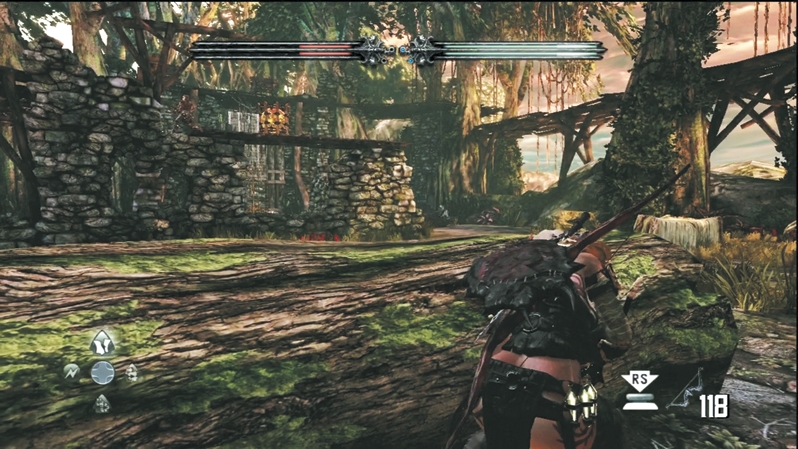
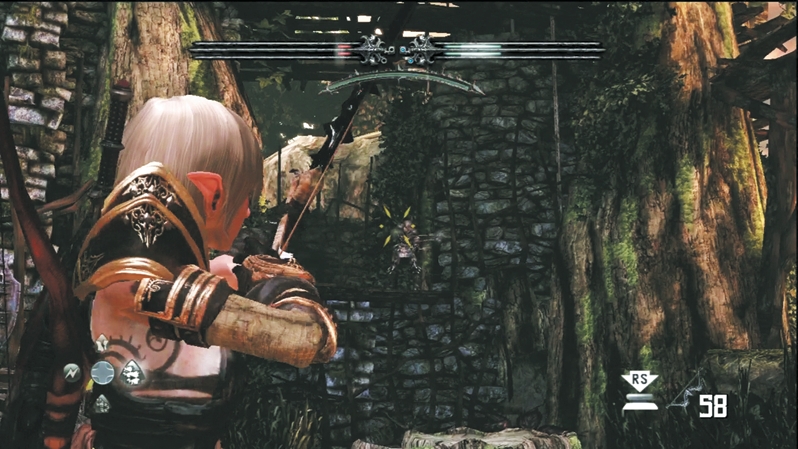
After you slip under the ruined wall, immediately duck behind the log in front of you. Wargar defenders line the wall ahead and fill the courtyard around the ruins. Shoot the explosive barrel atop the wall to reduce threats from above, and then spy targets as they emerge around the ruined walls. Similar to the previous fight, you'll battle Wargar Archers, Wargar Soldiers, and Infected Wargars. This time you have more room and more cover to execute your tactics. Weave around the ruins to pick off targets, and keep an eye on the back wall, where Wargar Archers can hit you with enemy arrows before you can get a bead on them.
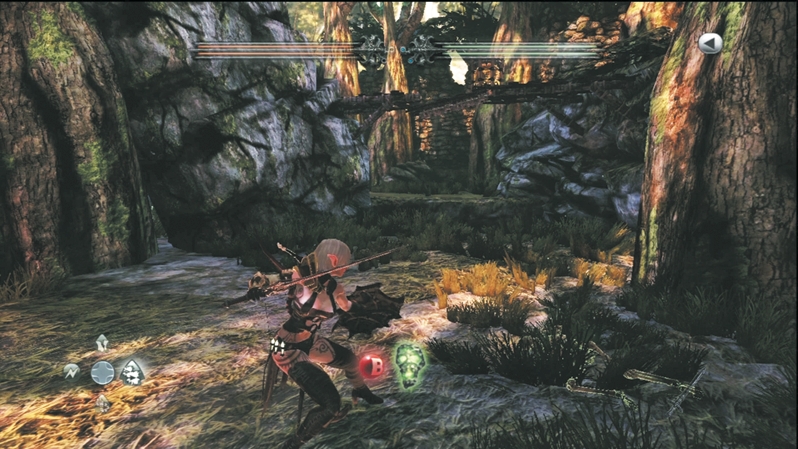
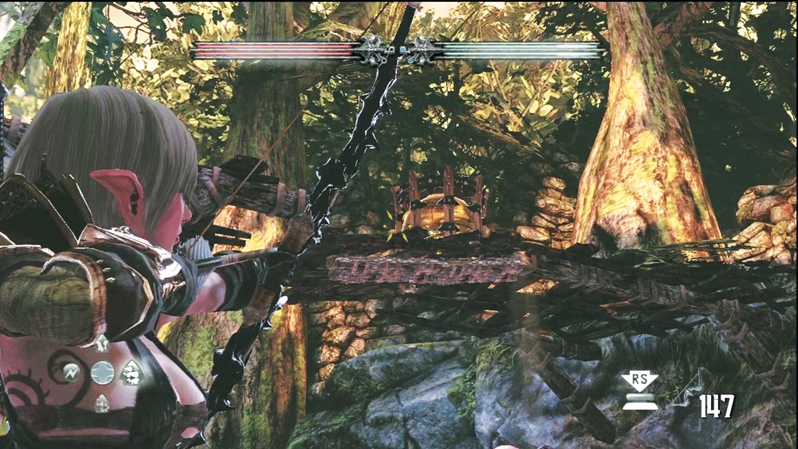
Exit the back door and talk to the Dyfed guard on the other side. He tells you about the catapult ahead. Before you enter the catapult area, cut through the tall grass to the door's left and speak with the Deathstone corpse. This area appears to be a dead end, but if you look up, you'll see a bridge with explosives on it. Shoot the explosives to make a section of the bridge fall. Use the bridge section to cross into the new area and recover a Crystal Chest and a gold treasure chest.
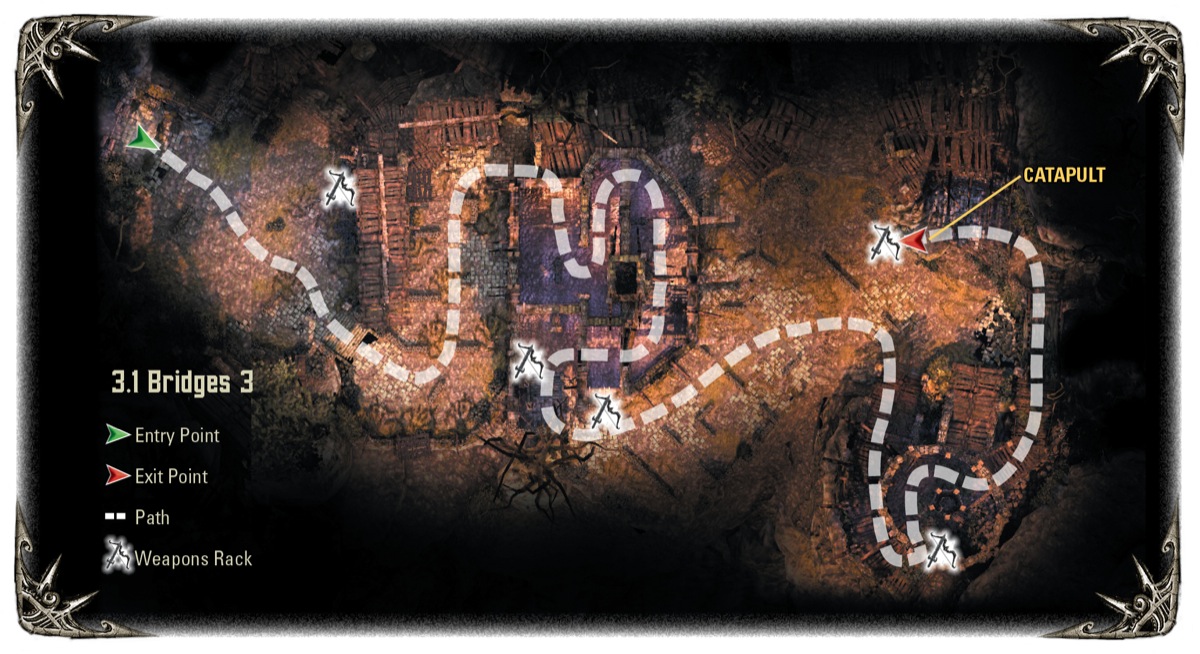
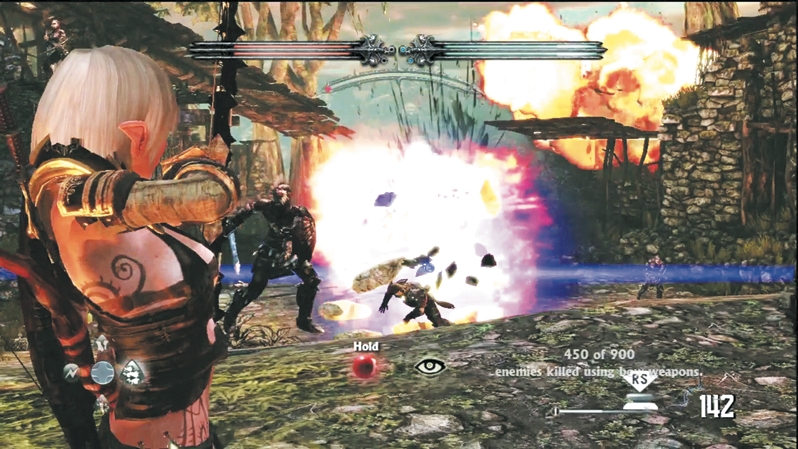
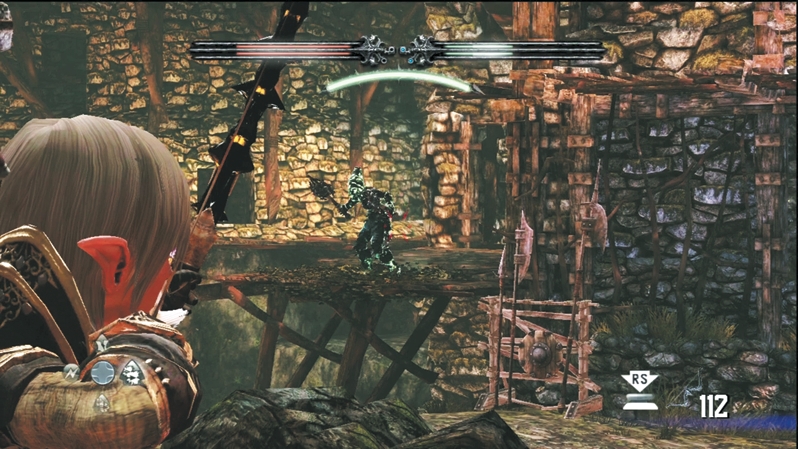
All hell breaks loose on the door's other side. A catapult drops fiery bombs on the surrounding countryside. Wargars press forward and get in your face almost immediately. Battle through the first enemy wave and look for foes jumping off the ruined wall in front of you. Only after you dismantle the Wargar vanguard can you circle around the wall into the next area.
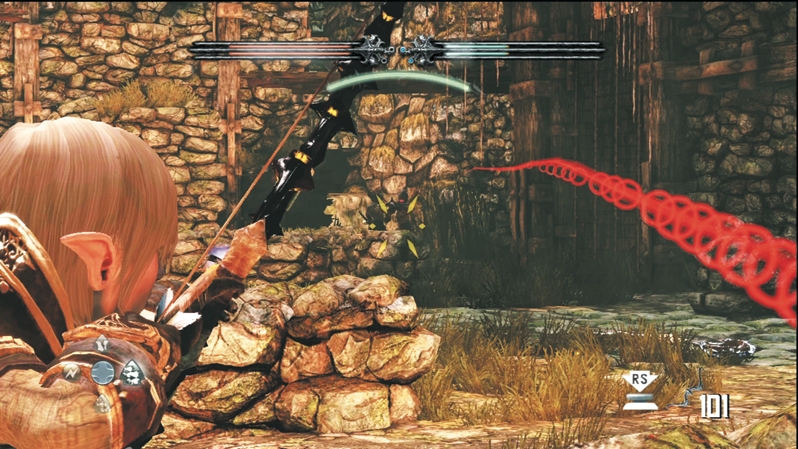
Wargar Blastcasters join the fray. Kill them before you approach the door that leads inside the ruined walls.
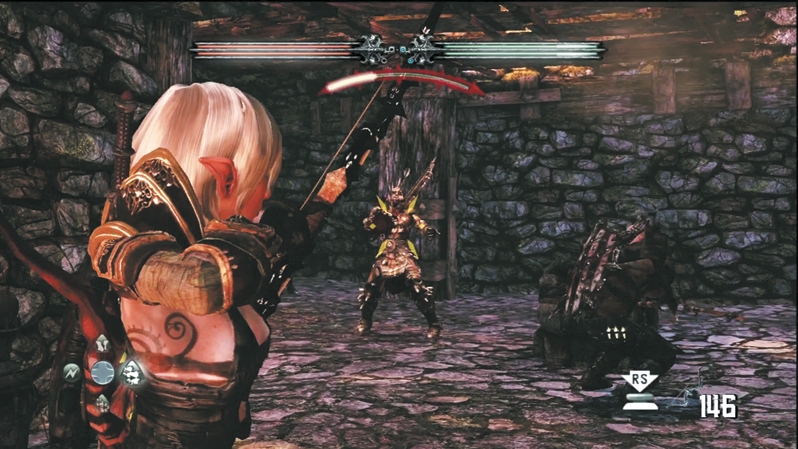
Twist through the maze inside the ruined walls and take out any Wargar you see. There are many canisters and arrows inside to refill your resources; scout the area thoroughly before exiting through the back door.
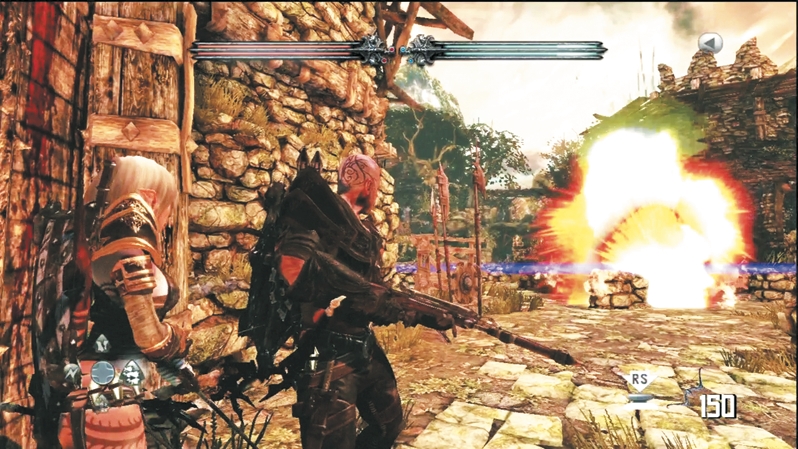
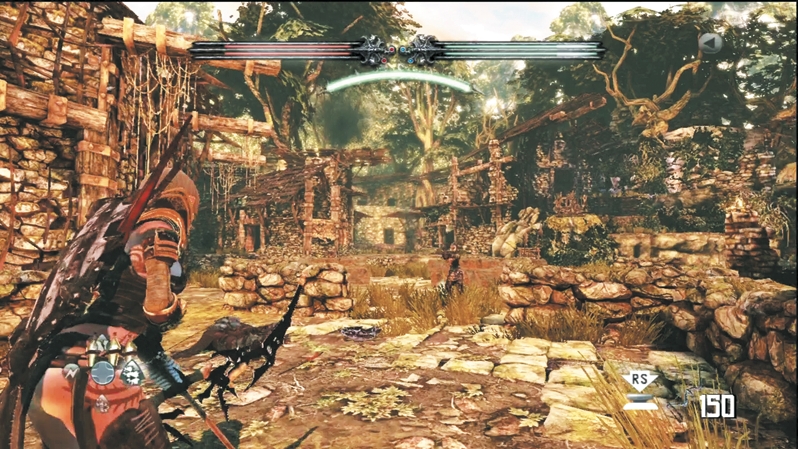
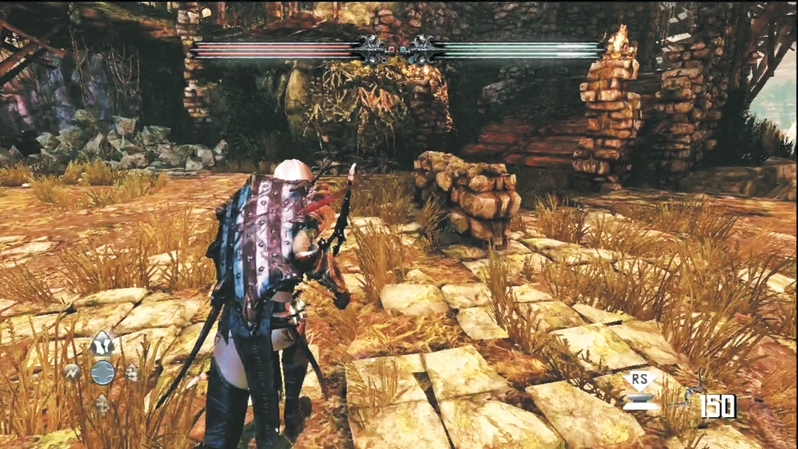
The catapult begins its reign of destruction as soon as you enter the courtyard. You can't stay in one position long or use cover to fight back against the enemy, or the catapult will blow you to pieces. This is one of the rare instances where it's better to flee the area than fight. Take off straight toward the catapult and dodge any Wargar that charge at you. Look for a wooden ramp that spirals up the fortress to the catapult's right. Race up this ramp at full speed before the catapult locks onto you.
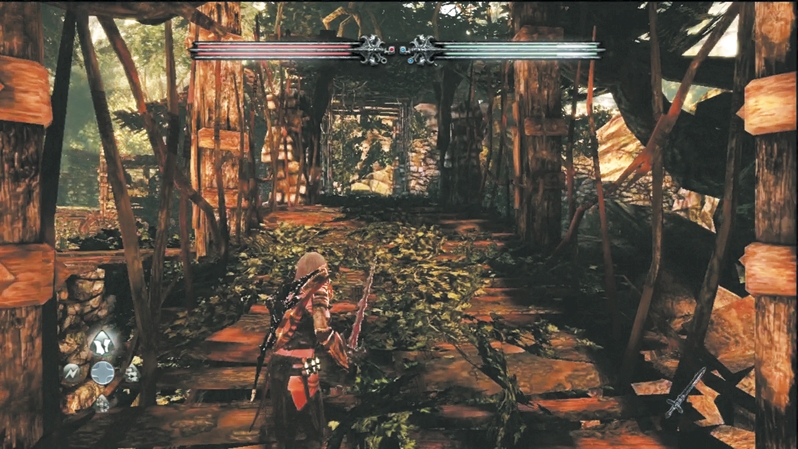
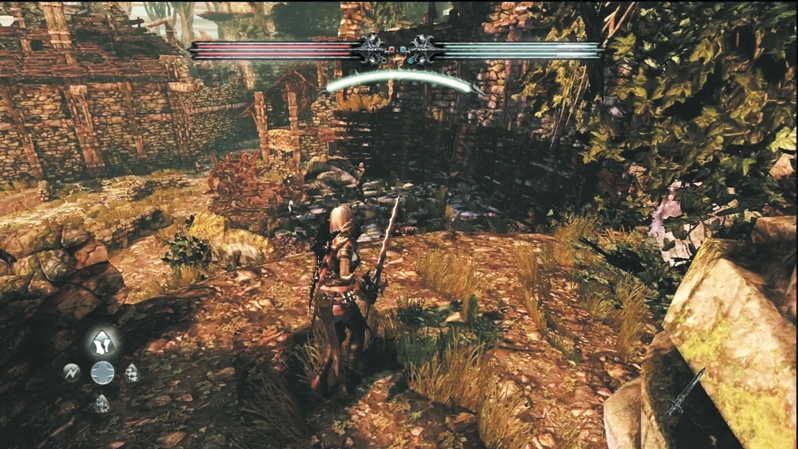
Circle around behind the fortress and surprise the catapult operator. Jump down on the catapult ledge and hack the Wargar Archer to pieces so you can command the catapult.
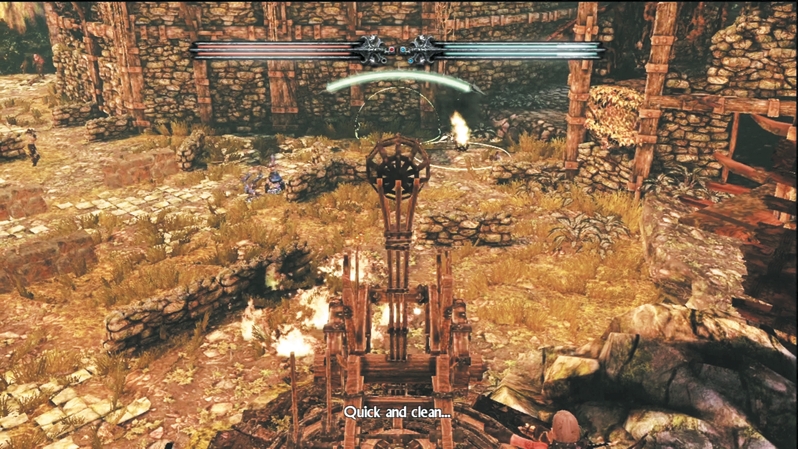
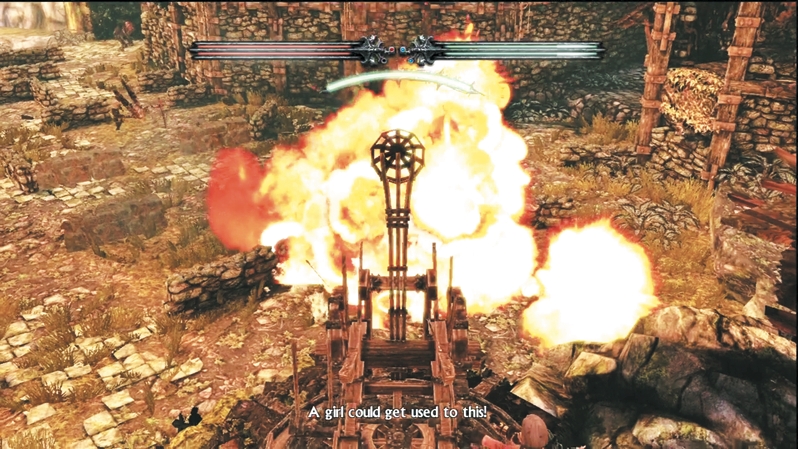
Use the catapult's explosive power to destroy all the Wargar in the area. Don't let any reach the fortress ramp or they can sneak up behind you and force you to disengage from the catapult. Aim the catapult's green circle at the highest concentration of Wargar and let loose its fiery bombs. A half-dozen well-placed shots should clear the courtyard and keep your partner safe.
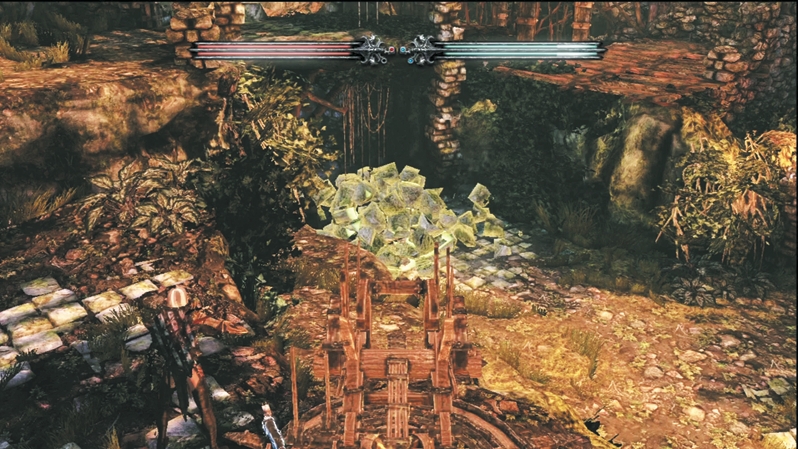
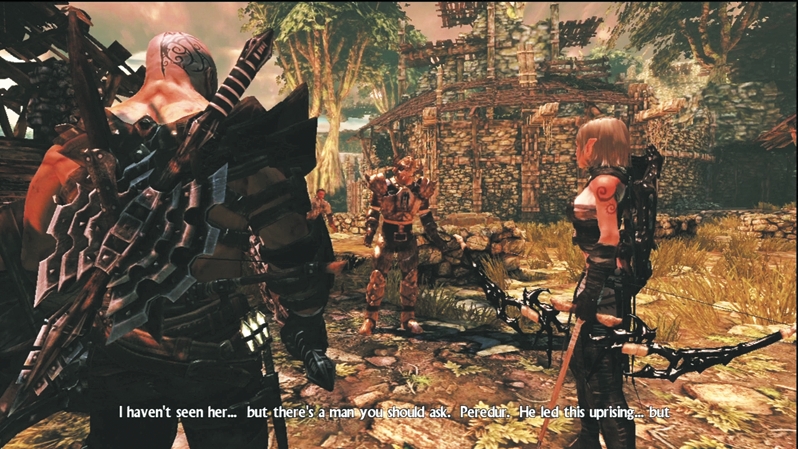
With the Wargar all dead, turn to the far left and use the catapult to destroy the rubble blocking the path out of the fortress. Once you jump down off the catapult ledge, the surviving soldiers thank you for saving them. You ask for news on the prisoner caravan, and they tell you of their leader, Peredur, who has been captured by the Wargar. If you free him, he might be able to tell you where the mayor's daughter has been taken.