
Hunted: The Demon's Forge Guide Walkthrough Chapter 4
Black Hearts and Red Blood
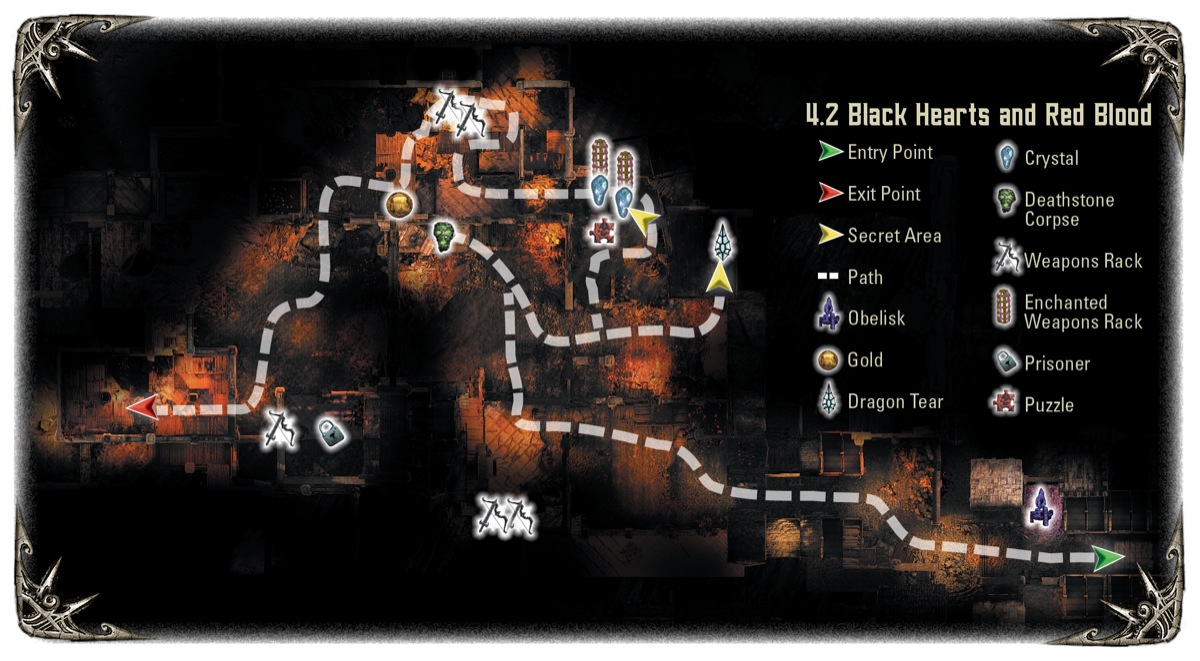
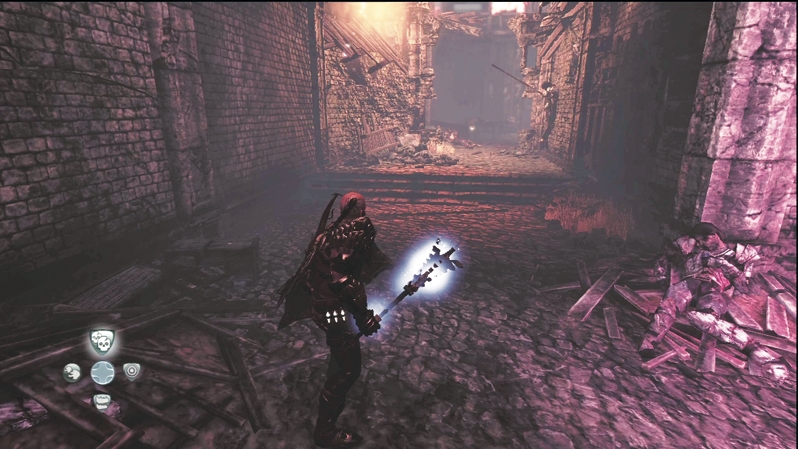
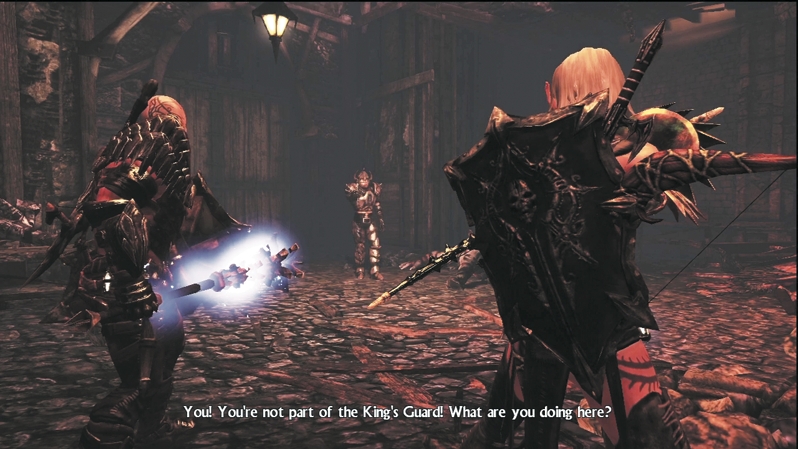
You pass a second obelisk on your right and meet up with the king's guard at the next door. The soldier explains that the fighting has been going on for weeks and that the king has holed up in the Scarlet Maid Tavern. You're both familiar with the inn, so making it there alive is your next objective.
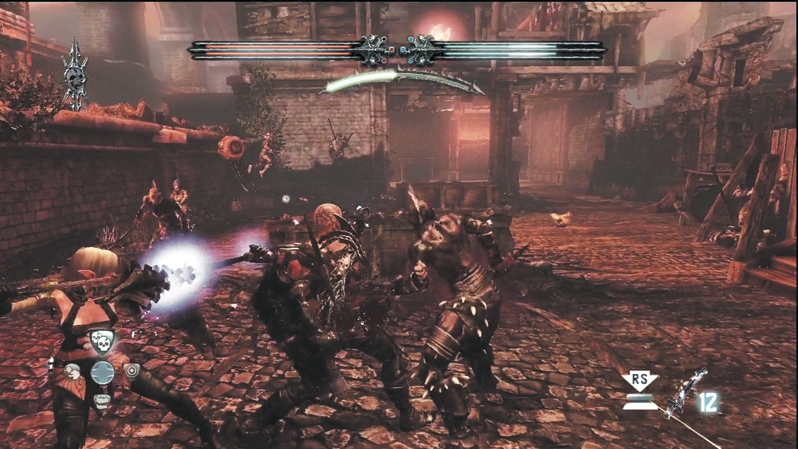
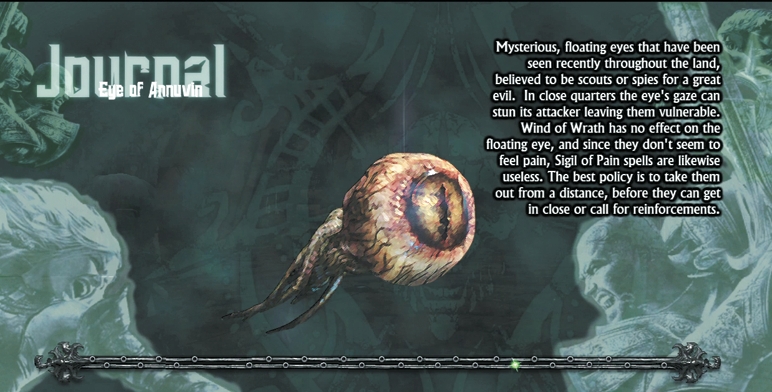
Enemies await through the next door. Wargar Soldiers and Wargar Archers defend the courtyard, and you get your first look at the Eye of Annuvin in battle. Caddoc should charge the Eye, or E'lara should shoot it through the pupil before you worry much about the other enemies. Left unchecked, the Eye will blind you every few seconds (your screen goes completely white), which can disorient you and make you an easy target for enemy attacks.
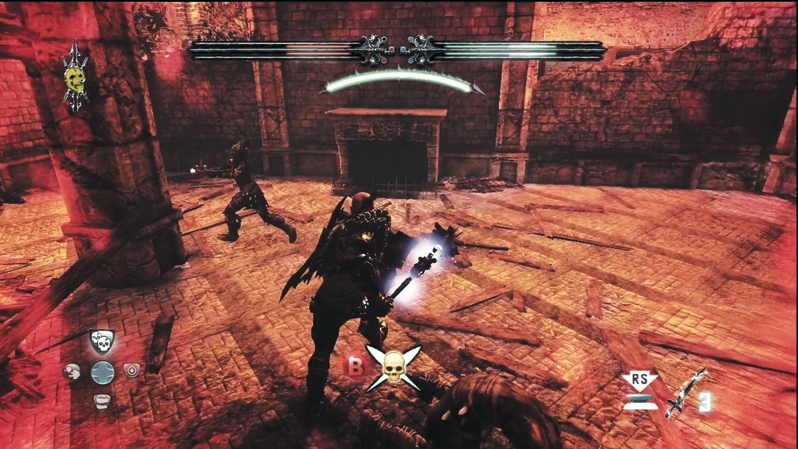
Though the Soldiers and Archers might go down fairly easy, the Scorchers will not. Already deadly accurate, the Scorchers fire at you from atop the walls around the room. E'lara has a chance to blast them off their perch, but Caddoc will have a rough time trading bolts with their arrows. Better to seek cover and force them to come down off the walls. Once they're on the ground, you can measure out punishment swiftly.
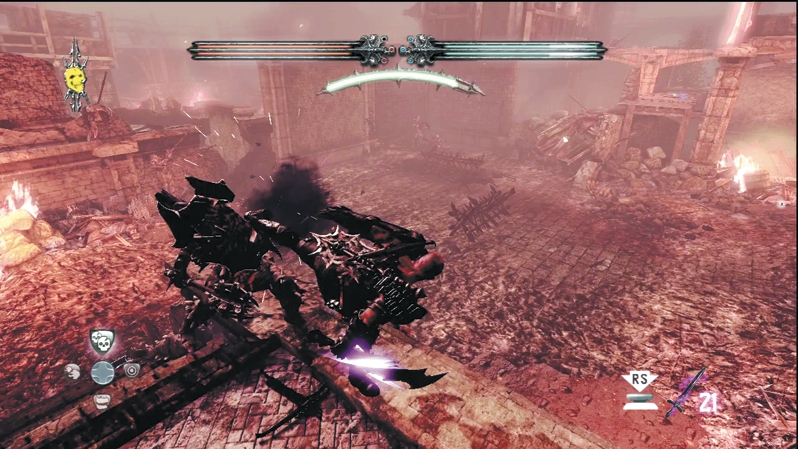
After a catapult takes out a dragon in the sky above the next area, prepare for battle against Wargar Scorchers and Wargar Guardians. Out in the courtyard, the Guardians charge at you first. Scorchers stay up on the ledge behind them, which also holds a Deathstone corpse. You must deal with the two-pronged attack without getting stuck in the middle. As Caddoc, smash through the Guardians quickly to wade into the Scorchers; or, as E'lara, fire off a Pyre Blast or two to wipe out the early Scorcher threat.
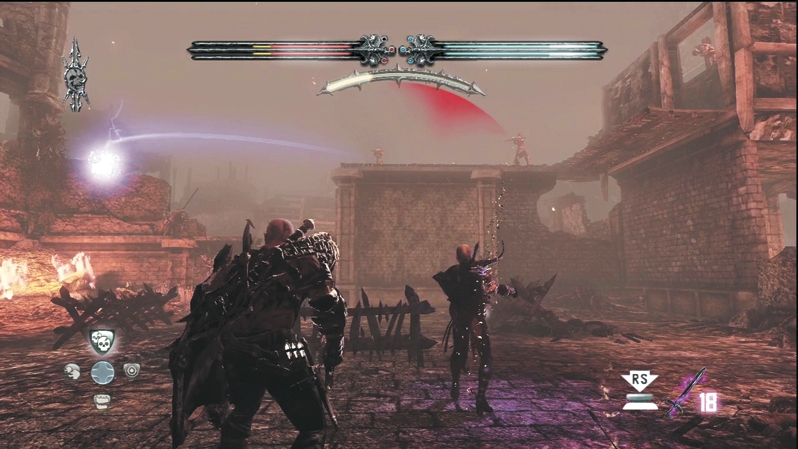
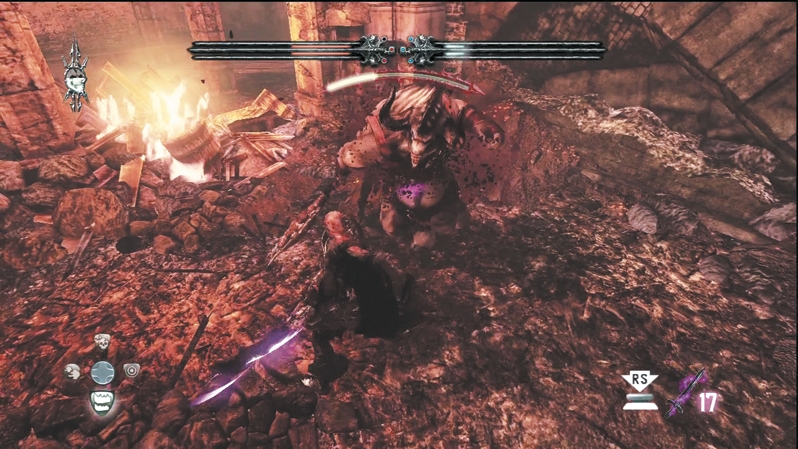
Just when you think it's over, more Scorchers line the walls high above. Unless you locate these Scorchers quickly, you'll die from arrows, since their superior firing angle means cover is negligible for you. Even as you return fire on the Scorchers, a Minotaur Juggernaut plows through a wall and into the area to cause more problems. Dodge the Minotaur and remove the last of the Scorchers first, then double-team the Minotaur until it crumples to the ground.
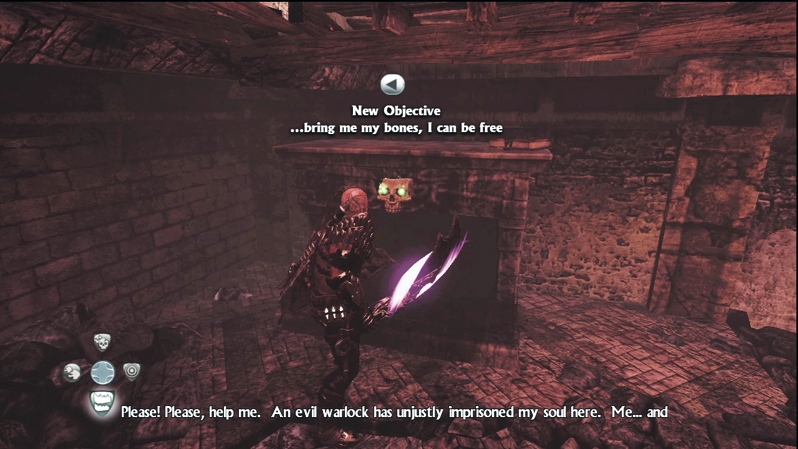
Look for the skull fireplace around the next wall in the blasted-apart house. You pick up a puzzle here to retrieve the spirit's bones from around the area.
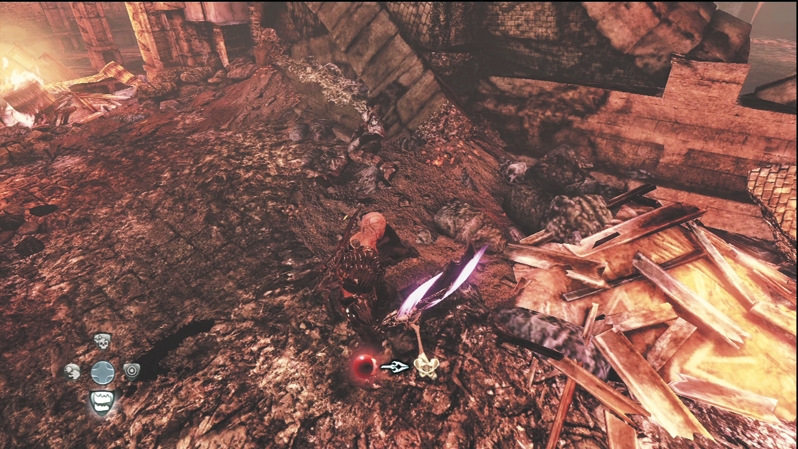
Search for the pelvis bone near the burning wood in the far corner.
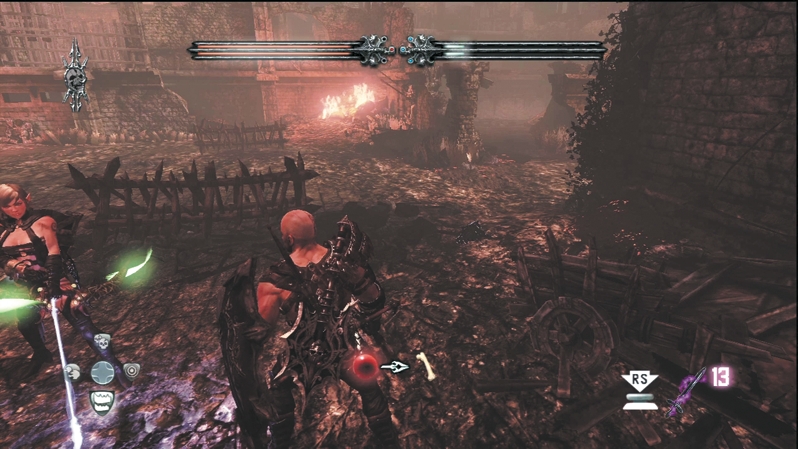
Recover the first thigh bone next to the broken cart in front of the skull fireplace.
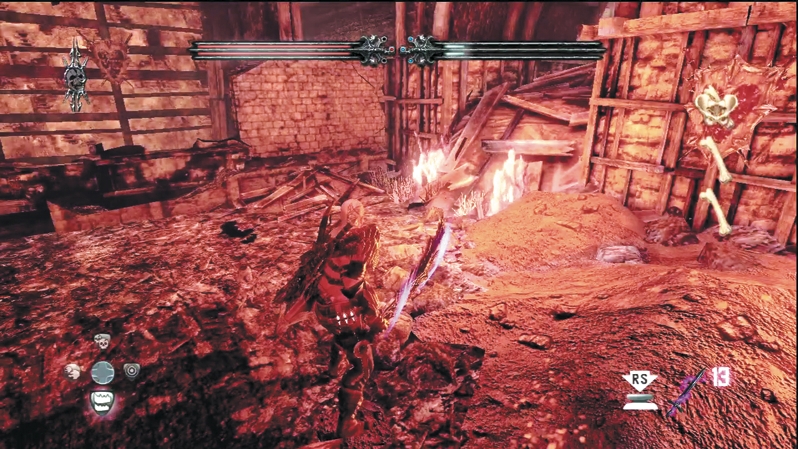
Collect the second thigh bone next to the fires near the skull fireplace.
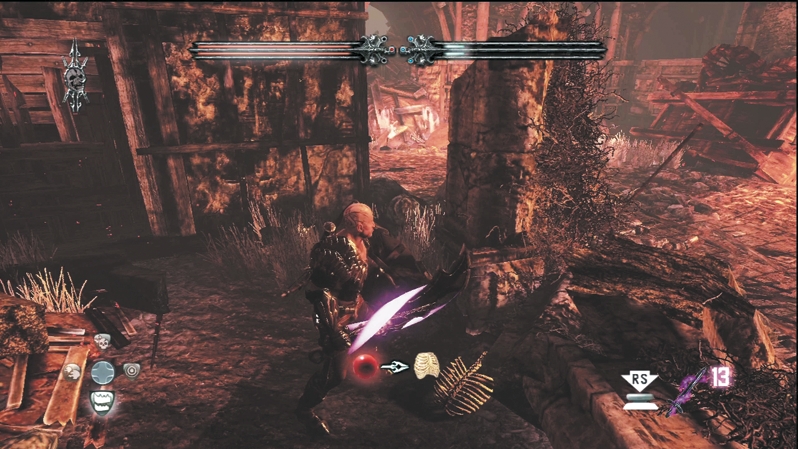
Pick up the rib cage inside the blasted-apart house next to the skull fireplace.
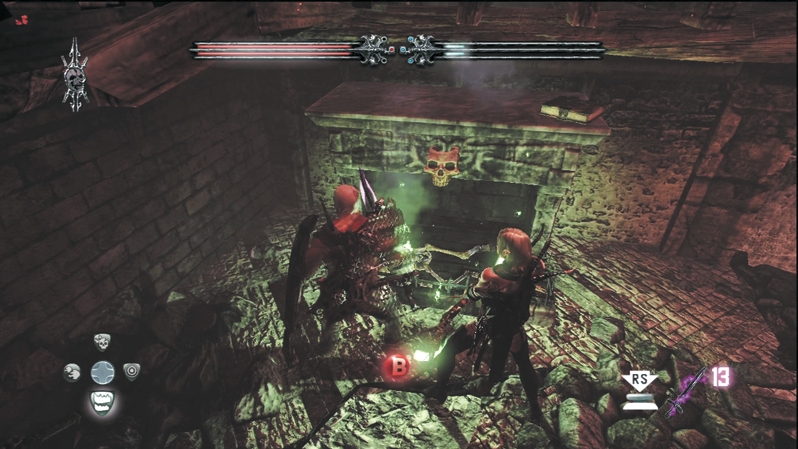
Return the bones to the spirit in the skull fireplace. He has one last request: take the emerald flame to his love...on the other side. Dip E'lara's arrow into the fireplace's green flames and search for the spirit's love. "The other side" doesn't refer to the afterlife but, rather, to the physical location on the other side of the wall from the spirit.
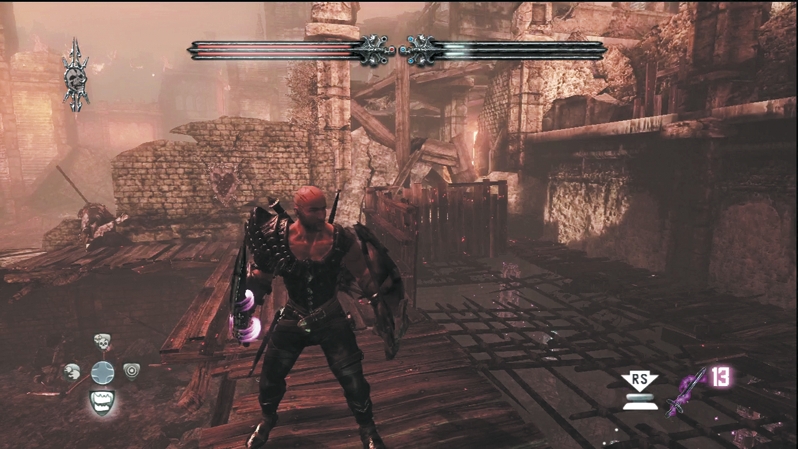
You can't reach that spot normally, so look for a release for the secret passage on the stairs above the fireplace. Shoot the second fireplace through the grate on the stairs' landing, and the secret passage will slide open below. Enter for your rewards: two Crystal Chests and two enchanted weapon racks.
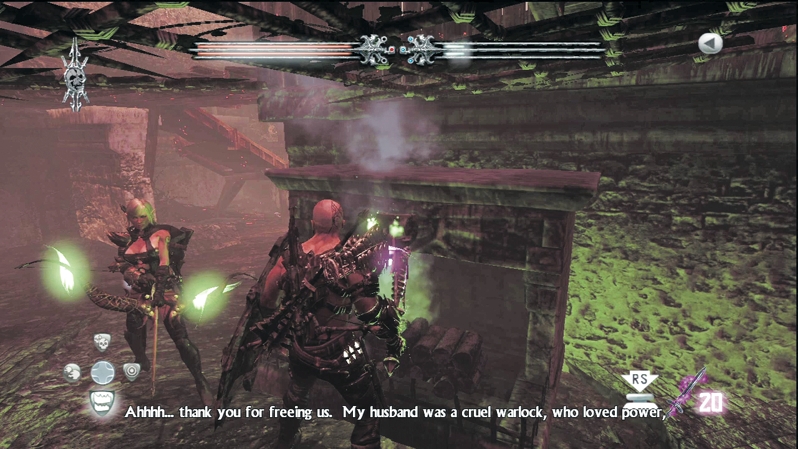
But you aren't done yet. The second spirit tells you that her husband was an evil warlock who imprisoned both spirits in the fireplaces. She tells you that her husband kept his greatest treasure hidden behind his black heart. There are several black heart crests around the area; you just have to find the correct one.
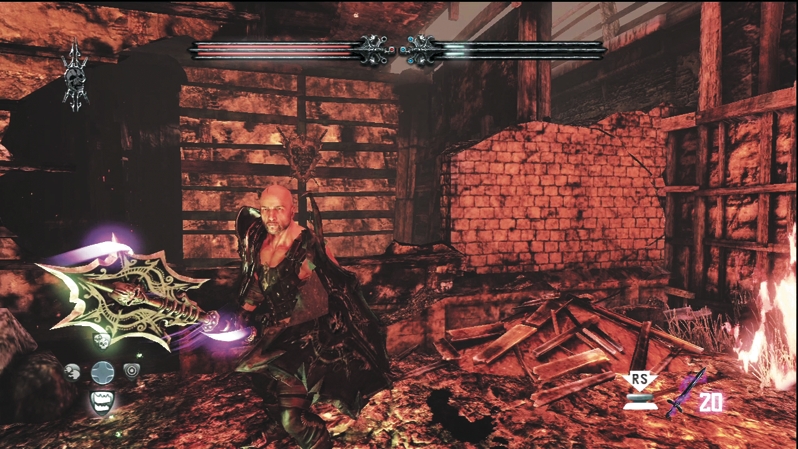
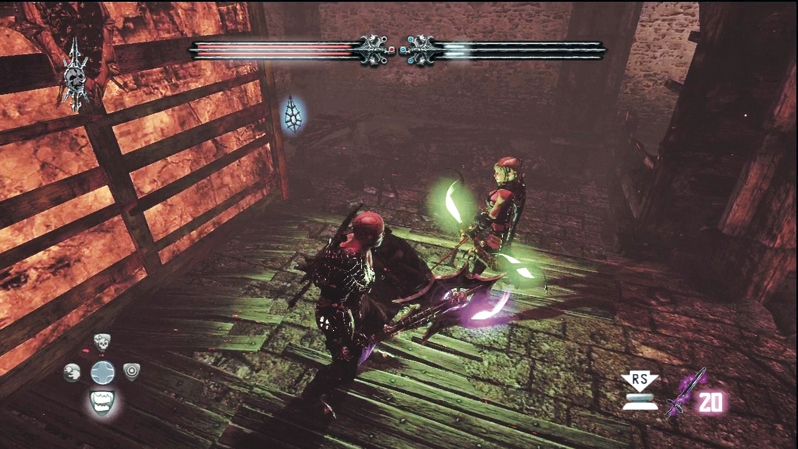
Exit the blasted-apart building and turn left. Look for a black heart shield on the wall in the small shack near the burning fires. There's a small ledge in front of this seemingly empty shack, but you can hop over it, and Caddoc can push the wall with the black heart to reveal a secret chamber behind it. Inside, the warlock's greatest prize, the ninth Dragon Tear, becomes yours for saving the warlock's wife and her apprentice lover.
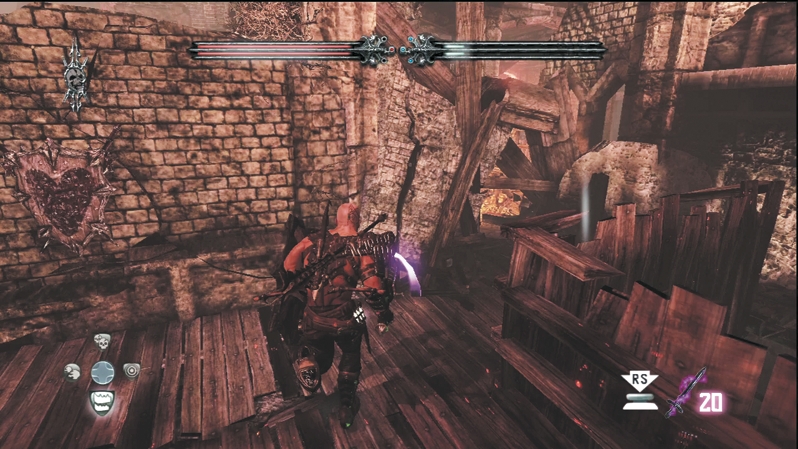
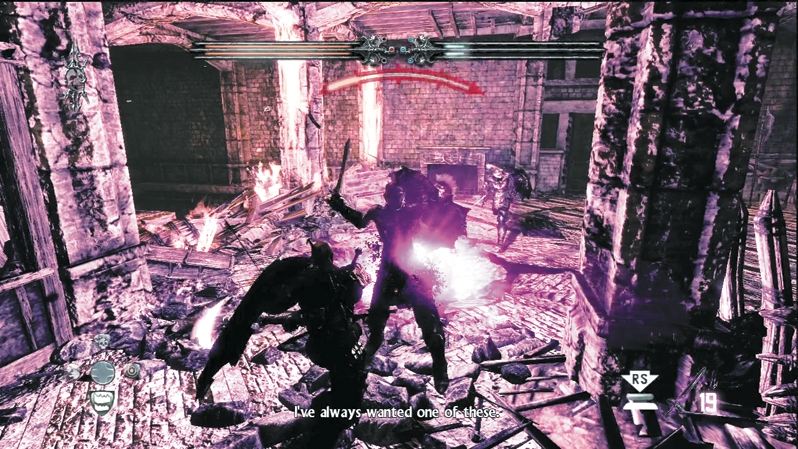
Return to the stairs above the skull fireplace and squeeze through the crack in the boards. Continue into the next room where Wargar Warriors charge out of the back room and assault. Inside the building, ranged weapons are difficult to use, so cut these foes to shreds with your favorite melee maneuvers.
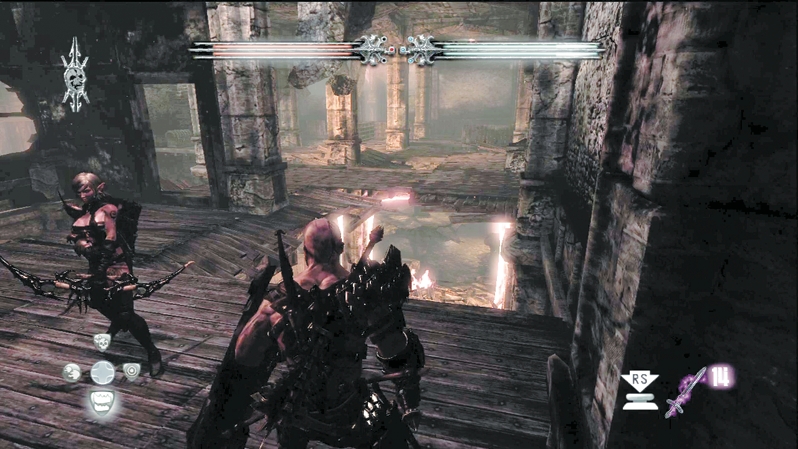
Climb up the stairs and navigate the ruined wood planks on the building's third story. After you weave around the holes, you can drop off the far edge to land on the opposite side of the burning wall that separates this new section from the room where you fought the Wargar Warriors. If you want the gold treasure chest, you can reach it, but the floor will give way and you'll have to retrace your steps back up to the third floor.
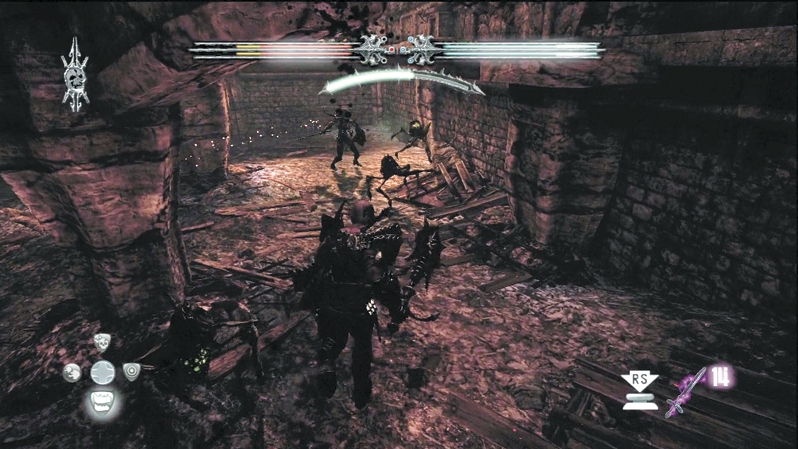
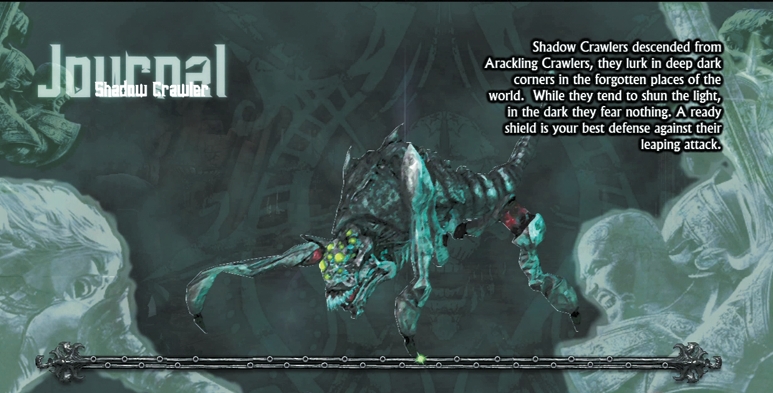
Drop down again and you land in the cellar, where Shadow Crawlers lurk. Stronger than normal Arackling Crawlers, Shadow Crawlers attack and defend almost identically to their cousins, so use the same tactics to bring them down: block lunges with shields and pound them into paste with melee attacks. If you want to break out magic, Dragon's Breath is the spell of choice and can take out multiple Crawlers with a single charge.
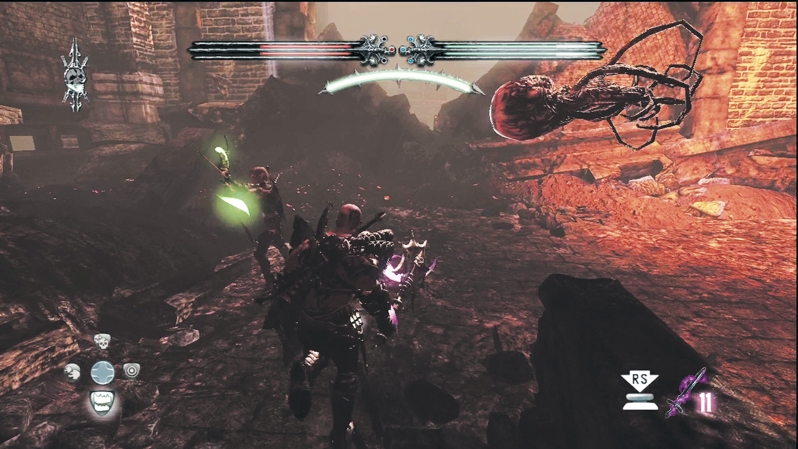
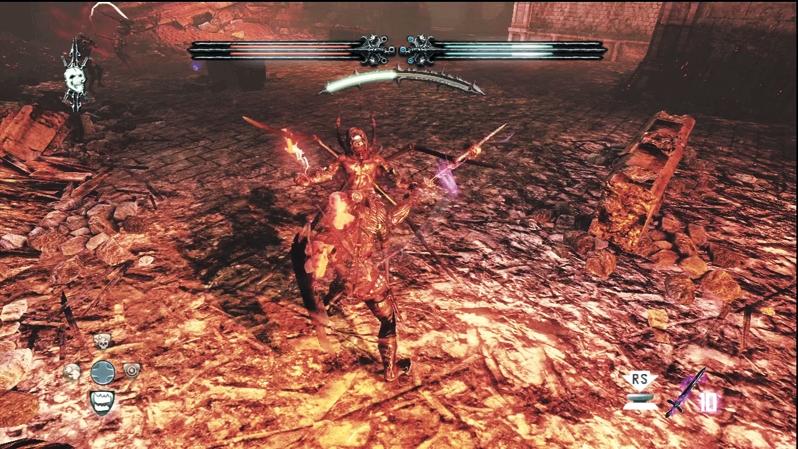
At the end of the Crawler fight, an explosion destroys a wall in the basement and gives you access to the streets again. A very difficult battle lies ahead: Infected Wargars, an Eye of Annuvin, and a Harridan within seconds of each other. First, two Infected Wargars teleport into the courtyard and the Eye swims around evading your blows and trying to stun you. Nail the Eye quickly with a bow shot or two, then concentrate Caddoc's and E'lara's attacks on the first of the Infected Wargars. With two bopping around, you can't rely on cover or on standing still; keep your feet moving and unload on an Infected Wargar when the opportunity arises. Watch the Wargars' teleportation patterns and start to anticipate where they will show up.
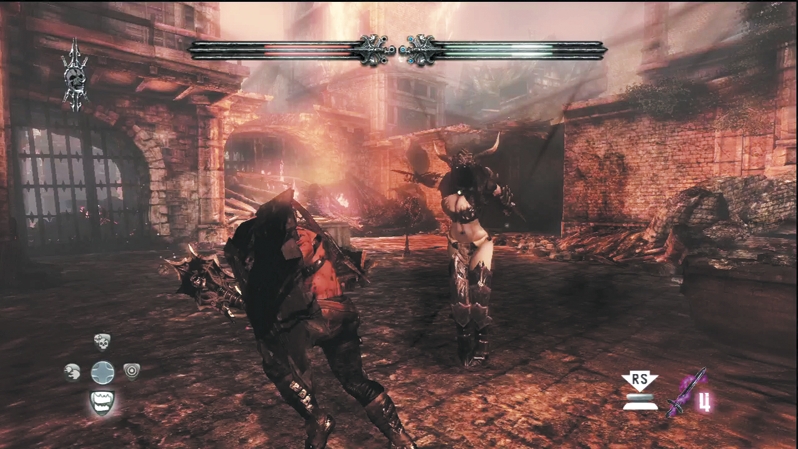
You won't even be able to catch your breath after killing the Infected Wargars. A Harridan arrives from the rooftops to slay you. If you thought you had to move quickly before, double that for the Harridan. As with the battle on the docks, destroy her totems as soon as she plants them, and play defense unless you can lock on to her without the witch-assassin ripping you apart with her razor-sharp claws. When the Harridan falls, you're free to exit via the next door, but don't forget to set free the prisoner in the building next to the exit door.