
Hunted: The Demon's Forge Guide Walkthrough Chapter 5
Sewers
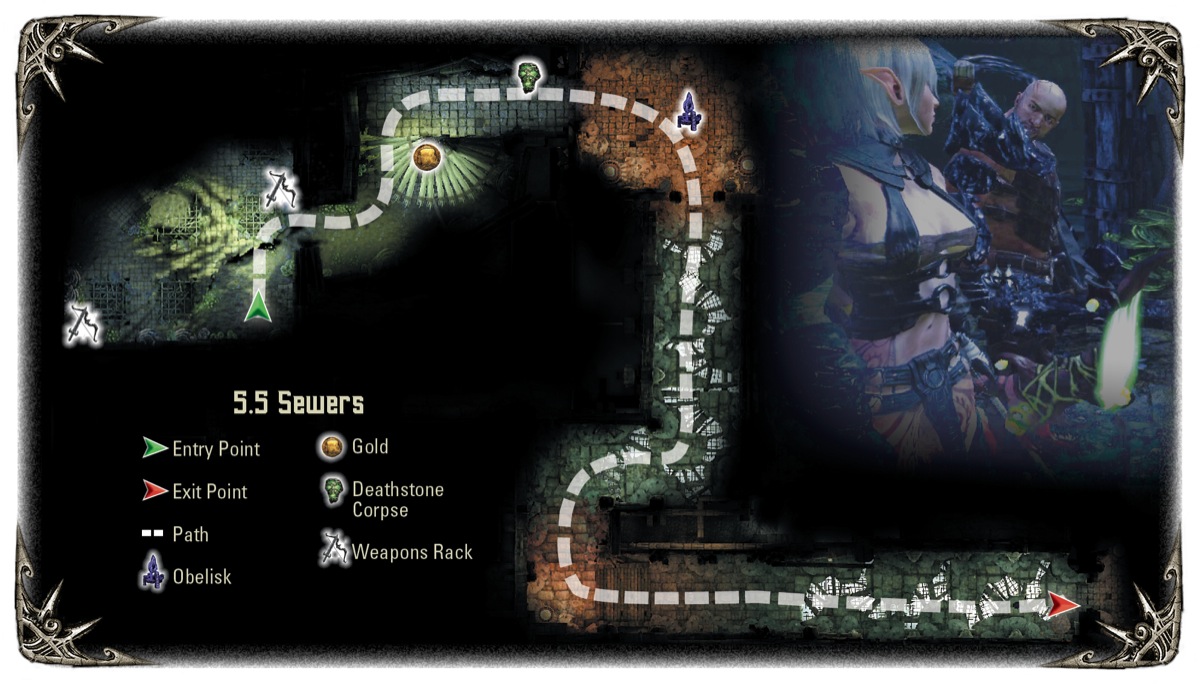
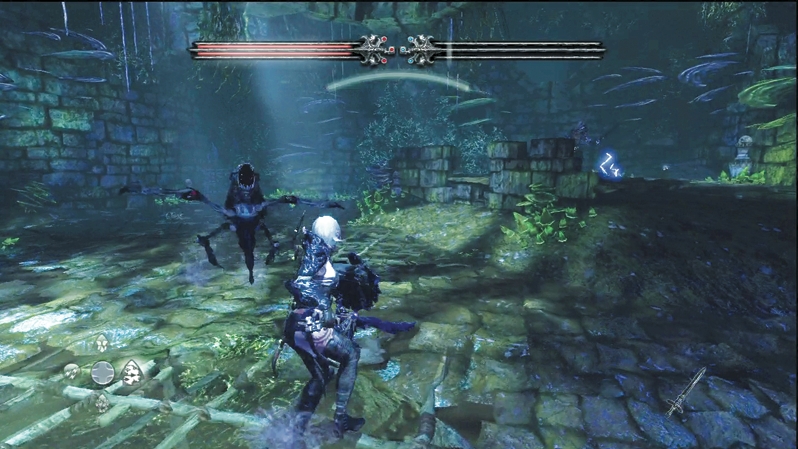
The sewer chamber you fall into looks fairly harmless at first. Sure, Shadow Crawlers stream out of the pipes, but as you squash the first handful, you're probably thinking you'll crack open the two weapon racks in the room and be on your way. Not so fast.
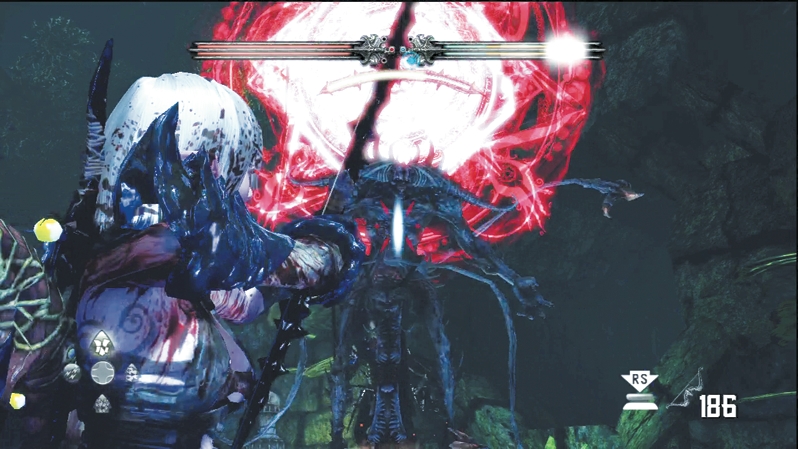
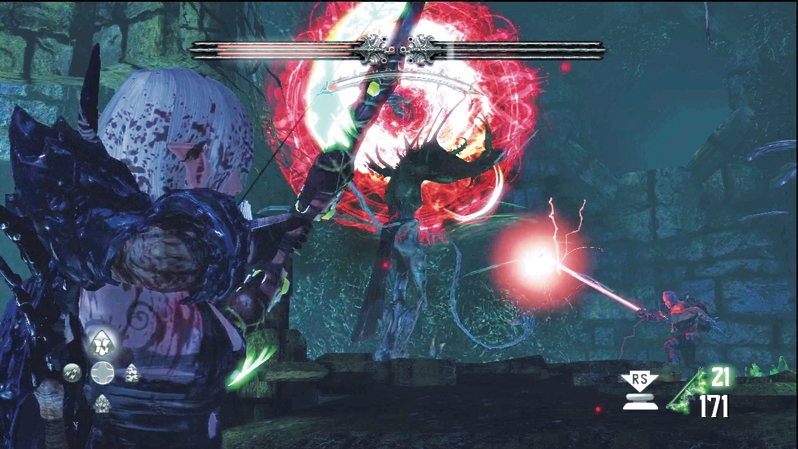
The Shadow Crawlers aren't alone. An Archghoul enters the chamber, and you suddenly have a very difficult challenge on your hands. The Crawlers require you to stay in melee, but it's much safer (and saner!) to use ranged attacks against the Archghoul. Fortunately, this Archghoul doesn't conjure up a Blood Magic Shield, but going toe-to-toe with this foe will still probably result in death. Dodge the demon's initial attacks and splatter the last of the Shadow Crawlers. Without those little annoyances hassling your flanks, you can concentrate on beating the demon in such a tight space. Your number-one priority is avoiding its area-of-effect cyclone. Caddoc can swipe at its flanks and back; however, E'lara shines here with Arcane Burst, and either character can zap it with Dragon's Breath for extra damage. Take a long, well-deserved rest after you beat the Archghoul and recover for the final challenges ahead.
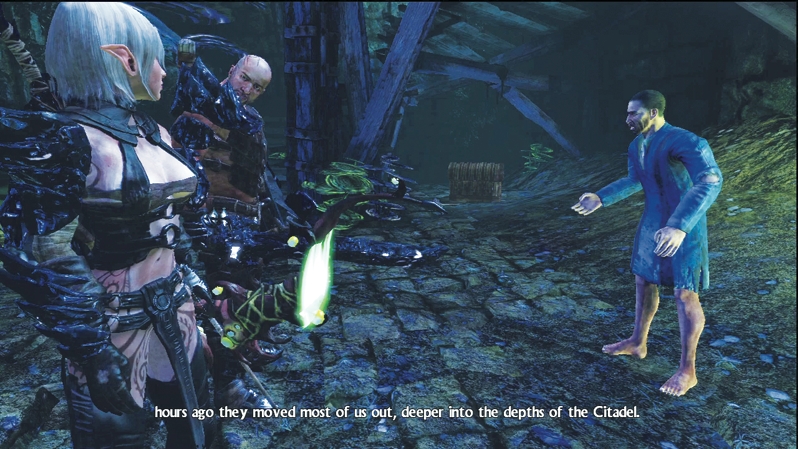
An escaped captive is shocked to see you in the next sewer section. He tells you that the rest of the prisoners have been taken deeper into Kala Moor, so you'll have to keep going. Pick up gold from the treasure chest and speak with the Deathstone corpse before entering the room with the obelisk and magic portal.
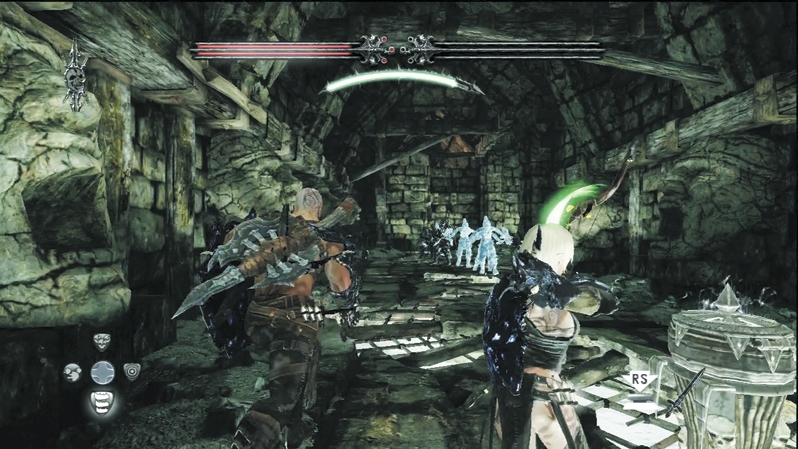
In the next corridor, a Sleg vat stands unguarded. Uh-oh. You already know what that means: lots and lots of Wargar flooding the place soon. True to form, as you walk down the corridor and past the Sleg vat (or stop to sip from it and reap the benefits and repercussions), Wargar Zealots charge around the far corner and run toward you. E'lara can slow them down with Arctic Arrows and let Caddoc shatter them into pieces. Soon enough, more and more Wargar join in.
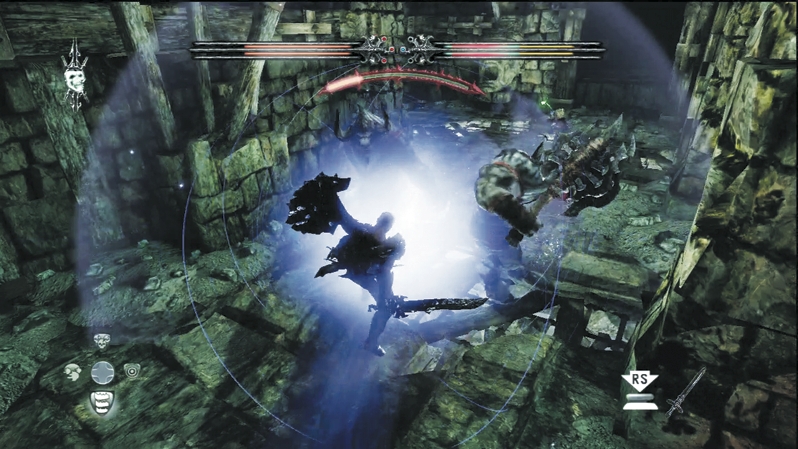
Caddoc's Dash is his best weapon in the corridor; he bowls through enemies and deals significant damage to the greater threats, such as the Minotaur and Infected Wargar. E'lara's Pyre Blast is her best, as the explosion consumes multiple foes between the corridor walls. Dodge as best you can in the corridor and scoop up Health Vials and Mana Vials from the fallen bodies to keep yourself as full as possible.
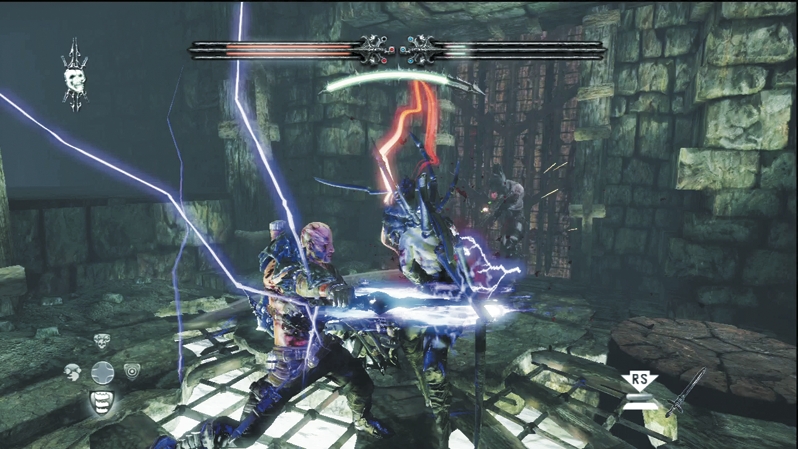
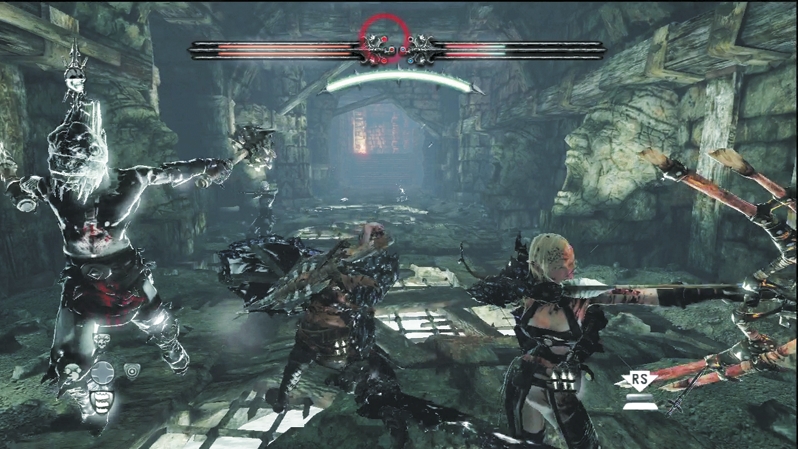
Continue fighting slowing, clearing wave after wave. You'll push up the corridor foot by foot and turn the corner. Around the bend, a door marks the escape point. Battle through the Infected Wargars and Wargar Blastcasters to reach it, but don't expect the fight to end there.
Even after you finish off every last enemy in the corridor, the battle isn't over until you actually leave the corridor. First, take advantage of the brief combat lull to stock up on health, mana, weapons, and shields. After that, step on a pressure plate in the corner to open the door. However, when you do, another round of enemies fills the corridor. If you can survive this encore, you'll be able to leave and enter the dragon's lair.