
Hunted: The Demon's Forge Guide Walkthrough Chapter 5
Bridges
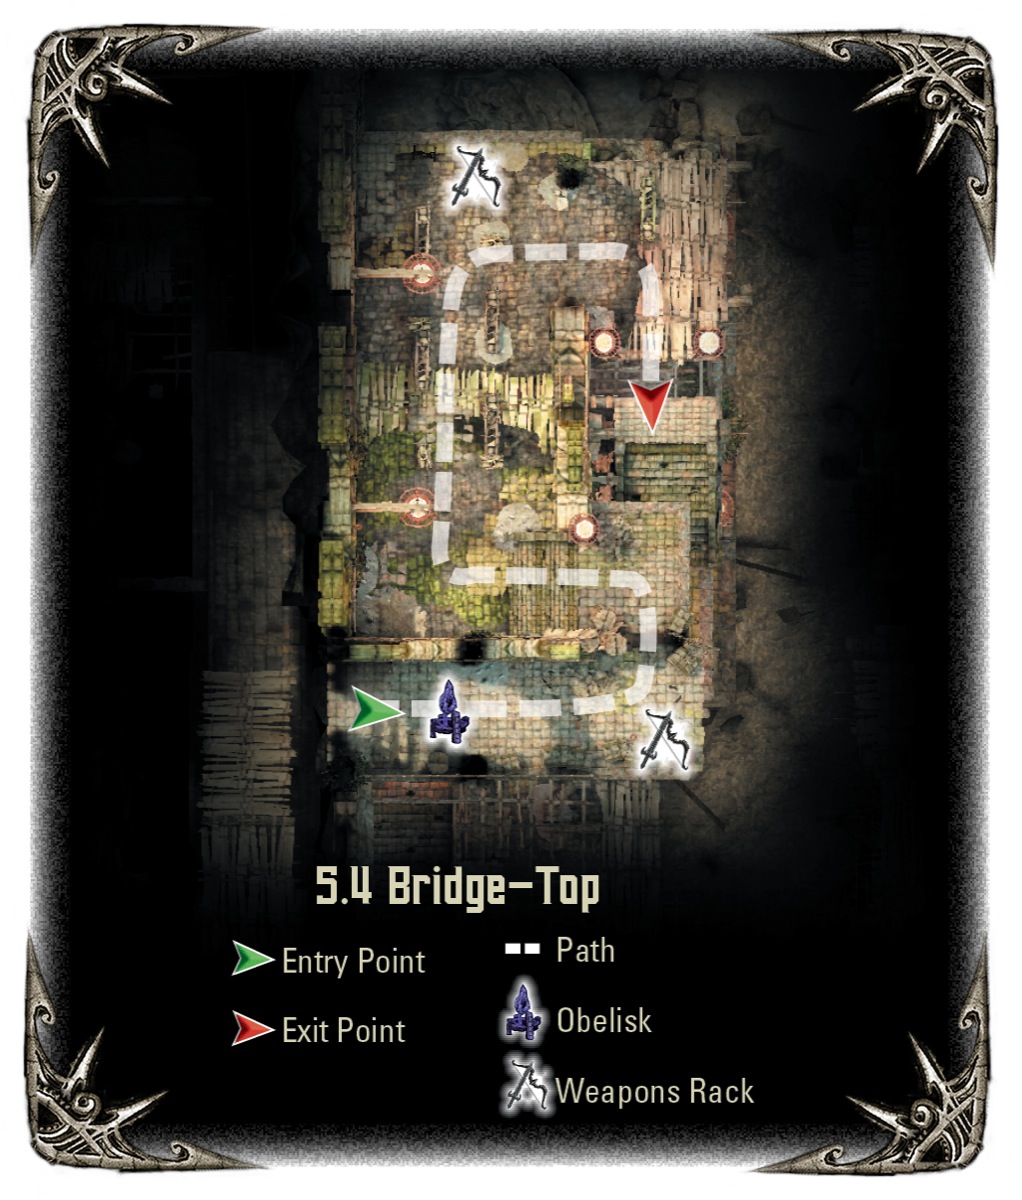
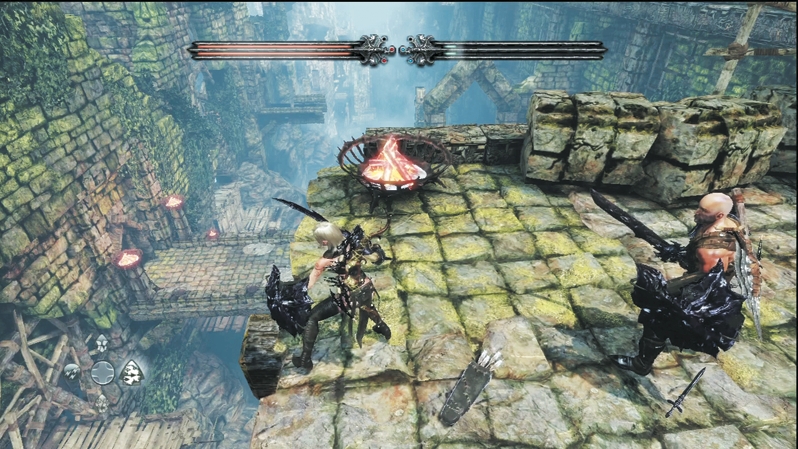
If only a bridge was in sight. Unfortunately, the bridge on the top level has collapsed long ago, and to cross into the fortress you'll need to find an intact bridge. Use the obelisk and magic portal on this ledge as desired, and slip under the fallen masonry on the left to sneak up on some enemies.
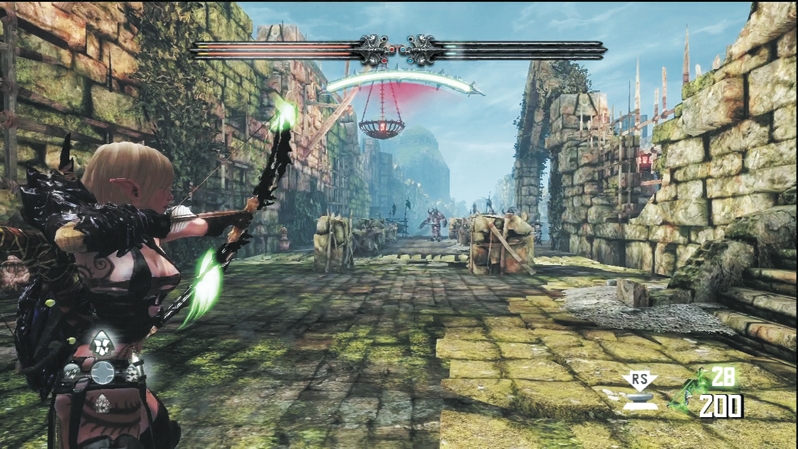
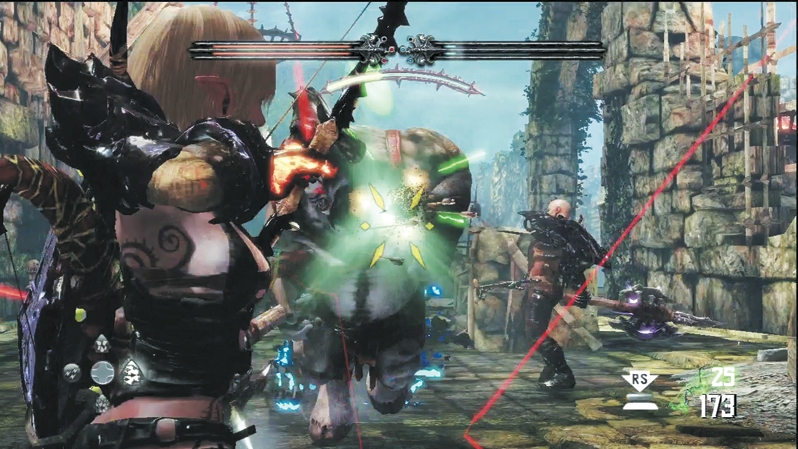
Two Minotaur Juggernauts and a handful of Wargar Archers guard the level below you. From your perch atop this next set of stairs, you can shoot down on them, though if you do, be careful of Wargar Scorchers across the ravine that will shoot on your position. You can also move down the stairs and quickly unload on the Minotaurs. If E'lara blasts away with Arcane Burst and Caddoc wakes them as they pass with his enchanted weapon, you can crush the Minotaurs without significant injuries to the mercenary pair. With the biggest threat neutralized, take cover and return fire on the Wargar Archers until they're worm food.
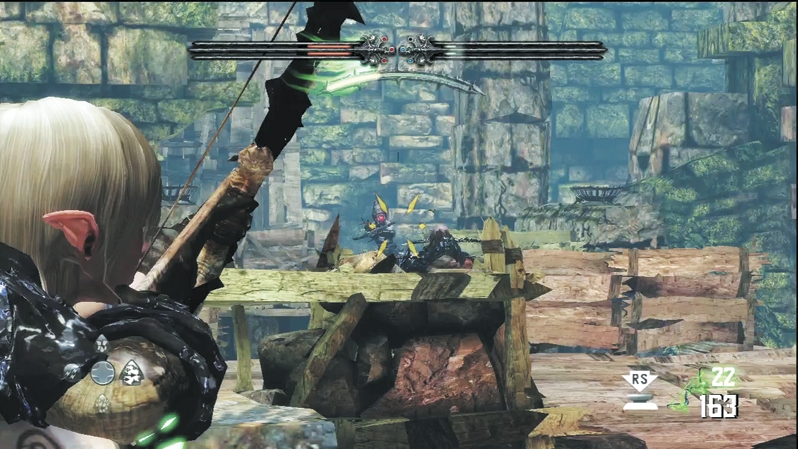
As you round the bend, Wargar Scorchers shoot at you from a ledge on the ravine's other side. There is no route to the ledge; you must destroy them with your ranged weapons. One explosive arrow on the ledge's tight confines should spell doom for them. Now you can safely continue down the nearby stairs to the middle bridge level.
Bridge (Middle)
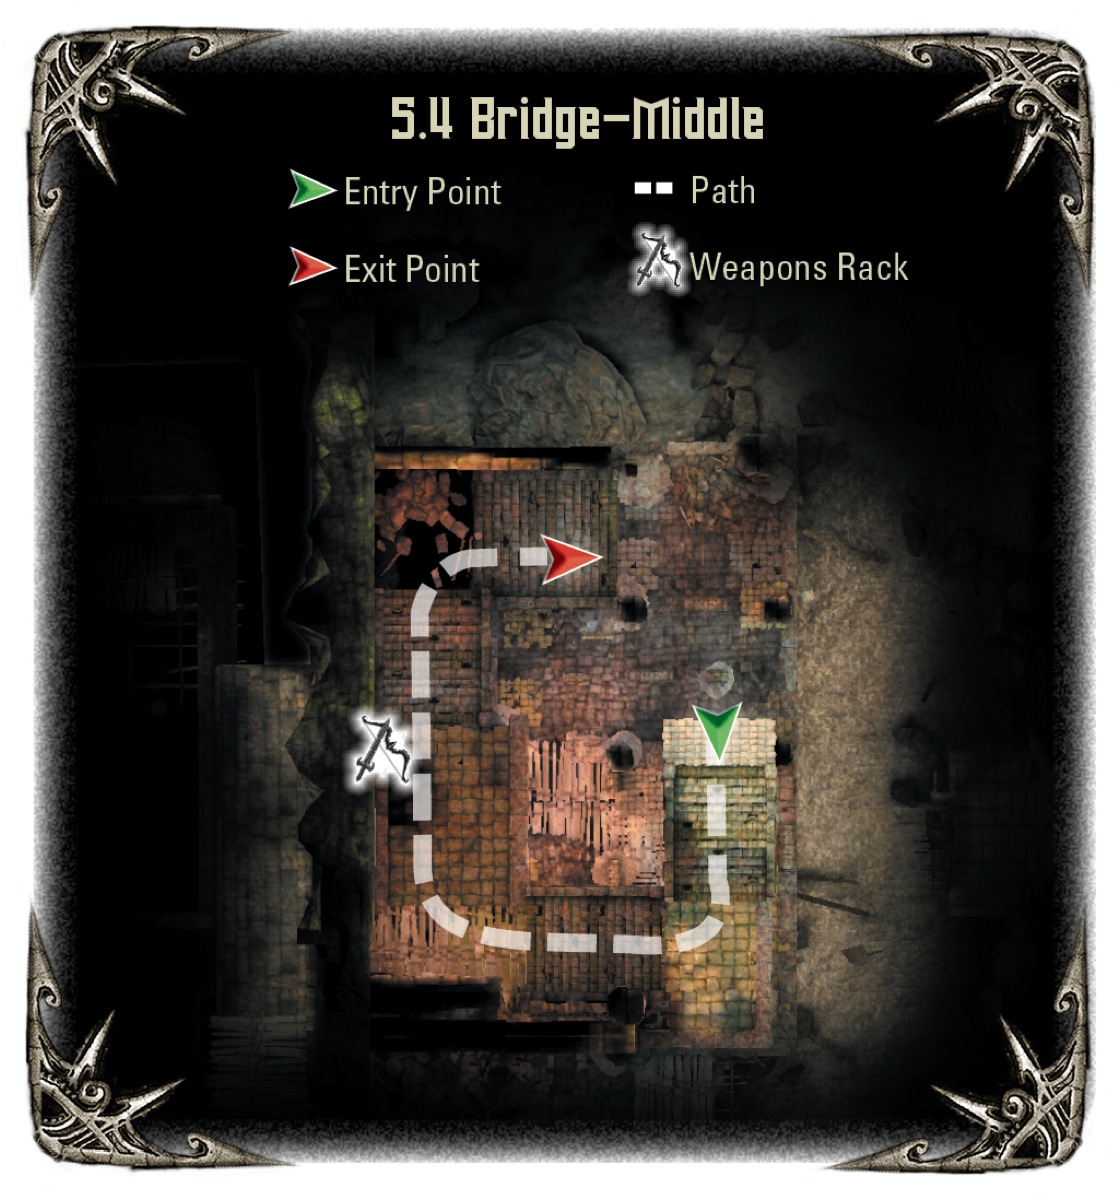
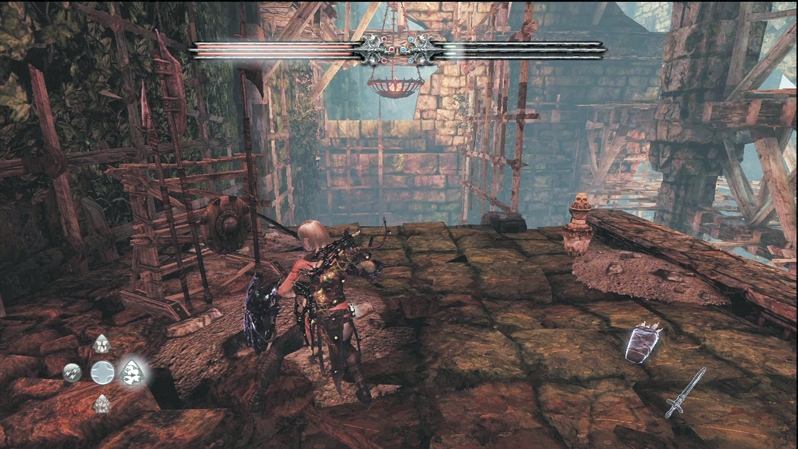
As you descend, you spot the intact bridge to the fortress. It's now a matter of getting there through the enemy defenses. Continue circling down the stairs until you reach the bottom bridge level. Replenish along the way by shattering skull canisters and the weapon rack on the middle level's main landing.
Bridge (Bottom)
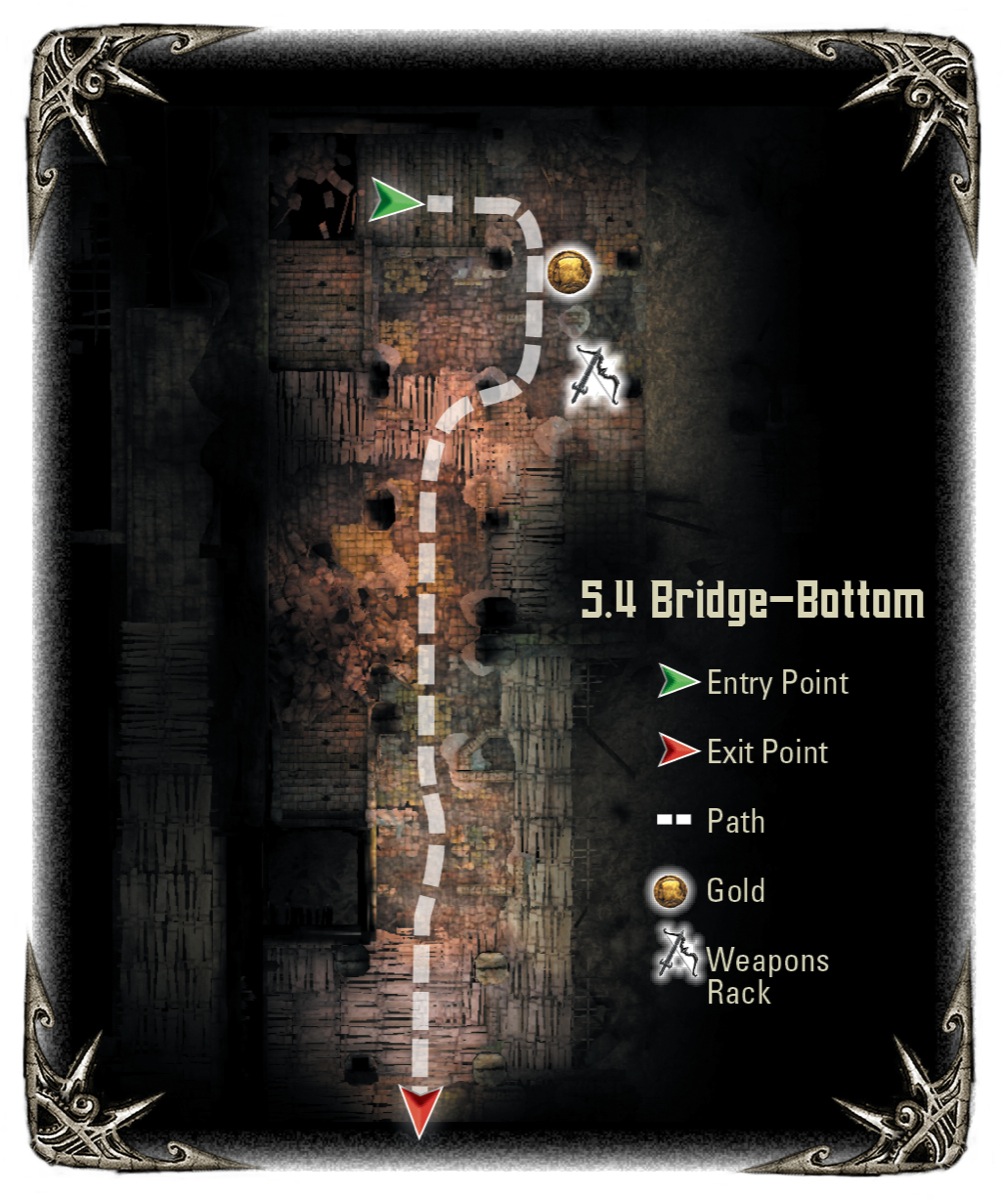
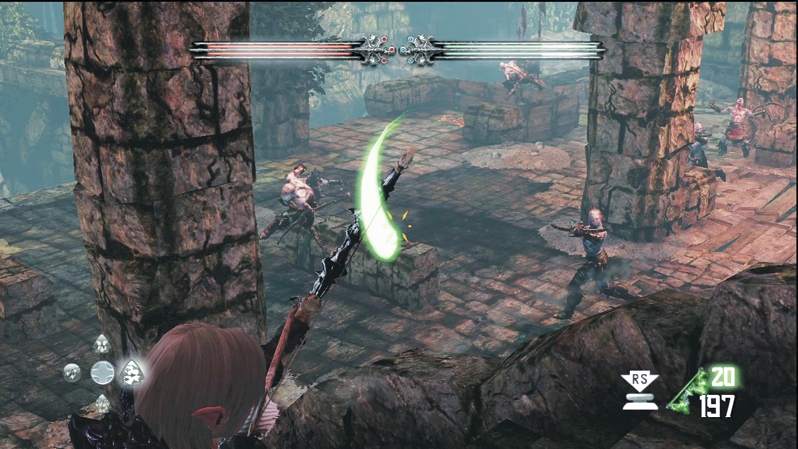
When you reach the bottom level, engage the Wargar Warriors and Wargar Archers between the chamber's pillars. Slip behind a pillar for cover, dart out for a quick swing or slash, then dart back to cover. Don't press forward until the enemy numbers dwindle; there are many more reinforcements down the long corridor ahead.
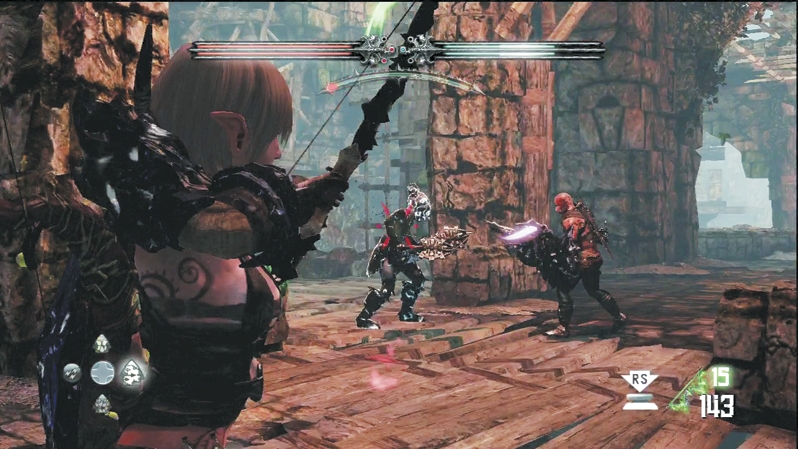
Wargar Zealots advance on you as the Wargar Archers start to fall. Keep up the same strategy to take down the Zealots.
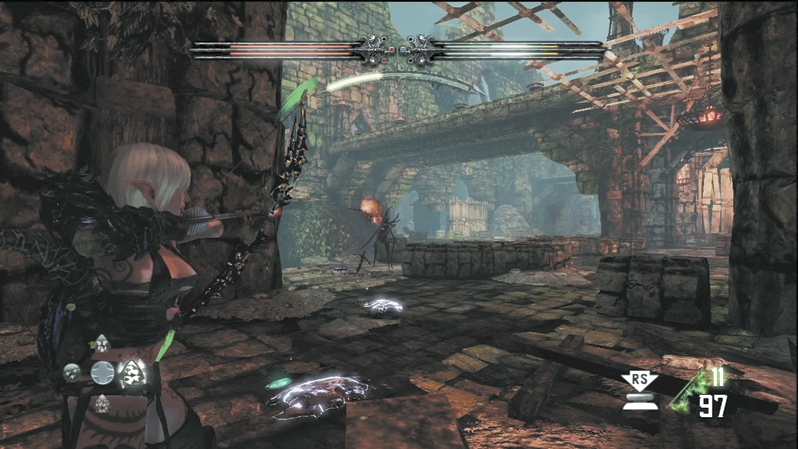
Next up, an Infected Wargar and more Archers keep you from proceeding. Stay in cover and take them down with ranged attacks. If you step out in the open, Wargar Blastcasters on the ledge across the ravine rain down explosions on your head. It's best to eliminate the Wargar enemies on your side first, then take careful aim on the Blastcasters and advance once they no longer return fire.
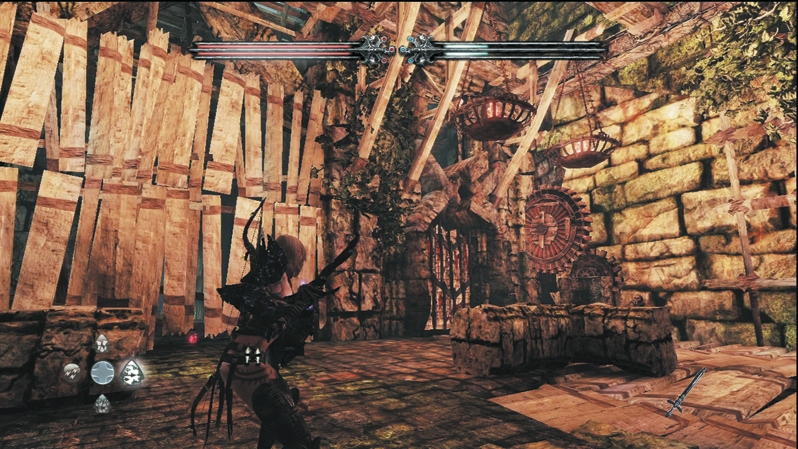
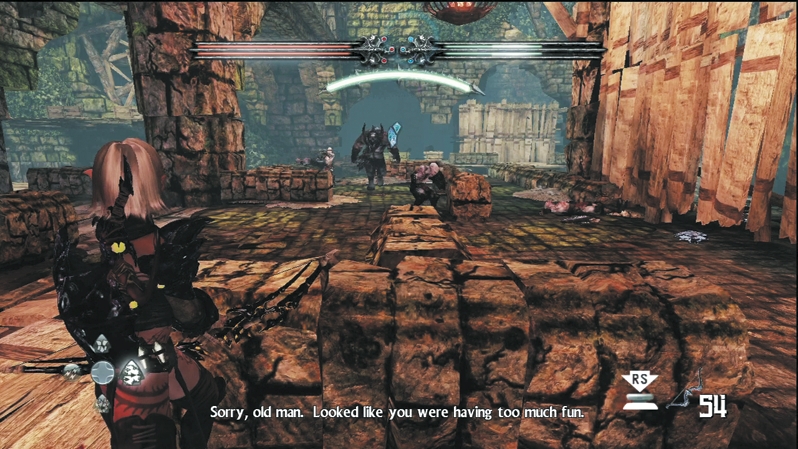
It seems like the battle is over; no more enemies stand between you and the door. However, to open this door, you must stand on a pressure plate in the corner and wait for the gate to slowly rise and unblock the door. Once you stand on the pressure plate, enemies drop down from the bridge above in a well-executed ambush. Trapped in the corner, forget the pressure plate for now and fight back out toward cover. Partner up on the biggest threats, particularly the multiple Infected Wargars and Juggernaut Elite. When all is quiet, you can return to the pressure plate and open the door in peace.