
Hunted: The Demon's Forge Guide Walkthrough Chapter 4
The Scarlet Maid Tavern
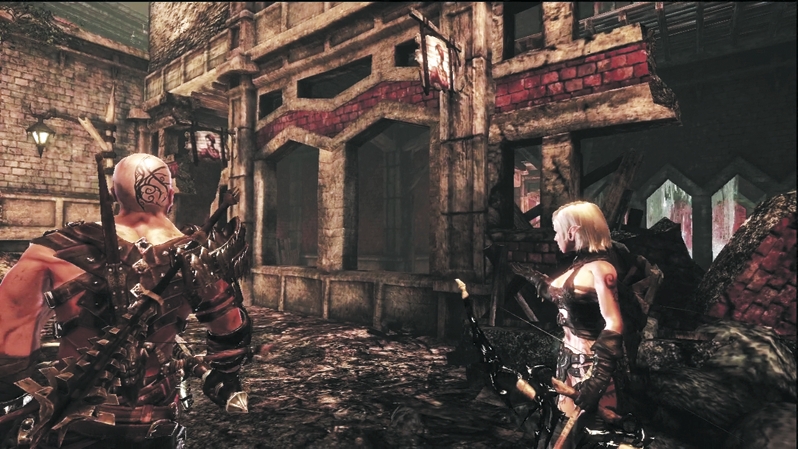
A dying soldier in front of the Scarlet Maid Tavern tells you that the king has moved to safety in a secure basement. You'll have to climb to the top of the Scarlet Maid and traverse the aqueduct to track down the king. Before you enter the tavern, be sure to speak with the Deathstone corpse and collect gold from the treasure chest in the courtyard.
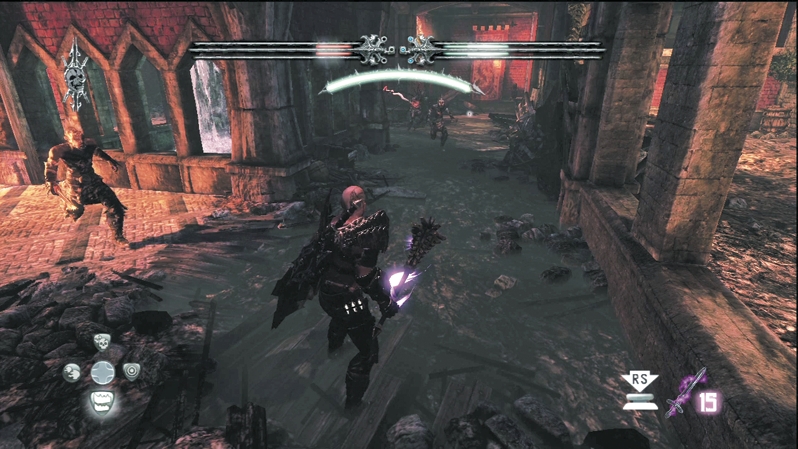
On the ground floor of the Scarlet Maid, Wargar Soldiers charge you at the door, and an Infected Wargar lurks on the building's other side. The Infected Wargar likes to teleport between the two front corners of the tavern, so keep that in mind as you pound away at the enemies. After you beat the Wargar, a Minotaur Juggernaut shows up. In the confined space, roll often to avoid its massive blows. Caddoc's Dash can flatten the Minotaur if you can line up a straight run at the beast.
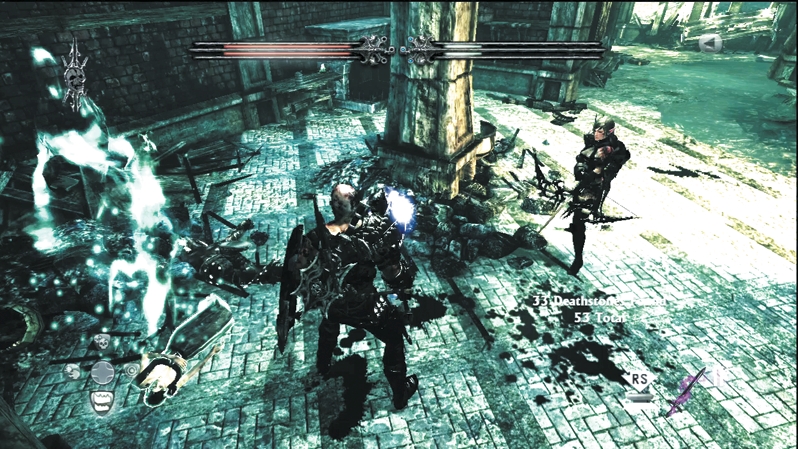
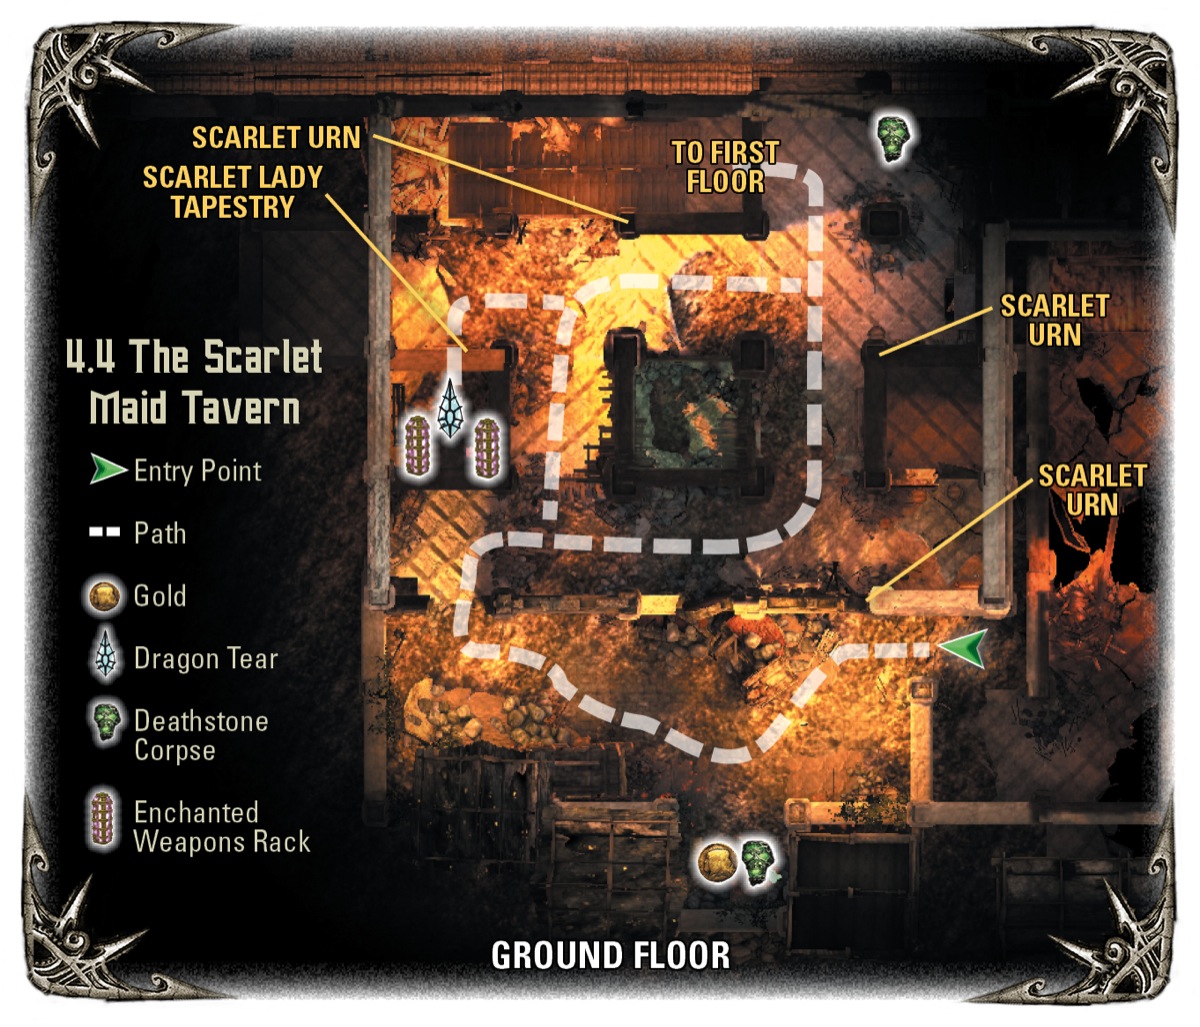
Make sure the enemies won't cause you any more problems, and then speak with the Deathstone corpse in the ground floor's back corner. She was a maid in charge of gathering up the tavern's secret treasure, but she died before finishing the task. She informs you that if you break three scarlet urns and burn the scarlet lady in flame, the magic vault opens.
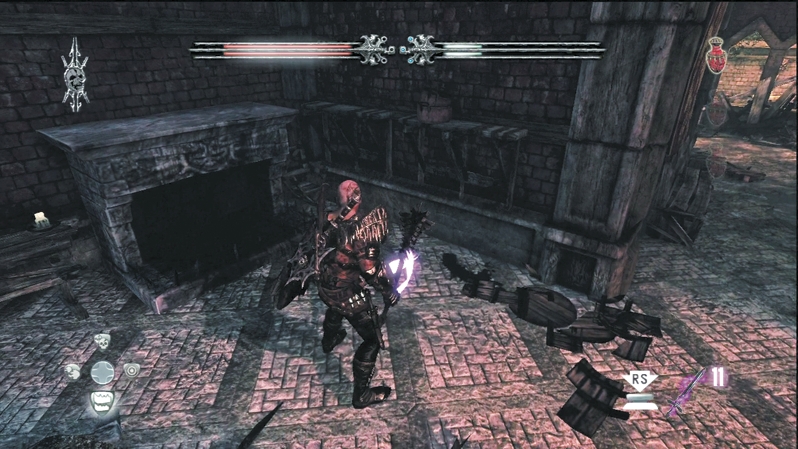
Seek out the three scarlet urns on the ground floor. The first lies on the shelf next to the Deathstone corpse.
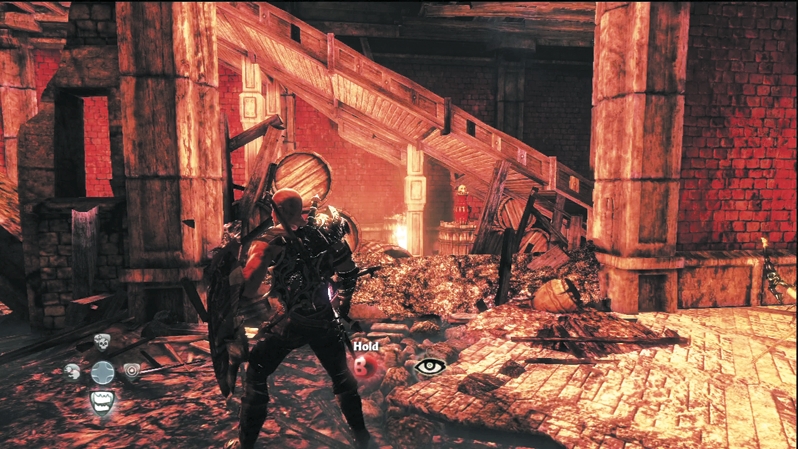
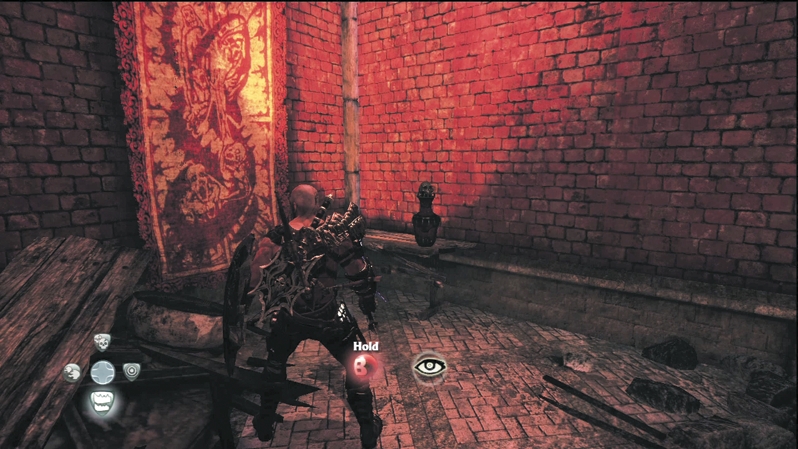
The second scarlet urn hides under the stairs up to the first floor. Shatter it to complete the second task. The third scarlet urn is in the corner with the burning hole in the wall.
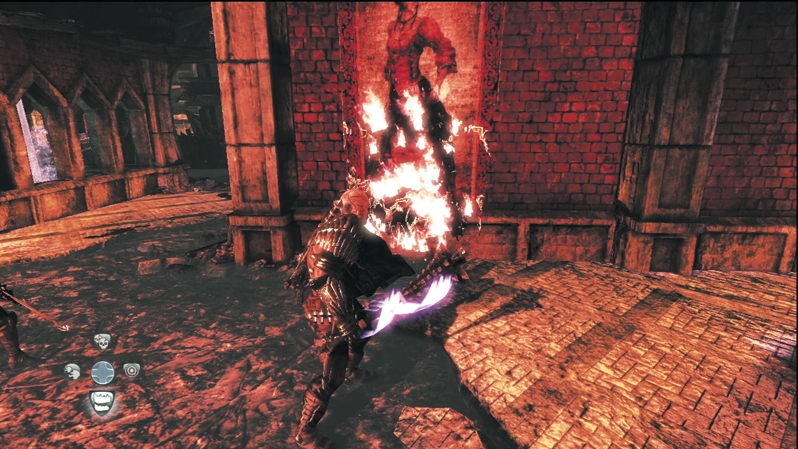
With all three scarlet urns broken, return to the corner with the Deathstone corpse and light an arrow in the fireplace. Seek out the Scarlet Lady tapestry in the last corner and shoot a fiery arrow at it. Consumed by flame, the tapestry disappears to reveal the secret room with two enchanted weapon racks and the tenth Dragon Tear.
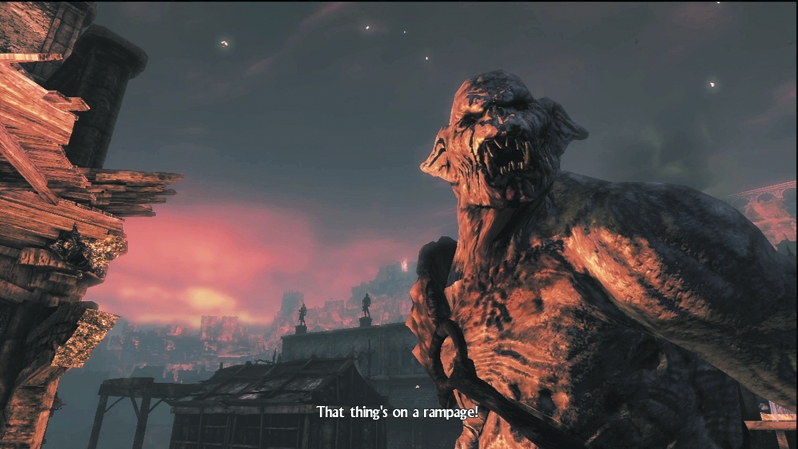
Take the stairs by the Deathstone corpse up to the first floor. The Ogre rips off the roof and grabs a civilian as you step foot on the new floor. Fortunately, the monster loses interest quickly and moves on, but you still have the Wargar on the floor to stop.
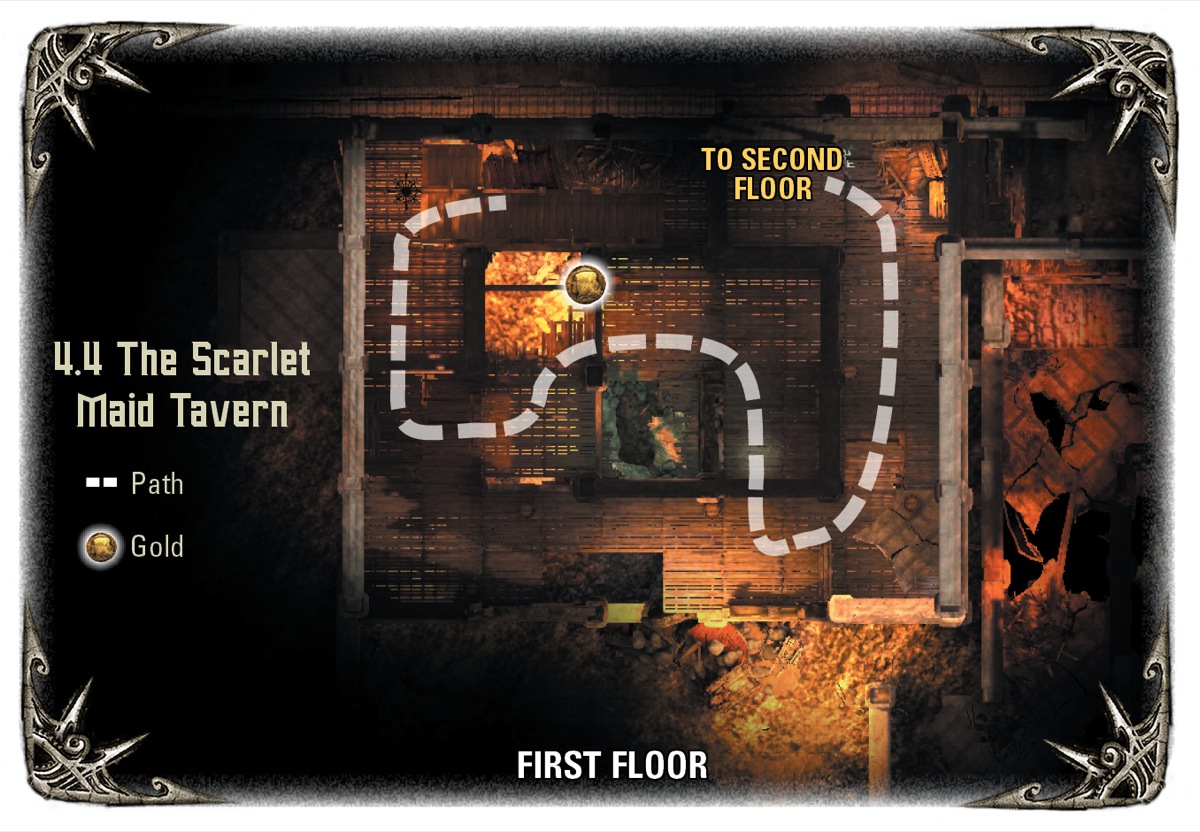
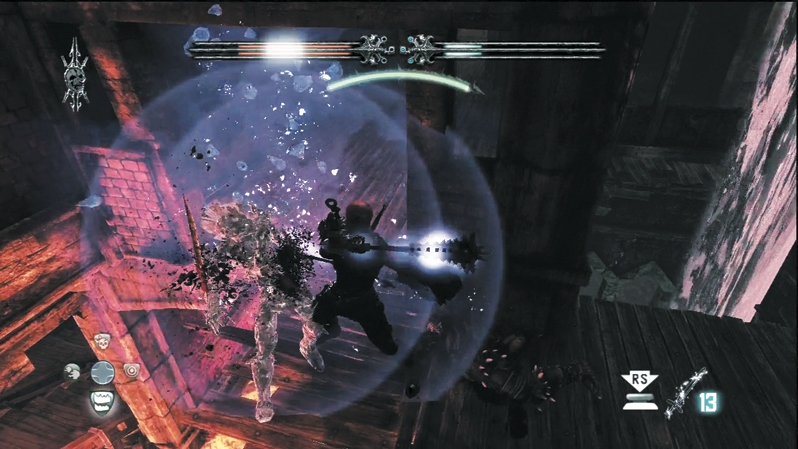
Take the door toward the inside of the building. Engage the Wargar Soldiers and Wargar Guardian here; the walls give you protection against the Wargar Archers' ranged attacks. After you squish the melee Wargars, swing around the walls and wipe up the Archers. Don't leave without the sack of gold in the middle of the floor.
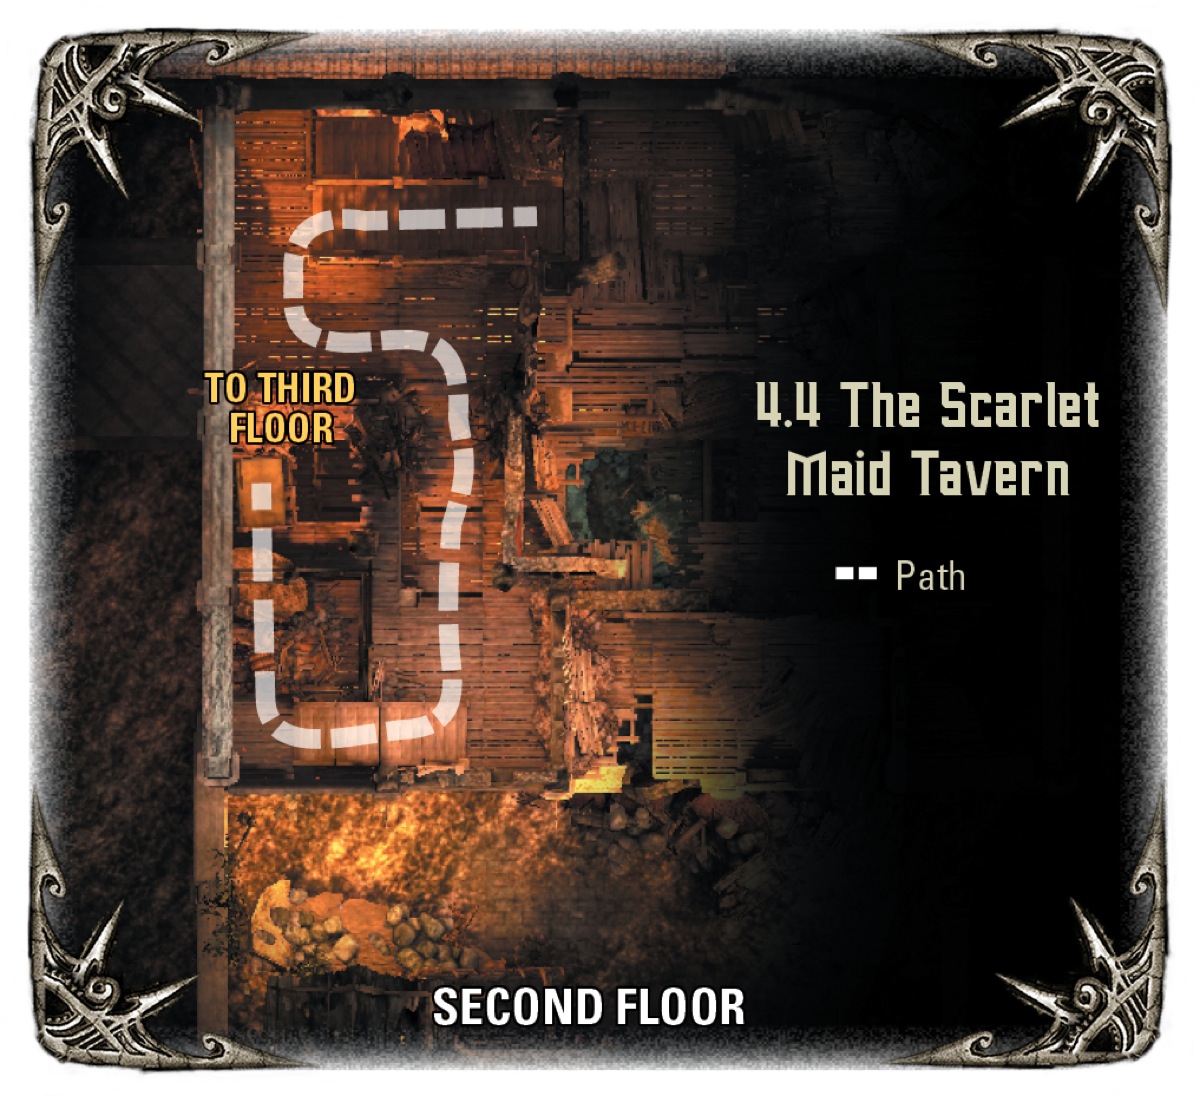

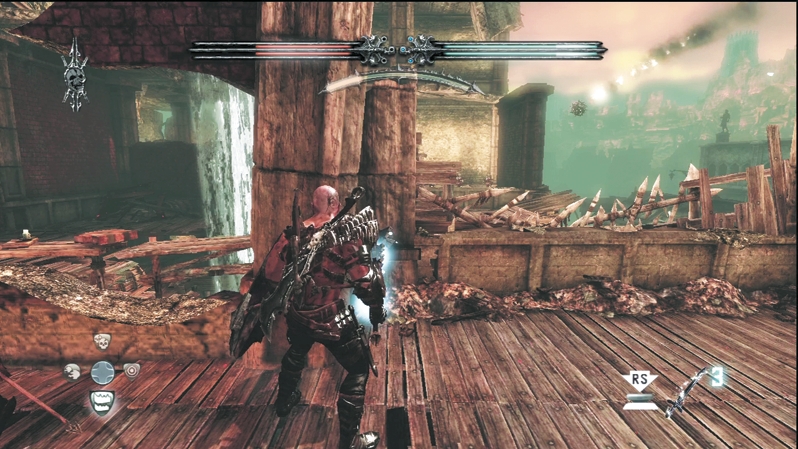
The stairs in the dark back corridor lead up to the second floor. As you arrive on the floor, a city guard gets cut down by a hail of arrow fire from Wargar Archers on the floor's other side. Duck for cover and watch as several catapult missiles decimate the building's other side and wipe out the Wargar Archers. Continue up the nearby stairs to the third floor.
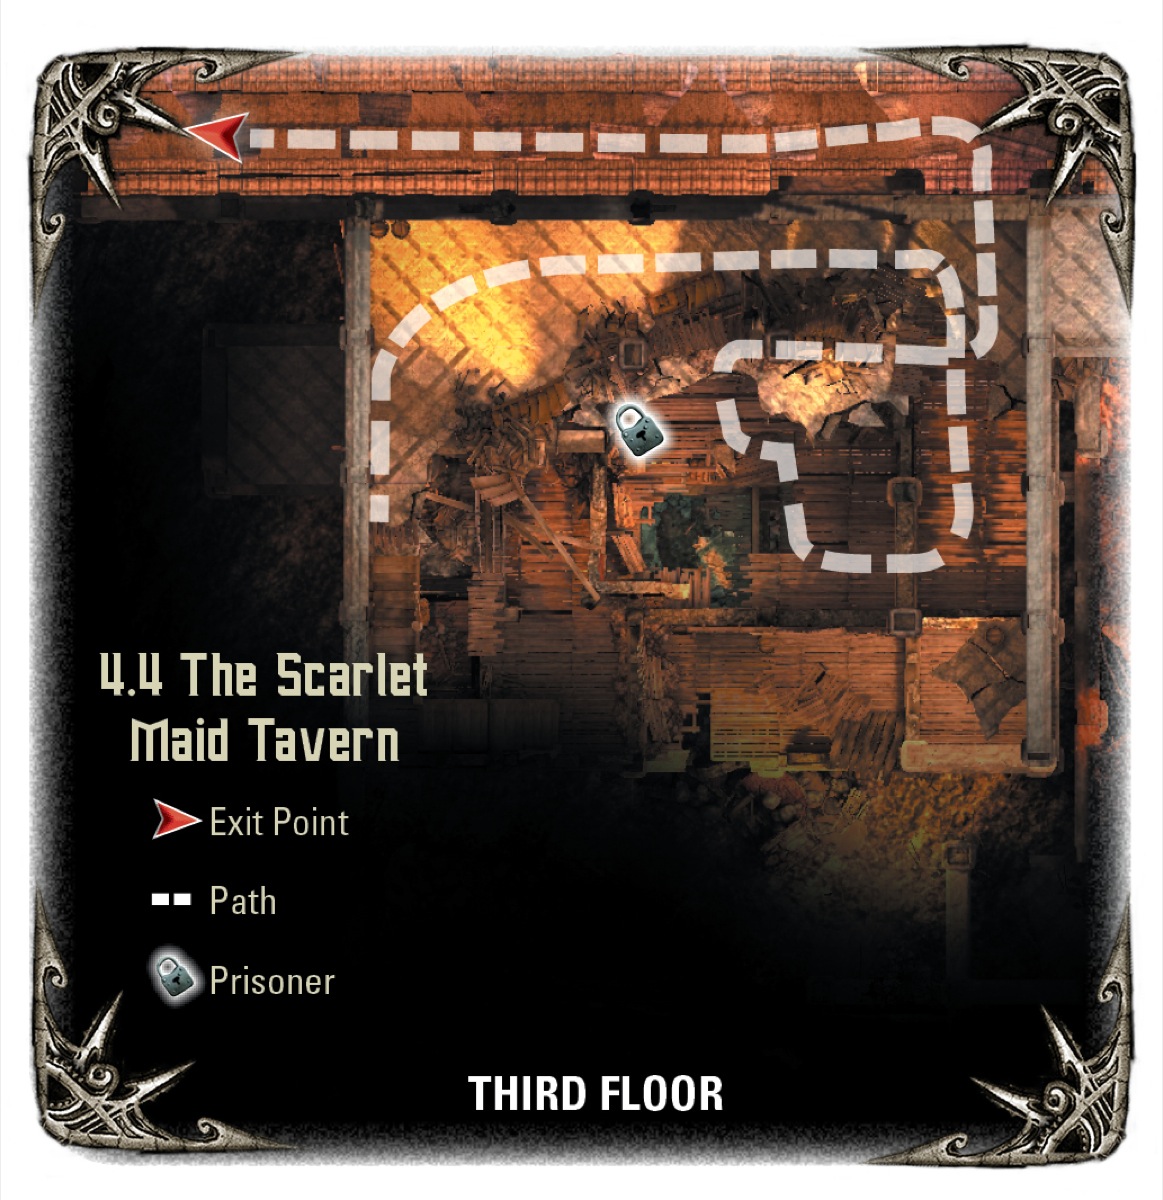
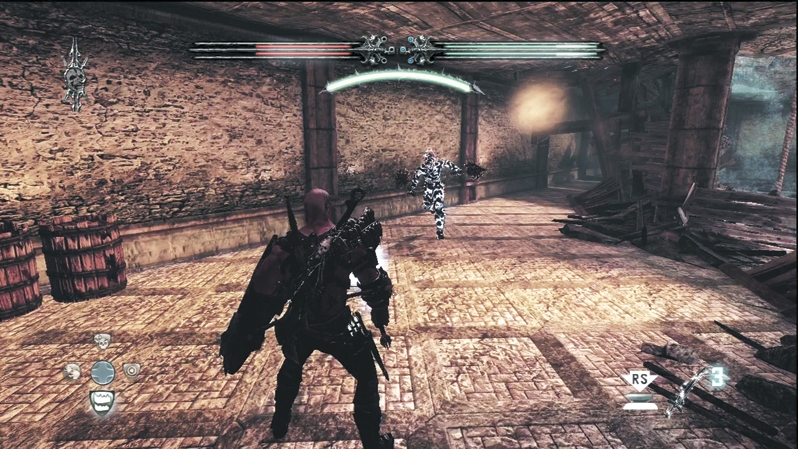
A Wargar Zealot patrols the top floor. Dodge its heavy attacks and chip away at its defenses until it quivers on the floor. Cross what remains of the third floor and drop back down to the second floor on the far side, where the roof ends in debris.
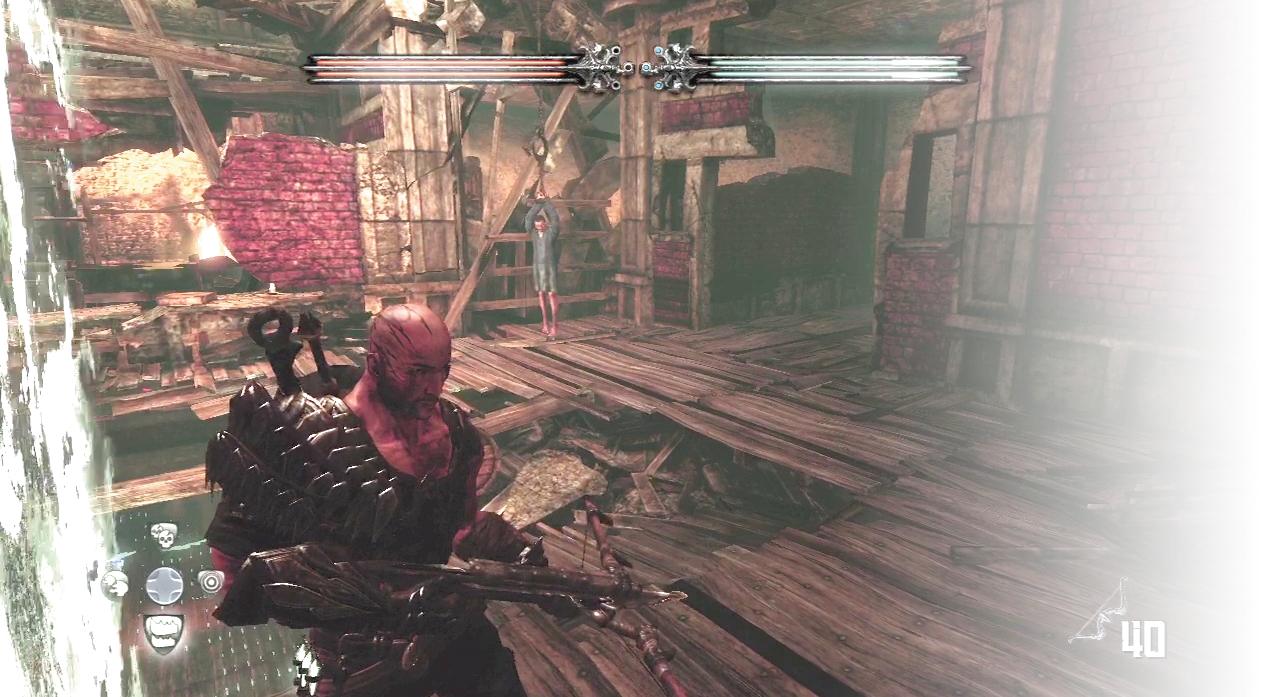
Smash through the lone Wargar Soldier on the first landing, then enter the broken central room. There's a prisoner next to the gaping hole in the floor. Free the prisoner and follow the debris-filled corridor out to the aqueduct.
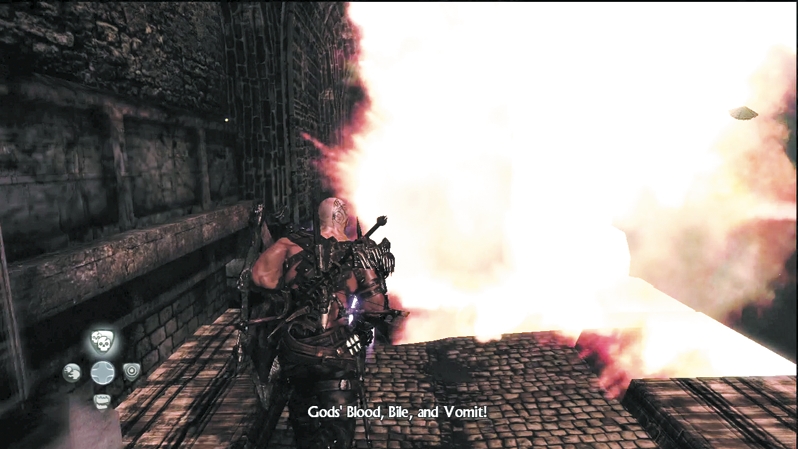
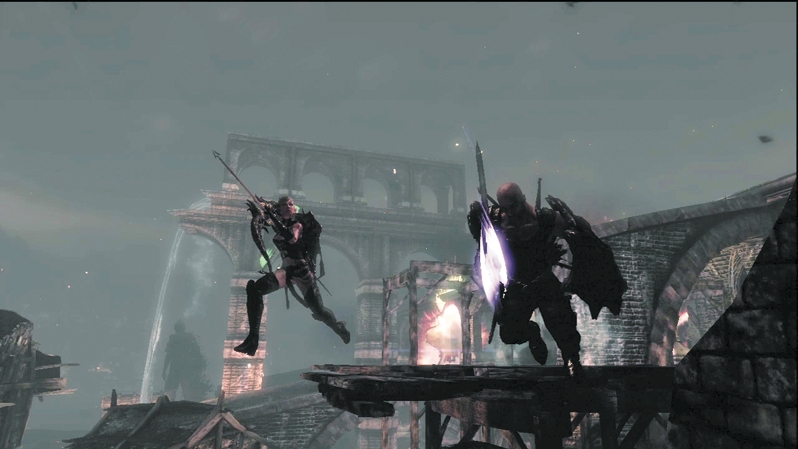
As you explore the aqueduct, you suddenly see catapult missiles zeroing in on the roof. Explosions rock the structure and things start to fall apart. Sprint full speed ahead and race down the aqueduct before it disintegrates. If you sprint the whole time, you should make it safely to the far side.