
Hunted: The Demon's Forge Guide Walkthrough Chapter 5
Wall
Wall (Top)
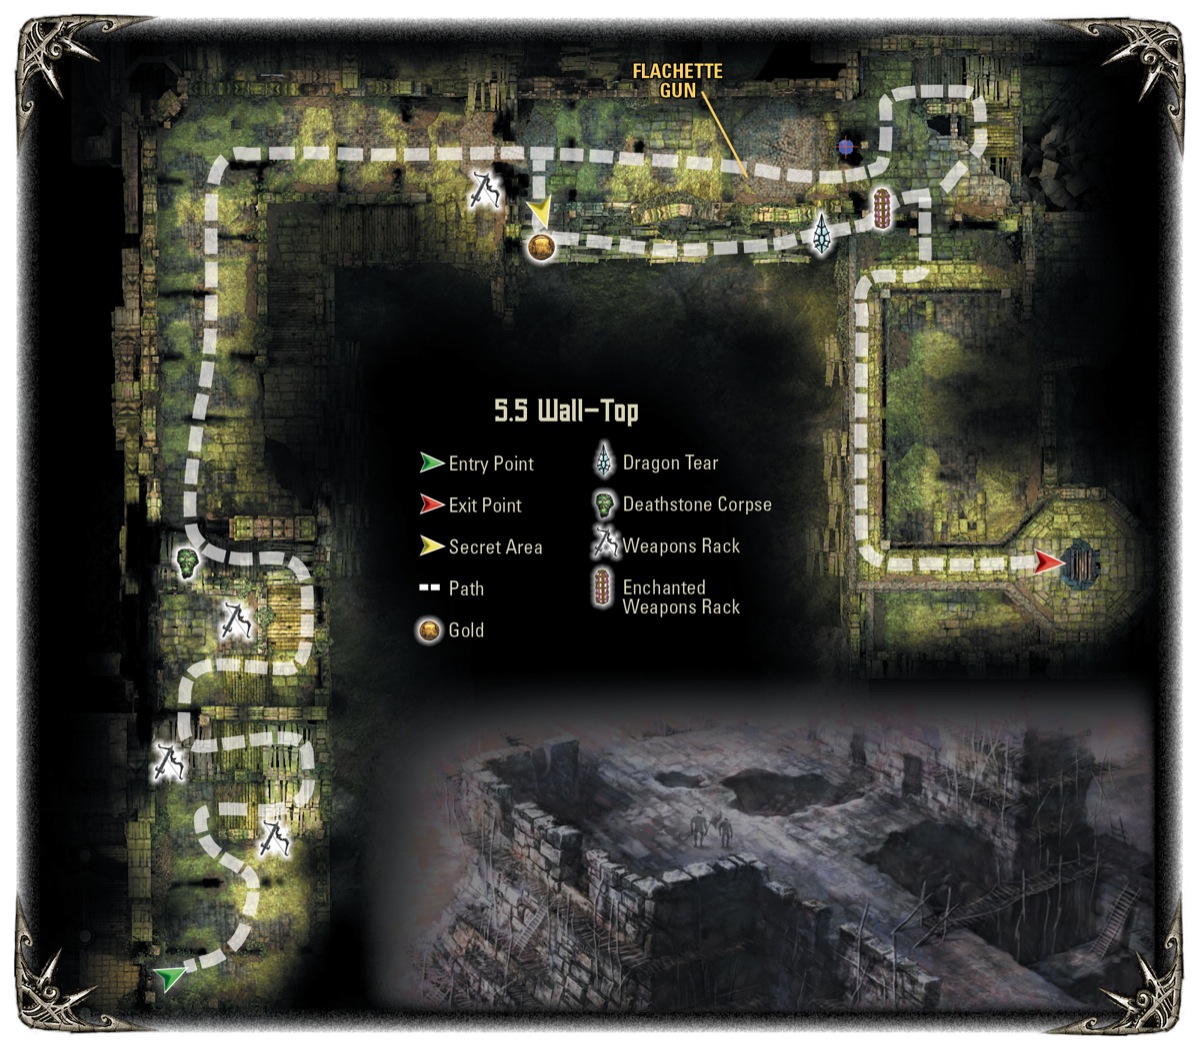
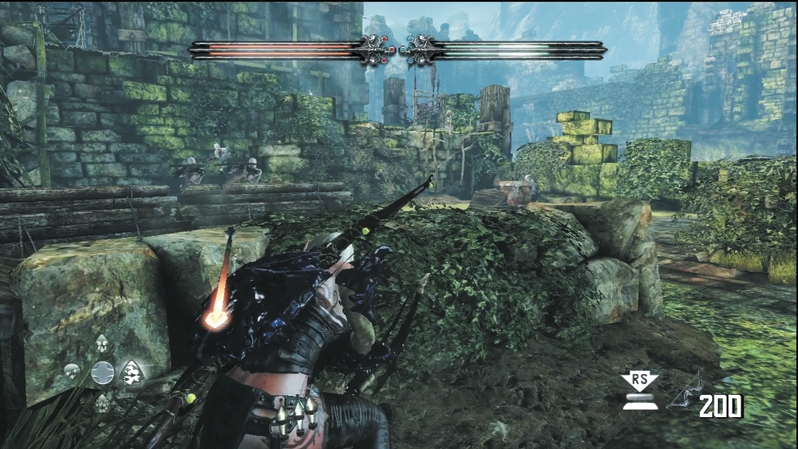
You're under fire again when you step through the door. Immediately duck for cover behind the ivy-covered stones near the door and return fire on the Wargar behind the woodpiles.
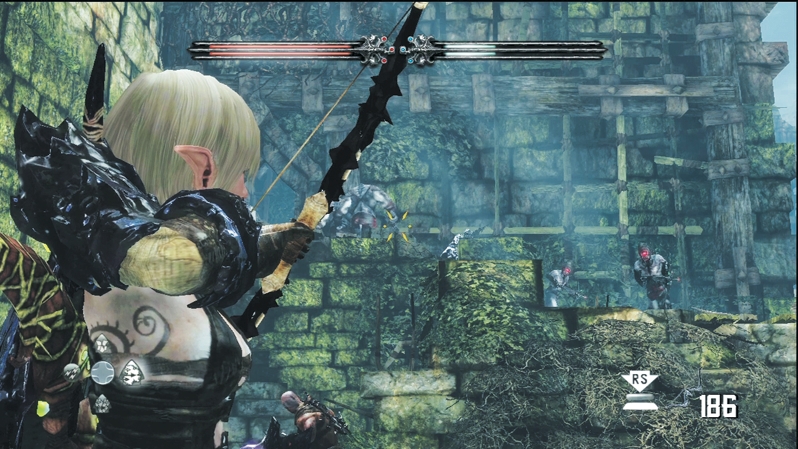
If you're fast enough in dealing with the first enemy wave, you can aim at the stairs and knock off a few enemies before they reinforce the courtyard defenses.
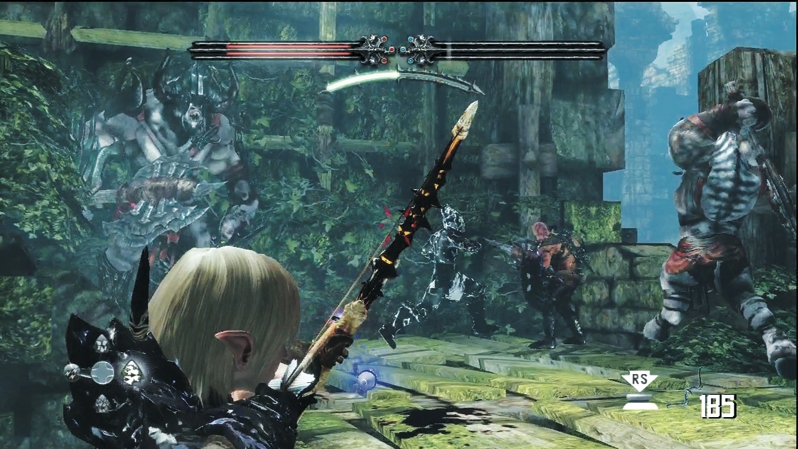
Minotaurs and Wargars converge on the first person to reach the stair landing. Send Caddoc to intercept the melee enemies, and while he bashes away, E'lara supports with Arcane Burst against the Minotaurs and Pyre Blast to drive back groups. If you get in trouble, Caddoc can levitate any foe in the vicinity with Wind of Wrath and leave them easy pickings for E'lara's bow.
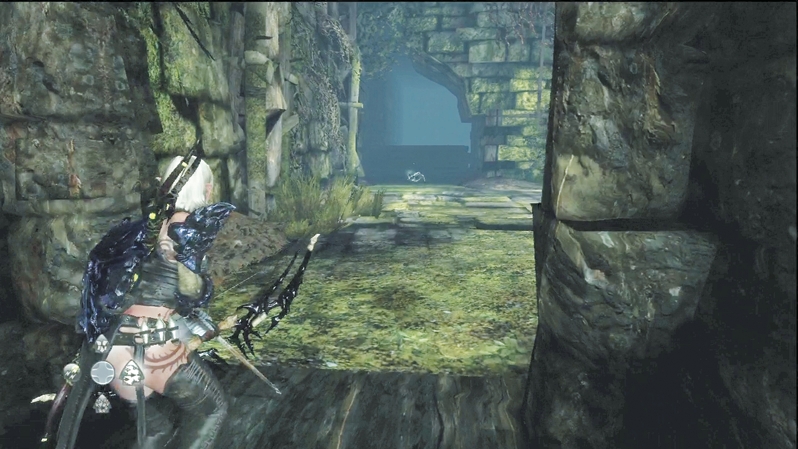
Take the archway atop the stairs and enter a quiet courtyard with a new set of stairs winding up to a higher level. Under the stairs, use your Deathstone to speak with another corpse.
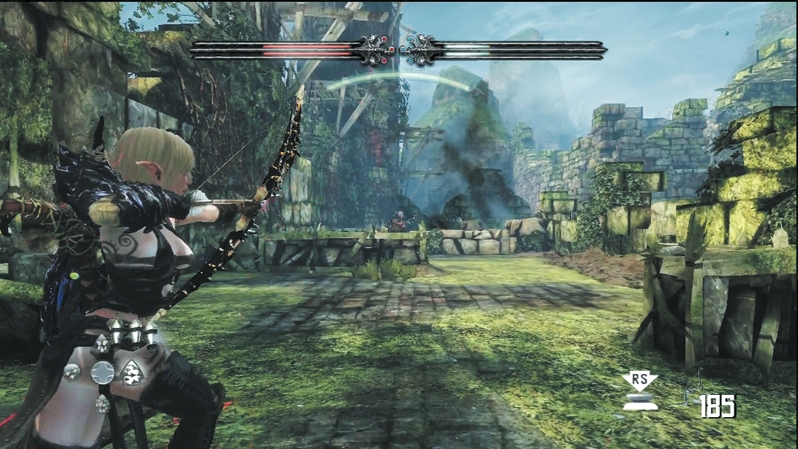
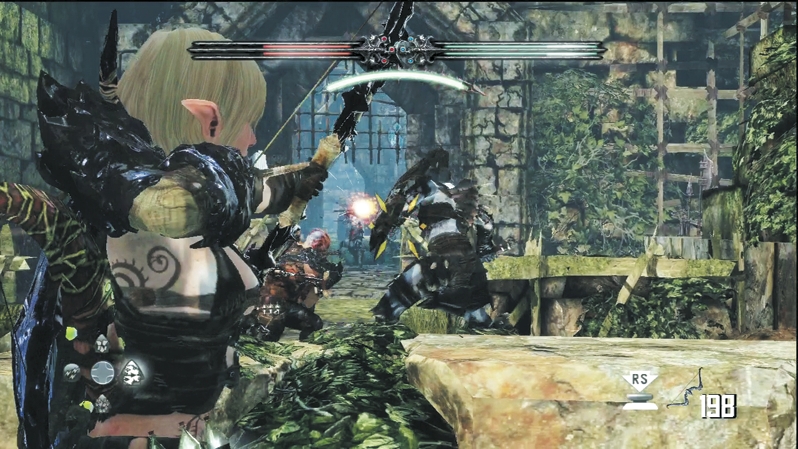
Next, you enter a long landing with several stone barricades jutting out of the walls. Scorchers and Blastcasters attempt to use the distance to their advantage and puncture you full of arrows before you can reach them. Even if you do race to the end and attack, Wargar Guardians defend their ranged brethren. The trick is to keep the ranged attackers on the defense with a flurry of arrows from E'lara and buy time for Caddoc to kill as many Scorchers and Blastcasters as he can in the first few seconds. When the Guardians arrive, Wind of Wrath can hold them back until E'lara finishes everyone off.
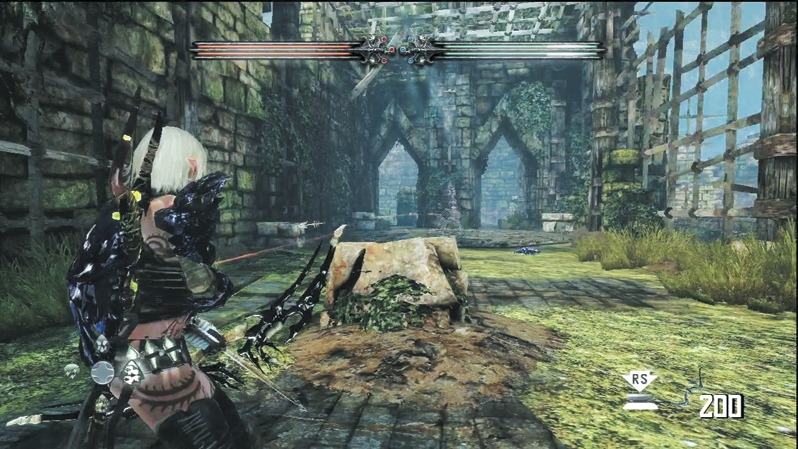
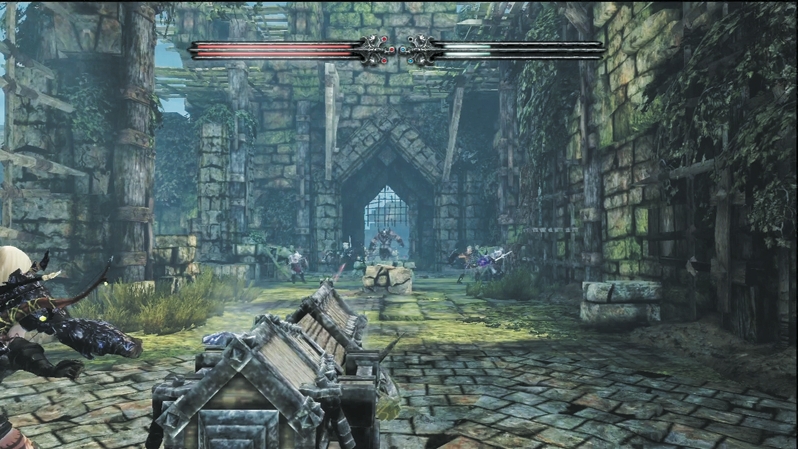
A raised portcullis leads into the next area with a flechette gun at the far end. Sprint down one side, and when you see arrows zipping in your direction, roll to the other side and reach the gun before it can turn on you again. Once you slay the operator, take over the flechette gun and turn it on a host of enemies that now trail you. Wargars and Minotaurs will charge down the expanse to retake the flechette gun, unless you cut them all down with a continuous stream of arrows. The partner not manning the flechette gun should stand nearby, ready to intercept any attacker that makes it close enough to dislodge the flechette gun operator.
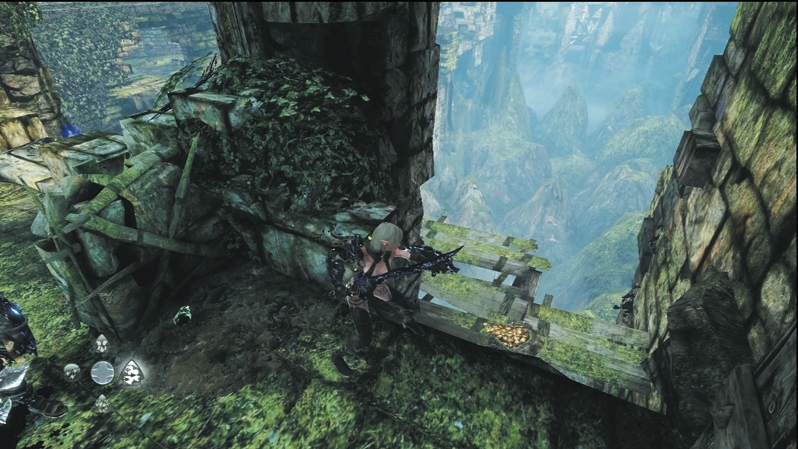
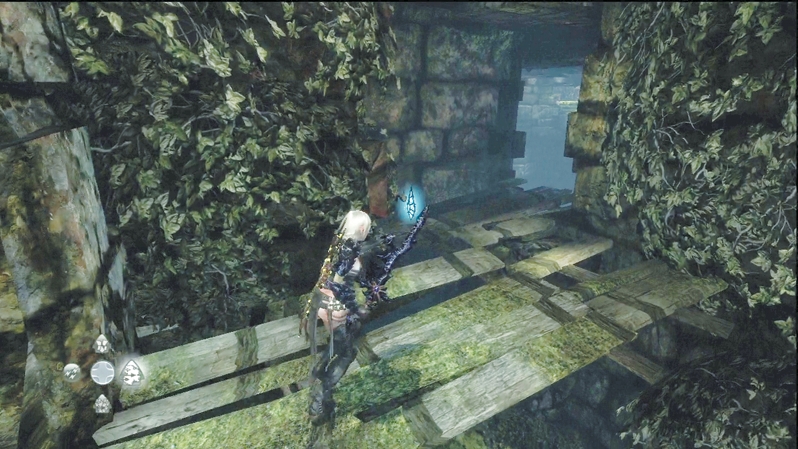
Before you proceed to the end of the top wall, double back to the end of the expanse where you fired on all the enemies with the flechette gun. If you look carefully, there's an open section of wall that drops you onto a wooden catwalk—be careful not to fall down to the deadly ground below. Fetch the gold at your feet and follow the catwalk until you see the twelfth Dragon Tear. You can't retrace your steps, so jump through the hole in the wall behind the Dragon Tear and climb up the stairs to the area behind the flechette gun.
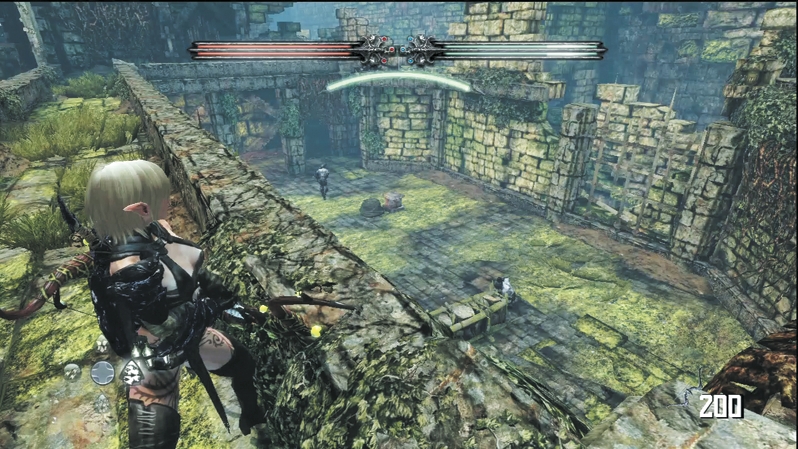
Go through the next door and peek over the balcony ledge ahead. Below is the courtyard at the end of the bottom wall section. Lots of enemies scurry about, and it's a perfect opportunity for an ambush. Fire down at enemies to thin the defenses for later.
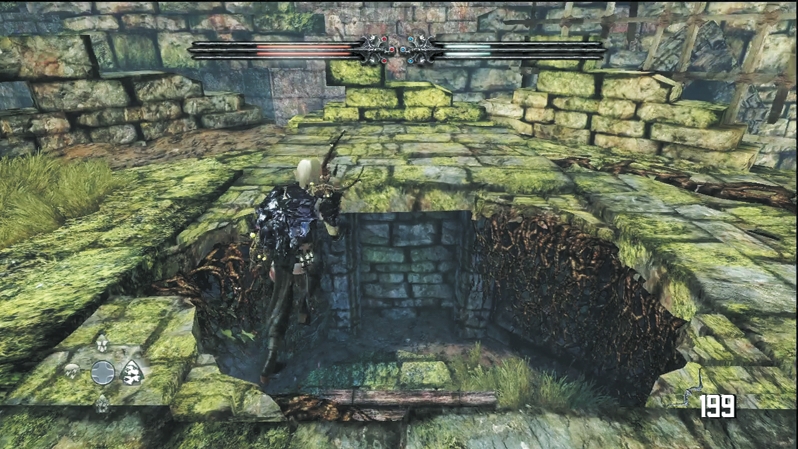
Circle around the balcony and jump down through the hole in the stone floor. You've now made it to the bottom level of the interior wall defenses.
Wall (Bottom)
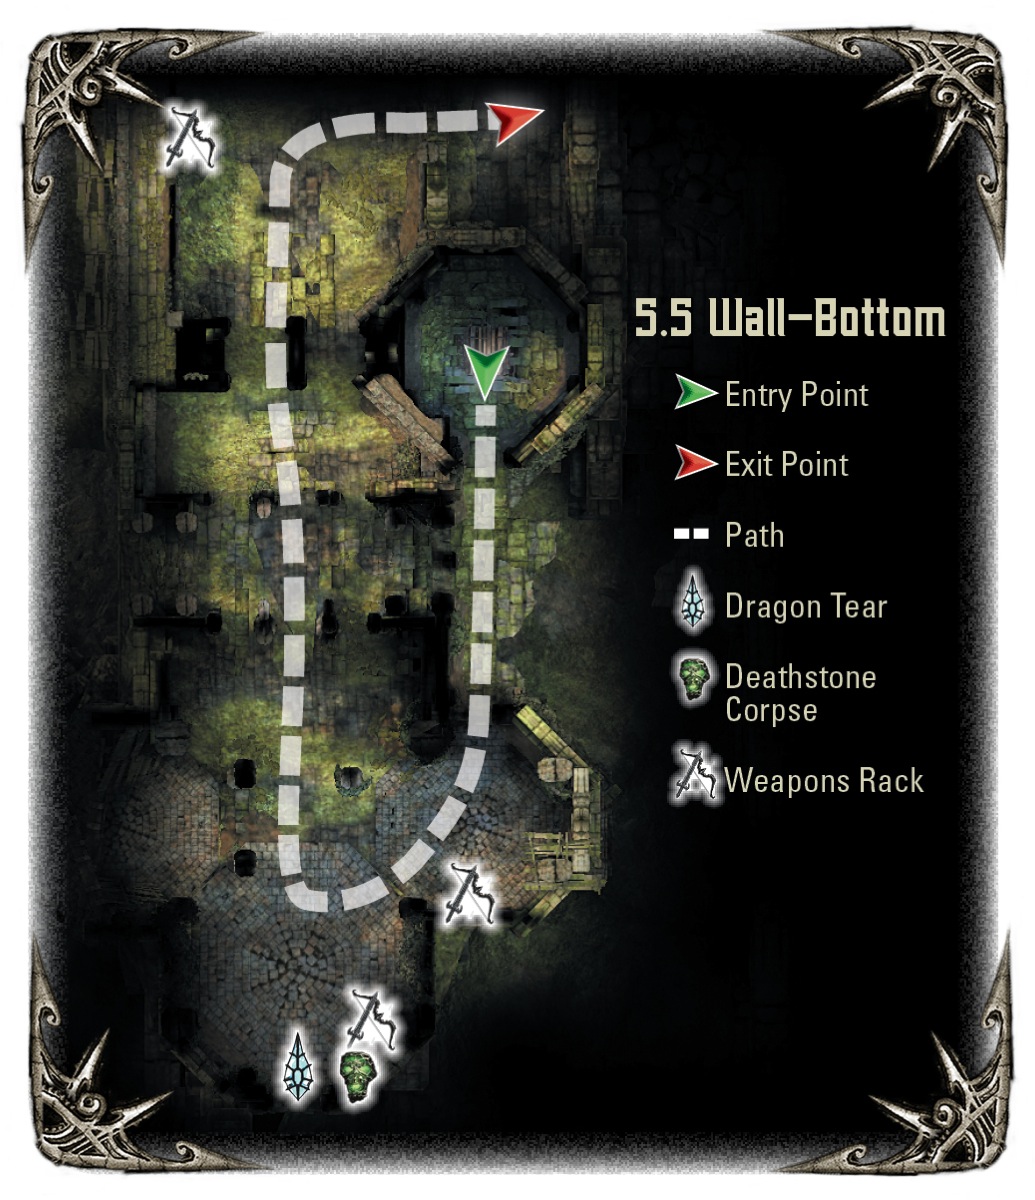
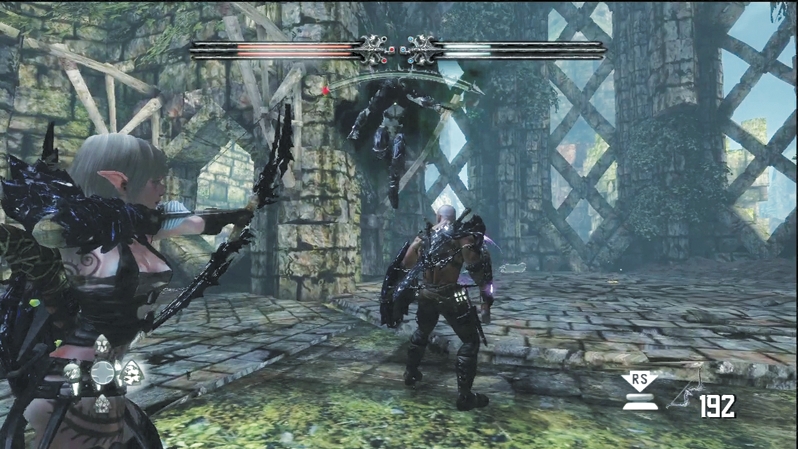
Exit the room you dropped into and head out onto the ledge. You'll hear a woman crying across the ravine. You can slide through a hole in the wall to enter one of the wall's towers. Expect a Harridan to attack a few seconds later. As usual with these speedy assassins, stay in constant motion and hit her when the opportunity arises. Deal with her totems and deal enough damage over time to see her as dead and cold as the stone she lands on.
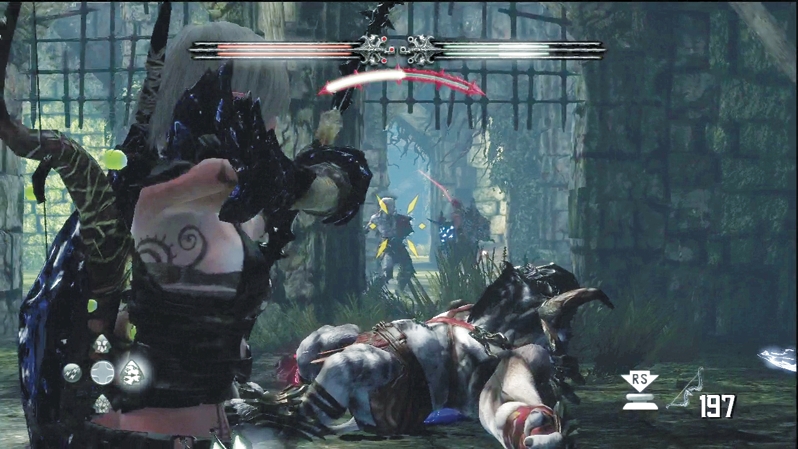
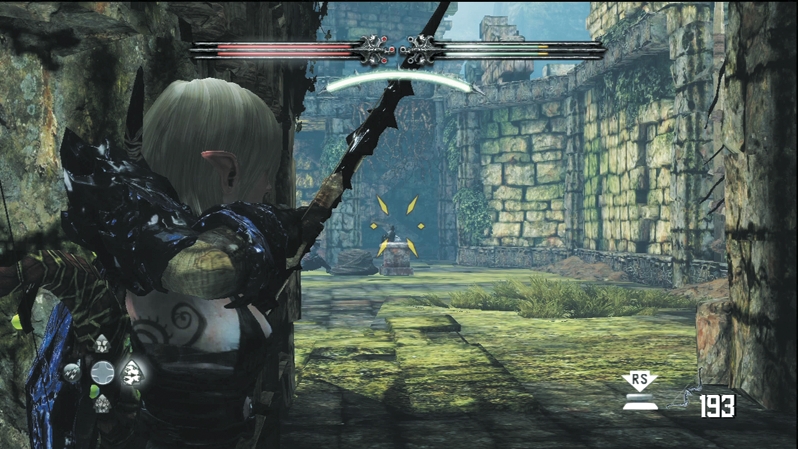
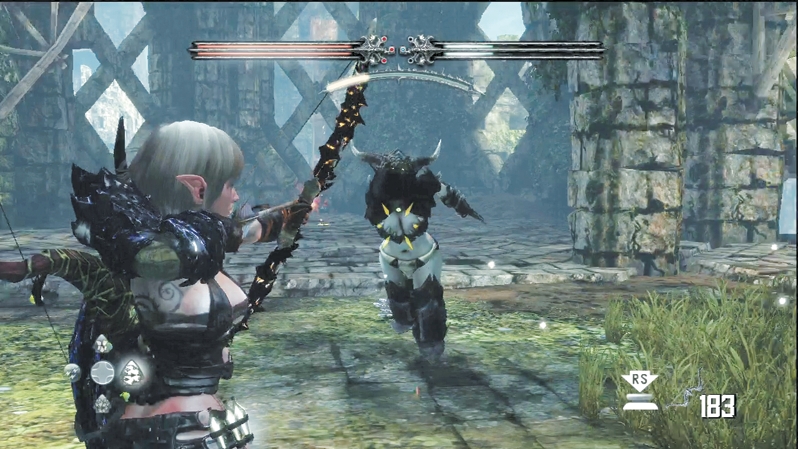
Wargars and Minotaur follow up the Harridan ambush with an attack from the open gates. Battle the melee enemies inside the tower to give you cover from the ranged attackers behind them. If you stand back far enough in the tower, you have clear shots at the onrushing attackers and can drop most before they reach you. Before you exit the tower, speak with the nearby Deathstone corpse. Head outside into the final courtyard (which you shot down on earlier from the balcony above). Cut down any remaining enemies and restock your supplies from the loot dropped off dead bodies.
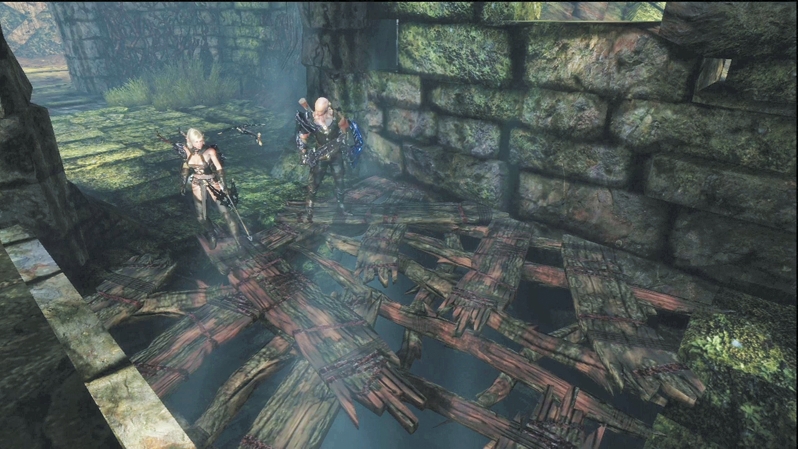
Leave the courtyard through a corridor in the back corner. You see enemies racing into position in the distance, but before you can even think about how to prepare for the encounter, the floor falls apart and you fall into another sewer section.