
Hunted: The Demon's Forge Guide Walkthrough Chapter 5
Sewer
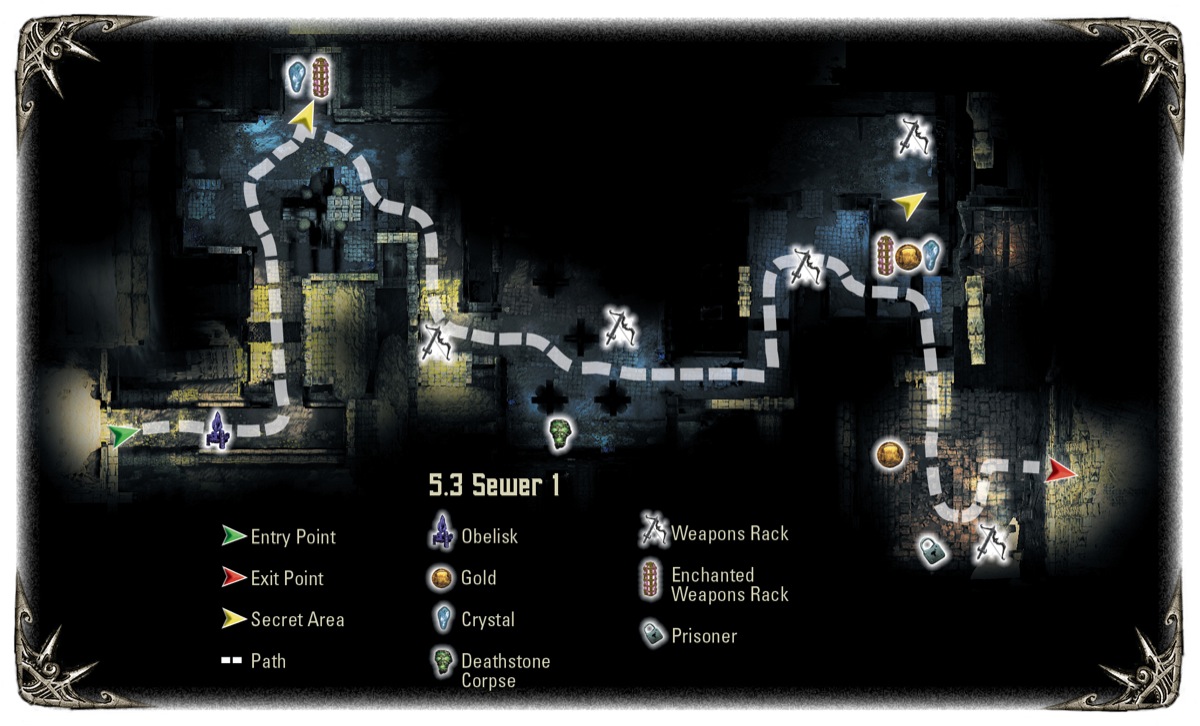
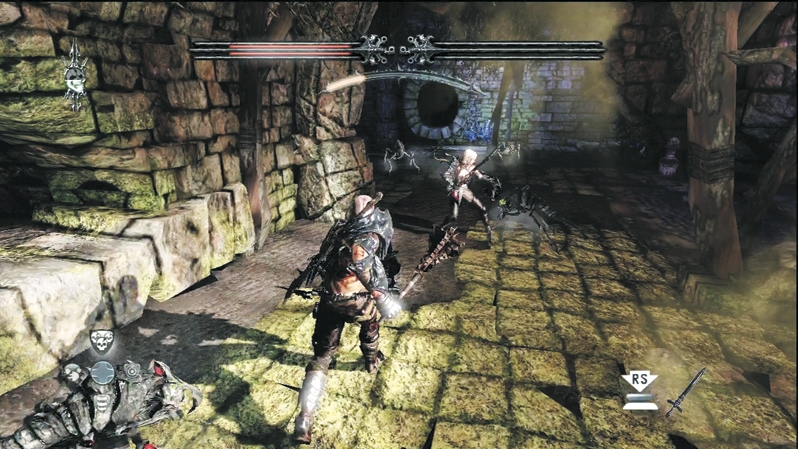
Use the obelisk or the magic portal inside the first stretch of sewer tunnel. A side opening leads into the main sewer section, where Shadow Crawlers seek to overwhelm you. There are lots of the little buggers in the large chamber ahead, and they come out of the many sewer pipes around the room, so watch your back. If possible, try fighting side by side and protect each other. After you splatter all the Shadow Crawlers, explore the room. Go carefully and avoid the pressure plate that sends poison darts out of the first side alcove.
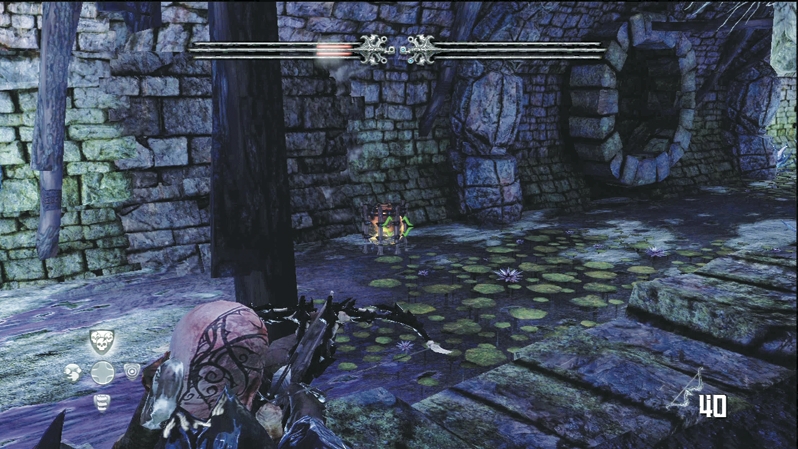
An explosive crate sits in the water against a shoddy-looking wall. Shoot the crate, which blows a hole through the wall to expose a secret room with a Crystal Chest and enchanted weapon rack. Another pressure plate is in the exit corridor; avoid it to dodge another set of poison darts.
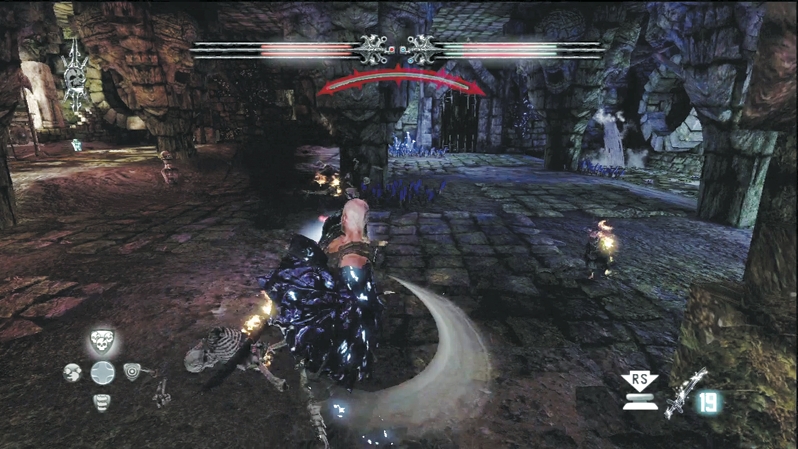
The room holds a host of Skeletons and more Shadow Crawlers. Let the Shadow Crawlers come to you in the corridor, where you can keep them in front of you, and advance into the room for more space when the Skeletons begin firing arrows at you. A Deathstone corpse floats in sewer waters off to the side; speak to it before you move on.
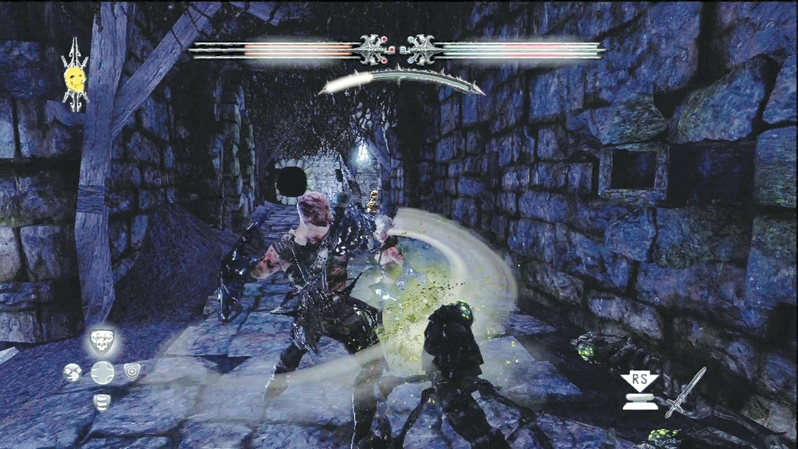
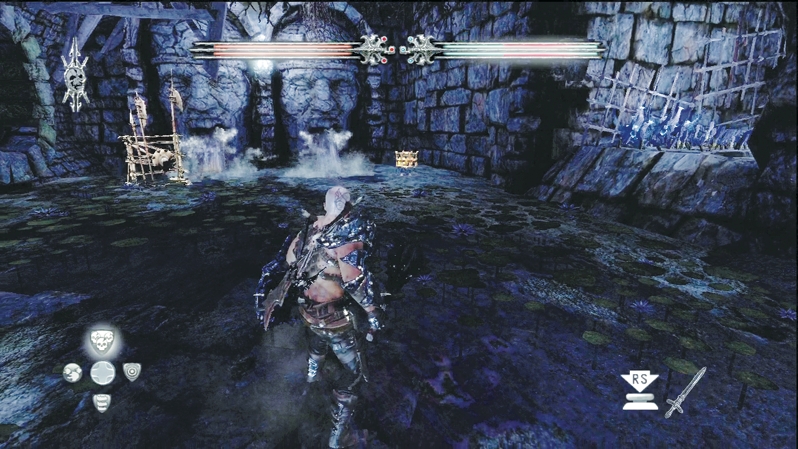
Those pesky Shadow Crawlers attempt to ambush you in the next corridor and in the room beyond. As before, watch for the Crawlers to leap out of the pipes and scurry out of the shadows. Keep your shield up and your melee weapon ready to squash the bugs.
In the room's back corner, you'll see a suspicious explosive crate. Shoot the crate to blow open the wall and reveal a secret treasure vault with an enchanted weapon rack, a pile of gold coins, and a Crystal Chest. After you pocket the riches, head through the door in the exit corridor.
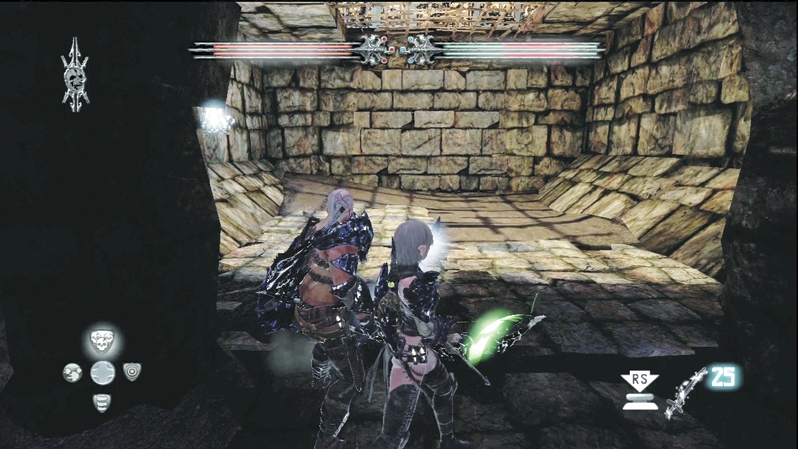
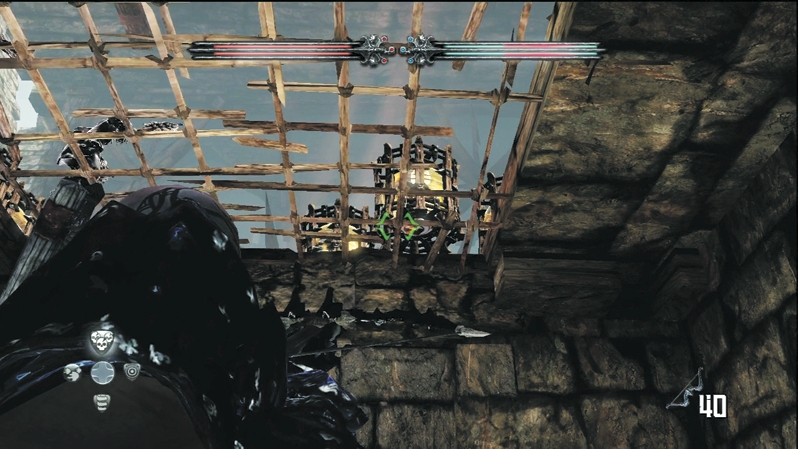
The passage leads to a dead-end chamber. A ceiling grate reveals some sort of prison area with Wargar guards and the voice of a prisoner out of sight. With no door, you have to make your own. Fire an arrow through the grate into the visible pile of explosive crates. The explosion kills the Wargar, and the rubble creates a ramp to climb up. Free the prisoner, who tells you there's a secret, walled-off chamber in the next area that holds Kala Moor valuables. You can also regain resources from the canisters around the room and can earn more gold from the treasure chest in the back corner. A crack in the wall leads to the construction area ahead.
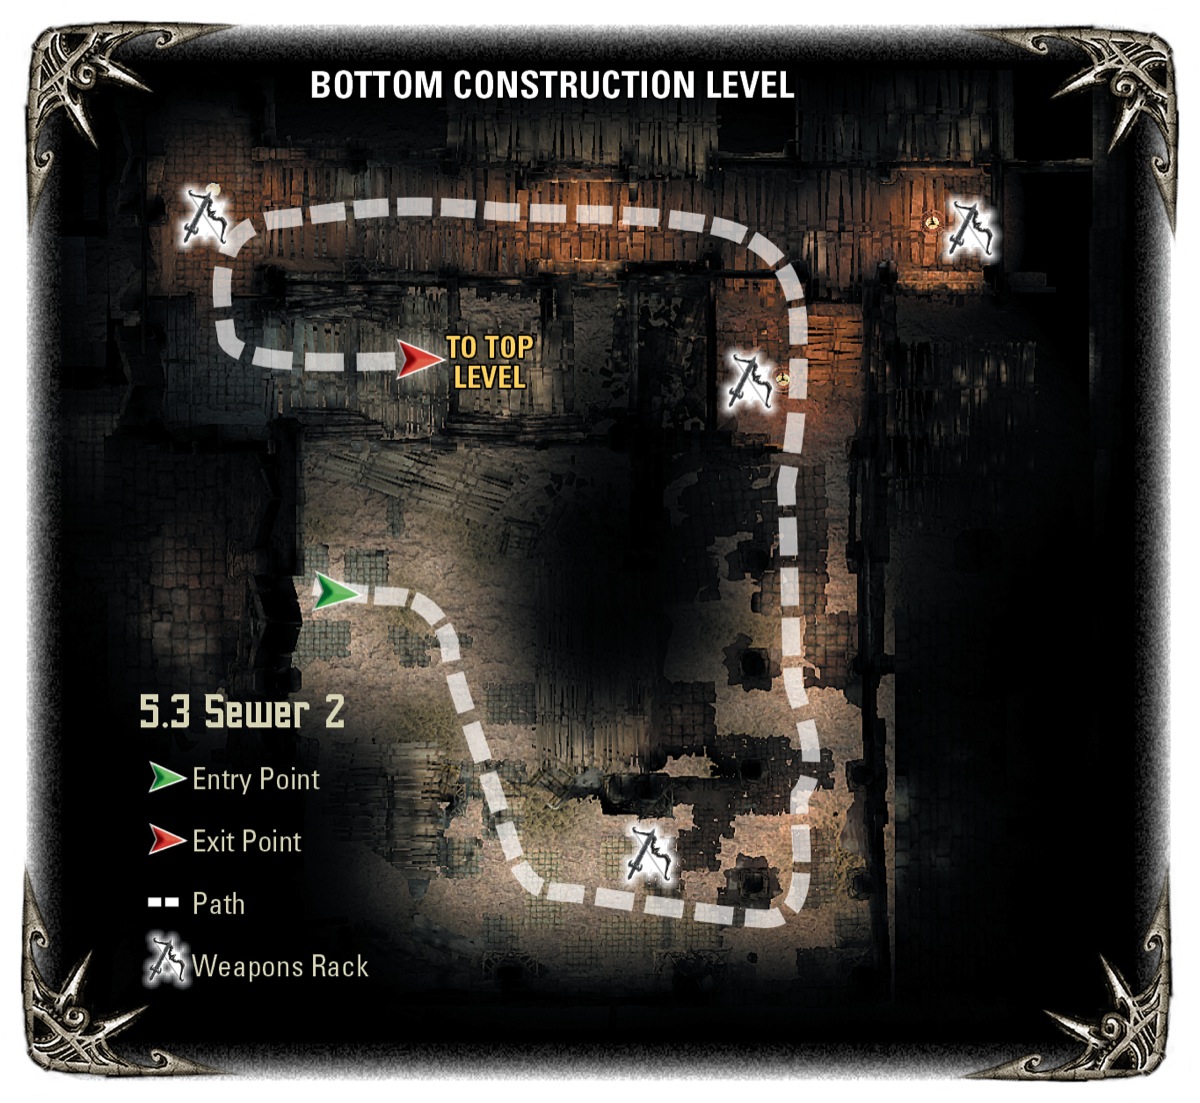
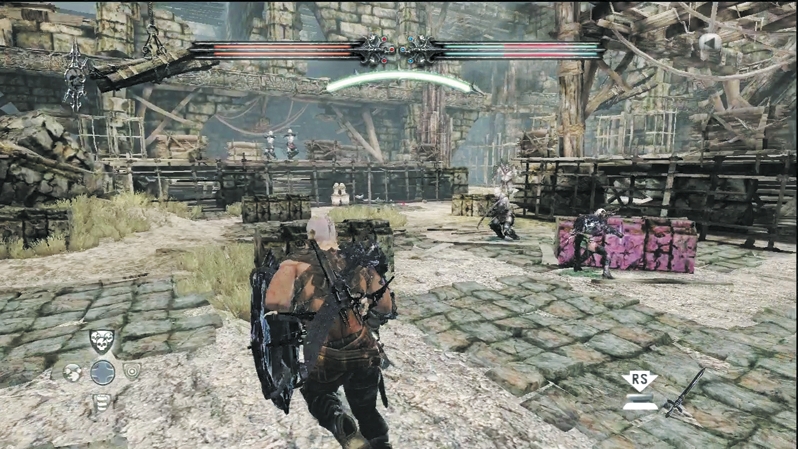
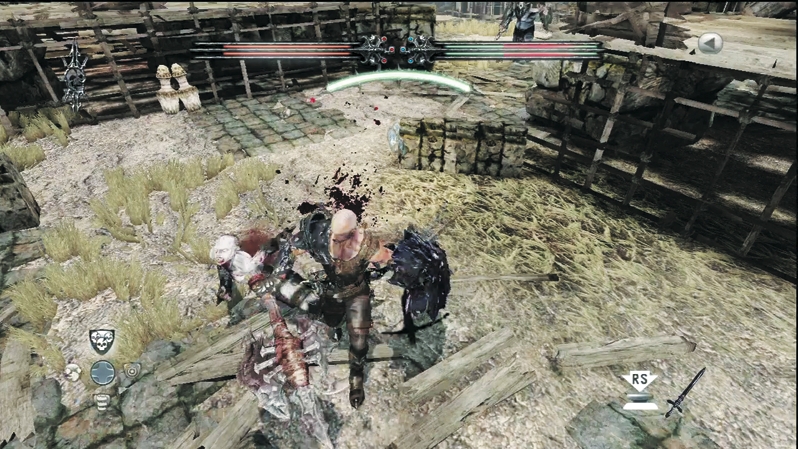
You're under siege as soon as you slip through the crack from the prison area. Wargar Archers and Wargar Soldiers fill the construction area. Jump behind the stone blocks and use them as cover. E'lara can pick off targets from cover. Caddoc can advance from cover spot to cover spot and pound the closest enemy when it gets within melee range.
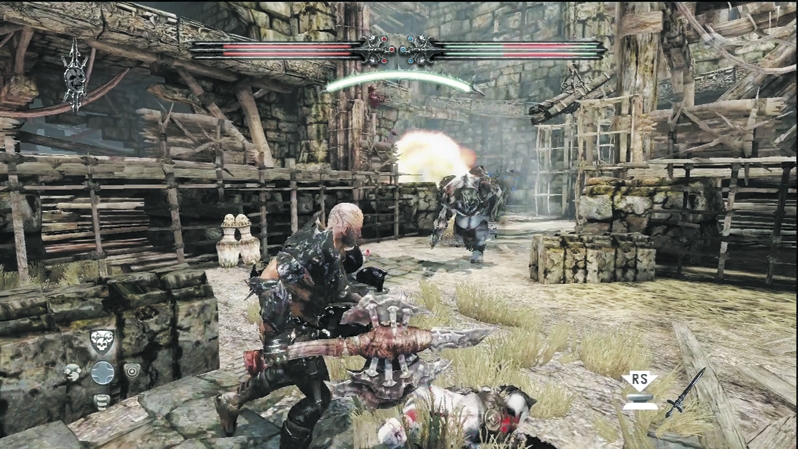
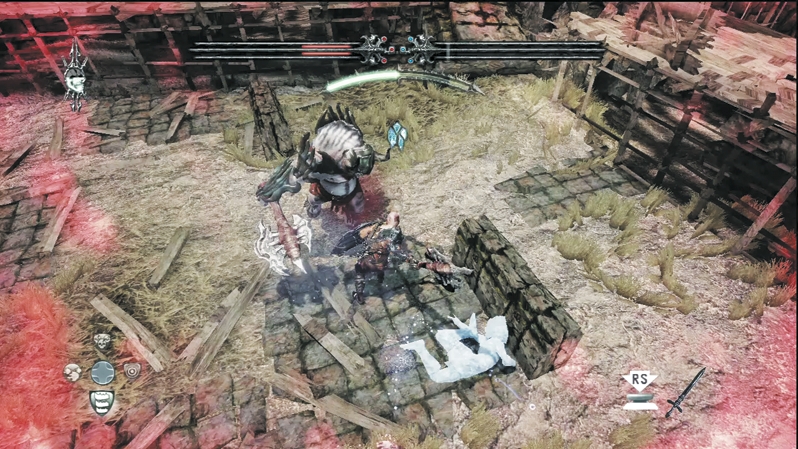
When it sees a chance to gore you, a Juggernaut Elite will charge into the area from the exit ramp. These new Minotaur are more heavily armored than regular Juggernauts, which means they withstand more damage in melee combat. As with Minotaur Juggernauts, the attack that hurts them the most is Arcane Burst or arcane-based melee weapons. Just when you finish off the Juggernaut Elite, a Minotaur Juggernaut reinforces with more Wargar. Beat them down to continue up the ramp.
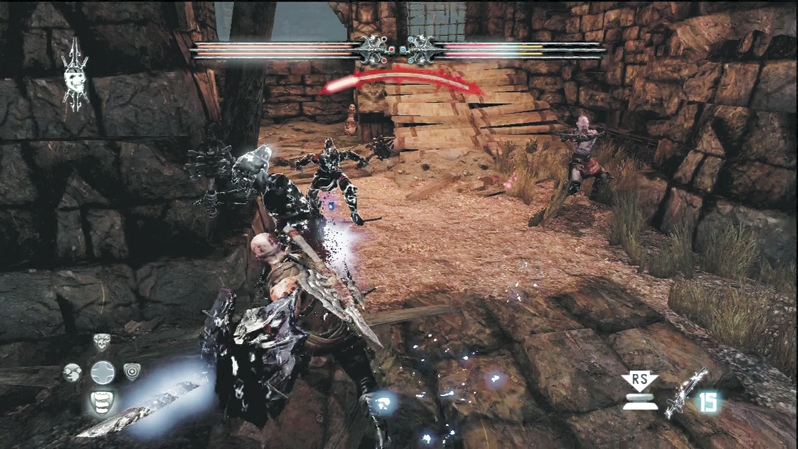
As you come up behind the ledge overlooking the initial construction area, Wargar Zealots block your passage. Caddoc can cut into them and give E'lara enough time to nock some magic-fueled arrows and destroy them quickly.
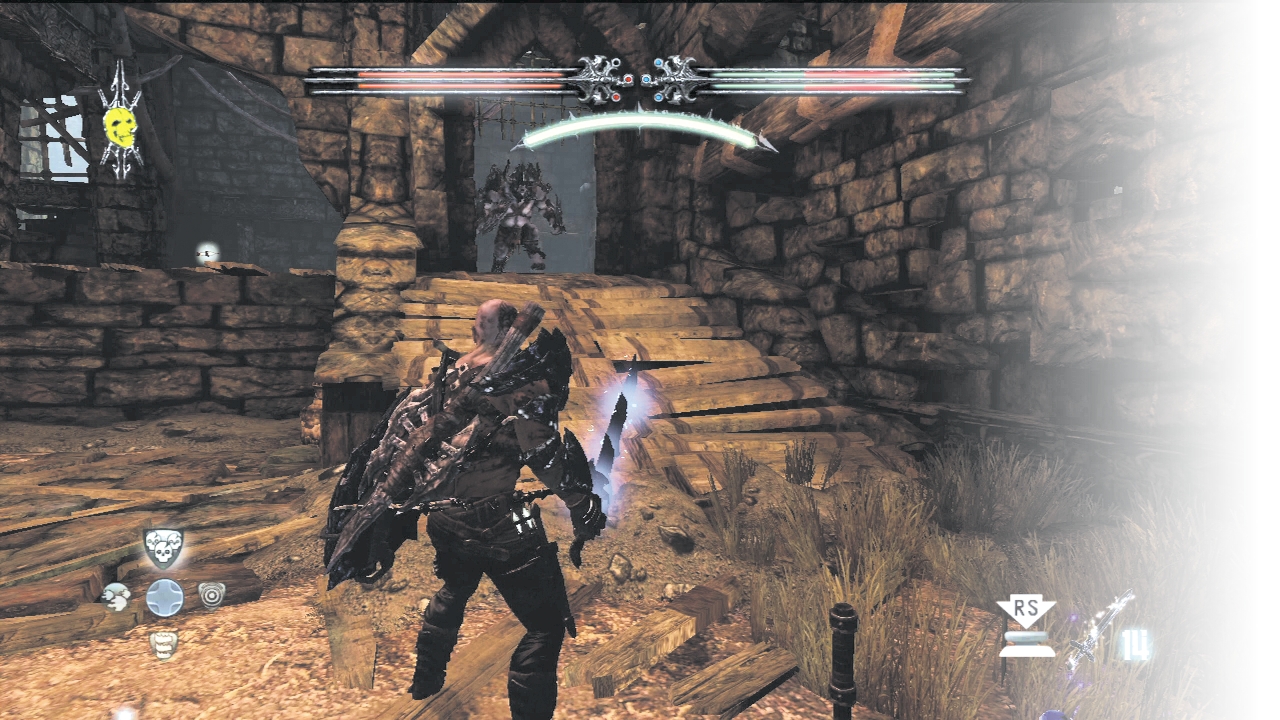
A second Juggernaut Elite bars the archway to the next ramp. Employ the same combat maneuvers as in your first battle, though this time you won't be surprised by its charge.
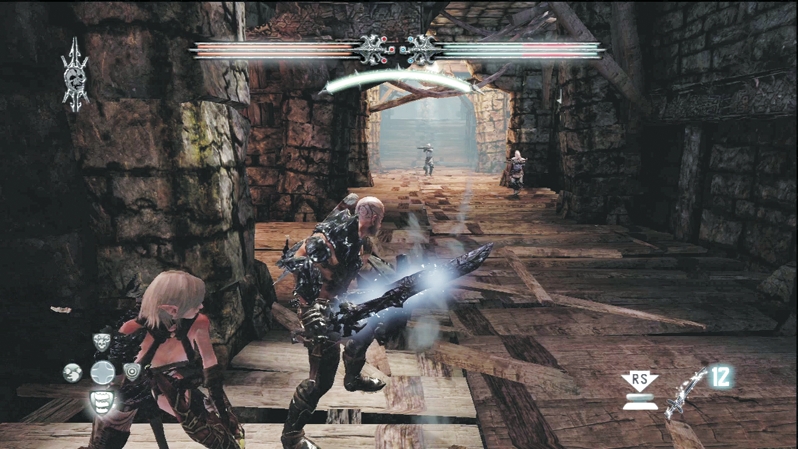
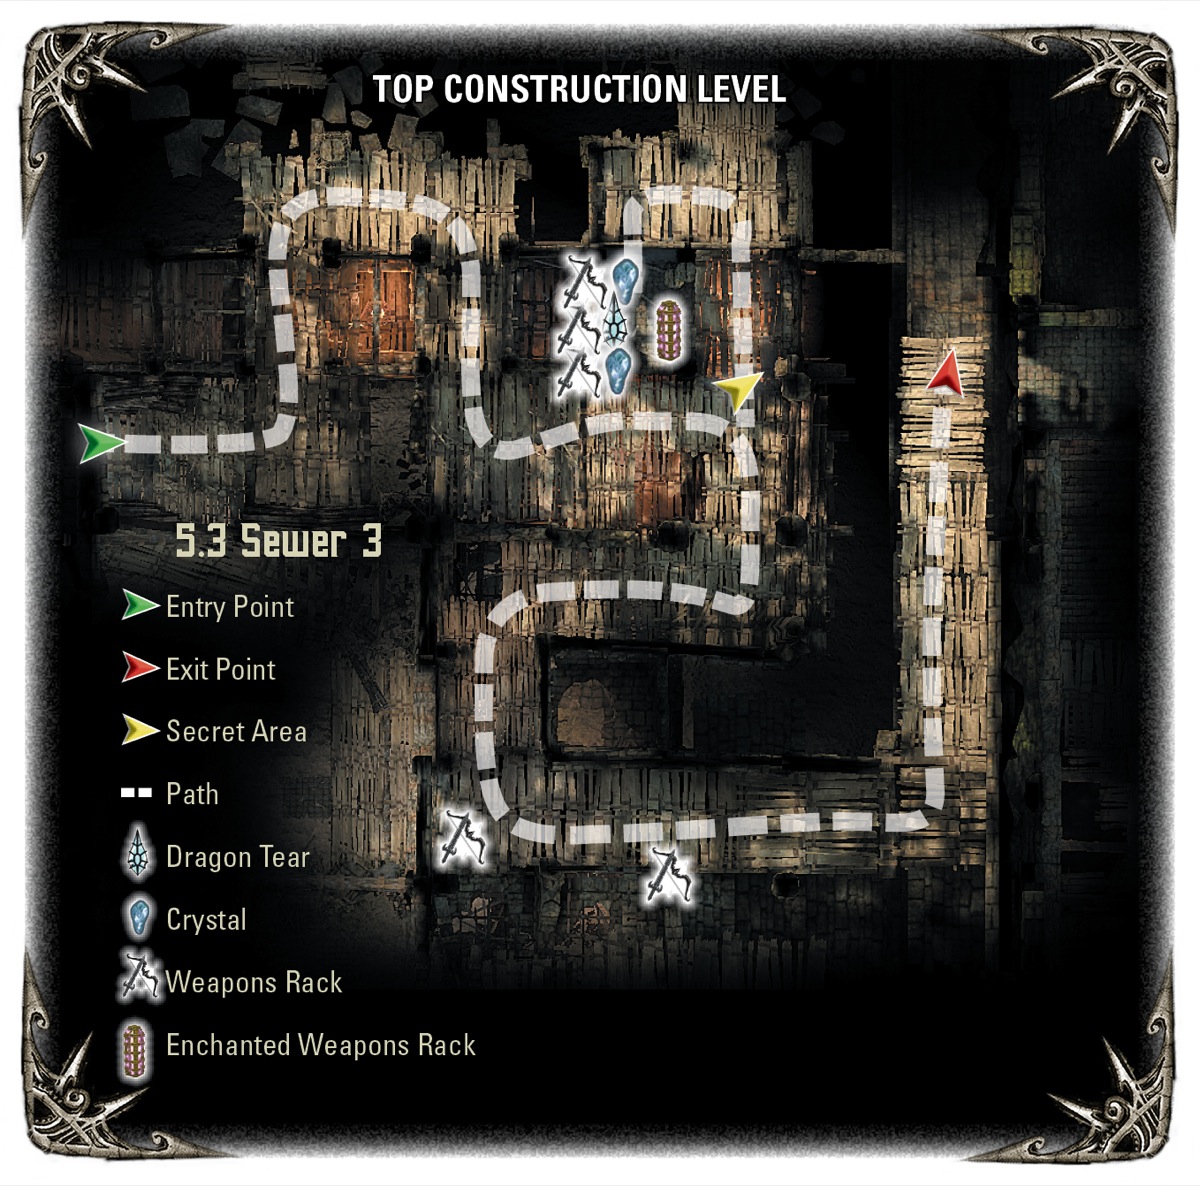
Take the ramp behind the Juggernaut Elite up to the top level of the construction area. Wargar Archers and Wargar Scorchers volley arrows down at you. If you get Caddoc into melee with them, they don't stand a chance, or E'lara can outdamage them with Pyre Blast or Arctic Arrow.
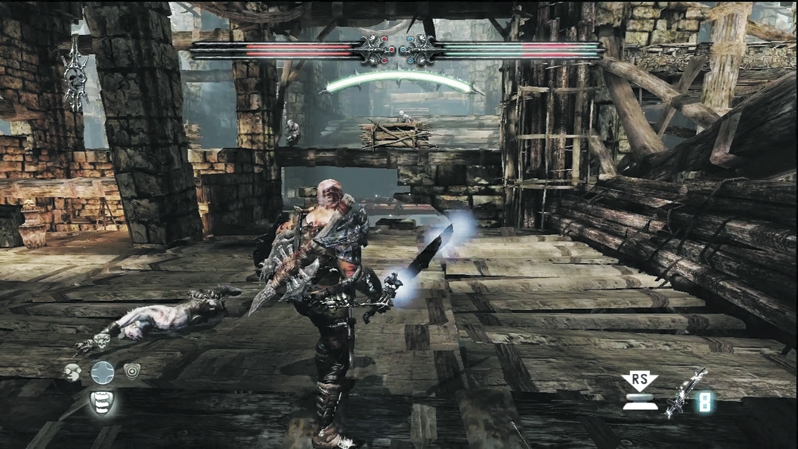
Wargar Warriors engage at the ramp's top. They seek to pin you down while Wargar Scorchers across the open expanse chip away at your health. Smash through the Warriors and hide behind the stone columns for cover from the Scorchers. You can't reach them until you circle around the catwalk, and a Wargar Guardian stands in your way. Let the Guardian come to you so you don't break cover, and take it out without getting pelted too badly by the Scorchers. Once the Guardian falls, rush around the catwalk and bash the Scorchers' brains in.
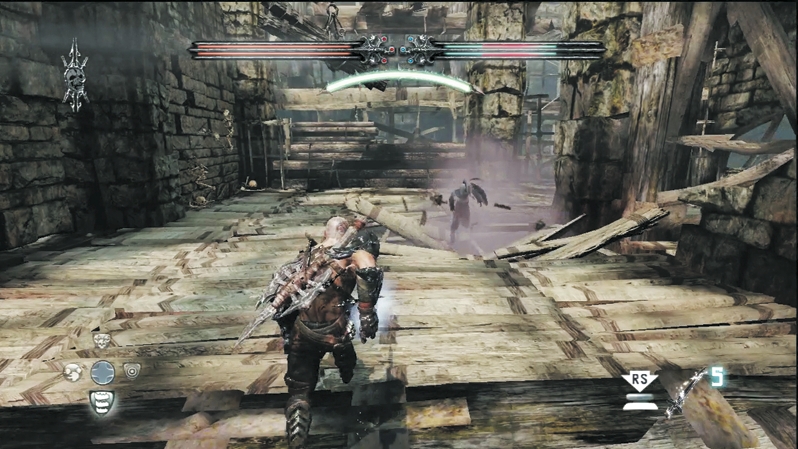
A Wargar Warrior will charge at you up the next ramp. However, luck is on your side as a section of the platform gives way and the Warrior plunges to its death. In the corner behind the damaged platform, look for bones mortared into the wall. These are the unfortunate slaves the prisoner mentioned earlier, and a secret chamber lies behind the wall. Shoot the rope holding a suspended pile of logs above the wall. The logs destroy the wall and grant access to stairs leading down to the chamber. You'll be very happy you discovered this particular vault with two Crystal Chests, an enchanted weapon rack, and the eleventh Dragon Tear.
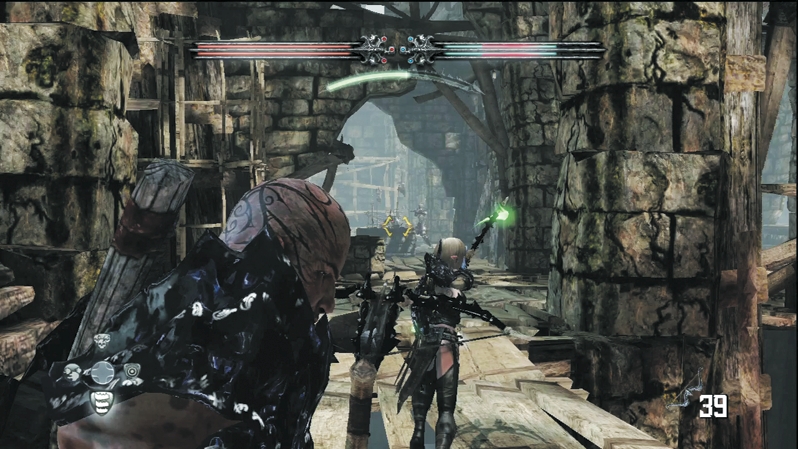
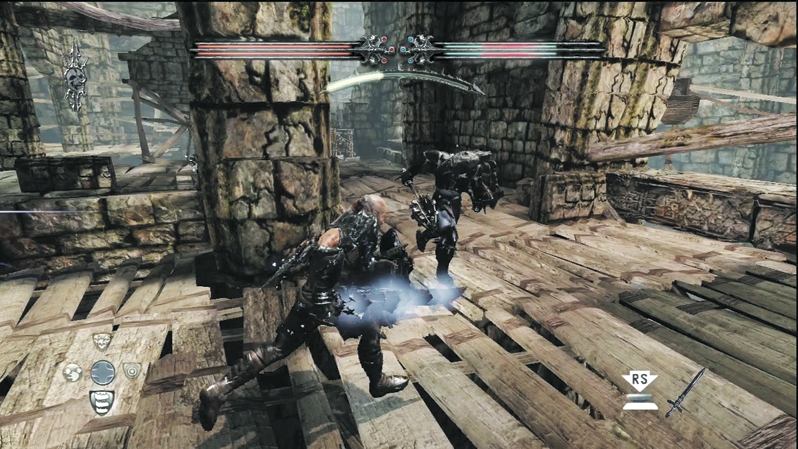
Before you explore the secret chamber, you might want to eliminate the Wargar Blastcasters that have a clear shot at you from farther along the catwalk. Wargar Guardians defend the Blastcasters. You'll either have to take out the Blastcasters at range or intercept the Guardians and battle through them to reach the Blastcasters.
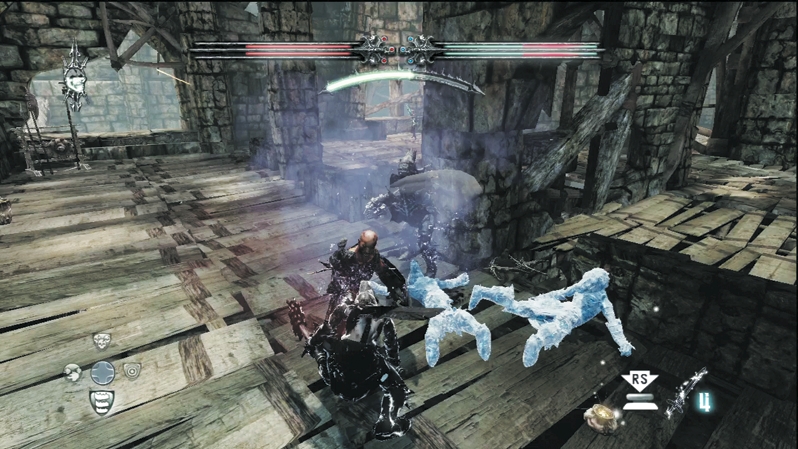
Wargar Zealots hold down the final ramp out of the construction area. Once these Wargar join the countless other enemies you've brutalized, you can advance on the bridges leading into the heart of the fortress.