
Hunted: The Demon's Forge Guide Walkthrough Chapter 6
Boss Battle: Anuvin
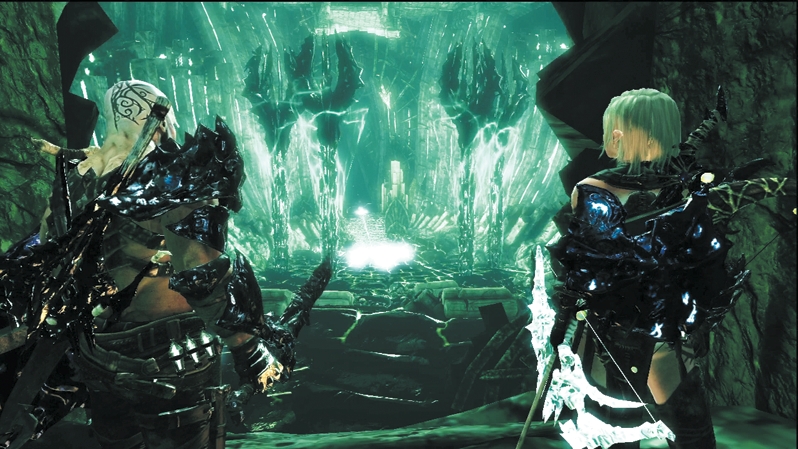
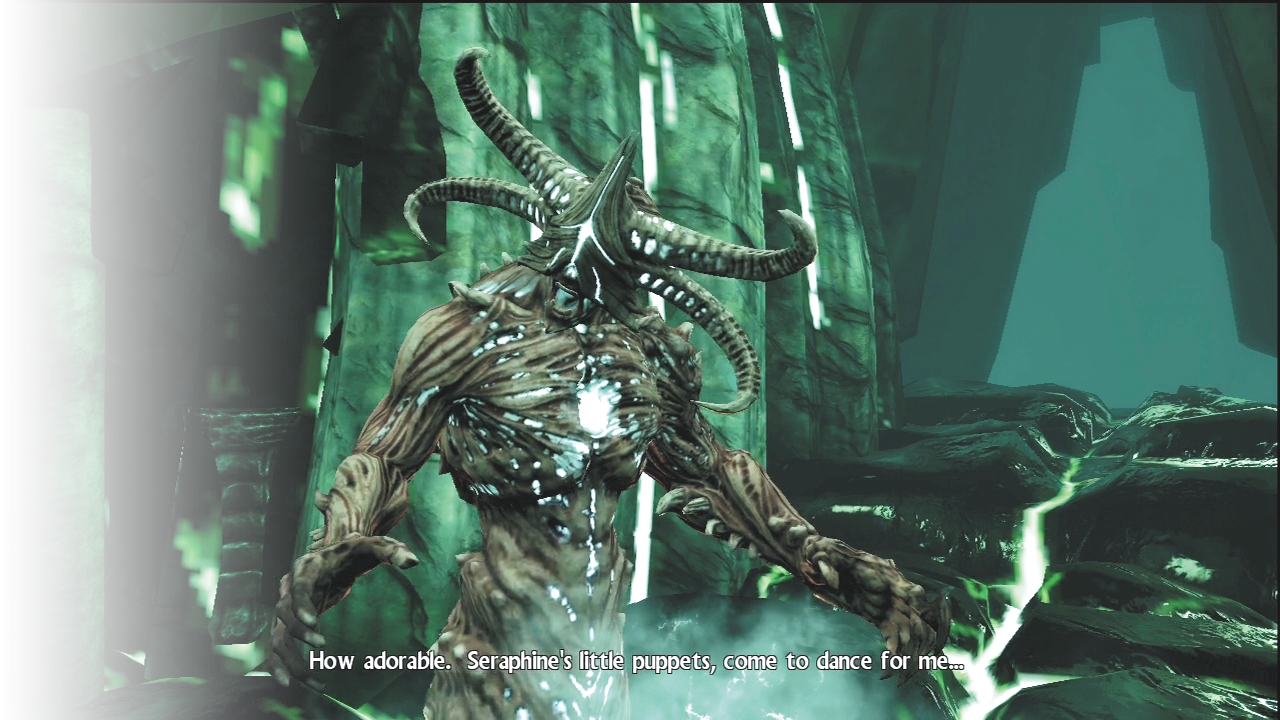
Finally, you've found the Demon's Forge, the source of Sleg, and its hideous master, Annuvin. It's been a long, and tragic, journey, but you plan on making the deformed dragon-hunter pay for his crimes against the slain people of the land.
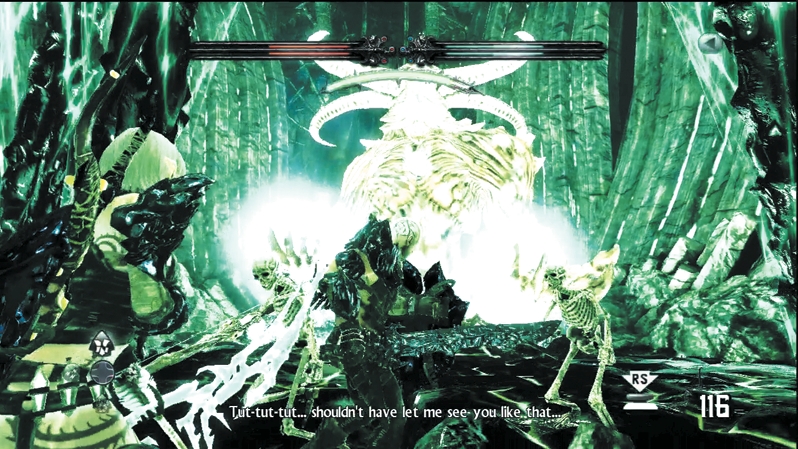
It won't be easy. When you size up Annuvin at first, you probably think he looks tough, but the two of you are more than a match for one warrior, no matter how mutated he's become. Then he takes a dip in the Sleg pool and emerges as a 100-foot giant! To ensure your life expectancy lasts minutes instead of years, Annuvin conjures Skeleton after Skeleton to overwhelm you.
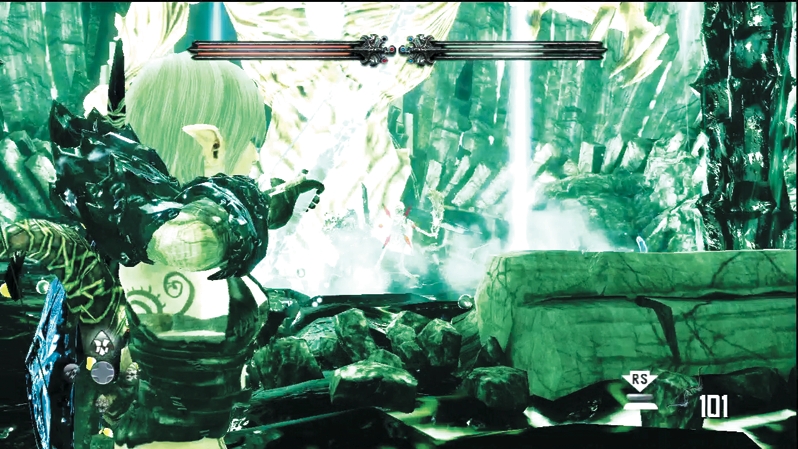
While the Skeletons attack, Annuvin draws forth power from the Sleg and blasts energy down from the cavern ceiling. If you're caught in that explosion, it jolts you off your feet and causes severe damage. Annuvin also claps his massive hands together and sends out a shock wave that knocks you down and gives you more than a headache.
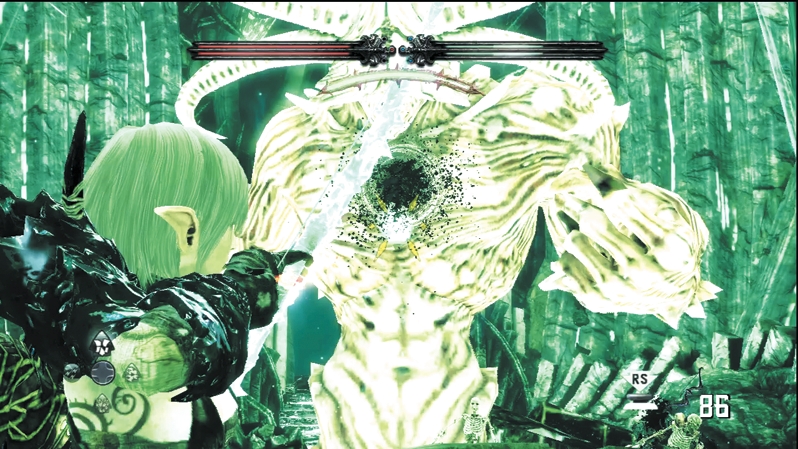
Caddoc is in charge of crowd control. His job in this fight should be to smash the Skeletons as soon as they arise on the battlefield. E'lara is better suited to deal damage to Annuvin from the back of the cavern and avoid at least some of Annuvin's counterattacks.
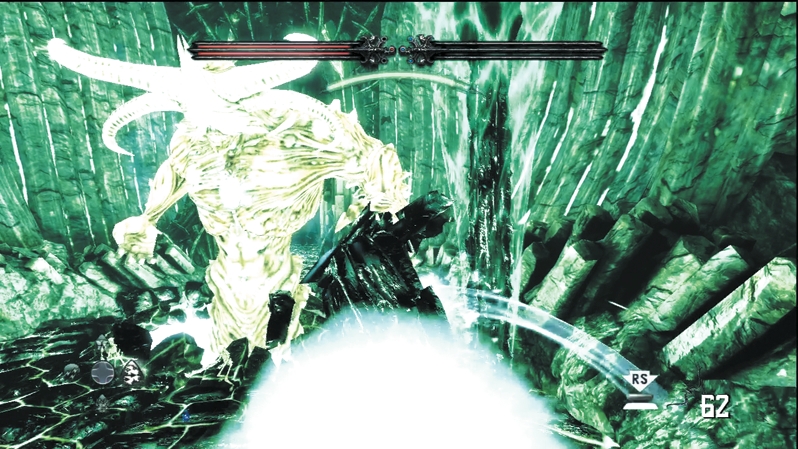
Aim for the hole in Annuvin's chest and pour on the damage. Unfortunately, Annuvin's life is intimately tied into the Sleg. You can't destroy him without bringing the whole Forge down. You can only deal enough damage to take a quarter of Annuvin's health off at a time. When he loses a quarter of his life, Annuvin taps into the Forge and begins to regenerate. He will pause attacks when regenerating, and you'll see Annuvin draw Sleg energy from one of the four rock pillars in the chamber. Caddoc must run to the pillar Annuvin is draining and push it over (just as if he were moving a wall). Once the pillar falls, you can start damaging another quarter of his life, but if you wait too long, Annuvin will regenerate back up to full.
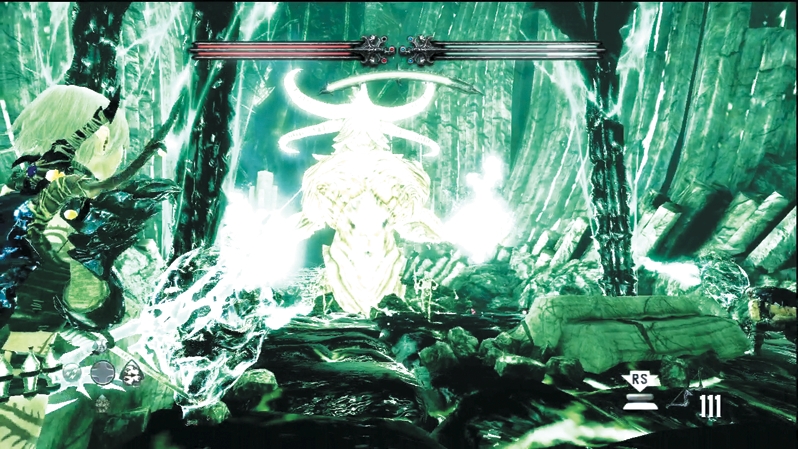
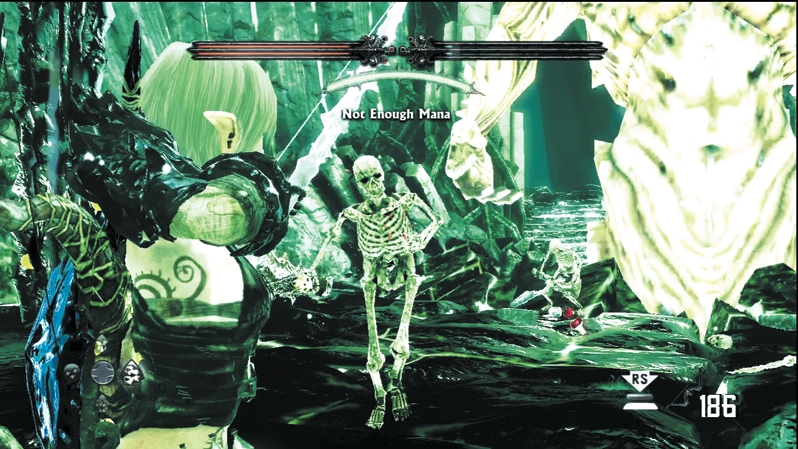
More and more Skeletons will arrive as you wound Annuvin. Occasionally, E'lara might have to drop her focus on Annuvin to help thin out the Skeletons with a Pyre Blast or three.
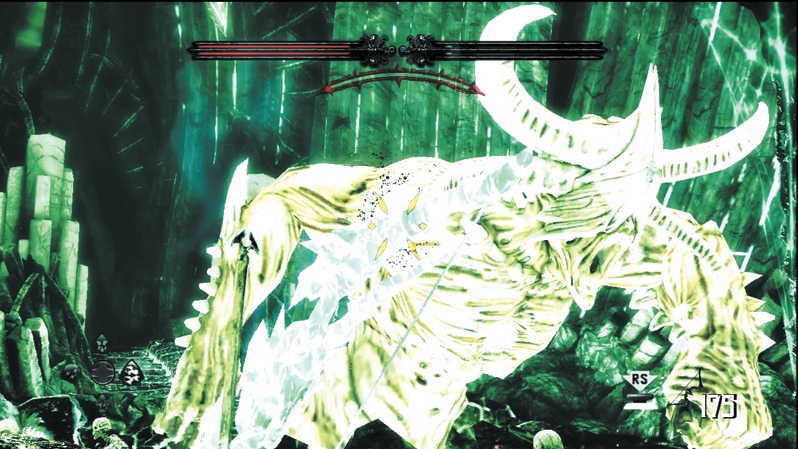
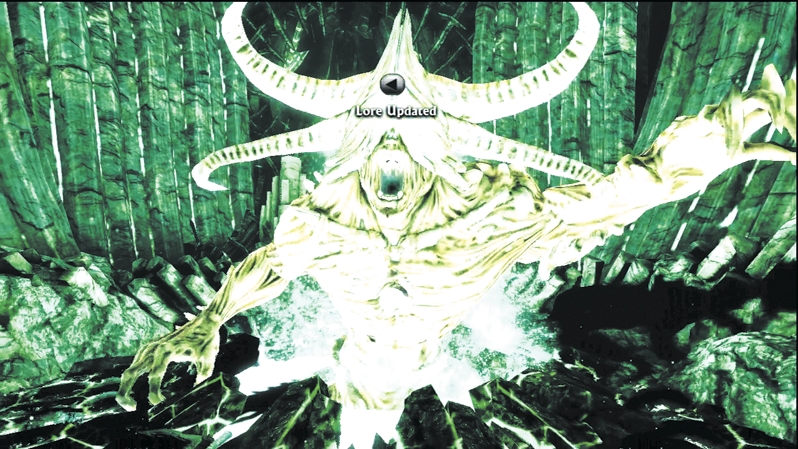
When the Skeletons are under control, continue damaging Annuvin until all four columns rupture. When the last one collapses, you are able to kill him. Unload everything you've got in a heroic attempt to slay the monster before his skeletal minions swarm you.
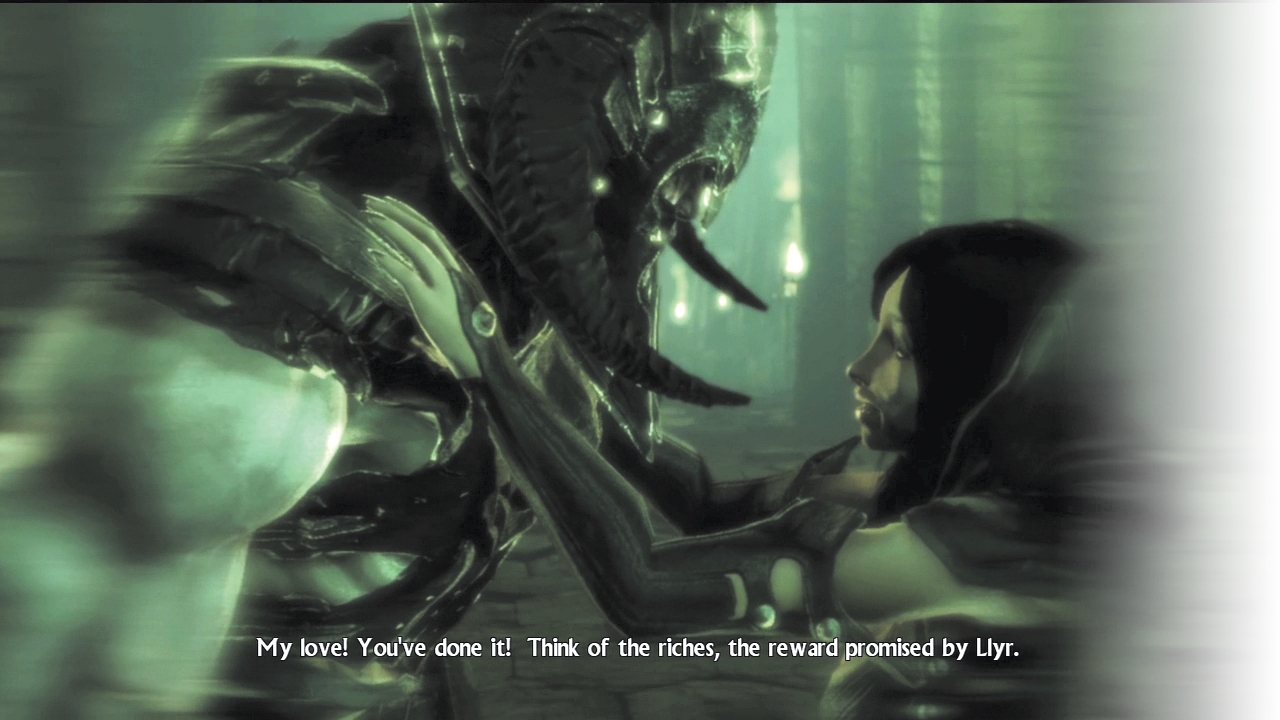
After you defeat Annuvin, E'lara uses the Deathstone on him. We learn that Seraphine was his beloved, and he sacrificed her mortal body to fuel the Sleg and his unquenchable thirst for power. Seraphine arrives in what remains of the Forge and reveals that she wasn't seeking revenge against Annuvin for the betrayal but rather salvation.
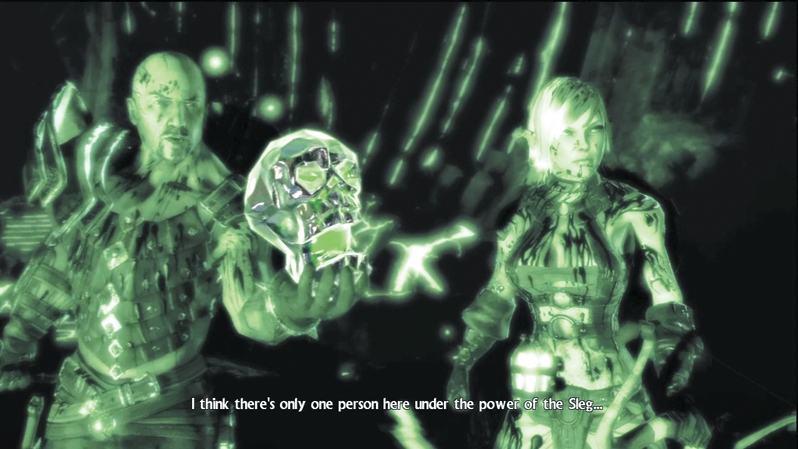
It turns out that she's tricked you. She wants to free Annuvin and herself from the Sleg's grasp by supplying a new mortal host for the Sleg. Depending on your actions with Sleg throughout the game, there are three possible outcomes:
If Caddoc and E'lara did not drink from a Sleg vat, they both walk away. They shatter the Deathstone, slaying Seraphine, and you get to see a cutscene of them bantering back and forth about where their next quest will be.
If Caddoc drinks the Sleg more times than E'lara, Caddoc turns on E'lara and kills her. He becomes the new, corrupted master of Sleg.
If E'lara drinks the Sleg more times than Caddoc, or if there is a tie for drinking Sleg, E'lara turns on Caddoc and kills him. She becomes the new, corrupted master of Sleg.
Your choices during the game shape the ending: whether Seraphine bests you, or you best Seraphine all depends on your willpower to resist the Sleg. Will the two partners live to tell their tale at their next ale stop? Will you choose to become an unstoppable killing machine fueled by Sleg? With a game so deep in story and filled with enough secrets to make the King of Llyr jealous, why not play it again for a whole different outcome?