
Hunted: The Demon's Forge Guide Walkthrough Chapter 3
Encampment
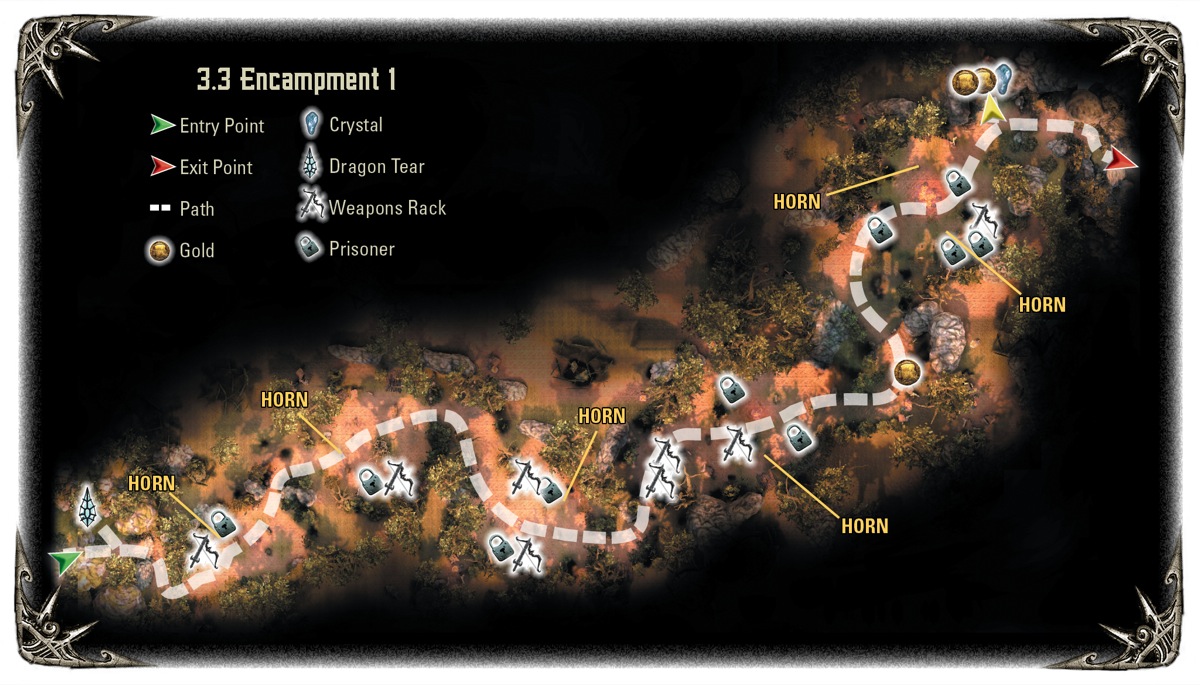
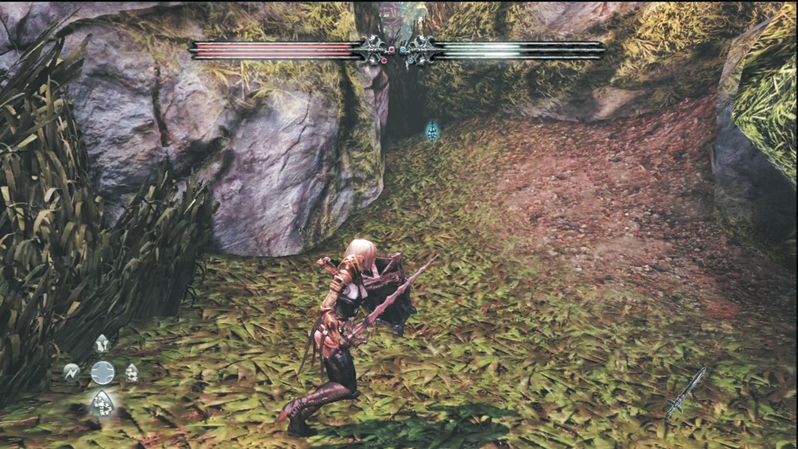
The path leading down to the main Wargar encampment has a surprise goodie for you. The seventh Dragon Tear awaits in a short passage on the left side. Collect it before you jump off the cliff around the bend leading into the encampments.
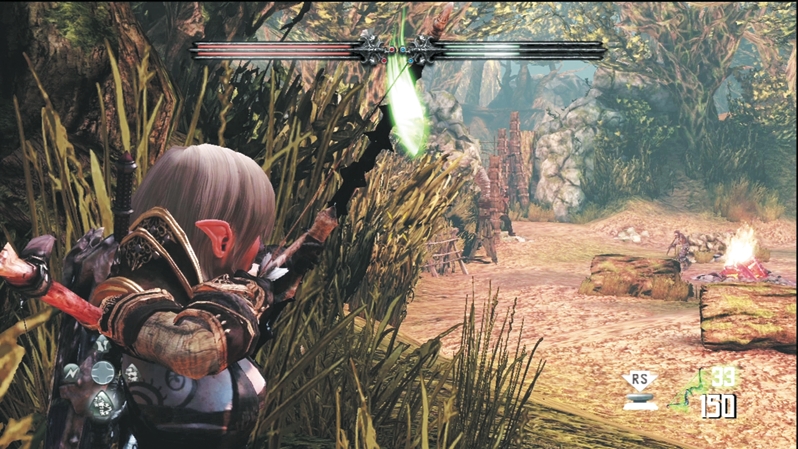
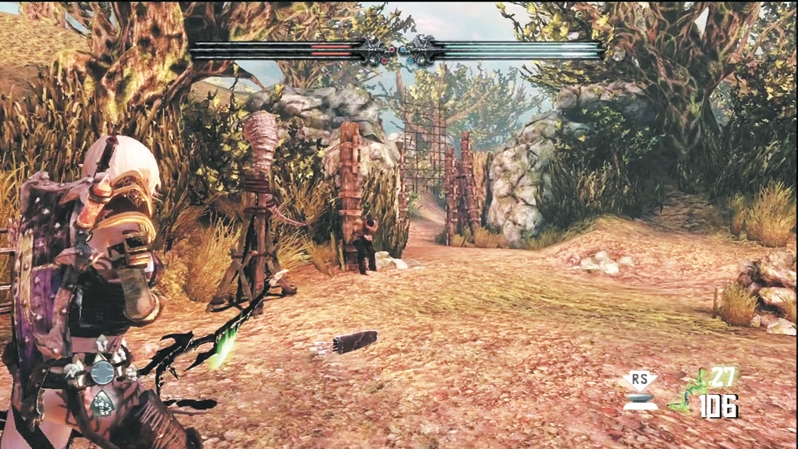
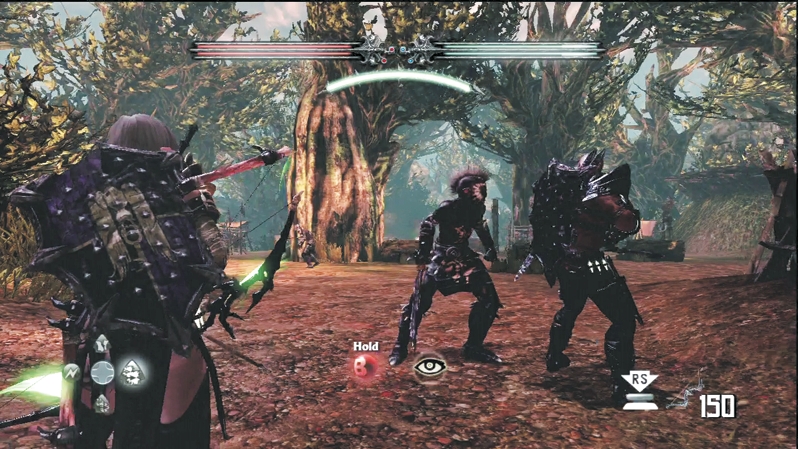
Carefully plan your attacks on Wargar encampments before plunging into the camp's middle. Scout from the perimeter and locate any horns; the Wargar use these to call for reinforcements, and preventing Wargar from reaching them should be your top priority. Next, scan for any prisoners roped to posts; you're also here to rescue them. If you leave any Wargar unattended after the alarm sounds, they will seek out the prisoners and execute them. Best to free the prisoners first with arrows, then move toward the horns and defend them. This first encampment is lightly guarded with Wargar Archers and Wargar Warriors. The prisoner and horn are next to each other on the left side, so it's an easy one to perfect your assault routine.
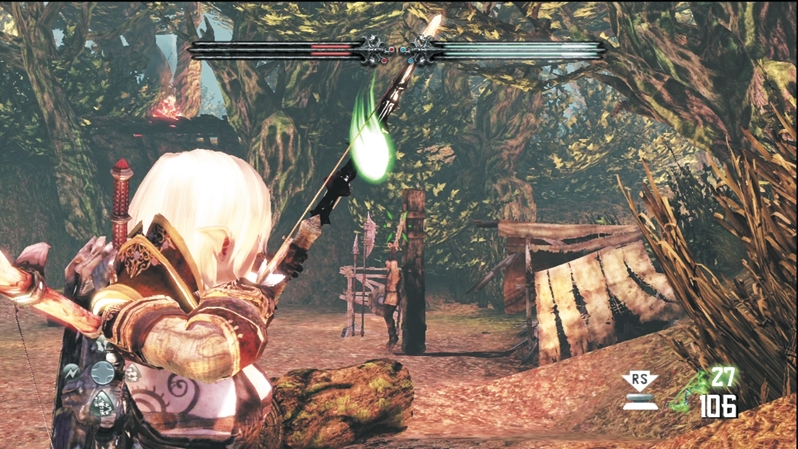
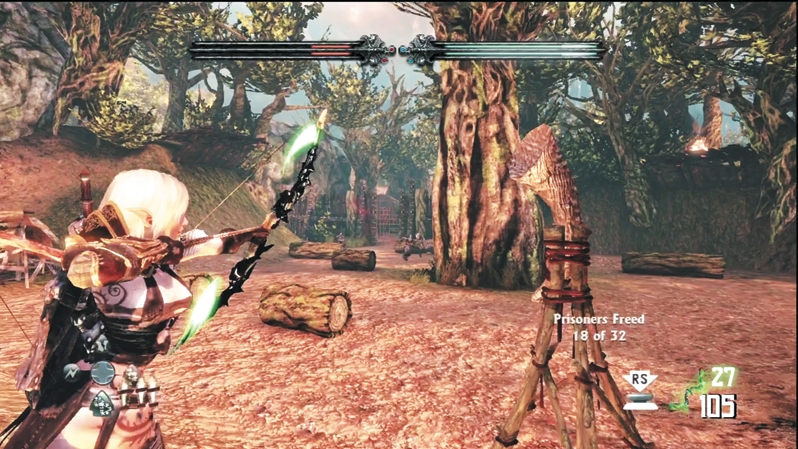
The second encampment has the horn directly in front of you and one prisoner on the clearing's right side. Shoot down the prisoner and then step in front of the horn to guard it. Your opposition is tougher this time, with an Infected Wargar added to the mix. A big tree grows up through the camp's center; if you need some quick defense, circle around the tree and use it as cover for a temporary reprieve from enemy fire. At the battle's end, scan the camp for dropped loot and head out the gate to the next area.
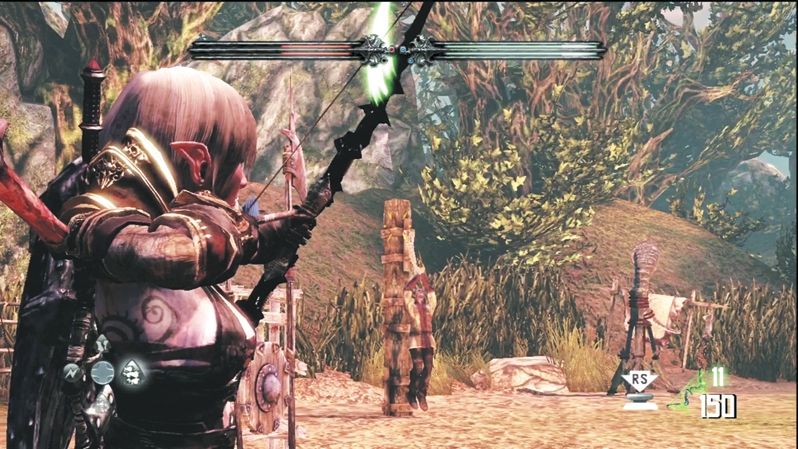
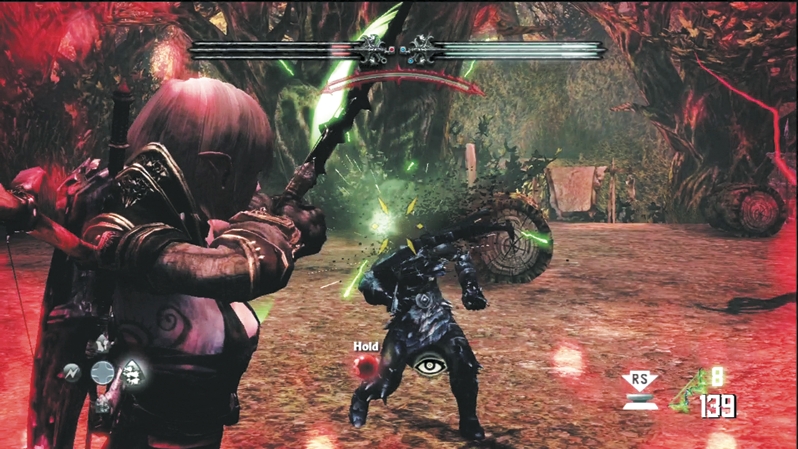
The third encampment is even tougher. The prisoner and horn are farther away than previous camps. Step inside the camp and into plain sight, turn left, and cut the prisoner free with a single shot from your bow. Race across to the horn and defend it. There's very little cover, so you'll have to dodge back and forth as you return fire or slash incoming combatants. Shoot across the camp to free a second prisoner on the opposite side. After the gate opens and the Wargar reinforcements fall, collect any resources and move on to the next camp.
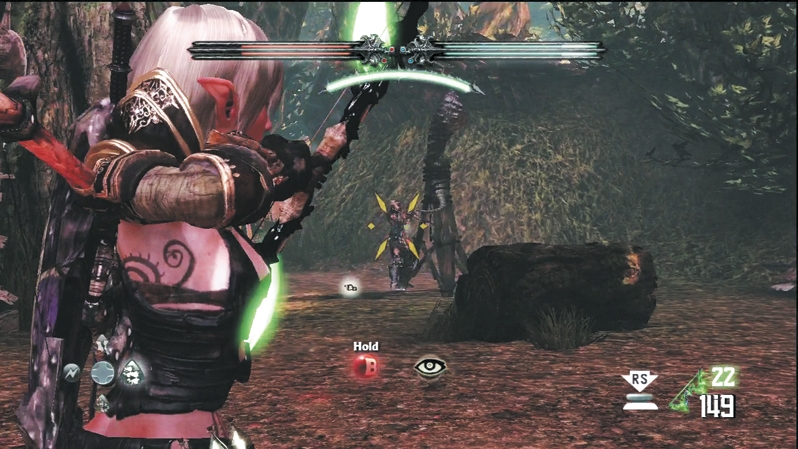
The path to the fourth encampment widens straight into the clearing, which means almost complete exposure as you enter. You can't sneak in, so shoot the first prisoner's bonds near the entrance. Slide across the clearing and free the second prisoner on the other side, then defend the nearby horn. When you've cleared the initial campsite, climb the hill for a gold treasure chest and the gate leading to the next area.
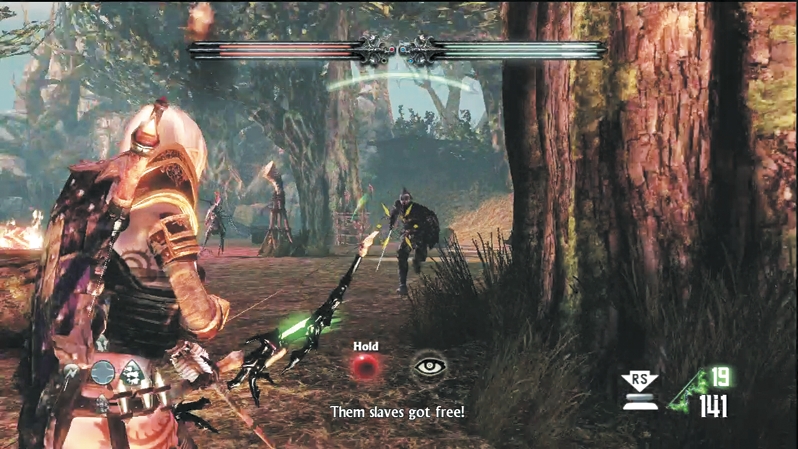
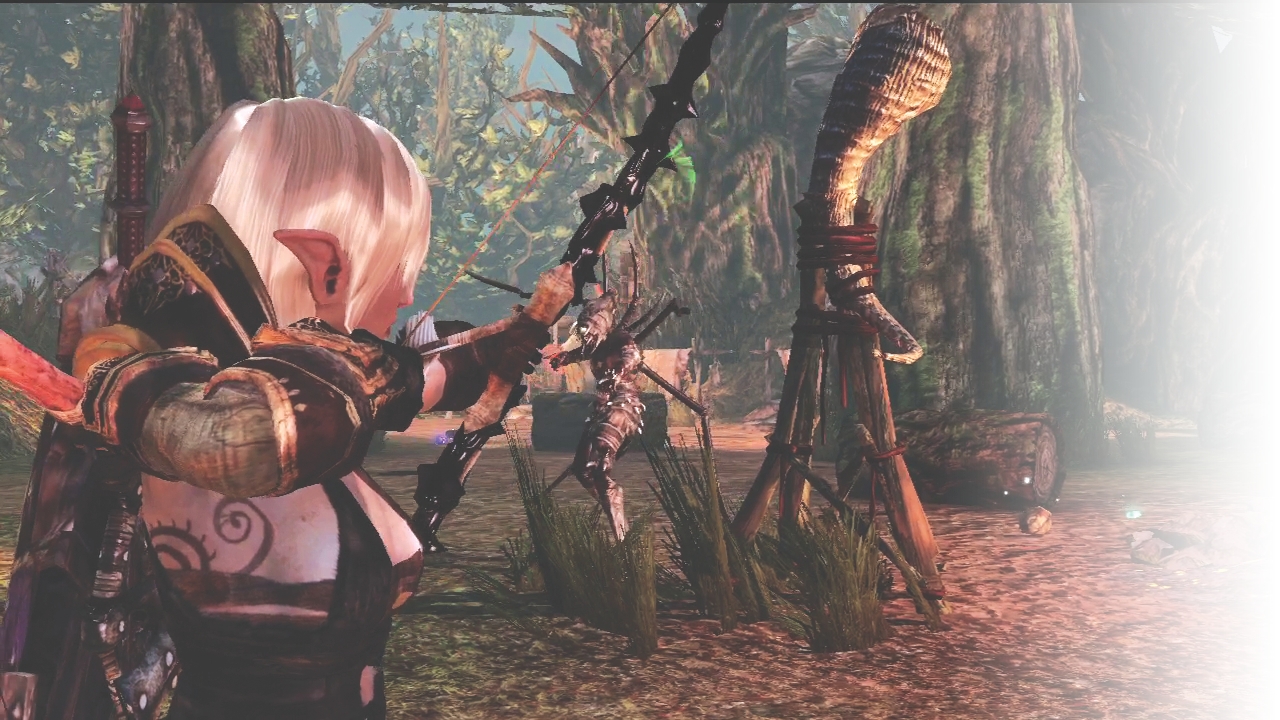
The fifth encampment is the biggest and proves to be the toughest. Two horns stand near the clearing's center, away from the entrance and in the middle of an enemy cross fire if you get there. One prisoner is roped to a post at the entrance, but a second and third prisoner are tied off on the right side. A fourth prisoner hangs helpless on the clearing's left side. The only way to avoid severe reinforcements at this encampment is to send Caddoc straight for the horns, while E'lara circles around the perimeter, shooting the prisoners free. Once the prisoners are free, E'lara can team up with Caddoc on any enemy groups. If a prisoner is in danger, shift your attention to the enemy threatening them; this keeps as many of the prisoners alive as possible. Before you leave the area, cut through the tall grass to the exit's left to discover a Crystal Chest and two piles of gold.
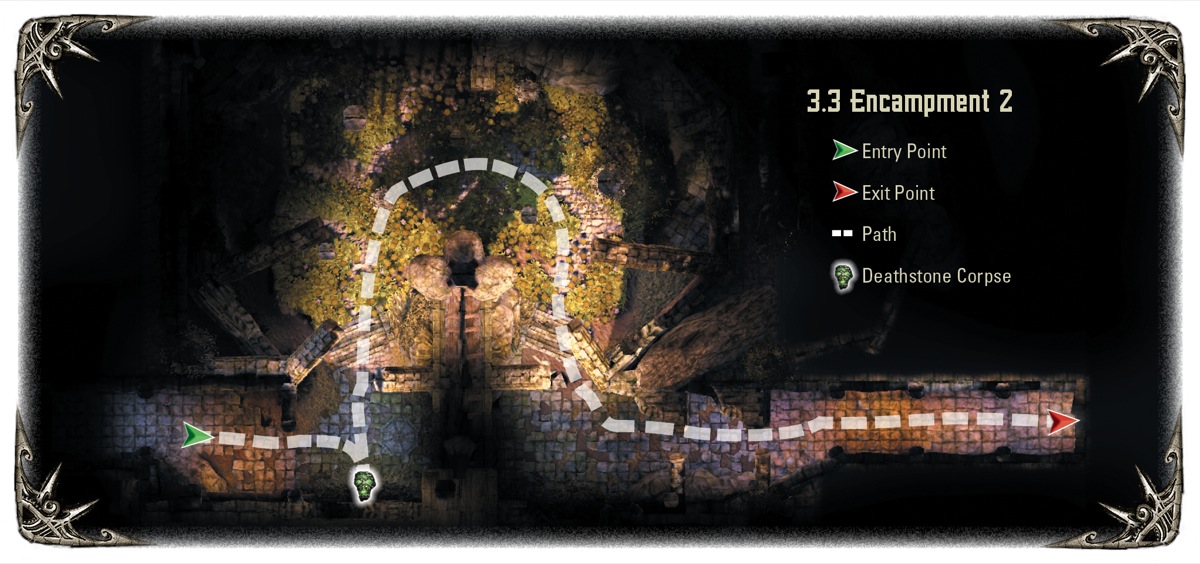
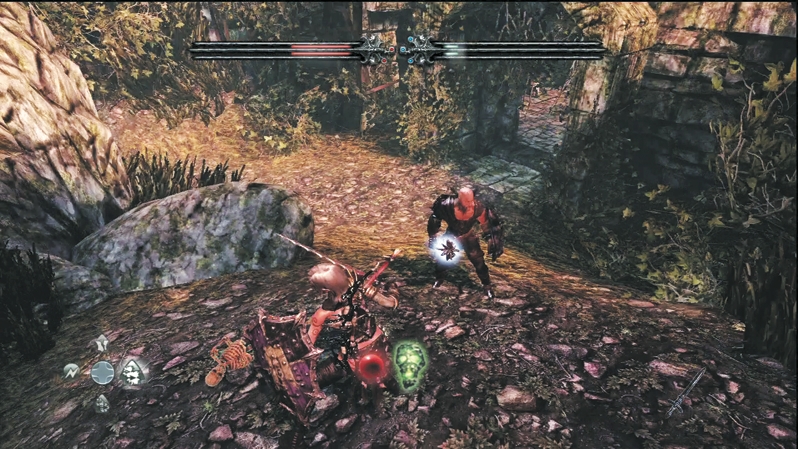
Slip through the rock crevice in the next clearing. On the other side, you finally reach the outskirts of the temple. Up on a hill before the archway, search for another Deathstone corpse. Enter the ruins and replenish your Health Vials and Mana Vials through the various canisters along the interior walls. More weapon racks might upgrade your weapons too.
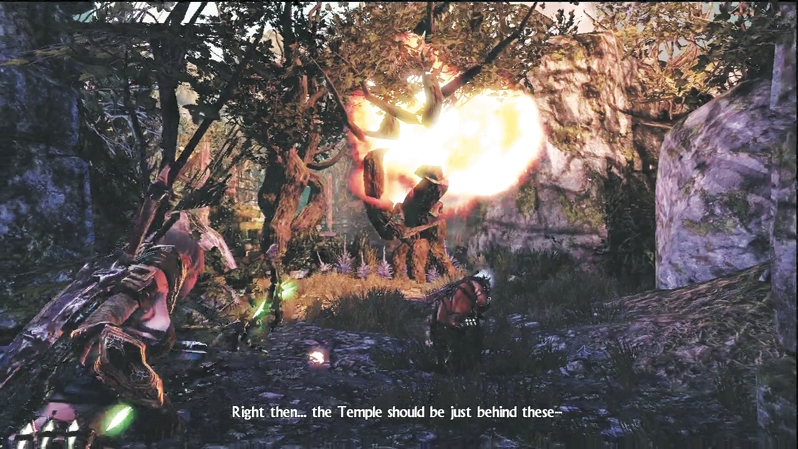
Through the next door, you enter a ruined courtyard with trees in the background. Caddoc feels the temple is just ahead, when suddenly a fireball blows apart the trees. The temple is protected by catapults, and if you don't stop them soon, you'll be the next target.
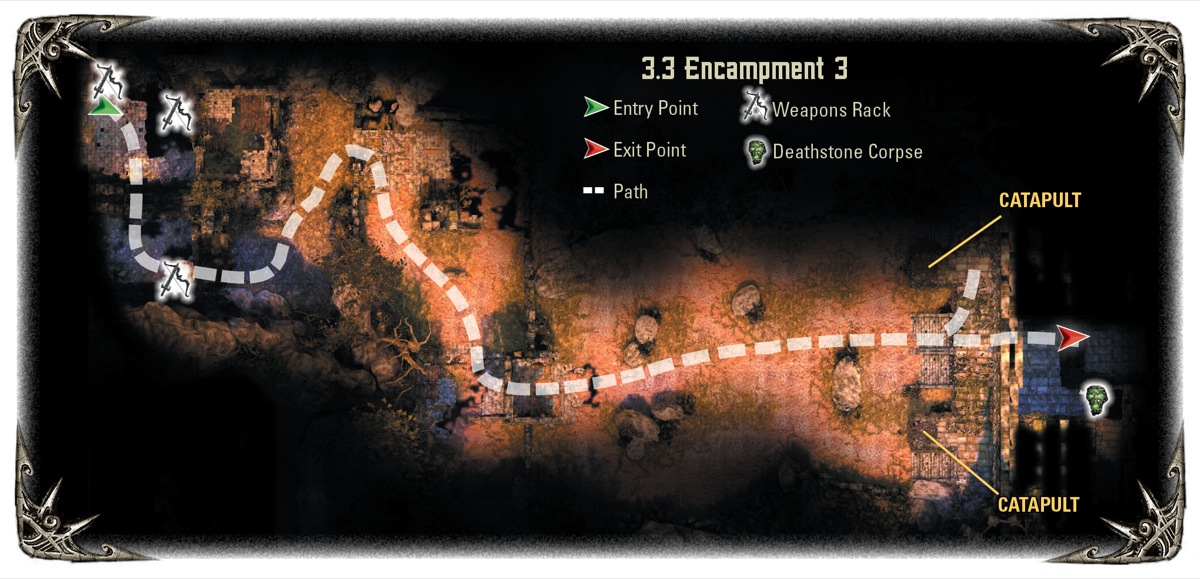
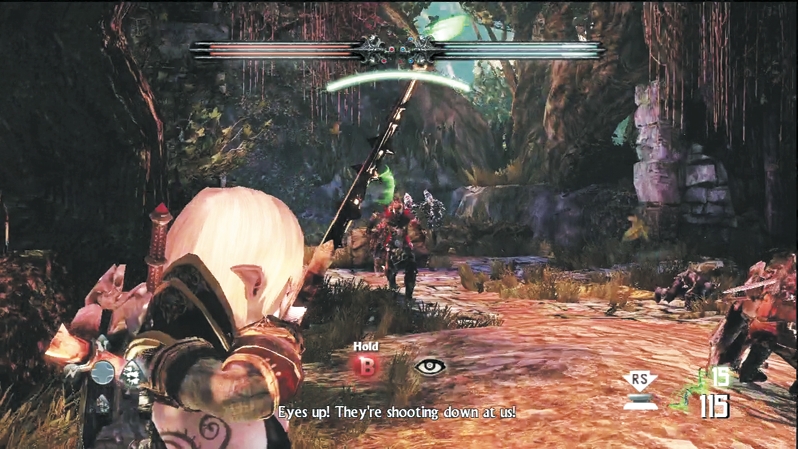
Round the corner into the outer courtyard and fight through the Wargar Warriors there. More reinforcements approach from the courtyard's far side. Luckily for you, the catapult blasts a gaping hole in the courtyard wall, and the stones crush the Wargar Zealots in the rear. Mop up the remaining Warriors and cut through the hole made by the catapult.
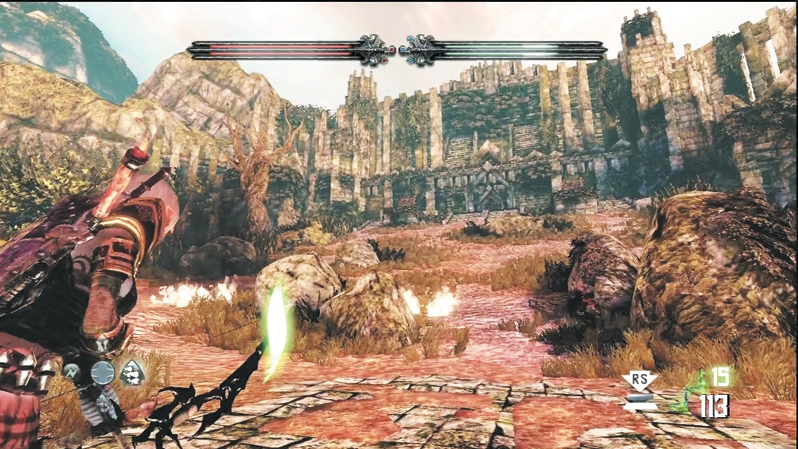
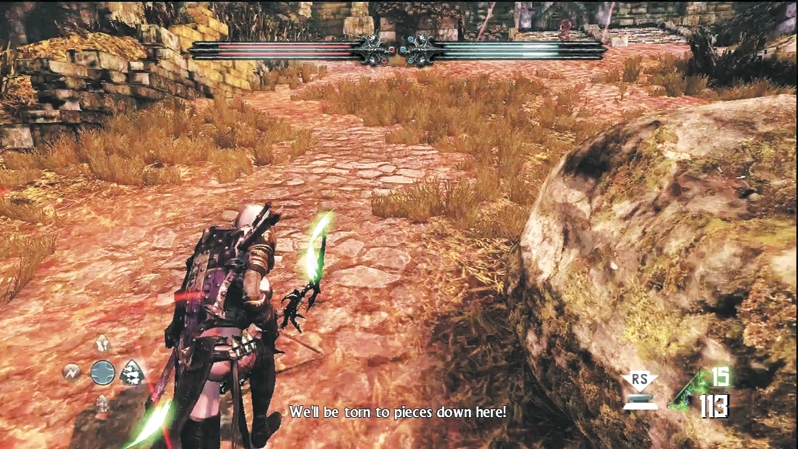
Don't stand around and admire the scenery. Before an explosion decimates you, sprint up the hill toward one of the catapults.
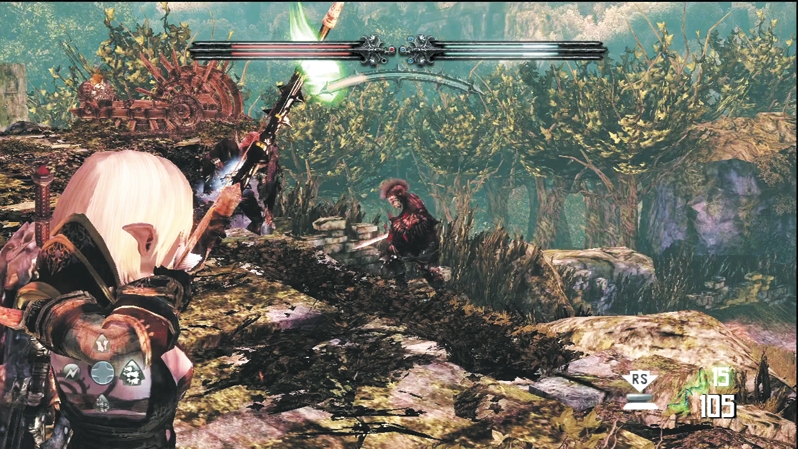
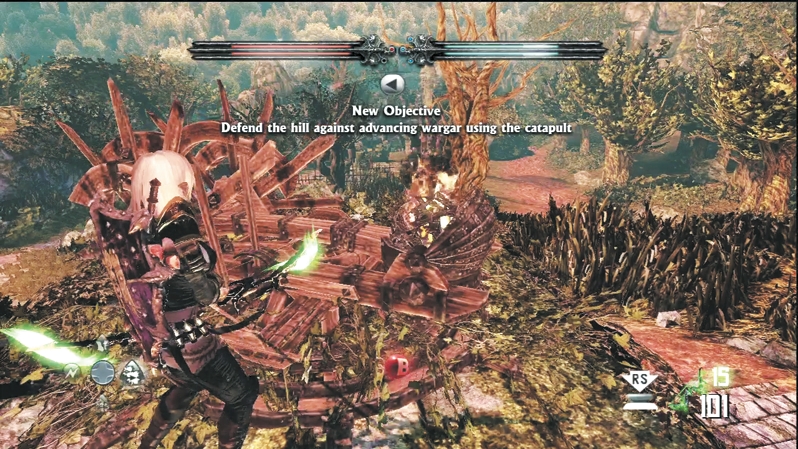
Lay waste to the Wargar defenders at the temple entrance and seize a catapult to turn on the enemy.
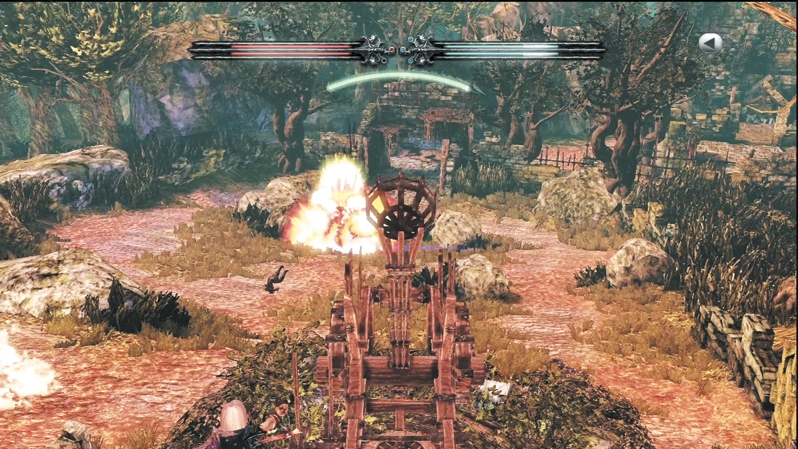
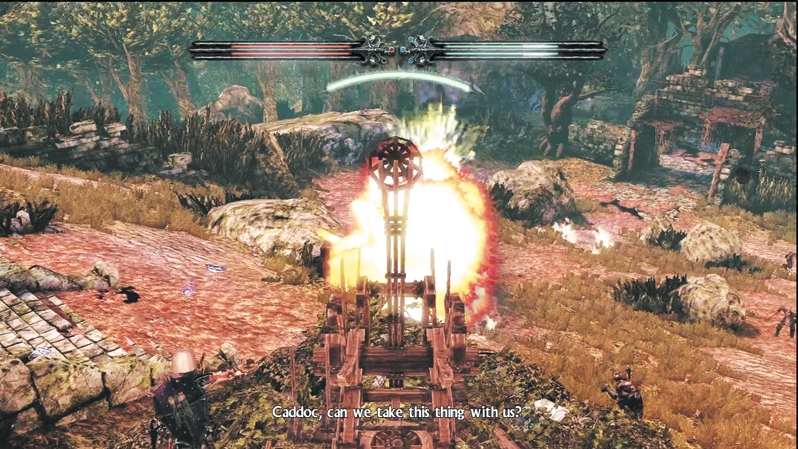
More Wargar pour up the hill from the courtyard below. Use the catapult to blast the hill and splatter any approaching enemy. It's a powerful explosion, so try to land it among multiple enemies for greatest effect. If enemies get close, make sure you blast holes in the ground closer to you than farther away. When you drop shots in front of the enemy, they may run into the explosion or be forced back by the flaming aftermath, which buys you more time to reload and try again.
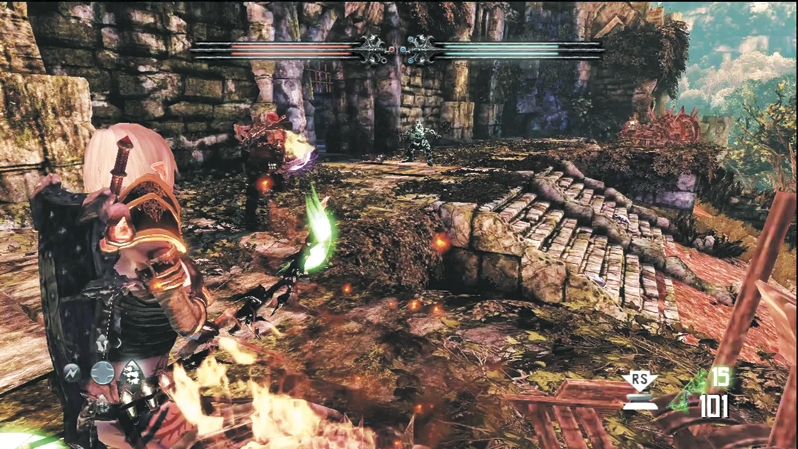
Once you've eliminated all the enemies on the hill, Wargar Zealots charge out of the temple gate. Disengage from the catapult, and take on the Wargar Zealots to finally enter the temple. Before you enter the temple proper, peek around the right side where there's a small alcove. A Deathstone corpse lies in the corner.