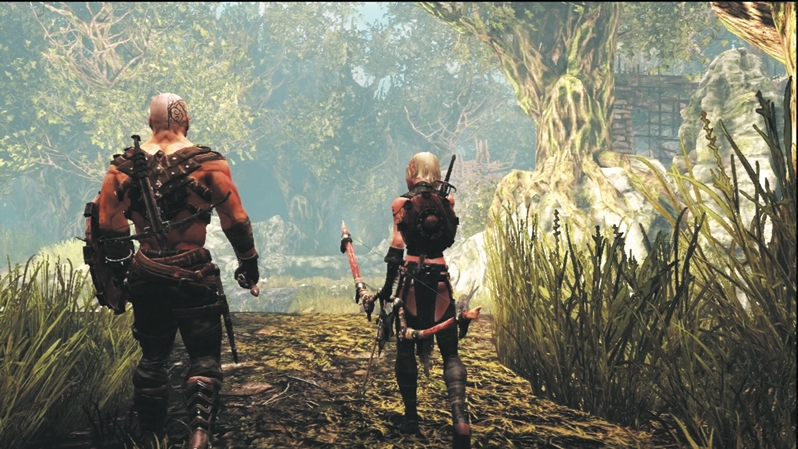
Now in control of E'lara, it's time to find the Fountain of Elisha, collect the magical waters, and get paid. Follow Caddoc to the raised drawbridge on the creek's far side and begin the Prologue, which acts as an interactive tutorial. Here, at the beginning of your epic adventure, you'll learn the basics of questing with this hardened (and yet mirthful) pair, starting with how to use a ranged weapon.
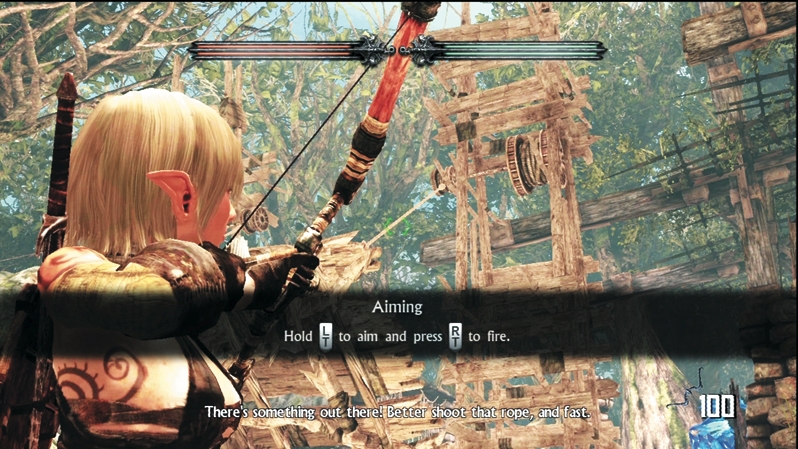
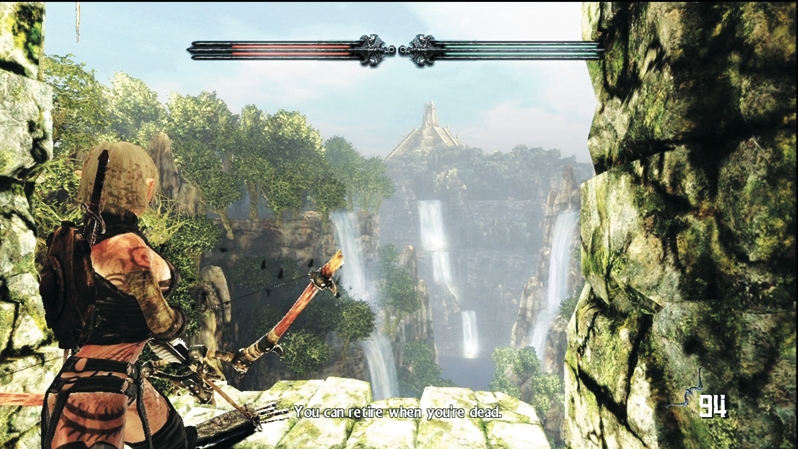
Follow Caddoc's instructions for shooting the rope holding up the drawbridge. Zoom in for increased accuracy and look at the color of the targeting icon. Green indicates you're aiming at an interactive target. In this instance, you're slicing the rope and lowering the bridge, but in future scenarios, you use arrows to shoot down prisoners, solve puzzles, and more.
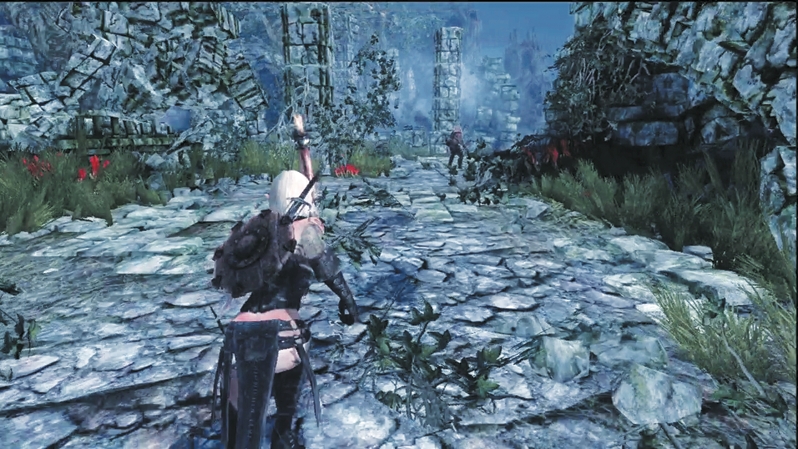
After lowering the drawbridge, follow Caddoc deeper into the forest, picking up some arrows along the way to replenish any spent supply. This is important: Always be on the lookout for arrows. Even though E'lara has a melee weapon and physical strikes are Caddoc's specialty, having a good supply of arrows for either hero is paramount. Running dry means having to get your hands dirty, and that leaves heroes—especially E'lara—open to serious harm.
As you tail Caddoc, keep an eye out for movement in the trees. Your path has been picked up by Aracklings. They don't attack...yet.
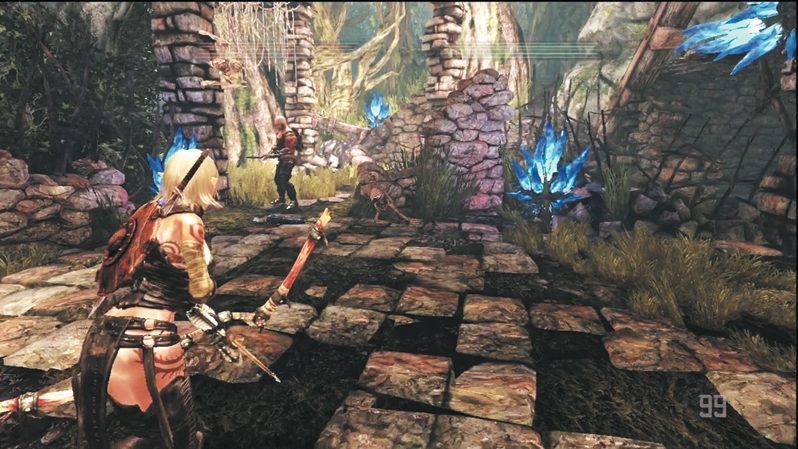
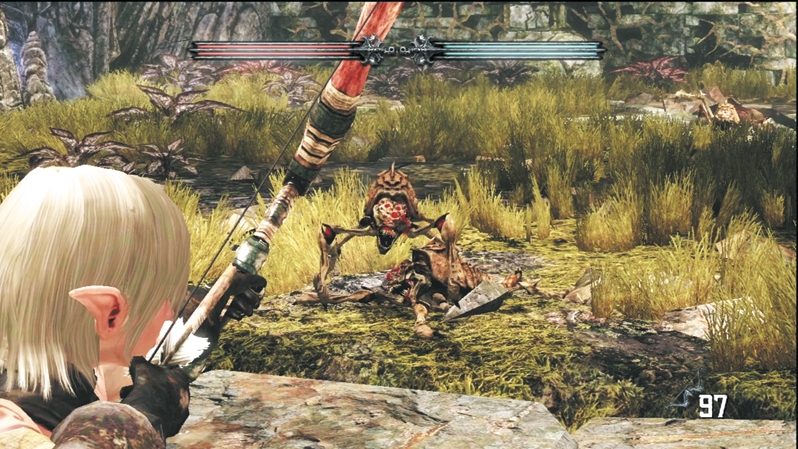
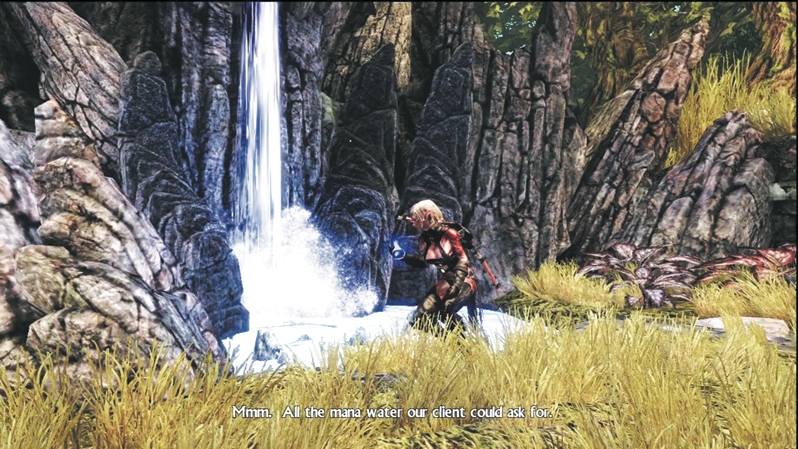
Upon dropping down into the next clearing, you discover the Fountain of Elisha—and an Arackling nest. Before filling your flask, you must clear out these nasty bugs. Fortunately, a chasm divides you from the Aracklings, giving you a chance to try out your bow against the skittering foes. Take out the first wave of Aracklings from a safe distance and then follow Caddoc over a downed tree to access the fountain.
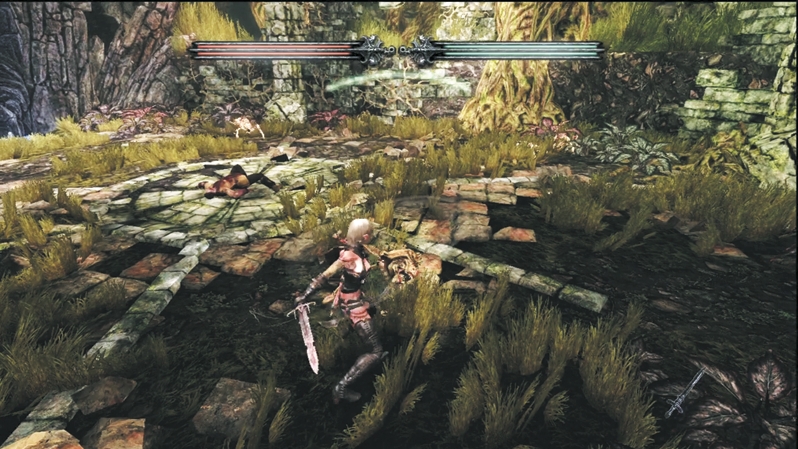
Once across the tree, switch to E'lara's sword and chop down the tall grasses that obscure the fountain. This shakes loose a second wave of Aracklings. Without cover, you have to either fall back and return to shooting arrows or wade into the thick of the Aracklings and start swinging with your melee weapon. Aracklings have no armor, so hammer away at them with basic attacks. If surrounded, use a heavy attack to knock them back as well. This is a rather short battle, intended to help you get your sword wet.
At the conclusion of the Arackling attack, fill your flask at the fountain to satisfy the job. Of course, there's the matter of getting the water back to the wizard who hired you, and that means you must press on deeper into the forest. E'lara doesn't seem too pleased about having to throw open the door beneath the carving of the screaming head. However, Caddoc has seen that same door in his dreams and believes it's an omen, so he beckons E'lara on.
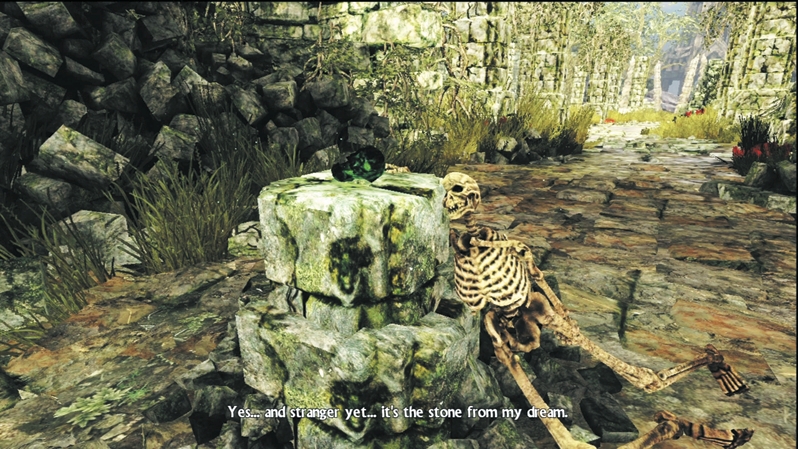
Entering through the gate and into the narrow passage beyond, you step into some rather astounding ruins. Sure, they are decorated with skeletons (including the bleached bones of a rather large creature), but the view is enough to impress Caddoc. Pass through the crumbling rock to reach a strange stone on a pedestal. Never mind the skeleton dangling from the pedestal, its fingers only inches away from the green stone. Caddoc recognizes the stone from one of his visions. He cannot help but close in on it, but just as he and E'lara reach the pedestal, they are joined by a third person, who makes a rather dramatic entrance.
This is Seraphine, the woman who spoke to Caddoc in his dreams. She teases the heroes with promises of riches and power, but she needs a favor in return. This raises E'lara's caution, but she listens to Seraphine's offer with an enthusiasm that almost equals Caddoc's. Seraphine requests that Caddoc pick up the green stone, which is called a Deathstone.
When E'lara impulsively touches the Deathstone, she is overcome with a vision. A warrior stands ready to fight a dragon. Beast and brawn meet head-on. The battle concludes with the warrior holding aloft a prize: the Deathstone.
After E'lara touches the Deathstone, Seraphine warns the heroes that their presence is now known to a malevolent force. And that force is already angry. The skies darken and spears of lightning crash to the ground. Sprint through the ruins before they fall on top of you. Unfortunately, you rush headlong into a rising army of Skeletons.
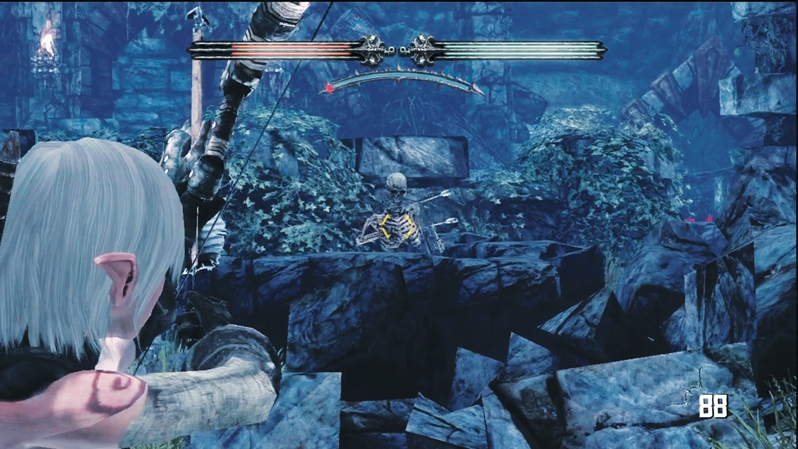
Unlike Aracklings, Skeletons have ranged attacks. This first wave of Skeletons is armed with crossbows, so dive behind cover and return fire when Skeletons pop up, revealing a clean shot. Headshots do more damage than striking a torso or extremity, so bury an arrow in their skulls whenever possible. Caddoc may start this battle with a crossbow, but within moments, he's barreling over the rocks with his sword outstretched. Provide support for your partner from a distance, thinning enemy forces one arrow at a time.
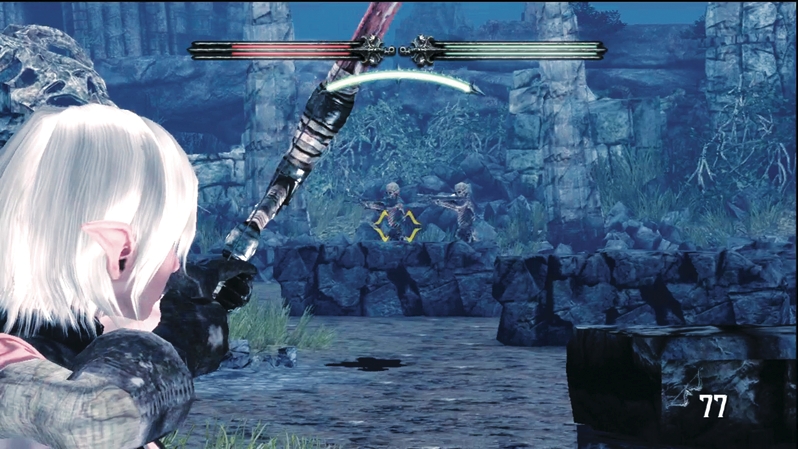
The next area is filled with rampaging Skeletons, offering ample targets for E'lara's bow. Use the stone walls for cover and launch a volley of arrows into the Skeletons. If necessary, close the gap and wade into combat with your sword, but do try to use ranged attacks for as long as possible. E'lara cannot withstand as much punishment as Caddoc, which can lead to using a Regenerative Vial almost as soon as you find one.
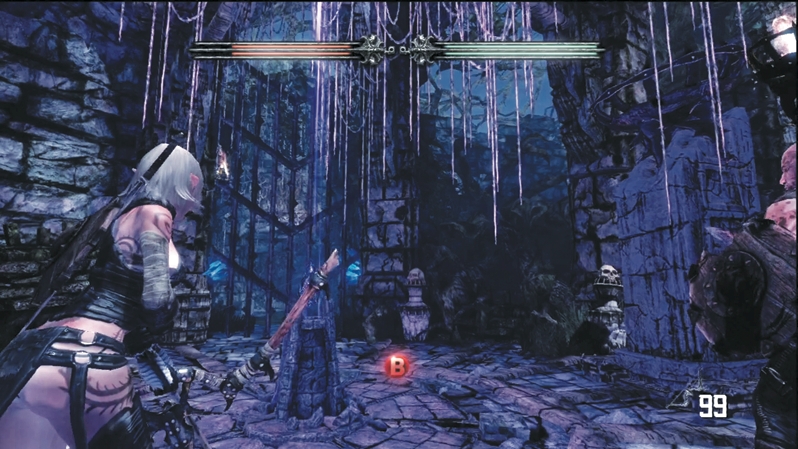
Immediately after dispatching the Skeletons, you must use fire arrows to unlock a door and then access a purple obelisk (character-switching stone).
You have to take charge of Caddoc at this point so you can move the pillar next to the purple obelisk. By shoving the pillar backward, you trigger a fire switch that raises the gate and allows the heroes to keep moving. Before long, you discover your first two Crystal Chests.
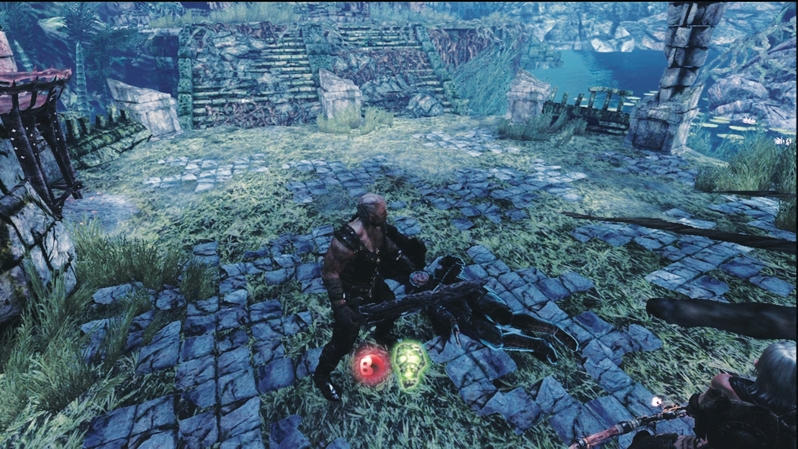
In the next area, you discover your first Deathstone body. When you approach the deceased, a command appears onscreen. Tap the corresponding button to resurrect the spirit of the dead and listen to his tale. This corpse tells you of a mighty ax wielded by his son. Sounds like something Caddoc ought to track down to use against the Skeletons. But the corpse says fire must be used to uncover the path to the prize.
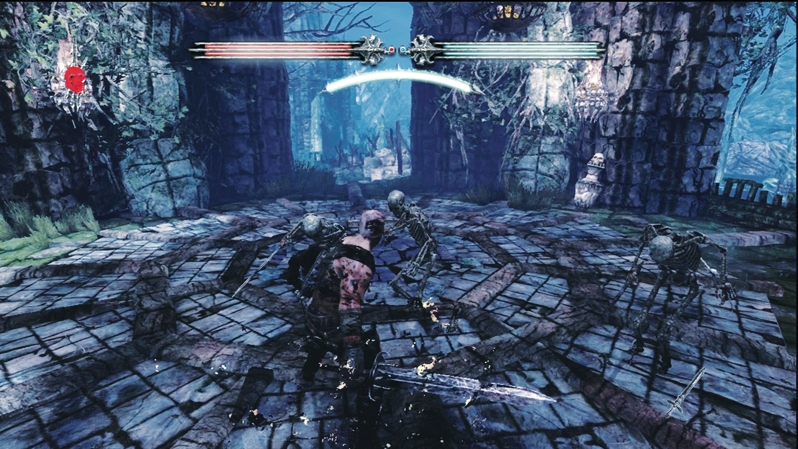
As you follow the trail to locate the ax the corpse mentioned, you encounter more Skeletons. Clear the advancing foes and try out Caddoc's Fury to see just how powerful it is. With one fell swoop, it drops a Skeleton! Now imagine what a full Fury meter will do against a tough-as-nails enemy when the warrior is holding a truly powerful weapon. And speaking of weapons, once you defeat the Skeletons and pass through the rotunda, you discover a weapon rack.