
Hunted: The Demon's Forge Guide Walkthrough Chapter 1
City Exit
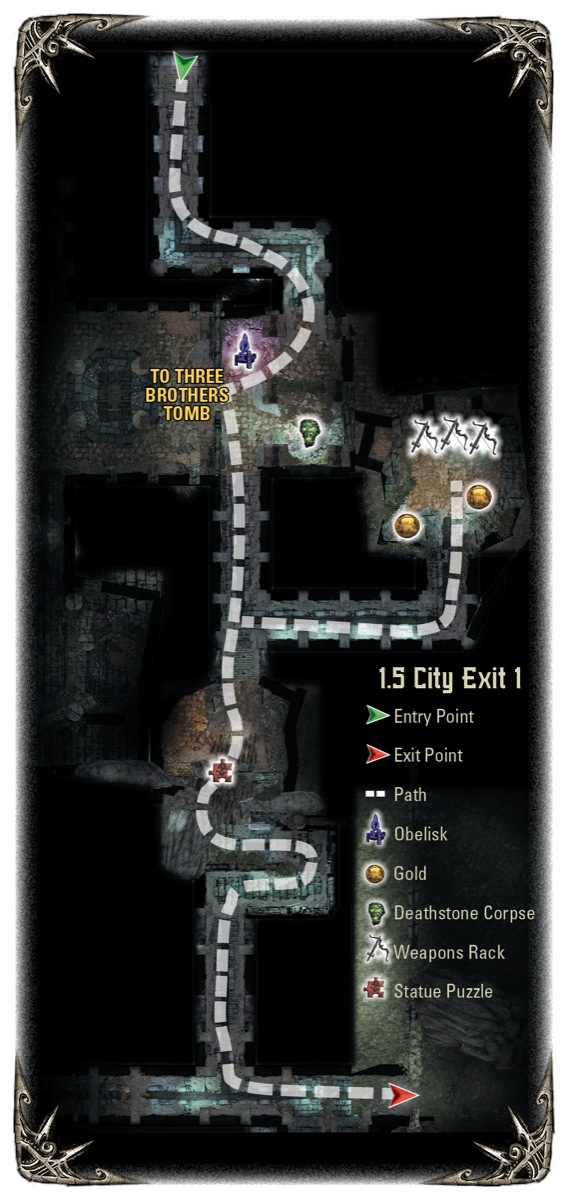
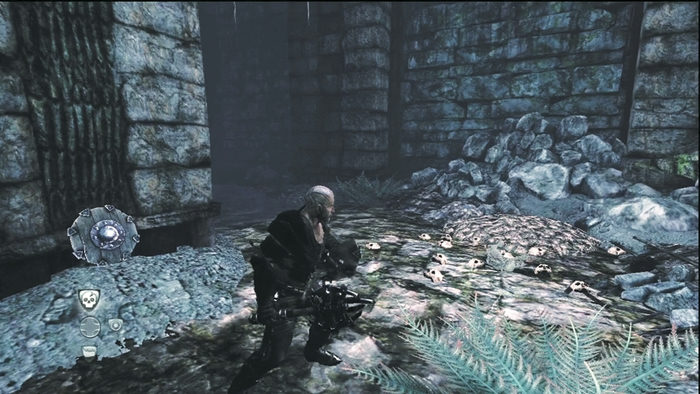
As you walk through the first section of the underground passage, keep your eyes peeled for spare arrows on the floor and a dead body. The bones in the pile of skulls react to the Deathstone. It's Seneschal, an old king of Dyfed, long since passed. The king speaks of the violent kingdom of Kala Moor, which adds a new note to your lore.
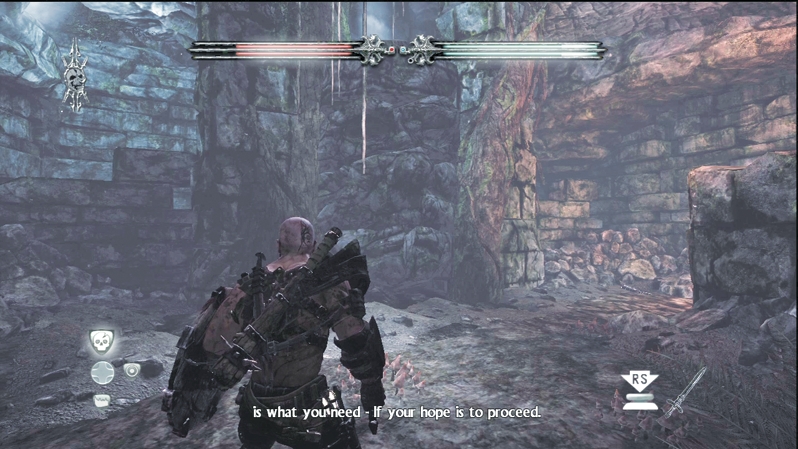
Directly opposite the bones, look for a brazier on the wall. You must ignite that brazier to open a secret door. There is a flame pit down the corridor to the left. Follow it to the end, where you find a giant stone face in the wall. The face comes to life and says that to escape the passages below the city, you must bring back an azure light. That requires a special blue flame hidden in the passages. To start questing for the azure fire, ignite E'lara's arrows at the fire pit to the face's right and then backtrack to the brazier. Ignite it and the wall opens.
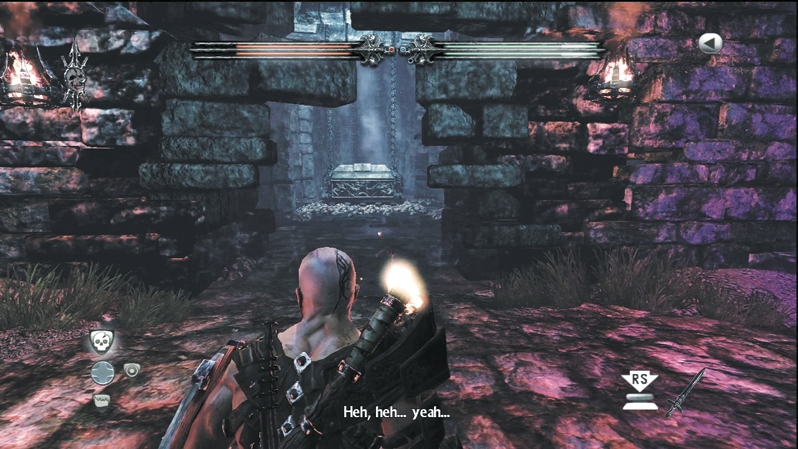
When you step into the newly revealed chamber, you discover an ornate coffin on top of a pile of bones. This coffin is a puzzle you aren't required to complete to escape the underground, but the rewards for completing it are worth it.
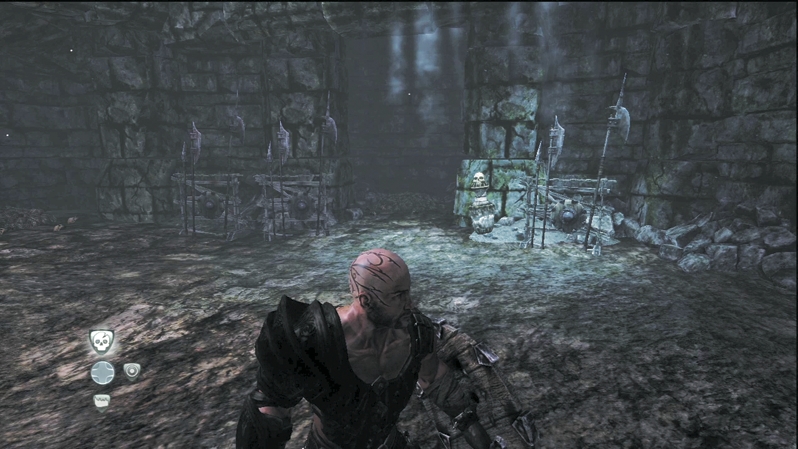
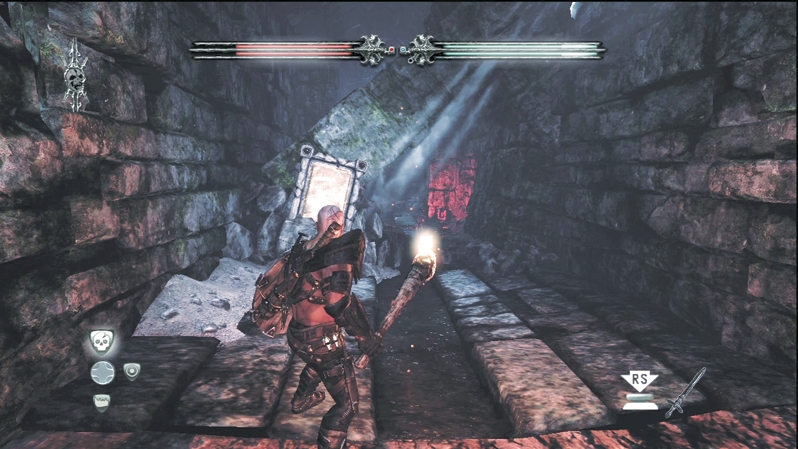
If you backtrack even farther than the brazier, you find a small chamber. There are multiple weapon racks inside the room, as well as piles of gold. Touching anything in the room wakes some Skeletons, but they bend under your steel at this point.
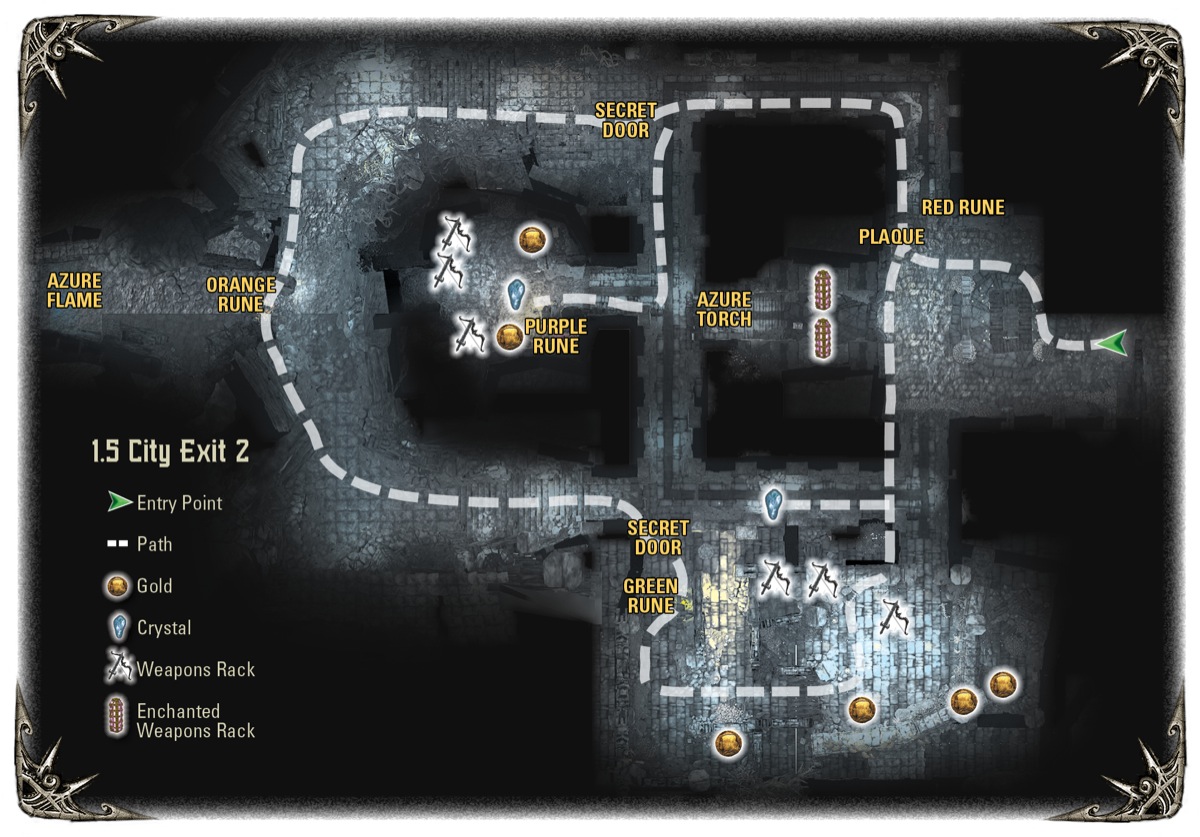
Start down the corridor to the right of the giant door. There is a plaque on the wall that hints at the need to color four runes to open the coffin and claim treasure. The first rune (red) is to the plaque's right.
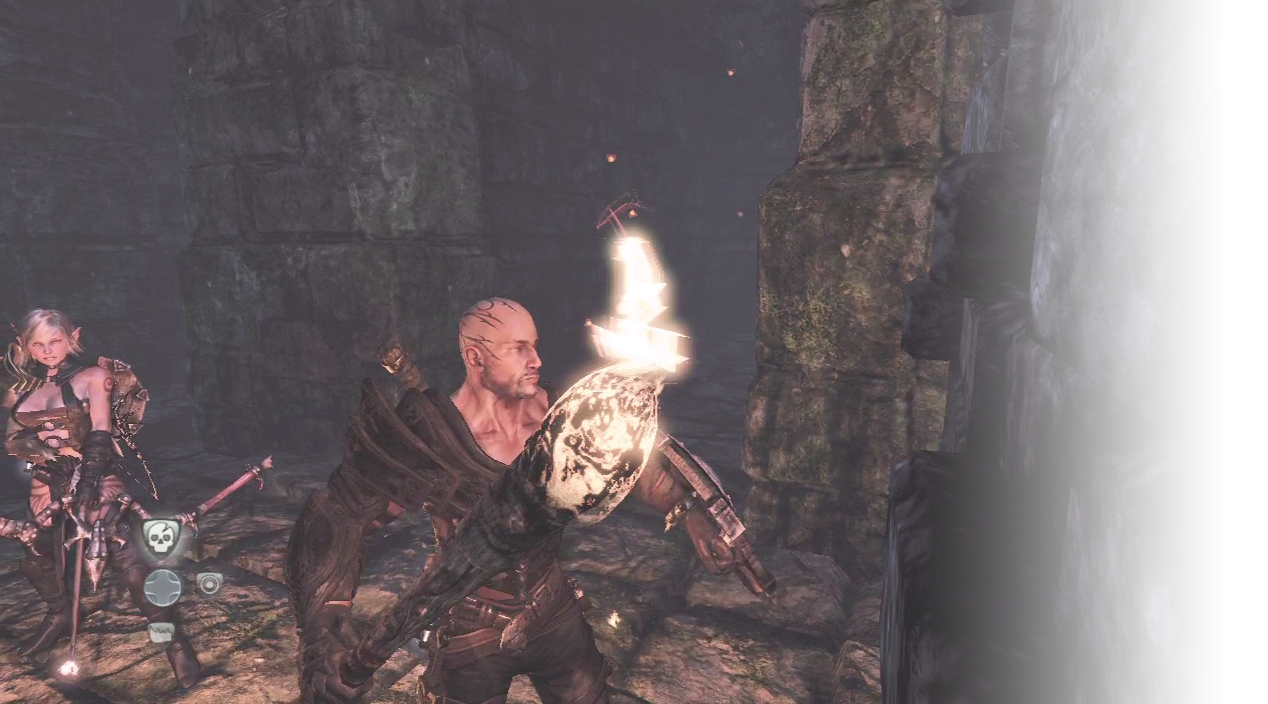
Now, as you push deeper into the passage, look at the walls. Stop when you see wind blowing through the cracks in a brick wall. Caddoc can push this wall back a few feet, revealing a new corridor. This is not the only wall he can push. Break to the left and walk down the path until you hit a dead end (you pass a collection of azure crystals behind bars—remember these). Push back this wall to open another secret passage. This route is only connected to the puzzle surrounding the coffin, so if you have no plans to work through the puzzle, don't worry about it and return to the previous pushed wall.
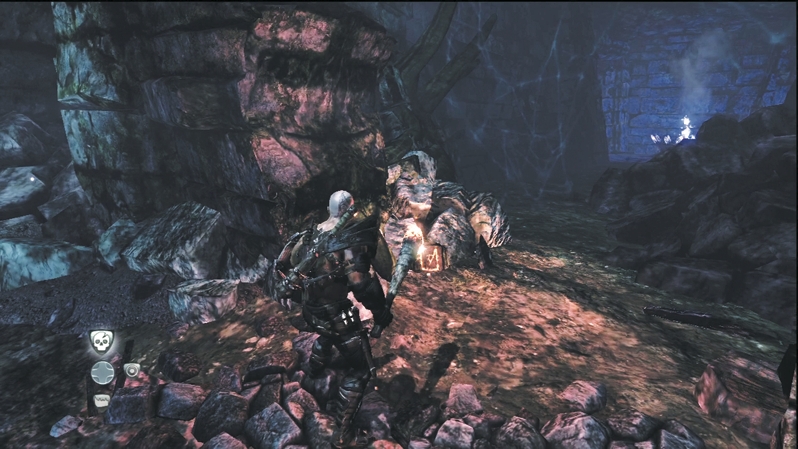
Follow the path down the stone stairs. There is an orange rune on the walkway's right side. After you pick it up, you should spy an azure glow in the next room. That's a blue fire pit that you can use to open the stone face and escape the underground passage.
When you walk toward the azure flame, a giant spider pops out of the wall and grabs the lead character. This is unavoidable unless you charge to the azure brazier and narrowly miss the lunging spider's mandibles. If you get caught, repeatedly tap the onscreen command to break free of the arachnid's grip.
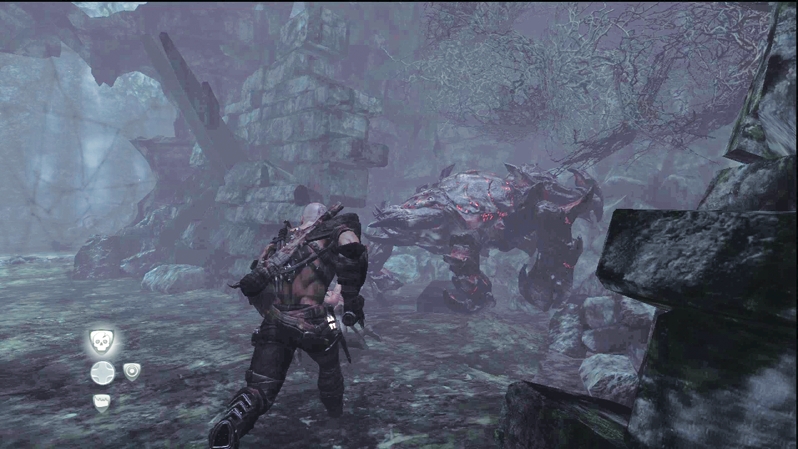
The giant spider pops out only once. After freeing yourself from its grip, it disappears back into the shadows. You can walk by this spot as many times as you like without getting grabbed again. Now that you have the azure flame, you can return to the stone face and open it. However, since you already have two of the four runes, why not finish the puzzle and collect some riches?
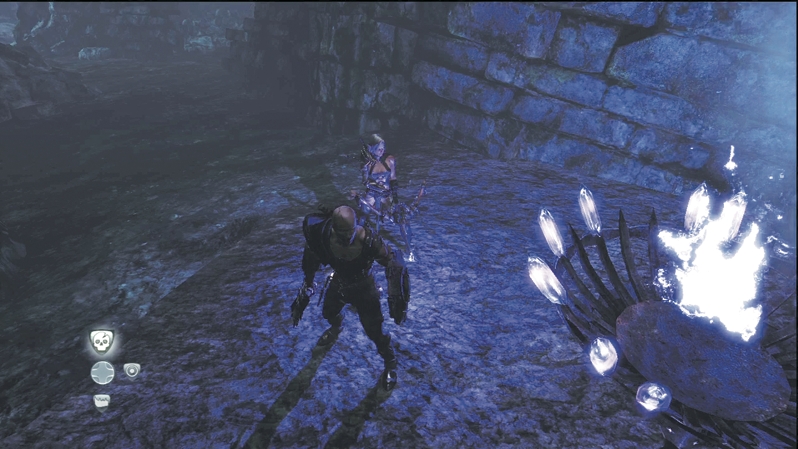
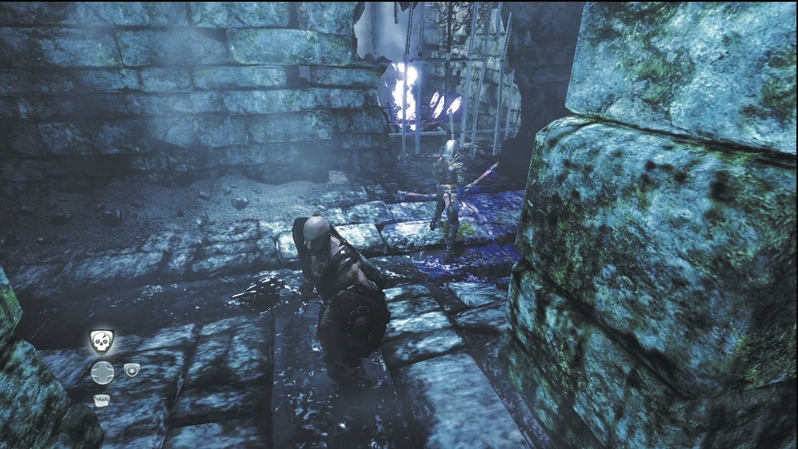
With the azure flame, you can locate the third rune. Return to the purple crystals and drop an azure fire arrow into them. This ignites another azure flame (which you can use to escape the underground without backtracking to the spider room) and opens a secret door directly across from it.
The third rune, which is purple, is resting against the left wall of the new room. There is a Crystal Chest in the room's center. As soon as you touch either, Skeletons pop out of the bone piles around the room. Dispatch them before collecting the rest of the booty and then leave the small room. Head farther down the hall to the second movable wall discussed earlier.
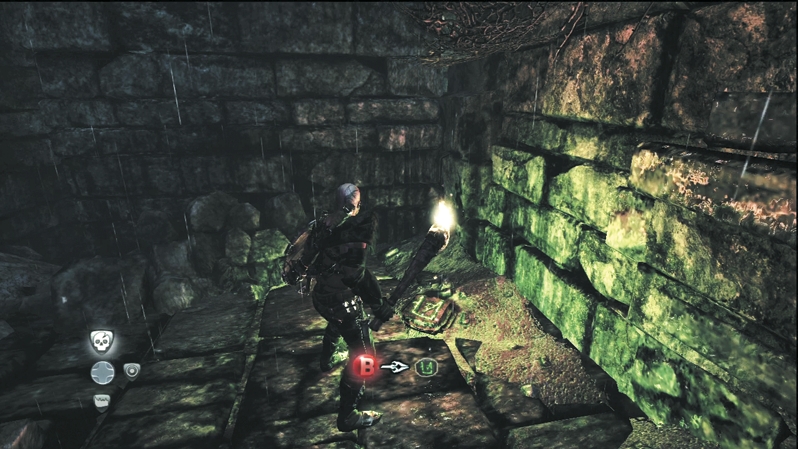
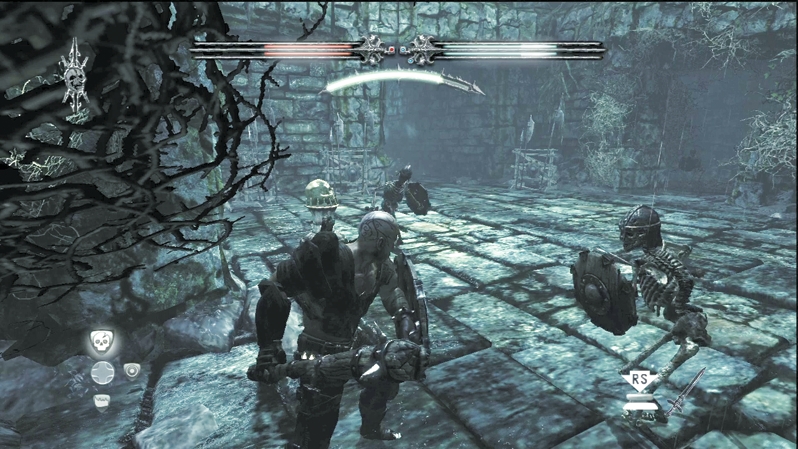
The path leads to an outdoor area with high walls—no chance of escape here. Follow the area to the left and look for a green glow; that's the last of the runes. However, picking it up raises the ire of a Dread. It jumps down into the narrow area with both swords swinging. Pull back and use ranged weapons and magic (fireballs are very useful) to chip away at its health. If it corners you, roll away and attempt a melee attack or two before falling back for more ranged combat.
If you look farther out, there is an illuminated room. When you enter, several Skeletons attack. Though you never need set foot in here, eliminating the Skeletons results in gold and crystal shards.
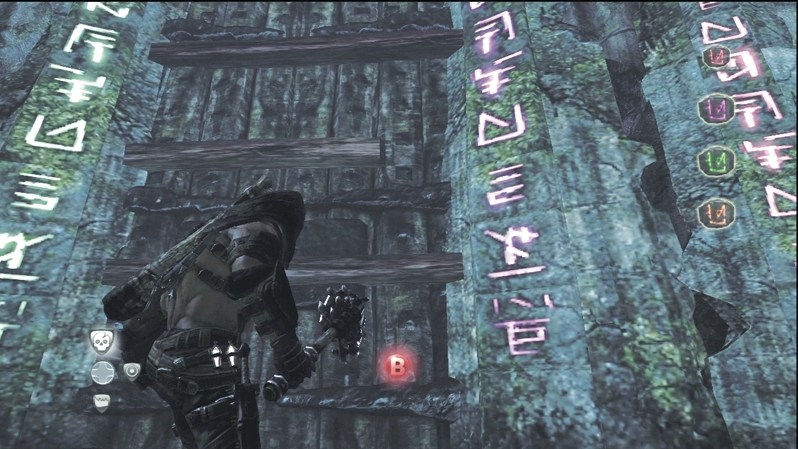
Now, with all four runes, return to the coffin and stand before the giant door. The runes unlock the door, revealing two enchanted weapon racks. But look out behind you, because the occupant of that coffin isn't about to let you just take his treasures.
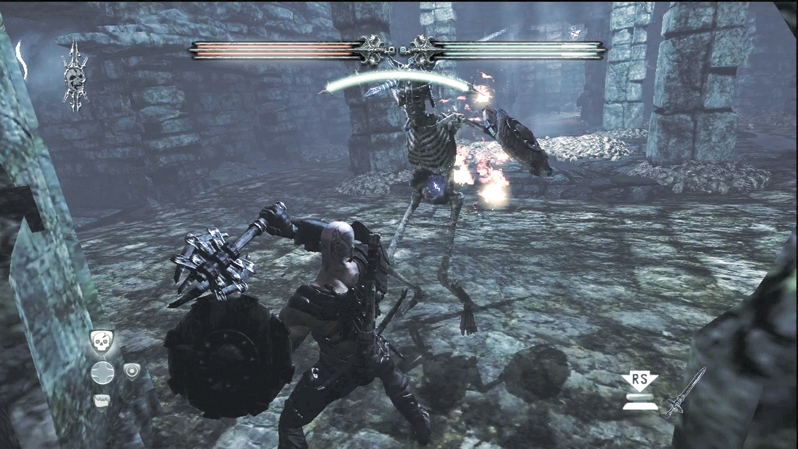
Minor Skeletons flank the wakened spirit, a dangerous skeletal boss, one of three long-dead brothers. Dispatch those Skeletons as soon as possible, just to get them out of the way, and then concentrate your firepower on the boss. The monster will probably seek refuge on a ledge looking over the coffin room. Hammer it with arrows and magic, dodging any incoming fire. If it reenters the coffin room, roll away and keep your distance. This undead creature deals out hard-core melee attacks.
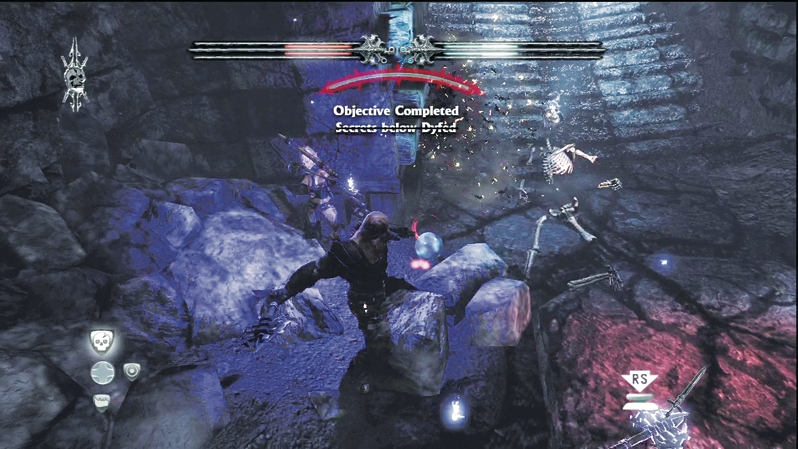
When the battle is over, the creature drops a Health Vial and a spherical key. This is the first of a series of three. Collect all three and you can unlock an amazing treasure tomb in the final chapter.
After collecting your rewards and opening the stone face with the azure flame, head for the surface.