
Hunted: The Demon's Forge Guide Walkthrough Chapter 6
Lower Holding Pens
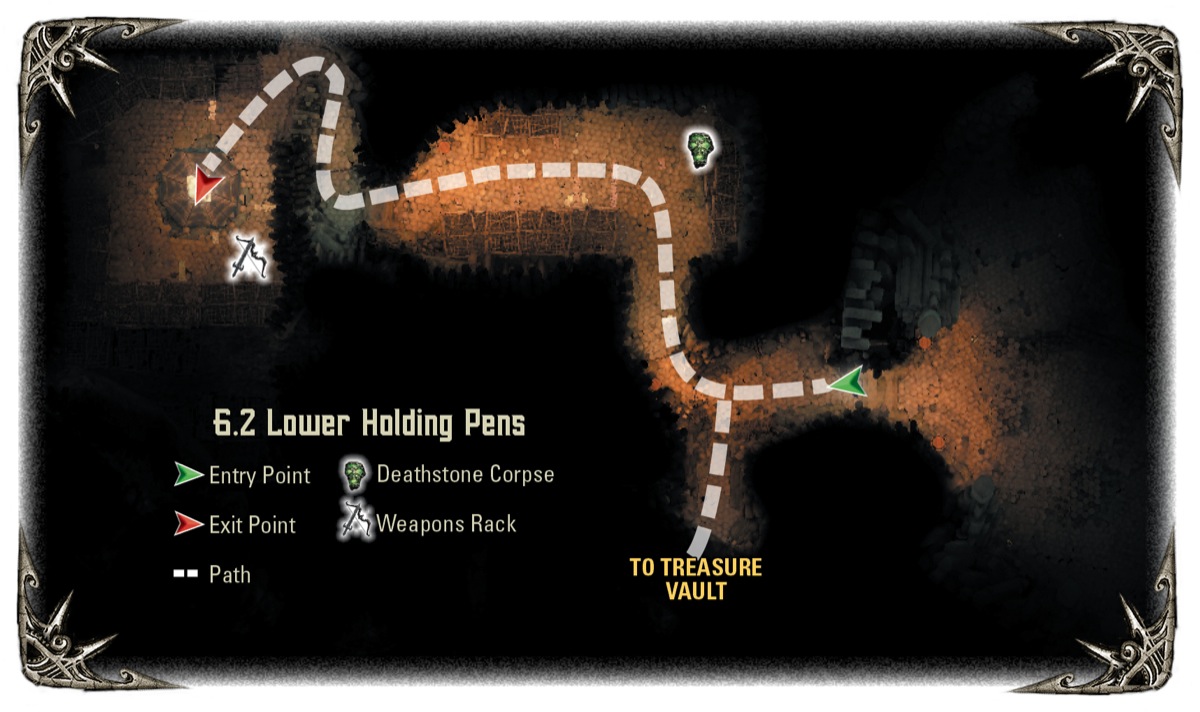
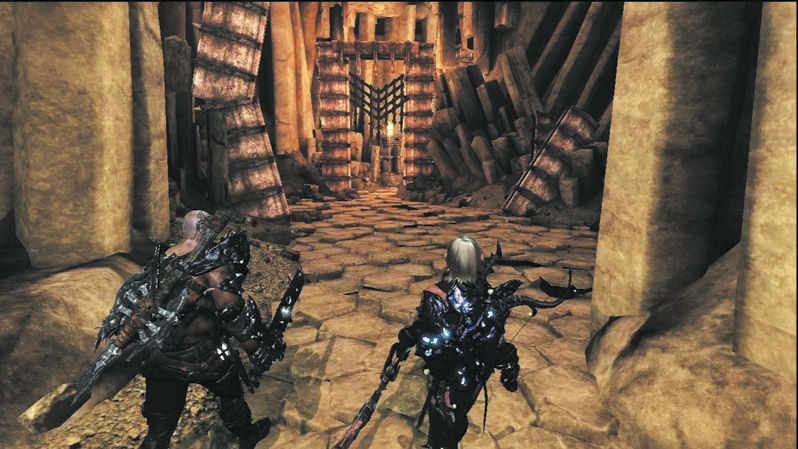
Proceed into the mountainside and stop at the intersection. The left fork leads to the Three Brothers' Treasure Vault, which you can enter only if you have gathered all three skeleton keys from earlier puzzles. If you have, it's well worth your time to venture into the game's final puzzle and reap the rewards (see "Three Brothers' Treasure Vault" section after the "Lower Holding Pens" walkthrough). The right fork curves into a holding pen area for slaves. Eerily, it's empty of slaves.
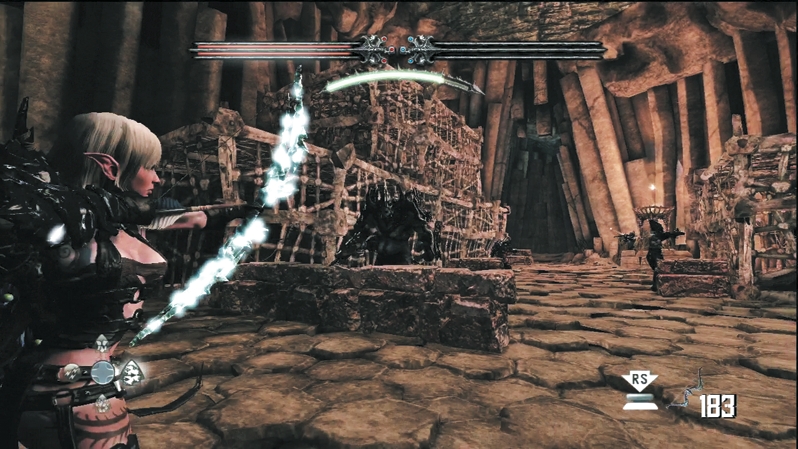
It's not empty of enemies, though. Similar to your previous battle, Wargar Guardians and a Juggernaut Elite charge when you enter the area, and Wargar Scorchers support with ranged attacks from the rear. Use weapon magic or battle magic to wipe out the Guardians and Juggernaut quickly, then pick off the Scorchers one by one from cover. If you want, E'lara can distract the Scorchers with persistent arrow fire, which will allow Caddoc to get in melee range and pound them to pulp.
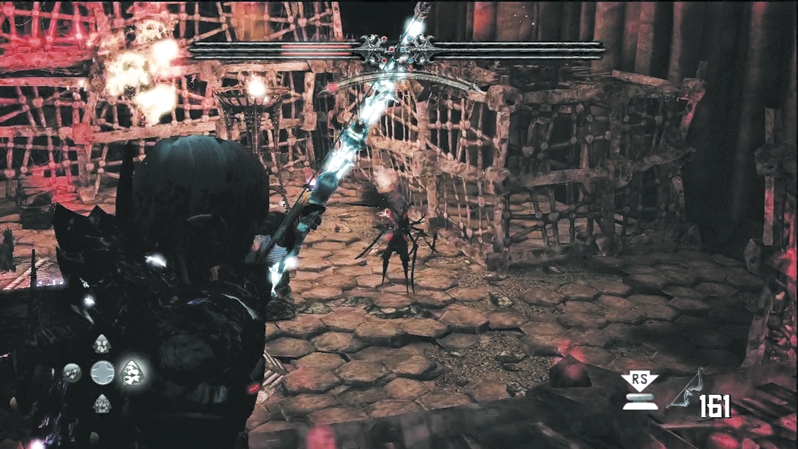
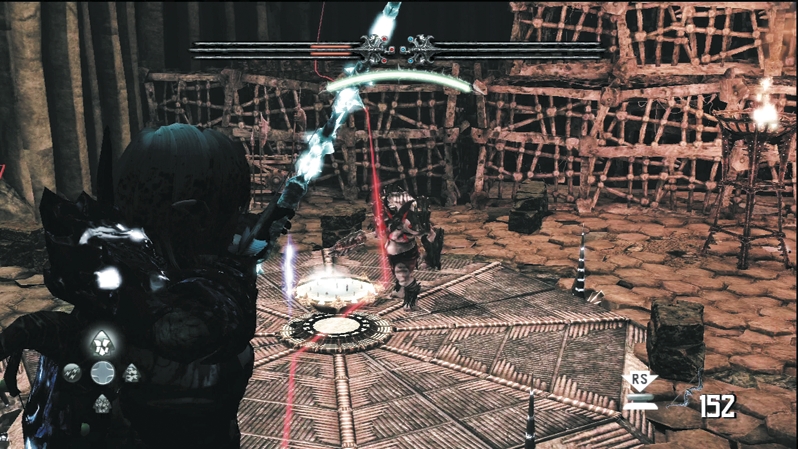
Take the corridor to the next room. When you enter, Caddoc and E'lara should split up. E'lara runs up the ramp on the right wall to gain a height advantage from the top of the holding pen. Caddoc defends on the ground floor against Wargar Warriors and Juggernaut Elites. E'lara can easily blast away at the Wargar Archers and the Infected Wargar from her superior position. It's only a matter of time before you defeat them all.
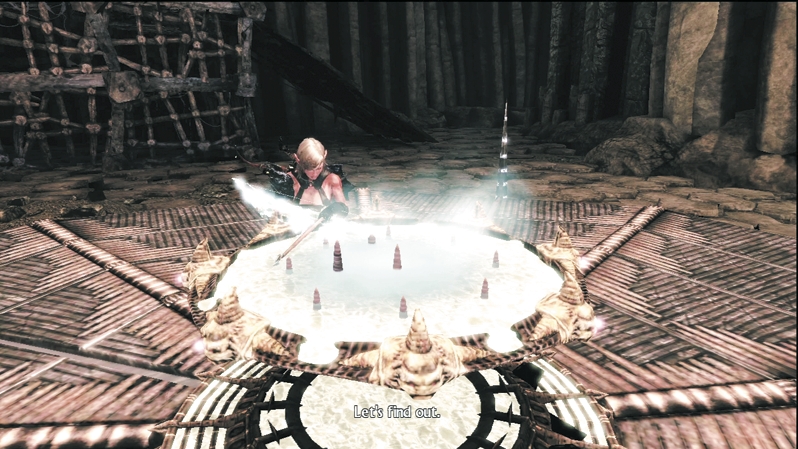
A Sleg fountain somehow taps into the silvery liquid and powers a circular elevator in the room. You have to interact with the Sleg fountain to activate the elevator; unlike Sleg vats, though, you don't have to drink the Sleg, so use the Sleg fountain when you want to enter the next set of slave pens.