
Hunted: The Demon's Forge Guide Walkthrough Chapter 4
Arches of Fire
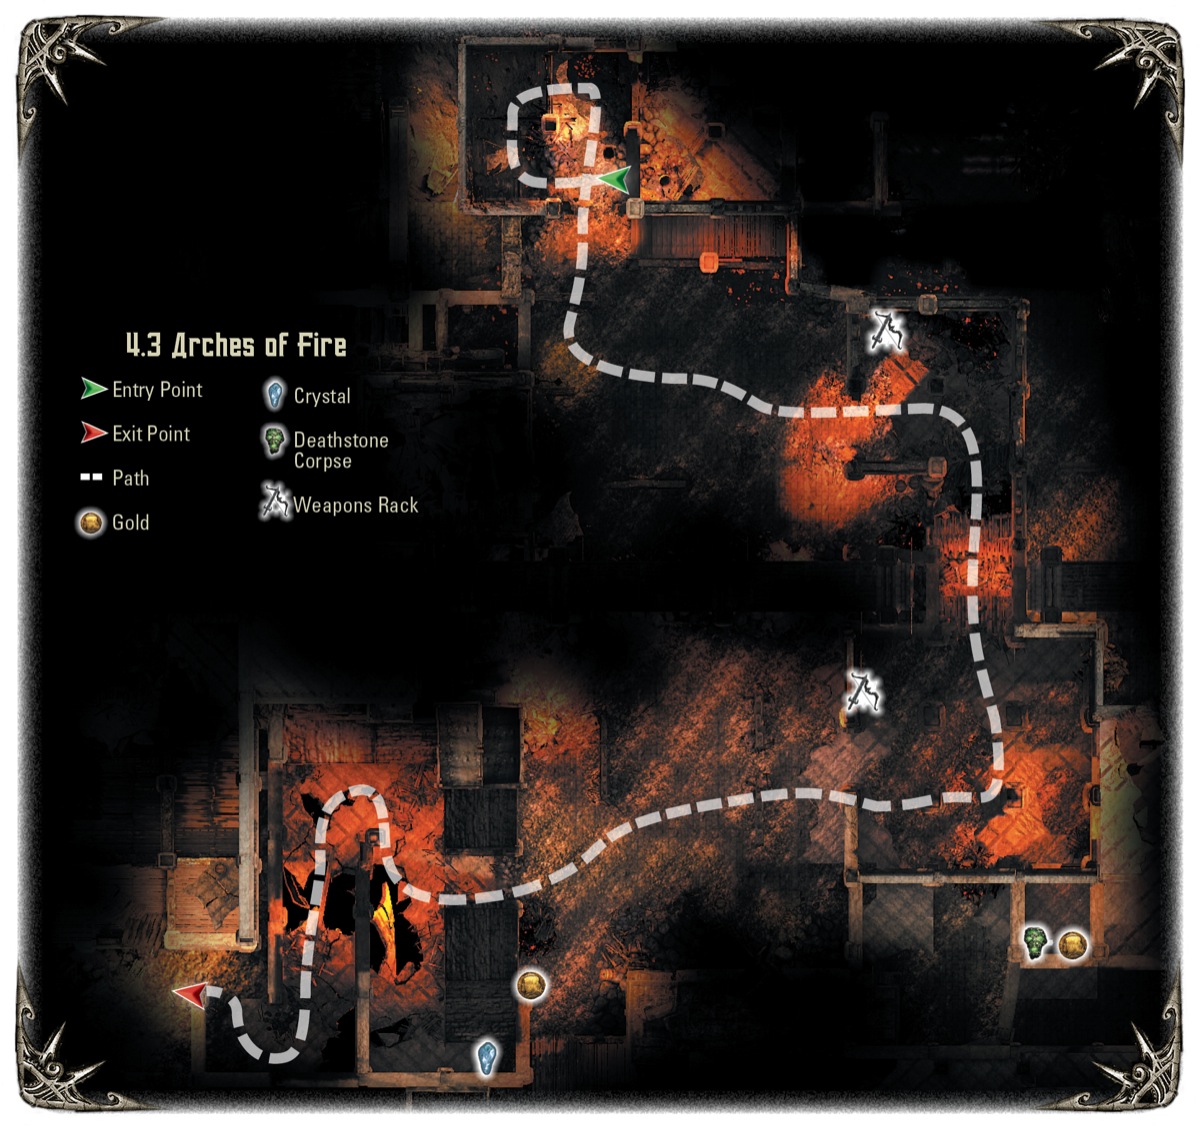
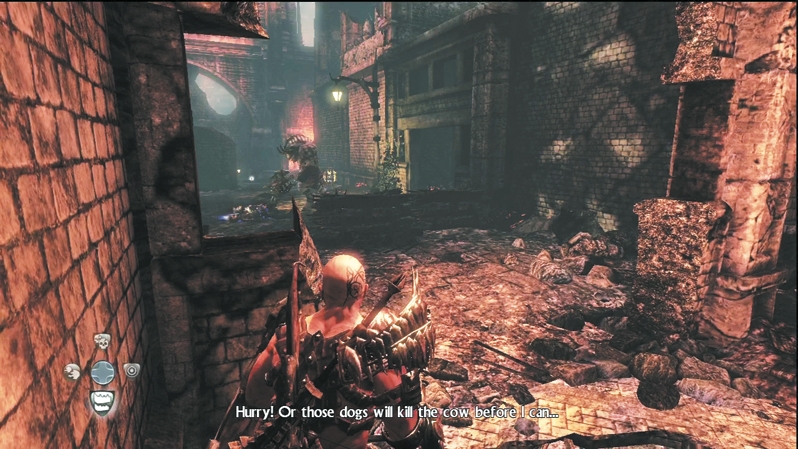
After leaving the Harridan battle, enter the next building and climb up to the second story. Slip through the crack in the wall and climb over to a second building. Inside that building, drop back down to the ground floor. Through the broken wall, you see an interesting sight out in the street: Wargars fighting a Minotaur. Feel free to watch the Minotaur beat on the Wargar Warriors for a while; eventually, though, the fight will come to you and the creatures see you as the immediate threat. Smash both the Wargars and the Minotaur with equal abandon.
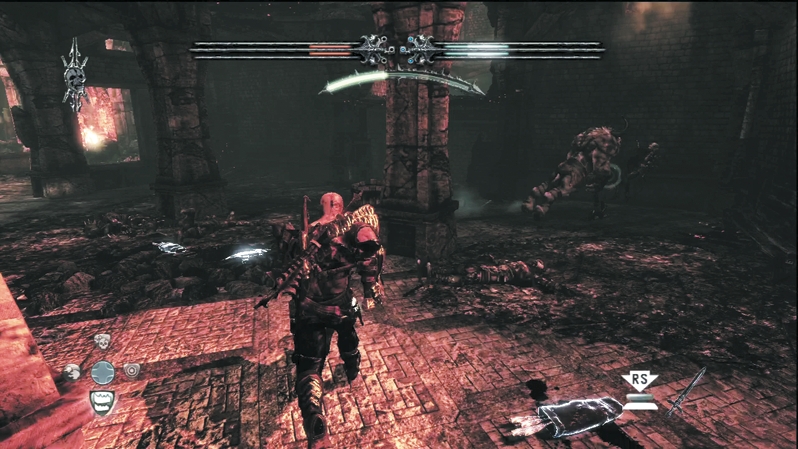
A catapult blows a hole in the nearby wall and grants you access to the next area. Enter the building, climb up the fallen wall, and jump over the gap to reach the next building. When you drop into the rubble-filled room below, Wargar Guardians and Wargar Soldiers notice you and attack. Fight them off as a Minotaur Juggernaut stomps toward you outside. Try to eliminate all the Wargars before the Minotaur arrives so that you can concentrate your attacks on the Minotaur Juggernaut. Remember to switch to arcane damage against the Minotaur if you have any. A Deathstone corpse and a pile of gold sit in a nearby side chamber.
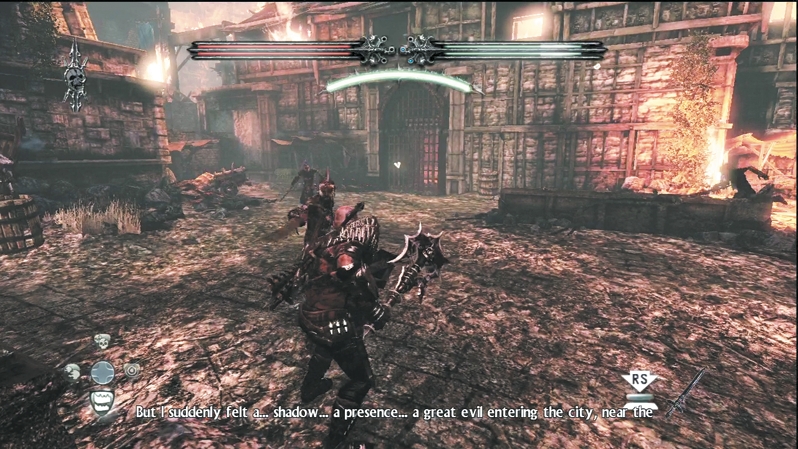
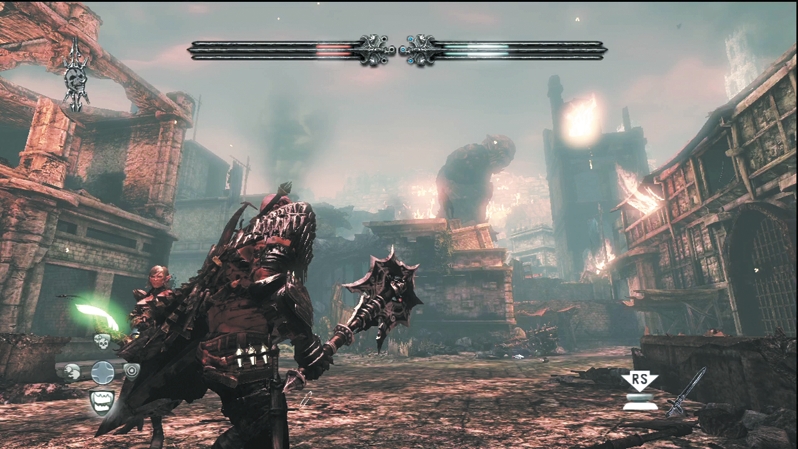
Head back out into the streets and face off against more Wargar Soldiers and Infected Wargars. You have a lot of room to move around here, so the battle should go smoothly, and you're rewarded with a gold treasure chest near the exit when you're finished. However, a disturbing glimpse of a towering Ogre destroying the next street over sends shivers up your spine. Luckily, you don't have to square off against that thing or else you'd need a whole army of mercenaries at your back.
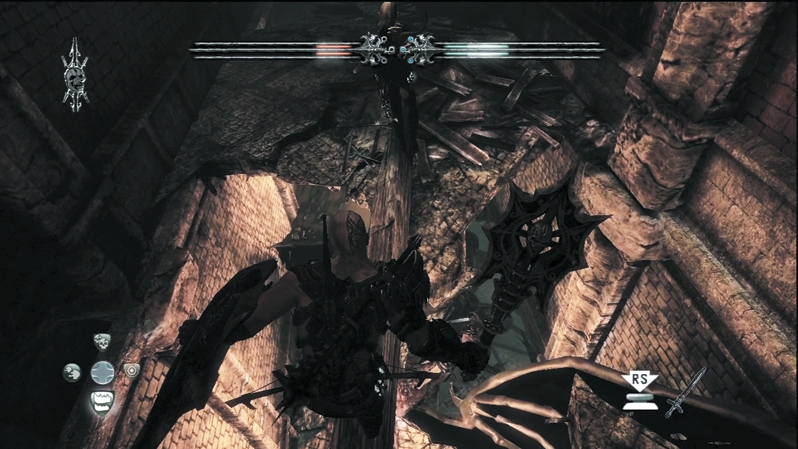
After the Ogre passes, a couple more Wargar Warriors hassle you when a portcullis rises. Slay the Wargar and enter the next building through the portcullis. If you go left, it's a dead end; however, in a small alcove in the gloom rests another Crystal Chest. If you go right and traverse the fallen timber, you end up outside again in front of the Scarlet Maid Tavern.