
Hunted: The Demon's Forge Guide Walkthrough Chapter 4
The Landing
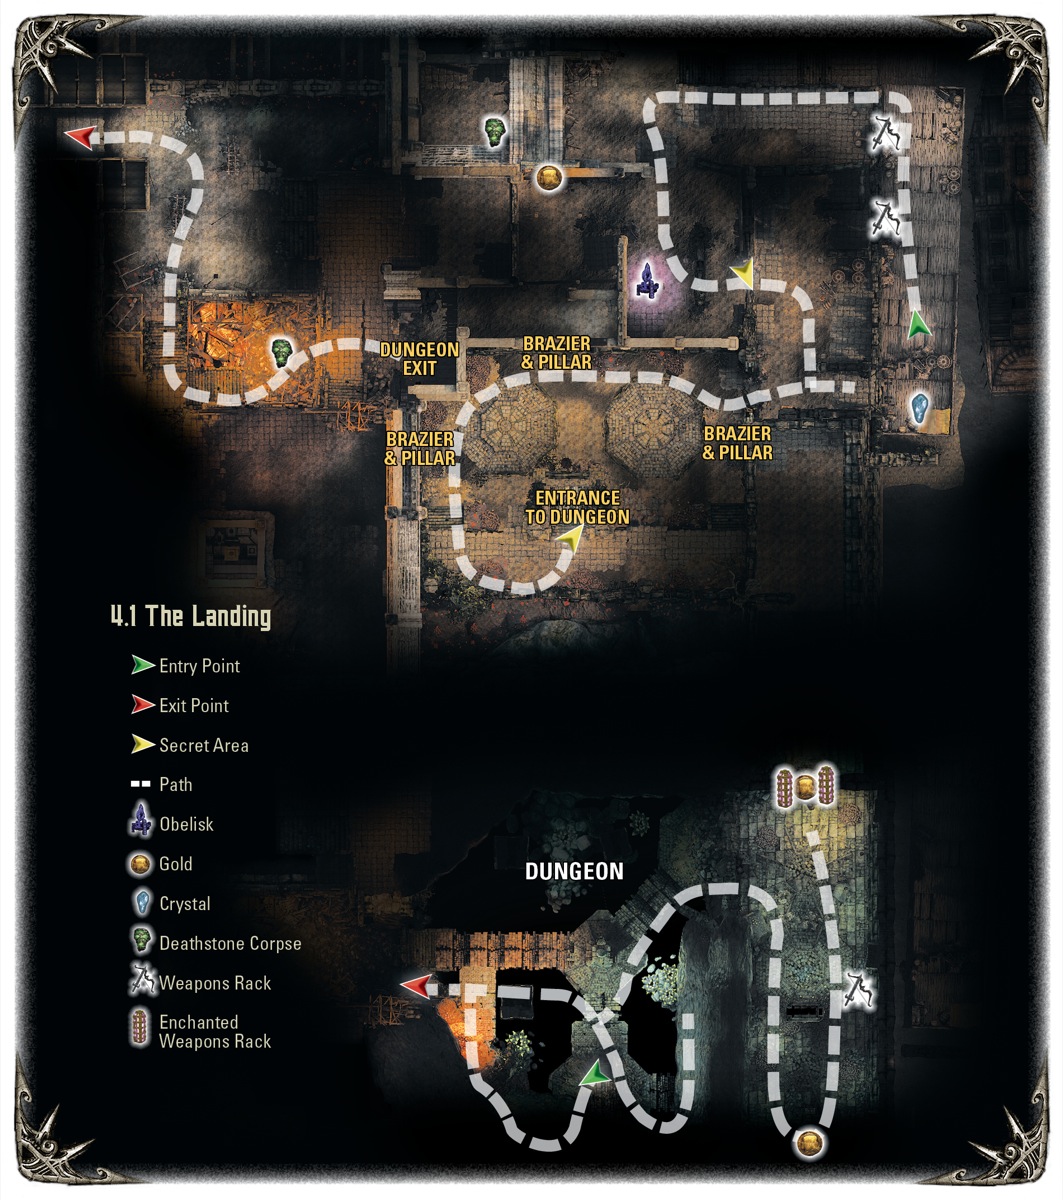
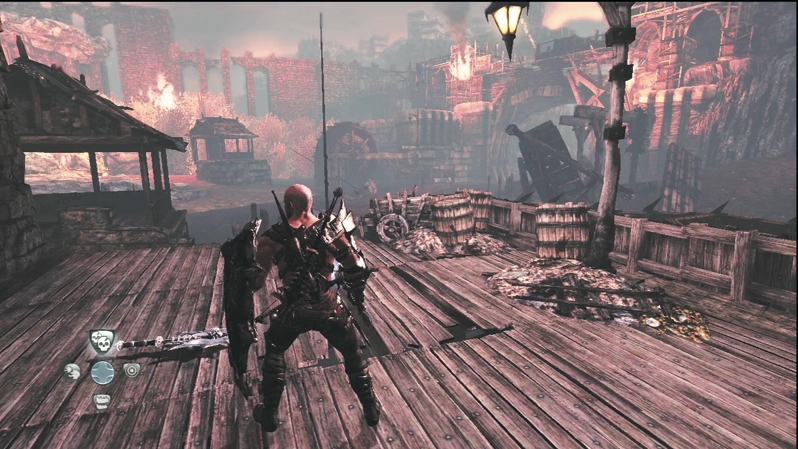
You arrive in Llyr on the docks, with the city burning around you. There's a secret area directly behind you with a Crystal Chest, but you'll have to access it from the level above, so proceed forward. When you reach the pier's end, you spy dragons in the sky. You won't have to face them in Llyr; however, there are plenty of other threats to keep you busy.
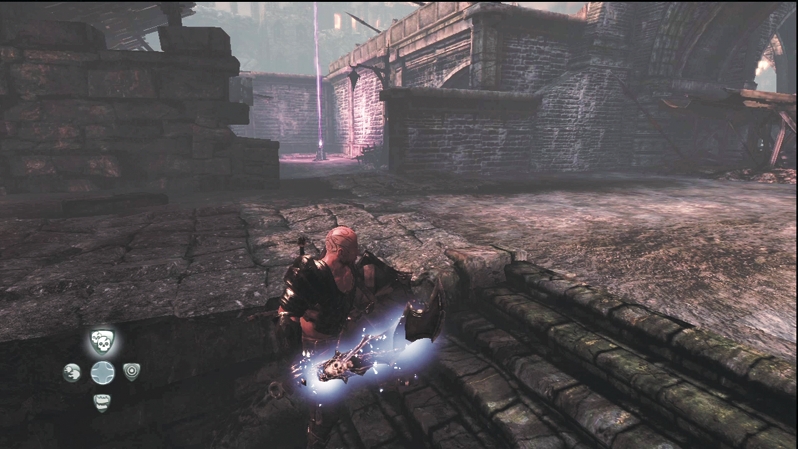
Jump off the pier and turn left. Take the stairs to the next level and note the obelisk to your left. Use this as a beacon to guide you around the area.
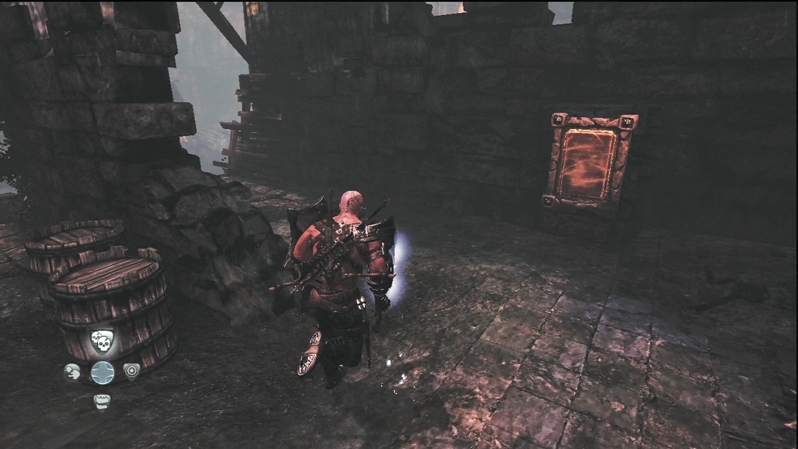
Enter the ruined courtyard that holds the obelisk, and smash through the boards on the left wall. This leads to two secret areas. Turn right and look for a riddle plaque on the far wall. Turn left here and you'll see a drop-off a few steps away. Jump down this and you land in the secret area at the back of the pier where you can collect the Crystal.
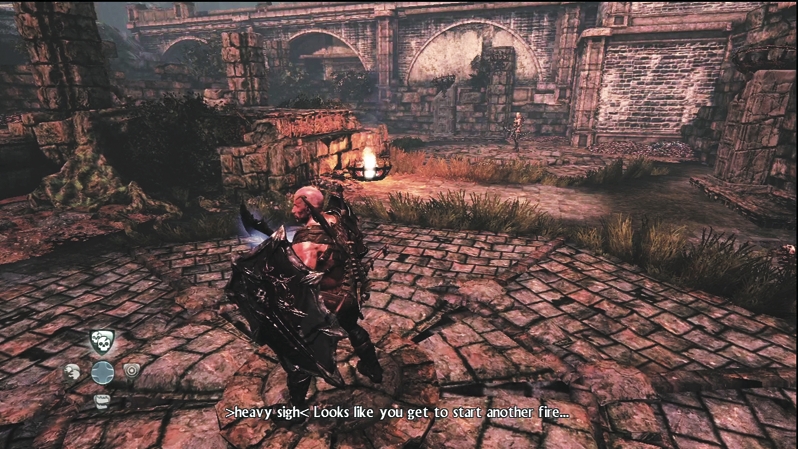
Loop back around to the plaque again. The new riddle reads, Stand on two discs, start a fire. Light three braziers, push three spires. Down the hole and claim the key that lies with the last of the brothers three. In order to open the hole down to the dungeon, E'lara must light three braziers and Caddoc must push three columns into position. Enter the courtyard to your right and battle a few token Skeletons that guard the grounds. Once the Skeletons are inert bones, step on the two circular pressure plates that flank a fire brazier. When you do, the brazier ignites and grants flame to your arrows.
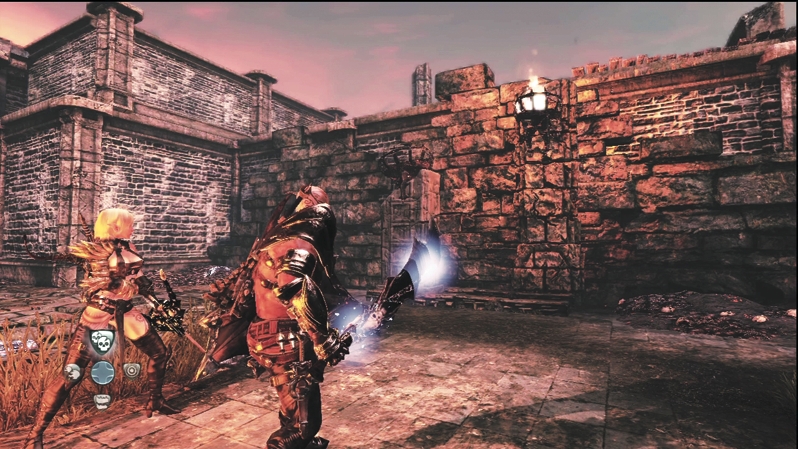
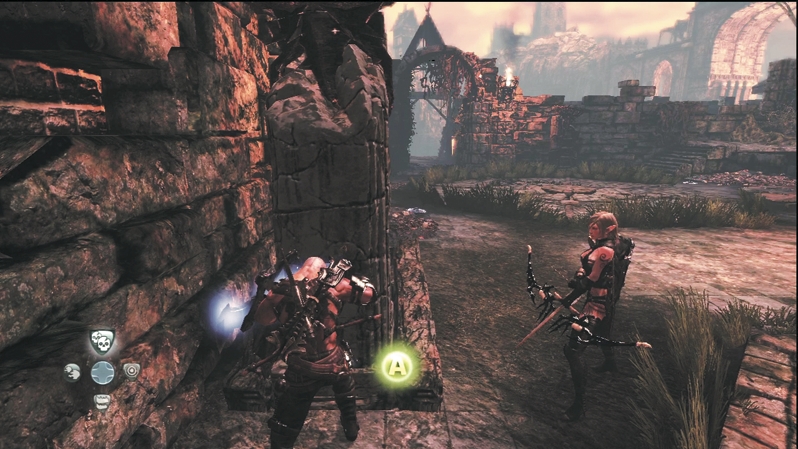
E'lara should light the three braziers high up on the walls in a triangular pattern around the courtyard. Caddoc then needs to push the nearby stone columns until they line up under the lit braziers.
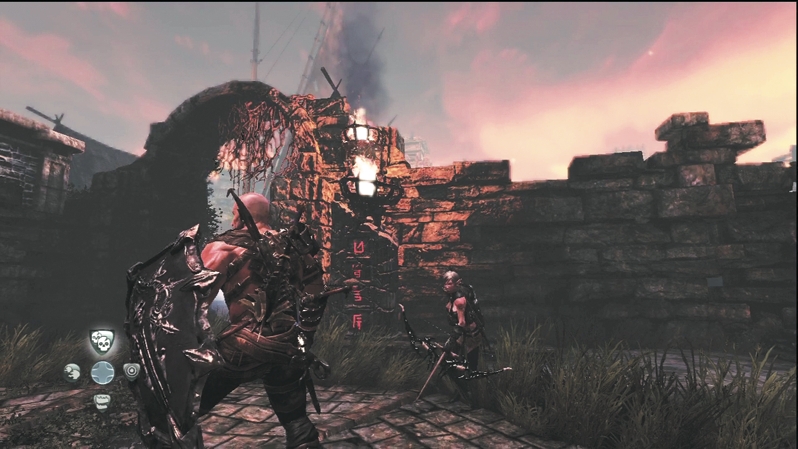
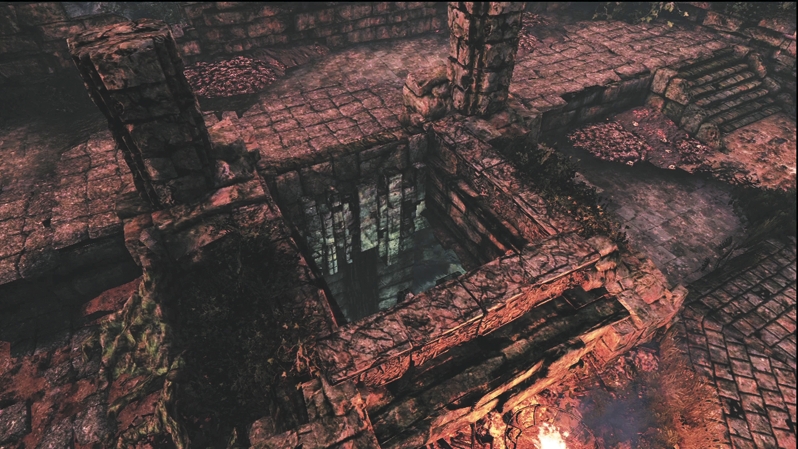
When all three secondary braziers atop the columns light up, too, a hole in the courtyard's rear magically opens to the dungeon below. Circle around the steps and drop through the hole.
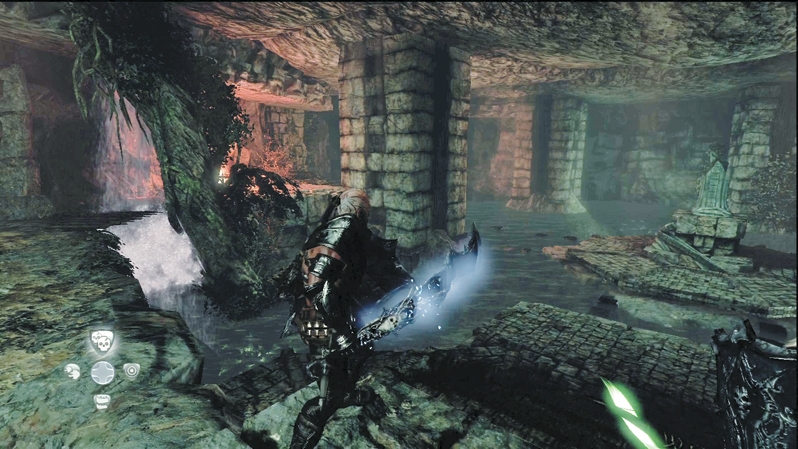
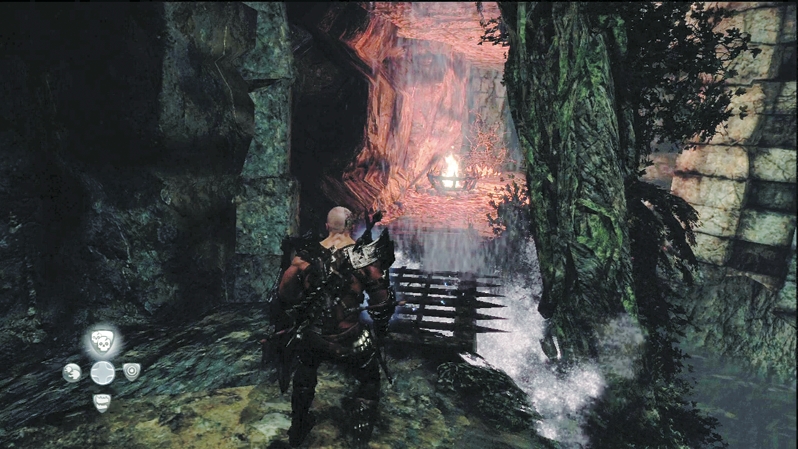
You land in a dark dungeon with a central island surrounded by impassable water (for now) in front of you. The island is the nexus for crossing over to the treasure vault on the far side, so it's time to figure out how to reach it.
Follow the path that goes under a small waterfall and brings you to a lit brazier.
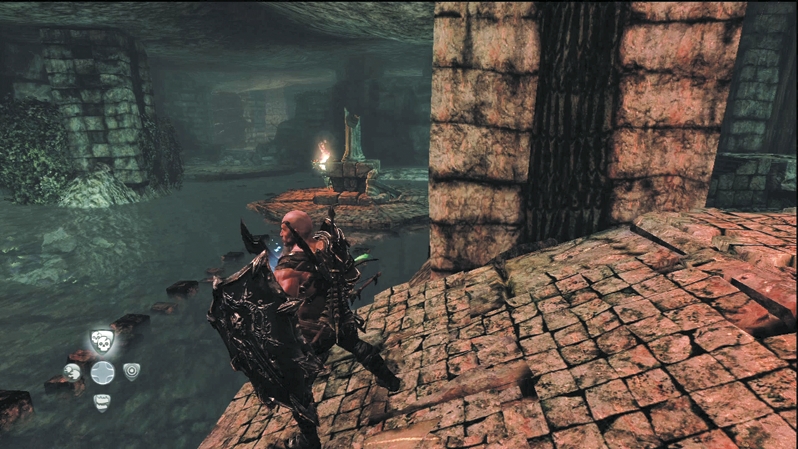
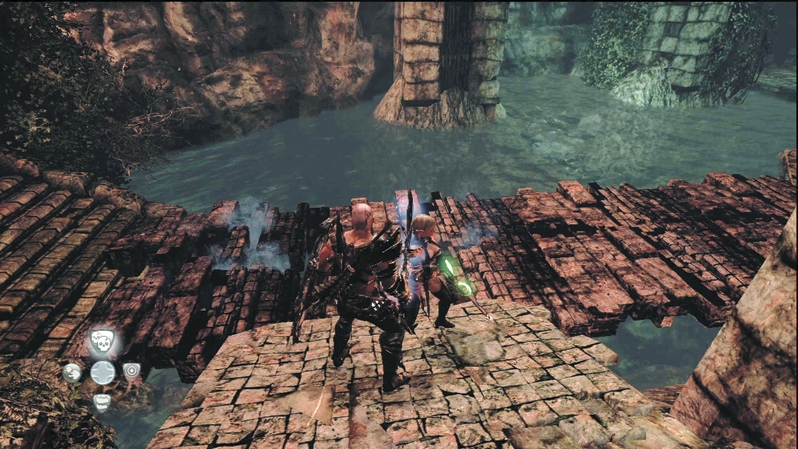
To your left is the exit door. To your right is the central island, though water prevents you from reaching it right now. Light an arrow and shoot the brazier on the central island, which causes a stone path to rise out of the water and connect to the central island (and to the exit door for later use).
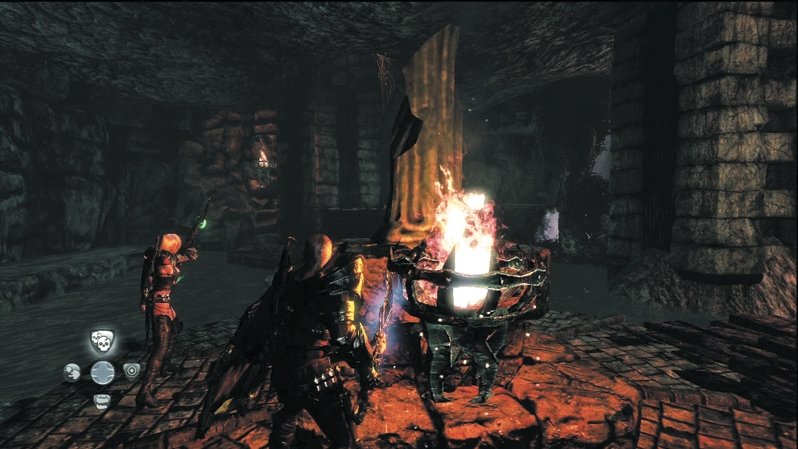
Walk to the central island, dip your arrow into the brazier there, and light the next brazier on the far wall. A new path rises out of the water and connects to the shore to your left.
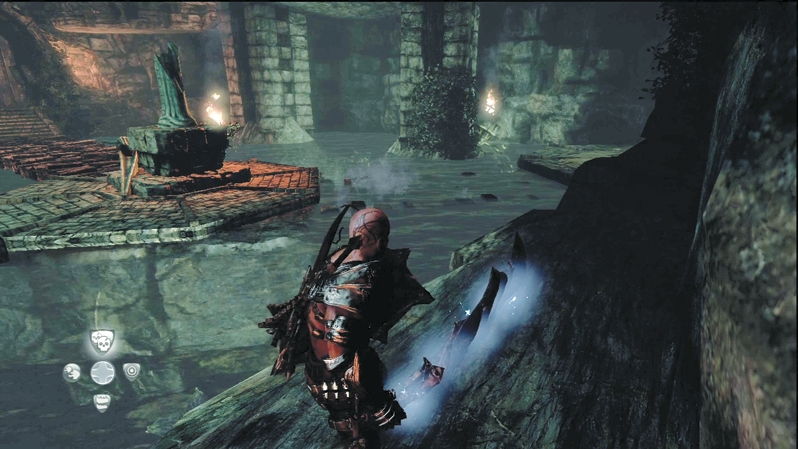
Maneuver around to the thin shoreline that edges along the far wall. You can proceed only two-thirds of the way before rubbles blocks the path. However, you can take a long shot at a brazier on the column next to the treasure vault landing. Ignite the new brazier and the final path rises out of the water and connects the central island with the treasure vault.
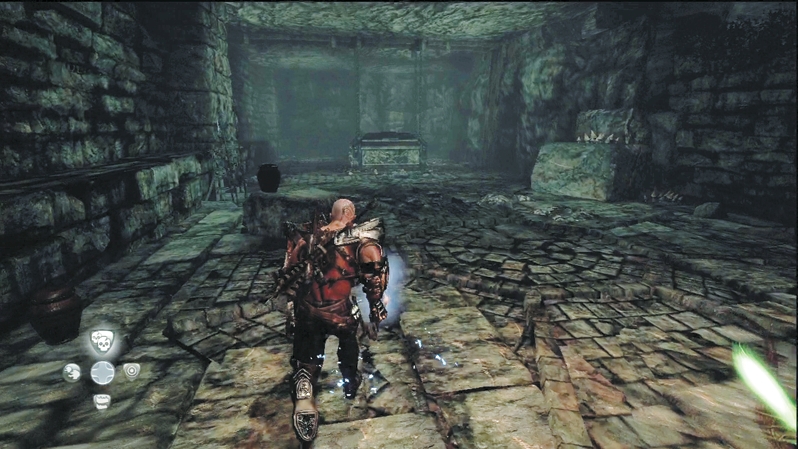
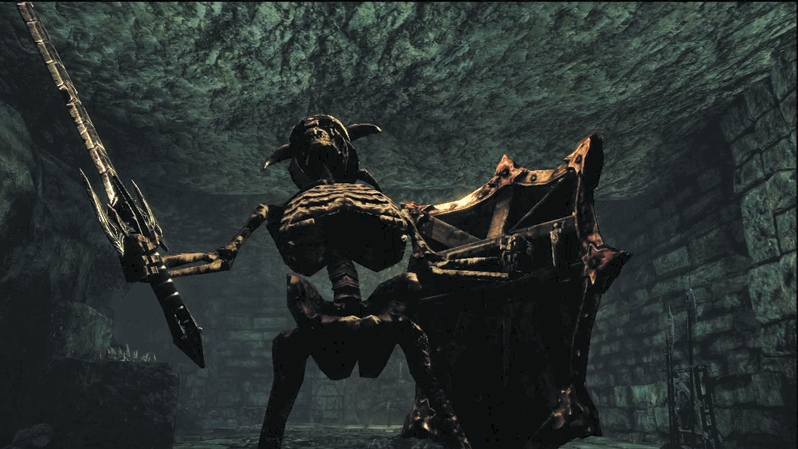
Cross over to the treasure vault and explore its contents. Pass the sarcophagus in the center and inspect a chest in the back. Touching this chest causes the Tomb Skeleton to animate out of its grave and attack. It summons Skeletons to aid its cause. Caddoc can take on the Tomb Skeleton, while E'lara peppers the Skeletons with arrows. After dealing with the Skeletons, both mercenaries can concentrate their efforts on the Tomb Skeleton. The creature hits very hard, so don't square off face-to-face with it. Roll when it attacks and slice away at its flanks and back.
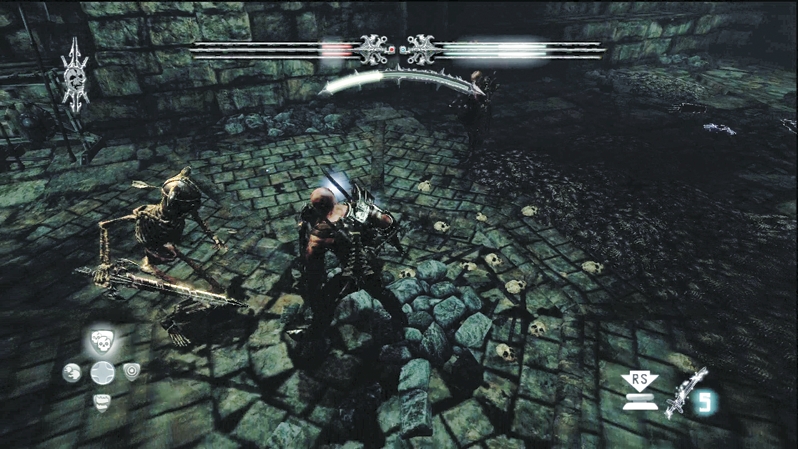
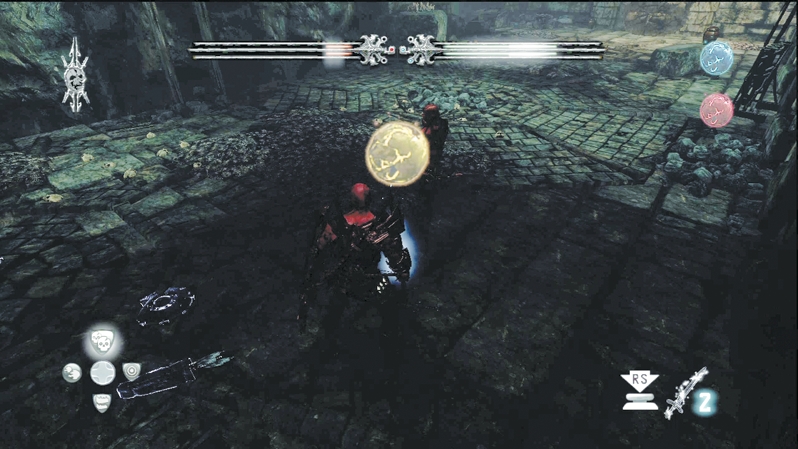
After you land the final blow against the last of the three brothers mentioned in the riddle, retrieve the yellow spherical key. If you've been doing all the side quests, you should now have the blue, red, and yellow keys. These open a special treasure vault in Chapter 6, so hold on to them for now.
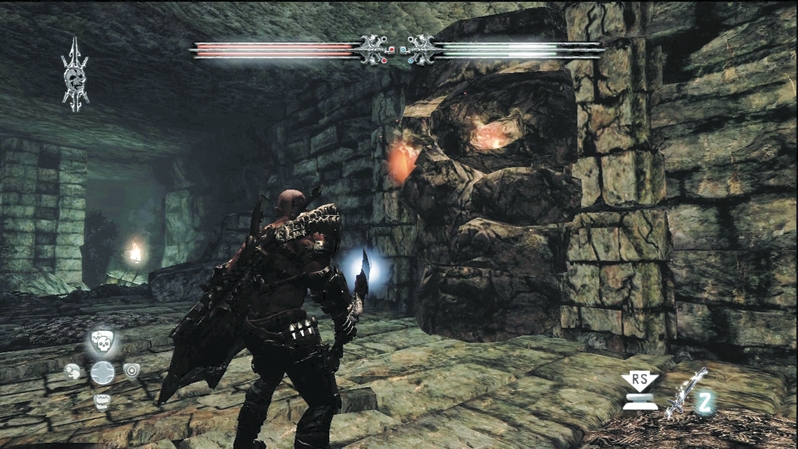
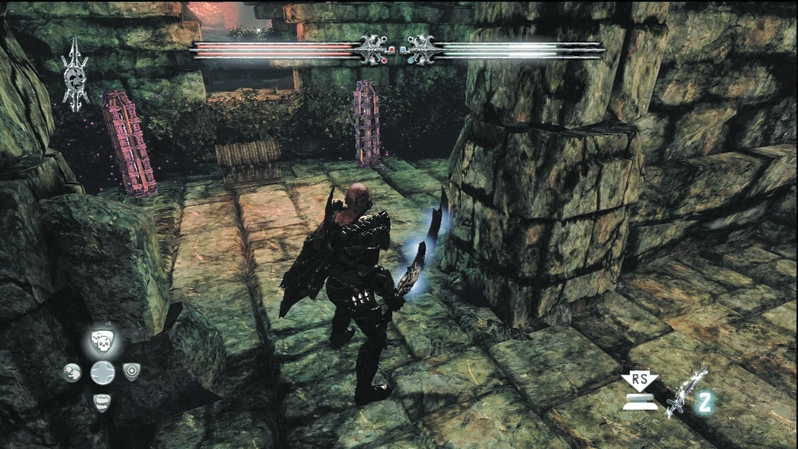
Following your victory over the Tomb Skeleton, a special stone statue with flaming eyes in the front of the treasure vault slides aside as you approach. Inside the small room are two enchanted weapon racks and a gold treasure chest.
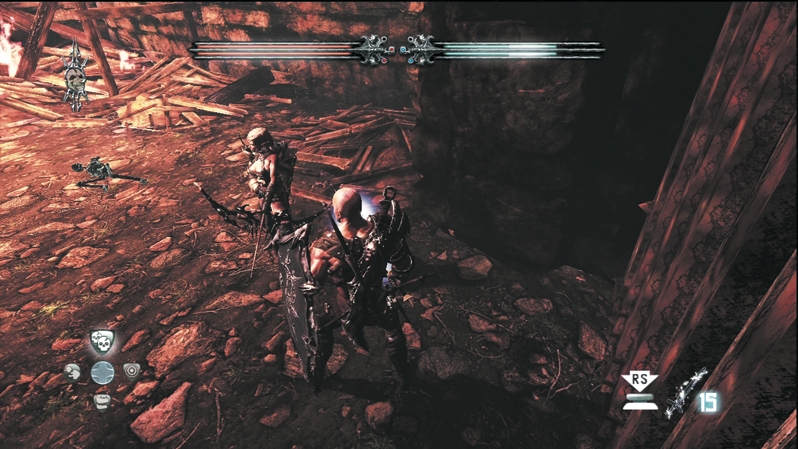
Exit the dungeon through the door near the waterfall. A Deathstone corpse greets you amid the rubble outside.
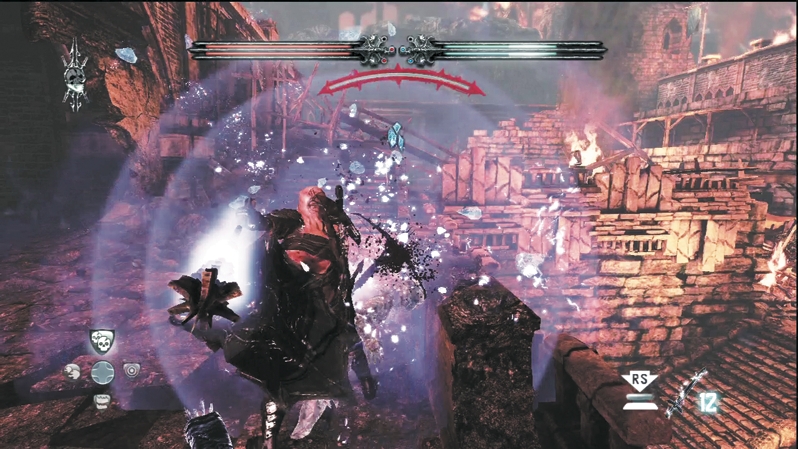
Climb up the stairs and engage the Wargar Archers in the courtyard with the magic portal. Cut through them and then speak with the Deathstone corpse in the nearby shadowy alcove. It's time to move deeper into the city, and the door next to the magic portal sends you on your way.